Grandma’s Classic Apple Bars with Sweet Vanilla Glaze: The Ultimate Fall Dessert Recipe
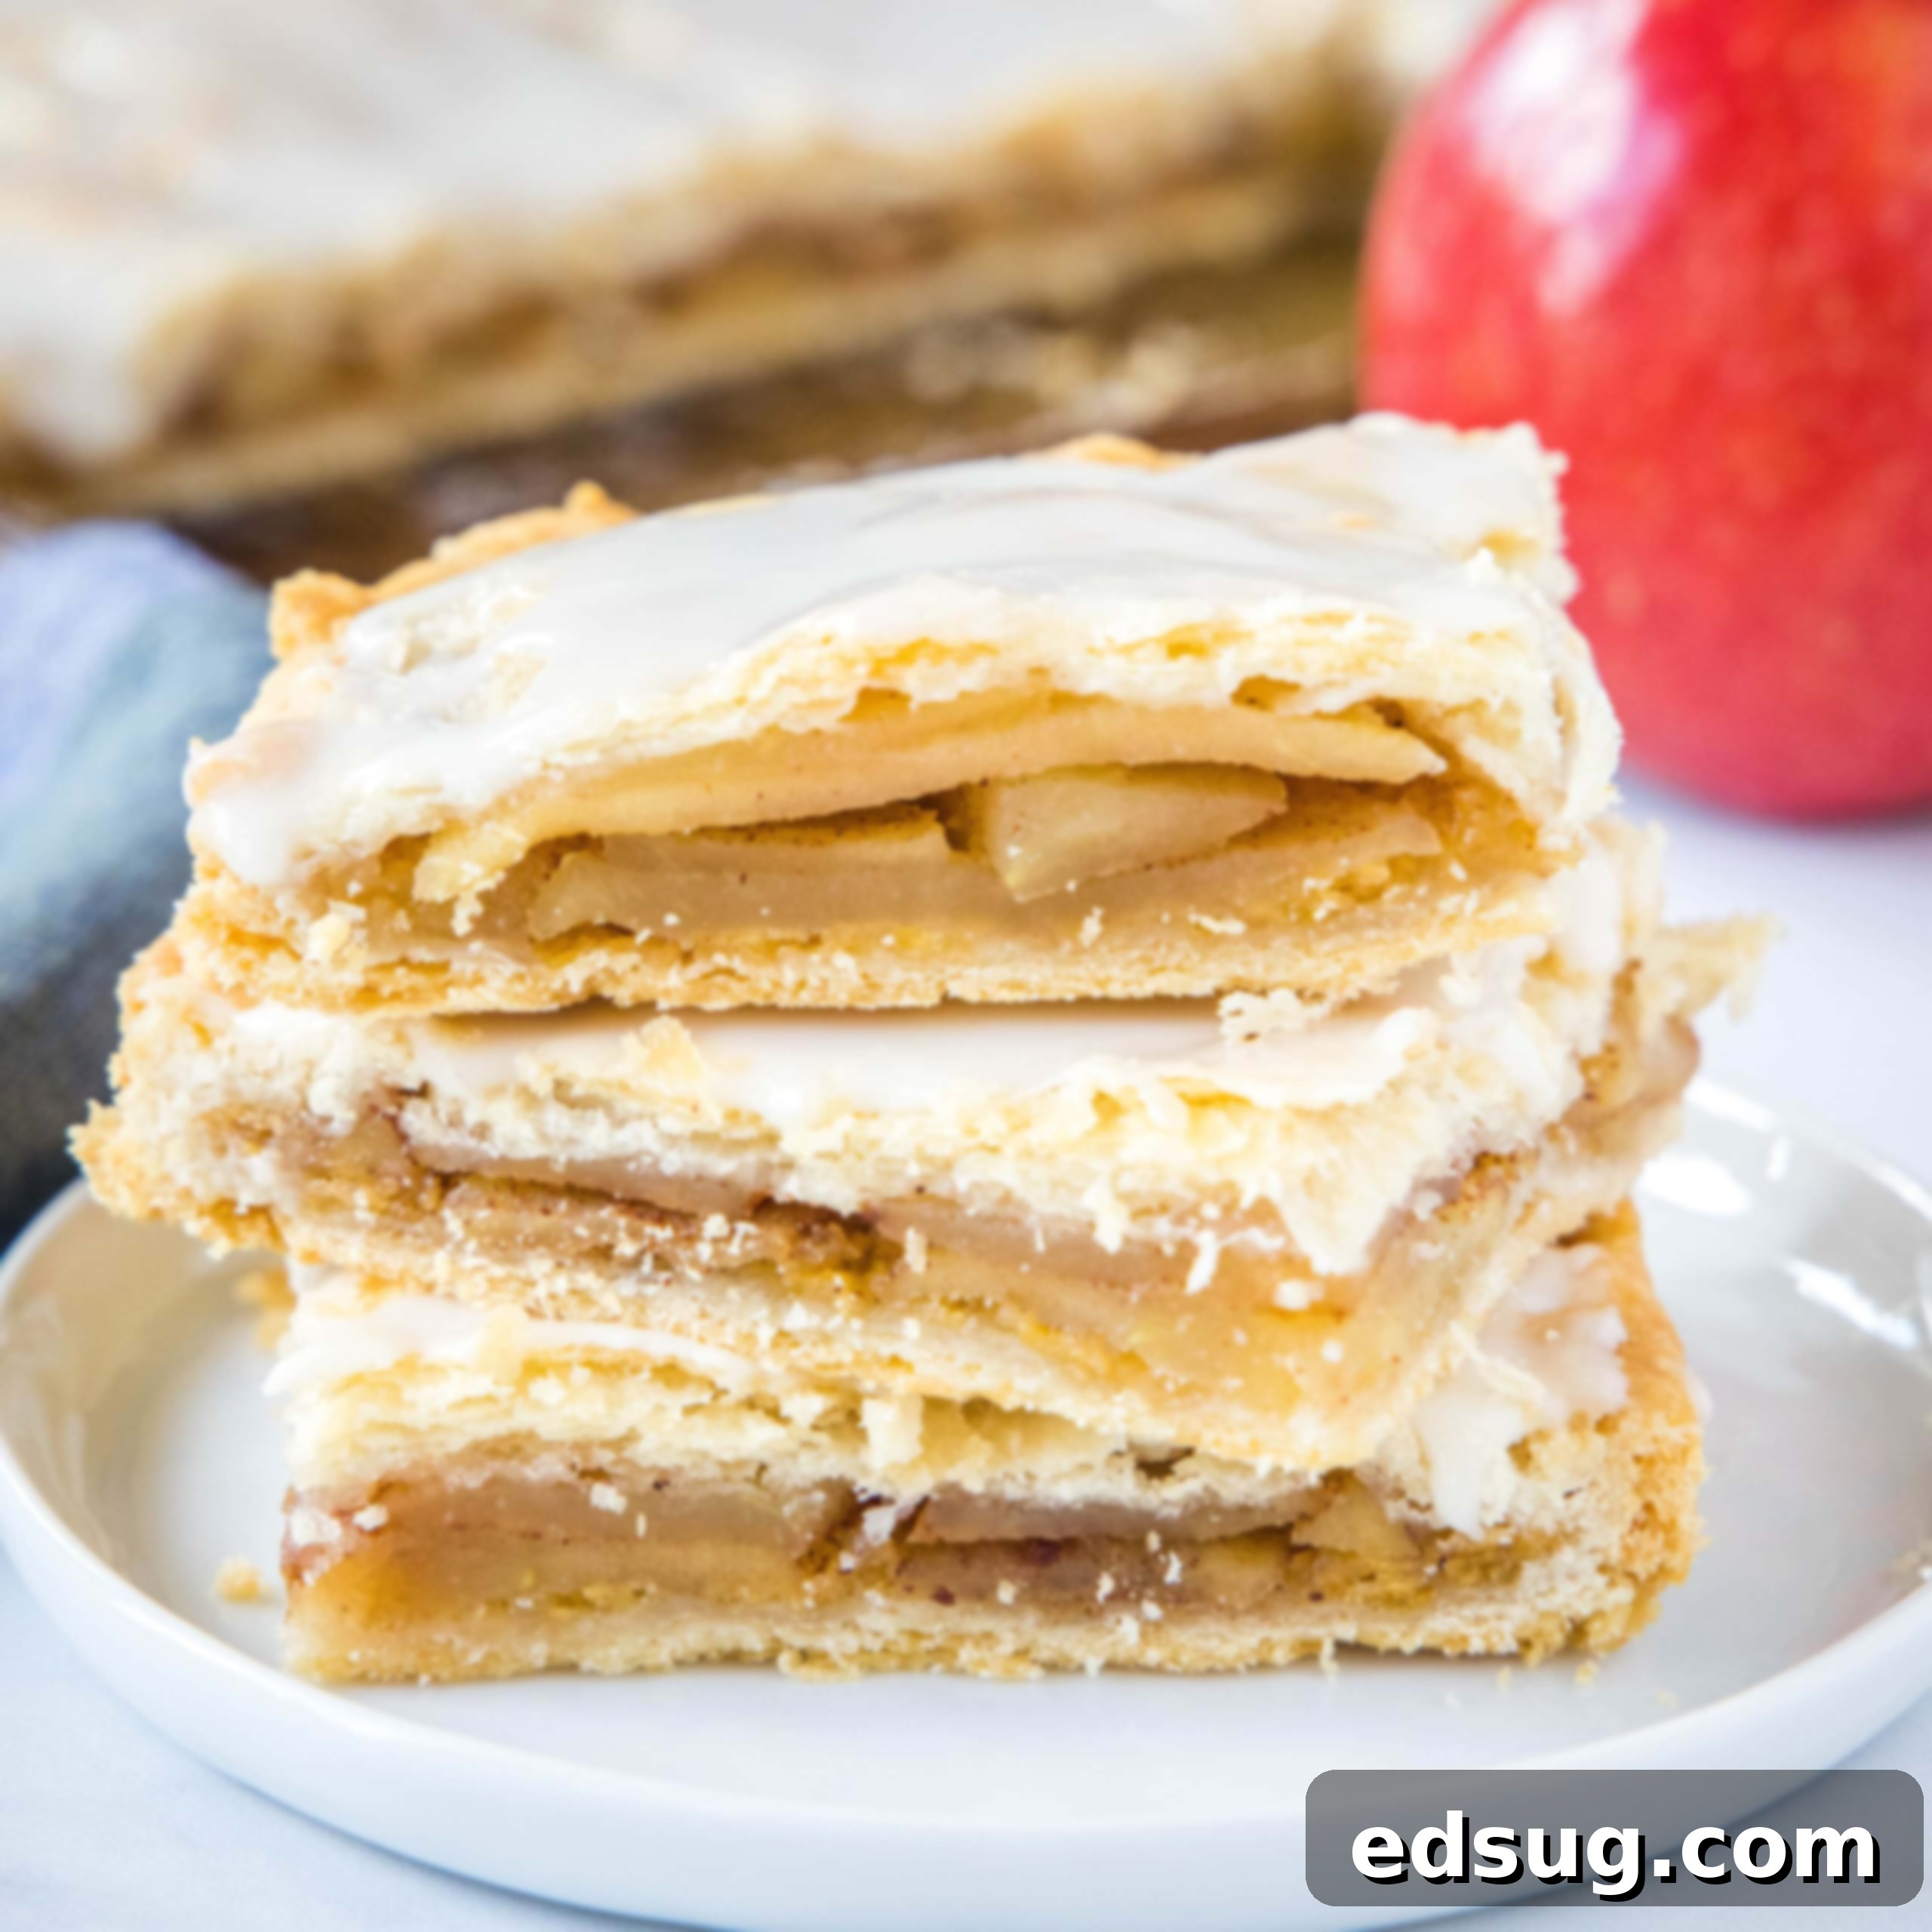
There’s nothing quite like the comforting aroma of apples baking in the oven, especially as autumn leaves begin to fall. For me, these delightful apple bars aren’t just a recipe; they’re a cherished memory, a taste of home, and a direct link to my grandmother’s kitchen. Every fall, her house was filled with the sweet scent of these very bars. With apple trees aplenty on their property, she would bake batch after batch, ensuring an endless supply from the first ripe apple of the season right up until Christmas. It was a tradition that marked the changing seasons and brought immense joy.
While apples are one of those wonderful fruits you can find in season almost all year round, allowing us to enjoy treats like an amazing Apple Crisp Cheesecake in any month, these classic apple bars hold a special place in my heart. They are a timeless recipe I find myself returning to, year after year, for their simplicity, their comforting flavor, and that perfect balance of tender apples and a wonderfully crisp crust, all topped with a sweet vanilla glaze.
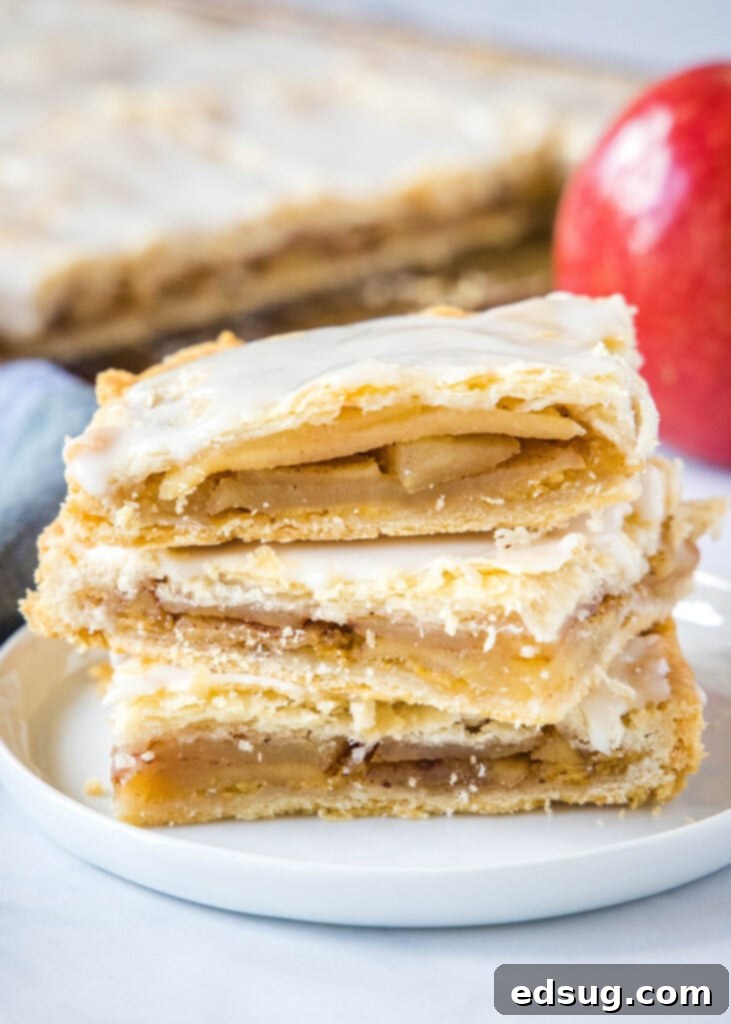
Why You’ll Love These Classic Apple Bars
These apple bars are more than just a dessert; they’re an experience. Here’s why this recipe will quickly become a cherished favorite in your home:
- Nostalgic Flavor: The taste immediately transports you back to simpler times, with the classic combination of sweet apples and warm cinnamon.
- Perfectly Crisp Crust: Thanks to a clever secret ingredient, the bottom crust stays wonderfully crisp, never soggy, providing an ideal contrast to the soft apple filling.
- Sweet & Tender Filling: Fresh apples are baked until perfectly tender, bursting with natural sweetness and spiced with cinnamon.
- Easy to Make for a Crowd: This recipe yields a generous batch, making it ideal for family gatherings, potlucks, or simply ensuring you have plenty of delicious treats on hand.
- Versatile Treat: Perfect as a dessert, a coffee break snack, or even a delightful breakfast pastry.
What You’ll Need for These Delectable Apple Bars
Gathering your ingredients is the first step to creating these irresistible apple bars. Most are pantry staples, but a couple of key items ensure the signature texture and flavor.
- Flour (all-purpose)
- Salt
- Shortening (or butter, see notes below)
- Egg Yolk
- Milk
- Cornflakes (crushed)
- Apples (fresh, peeled and sliced)
- Cinnamon
- Sugar (granulated and powdered)
- Vanilla Extract
Choosing the Best Apples for Your Bars
The type of apple you choose can significantly impact the final texture and flavor of your bars. For baking, you want apples that hold their shape well and offer a good balance of sweetness and tartness. Excellent choices include:
- Granny Smith: Their tartness provides a fantastic contrast to the sweet crust and glaze, and they hold up beautifully during baking.
- Honeycrisp: Sweet, crisp, and slightly tart, these apples maintain their texture and add a lovely flavor.
- Braeburn: A great all-around baking apple, offering a good balance of sweet and tart.
- Fuji or Gala: These can be used for a sweeter bar, but might become slightly softer than the tart varieties.
Feel free to use a combination of different apples to create a more complex flavor profile!
The Secret to a Crisp Crust: Why Cornflakes?
I understand that cornflakes might seem like an unusual ingredient in an apple bar recipe. When my grandma first shared this recipe with me, I was genuinely surprised by their inclusion! However, these humble cereal flakes serve an incredibly important purpose, and you absolutely shouldn’t skip them. Here’s why:
Before you add the luscious apple filling, you’ll crush the cornflakes and sprinkle them over the bottom crust. As the bars bake, the apples release their natural juices and moisture. The crushed cornflakes act as a barrier, absorbing all that excess moisture like tiny sponges. This ingenious trick prevents the bottom crust from becoming soggy, ensuring it remains wonderfully crispy and flaky, just like a perfect pie crust should be.
The best part? The cornflakes virtually melt into the crust during baking, becoming completely undetectable in the final product. You won’t taste them, you won’t feel their texture – you’ll just experience a perfectly baked, non-soggy crust. It’s truly a genius, old-fashioned baking hack that makes all the difference!
Shortening vs. Butter: Achieving the Perfect Crust
Many people understandably ask about substitutions for shortening. This recipe, hailing from the 1950s, traditionally calls for shortening (like Crisco) or lard, which were common ingredients known for creating incredibly flaky pastry. Shortening is a solid fat that has a higher melting point than butter, which means it helps prevent gluten development in the flour and creates distinct layers for a flaky texture.
If you prefer to avoid shortening, butter is an excellent substitution, especially if you prioritize flavor. Butter contributes a rich, desirable taste that shortening doesn’t. When substituting butter for shortening in a pie crust or bar recipe like this, make sure your butter is very cold and cut into small pieces. This helps achieve that same flaky texture by creating pockets of steam as it bakes. For best results, use unsalted butter to control the salt content in your recipe. While butter might result in a slightly less “crisp” bottom compared to the cornflake trick with shortening, the flavor payoff is undeniable. You can use a 1:1 ratio, so 1 cup of cold butter, cut into cubes, will replace 1 cup of shortening.
How To Make Apple Bars: A Step-by-Step Guide
Creating these delightful apple bars is a straightforward process, resulting in a comforting dessert that’s perfect for any occasion. Follow these steps for baking success:
- Preheat your oven to 400º F (200º C). Thoroughly grease a 12×17 inch jelly roll pan. This size pan is perfect for creating a thinner, more evenly baked bar.
- In a large mixing bowl, combine all the ingredients for the crust (flour, salt, shortening/butter, egg yolk, milk), *except* the cornflakes. Use a pastry cutter or a fork to work the fat into the flour mixture until it resembles coarse crumbs with some pea-sized pieces remaining. This is crucial for a flaky crust, similar to making a pie crust. Once combined, divide the dough neatly in half.
- Using your fingertips, gently press one half of the dough evenly into the bottom of the prepared pan. Don’t worry if the crust seems a bit thin or slightly sticky; this is perfectly normal and will bake up beautifully. Evenly sprinkle the crushed cornflakes over this bottom crust layer.
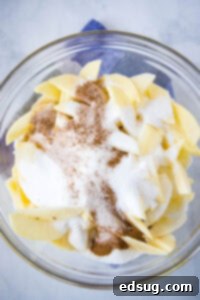
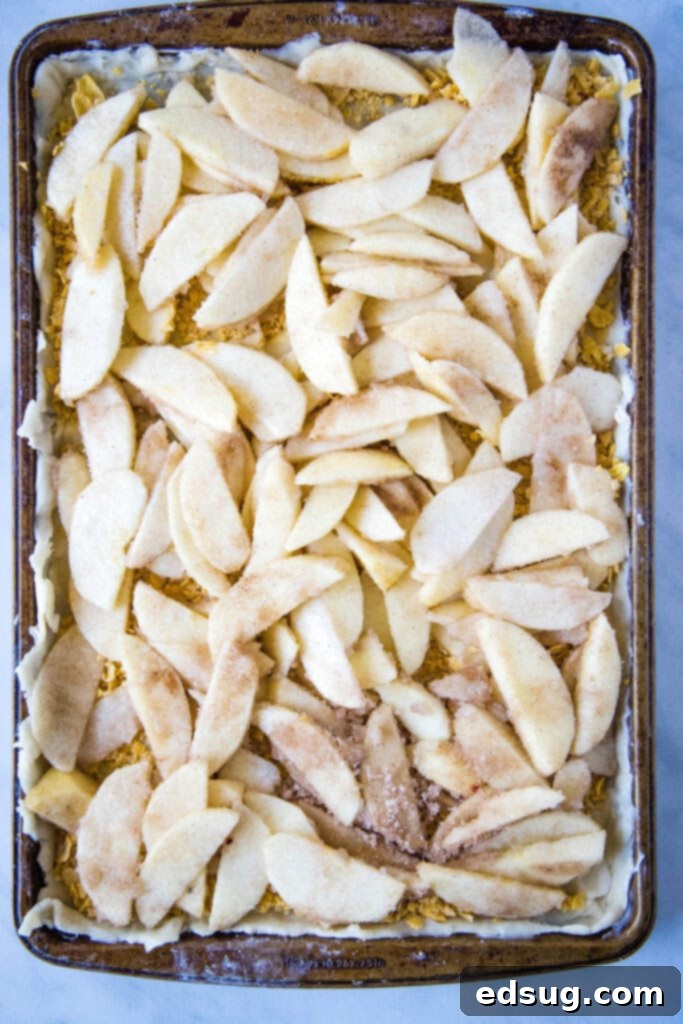
- In a separate bowl, toss your peeled and sliced apples with the granulated sugar and cinnamon. Ensure the apples are well coated with the spice and sugar mixture. Then, spread these seasoned apples evenly over the cornflake-covered crust in the pan.
- Carefully cover the apple filling with the remaining half of the crust dough. The dough can be a little sticky, so I find it easiest to roll out small portions and place them on top, creating a “patchwork” effect that will meld together as it bakes. Alternatively, you can crumble the dough over the apples.
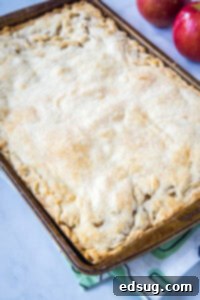
- Bake the bars for an initial 10 minutes at 400º F (200º C). This higher temperature helps to set the crust quickly. After 10 minutes, reduce the oven temperature to 350º F (175º C) and continue baking for another 40 minutes, or until the top crust is golden brown and the apples are tender when pierced with a knife.
- Once baked, remove the pan from the oven and allow the apple bars to cool completely on a wire rack. This step is essential before adding the glaze to prevent it from melting.
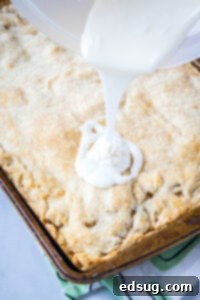
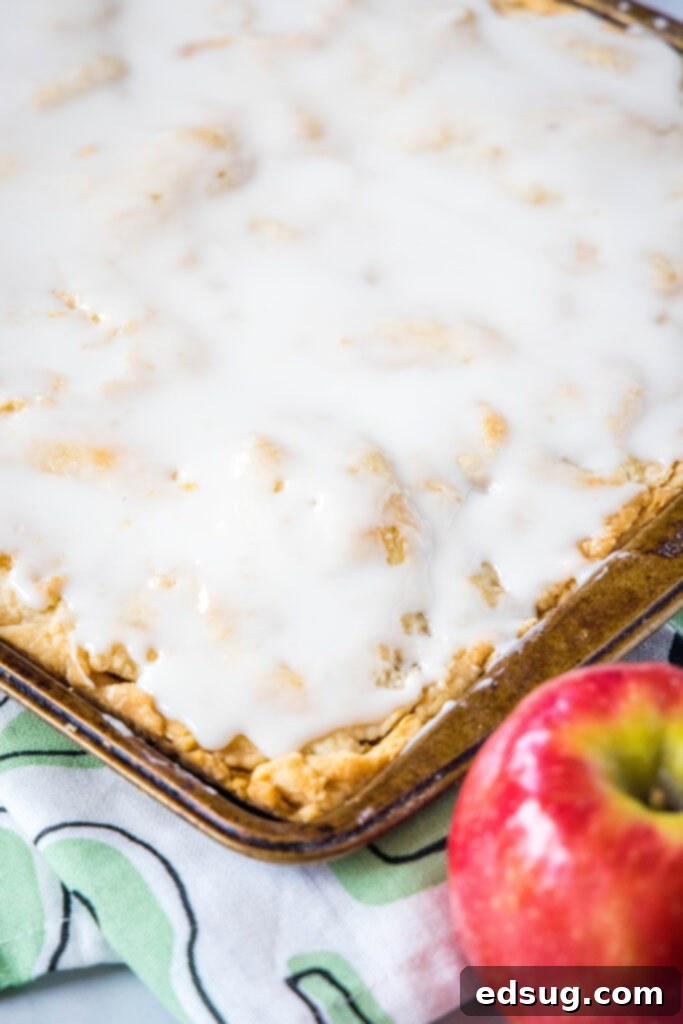
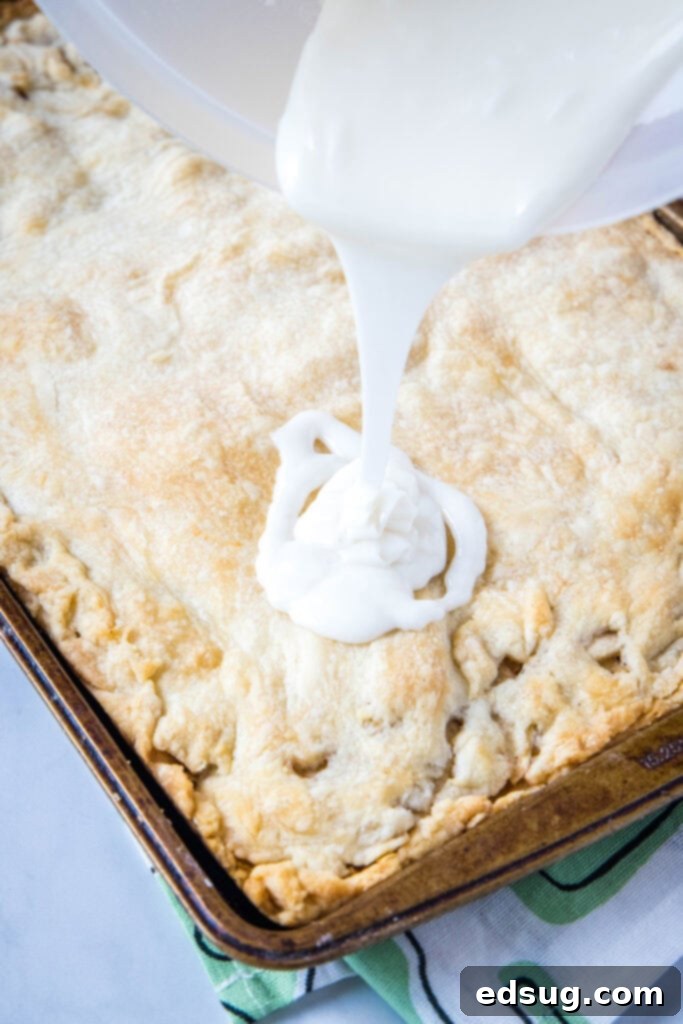
- While the bars are cooling, prepare the glaze. In a small bowl, whisk together the powdered sugar, vanilla extract, and milk. Start with a small amount of milk and gradually add more, a teaspoon at a time, until you achieve a thin, smooth, and easily drizzle-able frosting consistency.
- Once the bars are completely cool, pour the prepared vanilla glaze evenly over the top. Allow the glaze to set slightly before slicing and enjoying your homemade apple bars!
Serving Suggestions for Your Apple Bars
These apple bars are absolutely delicious on their own, but here are a few ideas to elevate your serving experience:
- Warm with Ice Cream: Serve a warm square of apple bar with a scoop of vanilla bean ice cream. The melting ice cream creates a delightful sauce.
- Dollop of Whipped Cream: A generous dollop of freshly whipped cream adds a light, airy touch.
- Morning Treat: Enjoy a bar with your morning coffee or tea for a comforting start to the day.
- Dust with Cinnamon: A light dusting of extra cinnamon on top can enhance the warm spice flavors.
Storage Tips for Freshness
This recipe yields a large pan of delicious apple bars, perfect for sharing or enjoying over several days. To maintain their freshness and that delightful crisp crust:
Once completely cooled, cover the pan tightly with plastic wrap or aluminum foil. You can store these apple bars at room temperature for 4-5 days. Beyond that timeframe, the crust tends to absorb moisture from the apples and the glaze, becoming softer and potentially soggy. If you anticipate having them for longer, consider refrigerating them, which can extend their life by a couple more days, though the crust may soften slightly.
For longer storage, apple bars can also be frozen. Wrap individual bars or smaller portions tightly in plastic wrap, then place them in a freezer-safe bag or container. They can be stored in the freezer for up to 2-3 months. Thaw them at room temperature or warm gently in the microwave or oven for a fresh-baked taste.
More Tasty Apple Dessert Recipes to Explore
If you’re an apple lover like me, you’ll adore these other fantastic apple-infused treats:
- Blonde Apple Brownies
- Cinnamon Apple Muffins
- Apple Cider Donuts
- Apple Turnovers
- Nutella Apple Quesadilla
- Apple Bread with Chocolate Chip Streusel
- Caramel Apple Pie Bars
- Apple Spice Cupcakes
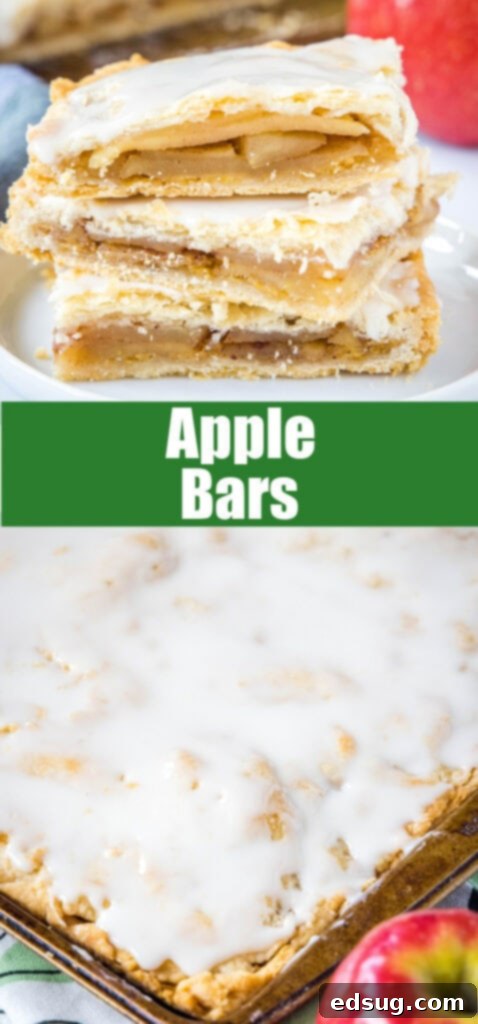
Apple Bars
Pin Recipe
Rate Recipe
Print Recipe
Ingredients
Crust
- 2 1/2 cups all-purpose flour
- 1 teaspoon salt
- 1 cup shortening
- 1 large egg yolk
- 2/3 cup milk
- 1 to 1 1/2 cups cornflakes, crushed
Filling
- 4-5 apples, pealed and sliced
- 1 cup sugar
- 1 teaspoon cinnamon
Glaze
- 1 1/2 cups powdered sugar
- 1/2 teaspoon vanilla extract
- 3 Tablespoons milk, (approx.)
Instructions
-
Preheat oven to 400º F. Grease a 12x 17 jelly roll pan.
-
In a large bowl combine all of the ingredients for the crust, except the cornflakes. Using a pastry cutter or a fork work everything together (like you would a pie crust). Once everything is combined divide the dough in half.
-
Using your fingers press 1/2 of the dough into the prepared pan. It will be thin that is ok. Sprinkle the corn flakes evenly over the crust.
-
In a separate bowl toss the apples, sugar and cinnamon together. Once well coated, spread the apples evenly over the crust.

-
Cover the apples with the remaining crust. It can be a little sticky, so I roll out small portions and place it on top. Kind of like patchwork.
-
Bake for 10 minutes at 400º. Turn down to 350º F and bake for 40 more minutes or until crust is golden brown.

-
Remove from the oven and allow to cool.
-
For the glaze mix everything together, and adjust the amount of milk to get a thin and almost drizzle-able frosting.

-
Pour over completely cooled bars.
Nutrition
Nutrition information is automatically calculated, so should only be used as an approximation.
Additional Info
Like this recipe? Leave a comment below!
I created a fun group on Facebook, and I would love for you to join us! It’s a place where you can share YOUR favorite recipes, ask questions, and see what’s new at Dinners, Dishes and Desserts (so that you never miss a new recipe)!
Be sure to follow me on Instagram and tag #dinnersdishes so I can see all the wonderful DINNERS, DISHES, AND DESSERTS recipes YOU make!
Be sure to follow me on my social media, so you never miss a post!
Facebook | Twitter | Pinterest | Instagram
.
