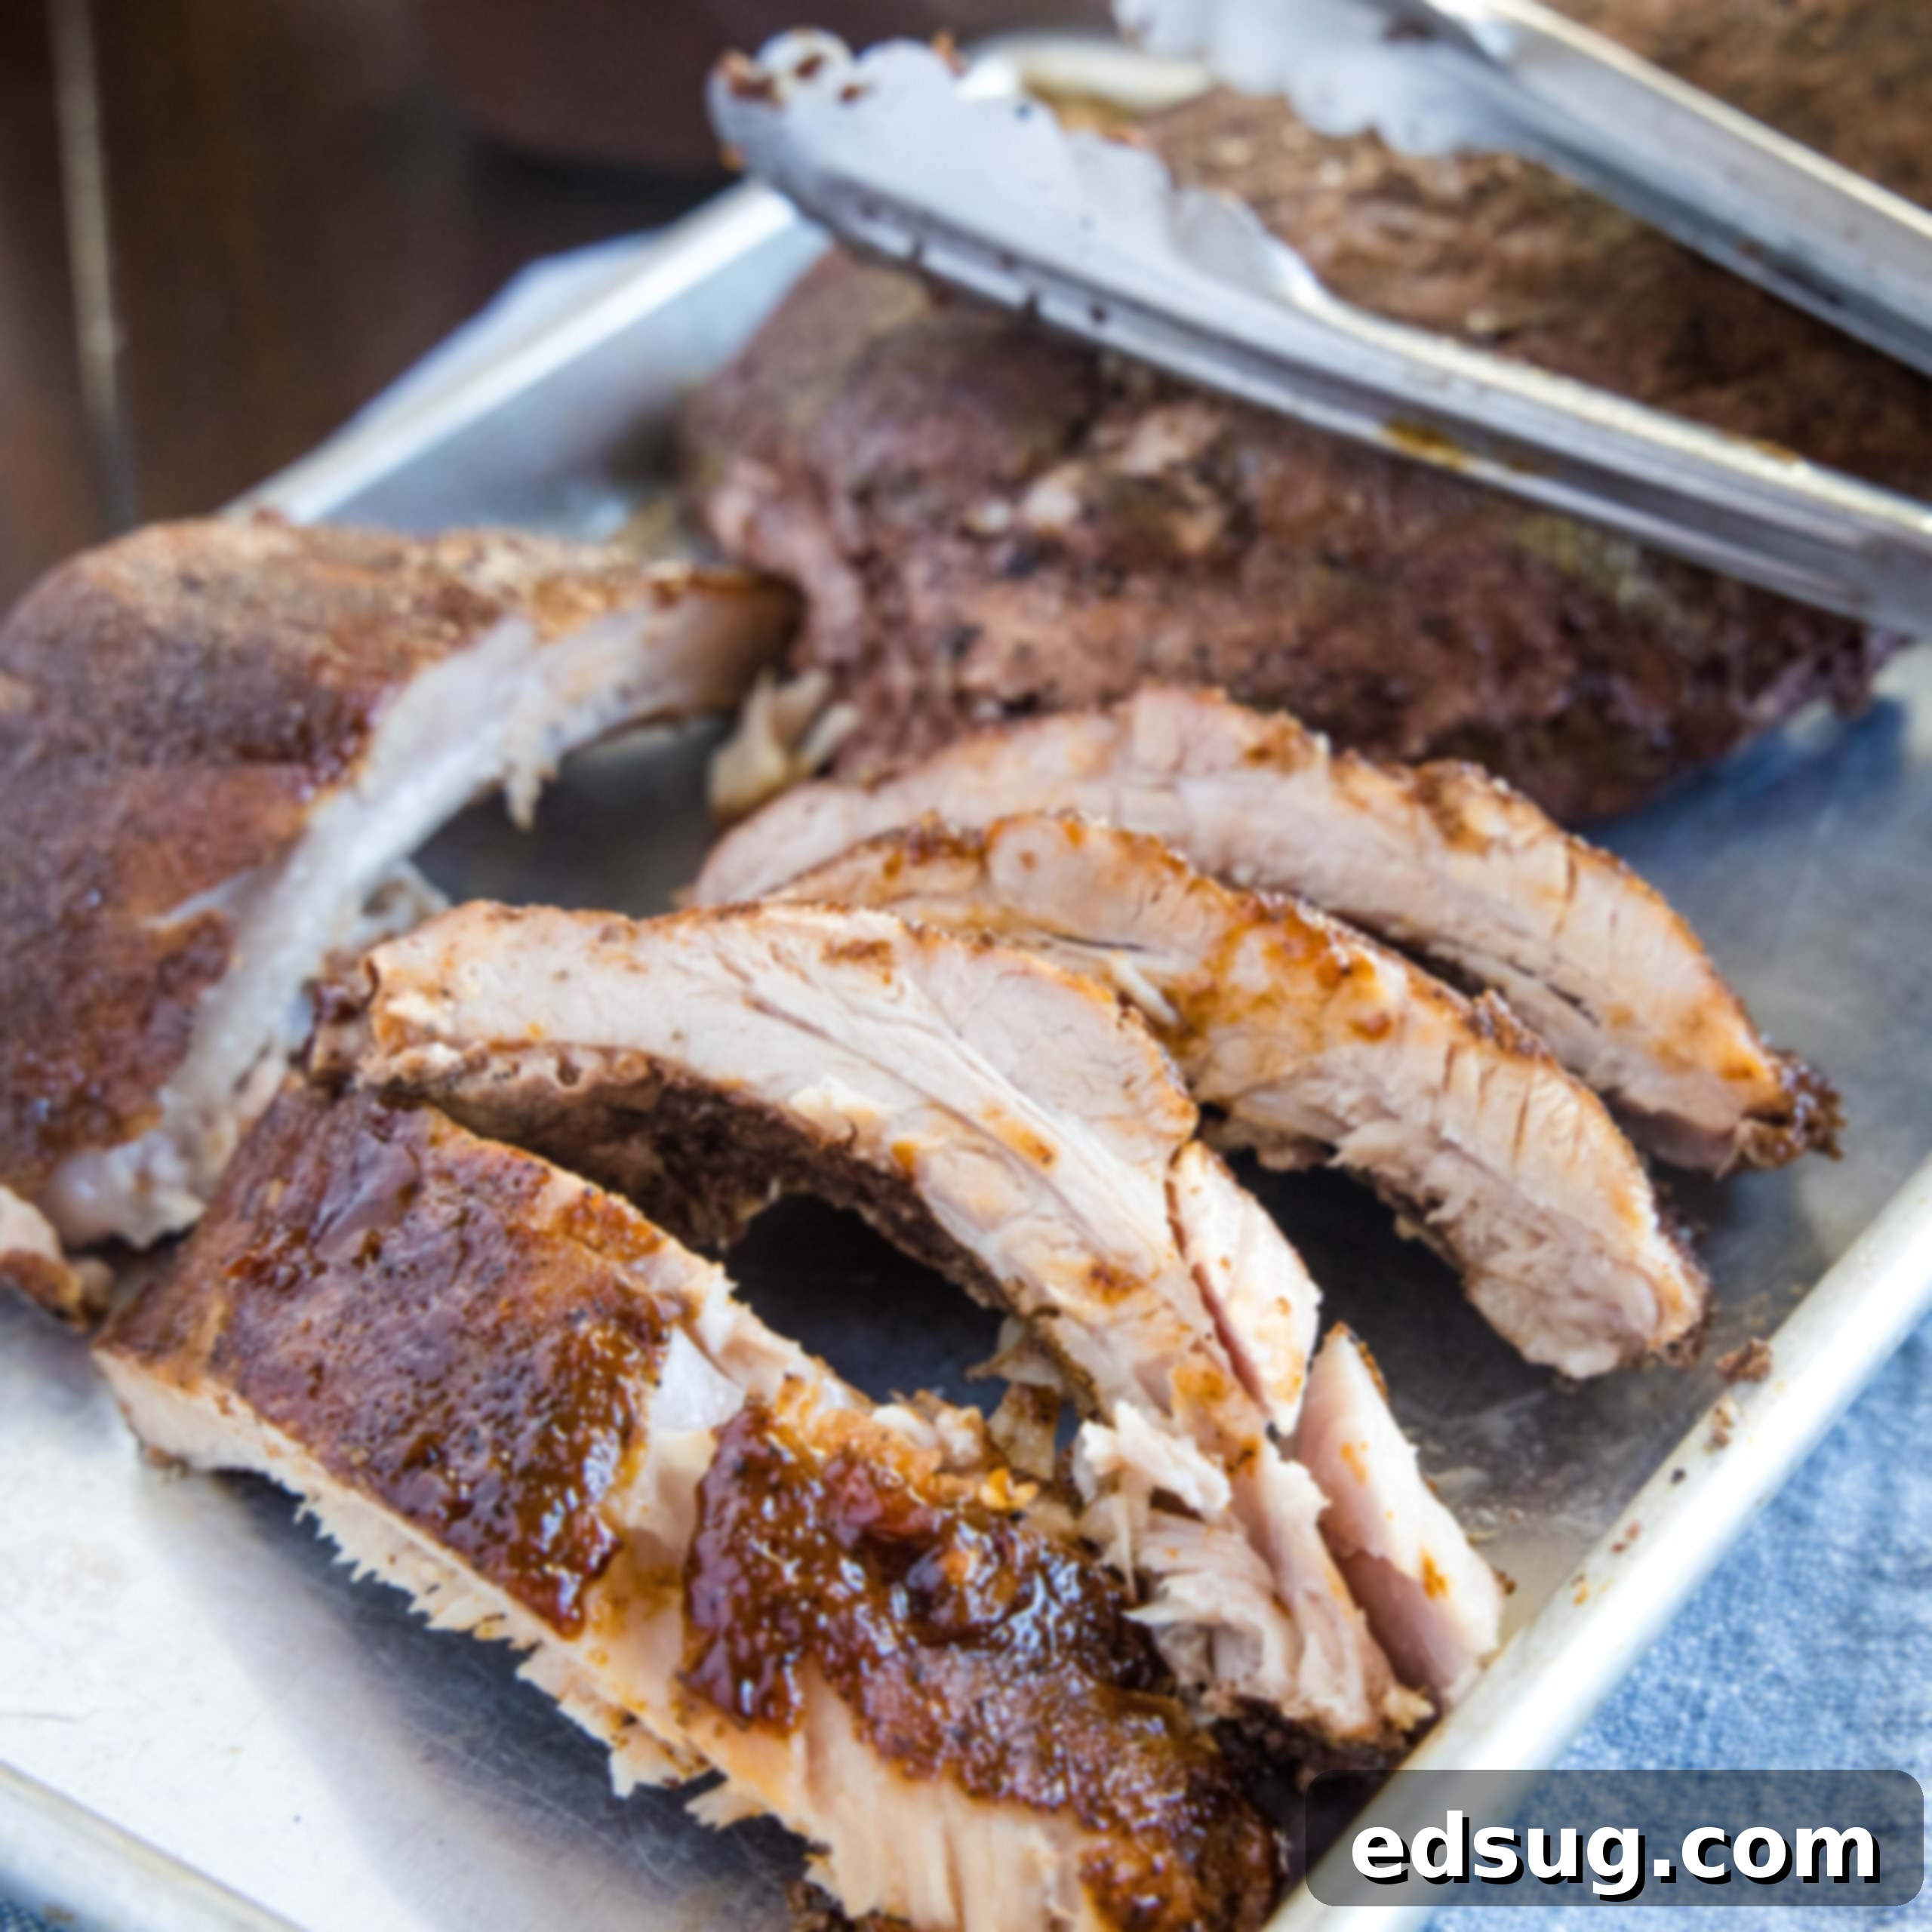
Sous Vide Ribs: Master the Art of Fall-Off-The-Bone Tenderness All Year Round
Unlock the secret to incredibly tender, succulent ribs with sous vide cooking. Enjoy perfectly cooked ribs that fall off the bone, even in the middle of winter! This method is easy, foolproof, and delivers delicious results every time.
There’s something truly special about a perfectly cooked rack of ribs. That satisfying moment when the meat effortlessly pulls away from the bone, infused with rich flavor and a melt-in-your-mouth texture, is simply unparalleled. For many, ribs are synonymous with sunny backyard barbecues and the distinct aroma of smoke from a grill. Our family, for instance, often gravitates towards making Smoked Baby Back Ribs, relishing the traditional outdoor cooking experience.
However, the joy of tender ribs shouldn’t be confined to warmer months. When winter winds blow and outdoor grilling becomes less appealing, it’s natural to seek alternative methods. While Instant Pot Ribs offer a fantastic indoor solution for speed and convenience, another culinary technique has captured our hearts: sous vide. This method transforms the art of cooking ribs, allowing you to achieve restaurant-quality tenderness with minimal effort, regardless of the season.
My journey into sous vide began about five years ago when my husband gifted me an immersion circulator. Initially, I was unsure what this peculiar device was meant for, but it quickly evolved into my most cherished kitchen appliance. Its precision and consistency have made it a go-to for everything from perfectly cooked steaks to delicate seafood and, of course, these magnificent ribs. The ability to achieve consistent, perfectly cooked results every time has truly revolutionized our home cooking.
What Is Sous Vide Cooking?
Sous vide, meaning “under vacuum” in French, is a cooking method that relies on precise temperature control to cook food to perfection. It involves placing food in a vacuum-sealed bag, which is then submerged in a water bath heated to a very specific, consistent temperature. An immersion circulator or a dedicated sous vide machine maintains this exact temperature throughout the cooking process.
The beauty of sous vide lies in its ability to deliver unparalleled results, especially for meats. Because the water bath maintains a constant temperature, your food can never exceed that temperature, making it virtually impossible to overcook. This level of precision ensures that your meat, like these ribs, reaches its ideal doneness from edge to edge. Furthermore, since the food is vacuum-sealed, all the natural flavors and moisture are locked in. Unlike conventional cooking methods where juices can escape, sous vide guarantees that every bite is incredibly tender, juicy, and bursting with flavor. It transforms tough cuts of meat into succulent masterpieces by gently breaking down connective tissues over an extended period, leading to that coveted “fall off the bone” texture.
Selecting the Best Ribs for Sous Vide
For this recipe, you’ll want to choose a full rack of pork ribs. The sous vide method is incredibly versatile, making it suitable for either Baby Back Ribs or St. Louis Style Ribs. Both types will yield exceptional results, cooking in precisely the same way. The primary difference lies in their cut and meat-to-bone ratio.
Baby Back Ribs are cut from the loin area, near the spine. They are shorter, curvier, and tend to be leaner and more tender than spare ribs, often considered premium. St. Louis Style Ribs are essentially spare ribs that have been trimmed of the hard breast bone and cartilage, resulting in a more rectangular shape. They are fattier and meatier than baby backs, offering a rich, robust flavor. Regardless of your preference, both varieties will benefit immensely from the slow, precise cooking of the sous vide, breaking down the connective tissue and rendering the fat into pure deliciousness.
If you plan to cook more than one full rack of ribs, the process remains identical. You’ll simply need additional vacuum-sealable bags to accommodate them. Crucially, the time and temperature settings will remain constant regardless of the quantity of ribs you are preparing. This is one of the fantastic advantages of sous vide cooking – consistency scales effortlessly.
How To Make Perfectly Tender Sous Vide Ribs
Creating succulent sous vide ribs is a straightforward process, largely hands-off once the initial prep is done. Follow these steps for an unforgettable rib experience:
- Prepare the Ribs by Removing the Membrane: This crucial first step ensures your ribs are incredibly tender, preventing a chewy texture on the bone side. Lay the rack of ribs bone-side up on a cutting board. Locate the thin, silvery membrane covering the bones. Use a butter knife or the blunt end of a spoon to gently slide under the membrane at one end, lifting it away from the bone. Once you have a good grip, often with the help of a paper towel for better traction, pull the membrane firmly but steadily across the rack until it comes completely off. If it tears, simply restart at another section.
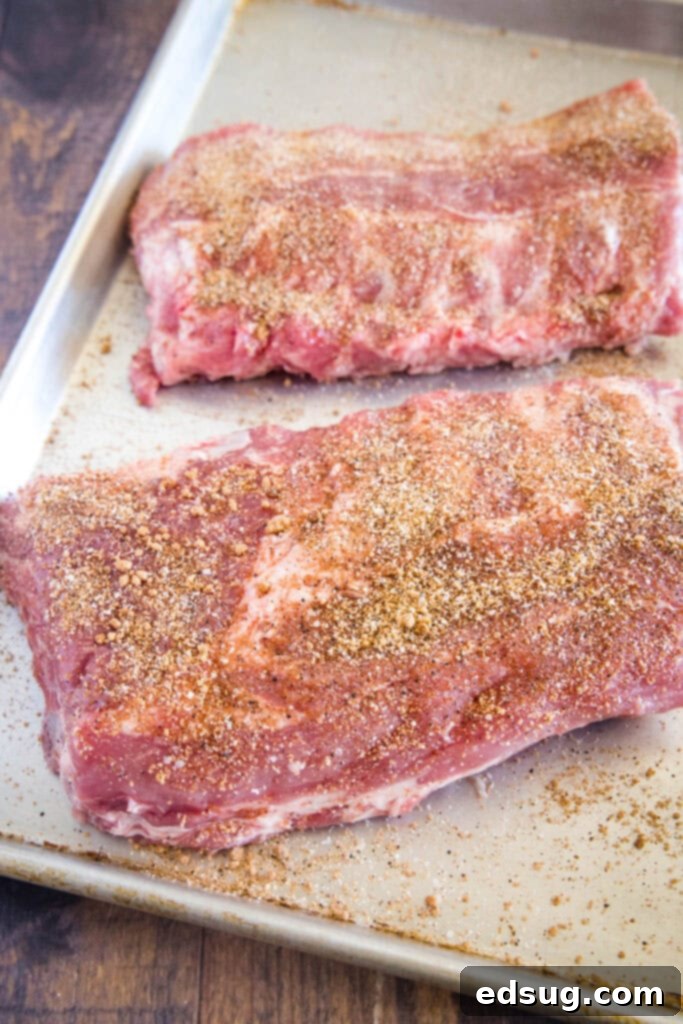
- Generously Season Your Ribs: Seasoning is where the flavor magic begins. You can use your favorite store-bought rub, or for an exceptional blend, I highly recommend our Best Dry Rub For Ribs. Apply the rub liberally and evenly to all sides of the ribs. Don’t be shy – a generous coating will build a fantastic flavor profile during the long cook. Gently pat the rub into the meat to ensure it adheres well.
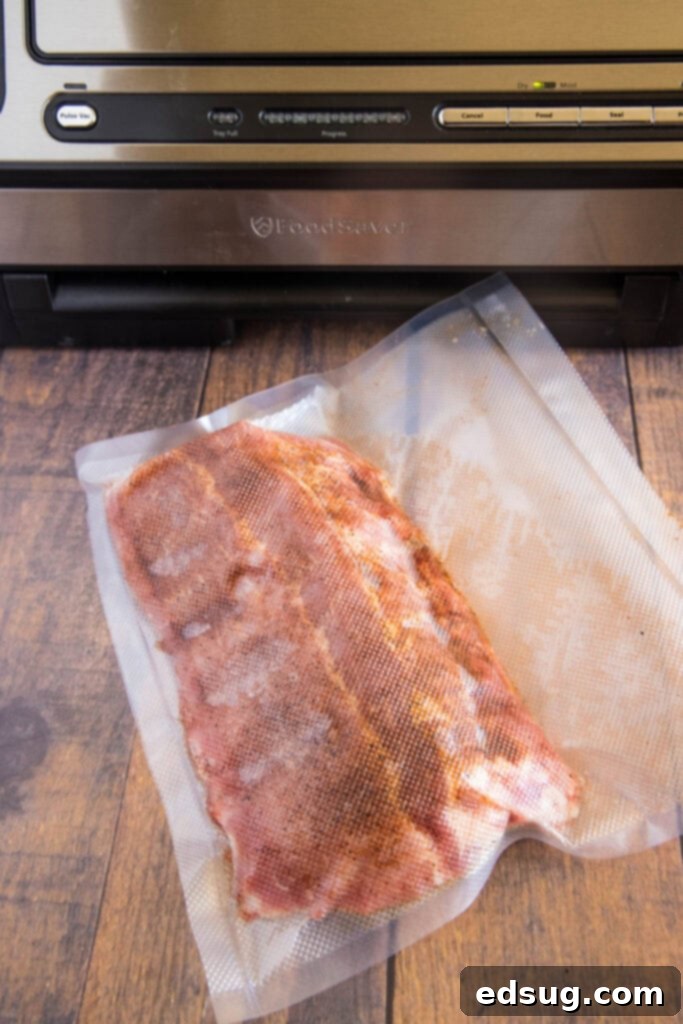
- Seal the Ribs for Sous Vide Cooking: Once seasoned, it’s time to seal the ribs. I find it convenient to cut the full rack of ribs in half to better fit into vacuum seal bags and smaller sous vide containers. Place one half-rack into each vacuum-sealable bag. If you own a Food Saver or similar vacuum sealer, proceed to seal the bags, ensuring all air is removed. If you don’t have a vacuum sealer, you can use high-quality Stasher Bags or sturdy freezer-safe zip-top bags. To remove air without a sealer, slowly lower the bag into the water bath, allowing the water pressure to force the air out around the food before sealing the remaining small opening at the top. This is known as the water displacement method.
- Cook in a Precision Water Bath: Fill a large pot or, ideally, a cooler (which helps maintain temperature over long cooks) with water. Set your sous vide immersion circulator to 155º F (68º C) and allow the water to preheat. Once the desired temperature is reached, carefully place the sealed rib bags into the water bath, ensuring they are fully submerged. It’s crucial that the ribs remain submerged throughout the entire cooking cycle. To prevent significant water evaporation during the extended 24-hour cook, cover the water bath. A lid on a dedicated sous vide container works best. For a cooler or large pot, you can use aluminum foil, a cookie sheet, or even a layer of table tennis balls to create an insulating barrier.
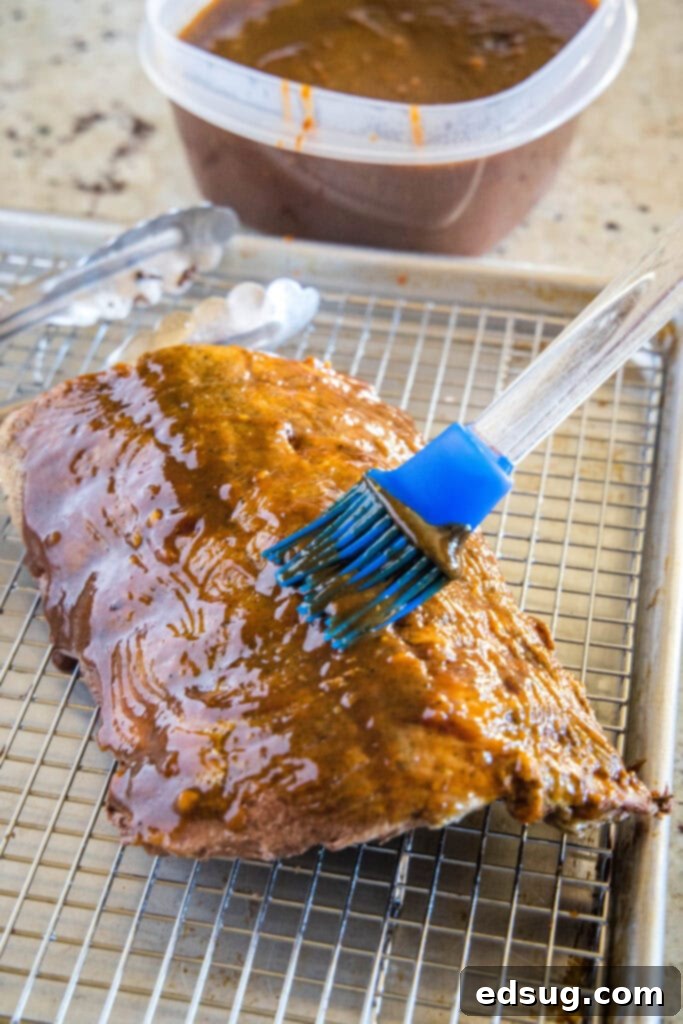
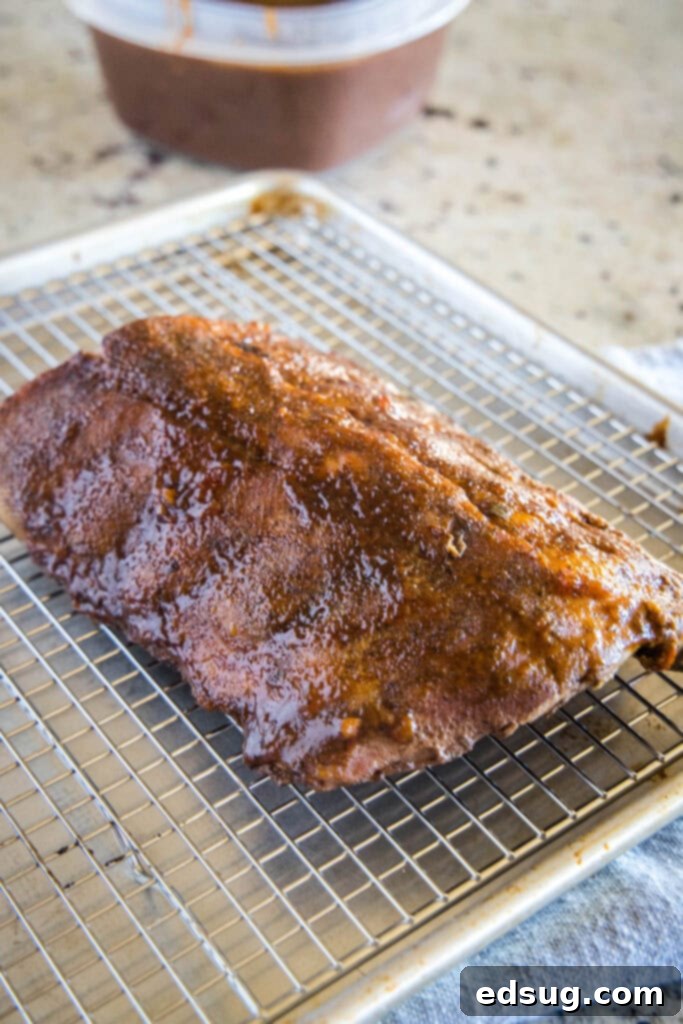
- Finish with a Beautiful Crust: After 24 hours of sous vide cooking, your ribs will be incredibly tender but will lack that desirable crispy, caramelized crust. This finishing step is vital for flavor and texture. Carefully remove the ribs from their bags, pat them dry with paper towels to remove excess moisture, and choose your preferred finishing method:
- Smoke: For that authentic barbecue flavor, especially if you miss the smoky notes, transfer the ribs to your smoker. Cook them for approximately 90 minutes at 180º F (82º C), generously brushed with your favorite barbecue sauce.
- Broil: Preheat your oven broiler to high. Brush the cooked ribs with barbecue sauce and place them on a baking sheet. Broil for 2-3 minutes, watching them closely, until the sauce caramelizes and the ribs develop a rich, appetizing crust.
- Grill: Preheat your outdoor grill to high heat. Brush the ribs with barbecue sauce and grill for just a few minutes per side, until beautifully browned and the sauce is caramelized. This adds a smoky char similar to traditional grilling.
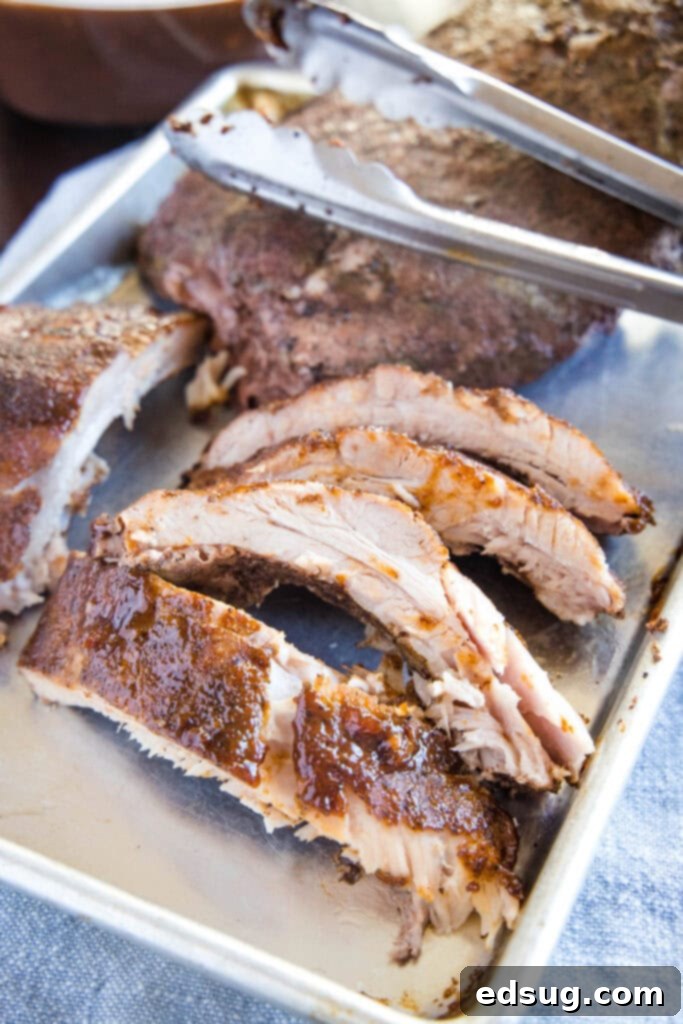
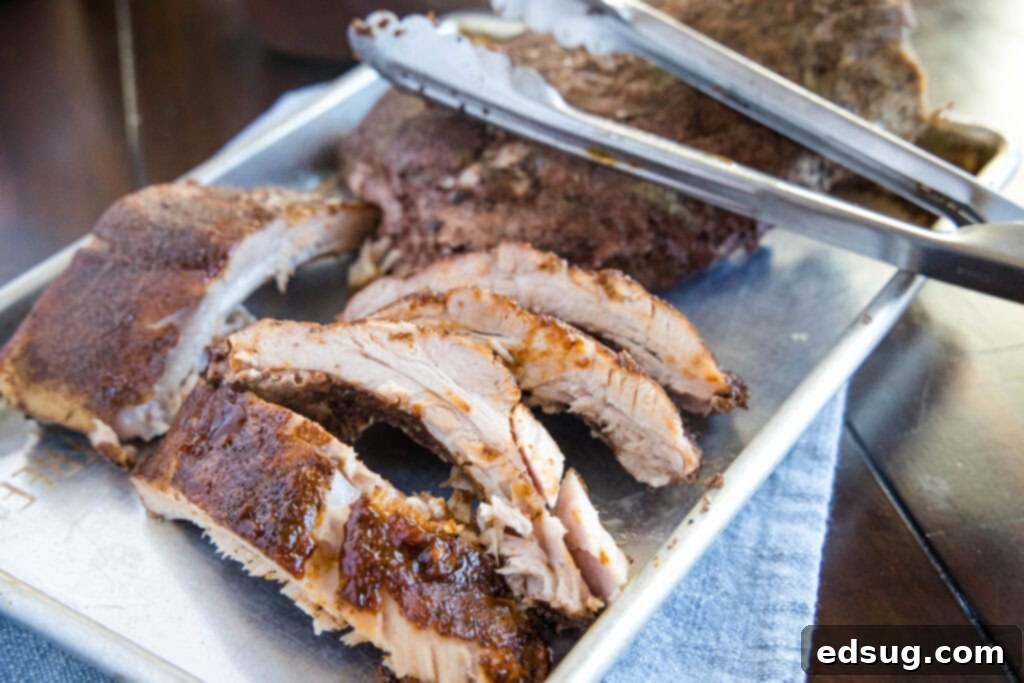
Once finished, slice the ribs between the bones and serve immediately with extra sauce on the side.
How Long Does It Take To Sous Vide Ribs?
For truly fall-off-the-bone, melt-in-your-mouth ribs, the sous vide method requires a full 24 hours of cooking time. While the ribs will technically be cooked through much sooner than this, the extended duration is essential. This long, low-temperature cooking period is what allows the magic to happen – it meticulously breaks down the tough connective tissues and renders the fat, transforming the meat into that incredibly tender and delicious state we all crave.
Sous vide cooking is often referred to as “low-temperature, long-time” cooking, and ribs are a prime example of where this technique shines. The prolonged exposure to a precise, consistent temperature ensures that all the collagen breaks down into gelatin, resulting in an exceptionally tender texture that’s impossible to achieve with faster cooking methods. I understand that 24 hours might seem like an eternity, but rest assured, you won’t overcook them! One of the greatest advantages of sous vide is that it’s nearly impossible to truly “overcook” something in the traditional sense. Since the water temperature never exceeds your target doneness, the worst that can happen with excessively long cooking is a slight degradation in texture, potentially becoming a bit mushy, but never dry or tough as with conventional overcooking.
What Temperature to Sous Vide Ribs?
For achieving that ideal fall-off-the-bone tenderness in ribs, you’ll want to set your sous vide immersion circulator to 155º F (68º C). You might encounter various recipes recommending temperatures anywhere between 152º F (67º C) and 165º F (74º C). My extensive experience with sous vide ribs has shown that 155º F consistently delivers the most tender and delicious results. This temperature is perfect for breaking down the tough connective tissues without rendering the meat too soft or mushy, ensuring your ribs literally fall off the bone as you pick them up.
It’s worth noting that pork is technically safe to eat at 145º F (63º C). However, when we cook ribs at 155º F, we’re not just aiming for food safety; we’re meticulously controlling the molecular breakdown of fats and collagen within the meat. This slightly higher temperature, sustained over a long period, works wonders in transforming the rib’s texture. It ensures that the fat renders beautifully and the connective tissues convert into gelatin, resulting in a rich, succulent bite that is never chewy or tough. The temperature choice is all about optimizing for that ultimate tender, juicy texture.
Essential Recipe Tips for Perfect Sous Vide Ribs
To ensure your sous vide ribs turn out absolutely perfect, keep these handy tips in mind:
- Monitor Water Levels: Due to the extended 24-hour cook time, water will inevitably evaporate from your bath. It is critical to check your water level periodically, especially if you’re not using a specialized sous vide container with a lid. Refill with hot water as necessary to ensure the ribs remain fully submerged throughout the entire cooking process. If the water level drops too low, the circulator might stop or the ribs might cook unevenly.
- Embrace the Smoker for Extra Flavor: If you’re accustomed to and love the smoky depth that traditional ribs offer, then using the smoker method to finish cooking them is a must. Placing the sous vide cooked ribs on a smoker for about 90 minutes at 180º F (82º C) after their bath will infuse them with that incredible wood-fired flavor that perfectly complements their tenderness.
- Don’t Skimp on the Dry Rub: The dry rub isn’t just for show; it’s fundamental to building the complex flavors of your ribs. Never skip the step of using a rub. The blend of spices melds beautifully with the pork during the slow sous vide cook, creating an irresistible taste. Feel free to use your personal favorite blend, whether it’s sweet, spicy, or savory. If you need inspiration, I’ve linked to my favorite dry rub recipe in the recipe card below.
- Finish with Your Favorite Barbecue Sauce: The finishing step is your opportunity to add that final layer of deliciousness and create a beautiful caramelized bark. Be sure to use your favorite barbecue sauce generously when you are browning the ribs at the end, whether you’re grilling, broiling, or smoking. The heat will caramelize the sugars in the sauce, creating a sticky, glossy, and incredibly flavorful exterior.
- Consider Your Equipment: A reliable sous vide circulator makes all the difference. I personally use the Joule by Breville Sous Vide, and I enthusiastically recommend it. It’s known for its excellent performance, precise temperature accuracy, and overall reliability. In my experience, some other models I’ve tried in the past few years simply haven’t held up as well over time.
Expand Your Culinary Horizons with More Sous Vide Recipes
Once you discover the magic of sous vide for ribs, you’ll want to explore its potential for other dishes. This cooking method truly excels at transforming a wide variety of ingredients into perfectly cooked, succulent meals. Here are some of our other favorite sous vide recipes that we highly recommend you try:
- Sous Vide Steak: Achieve steakhouse-quality results every time with edge-to-edge perfect doneness.
- Sous Vide Tri Tip: Turn this flavorful cut into an incredibly tender roast.
- Sous Vide Pork Tenderloin: Say goodbye to dry pork with this juicy and flavorful preparation.
- Sous Vide Pork Chops: Experience pork chops that are tender and moist beyond compare.
- Sous Vide Lamb Chops: Perfectly cooked, melt-in-your-mouth lamb with exquisite flavor.
- Sous Vide Mashed Potatoes: A unique way to achieve exceptionally creamy and smooth mashed potatoes.
- Sous Vide Pork Loin: A reliable method for a consistently tender and juicy pork loin roast.
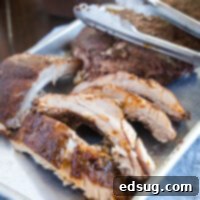
Sous Vide Ribs
Pin Recipe
Rate Recipe
Print Recipe
Ingredients
- 1 rack baby back ribs
- 1/4 cup dry rub
- 1/2 cup barbecue sauce
Instructions
-
Fill a cooler or large pot with water. Preheat sous vide to 155º F.
-
Place the ribs so the meat side is down. Use a butter knife get under the membrane that coats the bone side of the ribs. Use a paper towel or something that helps you get a grip in the membrane and remove it.
-
Cut the rack of ribs in half, and generously season all sides with the dry rub.
-
Transfer each half rack of ribs to a plastic bag and if using a vacuum sealer, seal the bag. If you do not have a vacuum sealer, you can use a zip top bag that you seal almost all the way. Slowly add the bag to the water bath until just below the top is submerged. Then seal the rest of the bag to ensure most of the air is out.
-
Cover the cooler or large pot with a lid, aluminum foil, cookie sheet, or table tennis balls.
-
Cook for 24 hours. Be sure to check the water level to make sure the pork is always fully submerged.
-
After 24 hours remove the ribs from the bag and place on a baking sheet. Use a paper towel and dab to remove the excess moisture.
-
Preheat grill or broiler to high heat. Or if using a smoker to finish the ribs, heat to 180º F.
-
Generously brush the ribs with barbecue sauce. Place on a hot grill or broiler and cook for just a few minutes to caramelize the sauce and brown the ribs. If you are using a smoker, place on the smoker for 90 minutes to.
-
Remove once the ribs are nicely browned and slice to serve.
Notes
**If you are used to the flavor of smoked ribs, you will want to finish them this way. The 90 minutes on the smoker really does impart a fair amount of smoke flavor.
Nutrition
Nutrition information is automatically calculated, so should only be used as an approximation.
Additional Info
Like this recipe? Leave a comment below!
I created a fun group on Facebook, and I would love for you to join us! It’s a place where you can share YOUR favorite recipes, ask questions, and stay updated on what’s new at Dinners, Dishes and Desserts (so that you never miss a new recipe)!
Be sure to follow me on Instagram and tag #dinnersdishes so I can see all the wonderful DINNERS, DISHES, AND DESSERTS recipes YOU make!
Be sure to follow me on my social media, so you never miss a post!
Facebook | Twitter | Pinterest | Instagram
