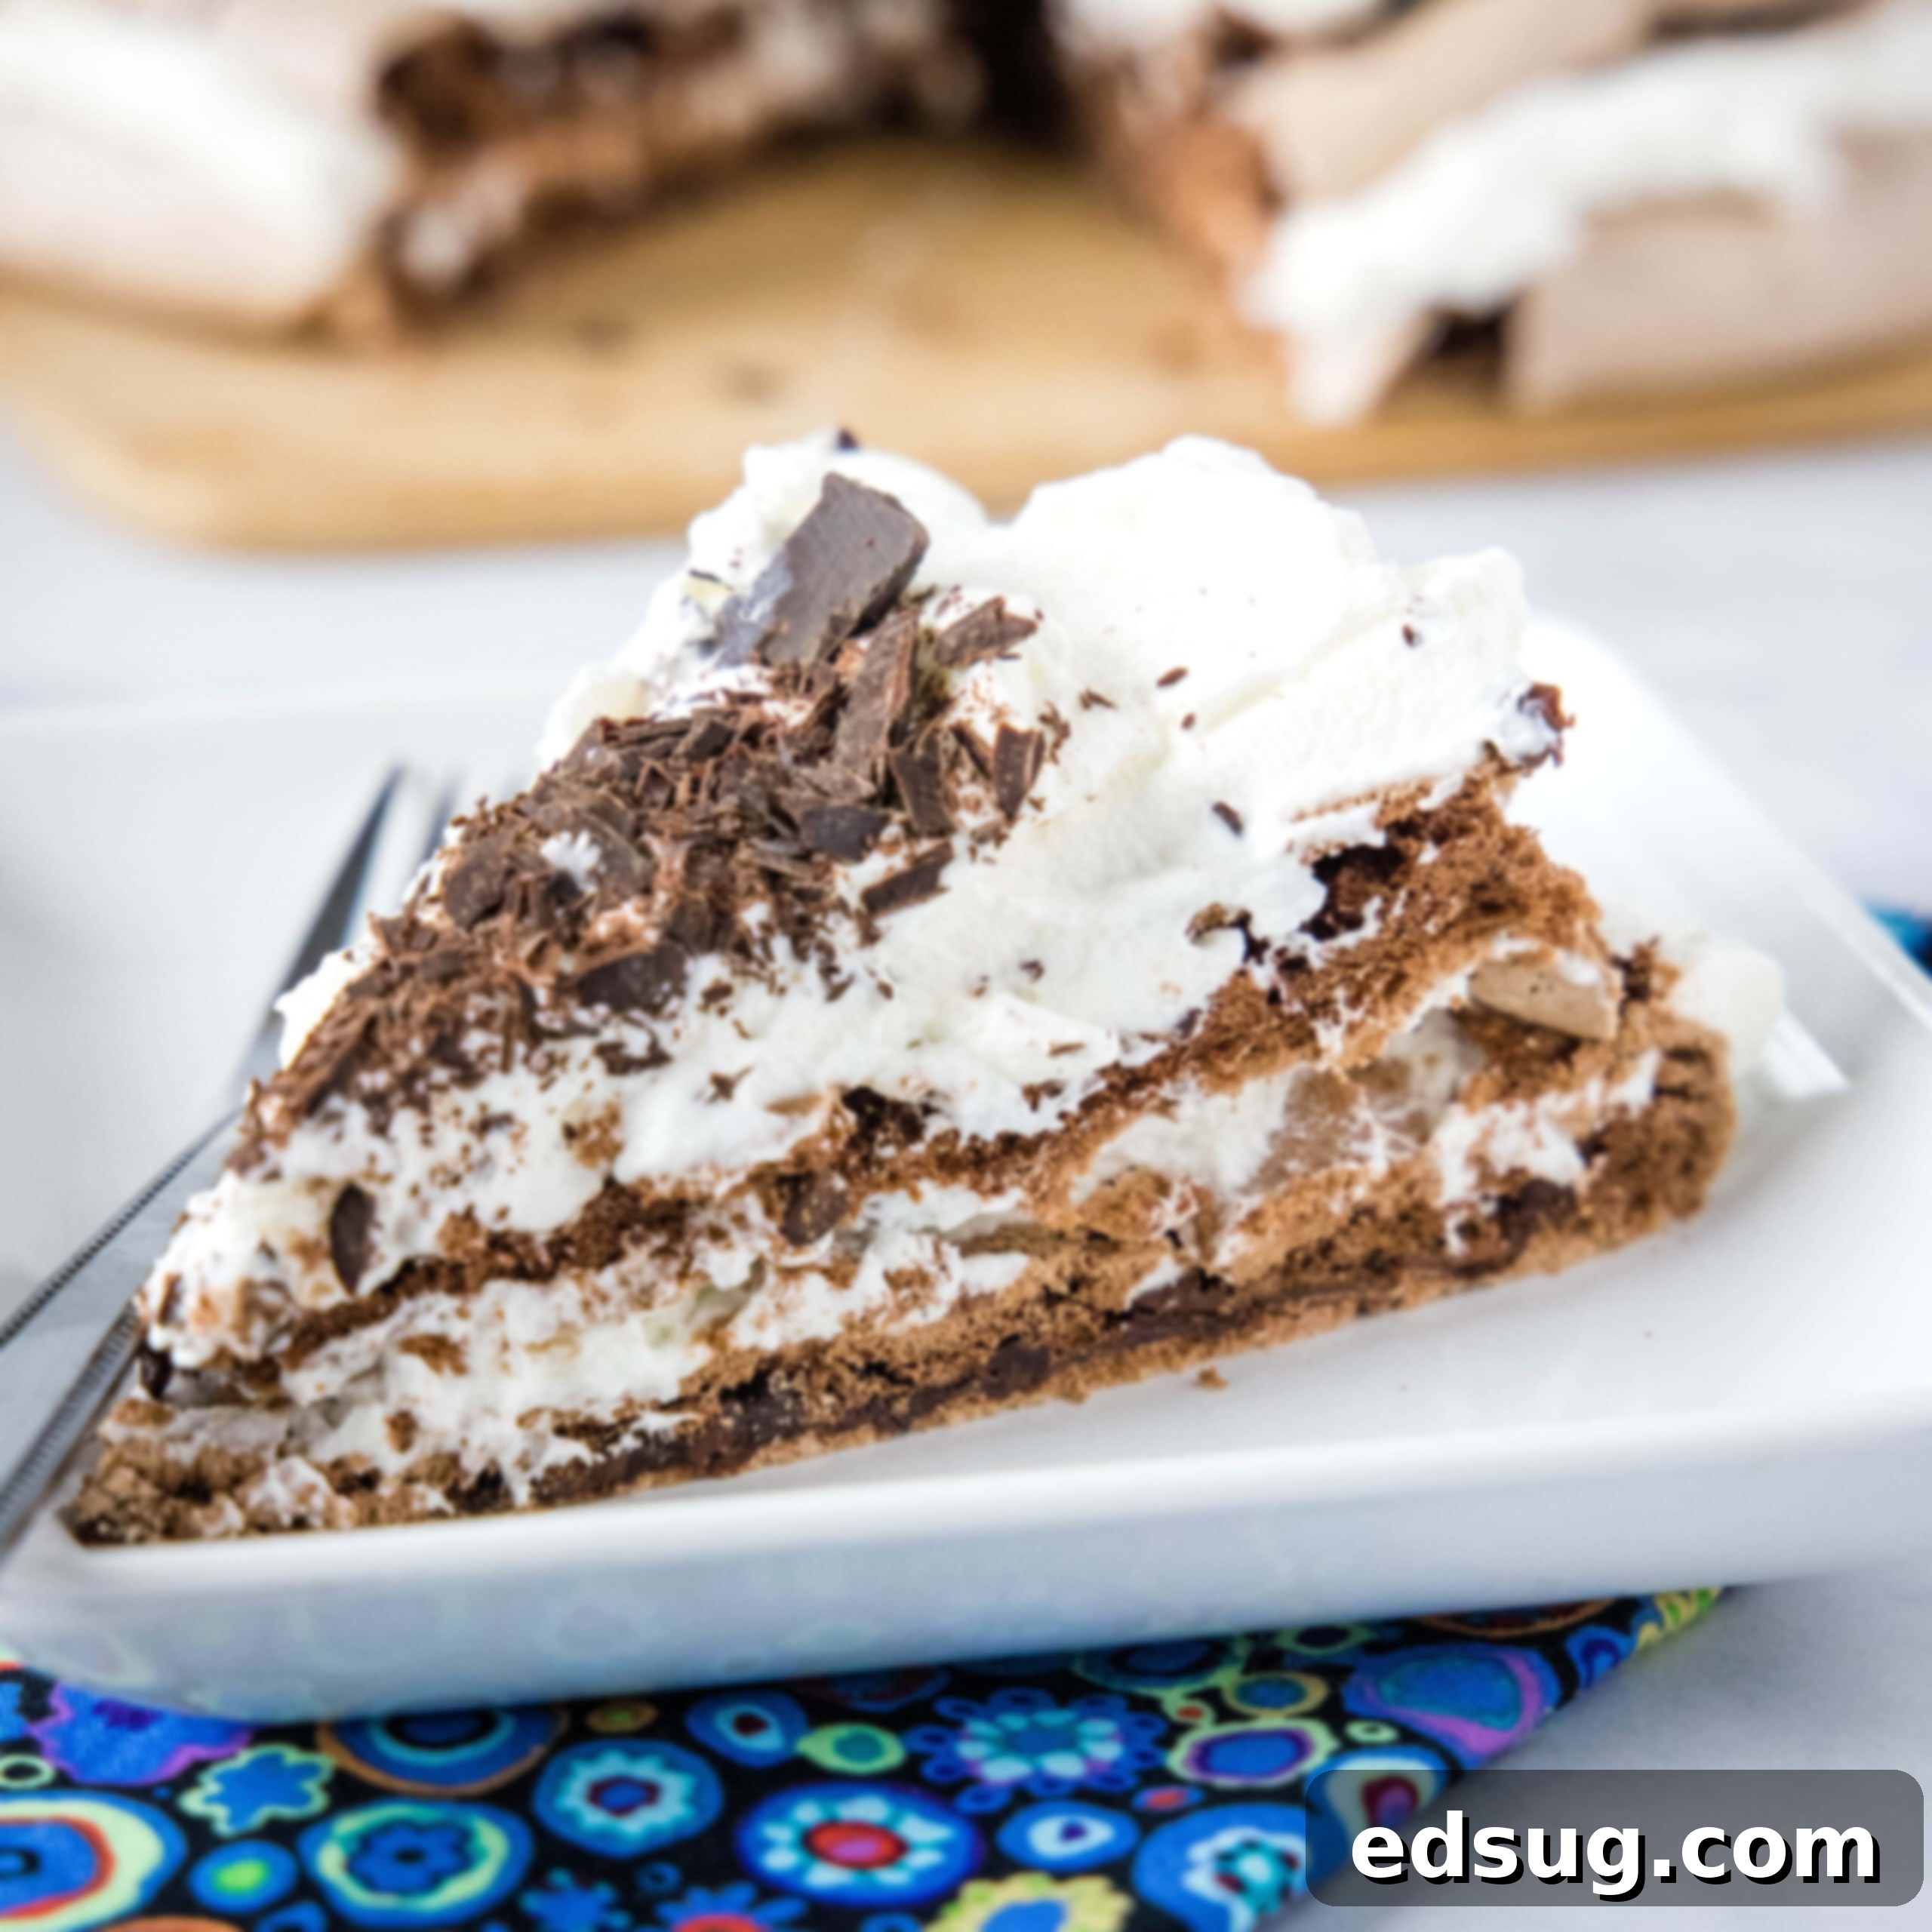
Decadent Chocolate Pavlova: The Ultimate Gluten-Free Meringue Dessert Recipe
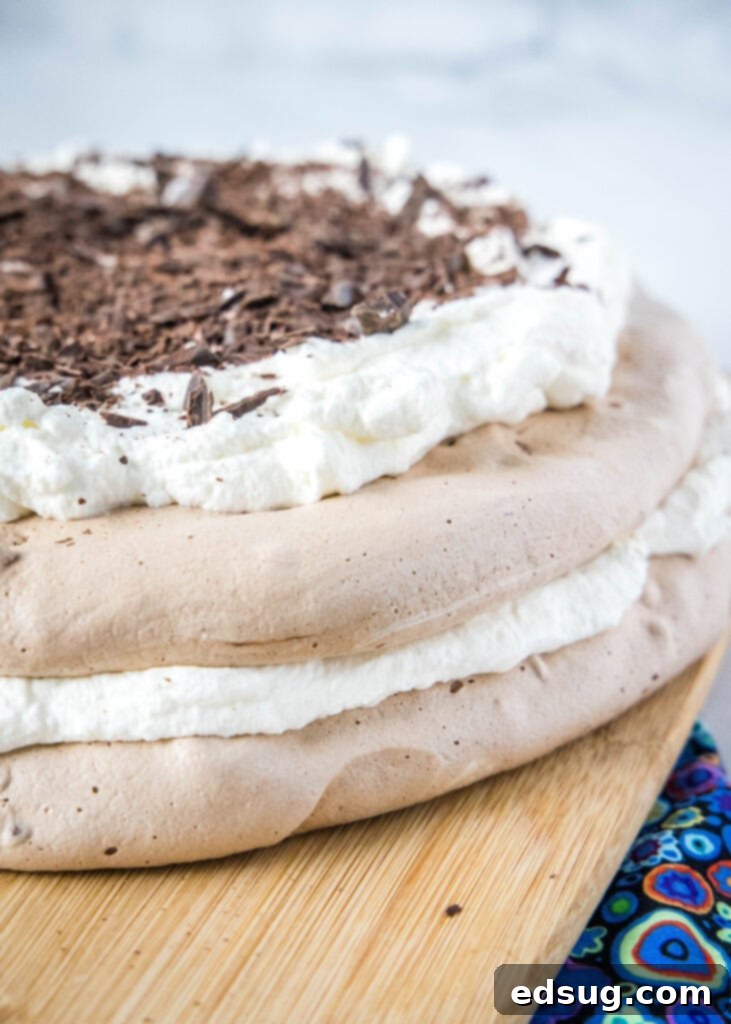
Indulge in this light, airy, and utterly decadent Chocolate Pavlova, featuring a crisp chocolate meringue shell layered with luxurious almond-flavored whipped cream. This over-the-top dessert is a chocolate lover’s dream come true!
When dessert cravings strike, few treats are as elegant and satisfying as a classic Pavlova. Traditionally, it conjures images of delicate vanilla meringue adorned with whipped cream and vibrant fresh berries. While that classic rendition is undeniably delicious and a frequent guest at our table, my passion for rich, deep chocolate led me on a journey to perfect a version that truly speaks to the chocoholic in me. This recipe delivers a wonderfully decadent and intensely chocolatey experience!
This beloved Chocolate Pavlova recipe has been a part of our culinary repertoire for over a decade. Over the years, I’ve continuously refined and tested it, ensuring every element is absolutely perfect. After countless iterations and careful adjustments, I am thrilled to share this perfected version with you, guaranteed to impress and delight.
What Exactly Is Pavlova?
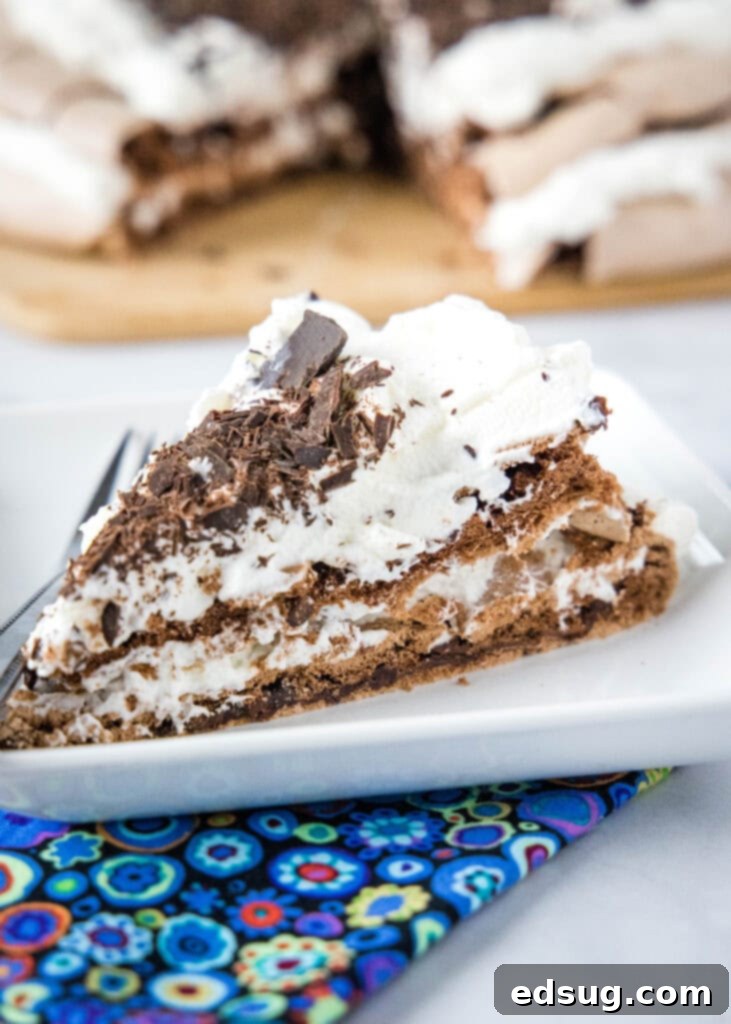
Pavlova is a magnificent meringue-based dessert, celebrated for its uniquely crisp exterior and soft, marshmallow-like interior. It’s typically crowned with generous dollops of whipped cream and a colorful assortment of fresh fruits or berries. The origin of Pavlova remains a friendly culinary dispute between New Zealand and Australia, both countries claiming its creation in honor of the Russian ballerina Anna Pavlova. Regardless of its birthplace, this exquisite dessert has captivated palates worldwide.
During my travels to New Zealand, Pavlova was a ubiquitous sight on menus, presented in a delightful array of flavors and creative variations. This chocolate rendition takes that beloved dessert to a new level of indulgence, offering a rich cocoa depth that complements the classic airy texture perfectly. It’s not just a dessert; it’s a culinary experience.
Why This Chocolate Pavlova Will Be Your New Favorite
There are countless reasons to fall in love with this particular Chocolate Pavlova recipe. First and foremost, it’s a showstopper. Its layered structure and elegant presentation make it ideal for special occasions, holiday gatherings, or simply when you want to treat yourself to something extraordinary. Furthermore, this recipe is naturally gluten-free, making it a fantastic option for guests with dietary restrictions, ensuring everyone can enjoy a slice of this heavenly treat.
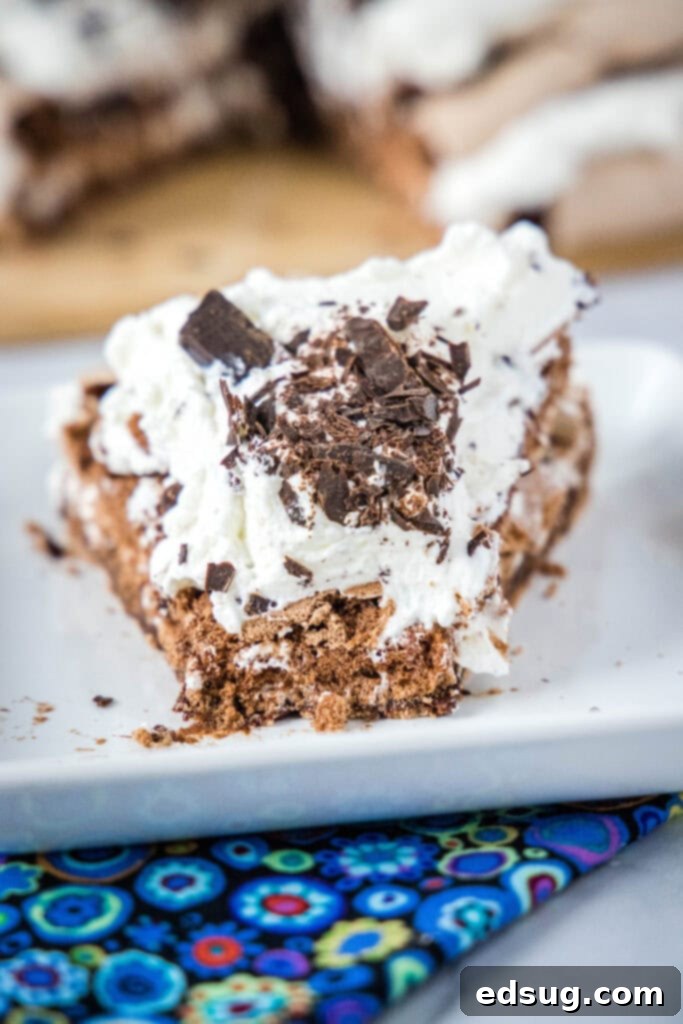
The contrast in textures is simply divine: the delicate, crunchy chocolate meringue shell gives way to a wonderfully chewy, melt-in-your-mouth center, all beautifully balanced by the smooth, creamy, almond-kissed whipped cream. It’s a symphony of flavors and textures that promises to tantalize your taste buds.
Essential Ingredients for Your Decadent Chocolate Pavlova
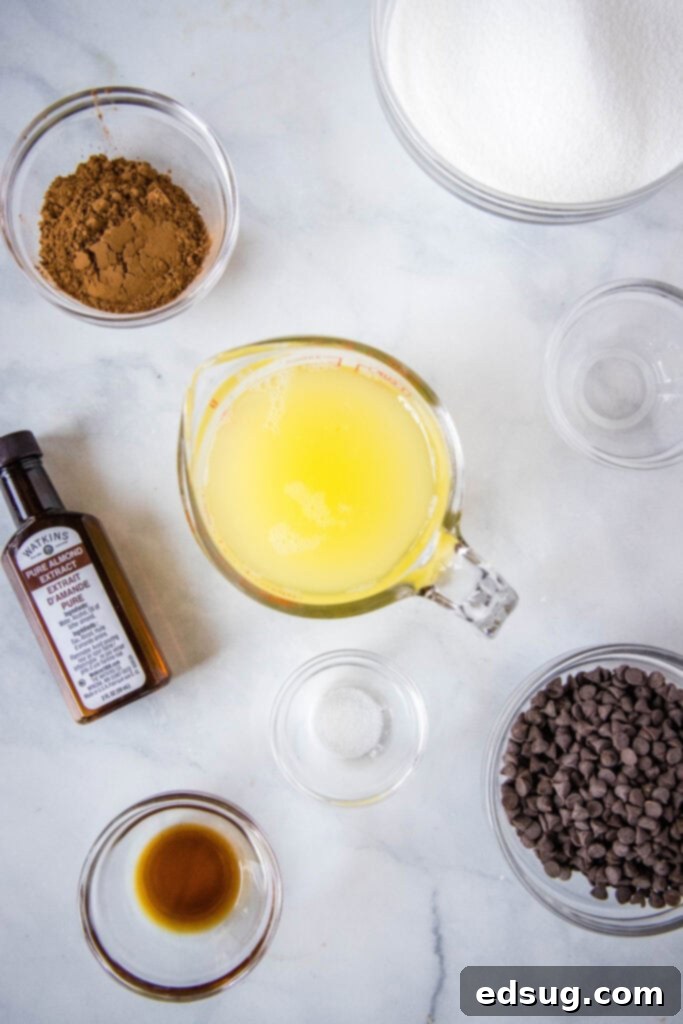
Crafting this incredible dessert requires a few simple yet crucial ingredients. Quality matters here, as each component plays a vital role in achieving that perfect Pavlova texture and rich flavor profile. You’ll need:
- Egg Whites: The foundation of our meringue. Room temperature egg whites are key for achieving maximum volume and stability.
- Salt: A pinch helps stabilize the egg whites and enhances flavor.
- Granulated Sugar: Provides structure and sweetness to the meringue.
- Cocoa Powder: Infuses the meringue with its deep, rich chocolate flavor. Sifting is essential to prevent lumps.
- Vanilla Extract: A classic flavor enhancer that complements chocolate beautifully.
- Almond Extract: Adds a subtle, sophisticated nutty note, especially wonderful in the whipped cream.
- White Vinegar: Don’t skip this! The acid helps stabilize the meringue, preventing it from collapsing.
- Mini Chocolate Chips: Folded into the meringue for bursts of extra chocolatey goodness.
- Heavy Whipping Cream: For making the light and fluffy almond whipped cream.
- Powdered Sugar: To sweeten the whipped cream and give it a smooth texture.
Crafting Your Chocolate Pavlova: A Step-by-Step Guide
The secret to a perfect Pavlova lies in patience and precise technique. This recipe cooks for an extended period at a very low temperature, which is essential for creating that signature crisp shell and chewy interior. Follow these steps carefully for a truly spectacular result:
- Prepare Your Oven and Baking Sheets: Begin by preheating your oven to a low 225º F (107º C). I’ve found that using parchment paper on your baking sheets is crucial for achieving the lightest, fluffiest meringue that doesn’t stick. The parchment allows for proper drying and prevents cracking. Line two large baking sheets with parchment paper, preparing them for the meringue circles.
- Whip the Egg Whites: In the clean bowl of a stand mixer, combine the room temperature egg whites with a small pinch of Kosher salt. Whisk on high speed for approximately 4 to 5 minutes, or until the mixture forms stiff, glossy peaks. The egg whites should be firm and hold their shape when the whisk is lifted.
- Gradually Add Sugar: Reduce the mixer speed to medium-low. Slowly and gradually add the granulated sugar, about one tablespoon at a time, over the course of 2 minutes. This slow addition allows the sugar to fully dissolve into the egg whites, resulting in a smooth and stable meringue.
- Achieve Glossy Stiff Peaks: Stop the mixer and use a spatula to scrape down the sides of the bowl, ensuring all sugar is incorporated. Increase the speed back to high and continue whisking for another 6 to 7 minutes. The meringue should become incredibly smooth, glossy, and form very stiff peaks that don’t droop.
- Fold in Flavor and Chocolate: With the mixer running on low, add the vanilla extract, almond extract, and white vinegar. Sift the cocoa powder directly into the bowl to avoid any lumps. Mix just until combined; you might need to use a spatula to gently fold in any unmixed cocoa. Finally, gently fold in the mini chocolate chips using a spatula, distributing them evenly throughout the meringue.
- Shape and Bake the Meringue: Divide the meringue batter evenly into two halves. On your prepared baking sheets, carefully spread each half into an approximately 8-inch (20 cm) circle. Aim for a consistent height of about 1 inch (2.5 cm) and ensure both circles are roughly the same size for even layering.
- The Slow Bake and Cool Process: Place the baking sheets with the meringue into the preheated oven. Bake for precisely 2 hours. After 2 hours, turn off the oven heat completely. **Crucially, leave the meringue inside the closed oven for an additional 2 hours to cool down slowly.** This gradual cooling prevents the meringue from collapsing and helps achieve that desired crisp exterior and chewy interior. Once completely cool, remove from the oven and allow to reach room temperature before assembling.
Assembling Your Stunning Chocolate Pavlova Cake
Transforming this elegant chocolate meringue into a spectacular layered cake is the final, delightful step. The key is fresh, homemade whipped cream, which provides a lovely contrast to the crisp meringue. I adore the combination of chocolate and almond, so I’ve flavored my whipped cream with almond extract. However, this is entirely optional! If vanilla is your preference, feel free to use vanilla extract instead.
- Prepare the Almond Whipped Cream: In the chilled bowl of an electric mixer (or stand mixer with a whisk attachment), pour the cold heavy whipping cream. Whisk on high speed for about 4 to 5 minutes, or until soft peaks begin to form. Gradually add the powdered sugar and almond extract, then continue whisking just until the mixture is well combined and holds medium-stiff peaks. Be careful not to over-whisk, or it might turn grainy. You can prepare this cream ahead of time and store it in the fridge; simply whisk by hand for a minute to stiffen it up just before assembly if needed.
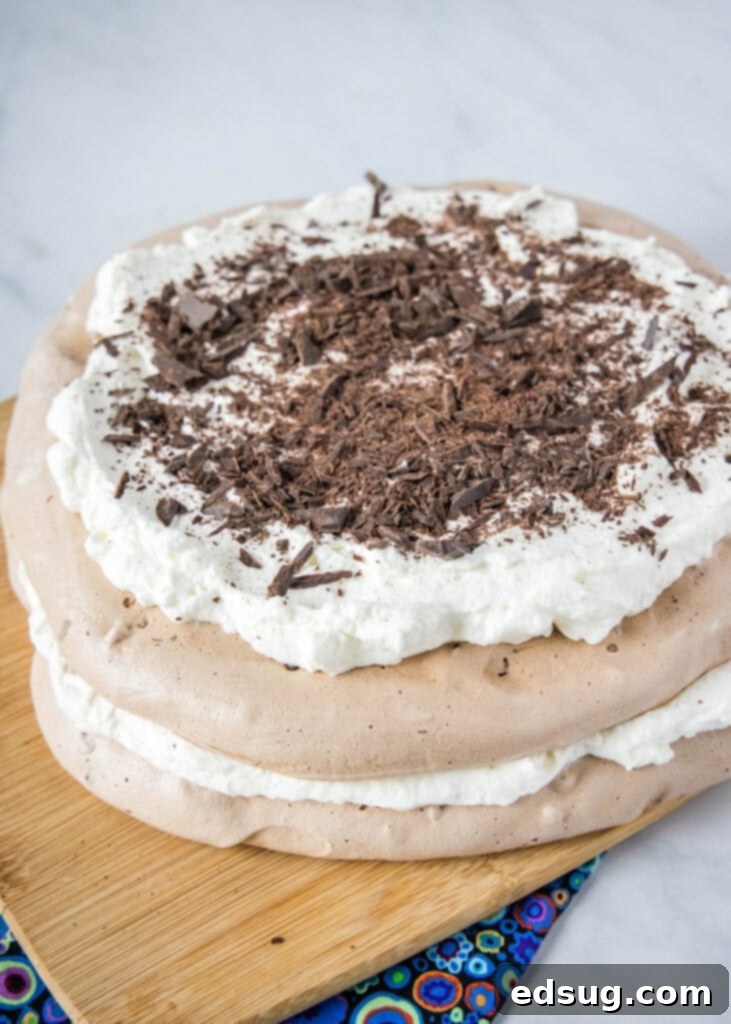
- Layer the First Meringue: Carefully transfer one of the cooled chocolate meringue discs onto your desired serving platter. Gently spread about half of the freshly whipped almond cream evenly over the top of this meringue layer.
- Add the Second Layer: Carefully place the second chocolate meringue disc on top of the first, aligning it as best as possible. Spread the remaining whipped cream over the top of this second layer, creating a beautiful domed effect.
- Garnish and Serve: For an extra touch of elegance and chocolatey appeal, garnish your Chocolate Pavlova. Shaved chocolate curls, extra mini chocolate chips, or even a dusting of cocoa powder all make wonderful additions. Serve immediately for the best texture.
Expert Tips for Achieving Pavlova Perfection
Making Pavlova is more straightforward than it might seem, but a few key techniques and tips will ensure your success every time, especially with the addition of chocolate. Pay close attention to these details for a truly magnificent dessert:
- Start with Room Temperature Egg Whites: This is perhaps the most crucial tip. Egg whites at room temperature whip up faster, achieve greater volume, and create a more stable meringue compared to cold egg whites. Planning ahead to let your eggs sit out for 30 minutes to an hour before starting will make a significant difference in the lightness and airiness of your Pavlova.
- Low and Slow Baking is Non-Negotiable: Do not be tempted to increase the oven temperature or shorten the baking time. Many recipes might suggest this, but after extensive testing, I’ve found that a very low temperature for a longer duration is the secret to a perfectly dried, crisp meringue that still retains that delightful chewy, marshmallow-like center. The chocolate in this recipe further benefits from this slow process, ensuring it doesn’t burn or become bitter.
- Leave the Oven Closed for Cooling: The 4-hour investment (2 hours baking, 2 hours cooling in the turned-off oven) is vital. Rapid cooling can cause the meringue to crack excessively or even collapse. Leaving it in the oven as it slowly cools down prevents thermal shock, allowing the meringue to set properly and retain its beautiful shape, crispness, and light texture.
- Precision with a Timer: While visual cues for stiff peaks are important, using a timer for each mixing stage provides consistency and takes the guesswork out. Follow the recommended whisking times closely, especially for incorporating the sugar and achieving glossy peaks.
- Ensure a Spotlessly Clean Mixing Bowl: Any trace of grease or fat in your mixing bowl or on your whisk can prevent the egg whites from whipping up properly. Before you start, wipe your bowl and whisk attachment with a paper towel dampened with lemon juice or vinegar to ensure they are perfectly clean.
- Sift the Cocoa Powder: Cocoa powder can be clumpy. Sifting it before adding it to the meringue mixture ensures a smooth, even distribution of chocolate flavor without any dry pockets.
The Science Behind Pavlova: Why Add Vinegar?
It might seem unusual to add vinegar to a sweet dessert like Pavlova, but this seemingly odd ingredient plays a critical role in the meringue’s structure and stability. Pavlova relies on just a few simple ingredients, and the vinegar (or an equivalent acid like lemon juice or cream of tartar) is absolutely essential. The acid helps to stabilize the whipped egg whites, preventing them from collapsing during baking and cooling. It reinforces the protein structure, ensuring that your meringue remains wonderfully light, airy, and retains its characteristic crispness, giving you that perfect textural contrast.
Make-Ahead and Storage Tips for Chocolate Pavlova
One of the great advantages of Pavlova, particularly the meringue component, is that it can be prepared ahead of time, making it an ideal dessert for entertaining. You can certainly make the chocolate meringue discs up to 2 days in advance. Once fully cooled (after the oven-cooling period), store them carefully in an airtight container at room temperature. This will keep them crisp and fresh.
However, it is crucial to wait until you are ready to serve before assembling the entire cake with the whipped cream. The moisture from the whipped cream will soften the meringue over time, compromising its signature crisp texture. So, prepare your meringues the day before, whip up the cream just before your guests arrive, and assemble for a truly fresh and impressive dessert!
Variations & Serving Suggestions
While this Chocolate Pavlova with almond whipped cream is exquisite on its own, don’t hesitate to get creative with variations to suit your taste or the season!
- Whipped Cream Flavors: Instead of almond, try a hint of mint extract for a “chocolate mint” theme, orange zest for a “chocolate orange” delight, or even a teaspoon of instant espresso powder for a mocha twist.
- Fresh Fruit Additions: Though chocolate pavlova is rich, fresh berries like raspberries, strawberries, or cherries provide a wonderful tart contrast. Arrange them artfully around the base or on top of the whipped cream.
- Nutty Crunch: Toasted chopped hazelnuts, pecans, or walnuts sprinkled between the layers or on top can add another layer of texture and flavor.
- Chocolate Drizzle: A warm chocolate ganache or a simple chocolate syrup drizzle over the top before serving adds extra visual appeal and chocolate intensity.
Serve your Chocolate Pavlova slightly chilled but not cold. It pairs beautifully with a cup of freshly brewed coffee, a glass of dessert wine, or even a shot of espresso to cut through the sweetness.
More Delicious Dessert Recipes to Explore
If you’re a fan of indulgent sweets, you’ll love these other fantastic dessert recipes. From classic comfort foods to unique sweet treats, there’s something for every occasion:
- Cosmic Brownie Cookies: A nostalgic treat reimagined into a delicious cookie.
- Chocolate Chip Cookie Dough Cheesecake: The best of both worlds in one decadent dessert.
- Ding Dong Cake: A rich, chocolatey cake inspired by a classic snack.
- Chocolate Tofu Pudding: A surprisingly creamy and healthy chocolate pudding option.
- Star Crunch Cookies: Recreate this beloved candy bar at home with ease.
- Gooey Brownie Pie: An irresistibly rich and gooey dessert for brownie lovers.
- Peanut Butter Oatmeal Bars: A hearty and flavorful bar perfect for snacks or dessert.
- Mini Oreo Cheesecake Bites: Bite-sized delights that are perfect for parties.
Chocolate Pavlova
Erin Sellin
20 minutes
2 hours
2 hours
4 hours
20 minutes
12
Pin Recipe
Rate Recipe
Print Recipe
Ingredients
Chocolate Meringue
-
6
whole large egg whites,
room temperature -
Pinch
of Kosher salt -
1 1/2
cups
granulated sugar
-
1/4
cup
cocoa powder
-
1
teaspoon
vanilla extract
-
1
teaspoon
white vinegar
-
1/2
teaspoon
almond extract
-
3/4
cup
mini chocolate chips
Almond Whipped Cream
-
2
cups
heavy whipping cream
-
1/3
cup
powdered sugar
-
1
teaspoon
almond extract
-
Optional garnish -
Shaved Chocolate
Instructions
-
Preheat oven to 225º F (107º C). Line 2 large baking sheets with parchment paper.
-
In the stand mixer bowl, whisk egg whites and a pinch of salt until stiff peaks form, about 4 to 5 minutes on high speed.
-
Reduce the speed to medium and slowly add the granulated sugar over 2 minutes, ensuring it dissolves completely.
-
Stop and scrape down the sides of the bowl. Increase the speed to high and whisk until the mixture is smooth, glossy, and forms very stiff peaks, 6 to 7 minutes.
-
Add the vanilla extract, almond extract, and vinegar to the mixer. Sift in the cocoa powder. Mix until just combined (you might need to finish with a spatula). Gently fold in the mini chocolate chips.
-
Divide the batter in half. Spread onto the prepared baking sheets in two approximately 8-inch (20 cm) circles, about 1 inch (2.5 cm) high and evenly sized. Place the meringue into the oven and bake for 2 hours. Turn off the heat and leave it in the oven for 2 more hours to cool slowly. Remove from the oven and let it cool completely to room temperature before assembling.
Prepare the Whipped Cream
-
In the bowl of an electric mixer, whisk the heavy cream until soft peaks form, about 4 to 5 minutes. Add powdered sugar and almond extract, then whisk to combine until medium-stiff peaks are achieved. **You can store this in the fridge until the next day if needed; just whisk by hand for a minute to stiffen it up again before use.**
To Assemble the Cake
-
Place one chocolate meringue disc onto a serving platter. Spread with about half of the prepared whipped cream.
-
Top with the second meringue disc and spread the remaining whipped cream evenly over the top.
-
Garnish generously with shaved chocolate or more mini chocolate chips if desired. Serve immediately.
Nutrition
Serving:
1
g
|
Calories:
344
kcal
|
Carbohydrates:
38
g
|
Protein:
5
g
|
Fat:
20
g
|
Saturated Fat:
12
g
|
Polyunsaturated Fat:
7
g
|
Trans Fat:
1
g
|
Cholesterol:
138
mg
|
Sodium:
55
mg
|
Fiber:
1
g
|
Sugar:
36
g
Nutrition information is automatically calculated, so should only be used as an approximation.
Additional Info
Erin Sellin
20 minutes
2 hours
2 hours
4 hours
20 minutes
Dessert Recipes
American
12
344
Like this recipe? Leave a comment below!
I’ve created a fun and engaging group on Facebook, and I’d love for you to join us! It’s a vibrant community where you can share YOUR favorite recipes, ask questions, and stay updated on all the exciting new content from Dinners, Dishes and Desserts (so you never miss a delicious new recipe)!
Be sure to follow me on Instagram and tag #dinnersdishes so I can see all the wonderful DINNERS, DISHES, AND DESSERTS recipes YOU create!
Make sure to follow me on my social media channels, so you never miss a post or a new recipe!
Facebook | Twitter | Pinterest | Instagram
