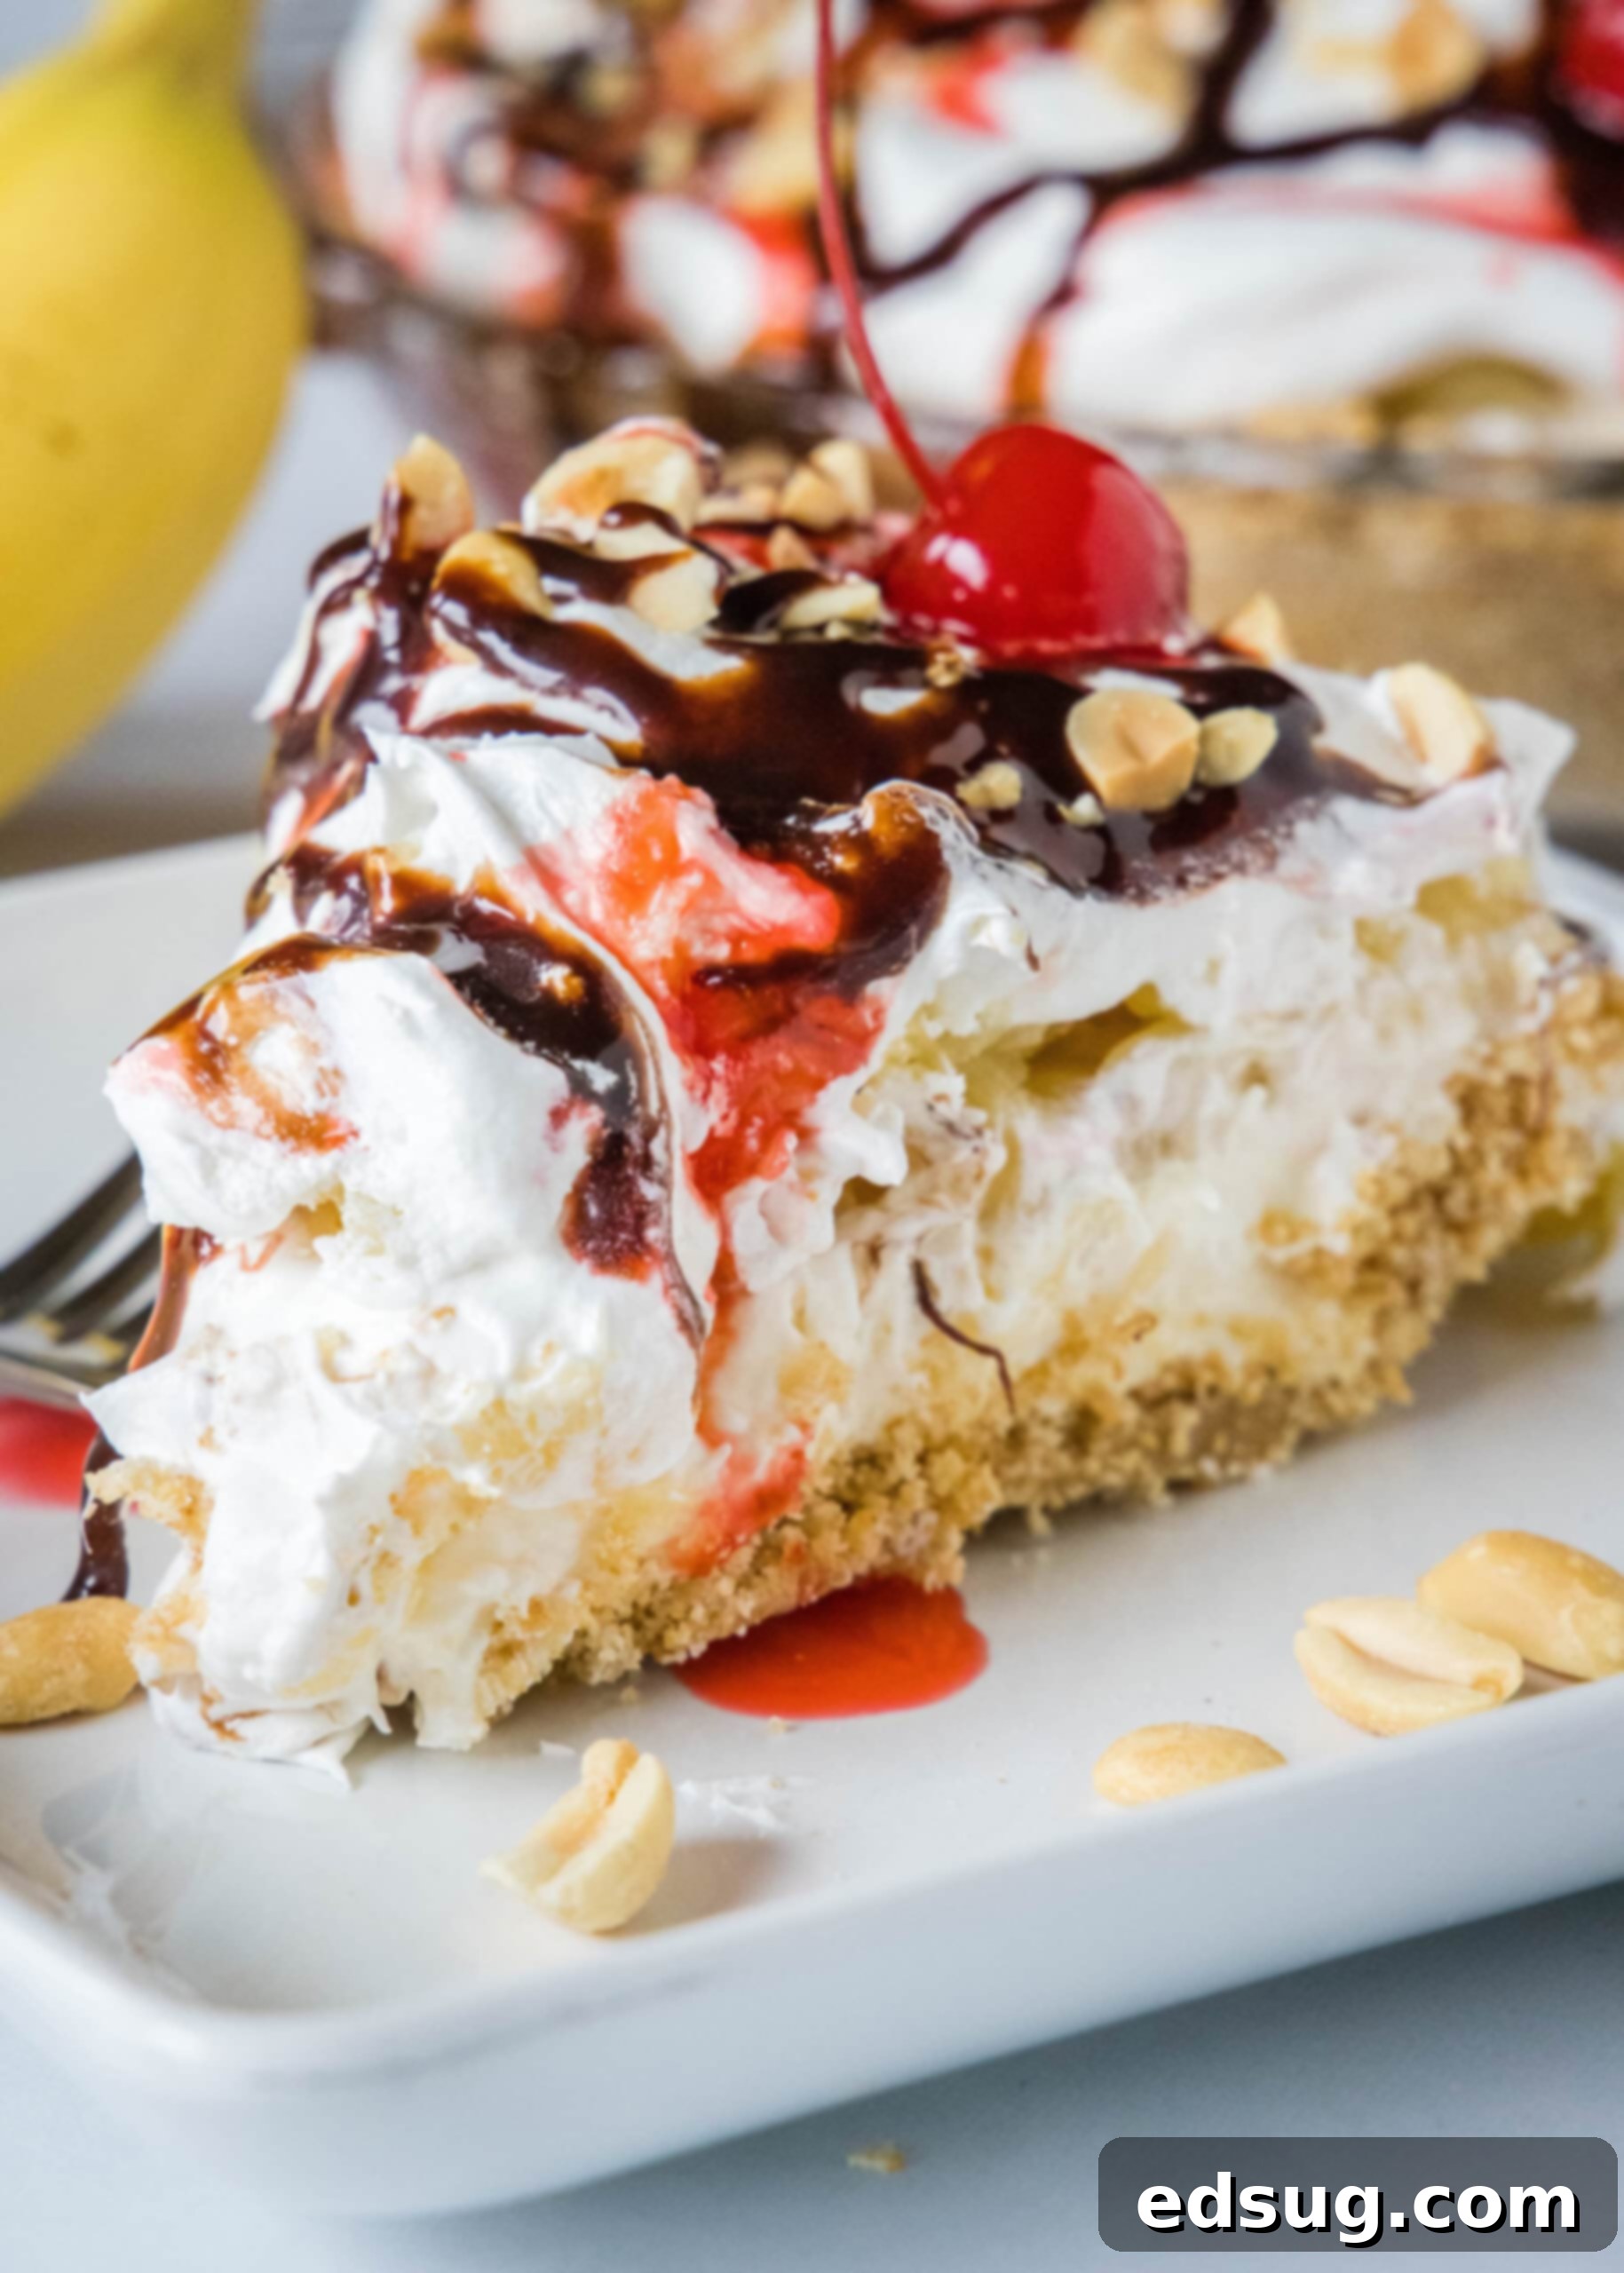
Easy No-Bake Banana Split Pie Recipe: Your Ultimate Creamy Dessert Guide
Indulge in the nostalgic flavors of a classic banana split sundae, transformed into an effortlessly delicious and convenient no-bake banana split pie. This incredibly cool and creamy dessert comes together in 20 minutes or less, making it a perfect last-minute treat or a make-ahead party showstopper. With layers of a buttery graham cracker crust, a luscious cream cheese filling, ripe bananas, sweet crushed pineapple, and fluffy whipped cream, every bite is a delightful symphony of textures and tastes. Drizzled generously with rich chocolate and vibrant strawberry sauces, then crowned with chopped peanuts and a bright cherry, it’s a dessert that captures all the joy of an ice cream parlor favorite without ever needing to turn on your oven (unless you opt for a quick homemade crust).
If you’re a fan of simple yet sensational no-bake desserts, you’ll love adding this banana split pie to your repertoire. For more delightful no-oven required recipes, don’t miss our no-bake strawberry Jello pie and this incredibly easy no-bake peanut butter cup pie. They’re all perfect for satisfying your sweet tooth with minimal fuss!
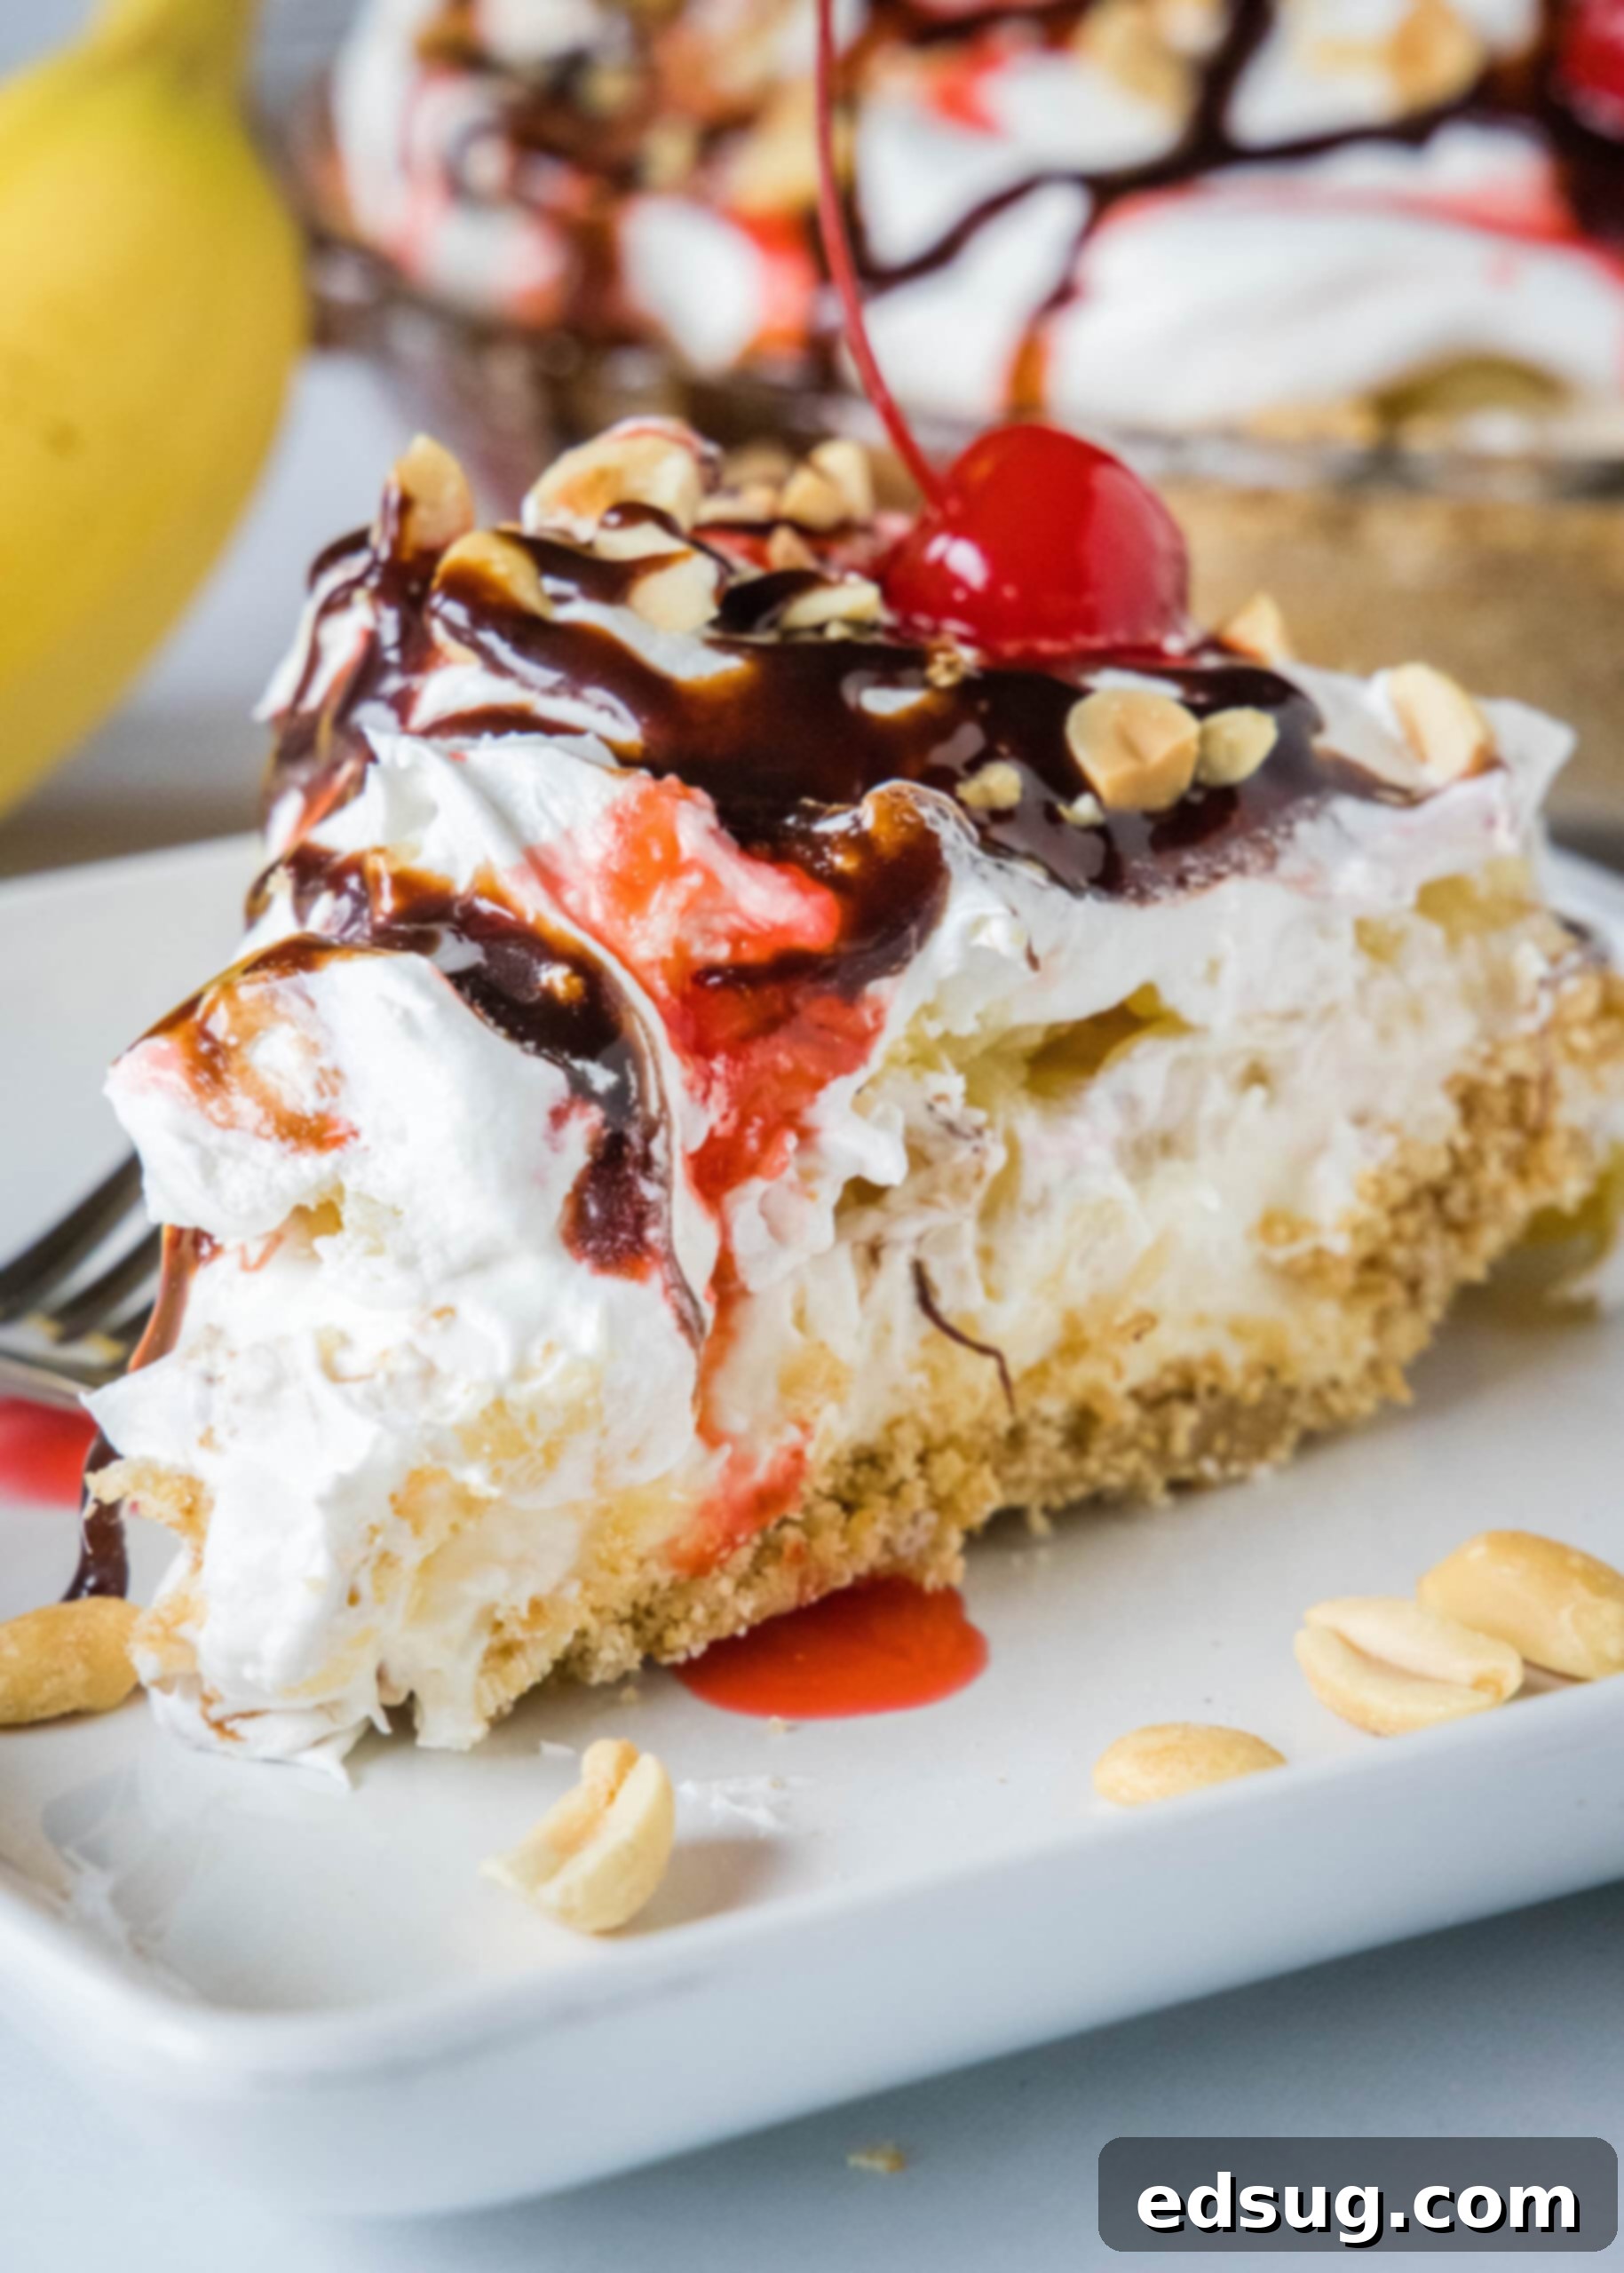
Table of Contents
- Why You’ll Absolutely Love This Banana Split Pie
- Essential Ingredients for Your No-Bake Masterpiece
- Crafting Your Perfect Banana Split Pie: Step-by-Step Guide
- Planning Ahead: Can You Make This Pie in Advance?
- Storing Your Delicious Leftovers
- More No-Bake Dessert Recipes
- Banana Split Pie Recipe
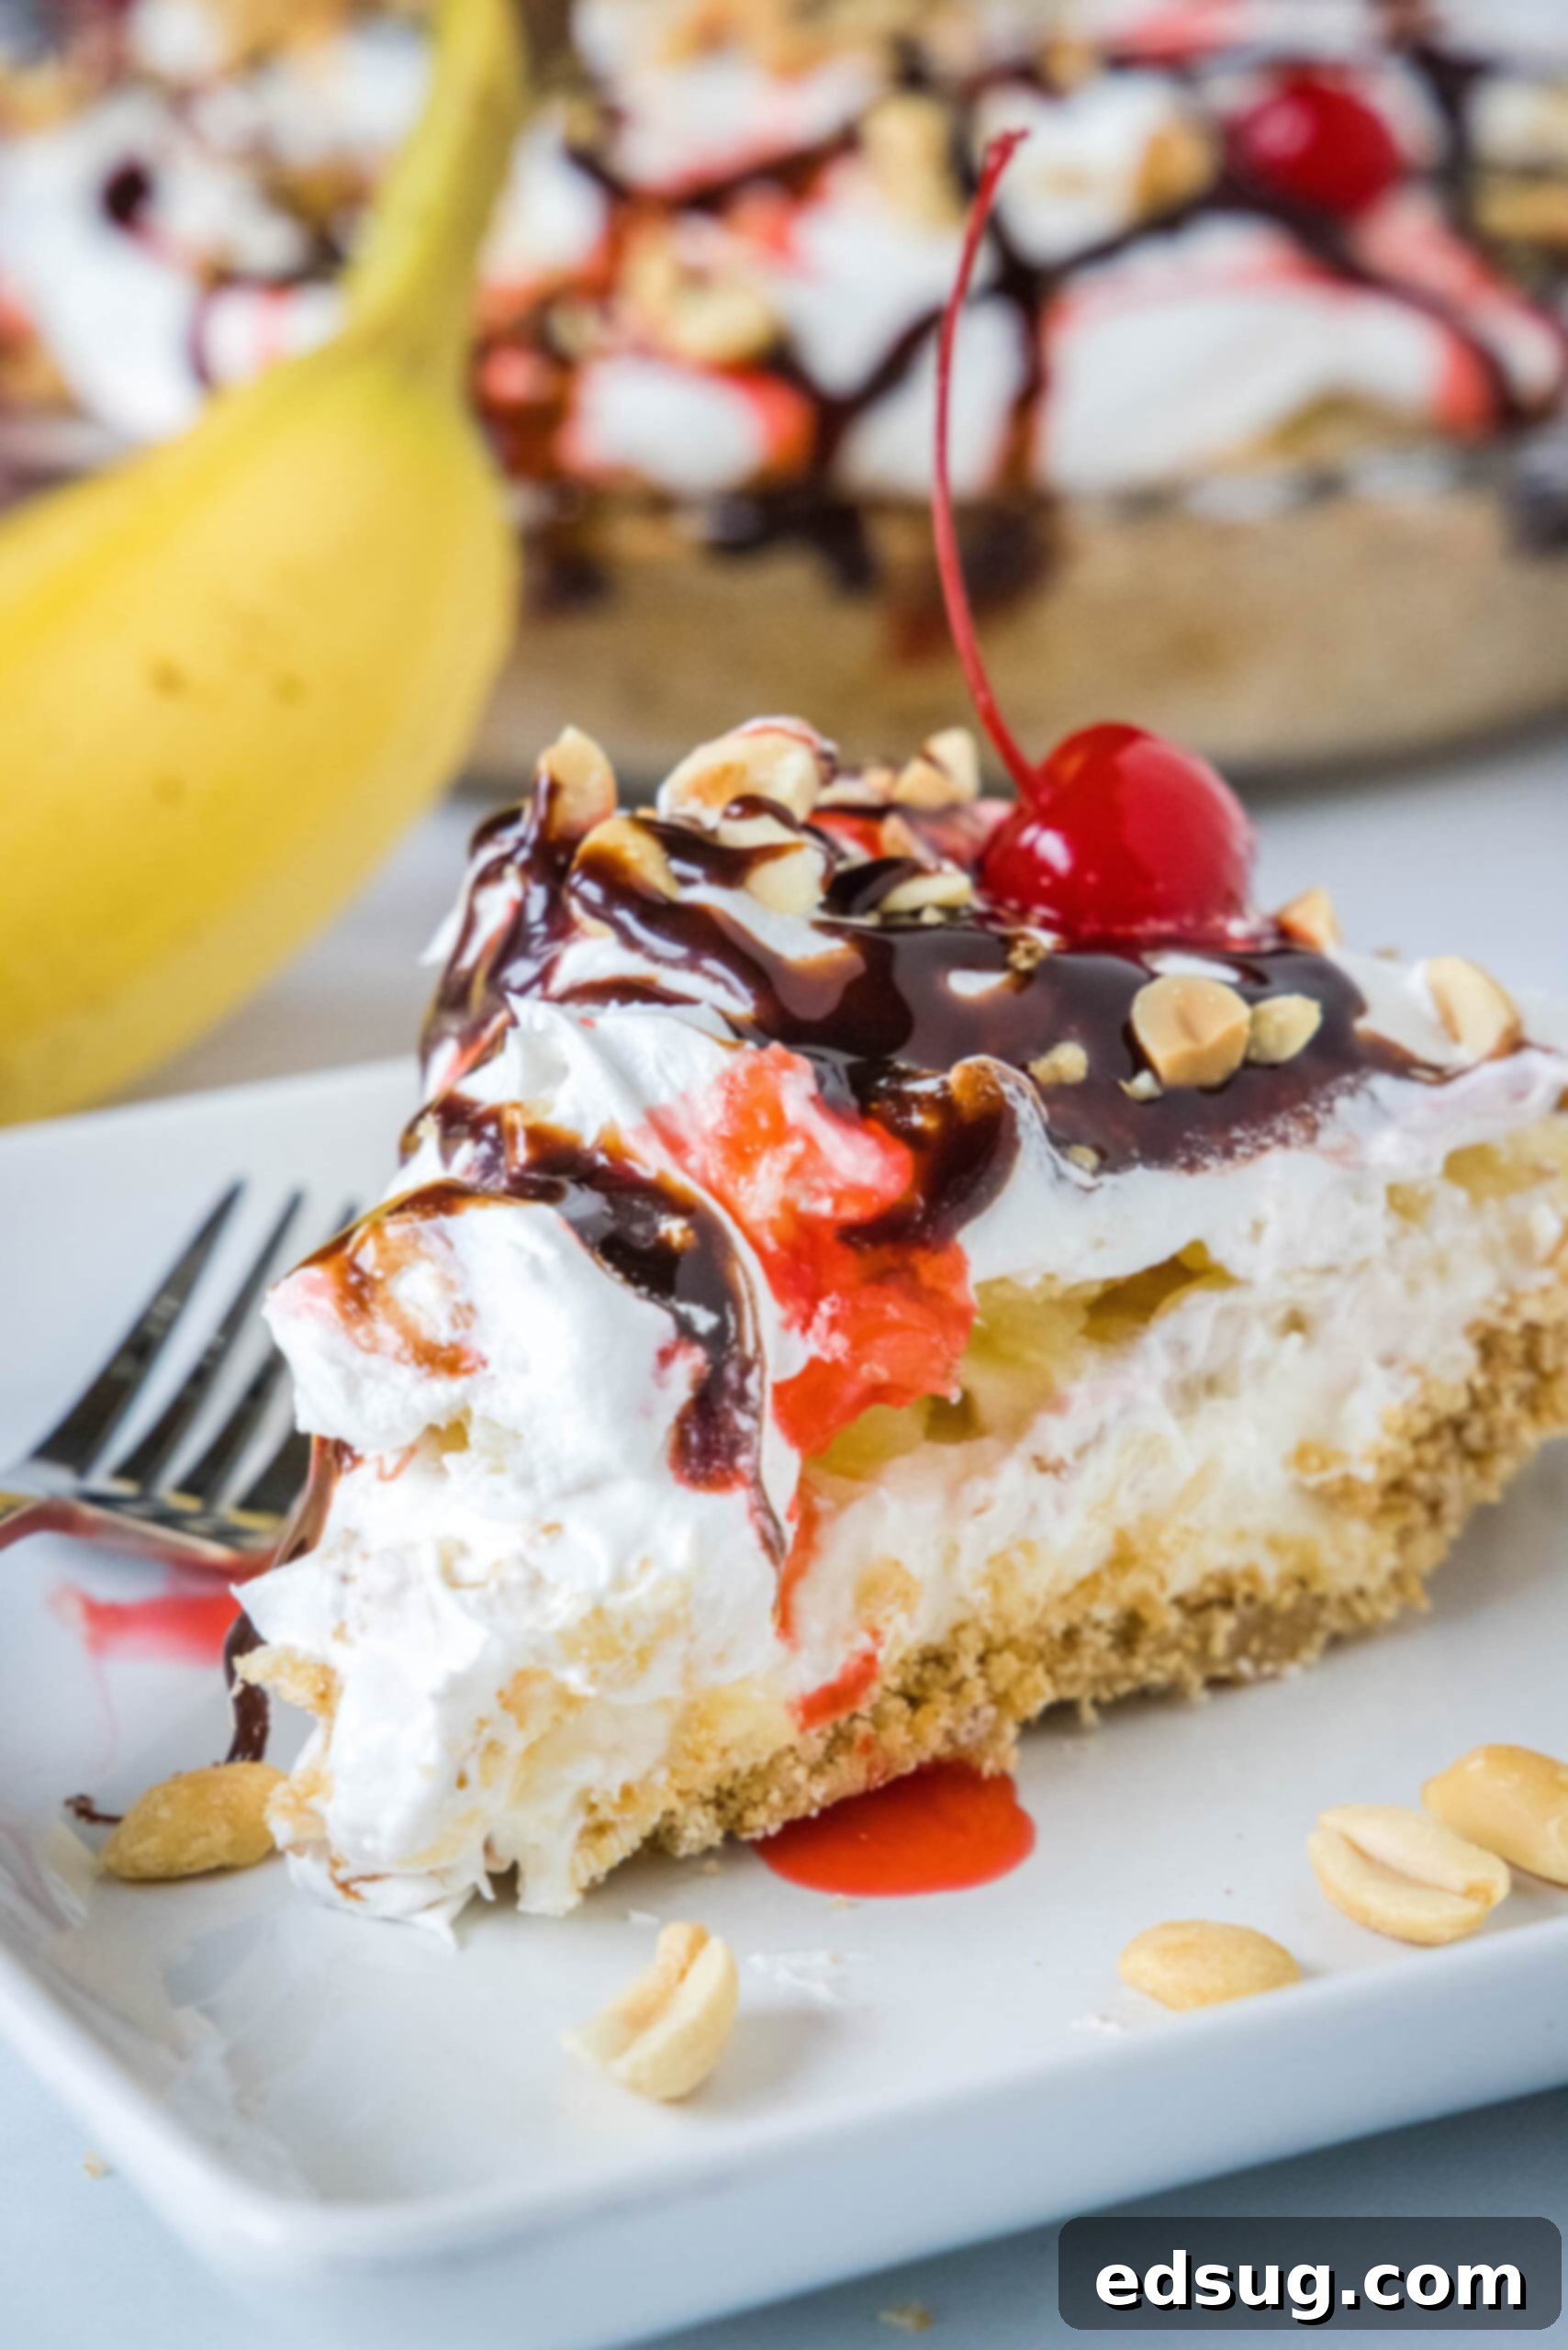
I confess, I’m a complete enthusiast for a classic banana split sundae. The moment I discovered how to encapsulate all that incredible goodness into a (mostly) no-bake pie, it truly revolutionized my dessert game! This banana split pie recipe has become a treasured favorite in my kitchen. It boasts a velvety cream cheese filling, generously layered with perfectly ripe bananas, juicy crushed pineapple, and a cloud of whipped cream, all nestled within a crisp, buttery graham cracker crust. Each bite offers a delightful contrast of cool, creamy indulgence and satisfying crunch, and the entire creation is surprisingly simple to assemble in just minutes. Just add generous drizzles of chocolate syrup and bright maraschino cherries, and you’re in dessert heaven!
Why You’ll Absolutely Love This Banana Split Pie
This banana split pie isn’t just a dessert; it’s an experience. Here’s why it’s guaranteed to become a household favorite:
- Authentic Banana Split Flavors: Every element of this pie is designed to replicate the beloved taste of a traditional banana split sundae. The naturally sweet, creamy slices of ripe banana blend seamlessly with the tangy burst of crushed pineapple and the airy lightness of whipped cream. This combination creates a harmonious flavor profile that is both refreshing and deeply satisfying, all encased in a delightful cookie crust. It’s the ultimate tribute to a classic dessert, offering all the joy without the drips!
- Effortlessly Quick: Time is precious, and this pie understands that. You can assemble this show-stopping dessert in a remarkable 20 minutes or less. If you opt for a convenient, ready-made pie crust from the store, you can cut that time down to a mere 10 minutes! This speed makes it ideal for impromptu gatherings, busy weeknights, or when a sudden craving for something sweet strikes.
- Perfect for Planning Ahead: Hosting a party or attending a potluck? This banana split pie is your ideal make-ahead solution. You can easily prepare it the day before your event, allowing the flavors to meld beautifully and the pie to set perfectly. Simply keep it chilled in the refrigerator, then add your favorite banana split toppings right before you’re ready to serve for maximum freshness and visual appeal. It reduces stress and ensures a flawless presentation.
- Infinitely Customizable: Just like building your dream sundae, this no-bake pie offers endless possibilities for personalization. While classic chocolate sauce, strawberry sauce, chopped nuts, and bright maraschino cherries are always winning choices, feel free to unleash your creativity! Experiment with different toppings like caramel drizzle, mini chocolate chips, shredded coconut, sprinkles, or even crushed candy bars. Each customization adds a unique touch, making every pie creation distinctly yours.
Essential Ingredients for Your No-Bake Masterpiece
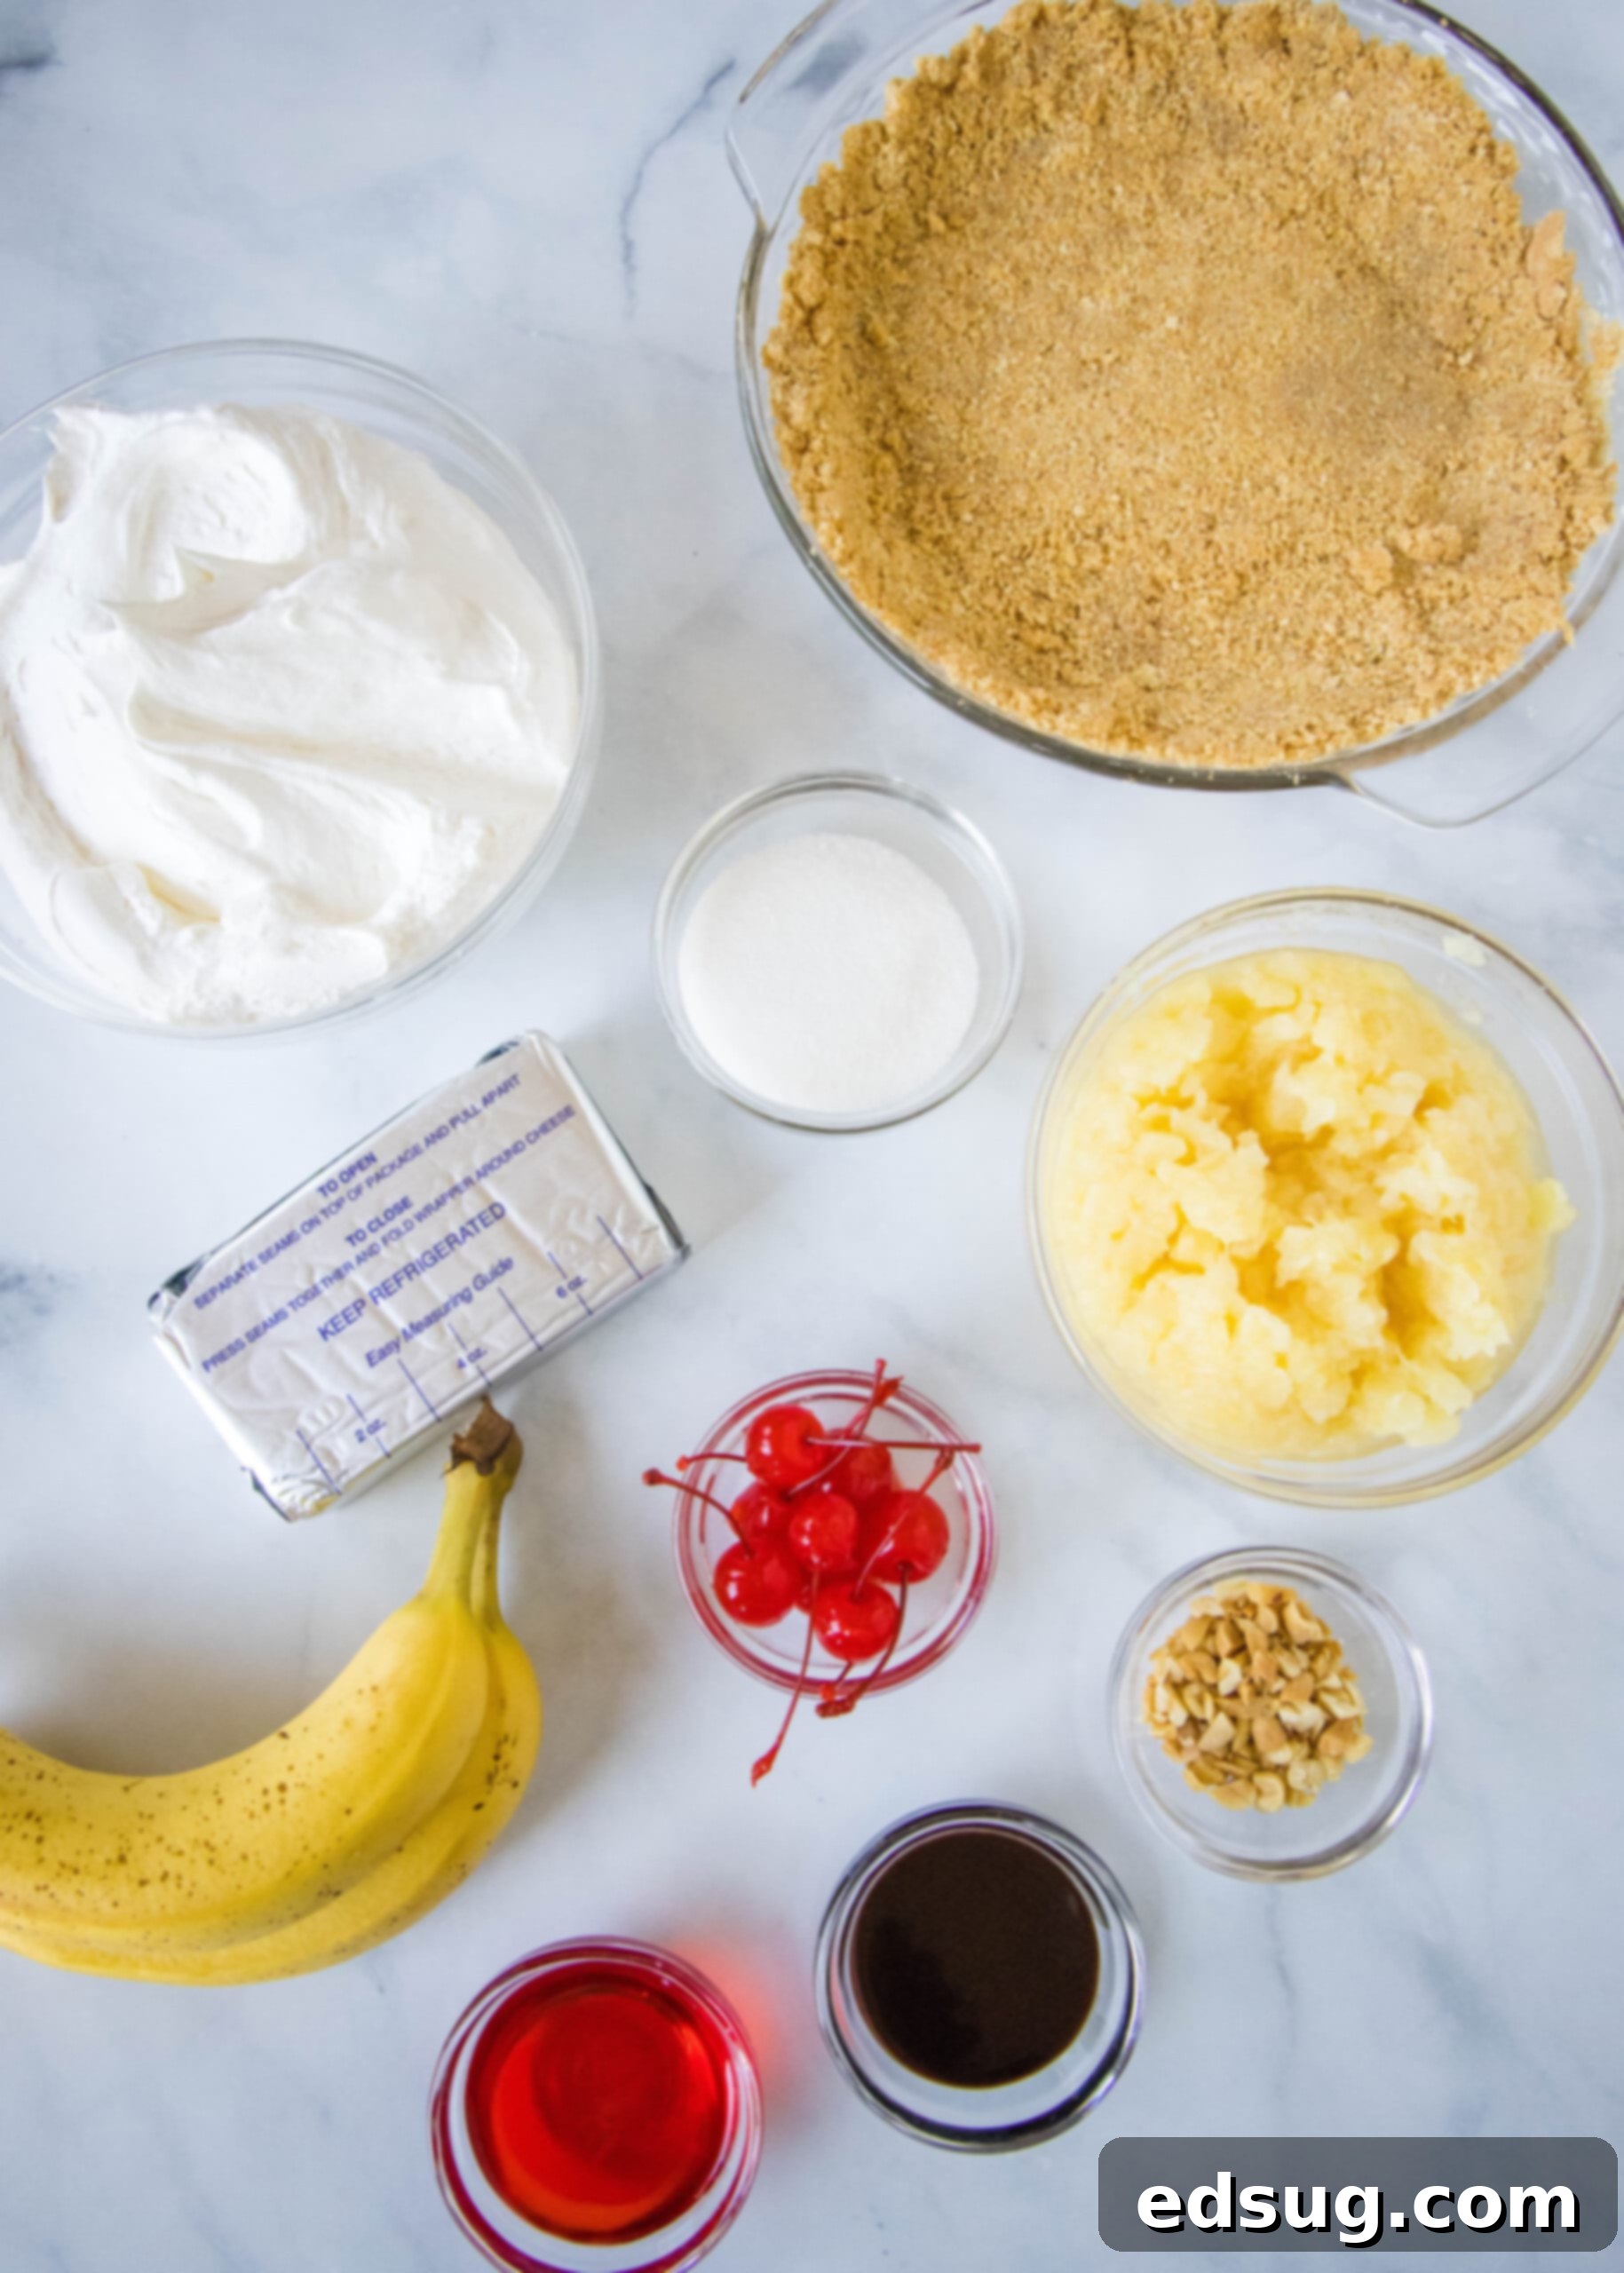
One of the primary reasons I adore this banana split pie is the simplicity of its ingredients. You don’t need a pantry full of exotic items to create a dessert bursting with classic banana split flavor. Here are some key notes on what you’ll need, and remember to scroll down to the recipe card for a complete, printable list with precise amounts.
- Crust: I typically prepare a quick and easy graham cracker crust using crushed graham crackers, a touch of sugar, and melted butter. This combination creates a delightfully crunchy and flavorful base. For an interesting twist, you can also substitute graham crackers with other cookie varieties, such as classic Nilla wafers for a milder vanilla flavor or chocolate wafers for a richer, darker chocolate note. If you’re pressed for time or prefer ultimate convenience, a store-bought 9-inch pie crust works beautifully and eliminates the need for any baking at all.
- Cream Cheese: For the ultimate creamy and luxurious pie filling, always opt for full-fat cream cheese. The type that comes in blocks, rather than tubs, generally has a firmer texture and richer flavor, contributing significantly to the pie’s stability and decadent mouthfeel. Ensure it’s softened to room temperature before mixing to achieve a smooth, lump-free consistency.
- Whipped Topping: This ingredient adds airiness and a delightful texture to both the filling and the top layer. You can use store-bought Cool Whip for ultimate convenience, or for a fresher, more gourmet touch, prepare a batch of homemade stabilized whipped cream. Stabilized whipped cream holds its shape better, which is particularly useful if you plan to make the pie ahead of time. You’ll need it for both the creamy filling and as a generous topping.
- Bananas: It goes without saying – a banana split pie demands bananas! Choose ripe but still firm bananas for the best texture and flavor. Slice them uniformly just before assembly to ensure they distribute evenly throughout the pie. While some recipes suggest tossing them with lemon juice to prevent browning, I find it unnecessary if the pie is assembled and covered promptly, as the other layers protect them.
- Crushed Pineapple: The pineapple adds a wonderful tangy sweetness that cuts through the richness of the cream cheese and complements the bananas perfectly. The most critical step here is to drain it *extremely* well. Excess moisture from the pineapple can make your pie soggy, so press out as much liquid as possible using a fine-mesh strainer or even by squeezing it gently in a cheesecloth or paper towel-lined sieve.
- Sauces: To truly capture the banana split experience, a combination of delectable sauces is key. I love using rich chocolate sauce and a sweet strawberry sauce (or even a vibrant homemade strawberry syrup). For those who enjoy an extra layer of sweetness, caramel sauce is another fantastic choice that pairs wonderfully with the other flavors.
- Garnishes: The final flourish! Chopped peanuts add a crucial crunchy texture and nutty flavor, while bright red maraschino cherries provide a pop of color and a touch of classic charm. However, don’t limit yourself to these traditional garnishes. Feel free to get creative! Consider adding mini chocolate chips, shredded coconut, extra banana slices, colorful sprinkles, or even finely chopped candy bars for an extra layer of indulgence.
Crafting Your Perfect Banana Split Pie: Step-by-Step Guide
This pie is an almost no-bake dessert, with the only oven time (10 minutes) needed to par-bake a homemade graham cracker crust. If you opt for a store-bought or ready-made graham cracker crust, it becomes 100% no-bake, making it incredibly simple! Follow these easy steps, and for precise measurements and detailed instructions, be sure to scroll down to the printable recipe card.
- Prepare the Crust: If you’re crafting your graham cracker pie crust from scratch, begin by combining the crushed graham crackers, sugar, and melted butter until well blended. Press this mixture firmly and evenly into a 9-inch pie plate, extending it slightly up the sides. For a sturdier, crispier crust, par-bake it in an oven preheated to 350ºF (175ºC) for 10 minutes. This helps to toast the crumbs and set the butter, preventing a soggy bottom. Once baked, remove it from the oven and allow it to cool completely before proceeding. If using a store-bought crust, simply ensure it’s chilled and ready.
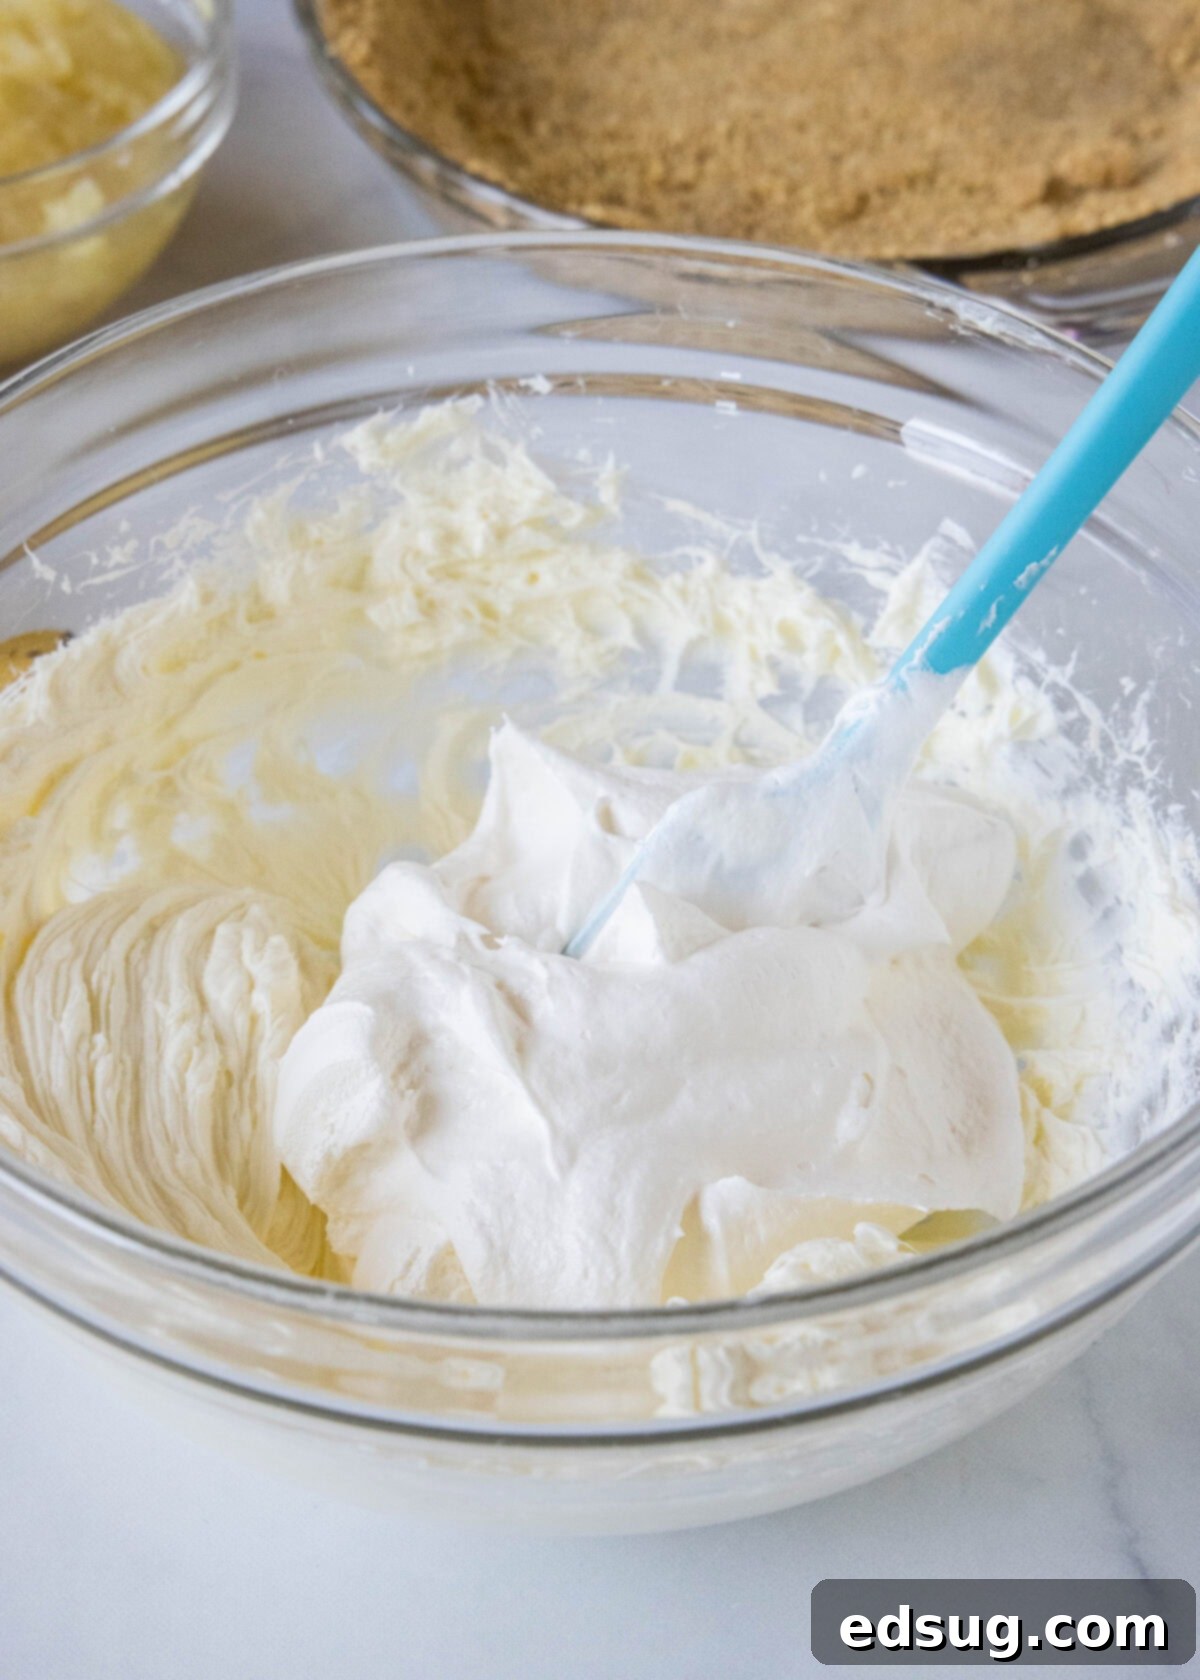
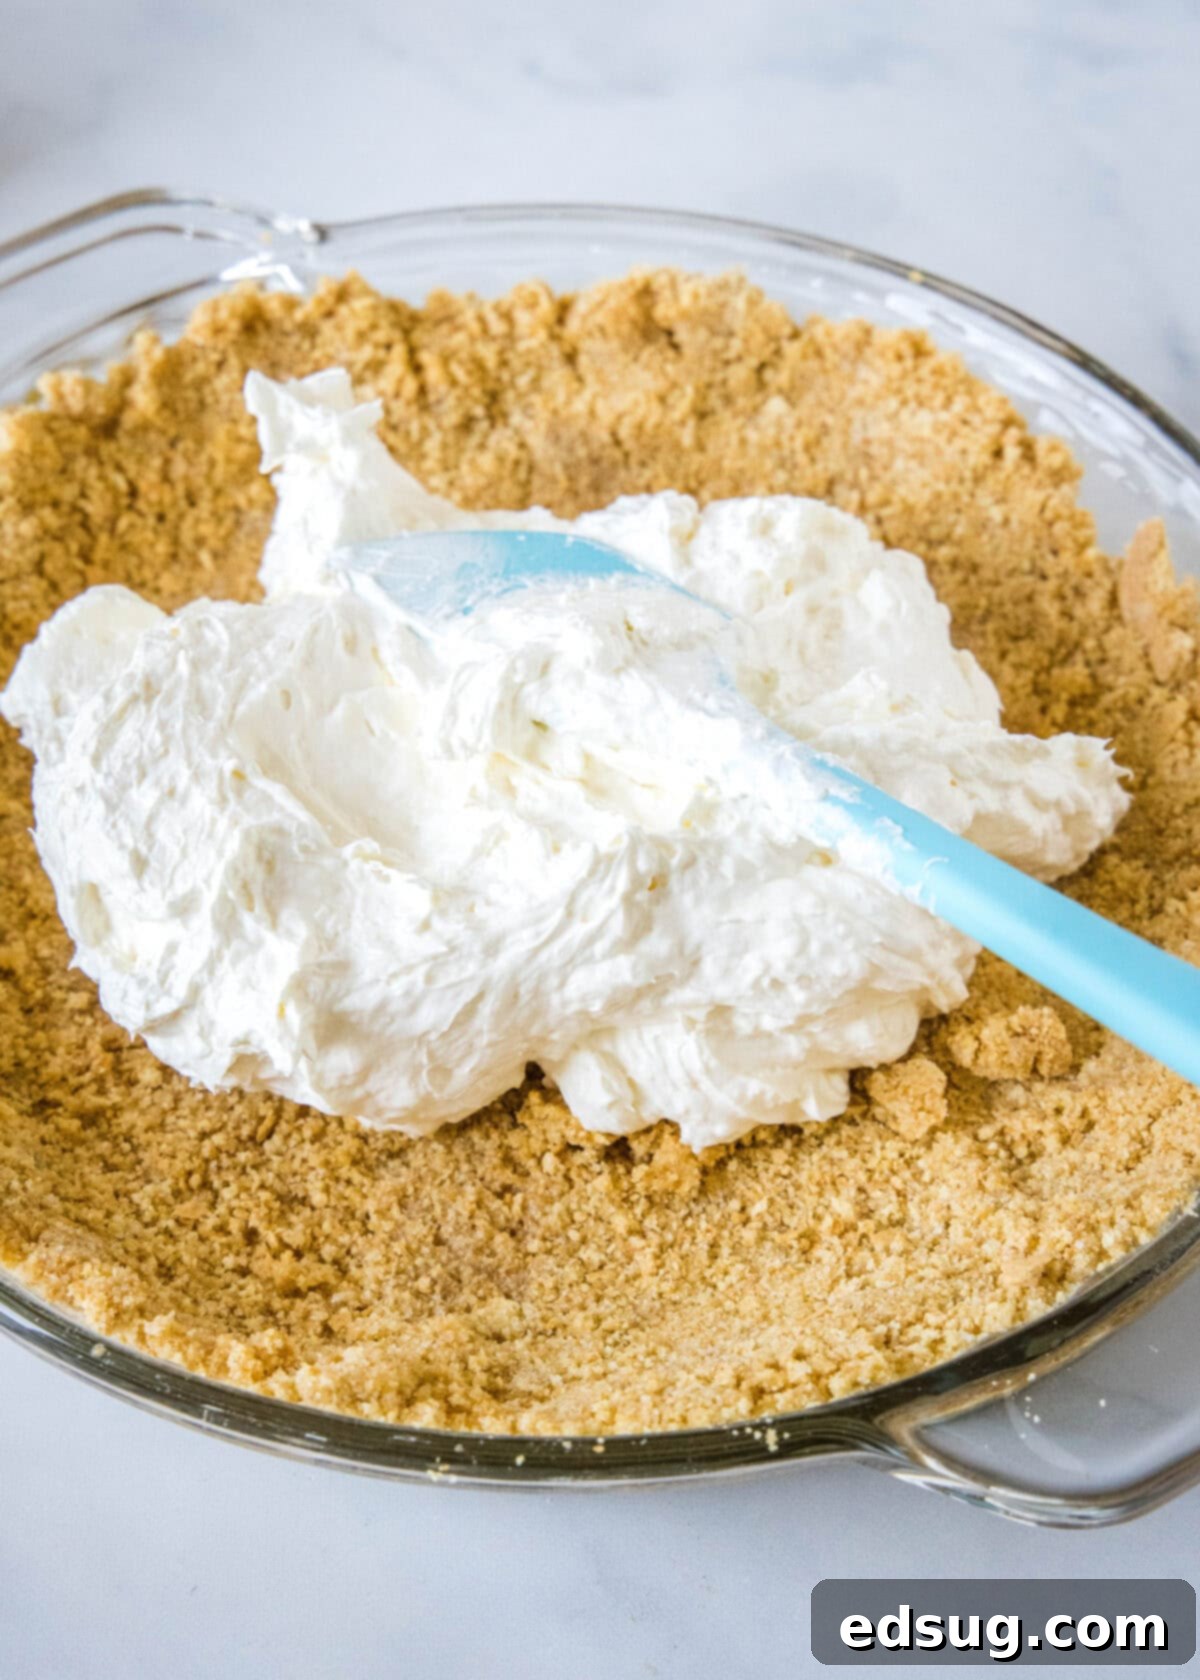
- Add the Creamy Pie Filling: While the crust cools, prepare your luscious filling. In a medium bowl, beat softened cream cheese with granulated sugar until the mixture is light, fluffy, and completely smooth, with no lumps remaining. This ensures a silky texture. Gently fold in 1 cup of your chosen whipped topping (Cool Whip or stabilized homemade whipped cream) until just combined. Be careful not to overmix, as this can deflate the whipped topping. Carefully spread this creamy filling evenly over the cooled crust, creating a smooth and inviting base.
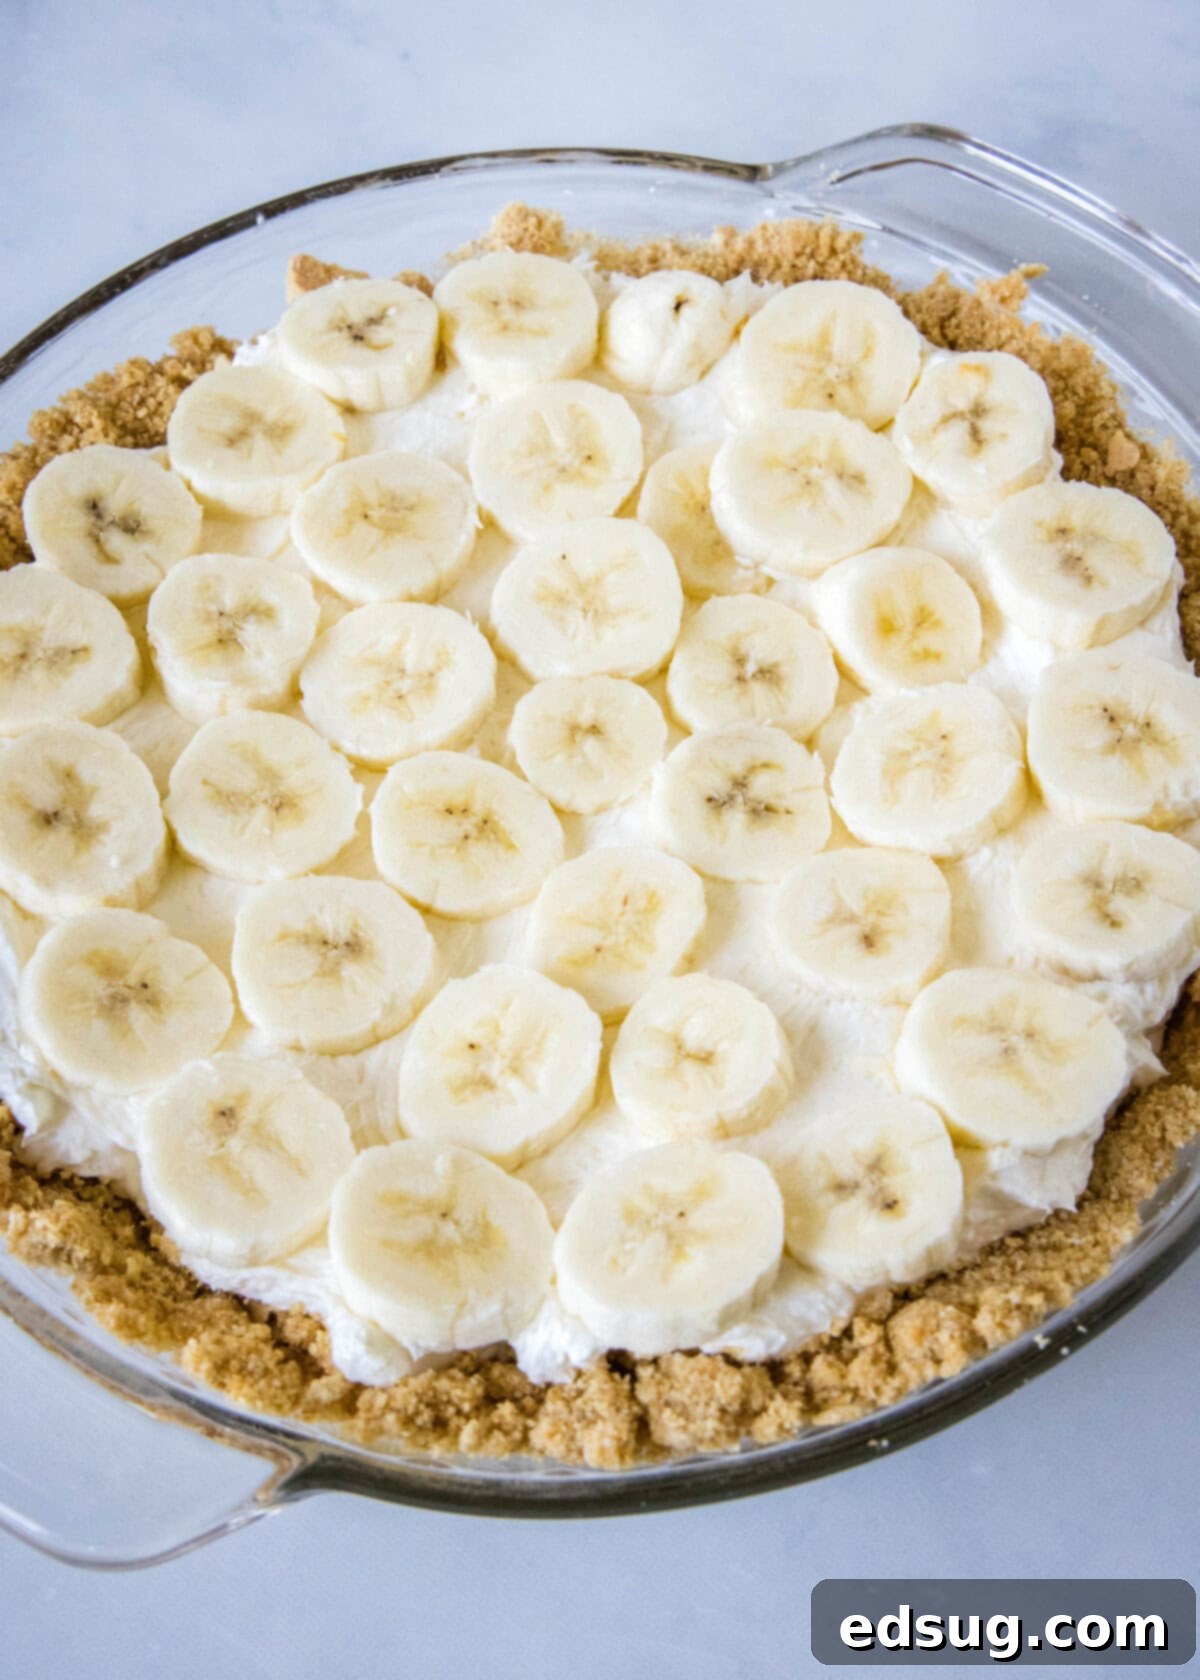
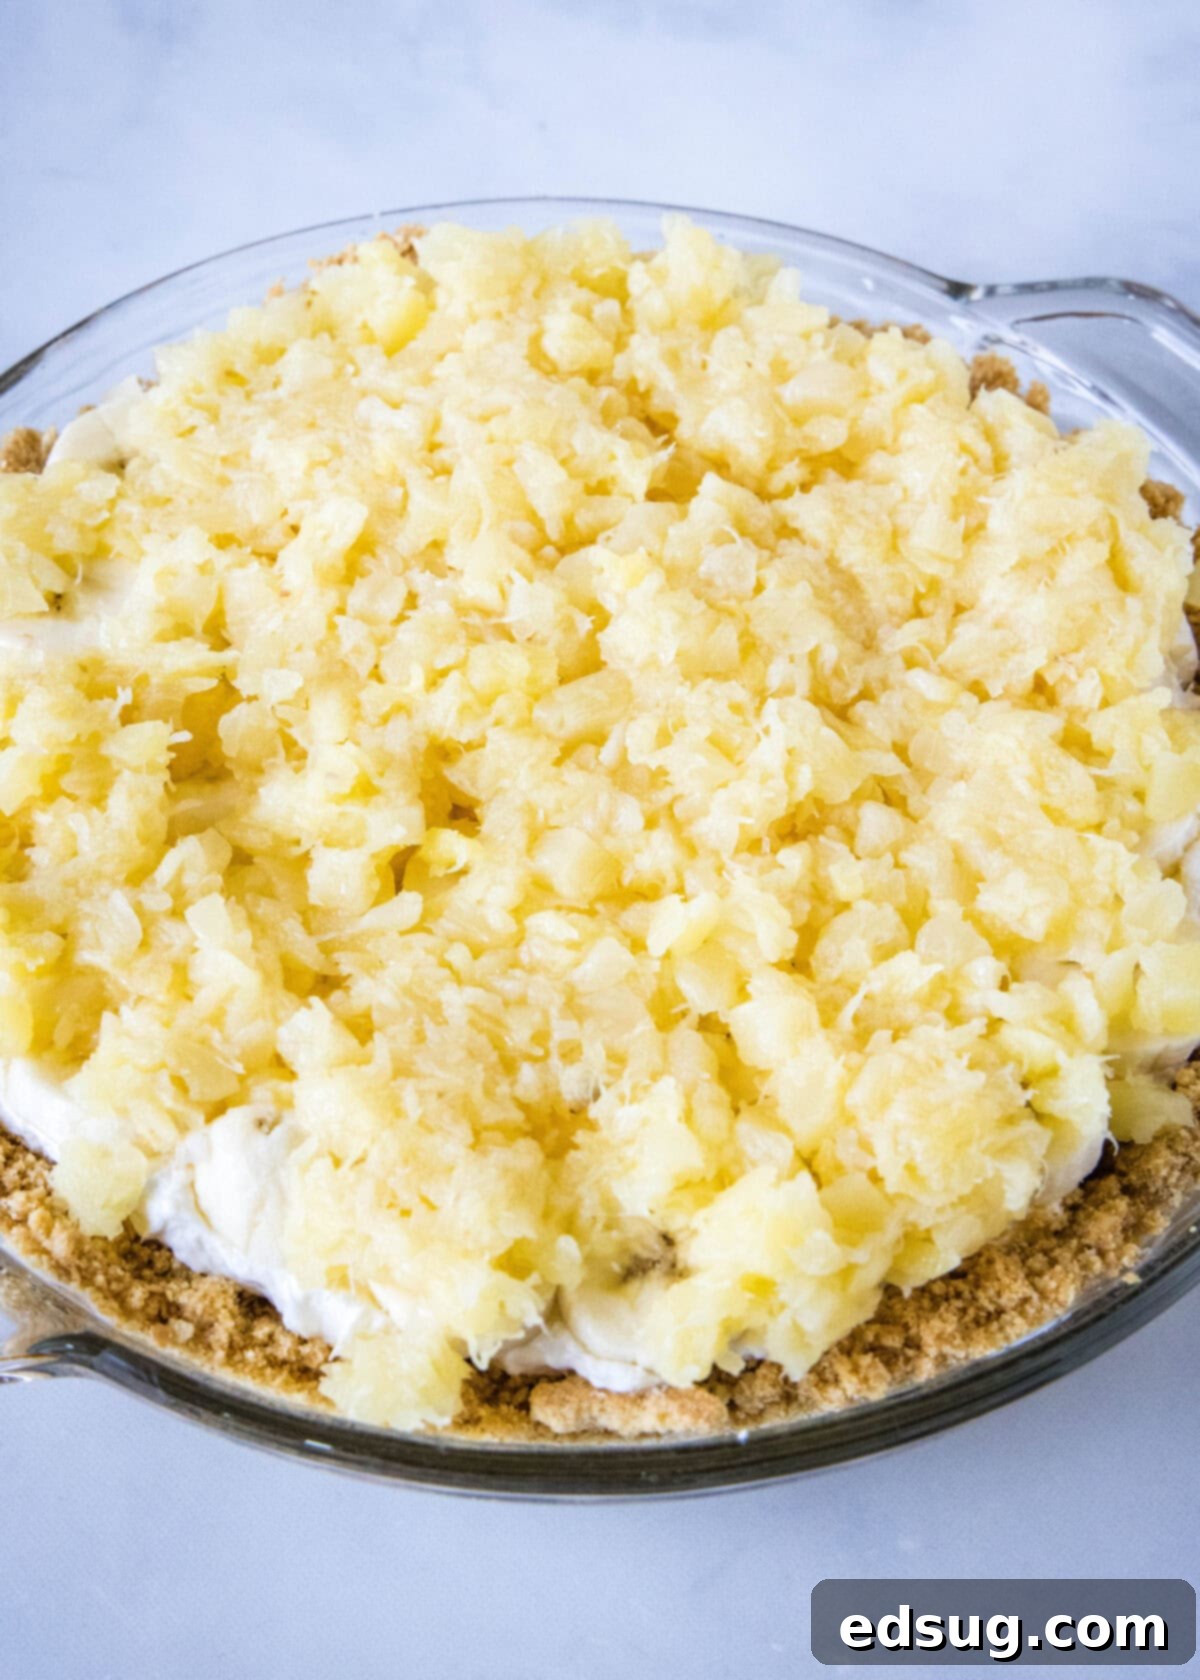
- Layer with Fruity Goodness & Final Topping: Over the cream cheese filling, arrange a single, even layer of your freshly sliced bananas. This provides that authentic banana split base. Next, spread the *very well-drained* crushed pineapple over the bananas. Remember, draining the pineapple thoroughly is crucial to prevent your pie from becoming watery. Finally, finish by spreading the remaining 8 ounces of whipped topping over the pineapple layer. Once all layers are in place, gently cover the pie with plastic wrap and chill it in the refrigerator for a minimum of 3-4 hours. This chilling time is essential for the pie to set properly and for all the delicious flavors to fully meld together.
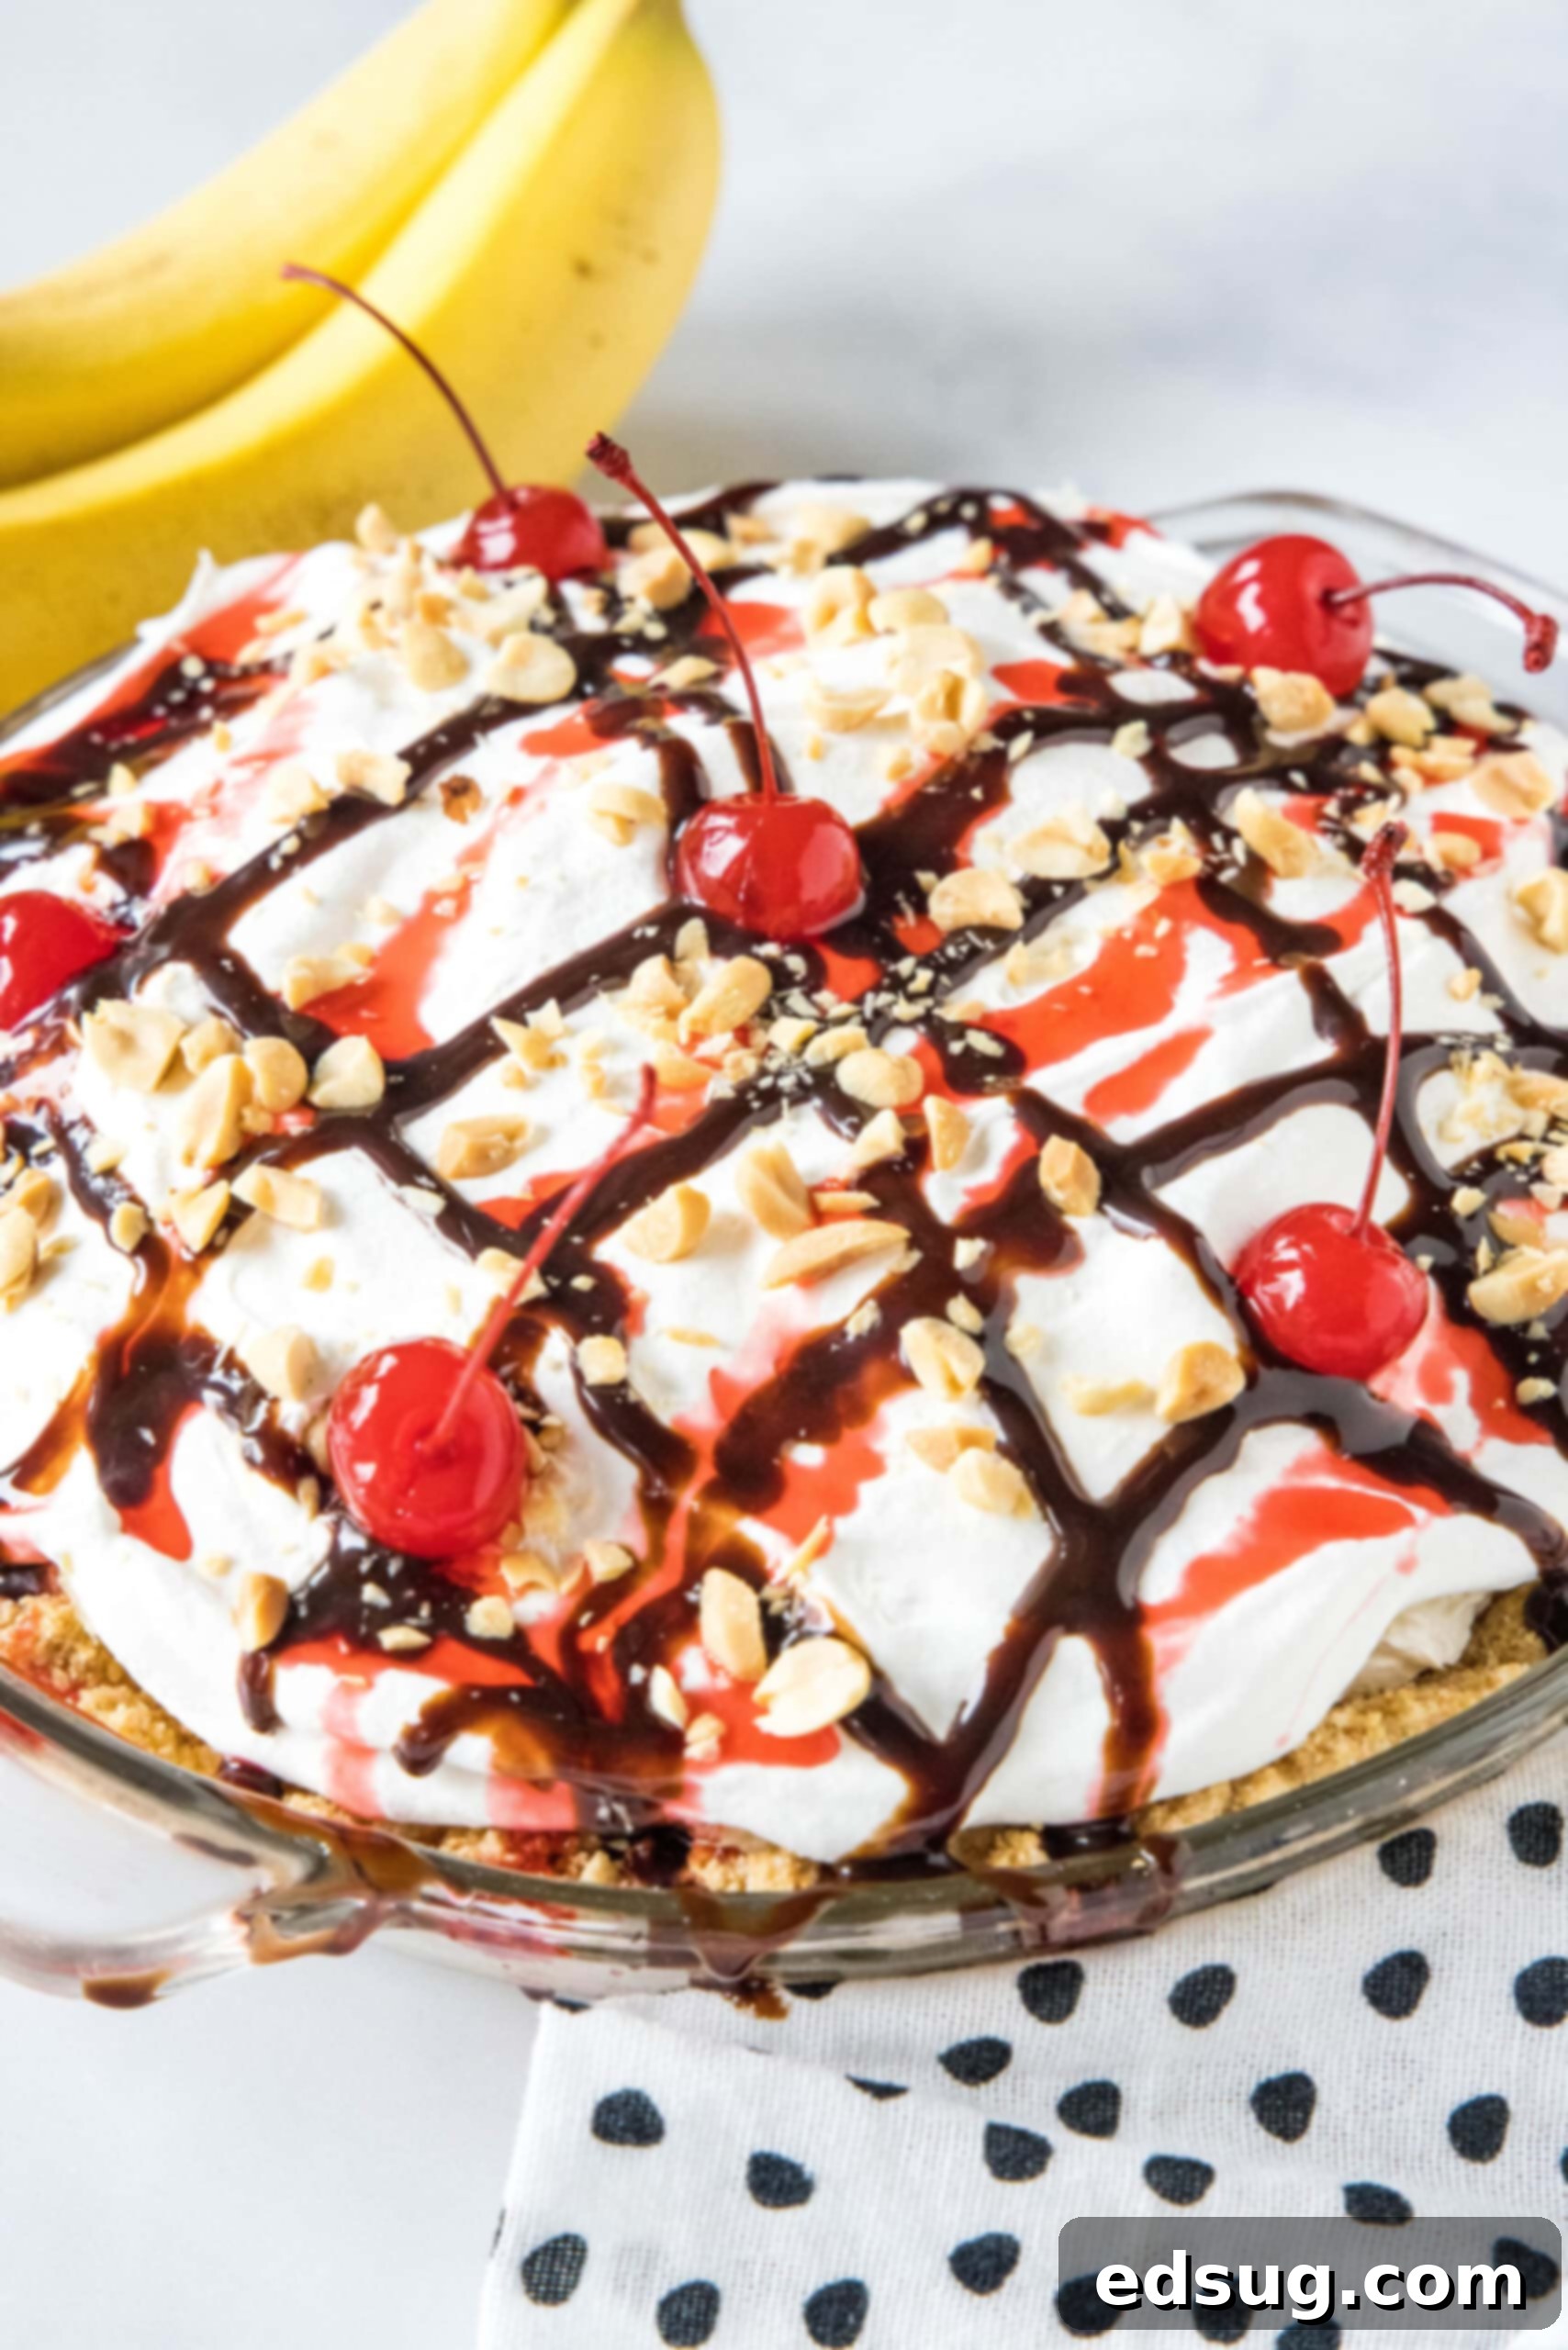
- Garnish and Serve: Once the pie is beautifully set and chilled, it’s time for the grand finale! Before slicing and serving, artfully drizzle generous amounts of chocolate sauce and strawberry sauce over the top. Sprinkle with a handful of chopped peanuts for crunch and place a few vibrant maraschino cherries strategically across the pie. Then, gather your loved ones, grab a slice, and dig into this cool, creamy, and utterly delightful banana split pie!
Planning Ahead: Can You Make This Pie in Advance?
Absolutely! This banana split pie is an excellent choice for making ahead, whether you’re preparing for a special occasion or simply want a delicious dessert ready to go. You can assemble it a day in advance and keep it refrigerated, or even freeze it for longer storage. The most crucial step for make-ahead success is to ensure the crushed pineapple is *extremely* well drained. Any excess liquid from the pineapple can seep into the filling over time, potentially making the pie soggy. My secret for optimal draining is to pour the crushed pineapple into a fine-mesh strainer and press down firmly with a spoon or spatula to extract every last drop of juice. You’ll be surprised how much liquid comes out!
Whether you choose to refrigerate or freeze your pie, I highly recommend holding off on adding the liquid garnishes like chocolate and strawberry sauces, and the chopped nuts, until just before you plan to serve it. This ensures the toppings remain fresh, vibrant, and prevent any softening or sogginess, giving you the best possible presentation and taste experience.
Storing Your Delicious Leftovers
Proper storage is key to enjoying your banana split pie for as long as possible while maintaining its delicious texture and flavor.
- Refrigerate: For any remaining slices or the whole pie, transfer it to an airtight container or wrap it tightly with plastic wrap. This prevents it from absorbing odors from the fridge and keeps it fresh. Leftovers will remain delightful for 2-3 days in the refrigerator. After this time, the fruit layers, particularly the bananas, may start to release more liquid into the pie, affecting its overall texture.
- Freeze: You can extend the life of your banana split pie by freezing it for up to 1 month. If you anticipate freezing it, it’s best to prepare the pie without any of the liquid toppings (sauces) or nuts. Once the pie is fully set and firm, double-wrap it securely in plastic wrap, followed by a layer of aluminum foil. This double layer provides excellent protection against freezer burn. When you’re ready to enjoy it, simply thaw the pie in the refrigerator for several hours or overnight until it reaches your desired consistency. Add your fresh sauces, nuts, and cherries just before serving.
More No-Bake Dessert Recipes
If you’ve fallen in love with the ease and deliciousness of this no-bake banana split pie, you’re in for a treat! Our collection of no-bake desserts is packed with simple, crowd-pleasing recipes that require minimal effort and no oven time. Explore these other fantastic options:
- No Bake Mint Chocolate Chip Pie: A refreshing and creamy delight, perfect for mint lovers.
- Kool-Aid Pie: A fun, fruity, and incredibly easy pie that’s a hit with kids and adults alike.
- No Bake Blueberry Cheesecake: A classic cheesecake experience with the vibrant taste of blueberries, all without baking.
- No Bake Lemon Cheesecake: Zesty, creamy, and wonderfully refreshing, perfect for a sunny day.
Banana Split Pie
Pin Recipe
Rate Recipe
Print Recipe
Ingredients
Graham Cracker Crust
- 1 ½ cups graham cracker crumbs
- 3 Tablespoons granulated sugar
- 5 Tablespoons melted butter
Pie Filling
- 8 ounces cream cheese
- ¼ cup granulated sugar
- 1 cup whipped topping, Cool Whip or homemade stabilized whipped cream
Topping
- 2 bananas, sliced
- 1 20-ounce can crushed pineapple, very well drained
- 8 ounces whipped topping
- 1 Tablespoon chocolate sauce
- 1 Tablespoon strawberry sauce
- 1 Tablespoon chopped peanuts
- Maraschino Cherries
Instructions
-
Preheat oven to 350º F. (Skip this step if using a store-bought, no-bake crust).
-
To prepare a homemade graham cracker crust, combine cracker crumbs, sugar and melted butter in a bowl until everything is thoroughly combined and resembles wet sand. Press the mixture firmly and evenly into a 9-inch pie plate to form the pie crust. Bake for 10 minutes to set and slightly toast the crust. Remove from oven and let it cool completely on a wire rack before adding the filling.1 ½ cups graham cracker crumbs, 3 Tablespoons granulated sugar, 5 Tablespoons melted butter
-
To prepare the creamy filling, ensure your cream cheese is at room temperature. In a medium bowl, beat together the softened cream cheese and granulated sugar using an electric mixer until the mixture is light, fluffy, and completely smooth (about 2-3 minutes). Gently fold in 1 cup of the whipped topping until it’s just combined and no streaks remain. Avoid overmixing to keep the filling airy. Spread this smooth filling evenly into the cooled pie crust.8 ounces cream cheese, ¼ cup granulated sugar, 1 cup whipped topping
-
Next, create the fruit layers. Top the cream cheese filling with a single, neat layer of sliced bananas. Ensure the crushed pineapple is *very well drained* (press out as much liquid as possible!) then spread it evenly over the bananas.2 bananas, 1 20-ounce can crushed pineapple
-
Finally, top the entire pie with the remaining 8 ounces of whipped topping, spreading it gently to cover the fruit layers. Cover the pie loosely with plastic wrap and store it in the fridge for a minimum of 3-4 hours, or preferably overnight, to allow it to set completely.8 ounces whipped topping
-
When you are ready to serve, remove the pie from the fridge. Artfully drizzle with chocolate sauce and strawberry sauce. Sprinkle with chopped peanuts for a satisfying crunch and garnish with vibrant maraschino cherries. Slice and serve immediately!1 Tablespoon chocolate sauce, 1 Tablespoon strawberry sauce, 1 Tablespoon chopped peanuts, Maraschino Cherries
Nutrition
Nutrition information is automatically calculated, so should only be used as an approximation.
Additional Info
Like this recipe? Leave a comment below!
