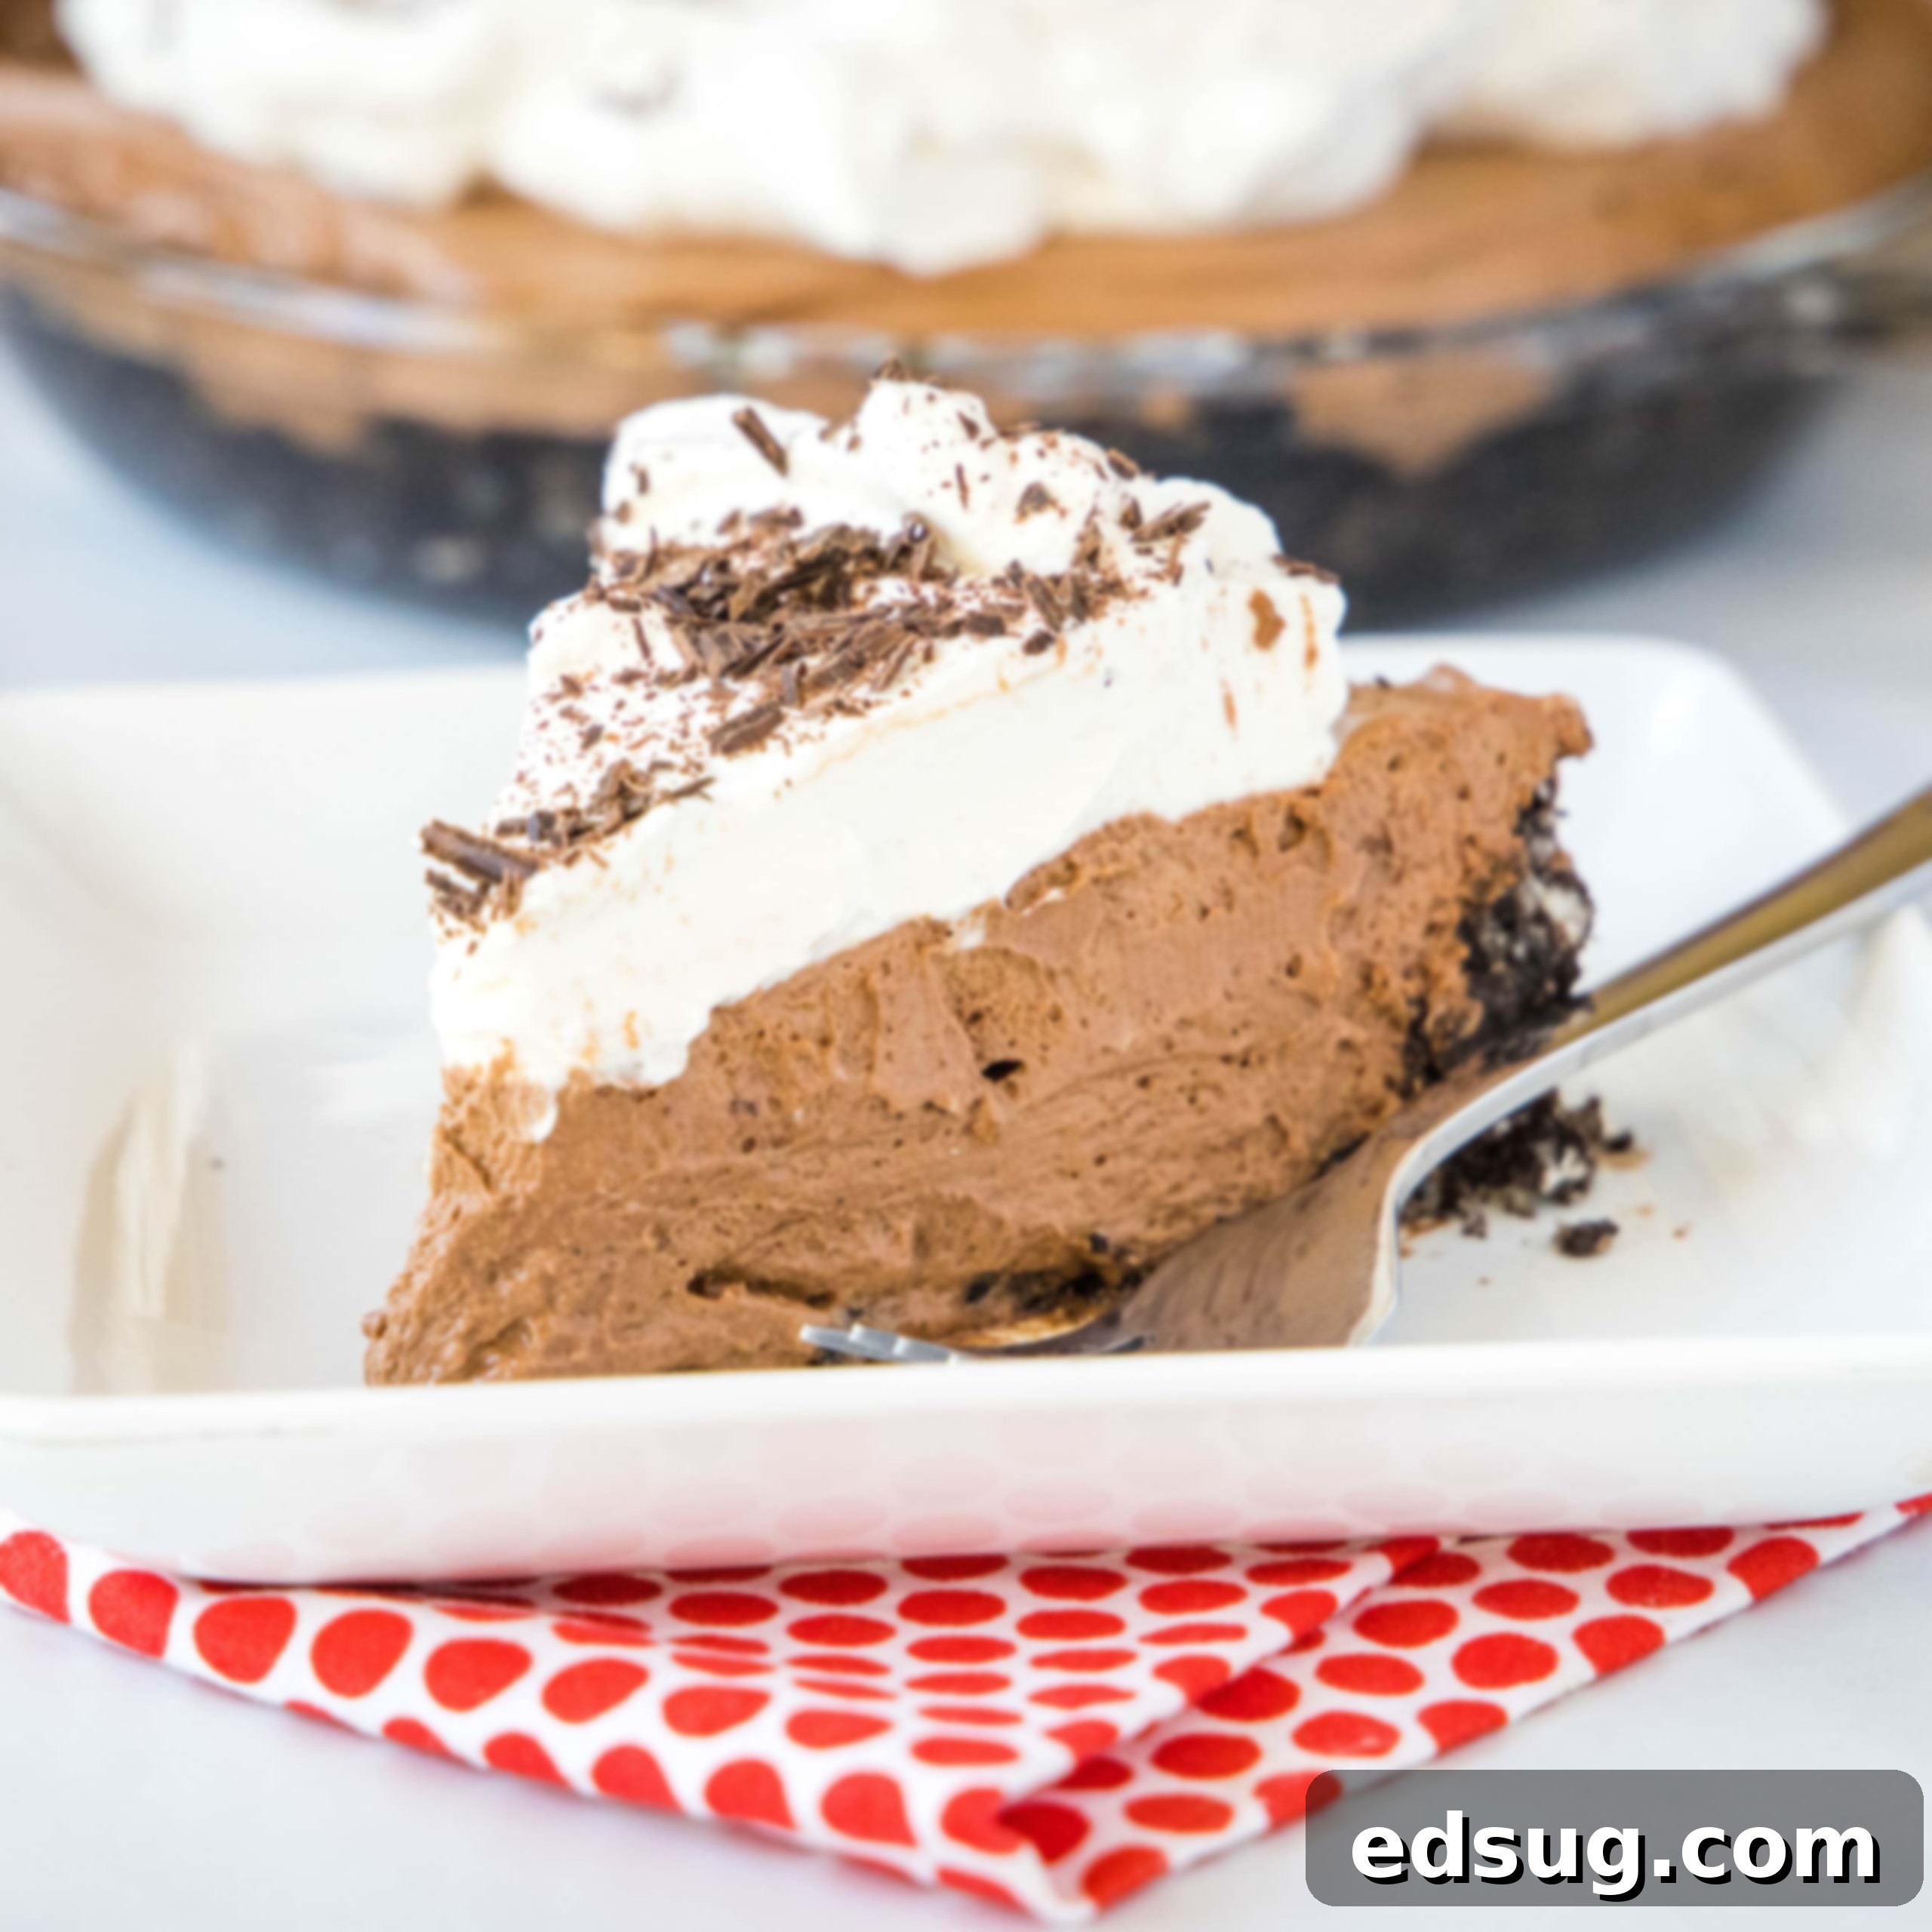
Decadent No-Bake Death By Chocolate Pie: The Ultimate Chocolate Lover’s Dream Recipe
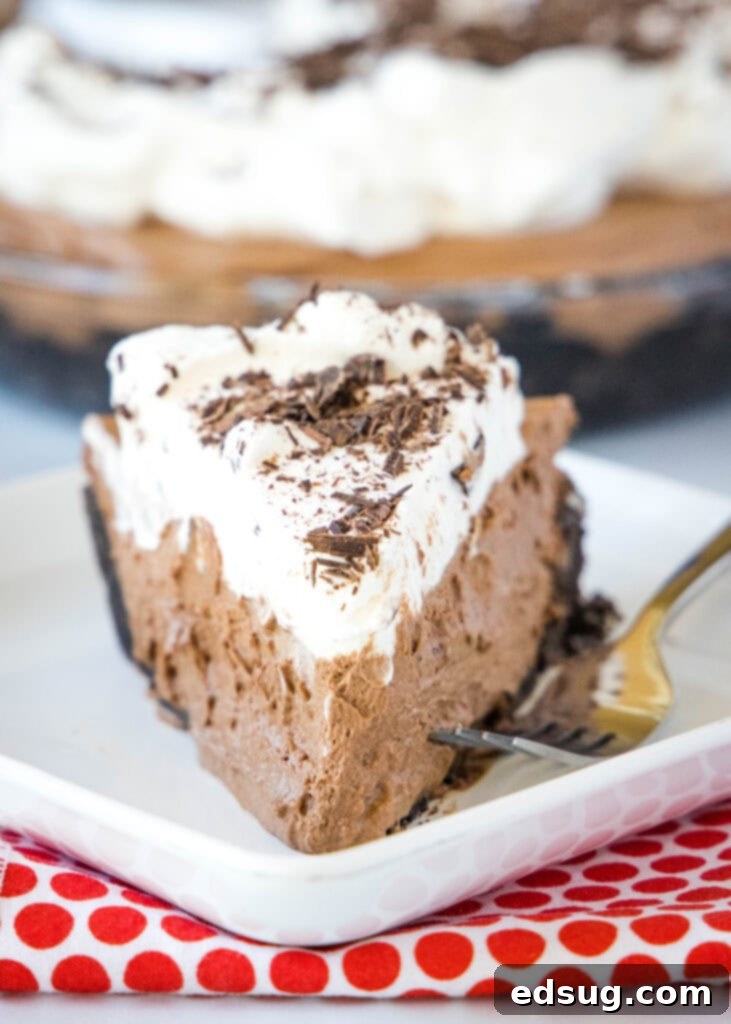
If you’re a true chocoholic, prepare yourself for an experience that transcends mere dessert. This Death By Chocolate Pie is not just a pie; it’s a profound declaration of love for cocoa in its most luxurious form. Imagine a rich, dark chocolate cookie crust, cradling a silken, intensely flavorful chocolate mousse, all crowned with a cloud of freshly whipped cream and delicate chocolate shavings. This no-bake masterpiece is the epitome of decadence, designed to satisfy even the most ardent chocolate cravings.
My passion for chocolate knows no bounds. For me, almost every dessert is enhanced by more chocolate – the richer, the better! I could easily enjoy Homemade Brownies daily, especially if they’re slathered with my favorite Chocolate Frosting. So, when I set out to create the ultimate chocolate pie, I knew it had to be an extraordinary indulgence. This Death By Chocolate Pie is precisely that: a super decadent, incredibly rich, and intensely chocolatey dessert that every chocolate fan simply *must* make right away!
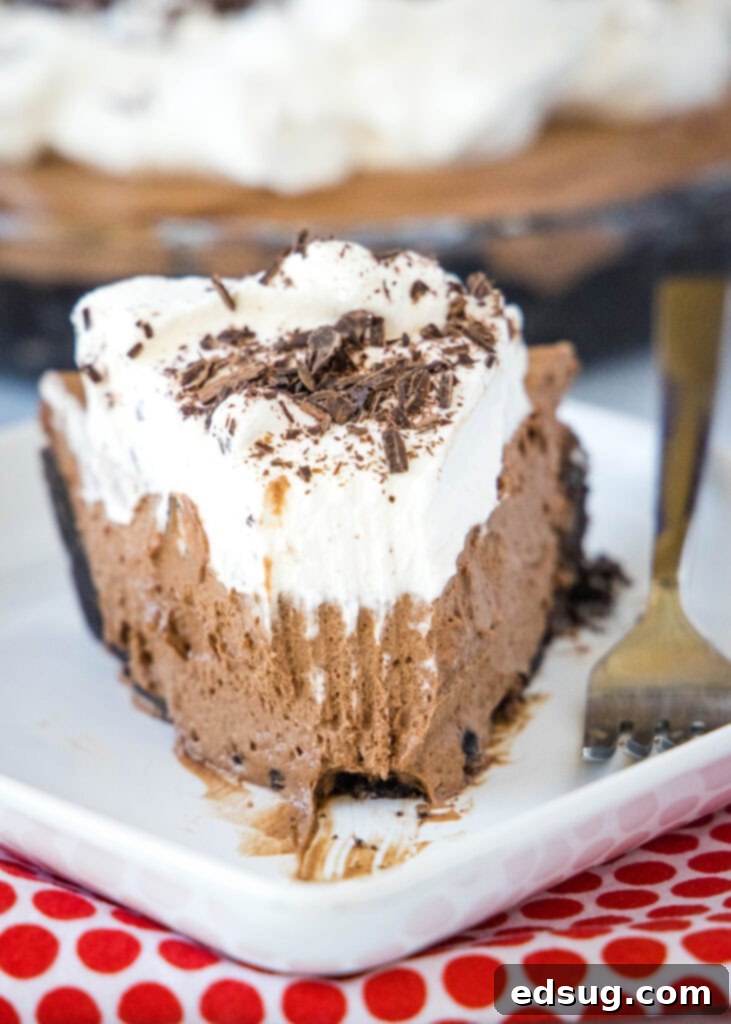
Why This Death By Chocolate Pie Is Unforgettable
This isn’t just another chocolate pie recipe; it’s a carefully crafted experience designed to deliver maximum chocolate impact. From the very first bite of its crunchy crust to the last lingering taste of its velvety mousse and light topping, every element is designed to amplify the chocolate flavor. It’s a perfect dessert for special occasions like birthdays, anniversaries, or holiday gatherings, but it’s equally wonderful for a simple weekend treat when you want to pamper yourself and your loved ones. The best part? It’s a remarkably easy no-bake recipe, which means less time in a hot kitchen and more time enjoying this divine creation.
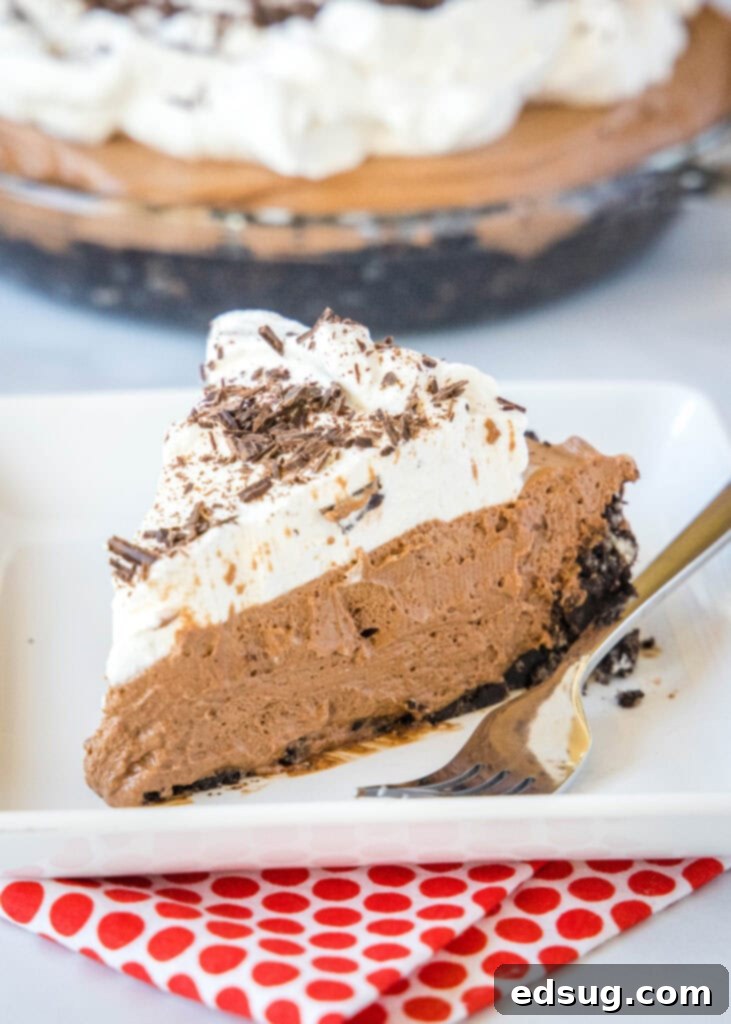
Chocolate is undeniably the star of this pie, featuring prominently in every layer. We start with a robust chocolate cookie crust made from crushed Oreos, move onto a deeply flavorful chocolate mousse filling, and finally, garnish with a sprinkle of delicate chocolate shavings. There was a considerable debate about whether to use chocolate or vanilla whipped cream for the topping. After polling my loyal followers on Instagram and Facebook, the results were a perfect 50/50 tie! Ultimately, I opted for a vanilla-flavored whipped cream. This decision was made to provide a subtle contrast and a refreshing balance to the intense richness of the chocolate, ensuring the pie remains incredibly decadent without becoming overwhelming.
Essential Ingredients for the Ultimate Chocolate Experience
For the exact measurements and full printable recipe card, please scroll to the bottom of the post.
While this recipe doesn’t call for a vast array of exotic ingredients, the quality of each component, especially the chocolate, is absolutely paramount. Since chocolate is the hero here, investing in high-quality semi-sweet chocolate will truly elevate your pie, guaranteeing a rich, decadent, and unforgettable dessert experience. Using premium ingredients makes all the difference in achieving that deep, luxurious chocolate flavor that defines a “Death By Chocolate” dessert. Don’t skimp on quality; your taste buds will thank you!
- Oreo Cookies: These iconic chocolate sandwich cookies form the base of our irresistible chocolate cookie crust. Their intense chocolate flavor and creamy filling create a perfectly crunchy and flavorful foundation that complements the mousse beautifully.
- Unsalted Butter: Essential for binding the cookie crumbs together and creating a firm, flavorful crust. Using unsalted butter allows you to precisely control the amount of salt in your baking, ensuring optimal taste.
- Semi-Sweet Chocolate: This is where quality truly shines! Choose a reputable brand of baking chocolate, either in bar form (finely chopped) or high-quality semi-sweet chocolate chips (at least 60% cocoa solids) for the deepest, most complex flavor in your mousse. Avoid generic chocolate chips if possible, as they often contain stabilizers that can affect melting consistency.
- Heavy Cream: The backbone of both the luscious chocolate mousse and the airy whipped cream topping. Look for heavy cream or heavy whipping cream with at least 36% milk fat for optimal whipping and a rich, creamy texture.
- Vanilla Extract: A touch of pure vanilla extract is a crucial flavor enhancer. It not only complements but also deepens the overall chocolate flavor, adding warmth and complexity to both the mousse and the topping.
- Powdered Sugar (Confectioners’ Sugar): Used to sweeten both the mousse and the whipped cream topping. Its fine consistency ensures it dissolves smoothly, creating a silky texture without any grittiness.
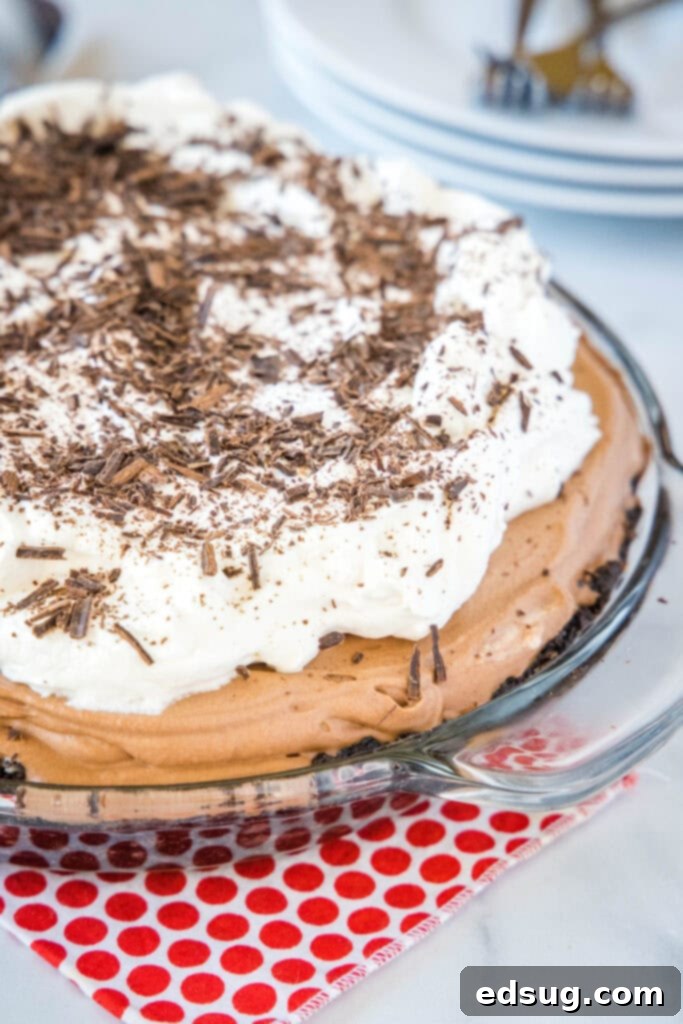
How to Create Your Death By Chocolate Pie: A Step-by-Step Guide
While this pie does involve a few distinct steps, the beauty of this no-bake recipe is its flexibility. You can prepare various components ahead of time, making it a fantastic dessert for entertaining, as you won’t need to do everything at once. The most important thing is to allow ample time for chilling to ensure the chocolate mousse sets perfectly, guaranteeing a firm, beautiful slice of pure bliss.
- Prepare the Oreo Cookie Crust: Begin by finely crushing your Oreo cookies. A food processor works best for achieving uniform, fine crumbs quickly. If you don’t have one, place the cookies in a sturdy Ziploc bag and crush them with a rolling pin until very fine. In a medium bowl, mix these cookie crumbs thoroughly with the melted unsalted butter until the mixture resembles wet sand. Press this mixture firmly and evenly into a 9-inch pie plate, extending it up the sides. Ensure the crust is compact and well-formed. Place the pie plate in the refrigerator to chill while you prepare the filling; chilling helps it firm up and prevents crumbling when sliced.
- Craft the Rich Chocolate Mousse Base (Ganache): This step forms the intensely chocolatey foundation of our mousse. In a microwave-safe bowl, heat 1 cup of heavy cream for approximately 60-75 seconds until it’s very hot but not boiling. Pour the hot cream immediately over your finely chopped semi-sweet chocolate (chopping helps it melt more evenly and quickly). Let it stand undisturbed for one full minute to allow the residual heat from the cream to melt the chocolate. After a minute, gently stir the mixture with a spatula or whisk until all the chocolate has melted and you have a beautifully smooth, glossy, and uniform ganache. Set this aside to cool completely to room temperature. It is absolutely crucial that the ganache is cool before folding it into the whipped cream; otherwise, it will melt the cream and result in a runny mousse.
- Whip the Cream for the Mousse: While the ganache cools, prepare the whipped cream component of your mousse. In a large mixing bowl, beat the remaining 1 1/4 cups of heavy cream (from your total 2 1/4 cups for the mousse) using an electric mixer fitted with a whisk attachment. Beat on high speed until stiff peaks form. This means the cream will hold its shape firmly when the whisk is lifted. Carefully fold in 1 teaspoon of vanilla extract and 1/3 cup of powdered sugar until just combined and the cream remains light and fluffy. Be cautious not to overmix, as this can turn the cream grainy.
- Assemble the Chocolate Mousse: Once your chocolate ganache has cooled to room temperature (it should be thick but still pourable, not warm), gently fold it into the prepared whipped cream mixture. Use a spatula and a light hand to fold until the chocolate is fully incorporated, ensuring no streaks of white cream remain, but be careful not to deflate the whipped cream. The goal is a light, airy, yet rich chocolate mousse. Pour this glorious mousse into your chilled Oreo crust and spread it evenly with the back of the spatula. Return the pie to the refrigerator and allow it to set for a minimum of 4-5 hours, or preferably overnight, to achieve the perfect firm, sliceable consistency. Patience is key here!
- Prepare the Vanilla Whipped Cream Topping: When you are close to ready to serve (about an hour or two beforehand is ideal), prepare the final whipped cream topping. In a clean mixing bowl, beat 1 cup of heavy cream until stiff peaks form. Add 1/4 cup of powdered sugar and 1/2 teaspoon of vanilla extract, beating just until the topping is light and fluffy. Spread this creamy, vanilla-infused topping generously and evenly over your set chocolate pie.
- Add the Chocolate Shavings: For the ultimate presentation and an extra touch of chocolate elegance, use a vegetable peeler to carefully create delicate chocolate shavings from a 1-ounce bar of chocolate. Sprinkle these shavings artfully over the whipped cream topping just before serving. This adds visual appeal and a delightful textural contrast.
Tips for Success & Common Questions
Achieving the perfect Death By Chocolate Pie is simple with a few key considerations:
- Quality Chocolate is Non-Negotiable: As the name suggests, chocolate is everything in this pie. Opt for a good quality semi-sweet chocolate bar (such as Ghirardelli, Lindt, or similar baking brands) rather than standard chocolate chips, which often contain stabilizers that can prevent smooth melting. This choice will greatly impact the richness and texture of your mousse.
- Ensure Ganache is Fully Cooled: This is arguably the most crucial tip. Your melted chocolate and cream mixture (ganache) *must* be completely cooled to room temperature before you attempt to fold it into the whipped cream. If it’s even slightly warm, it will melt the delicate whipped cream, resulting in a runny, unstable mousse.
- Gentle Folding Technique: When combining the cooled ganache and the whipped cream, use a light, gentle folding motion with a rubber spatula. The goal is to incorporate the chocolate without deflating all the air you’ve whipped into the cream. Overmixing will result in a dense, heavy mousse instead of a light and airy one.
- Patience with Chilling Time: The setting time for this pie is critical for achieving its signature firm, yet creamy, texture. Rushing this step will lead to a messy, unmanageable slice. Give it at least 4-5 hours, or ideally overnight, in the refrigerator for the mousse to firm up properly.
- Freshly Whipped Cream for Topping: While store-bought whipped topping can be a convenient shortcut, freshly whipped heavy cream offers a superior texture and fresh vanilla flavor that truly elevates the pie’s topping.
- Can I use a different crust? Absolutely! While Oreos provide a classic chocolatey foundation, you could also use a graham cracker crust, digestive biscuit crust, or even a different type of chocolate cookie crust.
Storage Guidelines for Your Death By Chocolate Pie
This exquisite pie must be stored in the refrigerator due to its fresh cream and mousse components. It will remain wonderfully fresh and delicious for up to 3 days when properly stored. To protect the delicate whipped cream topping and prevent it from getting smashed, I highly recommend placing a few toothpicks around the top of the pie before gently covering it with plastic wrap. This clever trick creates a small dome, keeping the topping pristine while ensuring the pie stays fresh and flavorful.
The Fascinating Origin of “Death By Chocolate”
Have you ever paused to wonder about the dramatic and intriguing name “Death By Chocolate”? The phrase actually gained widespread popularity and entered culinary lexicon in 1981. It was at this time that a particularly creative pastry chef invented a magnificent, multi-layered chocolate cake and boldly named it “la Mort au Chocolat,” which elegantly translates from French to “Death by Chocolate.” Since that memorable debut, the evocative moniker has been enthusiastically adopted by a wide variety of desserts that feature chocolate layered upon chocolate, upon even more chocolate. These desserts, true to the spirit of the name, deliver an intensely rich, overwhelmingly satisfying, and utterly indulgent chocolate experience that truly lives up to its delicious promise.
Craving More Irresistible Chocolate Dessert Recipes?
If this Death By Chocolate Pie has ignited your love for all things cocoa, you’ll be thrilled to explore more incredible chocolate desserts that are perfect for any occasion. Dive into these other delightful recipes to keep your chocolate journey going strong:
- Chocolate Molten Lava Cake: A rich, gooey delight with a molten center, perfect for a romantic dessert or a quick indulgence.
- French Hot Chocolate: Experience the ultimate in luxurious, thick, and intensely chocolatey hot chocolate – a true indulgence for cold evenings.
- Flourless Chocolate Cake: For an incredibly intense chocolate flavor and a fudgy texture, this naturally gluten-free cake is a showstopper.
- Nutella Cupcakes: The delightful hazelnut-chocolate spread is baked into tender cupcakes, topped with a creamy frosting.
- Double Chocolate Cupcakes: For those who firmly believe that more chocolate is always better, these are packed with cocoa flavor from cake to frosting.
- Cosmic Brownies: A nostalgic treat reimagined with a supremely fudgy texture and colorful candy sprinkles.
- Nutella Skillet Cookie: A warm, gooey, and utterly delicious giant cookie baked in a skillet, perfect for sharing (or not!).
- French Silk Pie: Another rich, velvety, and creamy pie featuring a luscious chocolate filling, similar in decadence to our Death By Chocolate Pie.

★
★
★
★
Death By Chocolate Pie
Rate Recipe
Print Recipe
Ingredients
Oreo Crust
- 20 Oreo® cookies, crushed
- 5 tablespoons unsalted butter, melted
Chocolate Mousse Filling
- 2 1/4 cups heavy cream, divided (1 cup for ganache, 1 1/4 cups for whipping)
- 8 ounces semi-sweet chocolate, finely chopped
- 1 teaspoon vanilla extract
- 1/3 cup powdered sugar
Topping
- 1 cup heavy cream
- 1/4 cup powdered sugar
- 1/2 teaspoon vanilla extract
- 1 ounce chocolate, for shavings
Instructions
-
Combine crushed Oreo cookies and melted unsalted butter together in a bowl until the consistency resembles wet sand. Press this mixture firmly and evenly into the bottom and up the sides of a 9-inch pie plate to form the crust. Place the pie plate in the fridge to chill while you prepare the filling. This helps the crust set and prevents it from crumbling when sliced.
-
To make the chocolate mousse filling, first prepare your ganache. Heat 1 cup of the heavy cream in a microwave-safe dish for approximately 1 minute (until hot but not boiling). Pour this hot cream over the finely chopped 8 ounces of semi-sweet chocolate in a separate bowl. Let it stand undisturbed for 1 minute to allow the residual heat from the cream to soften the chocolate. After 1 minute, stir the mixture gently with a spatula or whisk until all the chocolate is melted and you have a smooth, glossy ganache. Set this aside and allow it to cool completely to room temperature. This step is critical; if the ganache is warm, it will melt your whipped cream.
-
Meanwhile, prepare the whipped cream for the mousse. In an electric stand mixer fitted with a whisk attachment (or using a hand mixer), beat the remaining 1 1/4 cups of heavy cream on high speed until stiff peaks form. Once stiff peaks are achieved, gently mix in 1 teaspoon of vanilla extract and 1/3 cup of powdered sugar until just combined and the whipped cream is light and fluffy. Be careful not to overmix at this stage.
-
Once the chocolate ganache has mostly cooled and thickened but is still workable, slowly add it to the whipped cream mixture. Using a spatula, gently fold the chocolate into the whipped cream until it is just blended and no streaks of white cream remain, but the mousse still retains its airy, fluffy texture. Pour this exquisite chocolate mousse into your chilled Oreo crust and spread it evenly with the back of the spatula. Place the pie back into the fridge and let it set completely for at least 4 hours, or ideally overnight, for the best results.
-
Before serving the pie, prepare the final whipped cream topping. In a clean mixing bowl, beat 1 cup of heavy cream until stiff peaks form. Add in 1/4 cup of powdered sugar and 1/2 teaspoon of vanilla extract, and beat until the topping is light and fluffy. Spread this creamy, vanilla-infused topping generously and evenly over the set chocolate pie.
-
Using a vegetable peeler, carefully shave a 1-ounce bar of chocolate directly over the top of the pie to create beautiful chocolate shavings. This adds a professional finish and an extra burst of chocolate flavor.
-
Store any leftover pie in the fridge, covered loosely with plastic wrap (using toothpicks to prevent smashing the topping), for up to 3 days.
Nutrition
Carbohydrates: 52g |
Protein: 6g |
Fat: 57g |
Saturated Fat: 34g |
Polyunsaturated Fat: 20g |
Trans Fat: 1g |
Cholesterol: 129mg |
Sodium: 150mg |
Fiber: 3g |
Sugar: 40g
Nutrition information is automatically calculated, so should only be used as an approximation.
Additional Info
Like this recipe? Leave a comment below!
I created a fun group on Facebook, and I would love for you to join us! It’s a vibrant community where you can share YOUR favorite recipes, ask questions, and stay updated on what’s new at Dinners, Dishes and Desserts, ensuring you never miss a new, delicious recipe!
Be sure to follow me on Instagram and tag #dinnersdishes so I can see all the wonderful DINNERS, DISHES, AND DESSERTS recipes YOU make!
Be sure to follow me on my social media channels, so you never miss a post!
Facebook |
Twitter |
Pinterest |
Instagram
