Score Big with Decadent Chocolate Covered Peanut Butter Footballs: Your Ultimate Game Day Treat!
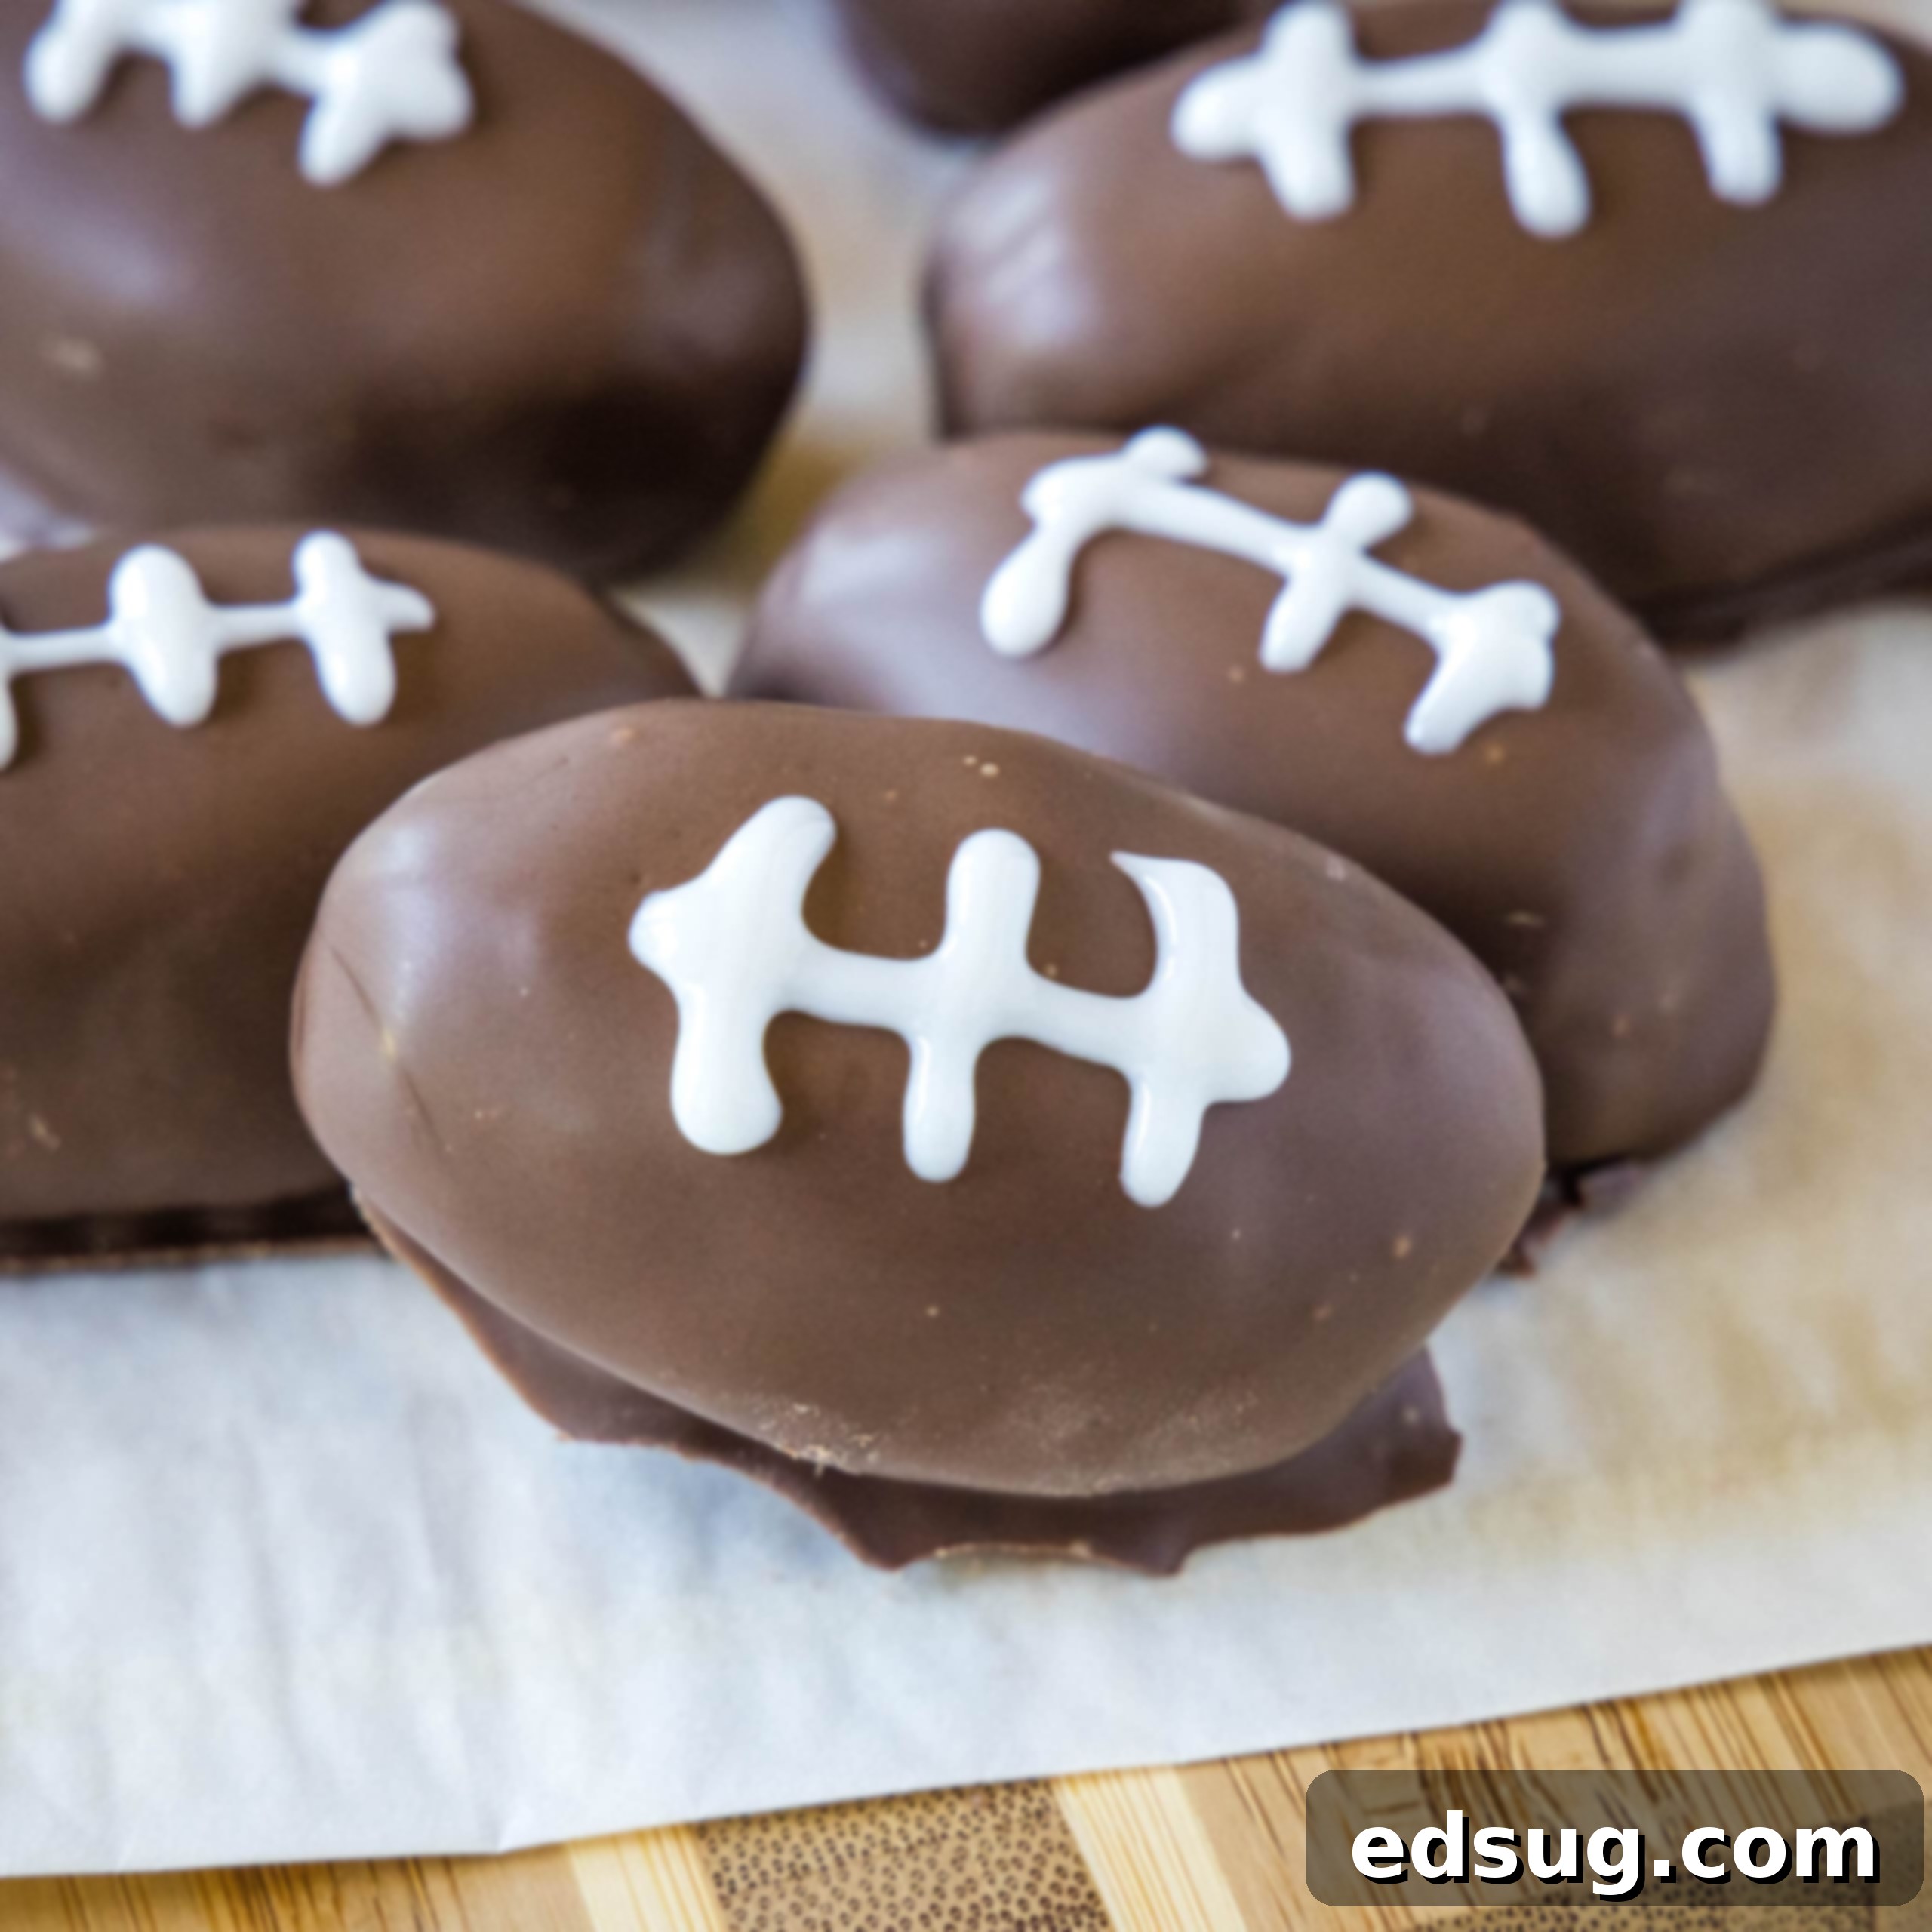
Get ready to elevate your game day experience with these incredible Chocolate Covered Peanut Butter Footballs! These aren’t just any ordinary dessert; they’re a delightful homage to America’s favorite snack, the Reese’s Peanut Butter Cup, but crafted into an adorable football shape perfect for any gridiron gathering. Imagine the cheers when you bring out a platter of these rich, creamy, and undeniably festive treats. They offer that iconic, irresistible combination of smooth peanut butter and luscious chocolate, making them a guaranteed crowd-plepleaser for all ages.
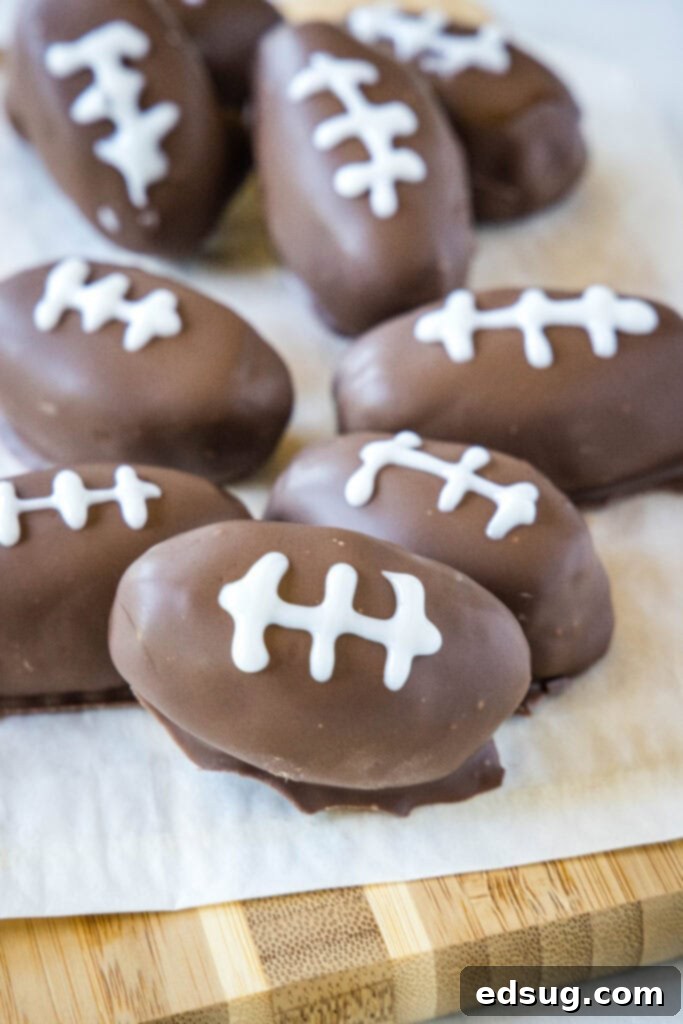
Hosting a party, especially for a big game, is always a blast. But when you can tailor your food to match the theme, it transforms a good party into a truly spectacular one! While everyone expects classic savory staples like Crock Pot Queso or hearty Totchos, why not surprise your guests with something uniquely themed for dessert? These peanut butter footballs are not only incredibly fun but also surprisingly easy to make, adding a personalized, celebratory touch that store-bought sweets simply can’t match.
Think of these charming little footballs as a playful twist on a beloved classic: the Buckeye. Buckeyes are a staple during the holiday season, renowned for their delicious peanut butter centers partially dipped in chocolate. We’ve simply taken that cherished recipe and reimagined it into an oval shape, making it ideal for football season. There’s no need to limit these delectable bites to Christmas; their versatility means they can be enjoyed for any special occasion. The real fun begins when you pipe on the white laces, which instantly transforms them into miniature, edible footballs, making them extra festive and exciting for your guests.
Why These Peanut Butter Footballs Will Be Your New Game Day Favorite
There are countless reasons why these Chocolate Covered Peanut Butter Footballs are destined to become a beloved tradition in your game day spread. From their appealing look to their straightforward preparation and make-ahead convenience, they tick all the boxes for a winning party treat.
- Irresistibly Cute – The visual appeal of these football-shaped treats is undeniable. They’re a fantastic way to bring the spirit of the game directly to your dessert table. Everyone, from avid sports fans to casual viewers, will adore these whimsical, themed foods. They spark conversation, add a playful touch to your decor, and get everyone in a festive mood, making your gathering feel even more special and well-thought-out.
- Remarkably Easy – Don’t let the intricate appearance fool you; these delightful footballs are no more difficult to prepare than traditional peanut butter balls. The process is straightforward: instead of rolling the peanut butter mixture into a perfect sphere, you simply mold it into a slightly elongated oval. The dipping and decorating steps are equally simple, making this a perfect recipe for bakers of all skill levels. You’ll be amazed at how quickly you can create a large batch of these impressive treats with minimal fuss.
- Perfectly Make-Ahead – Planning a party can be stressful, but these peanut butter footballs are designed to make your life easier. They are an excellent make-ahead dessert, meaning you can prepare them days, or even weeks, in advance and store them until game day. This convenience frees up your time on the day of the event, allowing you to focus on other preparations or simply enjoy the company of your guests. Plus, if you’re hosting multiple game day get-togethers, you can make a large batch and pull them out of the freezer whenever the big game is on!
Gather Your Simple Ingredients
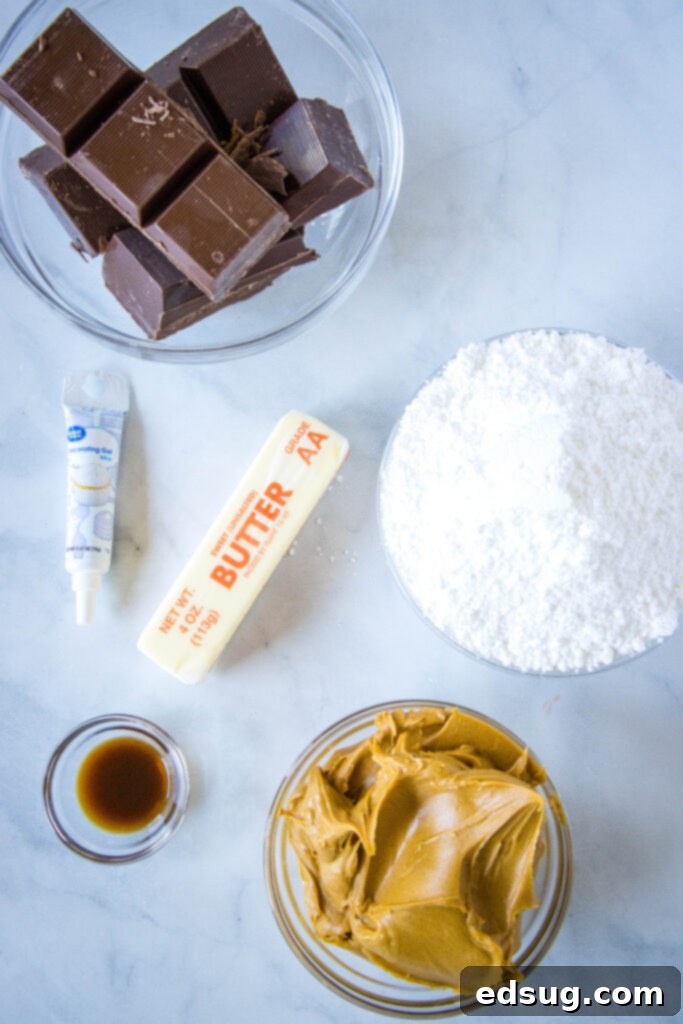
Before you dive into crafting these irresistible game day treats, make sure you have these key ingredients on hand. For the FULL PRINTABLE recipe card with exact measurements, be sure to scroll to the bottom of the post.
- Creamy Peanut Butter: The star of the show! Opt for a smooth, creamy variety for the best texture in your footballs. Avoid natural peanut butter that requires stirring, as it can be too oily and make the mixture difficult to work with.
- Butter: Softened butter helps bind the peanut butter mixture and adds a rich, melt-in-your-mouth quality.
- Vanilla Extract: A touch of vanilla enhances the overall flavor profile, adding warmth and depth to the peanut butter.
- Powdered Sugar: This fine sugar is crucial for achieving a smooth, non-gritty texture in the peanut butter filling. It dissolves easily and provides the perfect sweetness.
- Melting Chocolate: Essential for that smooth, glossy, and quick-setting chocolate coating. We’ll discuss the best types to use below!
- White Decorating Gel: This is what gives your footballs their authentic “laces,” adding that adorable finishing touch.
Crafting Your Chocolate Peanut Butter Footballs: A Step-by-Step Guide
Making these chocolate-covered peanut butter footballs is a fun and rewarding process. Follow these simple steps for perfect game day treats every time!
- Prepare the Peanut Butter Mixture: In a large mixing bowl, combine the creamy peanut butter, softened butter, vanilla extract, and powdered sugar. Use an electric mixer, if you have one, to ensure all ingredients are thoroughly combined and smooth. The mixture should be thick and pliable, perfect for shaping.
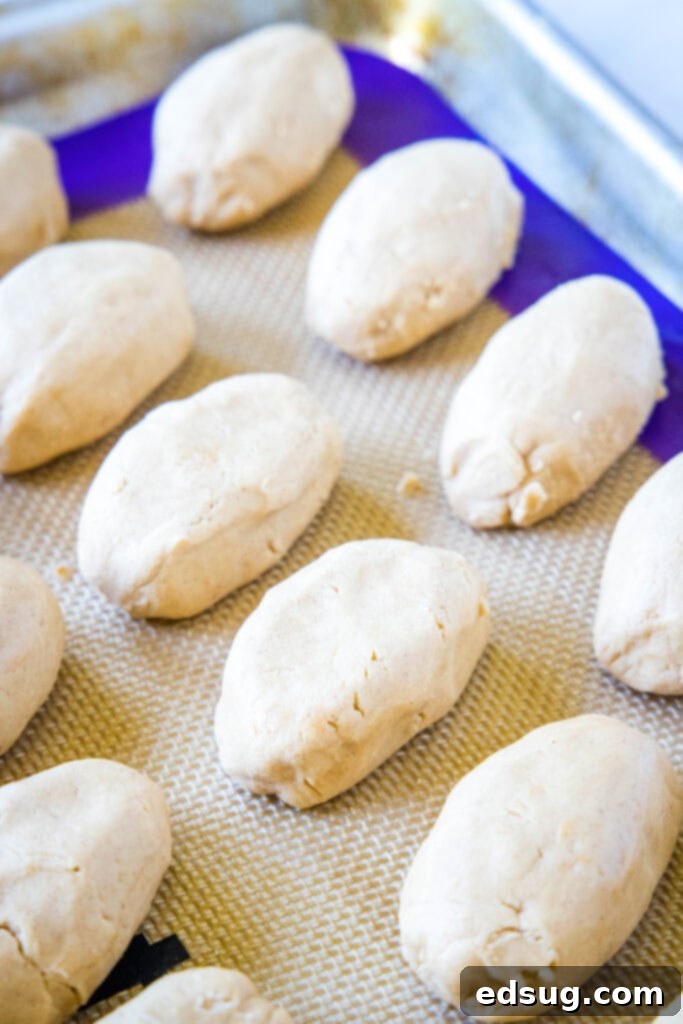
- Shape the Footballs: Take about 1 to 2 tablespoons of the peanut butter mixture and gently shape it into an oval, loosely resembling a miniature football. Don’t worry about perfection; slight variations add character! Place each shaped football onto a baking tray lined with parchment paper or a silicone mat.
- Chill to Firm Up: Once all your footballs are shaped, place the baking tray in the refrigerator for at least 30 minutes. This crucial step allows the peanut butter mixture to firm up, preventing them from falling apart or losing their shape when you dip them into the melted chocolate. A firmer center makes for easier dipping and a cleaner finished product.
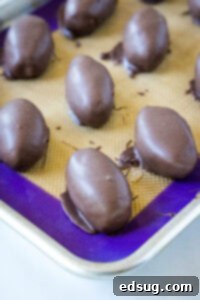
- Dip in Melted Chocolate: Melt your chosen chocolate according to package directions. Carefully dip each chilled peanut butter football into the melted chocolate, ensuring it’s fully coated. A fork or a dipping tool can be helpful here to allow excess chocolate to drip off. Gently place the chocolate-covered footballs back onto the prepared baking sheet. Allow the chocolate coating to harden completely at room temperature or in the refrigerator before moving on to the next step.
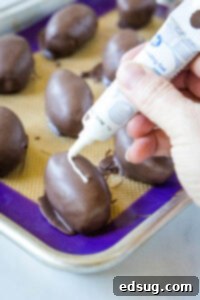
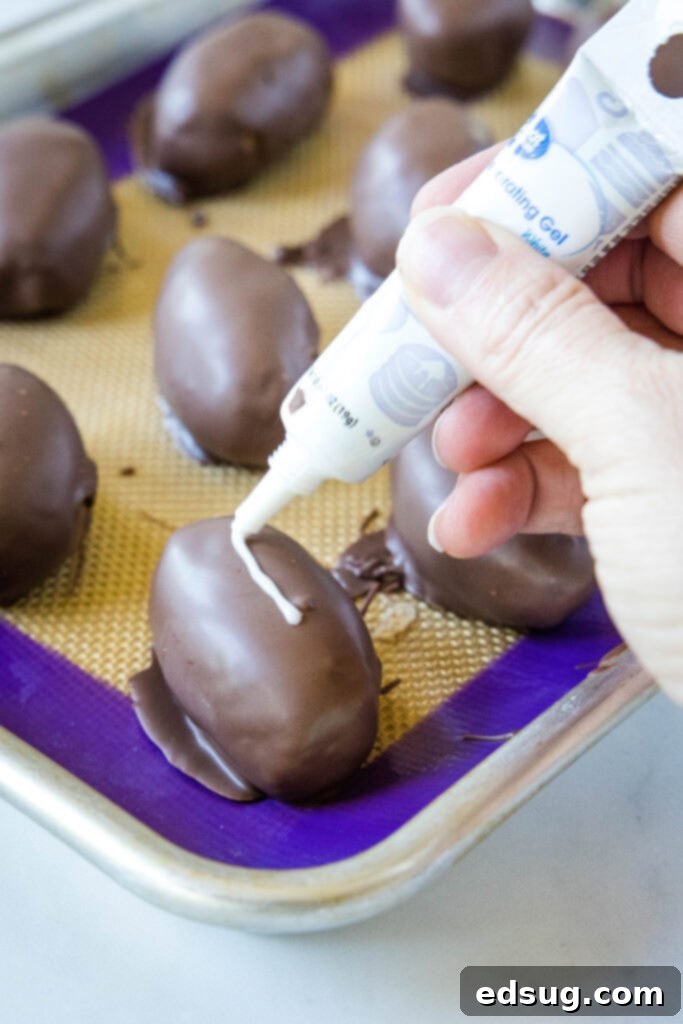
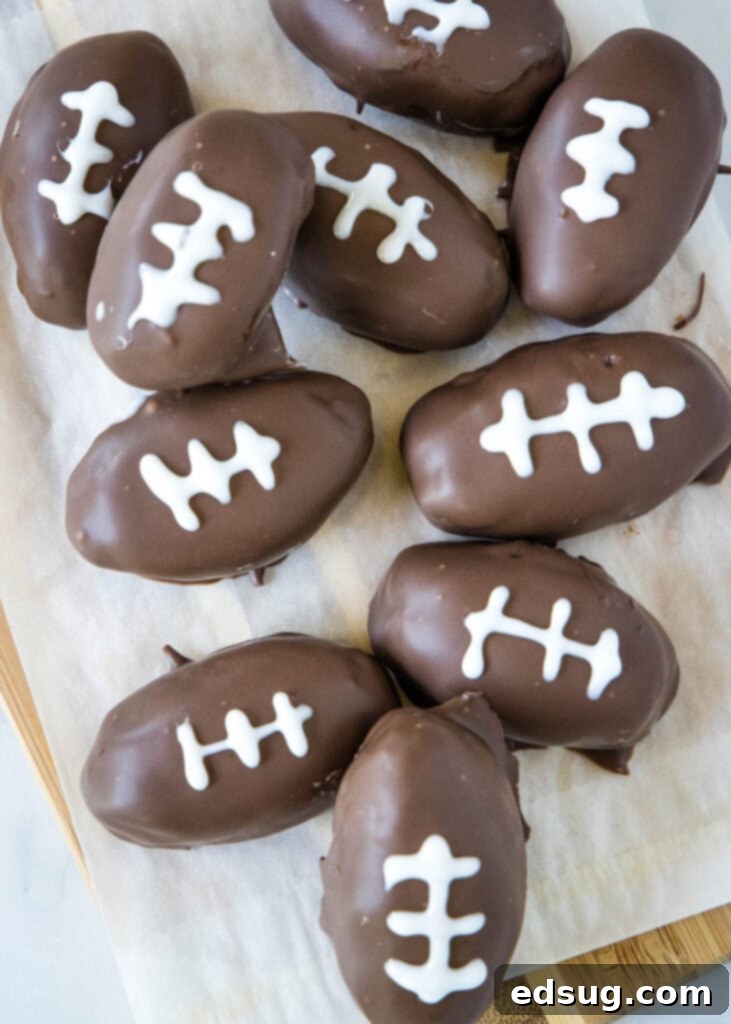
- Add the Laces: Once the chocolate is fully set and firm to the touch, it’s time for the artistic touch! Take your tube of white decorating gel. Carefully pipe the iconic football laces onto each chocolate-covered treat. A single vertical line down the center, followed by three horizontal dashes, usually does the trick.
- Final Set and Serve: Let the white decorating gel set completely before arranging your footballs on a serving platter. This ensures the laces don’t smudge. Once set, they are ready to impress your game day guests!
Pro Tips & Creative Suggestions for Perfect Peanut Butter Footballs
- Decorating Gel Selection: For piping the white laces, you’ll find tubes of Wilton or Betty Crocker Decorating Gel readily available in the baking aisle of most grocery stores. These gels come with a fine tip, making it incredibly easy to create neat, crisp laces on your footballs. If you don’t have decorating gel, a small ziplock bag with a tiny corner snipped off, filled with melted white chocolate, can work as an alternative.
- Mixing Made Easy: While I highly recommend using an electric mixer to achieve a super smooth and consistently combined peanut butter mixture, it’s not strictly essential. If you don’t have one, don’t worry! A sturdy spoon and a bit of elbow grease will also get the job done, just be prepared for a good arm workout! Ensure all ingredients are well incorporated for the best texture.
- Mastering the Football Shape: To ensure uniform footballs, I find it easiest to use a medium-sized cookie dough scoop (approximately 2 tablespoons) to portion out the peanut butter mixture. Start by rolling the scooped dough into a round ball, then gently flatten the sides and lightly pinch the ends to create that characteristic football oval. This method helps maintain consistency across your batch.
- Texture Variations: If you enjoy a bit of crunch in your sweets, feel free to substitute creamy peanut butter with crunchy peanut butter. This will add a delightful textural contrast that many find appealing. Experiment with different nut butters too, like almond or cashew butter, for unique flavor profiles.
- Flavor Boosters: Consider adding a pinch of salt to the peanut butter mixture to really make the flavors pop. For an extra layer of indulgence, you could also mix in some mini chocolate chips or finely chopped nuts directly into the peanut butter base before shaping.
- Kid-Friendly Fun: This is a fantastic recipe to get kids involved in the kitchen! They’ll love helping with the shaping and, especially, piping the laces. Just be prepared for a little mess and a lot of giggles!
Storage & Make-Ahead Magic
One of the best features of these chocolate peanut butter footballs is how well they store, making them ideal for preparing in advance for your game day celebrations or simply to have on hand for a sweet craving.
Refrigerator Storage: Store your finished peanut butter footballs in an airtight container in the refrigerator. When stored properly, they will maintain their freshness and delicious taste for up to about a month. For the best eating experience, I recommend taking them out of the fridge a few minutes before serving, allowing them to come closer to room temperature. This softens the peanut butter slightly and allows the flavors to truly shine. However, if you’re a fan of a firmer, colder treat (much like a cold Reese’s!), feel free to enjoy them straight out of the fridge.
Freezing for Long-Term Enjoyment: These treats freeze exceptionally well! If you plan to make a large batch or want to ensure you always have a supply for future game days, simply place them in an airtight freezer-safe container. They will keep beautifully in the freezer for 3-4 months. When you’re ready to enjoy them, transfer them to the refrigerator to thaw overnight, or for a few hours until softened. This make-ahead capability is a lifesaver for busy hosts and ensures you’re always ready for a touchdown-worthy dessert!
Choosing the Best Chocolate for a Flawless Finish
The type of chocolate you use for dipping can make a significant difference in the final appearance and texture of your peanut butter footballs. For a smooth, even, and quickly setting coating, it’s crucial to select the right kind of chocolate.
Avoid Chocolate Chips: While convenient for baking, standard chocolate chips are not ideal for dipping. They contain stabilizers that help them maintain their shape during baking, which also makes them thicker and harder to melt into a consistently thin and smooth coating. Dipping with chocolate chips often results in a clumpy, uneven finish that takes longer to set.
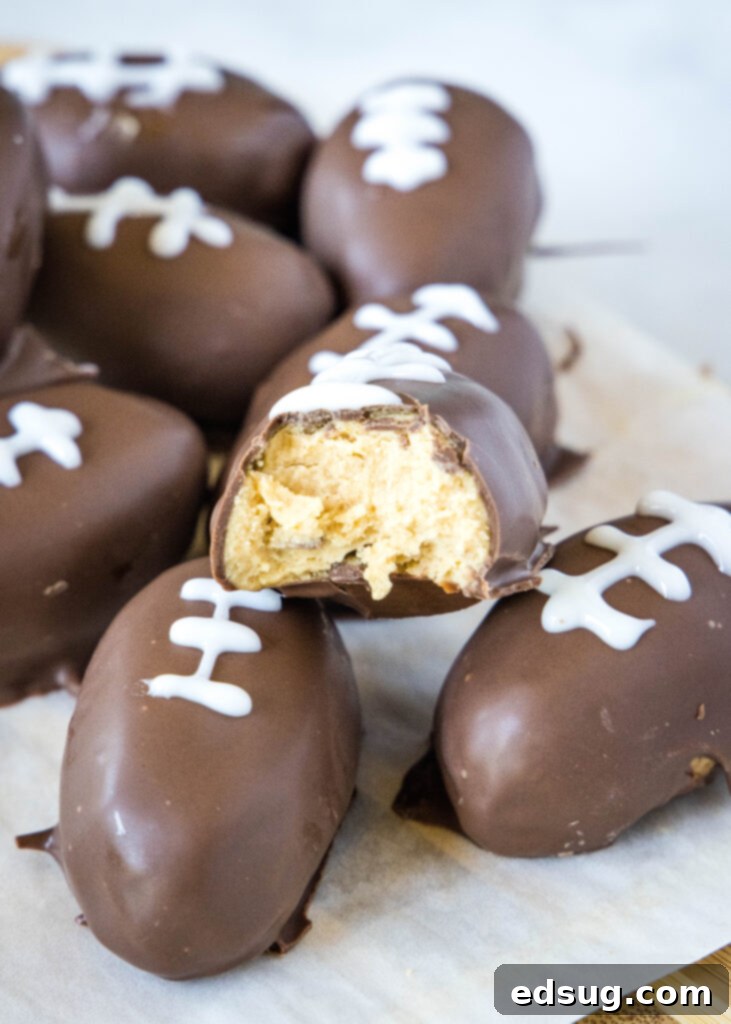
Opt for Melting Wafers or Almond Bark: For a truly professional-looking and effortlessly smooth chocolate shell, I highly recommend using chocolate almond bark or chocolate melting disks (also known as candy melts or confectionery coating). These products are specifically designed for melting and coating. They melt quickly and evenly, providing a thin, glossy coating that hardens rapidly and beautifully. This not only saves you time but also ensures your peanut butter footballs have that perfect, crisp chocolate shell without any tempering hassle.
More Fun Game Day Party Recipes to Complete Your Spread
Looking for more winning dishes to complement your peanut butter footballs? Here are some other fantastic game day recipes that are sure to be a hit at your next gathering:
- Peanut Butter Butterfinger Dip
- Cheesy Corn Dip
- Bacon Cheeseburger Dip
- Taco Dip
- Chocolate Hummus
- Chocolate Pizza
- Homemade Milky Ways

Peanut Butter Footballs
Pin Recipe
Rate Recipe
Print Recipe
Ingredients
- 1 1/2 cups creamy peanut butter
- 1/2 cup butter, softened
- 1 Tablespoon vanilla extract
- 1 pound powdered sugar
- 1 pound chocolate almond bark, melted
- White Decorating Gel
Instructions
-
In an electric mixer, combine the creamy peanut butter, softened butter, vanilla extract, and powdered sugar in a large bowl. Mix on medium speed until all ingredients are thoroughly combined and the mixture is smooth and pliable.1 1/2 cups creamy peanut butter, 1/2 cup butter, 1 Tablespoon vanilla extract, 1 pound powdered sugar

-
Scoop out 1-2 tablespoons of the peanut butter mixture. Roll it into a ball, then gently flatten the sides and pinch the ends to form an oval, loosely resembling a football. Place each shaped football on a baking tray lined with parchment paper.

-
Refrigerate the shaped footballs for at least 30 minutes. This chilling period is important to harden the mixture slightly, ensuring they hold their shape and don’t crumble when dipped in chocolate.

-
Melt the chocolate almond bark according to package instructions. Dip each chilled peanut butter football into the melted chocolate, ensuring it’s fully coated. Let any excess chocolate drip off, then place the dipped footballs back on the baking sheet to set completely.1 pound chocolate almond bark

-
Once the chocolate coating has completely hardened, use a tube of white decorating gel to pipe the laces onto each football. Create a single vertical line down the center, followed by three small horizontal dashes across it.White Decorating Gel

-
Allow the white decorating gel to set fully before serving your festive peanut butter footballs.
Nutrition
Nutrition information is automatically calculated, so should only be used as an approximation.
Additional Info
Like this recipe? Leave a comment below and share your experience!
I’ve created a fantastic community on Facebook, and I would absolutely love for you to join us! It’s a vibrant place where you can freely share YOUR favorite recipes, ask questions, exchange cooking tips, and stay updated on all the exciting new content from Dinners, Dishes and Desserts (so you never miss out on a delicious new recipe!).
Be sure to follow me on Instagram and don’t forget to tag #dinnersdishes so I can see all the wonderful DINNERS, DISHES, AND DESSERTS recipes YOU create! Your culinary creations inspire me and the entire community.
Make sure you’re following me across all my social media channels, so you
never miss a single post, recipe, or exciting update!
Facebook | Twitter | Pinterest | Instagram
