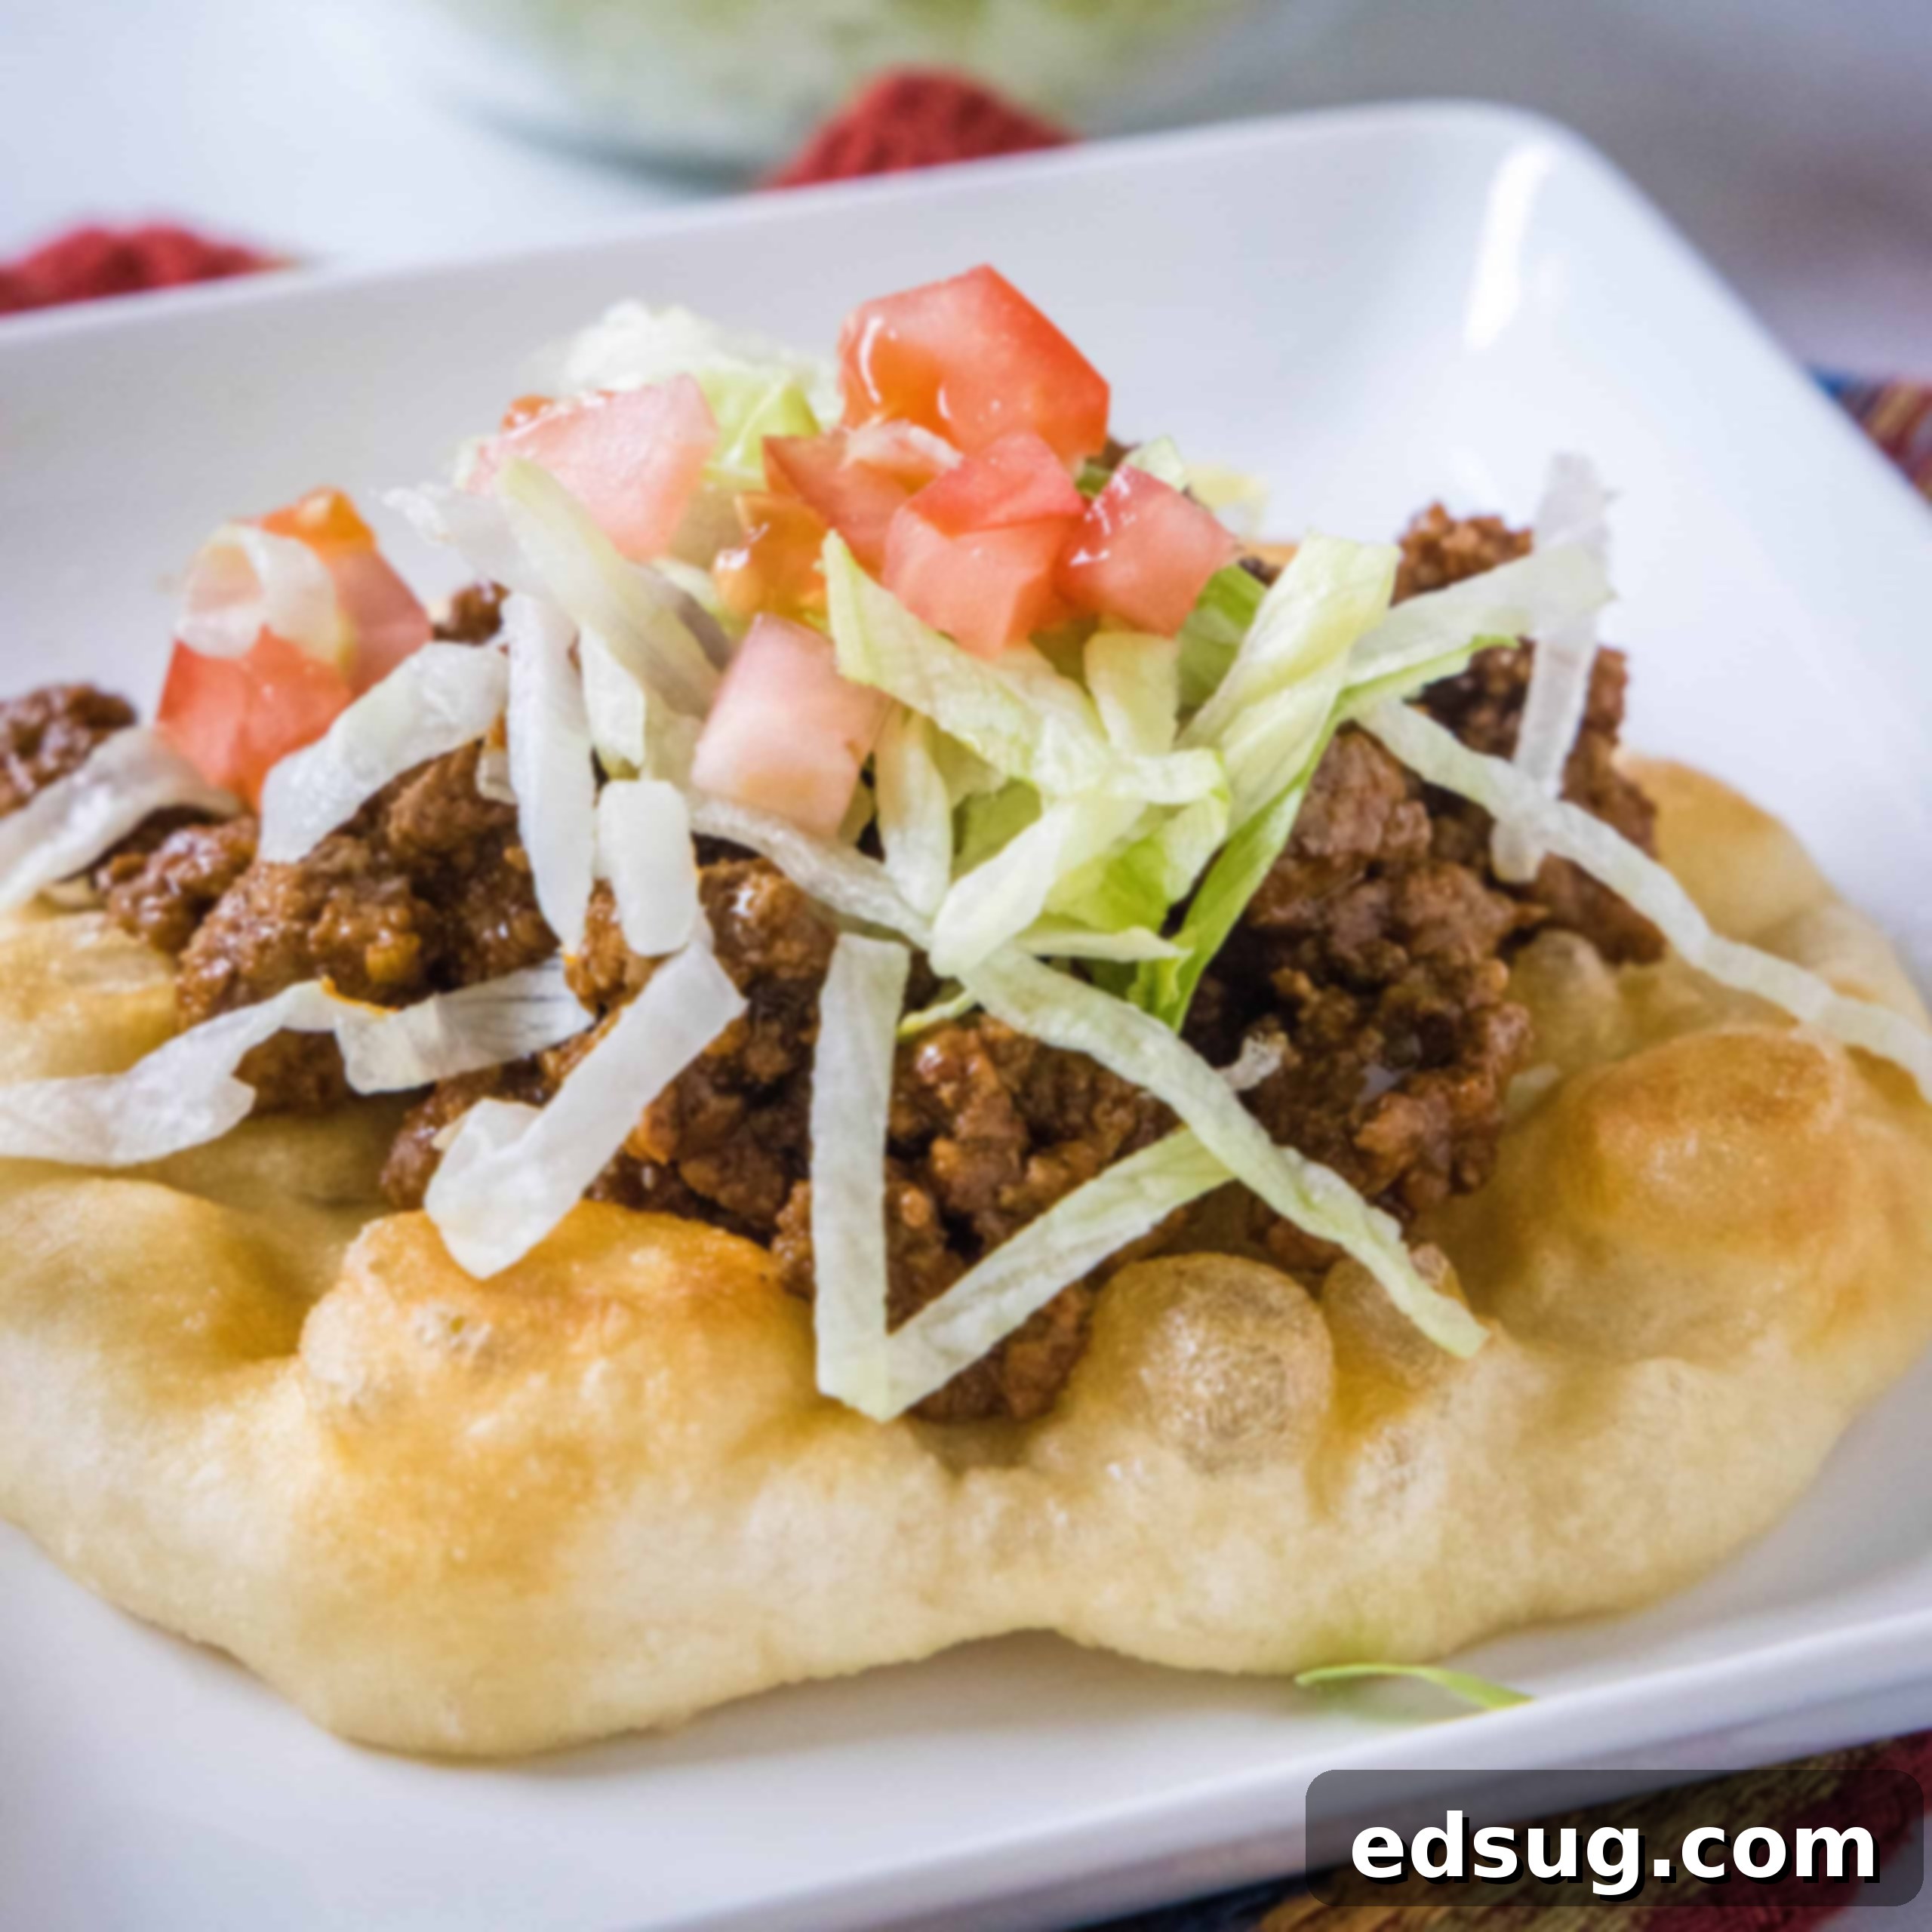
Authentic Navajo Tacos: A Culinary Journey with Homemade Indian Fry Bread
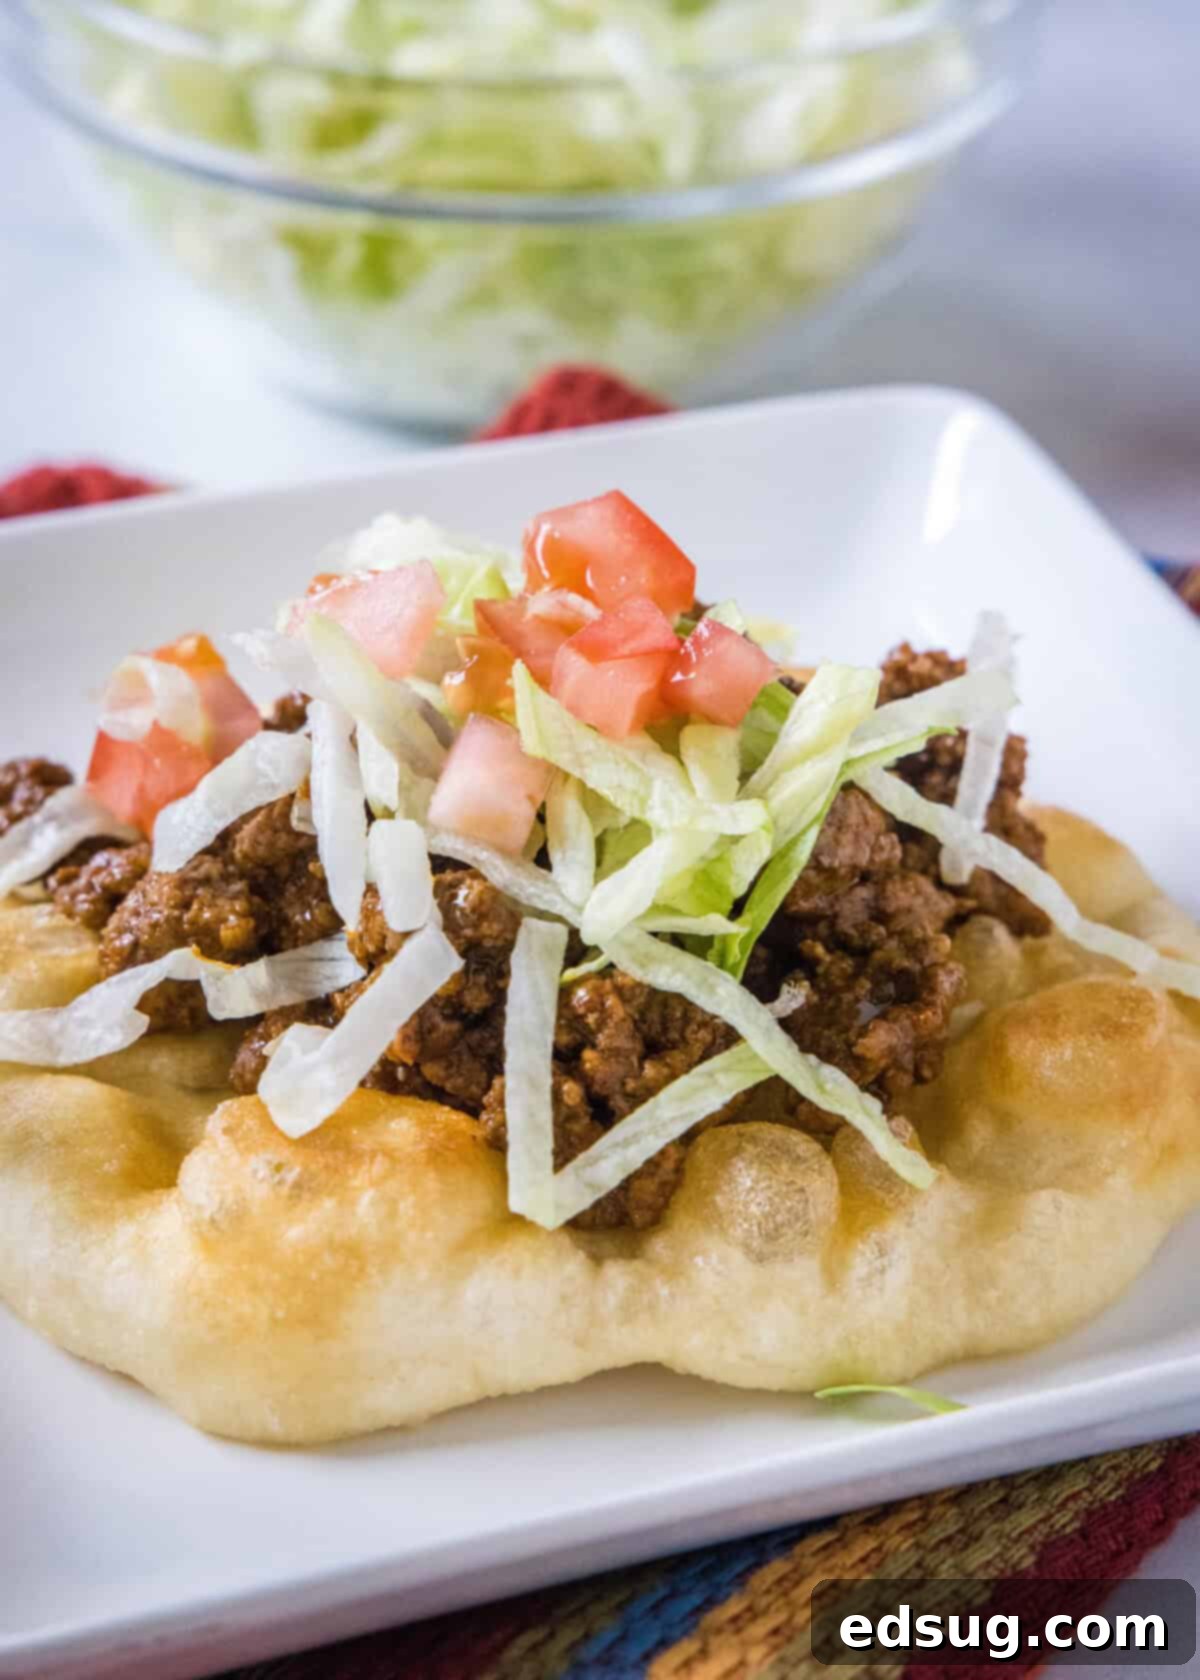
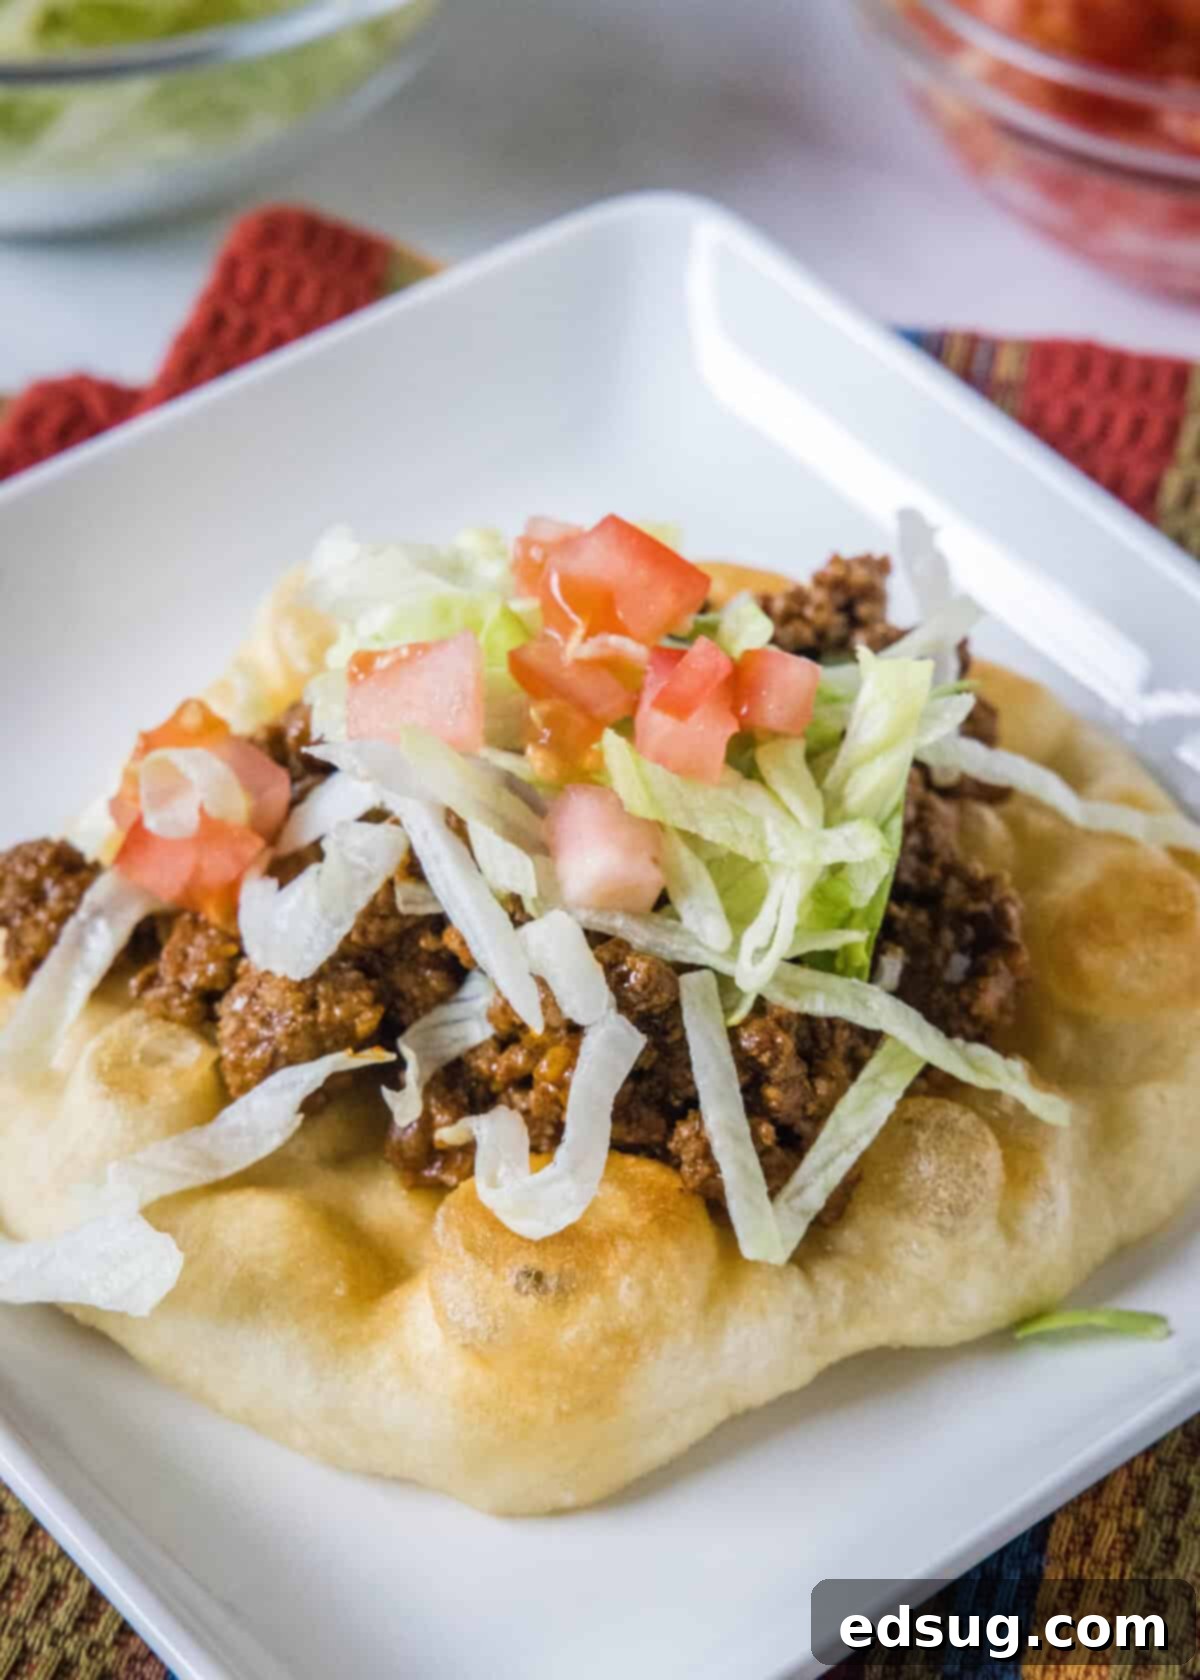
Taco Tuesday just received a magnificent upgrade with the introduction of **Navajo Tacos**, also affectionately known as **Indian Tacos**. At the heart of this dish lies the star ingredient: soft, fluffy, and perfectly golden **Native American Fry Bread**. This versatile bread provides an unparalleled foundation for all your favorite taco toppings, transforming an ordinary meal into an epic culinary experience that’s both comforting and bursting with flavor.
Indian Tacos offer a delicious and distinctive twist on traditional tacos. Instead of conventional tortillas, they feature hearty, golden fry bread, creating a textural delight with every bite. The savory seasoned meat, tender beans, and a vibrant array of fresh toppings come together on this unique base, promising a meal that’s truly satisfying and deeply flavorful. If you’ve never had the pleasure of tasting Indian fry bread, you are in for a treat. Its crispy exterior and tender, airy interior are utterly satisfying and make these tacos a fun, flavorful, and exciting way to explore new culinary horizons.
The history of Navajo fry bread is as rich and complex as its taste. Originating in the late 1800s, this staple was created by the Navajo people of Arizona, also known as the Diné, using ingredients supplied by the United States government during a period of immense hardship. After their ancestral lands were forcibly taken, the Navajo were relocated to a new environment that did not support their traditional crops like vegetables and beans. Facing severe resource limitations and hunger, they innovated with the flour, sugar, salt, and lard provided, transforming these basic commodities into the comforting and nourishing fry bread we know today. What began as a survival food quickly became a significant part of their cultural identity, adaptable to both sweet and savory preparations and requiring minimal ingredients to prepare. It stands as a testament to resilience, resourcefulness, and cultural heritage, making every Navajo Taco a bite of history.
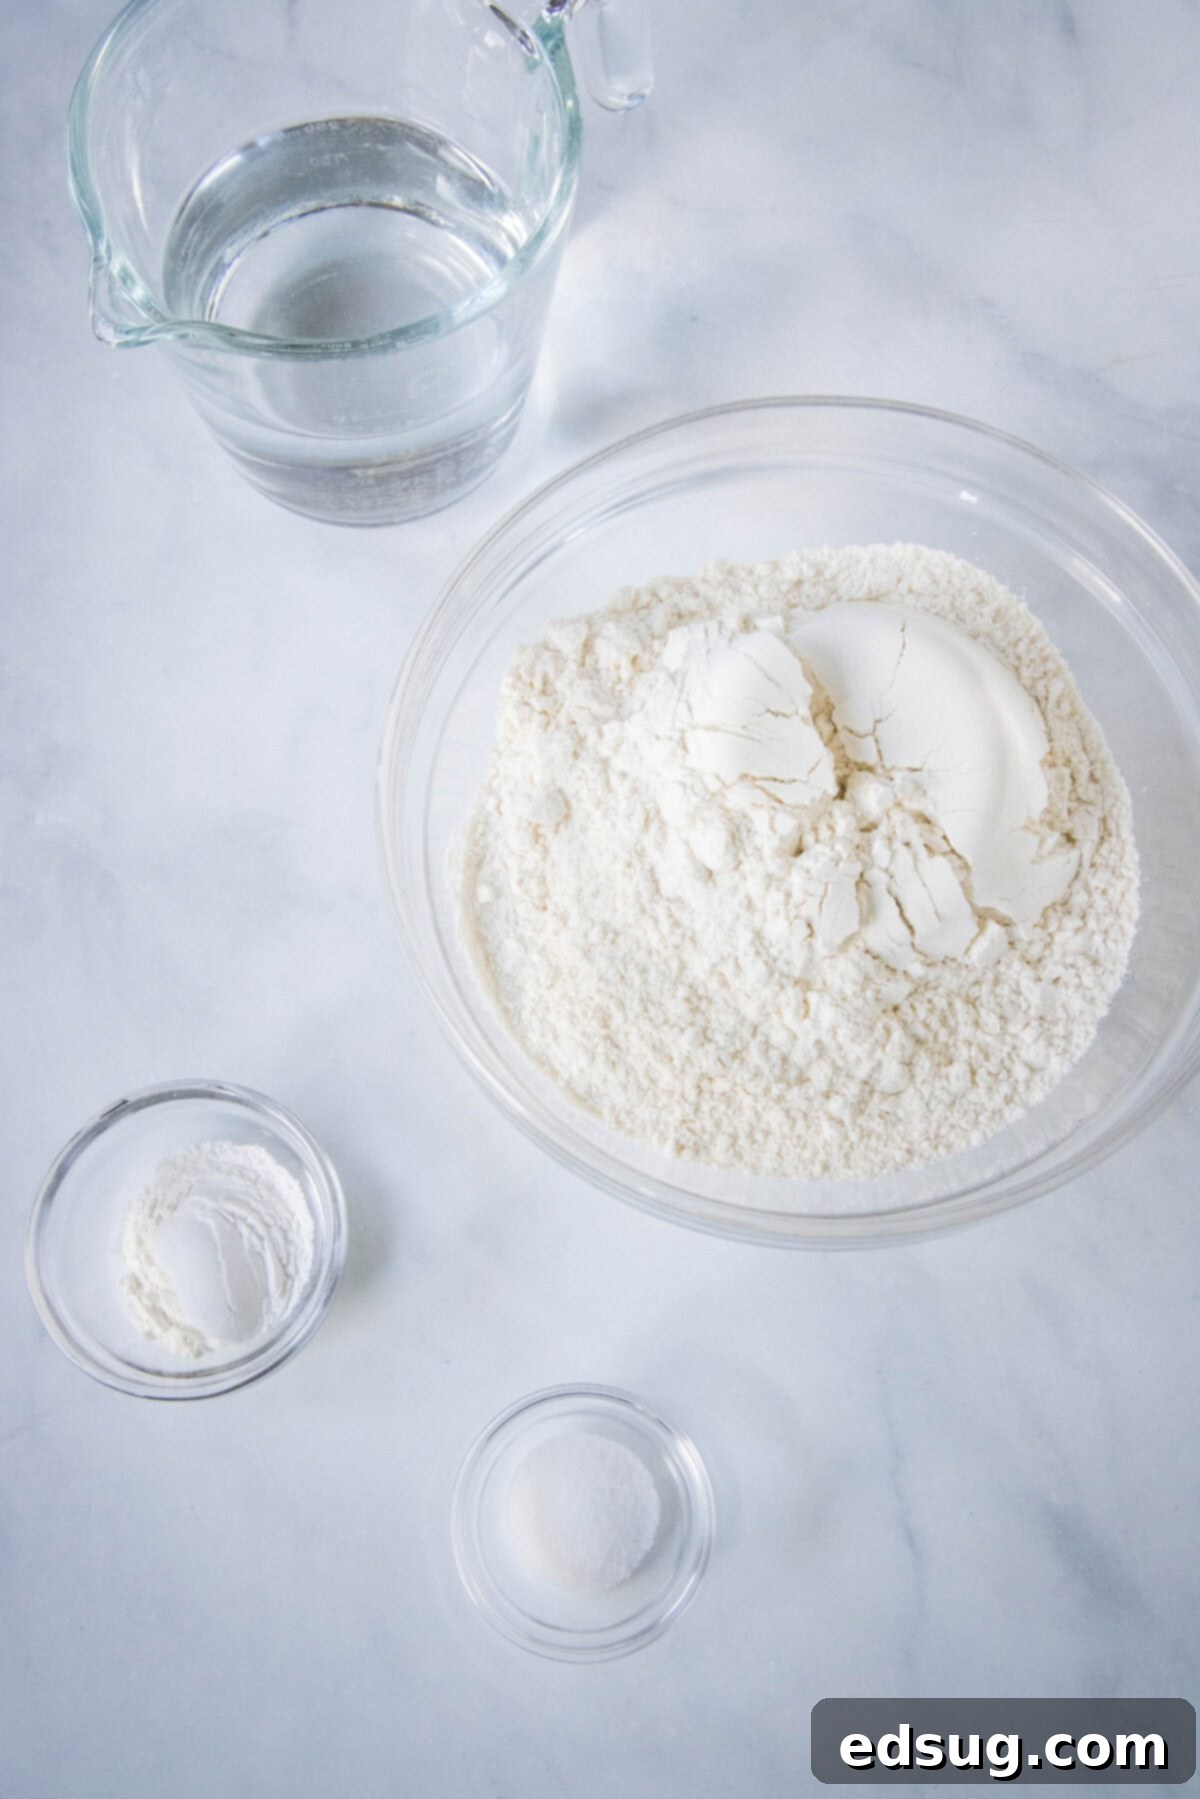
Gather Your Ingredients for the Perfect Fry Bread & Toppings
For precise measurements and a detailed step-by-step guide, make sure to scroll to the bottom of the post for the FULL PRINTABLE recipe card.
- All-Purpose Flour: The foundation of our fry bread, providing structure and that characteristic chewiness.
- Baking Powder: The leavening agent responsible for the beautiful puff and airy texture of the bread.
- Salt: Essential for enhancing all the flavors in the dough.
- Hot Water: Helps activate the baking powder and creates a pliable, easy-to-work-with dough.
- Oil for Frying: Choose a neutral oil with a high smoke point, like vegetable, canola, or peanut oil, to achieve that perfect golden crisp.
Once your fry bread is ready, the possibilities for toppings are endless – essentially, anything you would typically put in a traditional taco works wonderfully here. Locally, many restaurants create unique variations, such as loading them up with rich Green Chile and tender pork, resulting in an incredibly delicious and satisfying meal. However, the more classic and widely loved version features savory seasoned Taco Meat (often ground beef), creamy beans (kidney or pinto work well), and a colorful medley of fresh vegetables. This combination offers a perfect balance of textures and flavors, making each bite a delight.
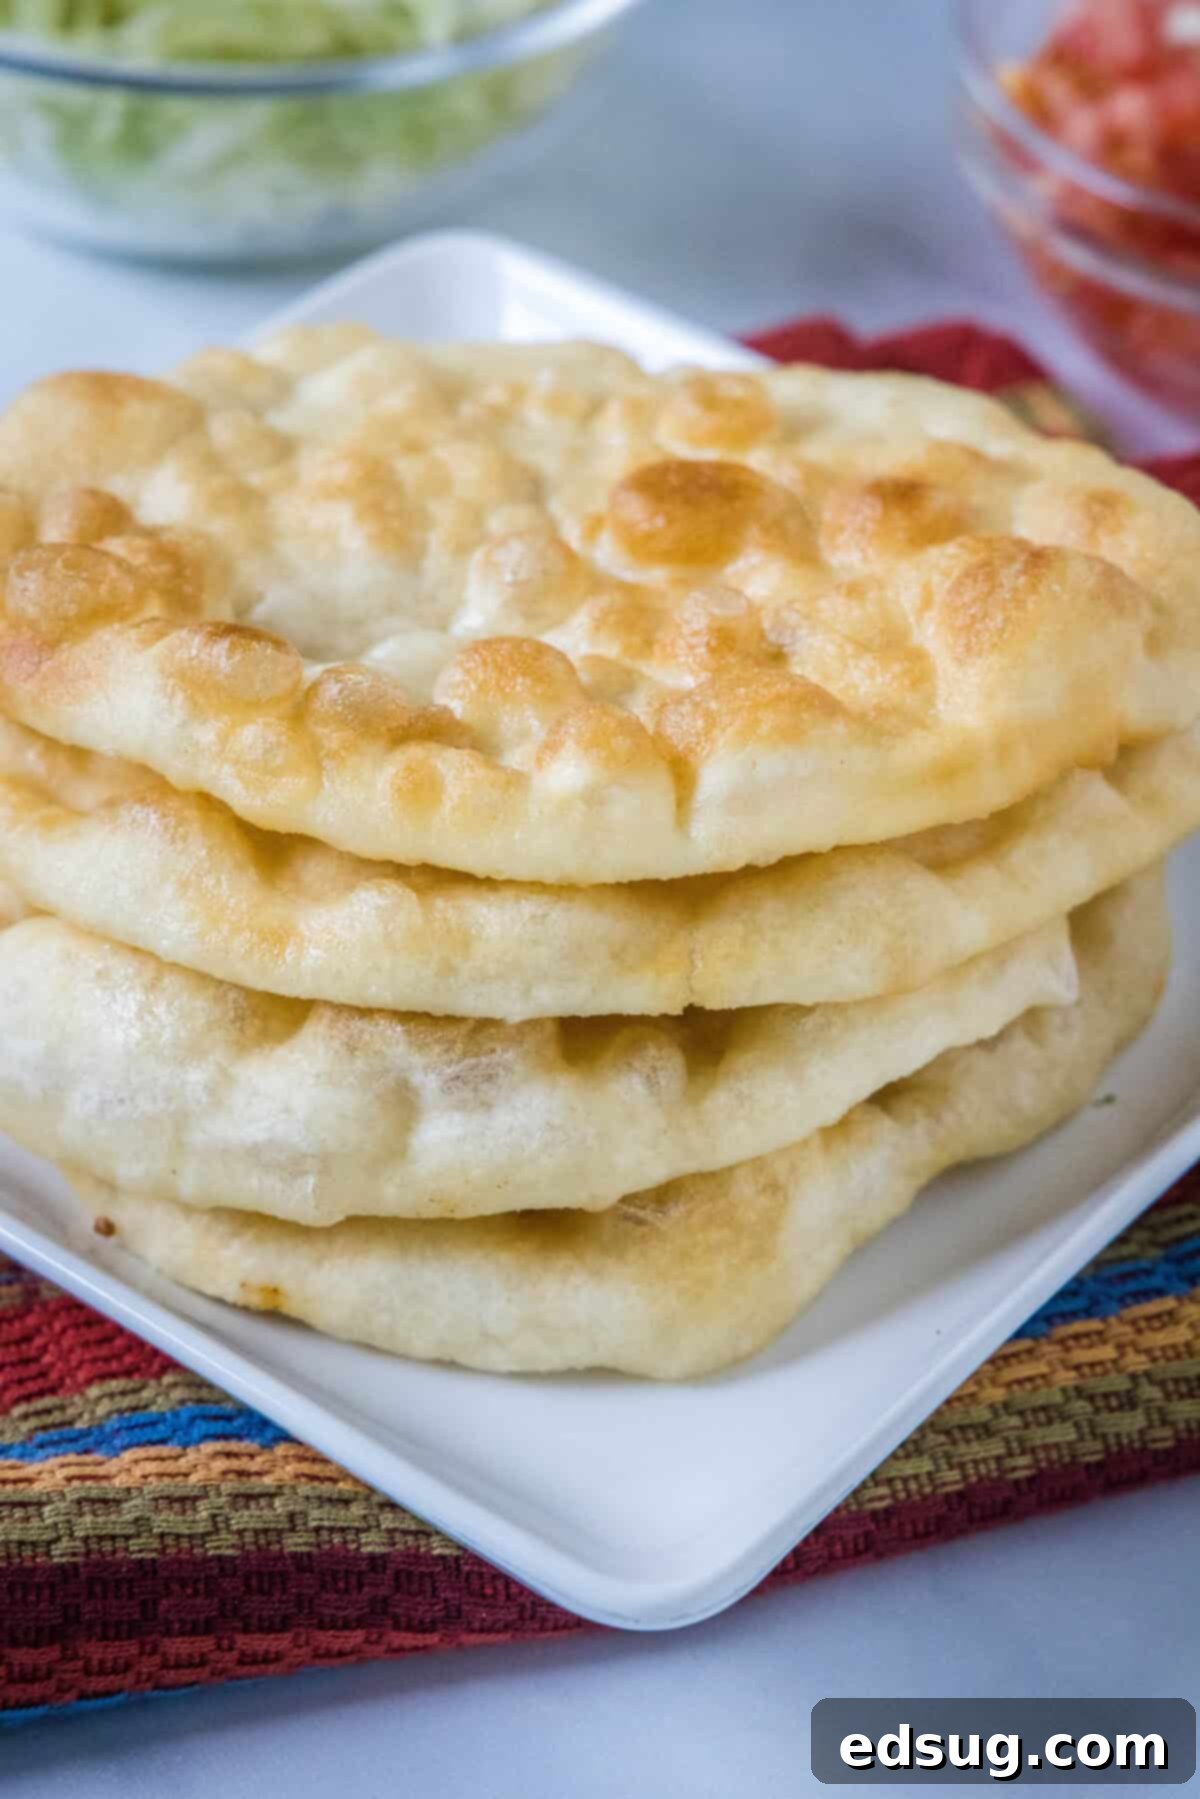
Crafting Your Own Indian Tacos: A Step-by-Step Guide
Making Navajo Tacos is an enjoyable process, and the result is incredibly rewarding. Follow these steps to create your own batch of delicious Indian Fry Bread and assemble your unforgettable tacos.
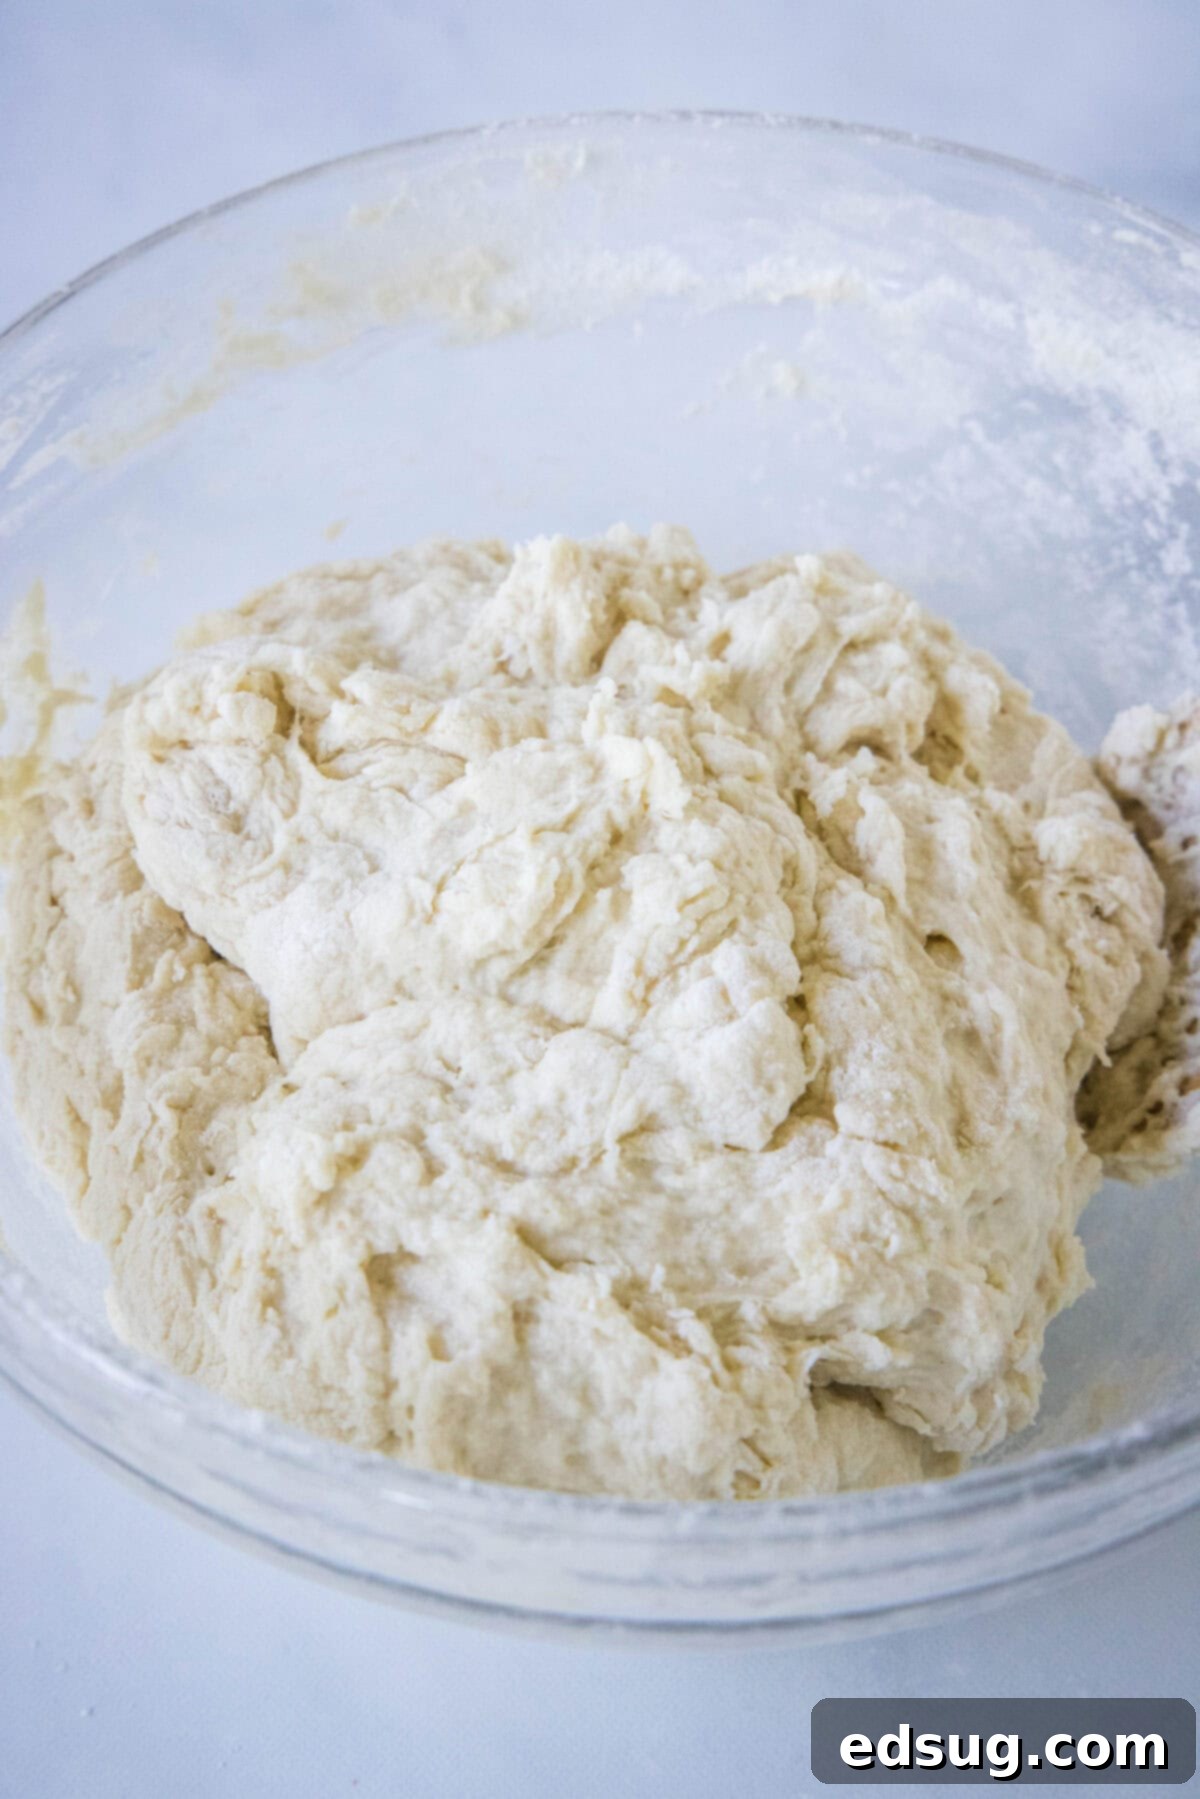
- Prepare the Fry Bread Dough: In a generously sized mixing bowl, combine the all-purpose flour, baking powder, and salt. Whisk these dry ingredients together thoroughly to ensure even distribution. Gradually, and while stirring continuously with a sturdy wooden spoon, pour in the hot water. Continue mixing until the ingredients come together to form a rough, shaggy dough. Once formed, cover the bowl tightly with plastic wrap or a clean kitchen towel and allow the dough to rest at room temperature for 1-2 hours. This resting period is crucial, as it allows the gluten to relax, making the dough much easier to handle and contributing to the bread’s tender texture.
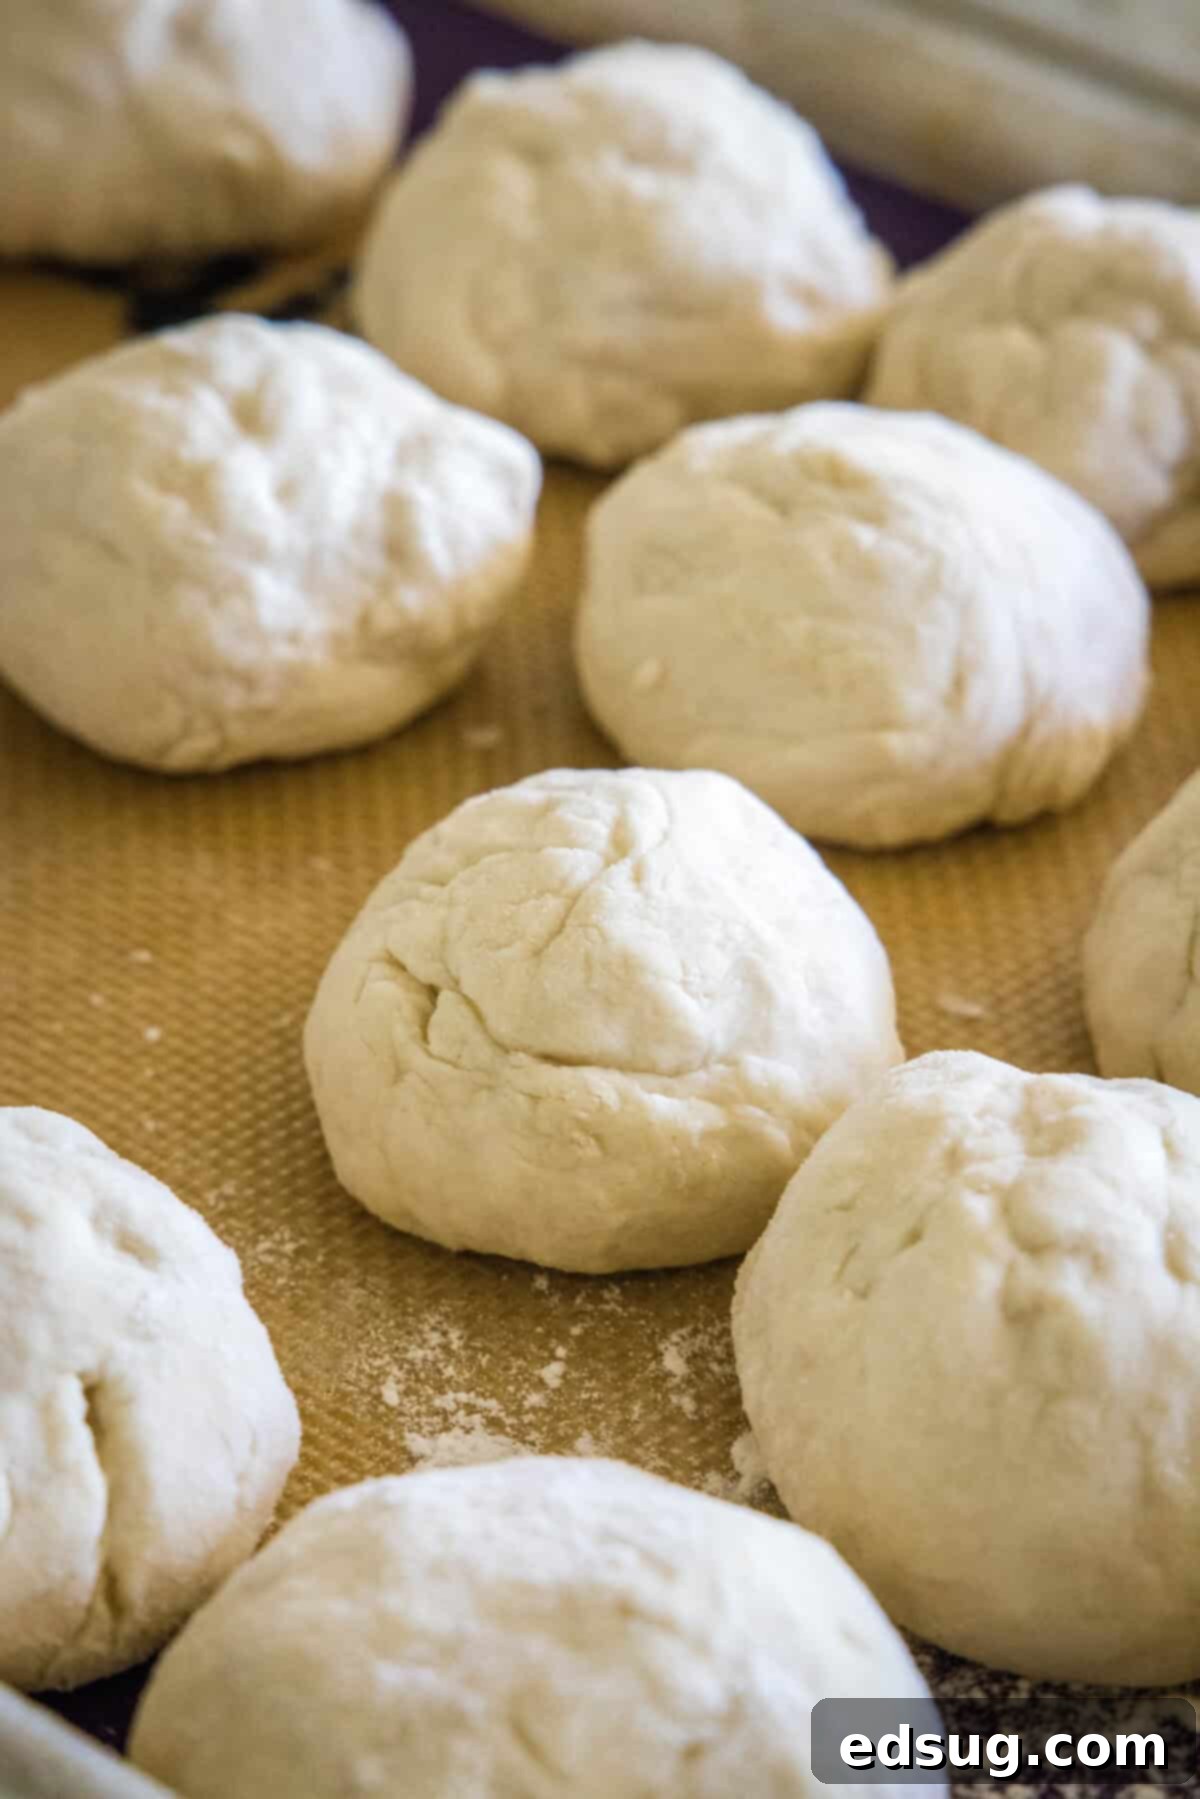
- Form Dough Balls: After the dough has rested, gently break off pieces of the dough. Roll each piece between your palms to form smooth, uniform balls, roughly the size of a golf ball. If you find the dough to be a bit sticky, a light dusting of all-purpose flour on your hands or work surface can help manage it.
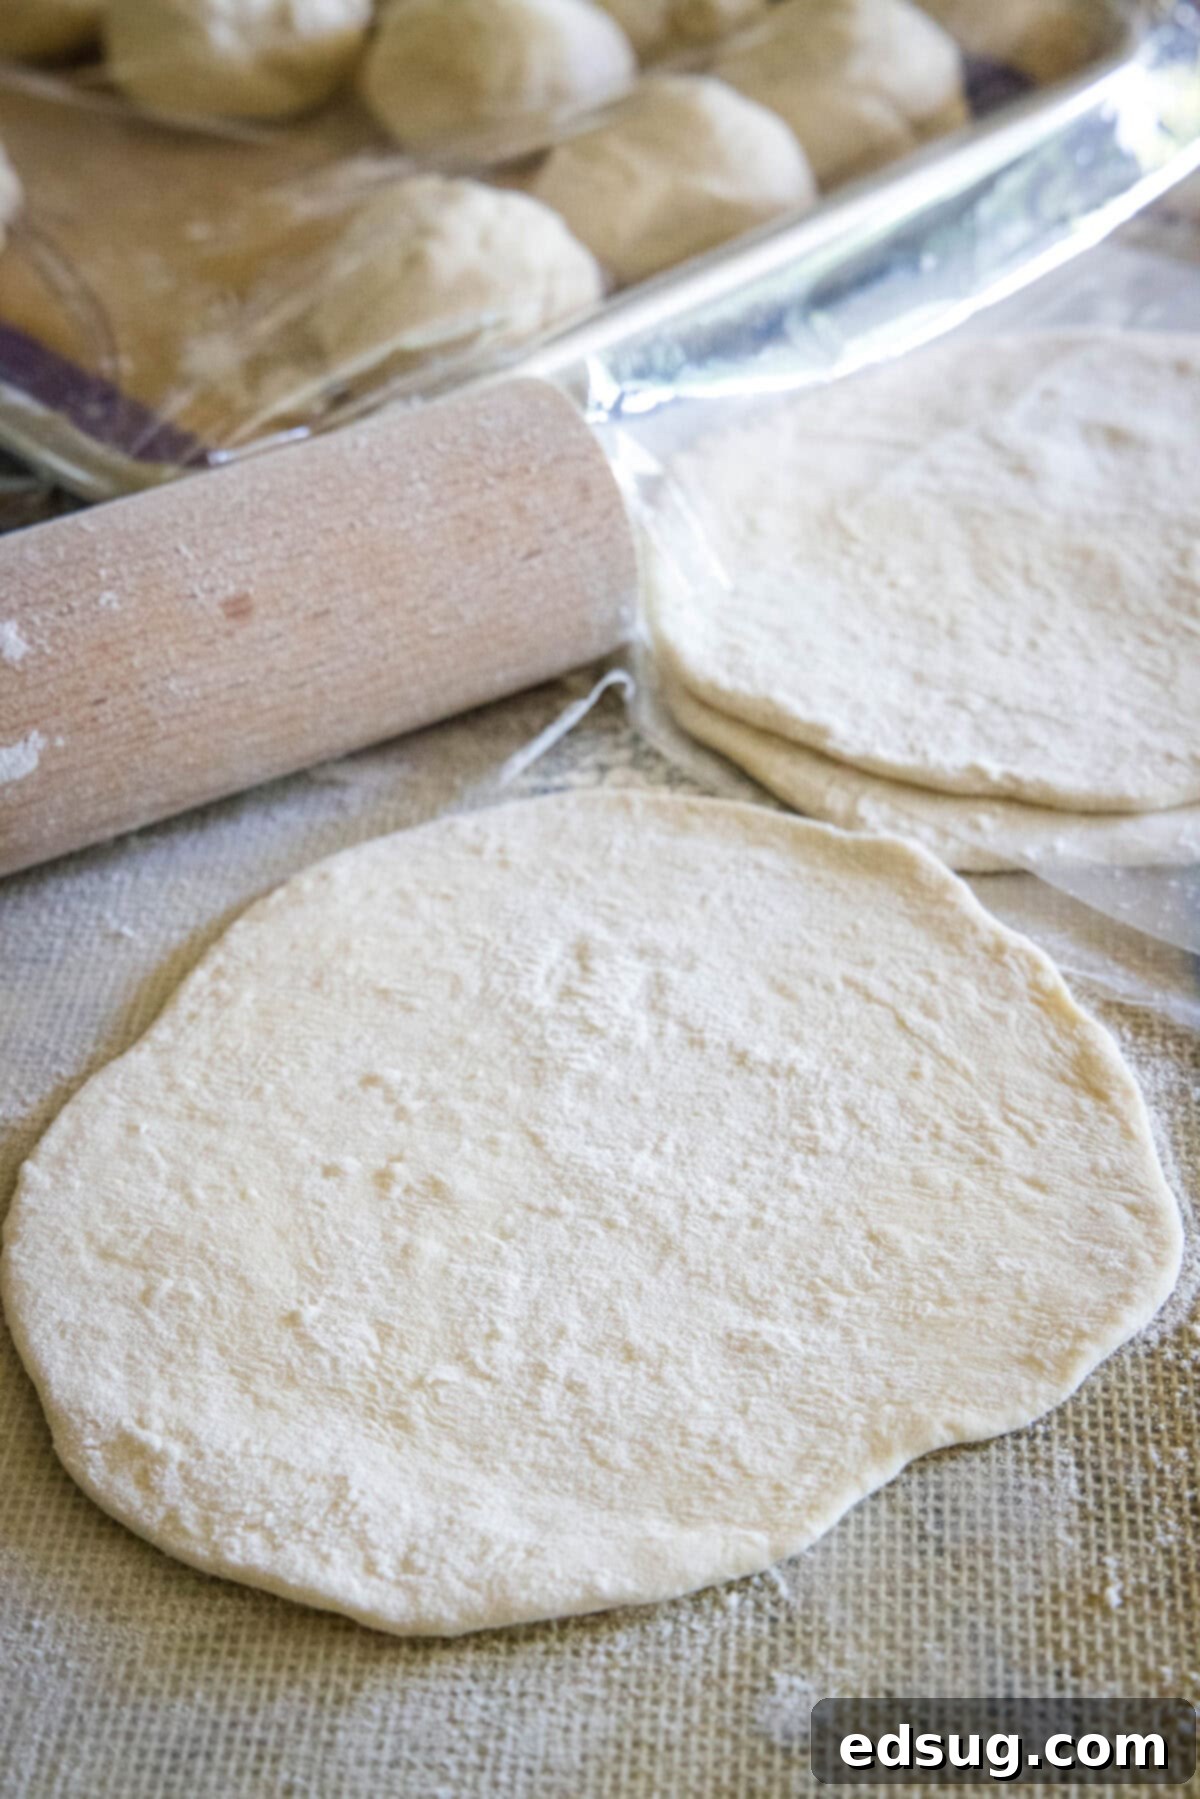
- Shape into Disks: Lightly flour a clean, flat work surface. Take one dough ball at a time and use a rolling pin to roll it out into a thin circle, approximately 6 inches in diameter. Aim for an even thickness to ensure uniform cooking. As you roll each disk, keep the finished ones covered with a clean kitchen towel or plastic wrap to prevent them from drying out. For convenience, you can stack them with a piece of parchment or wax paper placed between each disk. If the dough springs back and resists rolling, allow it to rest for another 10-15 minutes before trying again; this indicates the gluten needs more time to relax.
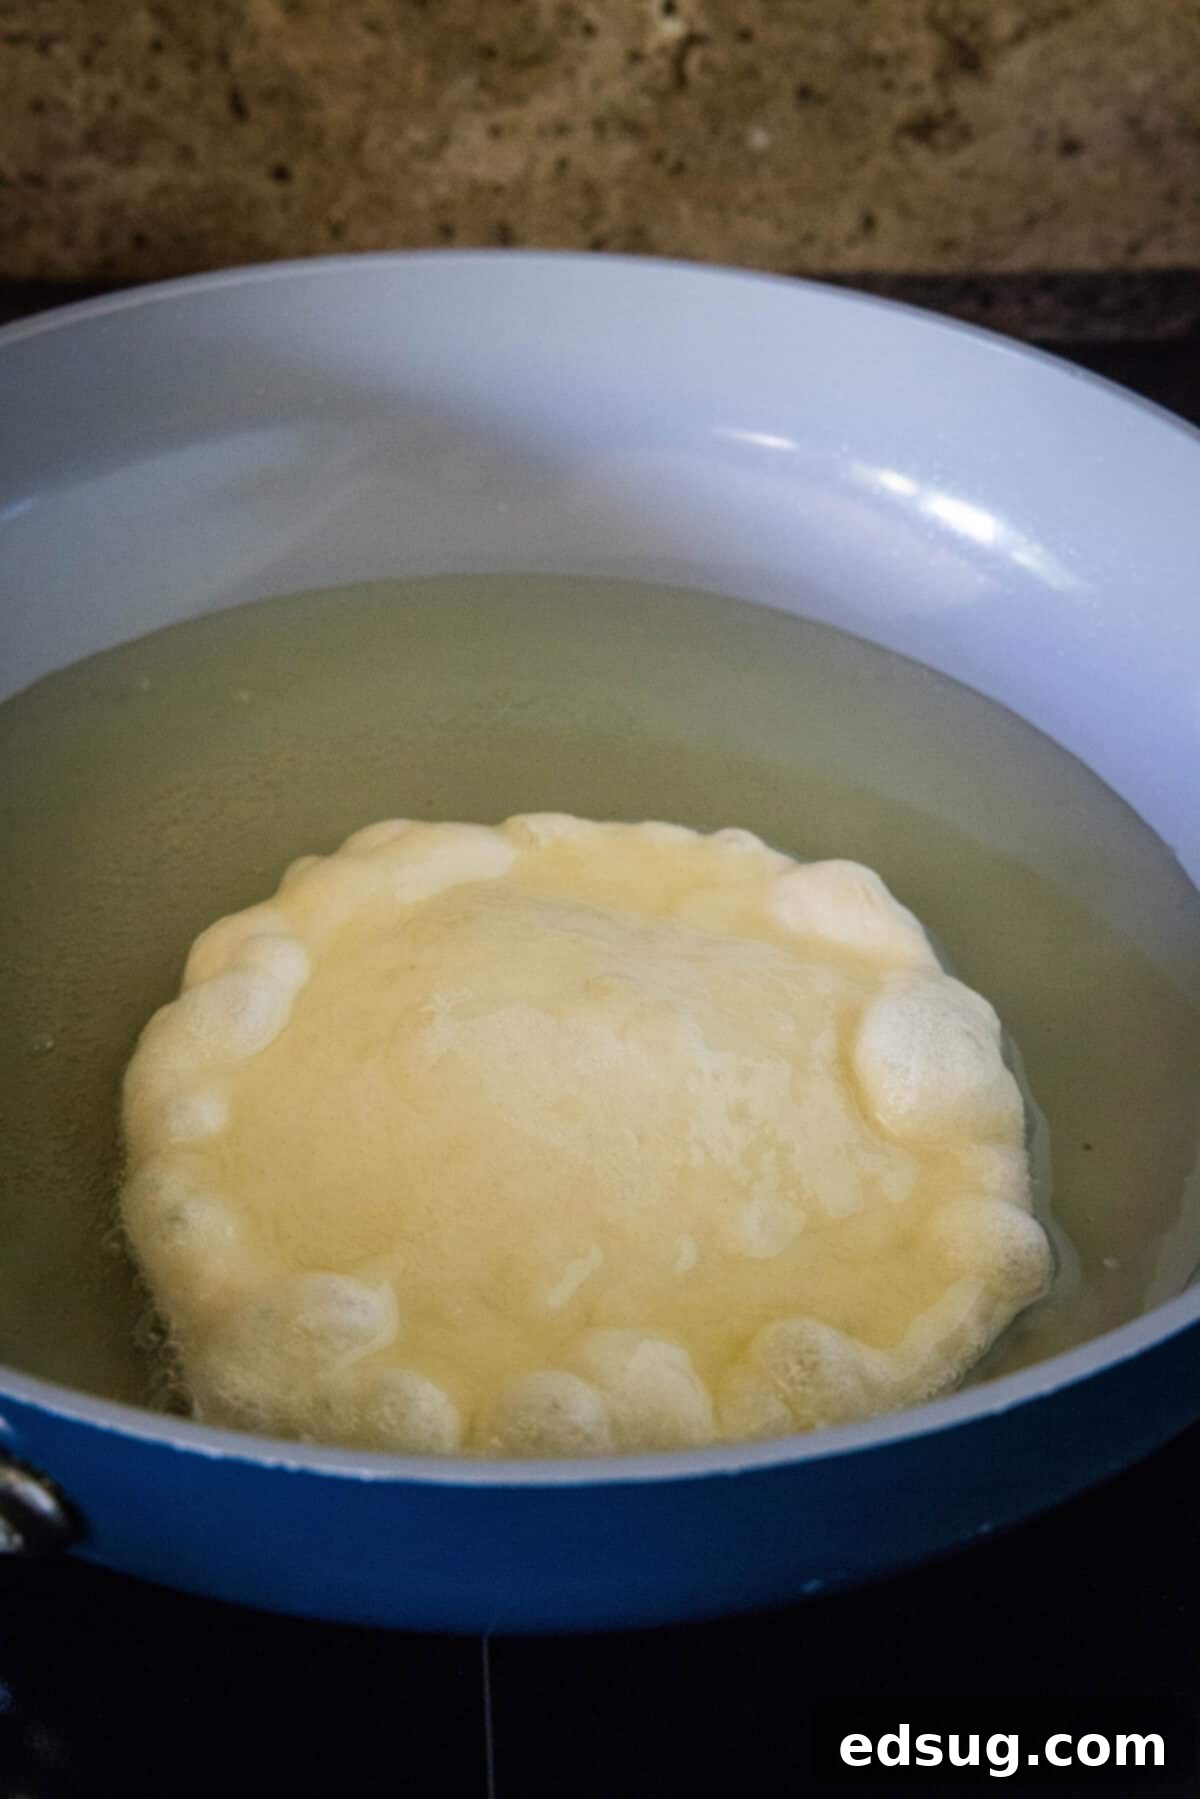
- Fry the Bread: Pour about 1 inch deep of your chosen frying oil into a heavy-bottomed pan or cast-iron skillet. Heat the oil over medium-high heat until it reaches a temperature of 360º F (182º C). An oil thermometer is highly recommended for accuracy, as proper oil temperature is key to perfectly cooked fry bread – too cool, and the bread will be greasy; too hot, and it will burn before cooking through. Once the oil is shimmering and at the correct temperature, carefully place 1-2 dough disks into the hot oil, ensuring not to overcrowd the pan. Cook for 1-2 minutes per side, or until the bread puffs up, bubbles appear on the surface, and it turns a beautiful golden brown. Using tongs, gently flip the bread and cook for another 1-2 minutes on the second side until equally golden. Remove the cooked fry bread from the oil and place it on a plate lined with paper towels to drain any excess oil. Repeat with the remaining dough disks.
- Assemble Your Tacos: Once your fresh, warm fry bread is ready, it’s time to assemble your masterpieces. Top each piece of fry bread generously with your savory seasoned taco meat and any other favorite taco toppings you desire. Common choices include shredded lettuce, diced tomatoes, shredded cheese, sliced black olives, creamy sour cream, or even a dollop of fresh guacamole or salsa. Serve immediately and enjoy the unique texture and flavor combination!
Expert Tips & Creative Suggestions for Perfect Navajo Tacos
To ensure your Navajo Tacos are nothing short of perfect, consider these helpful tips and creative variations:
- Adjusting the Recipe Size: This recipe is designed to yield a generous batch of Indian tacos, perfect for feeding a crowd or ensuring you have plenty for everyone. However, if you’re cooking for a smaller family or just a few people, you can easily cut all the ingredient quantities in half. Conversely, for larger gatherings or events, doubling the recipe is just as simple and will ensure there’s enough delicious fry bread to go around.
- Storage and Leftovers: For the absolute best experience, Indian Tacos are truly meant to be enjoyed fresh on the day they are made. The fry bread loses some of its signature crispy-soft texture over time, becoming less ideal for leftovers. If you do find yourself with extra fry bread, you can store it in an airtight container at room temperature for 1-2 days. While they won’t be quite the same, a brief reheat in a warm oven or an air fryer can help revive some of their crispness, though they might not fully regain their original fluffiness.
- Choosing Your Liquid: There are numerous variations of fry bread recipes, and one of the most notable differences lies in the liquid used. While our recipe calls for hot water, many traditional and modern recipes suggest using milk. Using warm milk instead of water can impart a slightly richer flavor and a more tender crumb to the fry bread due to the fats and proteins in the milk. If you’re feeling adventurous and curious about the flavor difference, definitely give it a try! Just ensure the milk is warm to help activate the leavening.
- Sweet Dessert Fry Bread: Don’t let any leftover dough go to waste! Fry bread is incredibly versatile and can easily transform into a delightful dessert. If you have extra dough after making your savory tacos, simply fry it as usual. Once cooked, immediately drizzle the warm bread with honey or maple syrup, sprinkle it generously with a mixture of cinnamon and sugar, or dust it with a delicate layer of powdered sugar. Serve these sweet treats warm for a comforting and indulgent dessert that showcases the bread’s versatility.
- Troubleshooting Sticky or Springy Dough: When you’re rolling out the dough into disks, you might occasionally encounter dough that is either too sticky or springs back persistently, refusing to hold its shape. If it’s too sticky, a light dusting of flour on your hands and work surface should help. If the dough springs back, it means the gluten is too tight and needs more relaxation. Simply cover the dough again and let it rest for an additional 10-15 minutes. This extra resting time will allow the gluten to relax, making the dough much more cooperative and easier to roll into perfect circles.
- Maintaining Oil Temperature: An essential tip for frying is to keep a close eye on your oil temperature. If the oil is too cool, the fry bread will absorb too much oil and become greasy. If it’s too hot, the outside will burn before the inside has a chance to cook through and puff up. An instant-read thermometer is your best friend here, aiming for a consistent 360ºF (182ºC). Adjust your stove’s heat as needed and avoid overcrowding the pan, which can lower the oil temperature.
Complementary Serving Suggestions for Your Navajo Tacos
Navajo Indian tacos tend to be quite substantial and filling, often more so than their classic taco counterparts. This means you typically don’t need an extensive spread of side dishes to accompany them. However, adding a few thoughtful accompaniments can elevate the entire meal. Creamy Refried Beans or perfectly seasoned Black Beans make for excellent, hearty fillings or side components. To enhance the flavor profile and add a fresh, vibrant contrast, consider topping your tacos with a dollop of rich Homemade Guacamole, a spoonful of zesty Restaurant Style Salsa, or a refreshing scoop of Pico de Gallo. For those who love to go all out, a generous drizzle of warm, gooey White Queso is always a spectacular addition, bringing that quintessential Tex-Mex richness to any meal.
Explore More Mexican-Inspired Recipes
If you’ve enjoyed the bold flavors and unique twist of Navajo Tacos, you’ll love diving into these other fantastic Mexican-inspired dishes that bring zest and excitement to your kitchen:
- Sheet Pan Tacos: Easy, quick, and perfect for busy weeknights.
- Rotisserie Chicken Tacos: Simple and flavorful, utilizing a convenient shortcut.
- Chipotle Shrimp Tacos: A light yet spicy option for seafood lovers.
- Walking Tacos: Fun, portable, and a hit at parties or gatherings.
- Fajita Bowls: All the flavor of fajitas, served in a convenient and healthy bowl.

Indian Tacos {Indian Fry Bread}
Ingredients
Fry Bread
- 3 ½ cups all-purpose flour
- 1 Tablespoon baking powder
- 1 ½ teaspoons salt
- 1 ½ cups hot water
- Oil for Frying (e.g., vegetable, canola, or peanut oil)
Toppings
- 2 pounds lean ground beef
- 2 packets taco seasoning
- 15 oz kidney beans, drained and rinsed (or pinto beans)
- shredded lettuce
- diced tomatoes
- sour cream
- shredded cheddar or Mexican blend cheese
- sliced black olives
Instructions
To Make Fry Bread
- In a large mixing bowl, combine the 3 ½ cups all-purpose flour, 1 Tablespoon baking powder, and 1 ½ teaspoons salt. Stir these dry ingredients together well. Gradually pour in 1 ½ cups hot water, mixing with a wooden spoon until a rough dough forms. Cover the bowl and let the dough rest for 1-2 hours at room temperature to allow the gluten to relax.3 ½ cups all-purpose flour, 1 Tablespoon baking powder, 1 ½ teaspoons salt, 1 ½ cups hot water
- After resting, break off pieces of the dough and roll them into individual balls, roughly the size of a golf ball. If the dough feels sticky, you can lightly dust your hands with flour.
- On a lightly floured surface, use a rolling pin to flatten each dough ball into a circle about 6 inches in diameter. Keep the rolled disks covered with a towel or plastic wrap to prevent them from drying out as you continue with the rest. You can also stack them with a layer of parchment or wax paper in between.
- Heat about 1 inch deep of Oil for Frying in a heavy-bottomed pan or cast-iron skillet over medium-high heat. Aim for the oil to reach a temperature of 360º F (182º C). Use an oil thermometer for accuracy.Oil for Frying
- Once the oil is hot, carefully place 1-2 dough disks into the pan. Cook for 1-2 minutes per side until the bread puffs up, bubbles, and turns a beautiful golden brown. Use tongs to gently flip and cook the other side. Remove the cooked fry bread and place it on a plate lined with paper towels to drain excess oil. Repeat with remaining dough.
To Make Tacos
- In a large skillet, brown 2 pounds lean ground beef over high heat, breaking it apart with a spoon until no pink remains. Drain away any excess grease. Add 2 packets taco seasoning and any water specified on the seasoning package, along with the 15 oz kidney beans (drained and rinsed). Mix well and bring to a simmer for a few minutes until the mixture thickens.2 pounds lean ground beef, 2 packets taco seasoning, 15 oz kidney beans
- Serve each piece of warm fry bread topped generously with the seasoned meat mixture, followed by your favorite taco toppings such as shredded lettuce, diced tomatoes, shredded cheese, black olives, and a dollop of sour cream. Enjoy immediately!shredded lettuce, diced tomatoes, sour cream
Nutrition
Nutrition information is automatically calculated, so should only be used as an approximation.
Additional Info
I’ve created a fun and engaging community group on Facebook, and I would absolutely love for you to join us! It’s a fantastic space where you can share YOUR favorite recipes, ask cooking questions, find inspiration, and stay updated on what’s new at Dinners, Dishes and Desserts (so that you never miss a new and delicious recipe)!
Be sure to follow me on Instagram and tag #dinnersdishes so I can see all the wonderful DINNERS, DISHES, AND DESSERTS recipes YOU create and share!
Make sure to follow me on my social media channels, so you never miss a post or a new recipe update!
Facebook | Twitter | Pinterest | Instagram
.
