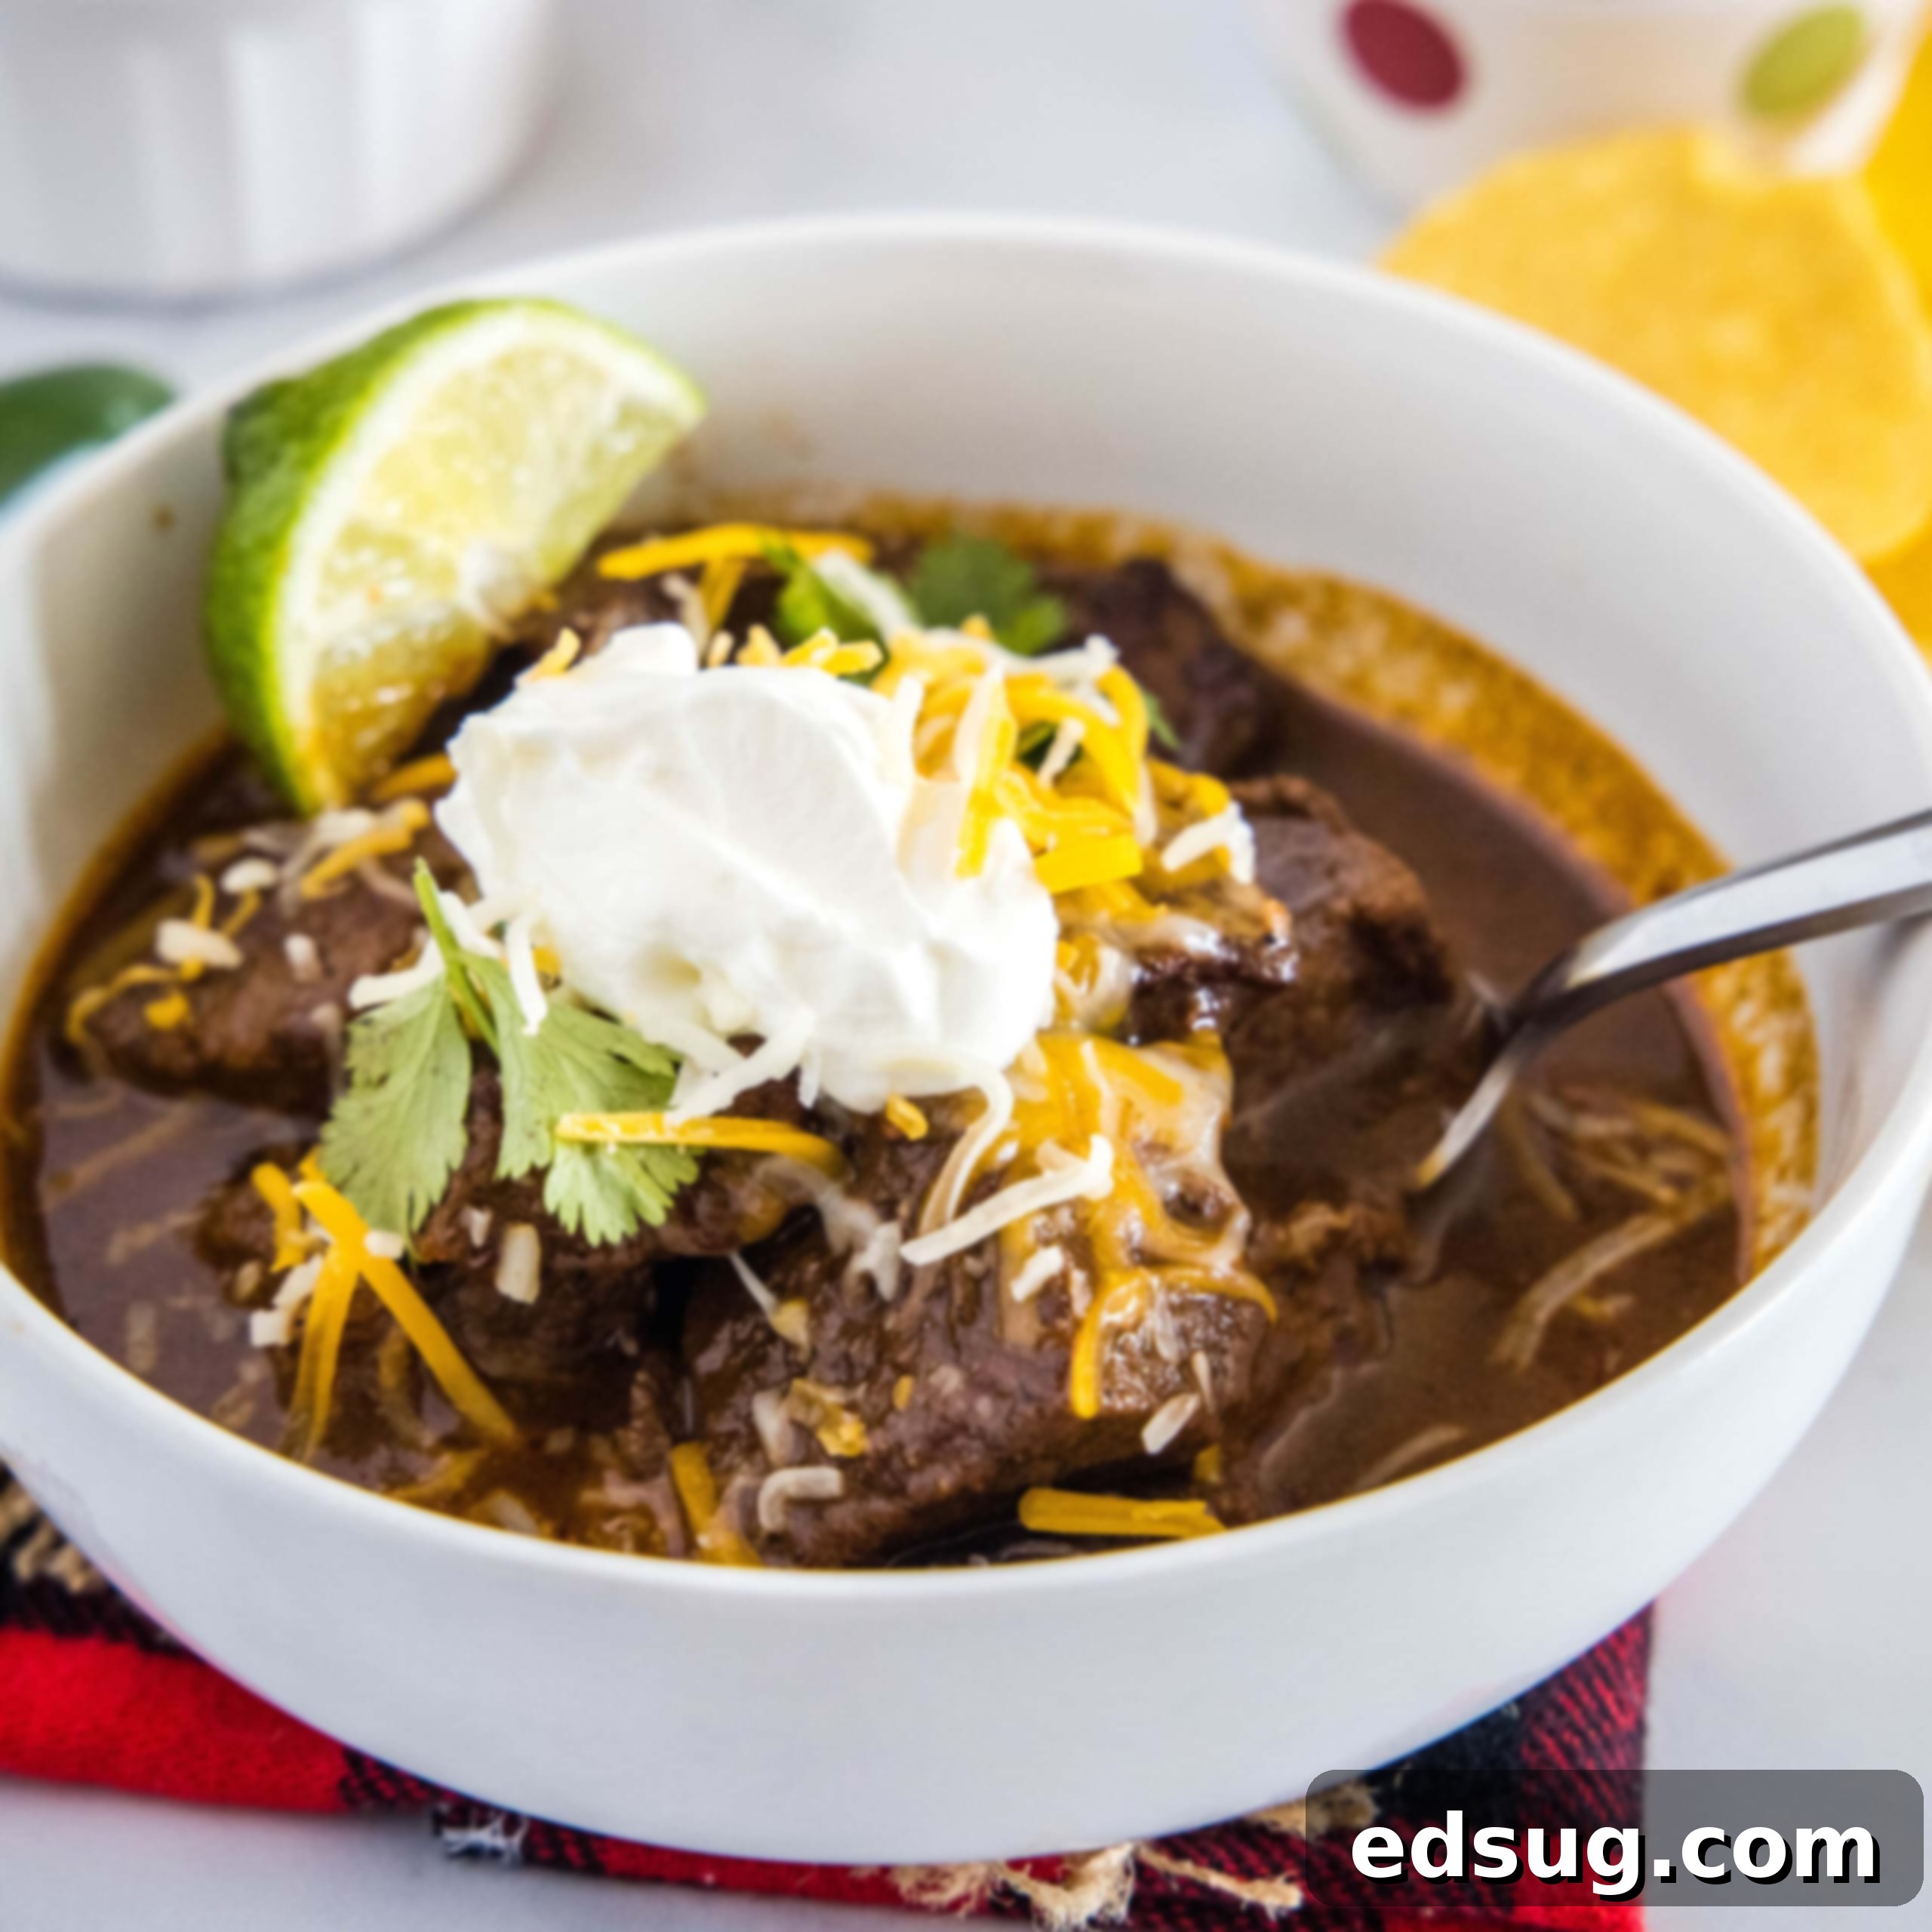
Authentic Texas Chili Recipe: A Hearty, Bean-Free Beef Masterpiece
Welcome to the world of true Texas Chili! Forget what you thought you knew about chili, because this classic recipe is a game-changer. Unlike many regional variations often found in the Northern or Midwestern United States, authentic Texas chili strictly adheres to a robust, bean-free, and intensely flavorful profile. It’s not just a dish; it’s a culinary statement, celebrating tender chunks of beef simmered slowly in a rich, smoky, and perfectly spiced sauce. Prepare yourself for a hearty, comforting meal that will captivate your taste buds with its deep flavors and satisfying texture.
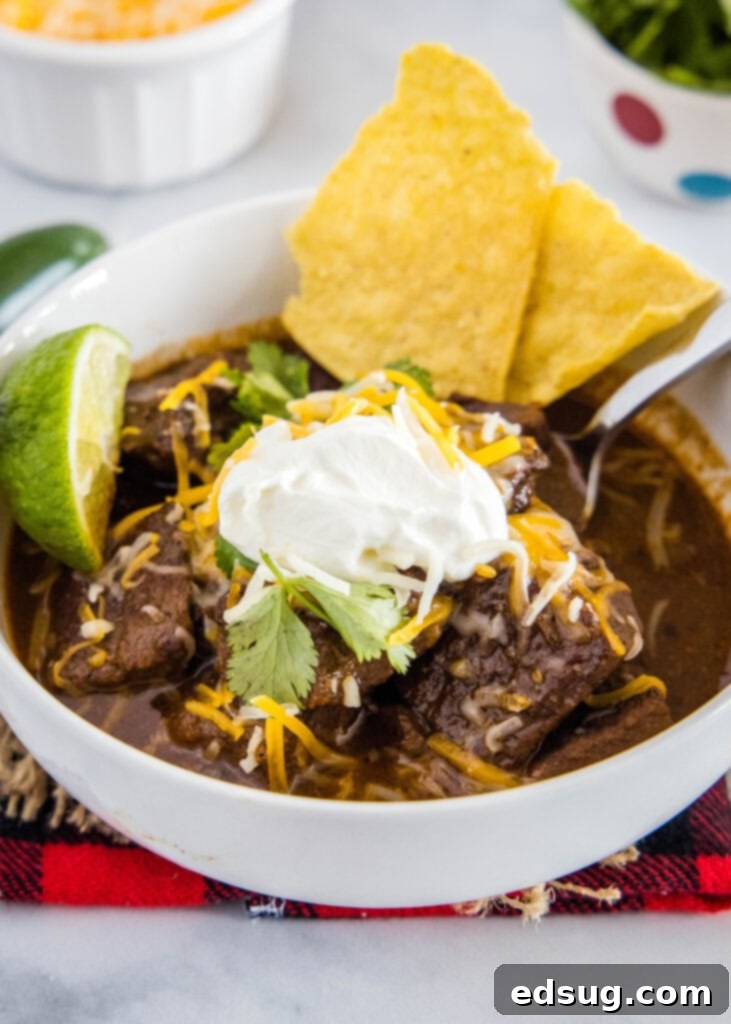
What Makes Authentic Texas Chili Unique?
Texas Chili, often dubbed “Chili con Carne” (chili with meat), stands apart from other chili varieties in several fundamental ways. The most significant difference is the complete absence of beans. While some might consider beans a staple in chili, traditional Texans view them as an unnecessary filler that dilutes the intense flavor of the meat and spices. Another defining characteristic is its unique base: it’s not a tomato-heavy stew. Instead of relying on diced tomatoes, canned tomatoes, tomato sauce, or tomato juice, this recipe builds its robust flavor from a concentrated chili paste made with a small amount of tomato paste and a generous blend of dried chili powders and other aromatic spices.
Furthermore, authentic Texas chili typically features substantial chunks of beef rather than ground beef. Slow-cooked chuck roast or stew meat breaks down over hours, becoming incredibly tender and infusing the chili with a profound, beefy richness that defines this iconic dish. This low and slow cooking method allows the flavors to meld beautifully, creating a deep, complex, and utterly satisfying experience.
The Great Debate: Why No Beans in Texas Chili?
The question of “why no beans?” often sparks lively debate among chili enthusiasts. For Texans, the answer is simple: flavor integrity. The philosophy is that beans, while delicious in their own right, tend to absorb and mask the nuanced, smoky, and spicy flavors that are painstakingly developed through a carefully curated blend of chili powders and spices. Traditional Texas chili prioritizes the bold taste of the beef and its accompanying aromatic spice blend. It’s about showcasing the pure essence of chili con carne, where meat is king.
However, culinary traditions are often personal. While this recipe honors the bean-free heritage of Texas chili, your kitchen is your domain. If you prefer to add beans, feel free to do so. Just understand that it steps away from the “traditional” Texas style. For a truly authentic experience, embrace the rich, unadulterated meat and spice profile.
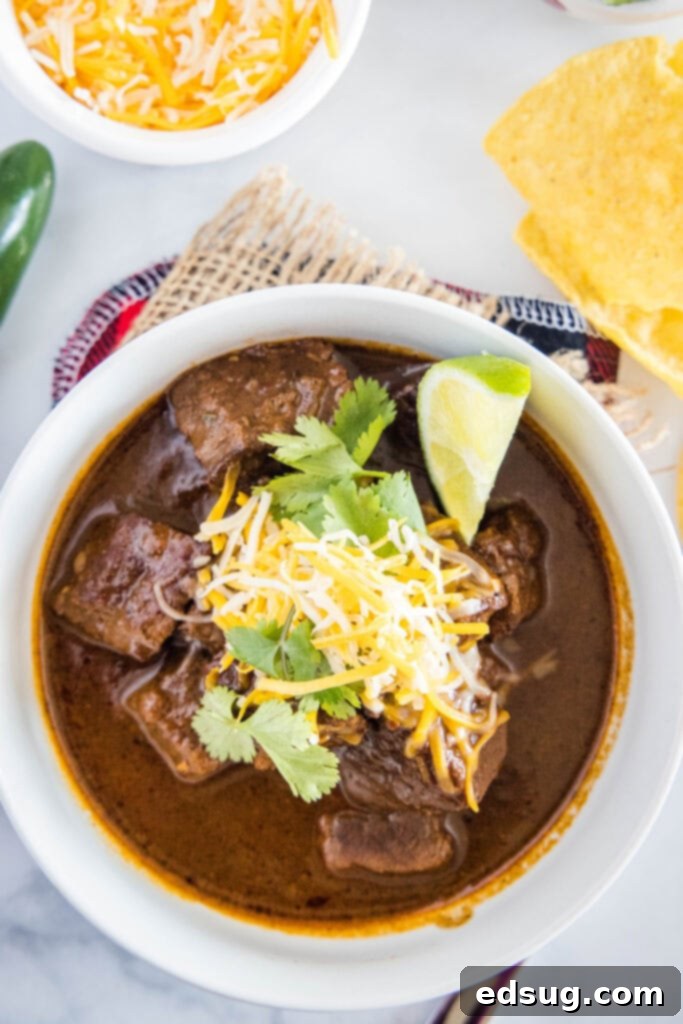
Essential Ingredients for Your Texas Chili
Don’t let the seemingly long list of ingredients intimidate you; crafting this flavorful Texas chili is simpler than you might imagine. Each component plays a crucial role in building the chili’s signature depth and complexity. Here’s a breakdown of what you’ll need to create this culinary masterpiece:
- Chuck Roast or Stew Meat: The star of the show. Chuck roast is ideal for slow cooking, breaking down into incredibly tender, melt-in-your-mouth pieces. Cut into 1-inch cubes for best results.
- Onion & Garlic: The aromatic foundation of any great chili, providing savory depth.
- Jalapeno: Adds a fresh kick of heat. Adjust quantity based on your spice preference.
- Chipotle in Adobo: These smoked and dried jalapeños, packed in a tangy tomato sauce, lend a crucial smoky flavor and a touch of heat. Mince finely for even distribution.
- Tomato Paste: A small but mighty ingredient, providing concentrated tomato flavor and rich umami without making the chili tomato-based.
- Beef Broth: The liquid base for the chili, contributing to the savory beef notes.
- Beer: A splash of beer adds incredible depth and complexity, tenderizing the meat and enhancing the spice flavors. Choose a dark, robust beer for a richer taste.
- Brown Sugar: A hint of sweetness balances the heat and acidity, creating a more rounded flavor profile.
- Worcestershire Sauce: Adds a savory, tangy kick that enhances the beef’s flavor.
- Masa Harina (or cornstarch): This finely ground corn flour is the secret to thickening authentic Texas chili, giving it a velvety texture and a subtle corn flavor. If unavailable, cornstarch can be used as a thickener (see notes in recipe card).
The Essential Spice Mixture
The heart and soul of Texas chili lies in its unique spice blend. This carefully balanced mix delivers layers of smoky, earthy, and spicy notes that define the dish:
- Chili Powder: The primary chili flavor, typically a blend of ground chilies, cumin, garlic, and oregano.
- Ground Cumin: Provides a warm, earthy, and slightly pungent flavor that is quintessential to Southwestern cuisine.
- Smoked Paprika: Infuses the chili with a delightful smoky aroma and a rich red color.
- Dried Oregano: Adds herbaceous notes, complementing the other spices. Mexican oregano is often preferred for its earthier flavor.
- Chipotle Chili Powder: Different from standard chili powder, this provides a deeper, smoky heat from dried chipotle peppers.
- Cocoa Powder: Unsweetened cocoa powder is a secret ingredient for many chili connoisseurs. It doesn’t make the chili taste like chocolate but adds a deep, rich, slightly bitter complexity that rounds out the savory flavors.
- Cinnamon: Just a touch of cinnamon adds warmth and subtle sweetness, enhancing the overall spice profile without overpowering it.
- Salt & Pepper: Essential for seasoning and bringing all the flavors into harmony.
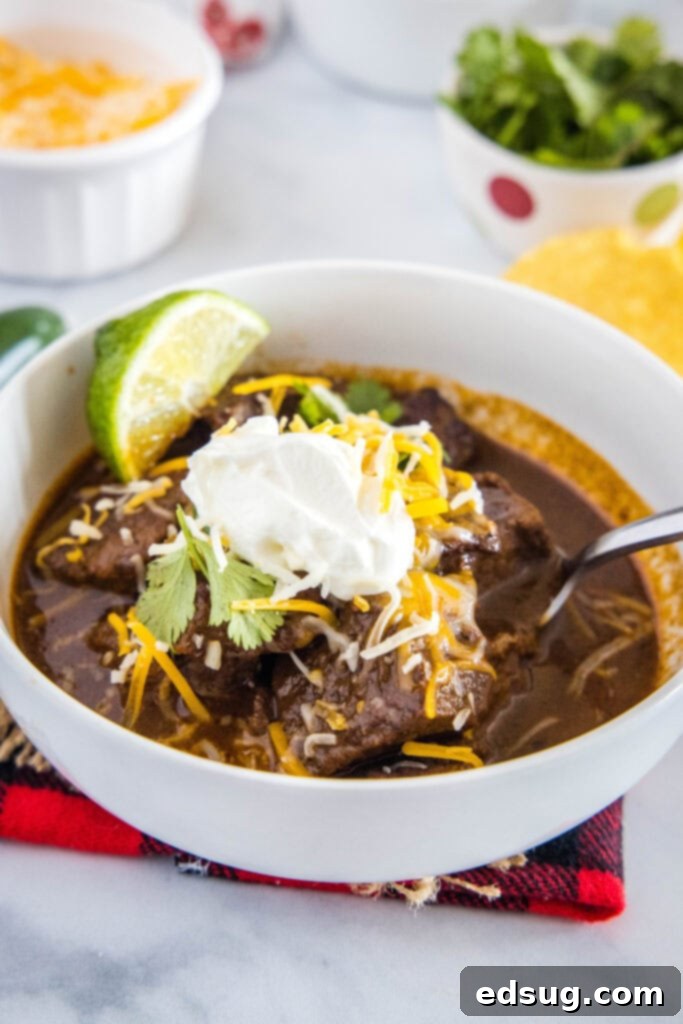
How to Make the Best Texas Chili
Creating this incredible Texas chili is a journey of building layers of flavor. Follow these steps for a truly authentic and delicious result:
- Prepare the Spice Blend: In a small bowl, combine all the ingredients for your spice mixture. This ensures even distribution and makes the cooking process smoother. Set it aside.
- Season and Sear the Beef: Pat your beef cubes dry and season them generously with salt and freshly ground black pepper on all sides. Heat a large, heavy-bottomed pot or Dutch oven over medium-high heat. Add half of the vegetable oil. Once shimmering, add about half of the seasoned beef, ensuring not to overcrowd the pot. Brown the meat thoroughly for 4-5 minutes per side until a rich, dark crust forms. This searing step is crucial for developing deep flavor. Remove the browned beef and set it aside, repeating with the remaining oil and beef.
- Sauté Aromatics: Reduce the heat to medium. Add the remaining oil to the pot, scraping up any browned bits from the beef (this adds even more flavor!). Add the finely chopped onions and jalapeño. Sauté for 6-7 minutes, stirring occasionally, until they soften and become translucent.
- Bloom the Spices: Add the minced garlic and your prepared spice mixture to the softened onions and jalapeño. Cook for just 1 minute, stirring constantly, until the spices become incredibly fragrant. This “blooming” step intensifies their flavors.
- Combine and Simmer: Return all the browned beef to the pot. Pour in the beef broth, beer, Worcestershire sauce, brown sugar, tomato paste, and minced chipotle in adobo. Stir everything together until well combined. Bring the mixture to a gentle simmer.
- Slow Cook to Perfection: Once simmering, leave the pot uncovered. Reduce the heat to low and continue to simmer for 2 1/2 to 3 hours. The long, slow cook is essential for the meat to become fork-tender and for the flavors to fully develop and thicken. Stir occasionally to prevent sticking. If the chili becomes too thick during cooking, you can add a little more beef broth to reach your desired consistency.
- Thicken (Optional, if using Masa Harina): If using Masa Harina, once the meat is tender and the chili has simmered sufficiently, stir in the Masa Harina. Continue to simmer for another 10-15 minutes, stirring, until the chili has thickened to your liking. (If using cornstarch, see recipe notes for alternative thickening method.)
- Taste and Adjust: Before serving, taste the chili and adjust the seasoning with additional salt and pepper as needed. Your rich, savory Texas chili is now ready to be enjoyed!
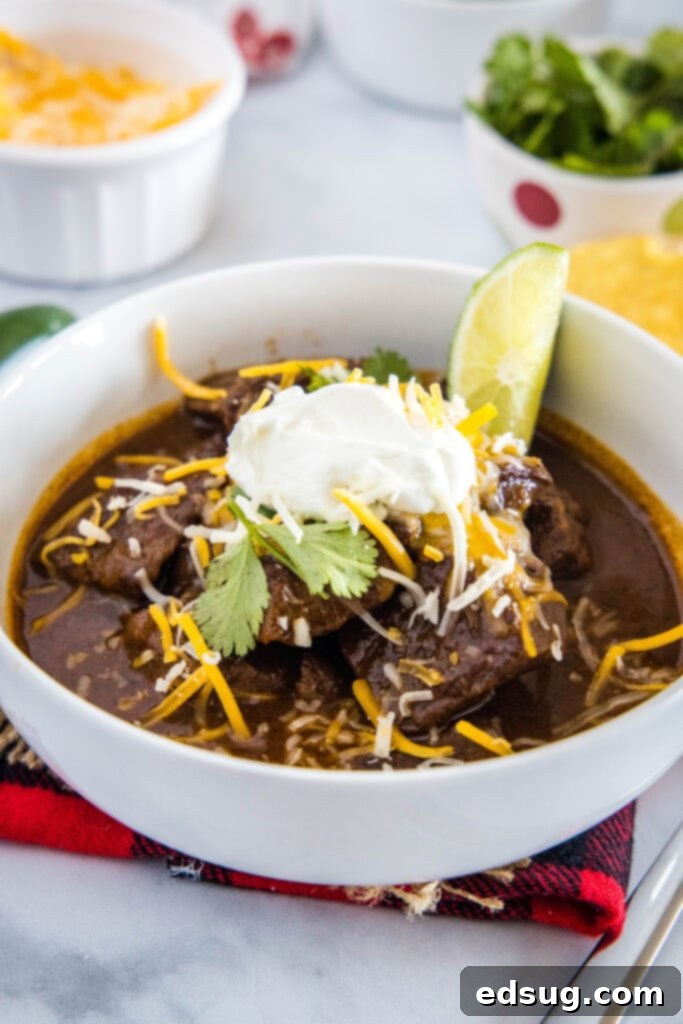
How to Serve Your Delicious Texas Chili
One of the joys of chili is customizing it with a wide array of toppings and sides. Texas chili is a meal in itself, but the right accompaniments elevate the experience. We highly recommend serving it alongside a batch of warm Southern Style Cornbread, perfect for soaking up every last bit of that incredible sauce. Then, set out a spread of toppings and let everyone create their perfect bowl:
- Sour Cream or Greek Yogurt: For a cooling, creamy contrast to the spice.
- Lime Wedges: A squeeze of fresh lime juice brightens all the flavors.
- Chopped Onion: Red or white onion adds a fresh, pungent bite.
- Shredded Cheddar Cheese: A classic topping that melts beautifully into the hot chili.
- Sliced Radish: Offers a crisp texture and peppery flavor.
- Avocado: Creamy avocado slices or guacamole add richness and healthy fats.
- Green Onions/Scallions: For a mild oniony flavor and a pop of color.
- Fritos or Tortilla Chips: Essential for scooping up the chili and adding a satisfying crunch.
Storage Tips for Leftover Chili
Texas chili is one of those dishes that often tastes even better the next day, as the flavors have more time to meld and deepen. Storing leftovers is simple:
- Refrigeration: Allow the chili to cool completely before transferring it to an airtight container. It will keep beautifully in the refrigerator for up to 5 days. Reheat gently on the stovetop over low heat, or in the microwave.
- Freezing: This chili freezes exceptionally well! Once completely cooled, spoon it into freezer-safe airtight containers or heavy-duty freezer bags. It will maintain its quality for 4-5 months in the freezer. When ready to enjoy, you can either thaw it overnight in the refrigerator and reheat on the stove or in the microwave, or gently reheat it directly from frozen in a pot over low heat, stirring occasionally.
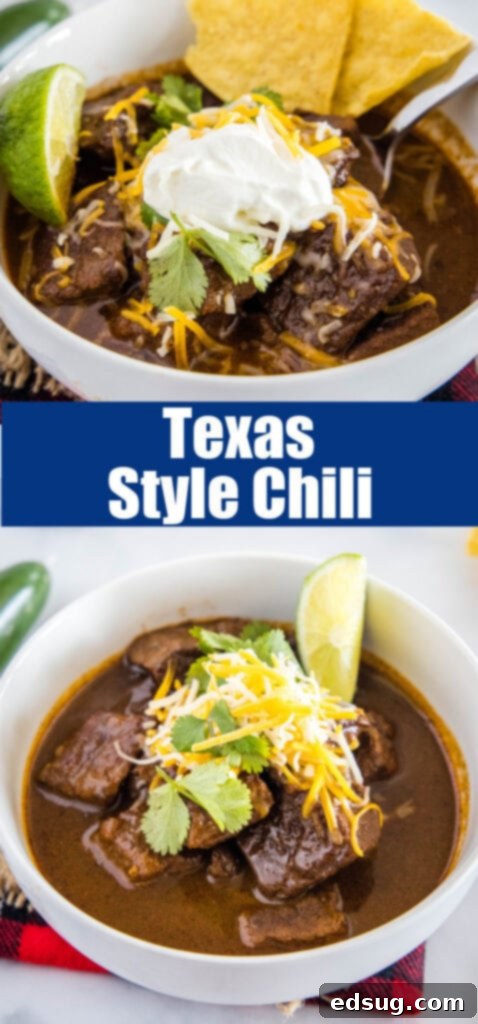
More Hearty Chili and Soup Recipes to Savor
If you loved this Texas Chili, you’ll surely enjoy exploring more comforting and flavorful recipes from our collection. From other chili variations to delightful soups, these dishes are perfect for cozy evenings and satisfying meals:
- Instant Pot Turkey Chili
- Chicken Enchilada Chili
- Beer Cheese Soup
- Instant Pot White Chicken Chili
- Pork Green Chili
- Crock Pot Potato Soup
- Beef Chili

Texas Chili Recipe
Pin Recipe
Rate Recipe
Print Recipe
Ingredients
- 2 pounds chuck roast, cut into 1-inch cubes
- 4 Tablespoons vegetable oil
- 1 large onion, finely chopped
- 1 jalapeno, finely chopped (seeds removed for less heat, if desired)
- 4 cloves garlic, minced
- 1 chipotle in adobo, minced, plus 1 teaspoon adobo sauce from the can
- 3 Tablespoons tomato paste
- 4 cups beef broth
- 1/2 cup beer, dark beer or lager recommended for depth of flavor
- 1 Tablespoon Worcestershire sauce
- 1 Tablespoon brown sugar
- 2 Tablespoons Masa Harina, essential for authentic texture, or use cornstarch (see notes)
- Salt & Pepper, to taste
Spice Mixture
- 2 Tablespoons Chili Powder
- 1 Tablespoon Ground Cumin
- 1 Tablespoon Smoked Paprika
- 1 Tablespoon Dried Oregano
- 2 teaspoons unsweetened cocoa powder
- 2 teaspoons chipotle chili powder
- 1/2 tsp ground cinnamon
Instructions
-
In a small bowl, thoroughly mix together all ingredients for the spice blend and set aside. This ensures all the spices are ready to go.
-
Pat the beef cubes dry with paper towels and season generously on all sides with salt and pepper. Proper seasoning is key for flavor.
-
Heat a large, heavy-bottomed pot or Dutch oven over medium-high heat. Add 2 Tablespoons of vegetable oil. Once the oil is hot and shimmering, add about half of the seasoned beef. Do not overcrowd the pot, as this will steam the meat instead of browning it. Sear the beef for 4-5 minutes per side until a deep, golden-brown crust forms. Remove the browned beef from the pot and set it aside in a bowl. Repeat this process with the remaining beef and 2 Tablespoons of oil.
-
Reduce the heat to medium. Add the remaining 2 Tablespoons of oil to the pot (if needed) and add the finely chopped onions and jalapeño. Sauté for 6-7 minutes, stirring occasionally, until the vegetables soften and become translucent. Make sure to scrape any delicious browned bits from the bottom of the pot, as these add immense flavor.
-
Once the onions are soft, add the minced garlic and your prepared spice mixture to the pot. Cook for just 1 minute, stirring continuously, until the spices become intensely fragrant. Be careful not to burn them.
-
Return all the browned beef to the pot. Add the beef broth, beer, Worcestershire sauce, brown sugar, tomato paste, and the minced chipotle in adobo (including a teaspoon of the adobo sauce for extra depth). Stir everything together thoroughly until all ingredients are well combined. Bring the entire mixture to a gentle simmer.
-
Leave the pot uncovered and reduce the heat to low. Allow the chili to simmer gently for 2 1/2 – 3 hours. This slow cooking is crucial for the beef to become incredibly tender and for the flavors to fully meld and develop. Stir occasionally to ensure even cooking and prevent sticking. If the chili becomes too thick for your preference during this time, you can add a little more beef broth to thin it out.
-
Once the meat is tender and the chili has reached your desired consistency, taste and adjust the seasoning with additional salt and pepper as needed. Serve hot with your favorite toppings!
Notes
Nutrition
Nutrition information is automatically calculated, so should only be used as an approximation.
Additional Info
Like this recipe? Leave a comment below!
I’ve created a fun and engaging group on Facebook, and I’d absolutely love for you to join us! It’s a vibrant community where you can
share YOUR favorite recipes, ask questions, and stay updated on all the exciting new creations from Dinners, Dishes and Desserts (so you’ll never miss a delicious new recipe)!
Be sure to follow me on Instagram and
tag #dinnersdishes so I can see all the wonderful DINNERS, DISHES, AND DESSERTS
recipes YOU make!
Make sure to follow me on my social media channels, so you
never miss a post!
Facebook | Twitter | Pinterest | Instagram
