Mastering Homemade English Muffins: Easy Recipe for Light, Fluffy Nooks & Crannies
There’s a unique satisfaction that comes with baking homemade bread, a joy that few other culinary endeavors can match. The simple act of combining flour, yeast, and a few other humble ingredients, watching the dough transform and rise, and then experiencing the intoxicating aroma of fresh bread baking through your home is truly one of life’s greatest pleasures. It’s an experience that transcends mere cooking and becomes a comforting ritual, producing food that nourishes both body and soul.
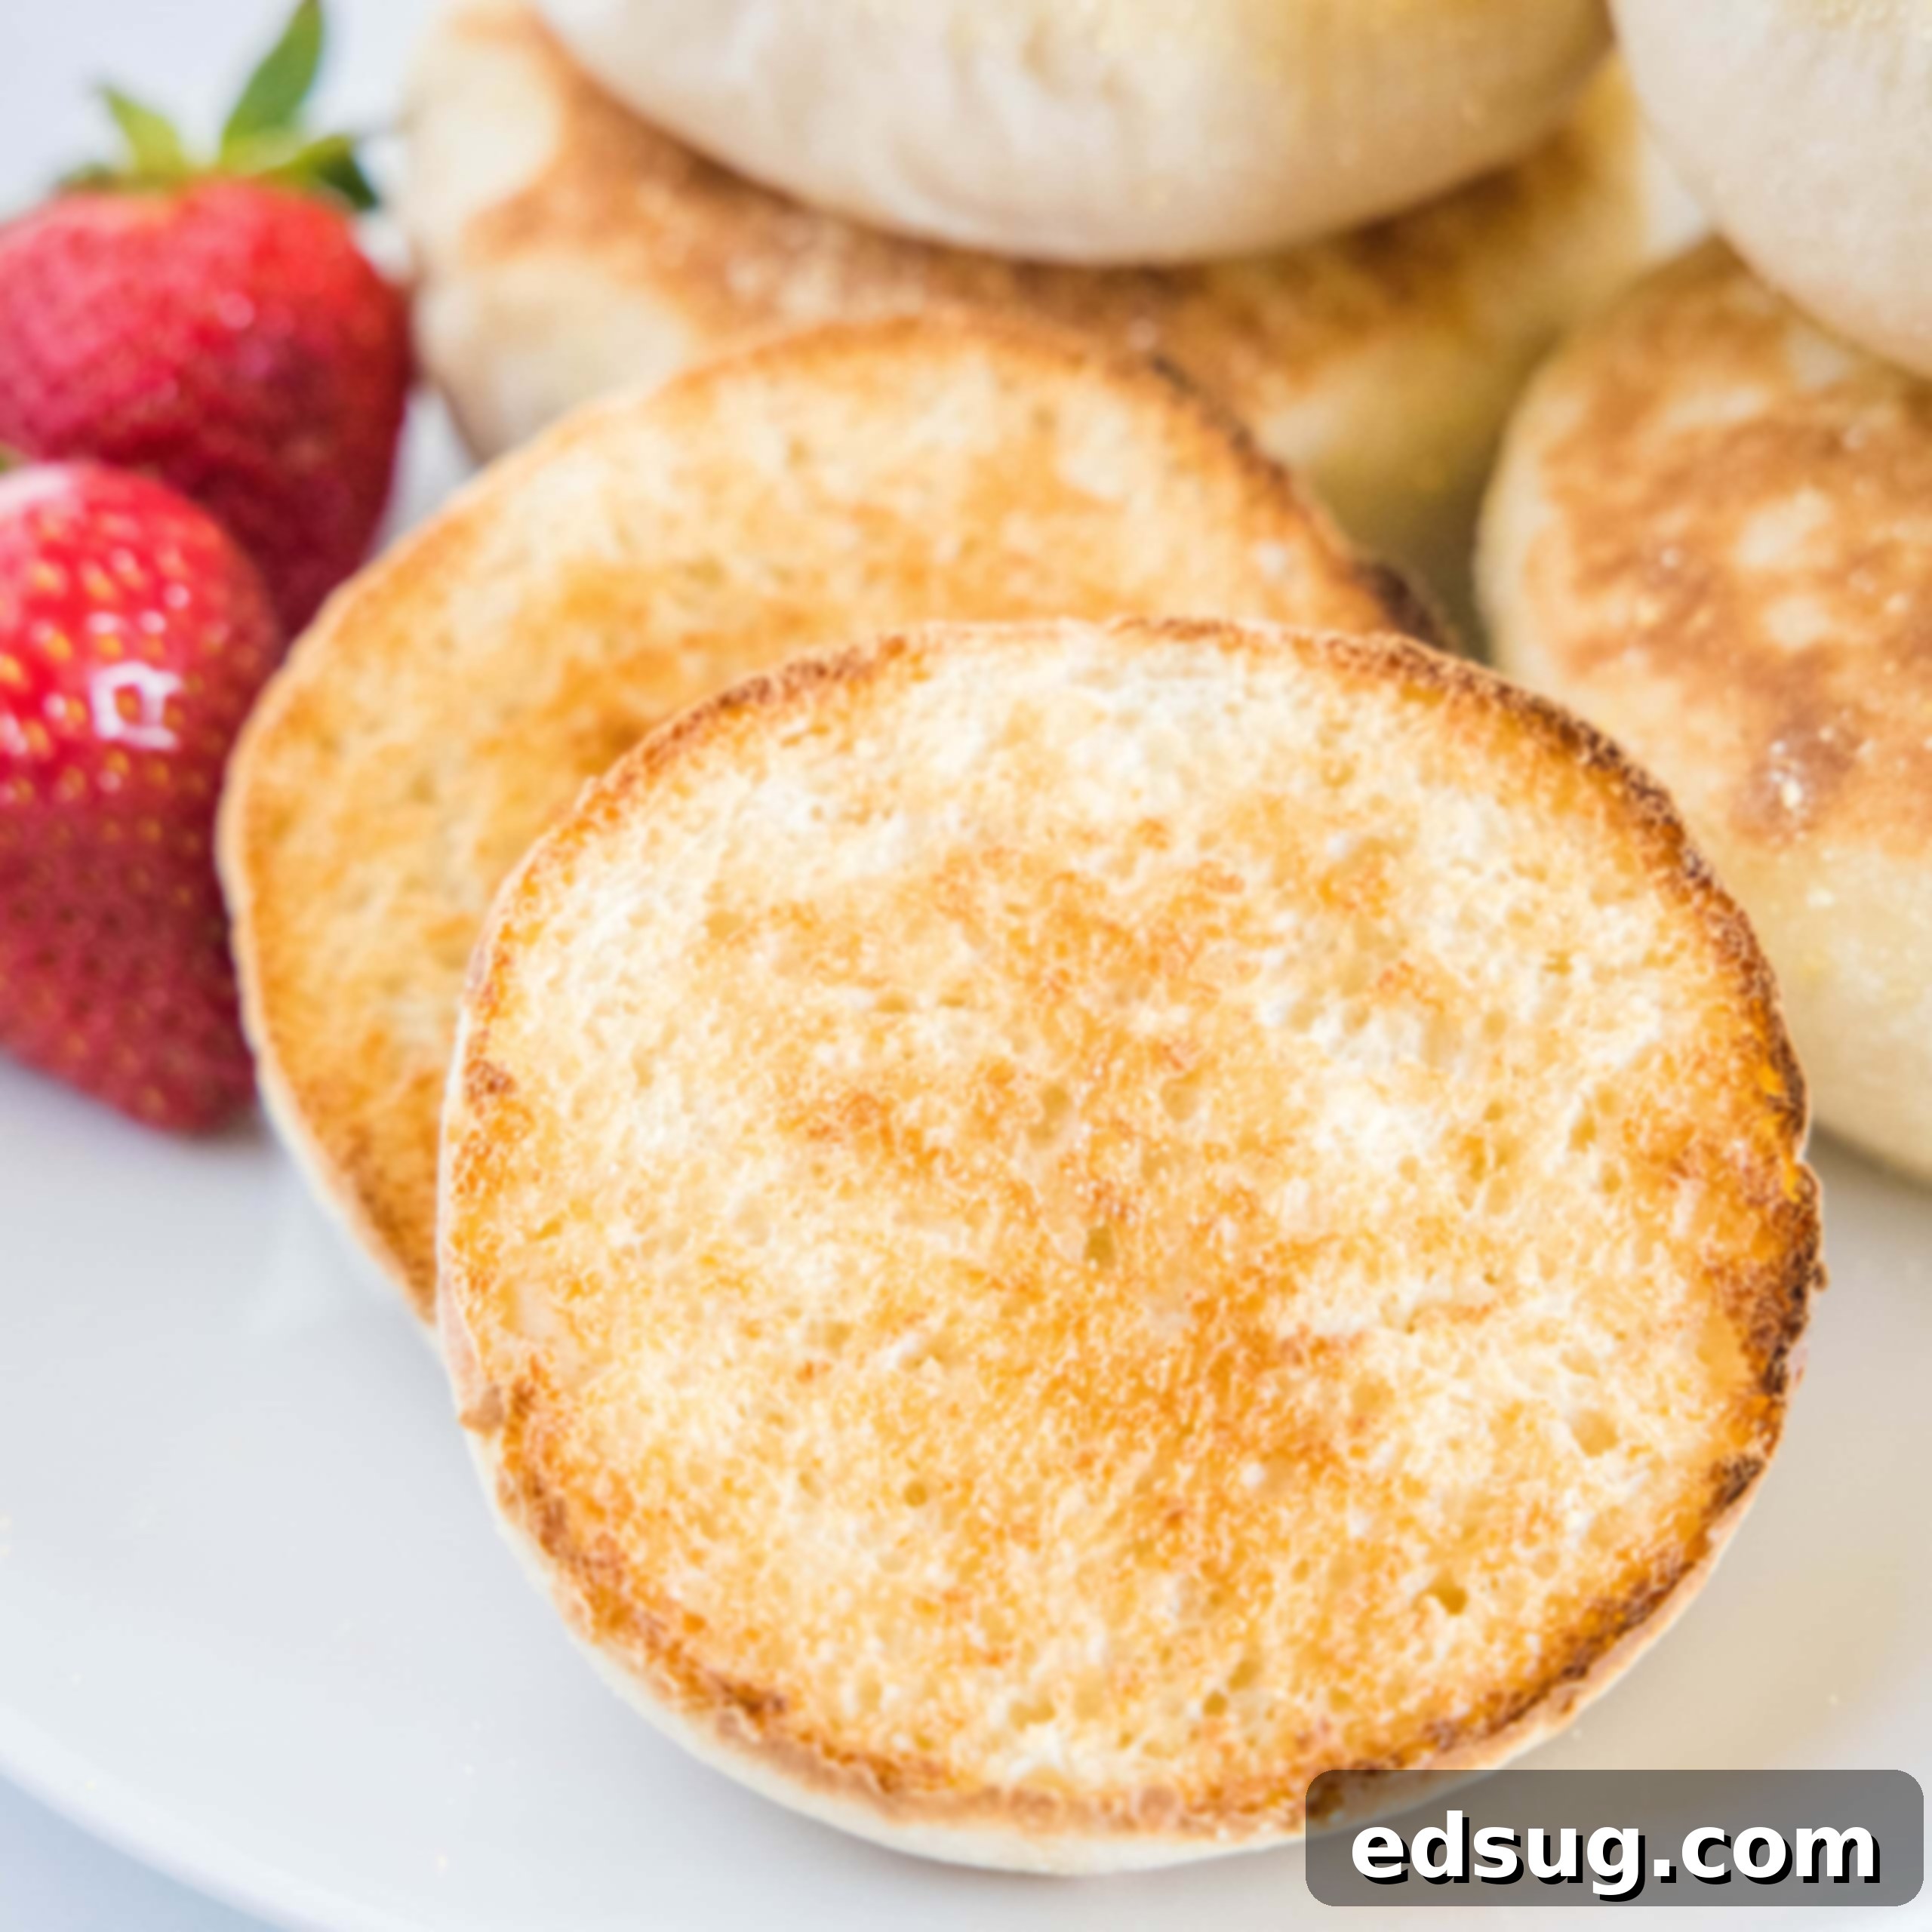
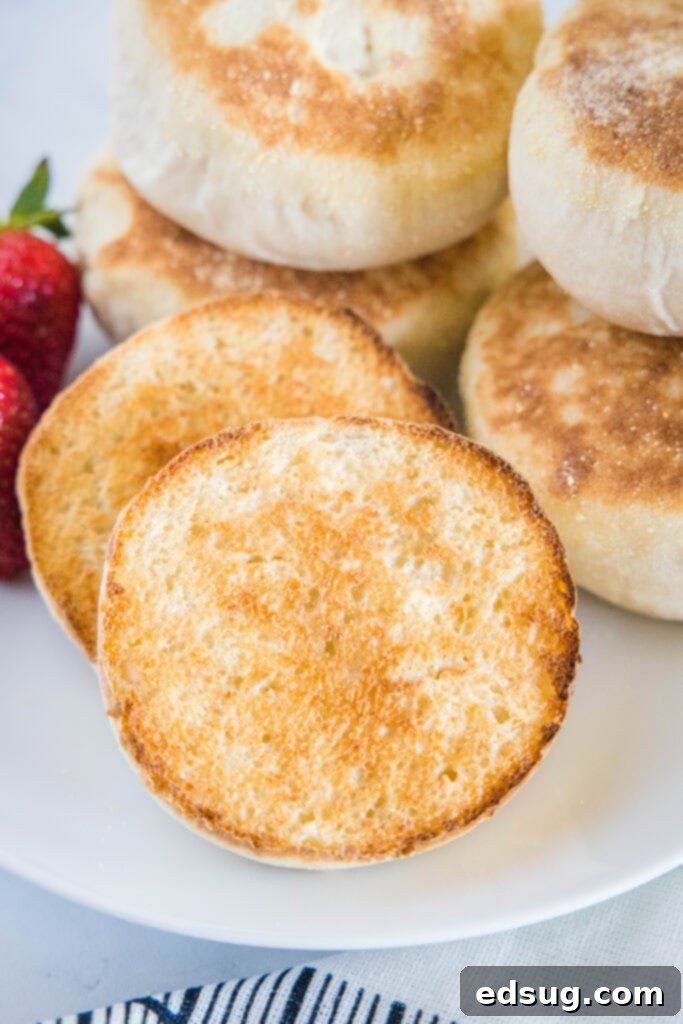
While many breads are wonderful to make at home, there’s something particularly magical about homemade English Muffins. Forget the dry, uniformly textured, store-bought versions; these homemade English Muffins are in a league of their own. They boast an incredibly light, airy texture, a perfectly golden crust, and, most importantly, those coveted “nooks and crannies” that are ideal for trapping butter, jam, or any topping your heart desires. This recipe promises a superior breakfast experience that will undoubtedly become a staple in your kitchen.
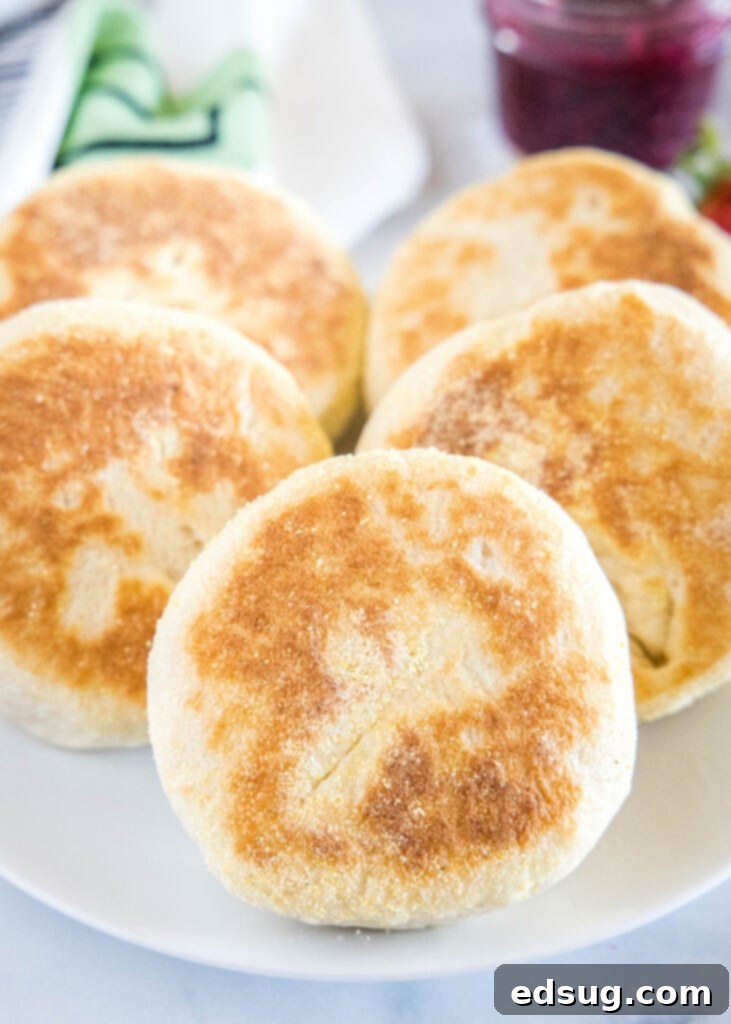
For many, English muffins are a breakfast essential. My son, for instance, enjoys one almost every morning, toasted to perfection and slathered with peanut butter for a quick and satisfying start to his day. While convenience often leads us to store-bought options, the difference in taste and texture when you make them yourself is simply astounding. This recipe is designed to be approachable, making it far easier to achieve bakery-quality results at home than you might imagine. Don’t be intimidated by the multiple rising steps; much of the process involves passive waiting, allowing the yeast to work its magic, rather than intensive hands-on labor.
Essential Ingredients for Perfect English Muffins
Crafting these delectable English muffins requires a careful selection of ingredients. Each component plays a vital role in achieving that signature taste and texture. Here’s a detailed look at what you’ll need:
- Bread Flour: The higher protein content in bread flour is crucial for developing strong gluten networks. This strength allows the dough to capture more air during fermentation, resulting in a chewier texture and more prominent nooks and crannies.
- All-Purpose Flour: A touch of all-purpose flour helps to balance the chewiness from the bread flour, contributing to a lighter and softer crumb overall.
- Active Dry Yeast: This is the leavening agent that makes your muffins rise and develop those wonderful air pockets. Ensuring your yeast is fresh and active is paramount for a successful bake.
- Salt: Beyond flavor, salt plays a critical role in controlling yeast activity and strengthening the gluten structure.
- Sugar: A small amount of sugar acts as food for the yeast, helping it to activate and multiply, which in turn aids in fermentation and browning.
- Water: Lukewarm water is essential for activating the yeast. Too hot, and you’ll kill it; too cold, and it won’t activate.
- Milk: Milk adds richness, moisture, and a tender crumb to the muffins. Like water, it should be lukewarm.
- Cornmeal for Dusting: This is a traditional component that prevents the muffins from sticking to the baking surface and griddle, while also adding a subtle texture and a lovely golden hue to the exterior.
Step-by-Step Guide to Making English Muffins
Making English muffins from scratch is a rewarding process that yields incredible results. Follow these detailed steps to achieve perfect, airy muffins:
- Activate the Yeast: In a medium bowl, combine 1/2 cup of warm water (around 105-115°F or 40-46°C, use a thermometer if unsure) with the active dry yeast and a pinch of sugar. Stir gently and let it rest for about 10 minutes. You’ll know the yeast is active and healthy when it becomes foamy and frothy on the surface. This “proof” confirms your yeast is ready to work its magic.
- Combine Dry and Wet Ingredients: In a large mixing bowl, whisk together the bread flour, all-purpose flour, salt, and the remaining sugar. Create a well in the center, then pour in the activated yeast mixture, the rest of the warm water, and the lukewarm milk.
- Form and Knead the Dough: Begin mixing the ingredients using a sturdy spoon or a stand mixer with a dough hook attachment. Mix until a shaggy dough forms and all the flour is incorporated. Then, using your stand mixer on low speed with the dough hook, knead the dough for a full 10 minutes. If kneading by hand, turn the dough onto a lightly floured surface and knead vigorously for 10 minutes. This extensive kneading is crucial for developing the gluten structure, which will give the muffins their characteristic chewiness and open crumb.
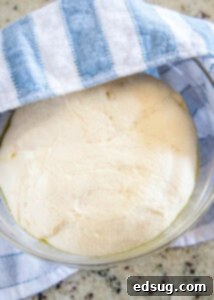
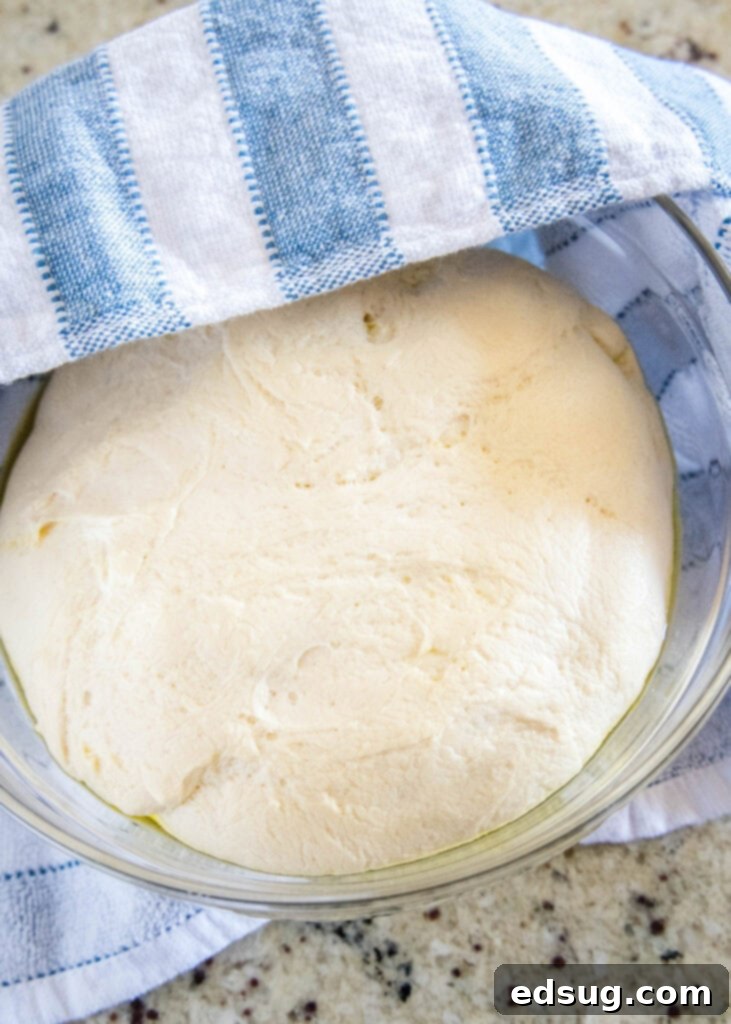
- First Rise (Bulk Fermentation): The dough for English muffins is notably sticky, which is perfectly normal and desirable for their texture. Carefully remove the sticky dough from the mixer bowl (or your hands) and place it into a generously oiled bowl, turning it once to coat all sides. Cover the bowl tightly with a clean kitchen towel or plastic wrap and let it rise in a warm, draft-free place for approximately 1 hour, or until it has visibly doubled in size. This first rise allows the yeast to produce ample carbon dioxide, creating the initial air pockets.
- Punch Down and Second Knead: Once doubled, gently punch the dough down to release the trapped gases. Turn the dough out onto a lightly flfloured surface and knead it for another 5 minutes. This second kneading helps to redistribute the yeast and further develop the gluten, contributing to a more even crumb structure.
- Second Rise: Return the kneaded dough to the oiled bowl, cover it again, and let it rise for another 45 minutes. This shorter second rise builds upon the first, enhancing the flavor and further preparing the dough for shaping.
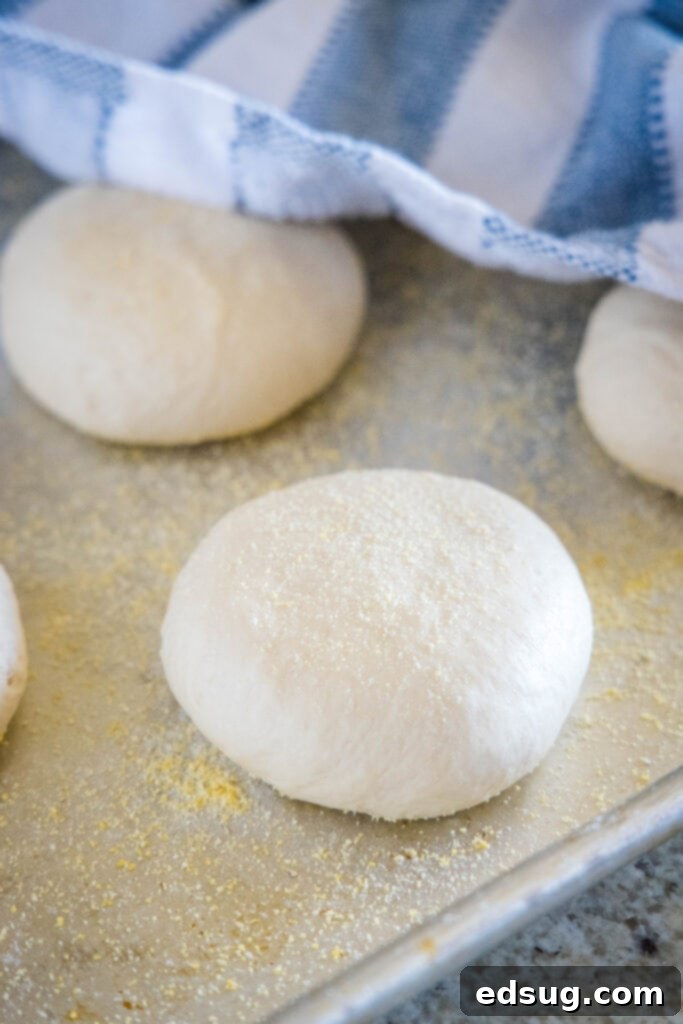
- Prepare Baking Sheet: While the dough is on its second rise, liberally sprinkle a large baking sheet with cornmeal. This prevents sticking and adds that classic English muffin texture.
- Divide the Dough: Gently remove the risen dough from the bowl. On a lightly floured surface, divide the dough into 10 equal portions. For precise and uniform muffins, using a kitchen scale to weigh each portion to about 100 grams is highly recommended.
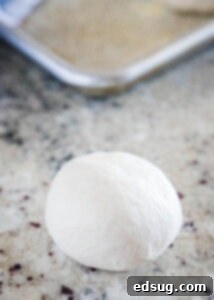
- Shape the Muffins: Roll each portion into a smooth ball. Then, using the palm of your hand, gently flatten each ball into a disc, about 3-4 inches (7-10 cm) in diameter and about 1/2 to 3/4 inch (1-2 cm) thick. Aim for the classic English muffin shape.
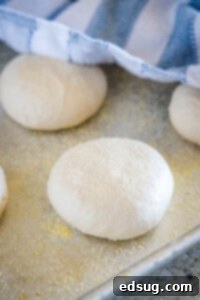
- Third Rise (Proofing): Arrange the shaped muffins on the prepared cornmeal-dusted baking sheet, ensuring there’s some space between each one. Cover them loosely with a clean kitchen towel and let them rise for a final 45 minutes. This last rise is called proofing and gives the muffins their ultimate lift before cooking.
- Preheat Griddle and Oven: While the muffins are proofing, preheat a griddle or a large heavy-bottomed skillet over medium-high heat. Also, preheat your oven to 350°F (175°C). The combination of stovetop cooking and oven baking ensures a perfectly cooked muffin with crispy exteriors and a thoroughly cooked interior.
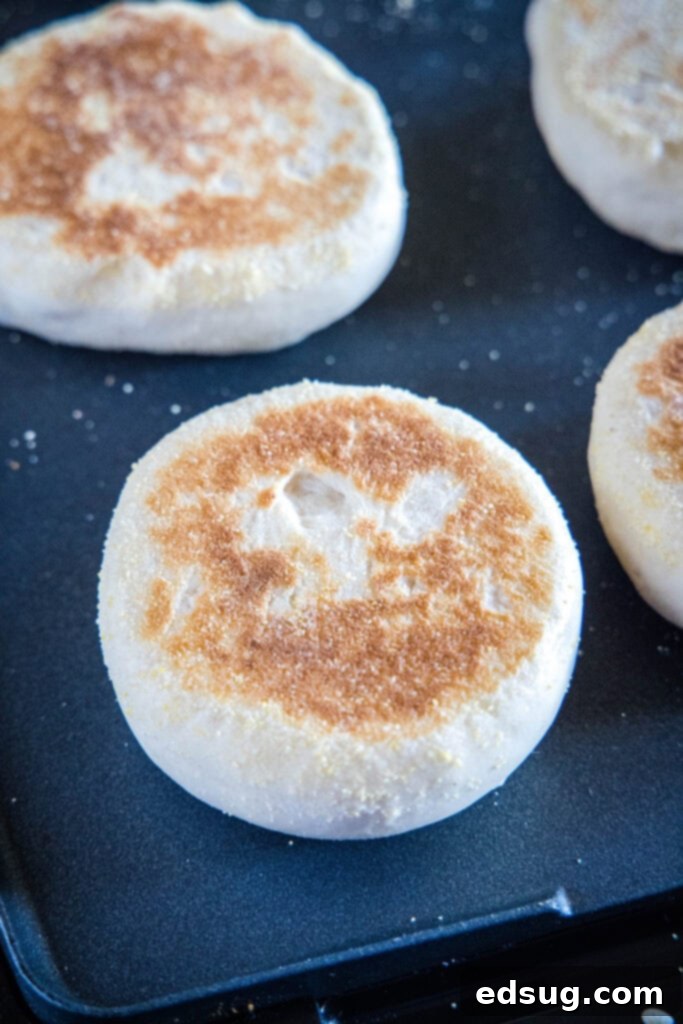
- Cook on Griddle: Place a few muffins on the hot griddle, making sure not to overcrowd the pan. Cook for approximately 5 minutes per side, or until they develop a beautiful golden-brown crust. This initial griddle cooking creates the characteristic crispy bottom and top of an English muffin.
- Bake in Oven: Once golden on both sides from the griddle, transfer the partially cooked muffins back to the baking sheet. Bake them in the preheated oven for about 20 minutes, or until they are cooked through. The internal temperature of a fully cooked English muffin should reach 200°F (93°C). Baking them in the oven ensures the interior is fully cooked and fluffy without over-browning the exterior.
- Cool: Remove the English muffins from the oven and transfer them to a wire rack to cool completely before splitting and serving. Cooling allows the internal structure to set properly.
The Science Behind Those Perfect Nooks & Crannies
The hallmark of a truly great English muffin is its irregular, open internal structure, fondly known as “nooks and crannies.” These delightful pockets are not accidental; they are the direct result of a carefully managed fermentation process. As the yeast feeds on the sugars in the dough during its multiple rise times, it produces carbon dioxide gas. This gas gets trapped within the elastic gluten network of the dough, forming numerous small and large air bubbles. When the muffins are cooked on the griddle and then baked, these air bubbles expand and eventually “pop,” leaving behind the irregular, interconnected cavities that make English muffins so ideal for soaking up butter, jam, or hollandaise sauce.
This is precisely why homemade English muffins have several distinct rising periods in the recipe. Each rise contributes to the development of these crucial air pockets, building a complex internal structure that store-bought varieties often lack due to commercial production methods that prioritize speed and uniformity over artisanal texture.
Proper Storage for Freshness
Once your homemade English muffins have cooled, proper storage is key to keeping them fresh and delicious for as long as possible.
For immediate enjoyment, store your muffins in an airtight container or a zip-top plastic bag at room temperature in your pantry for up to 5 days. They make for a convenient and quick breakfast throughout the week, ready to be toasted whenever a craving strikes.
If you’ve made a larger batch or want to enjoy them further into the future, English muffins freeze exceptionally well. To freeze, wrap each cooled muffin individually in plastic wrap, then place the wrapped muffins into an airtight freezer-safe container or a heavy-duty freezer bag. They can be stored in the freezer for up to 2 months. When you’re ready to enjoy one, simply remove it from the freezer, let it thaw on the counter for a couple of hours (or overnight in the refrigerator), then split and toast as usual. You can even toast them directly from frozen on a lower setting, though thawing first often yields a better texture.
Understanding Sticky Dough
One common concern when making English muffins is the dough’s sticky consistency. It’s important to understand that this is entirely normal for this type of bread! English muffin dough is intentionally much stickier than most other bread doughs you might be accustomed to working with. This high hydration contributes significantly to the muffins’ light, airy interior and the formation of those desirable nooks and crannies.
When you’re kneading, especially during the initial 10-minute period, resist the urge to add excessive amounts of extra flour. While it might feel very sticky, adding too much flour will result in dense, dry muffins. If you’re using a stand mixer with a dough hook, let the machine do the hard work – it will manage the stickiness without additional flour. If kneading by hand, use as little flour as possible to prevent sticking to your hands and the work surface. The dough should feel sticky but not wet or soupy.
You’ll notice that after the first long rise, the dough will become considerably less sticky and much easier to handle. At this stage, you can use a minimal amount of flour on your hands and work surface for the subsequent kneading and shaping steps. Embrace the stickiness; it’s a sign that your dough is on its way to becoming perfectly tender and full of character.

General Bread Baking Tips for Success
Baking bread, including English muffins, is a wonderful skill to develop. Here are some essential tips that apply to most yeast-based recipes, ensuring your efforts result in delicious, perfectly risen loaves every time:
- Mind the Liquid Temperature: The temperature of your water and milk is incredibly important. It needs to be warm enough to activate the yeast but not so hot that it kills it. Aim for a temperature between 105ºF and 115ºF (40º-46ºC). Using a kitchen thermometer is the best way to be precise. If the liquid is too hot, your yeast will die, and your dough won’t rise. If it’s too cold, the yeast will remain dormant, yielding similar flat results.
- Check Your Yeast’s Vitality: Yeast is a living organism, and its freshness directly impacts your bread’s rise. Always check the expiration date on your yeast package. For optimal shelf life, store active dry yeast in an airtight container in the refrigerator or freezer. If your yeast is old or has been improperly stored, it may not be active. A good way to test it is by “proofing” it as the first step of this recipe – if it doesn’t foam, it’s best to discard it and use a fresh batch.
- Knead Thoroughly and Accurately: Kneading is crucial for developing gluten, which gives bread its structure and chewiness. Whether you use a stand mixer with a dough hook or knead by hand, pay close attention to the recommended kneading time in the recipe. If it says 10 minutes, set a timer and knead for the full 10 minutes. When I first started baking bread, I often underestimated kneading time, leading to many disappointing, dense results. Proper kneading transforms the dough from shaggy to smooth and elastic.
- Create the Ideal Rising Environment: Yeast thrives in a slightly warm, dark, and draft-free environment. If your kitchen is cool, finding a warm spot can make a big difference. Consider placing your bowl of dough near a gentle heat vent, in a slightly warmed (but turned off!) oven with the door ajar, or even just with the oven light on for a subtle boost of warmth. Some modern ovens also have a dedicated “bread proof” setting, which is perfect for this purpose. A proper rise allows the yeast to work efficiently, producing the gas needed for a light and airy texture.
- Don’t Over-Flour (Especially for Sticky Doughs): As discussed with English muffins, some doughs are meant to be sticky. Adding too much flour during kneading or shaping can make your bread dense and dry. Use just enough flour to prevent sticking, and rely on thorough kneading to develop the dough’s strength rather than excess flour.
- Test for Doneness: For most breads, including English muffins baked in the oven, relying solely on visual cues can be misleading. An instant-read thermometer is your best friend. For English muffins, an internal temperature of 200°F (93°C) indicates they are fully cooked through. For larger loaves, temperatures might be slightly higher.
More Must-Make Breakfast Recipes
If you’ve fallen in love with homemade English muffins, you’ll likely enjoy exploring other delightful breakfast recipes that elevate your morning meal. Here are some of our family’s favorites:
- Chocolate Chip Muffins
- Lemon Pancakes
- Crockpot Breakfast Casserole
- Chocolate Oatmeal
- Banana Nut Muffins
- Chocolate Chip Scones
- Breakfast Tacos
- Cinnamon Rolls

English Muffins
Pin Recipe
Rate Recipe
Print Recipe
Ingredients
- 3 cups bread flour
- 3/4 cup all purpose flour
- 3 1/2 teaspoon kosher salt
- 2 1/2 tsp active dry yeast
- 1/2 teaspoon sugar
- 1 cup lukewarm water, 110º F
- 2/3 cup lukewarm milk, 110º F
- flour for dusting
- cornmeal for dusting
Instructions
-
Mix together 1/2 cup of warm water with the yeast. Let it rest for 10 minutes, until the yeast starts to foam.
-
In a large bowl mix together flour, salt and sugar. Pour in the yeast mixture along with the rest of the water and milk.
-
Mix until it forms a dough. Then use your stand mixer with the dough hook hook to knead for 10 minutes. You can also knead by hand for 10 minutes.
-
The dough will be sticky, remove from the mixer and place in a well oiled bowl. Cover with a towel and let rise for 1 hour, or until it has doubled in size.

-
Punch the dough down. Turn onto a lightly floured surface and knead for 5 minutes.
-
Place the dough back in the oiled bowl, cover and let rise for 45 minutes.
-
Sprinkle cornmeal over a large baking sheet.
-
Remove dough and divide into 10 equal portions. If you use a kitchen scale, they will be about 100g per ball of dough.
-
Roll the portions into a ball.

-
Use your hands to flatten and form into the shape of a traditional English Muffin.

-
Place on the baking sheet, cover and let rise for 45 minutes.
-
Heat a griddle or large skillet over medium high heat. Preheat oven to 350º F.
-
Place pieces of dough on the griddle and cook for about 5 minutes, or until they are golden brown. Flip and cook for another 5 minutes.
-
Remove from the griddle and place back on the baking sheet. Bake for about 20 minutes or until they are cooked through. The internal temperature will be 200º F when they are fully cooked.
-
Remove from the oven and allow them to cool.
Notes
Nutrition
Nutrition information is automatically calculated, so should only be used as an approximation.
Additional Info
Like this recipe? Leave a comment below!
I’ve created a fun group on Facebook, and I would love for you to join us! It’s a welcoming place where you can share your favorite recipes, ask questions, and stay updated on what’s new at Dinners, Dishes and Desserts, ensuring you never miss a delicious new recipe!
Be sure to follow me on Instagram and tag #dinnersdishes so I can see all the wonderful creations you make from DINNERS, DISHES, AND DESSERTS recipes!
Don’t forget to follow me on my social media channels so you never miss a post or a new recipe!
Facebook | Twitter | Pinterest | Instagram
