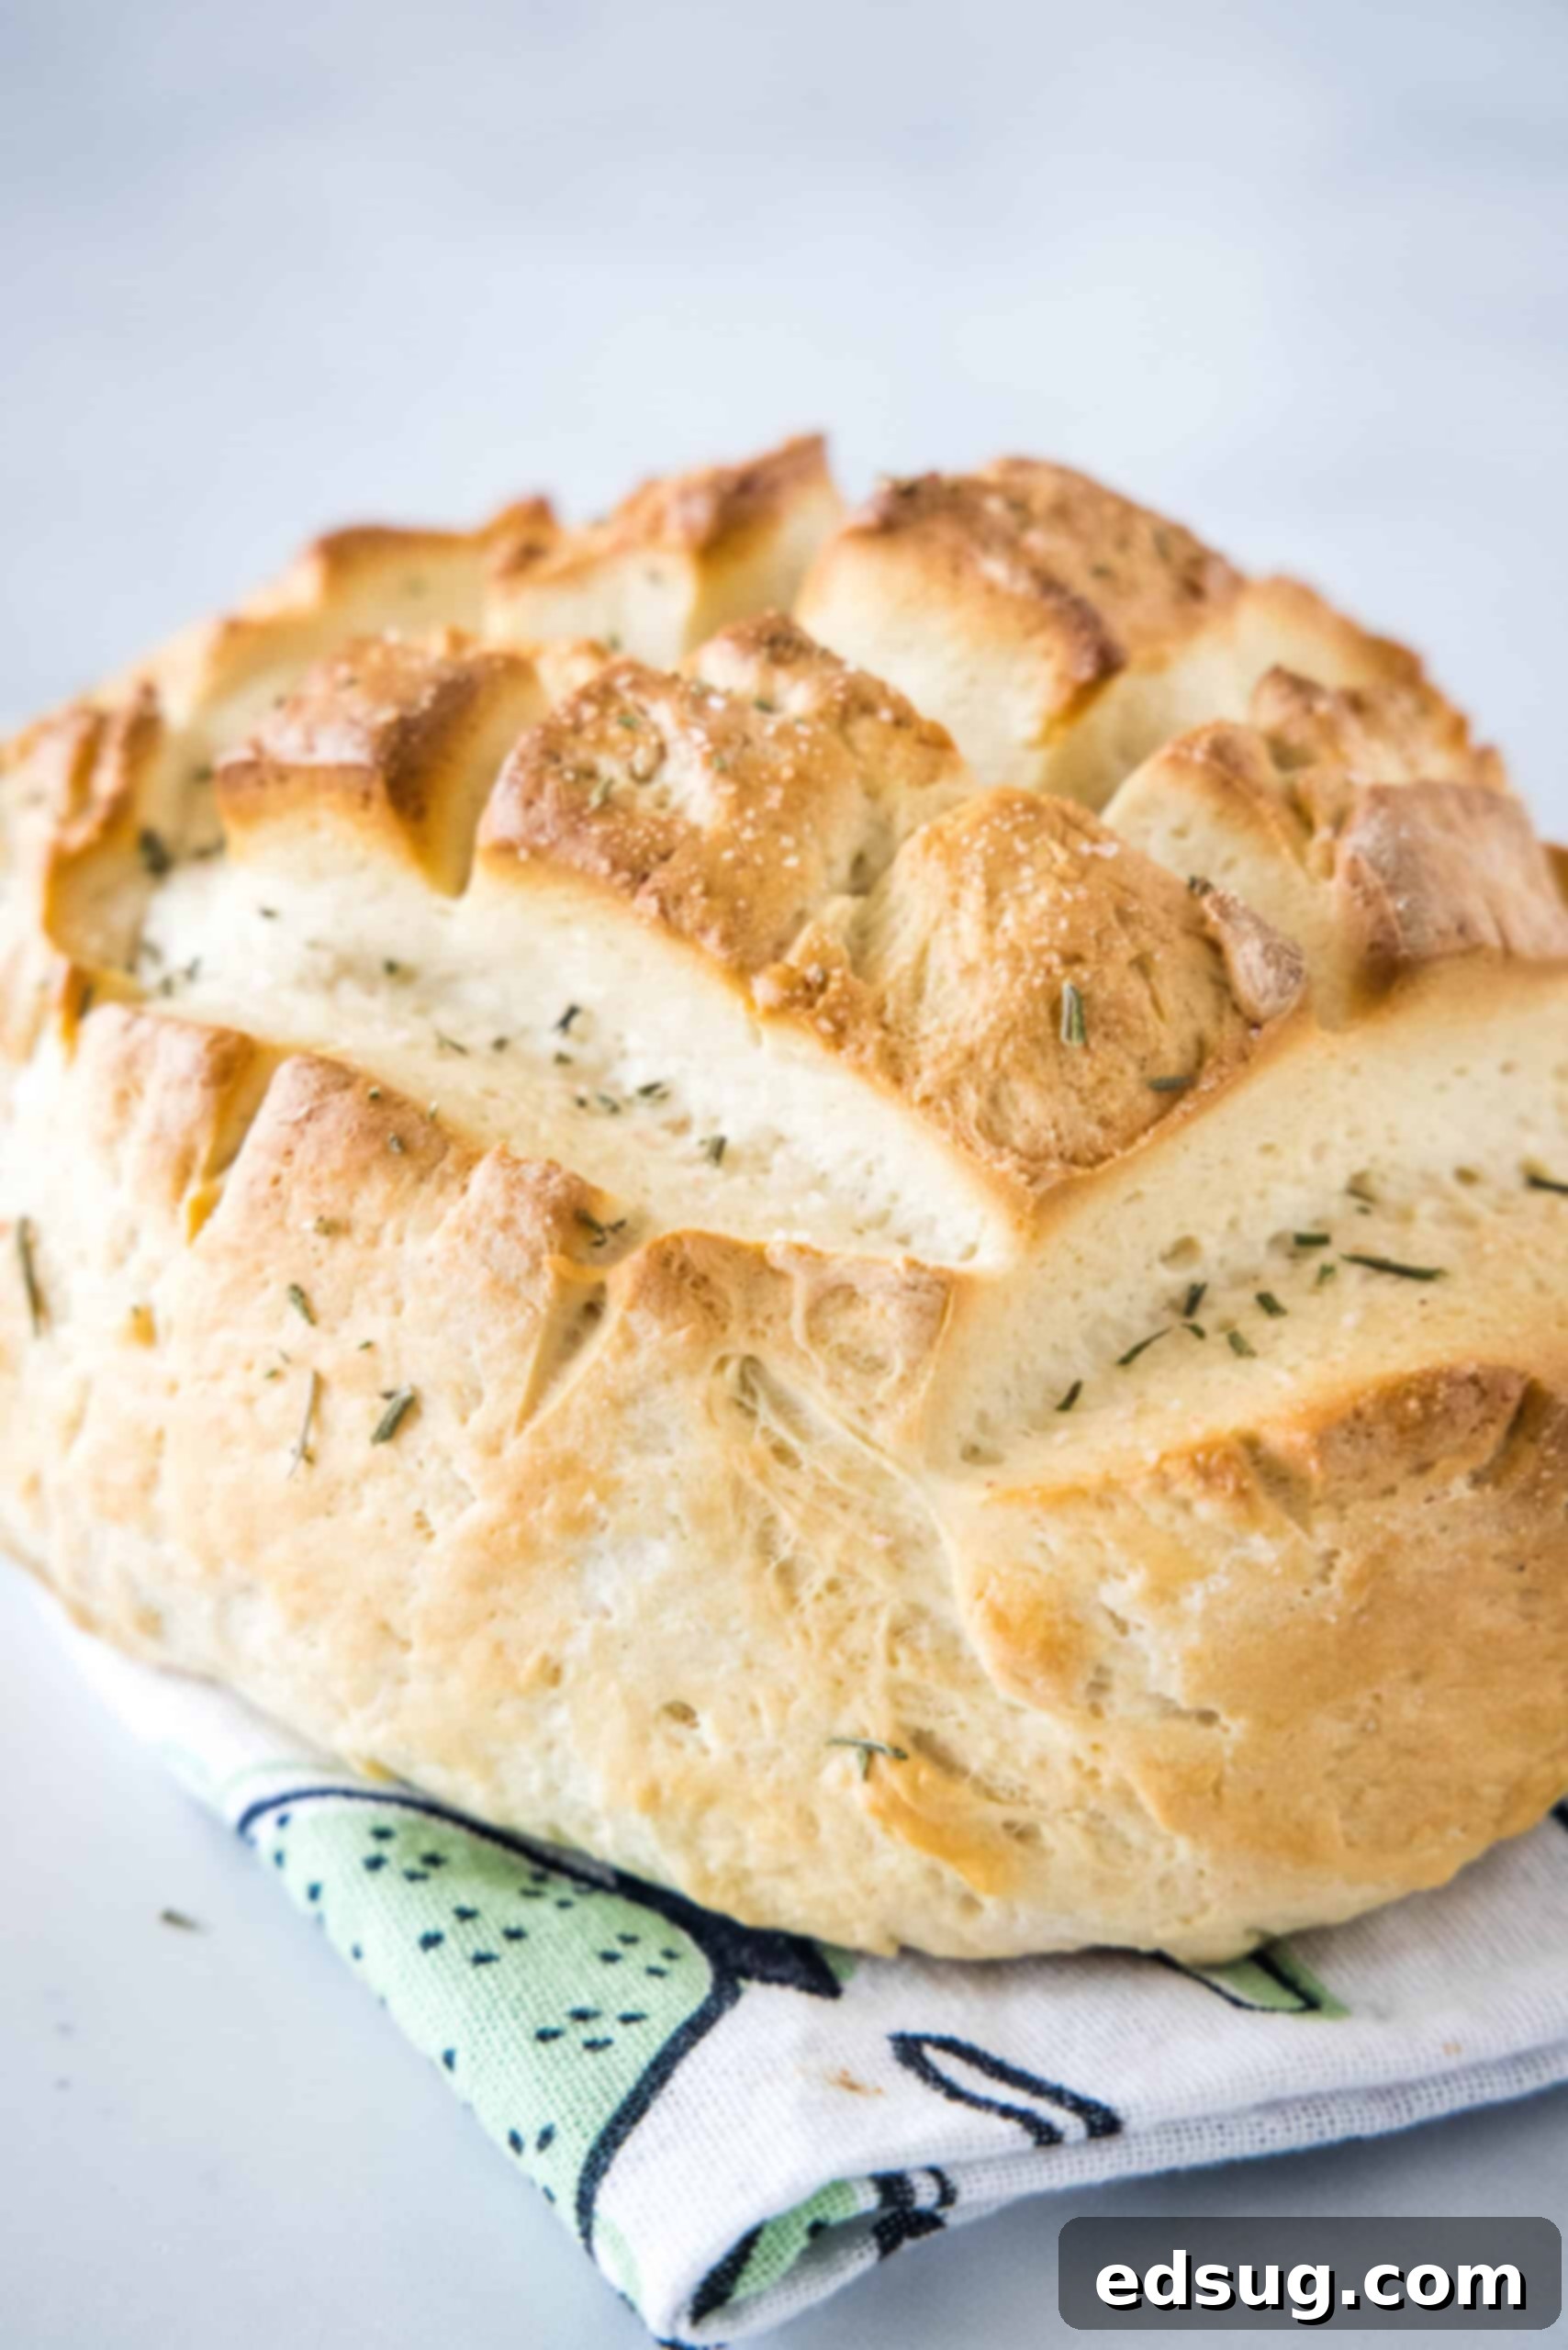
Easy Amish Bread Recipe: Soft, Sweet & Quick Homemade Loaves for Every Occasion
There’s nothing quite like the aroma of freshly baked bread filling your home. This easy Amish bread recipe brings that comforting experience right to your kitchen, yielding two incredibly soft and subtly sweet loaves. Perfect for a variety of uses, from classic sandwiches and morning toast to hearty dunking in your favorite soups, this homemade bread is sure to become a staple. Thanks to rapid-rise yeast, the rising time is kept short, making it an achievable baking project even for busy days.
If you’re looking for a delightful bread option that doesn’t use yeast, you might enjoy this cheesy quick bread for a savory alternative.
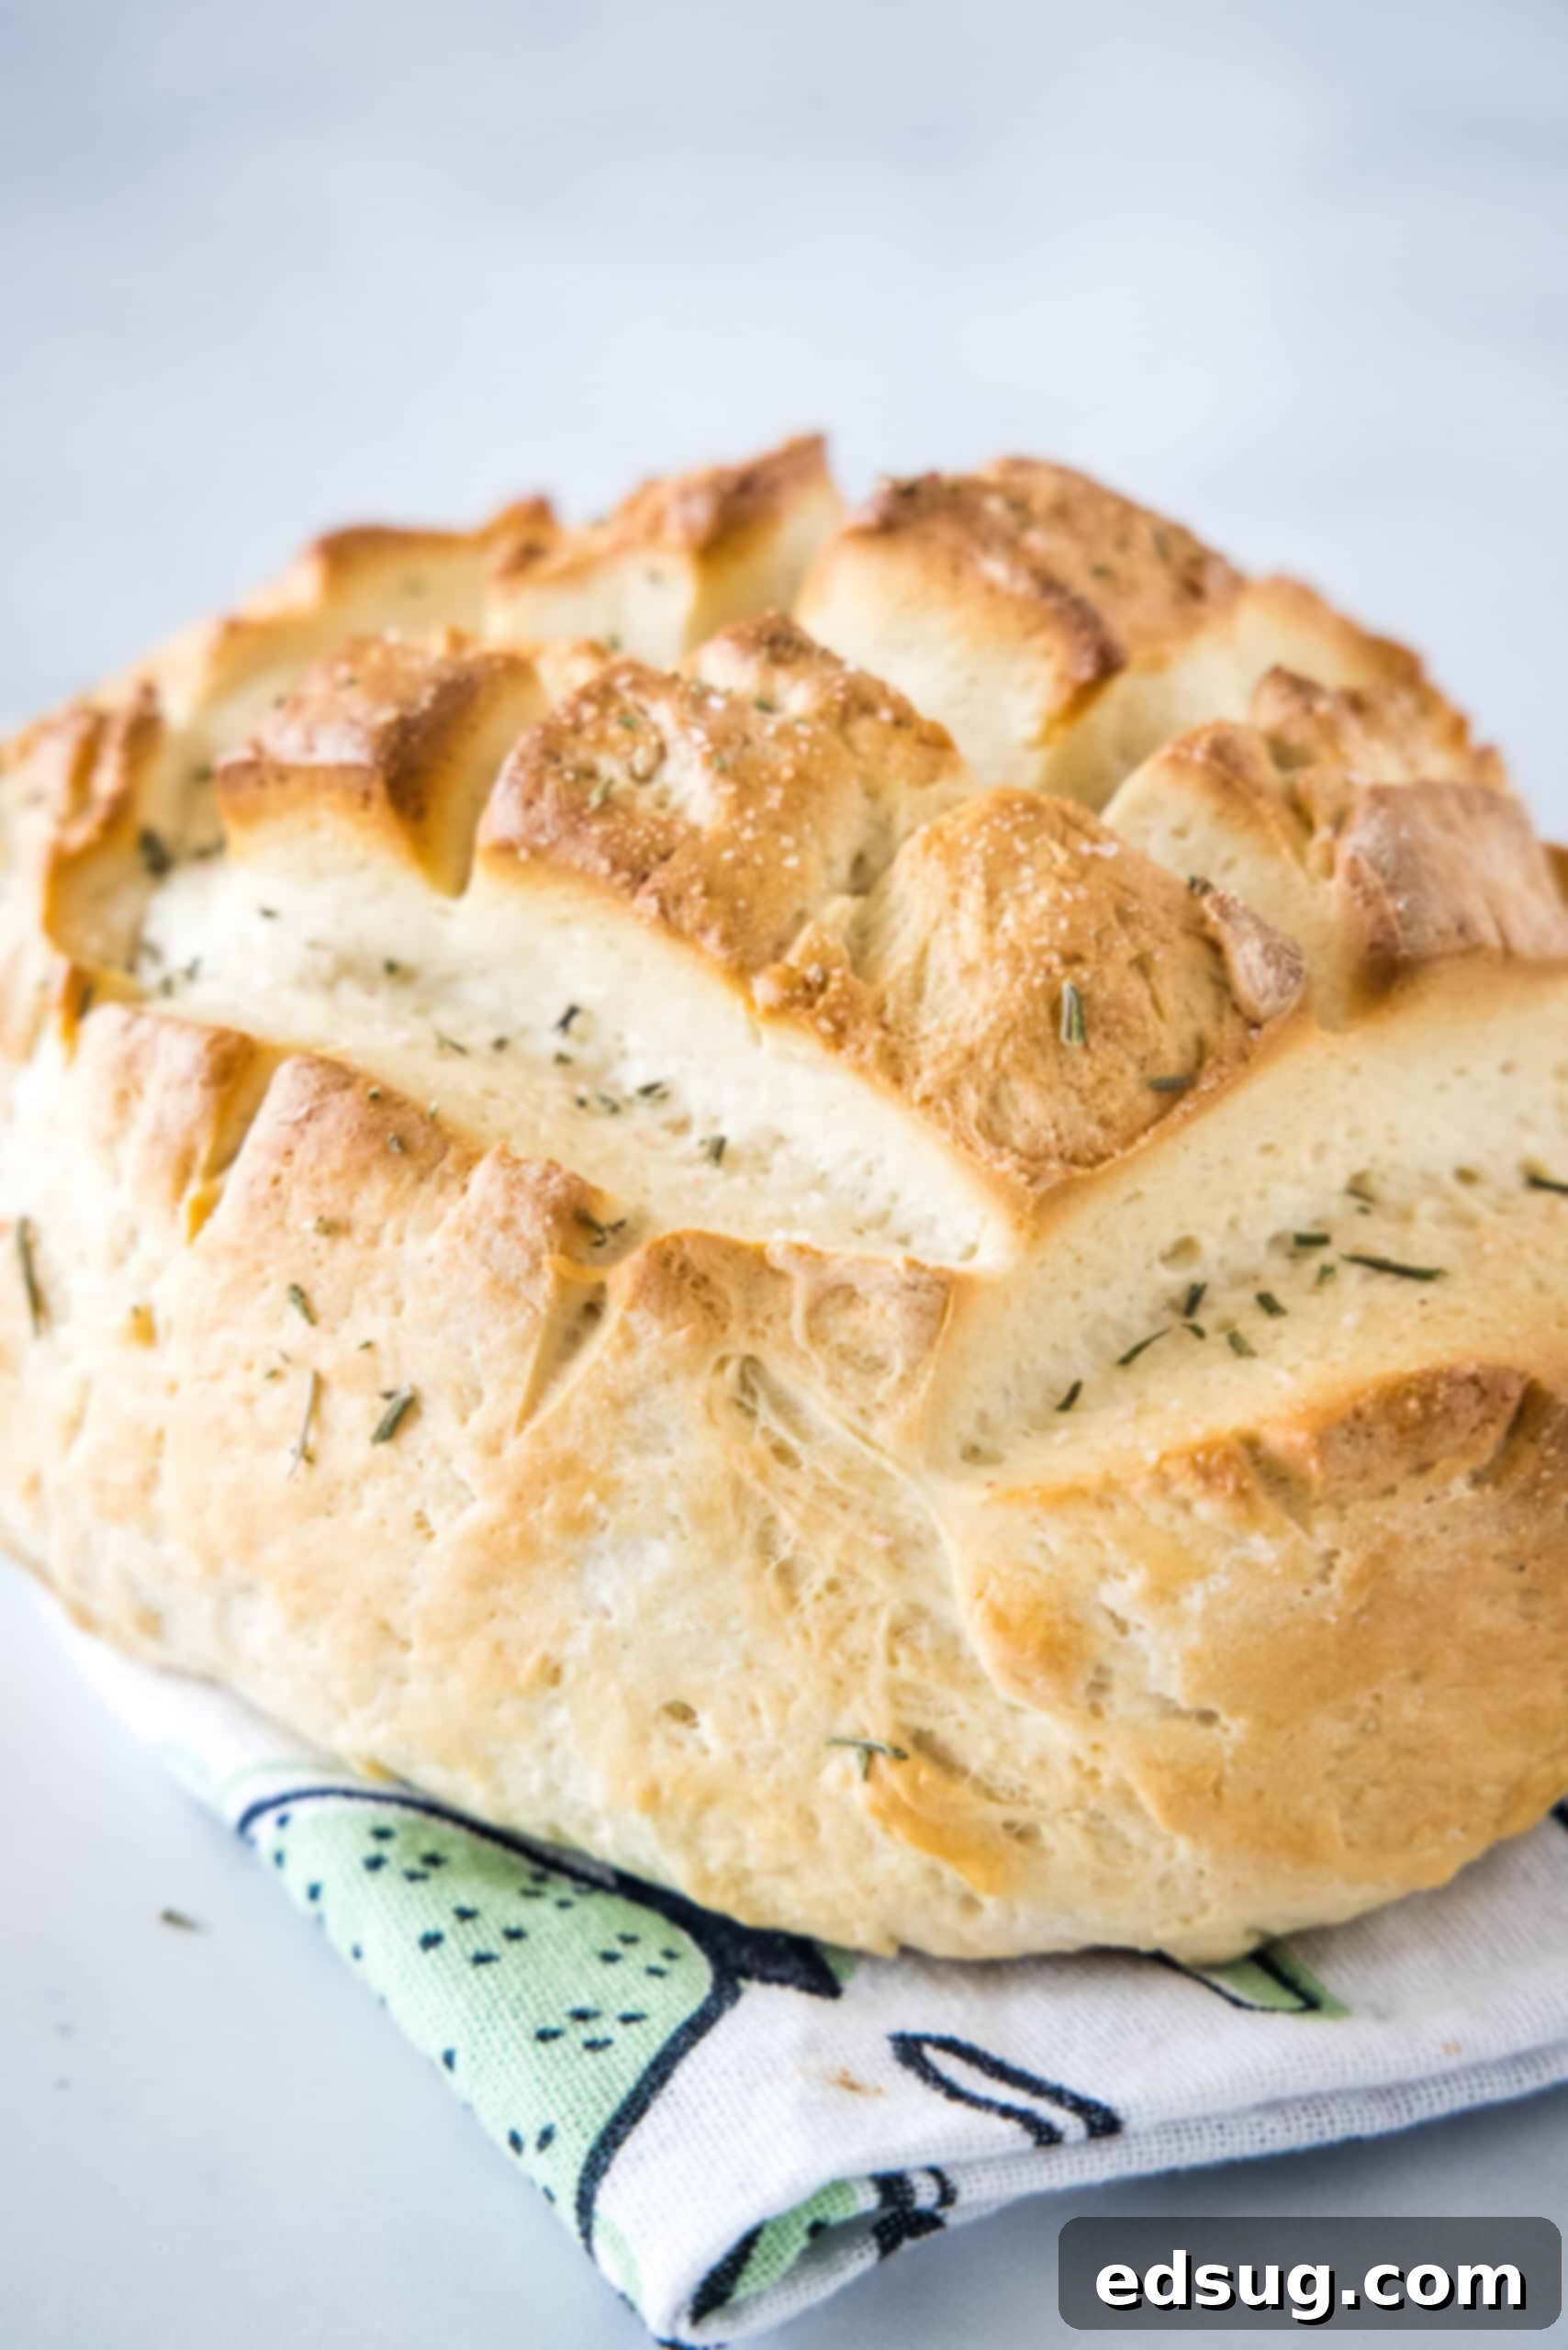
Table of Contents
- The Charm of Amish Bread & Its History
- Why You’ll Love This Amish Bread Recipe
- Essential Ingredients You’ll Need
- Step-by-Step: How to Make Amish Bread
- Expert Recipe Tips for Perfect Loaves
- Delicious Serving Suggestions
- How to Store and Enjoy Later
- More Easy Bread Recipes to Try
- Amish Country Bread Recipe Card
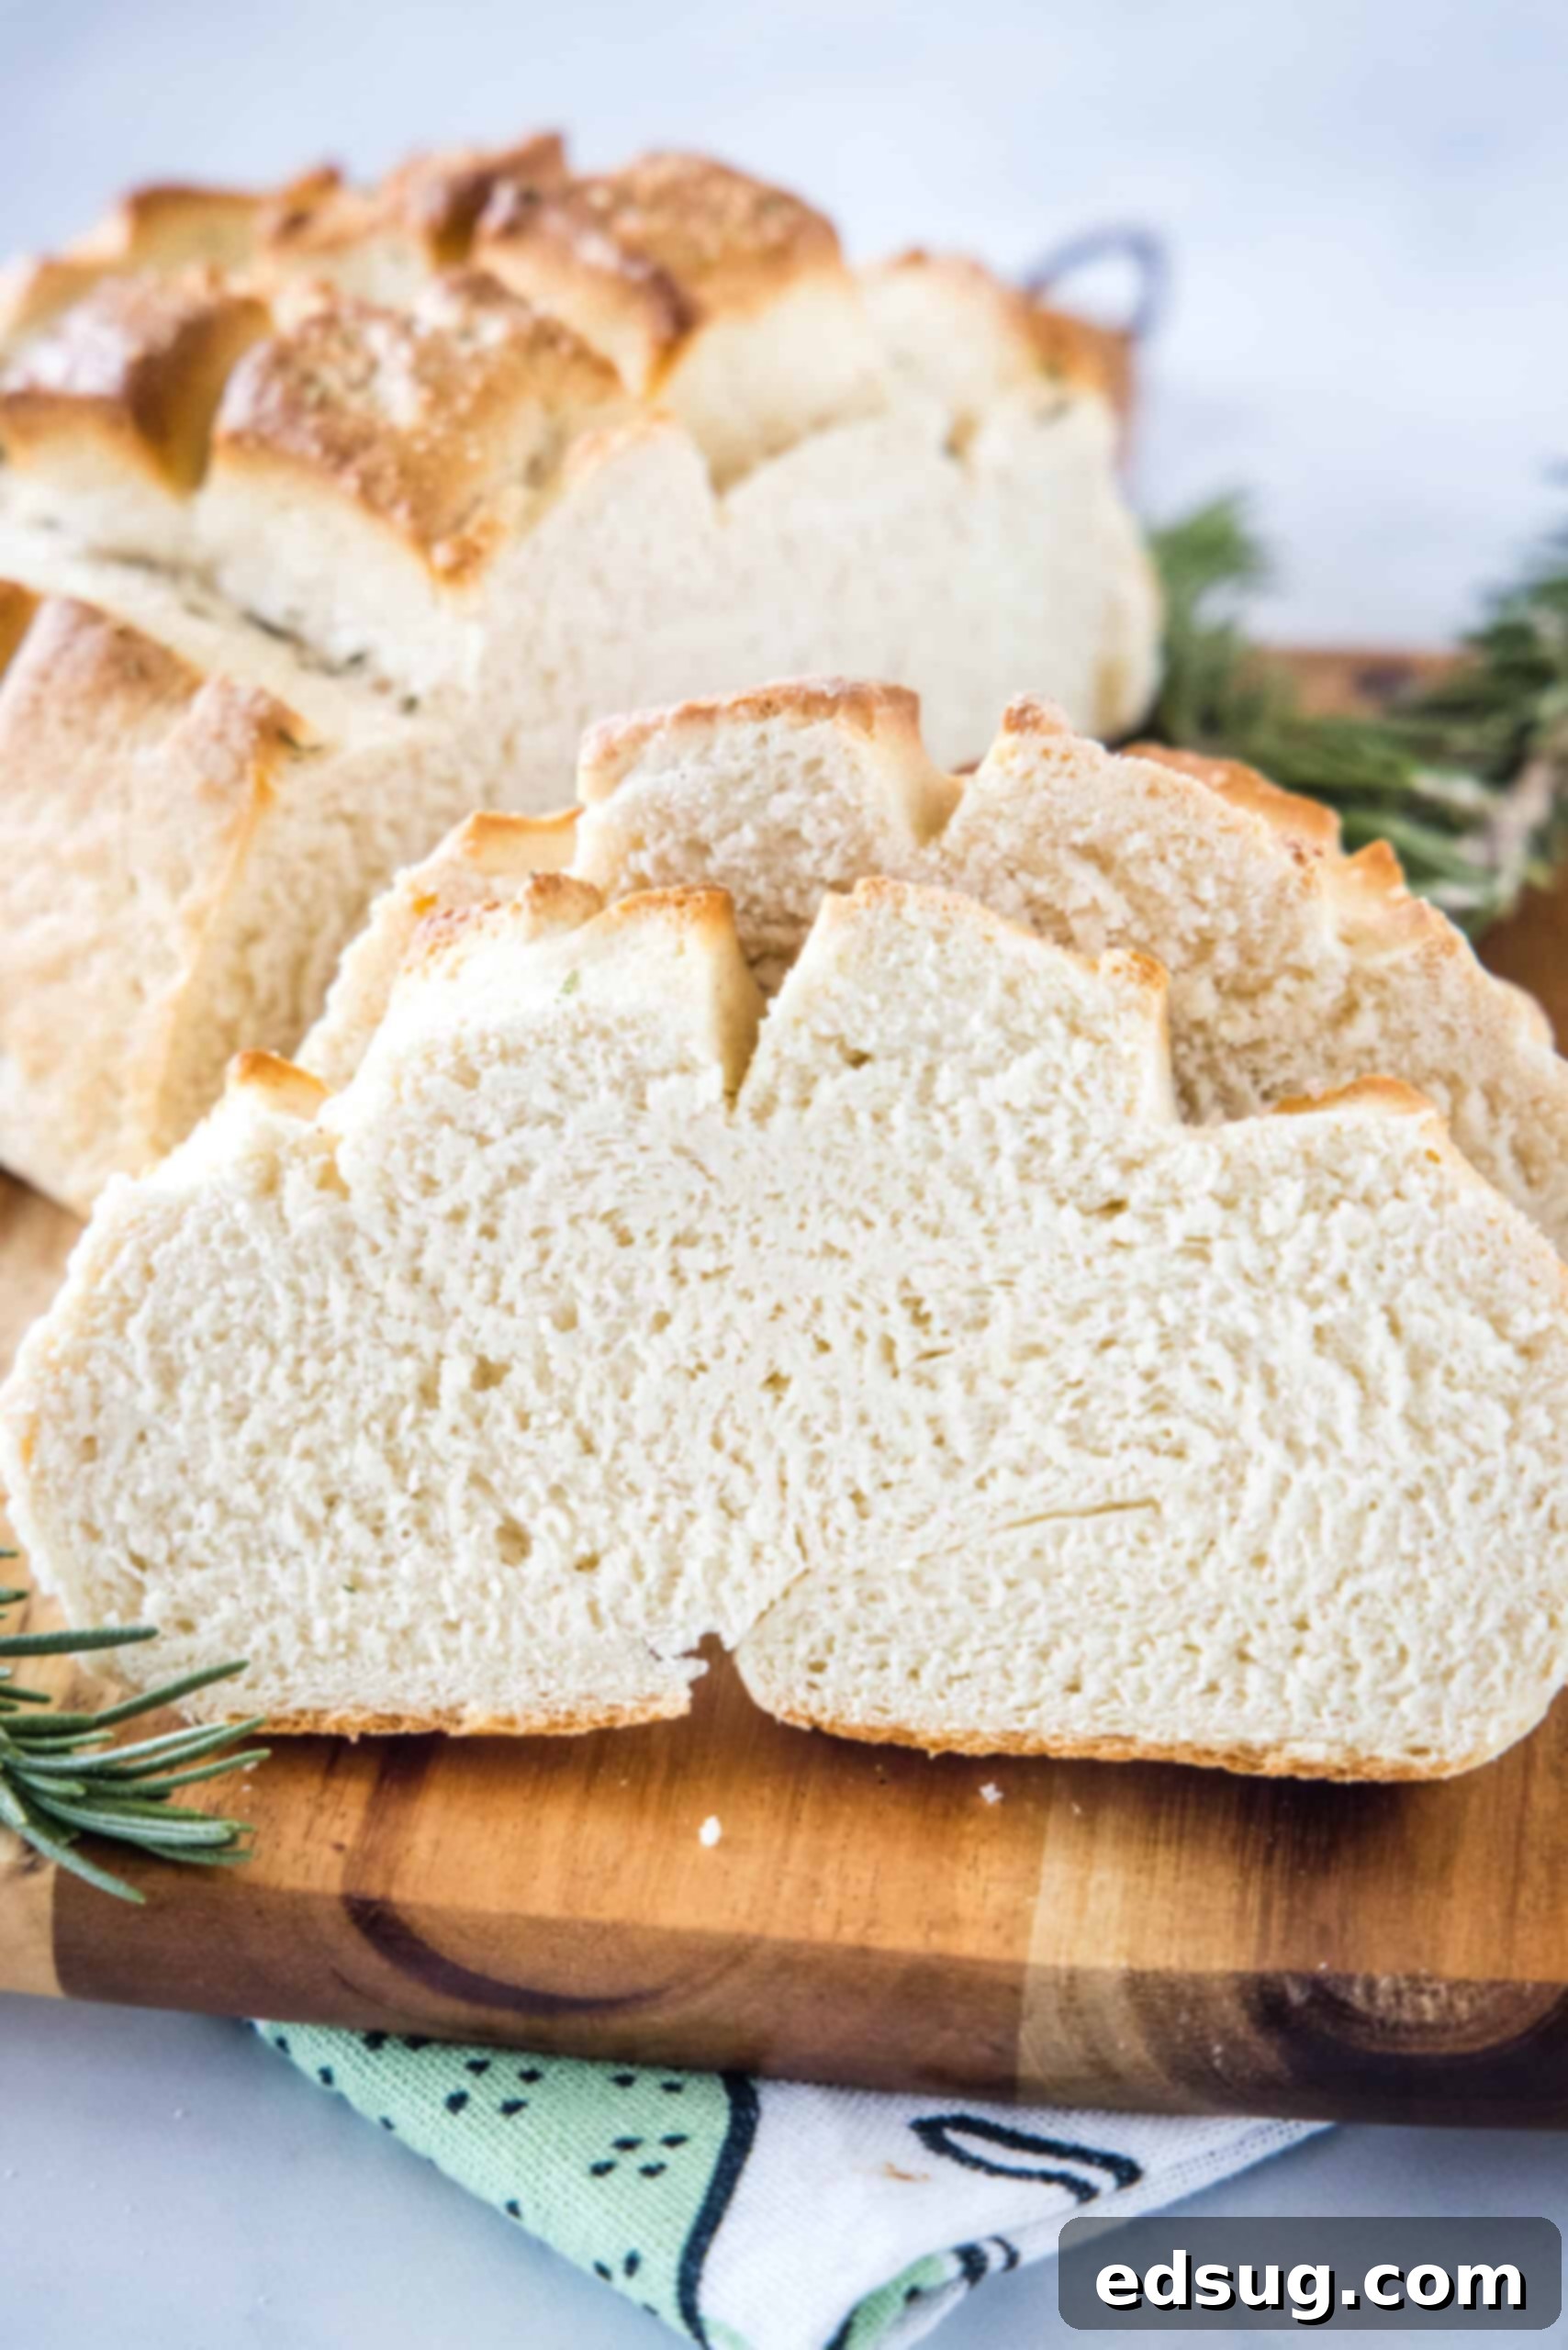
Creating homemade bread is a deeply satisfying experience, and this Amish bread recipe holds a special place among my favorites. Its appeal lies in its wonderful balance: a remarkably soft interior with just a hint of sweetness, encased in a delightfully hearty, crusty exterior. This makes it ideal for everything from classic toast to robust “dunking” into rich soups and stews. Whether it’s alongside a steaming bowl of Italian sausage soup or a comforting beef chili, a fluffy, warm loaf of this bread is always a welcome addition.
The Charm of Amish Bread & Its History
The term “Amish bread” often conjures images of rustic, wholesome baking, deeply rooted in community traditions. You might encounter similar recipes known as Amish friendship bread or country bread, traditionally made from a continuously fed sourdough starter. This long-standing tradition involved sharing the starter with friends, much like a culinary chain letter – one cup for baking, one cup for saving, and the rest to be generously passed on. While that method fosters a wonderful sense of community and provides a unique flavor, this particular recipe offers a more accessible and quicker path to delicious homemade bread without the need for a long-term starter maintenance.
Our recipe captures the essence of that simple, comforting Amish style of baking, focusing on a soft, slightly sweet loaf that’s perfect for everyday enjoyment. It’s a taste of tradition, made easy for the modern kitchen.
Why You’ll Love This Easy Amish Bread Recipe
- Quick & Convenient: Unlike traditional Amish friendship bread that relies on a sourdough starter, this recipe uses rapid-rise yeast. This significantly cuts down on proofing time, letting you enjoy fresh, homemade bread in approximately 1 hour of rising, making it perfect for last-minute meal prep or a spontaneous baking urge.
- Effortlessly Freezer-Friendly: Baking two loaves at once is a fantastic way to plan ahead. If your family doesn’t devour both loaves immediately (which is a real possibility!), this Amish bread freezes beautifully. Stocking your freezer with homemade goodness means you’re always ready for a quick side or sandwich base. It thaws quickly and retains its wonderful texture.
- Incredibly Versatile: The soft, slightly sweet profile of this Amish bread makes it a culinary chameleon. Slice it thick for the ultimate morning toast, slathered with butter or jam. It’s robust enough to handle any sandwich filling, from deli meats to grilled veggies. For a heartier experience, cut generous hunks to dip into rich beef stews, warming chilis, or creamy soups. You can even transform it into an irresistible garlic bread for pasta nights.
- Simple Ingredients, Big Flavor: This recipe uses everyday pantry staples, proving that delicious, high-quality bread doesn’t require exotic ingredients. The magic happens through simple mixing and proper technique, resulting in a flavor that far surpasses store-bought alternatives.
- Rewarding & Therapeutic: The process of making bread from scratch is immensely satisfying. From watching the yeast bloom to kneading the dough and seeing it rise, each step is a small victory. The final reward of a golden, fragrant loaf makes every moment worthwhile.
Essential Ingredients You’ll Need
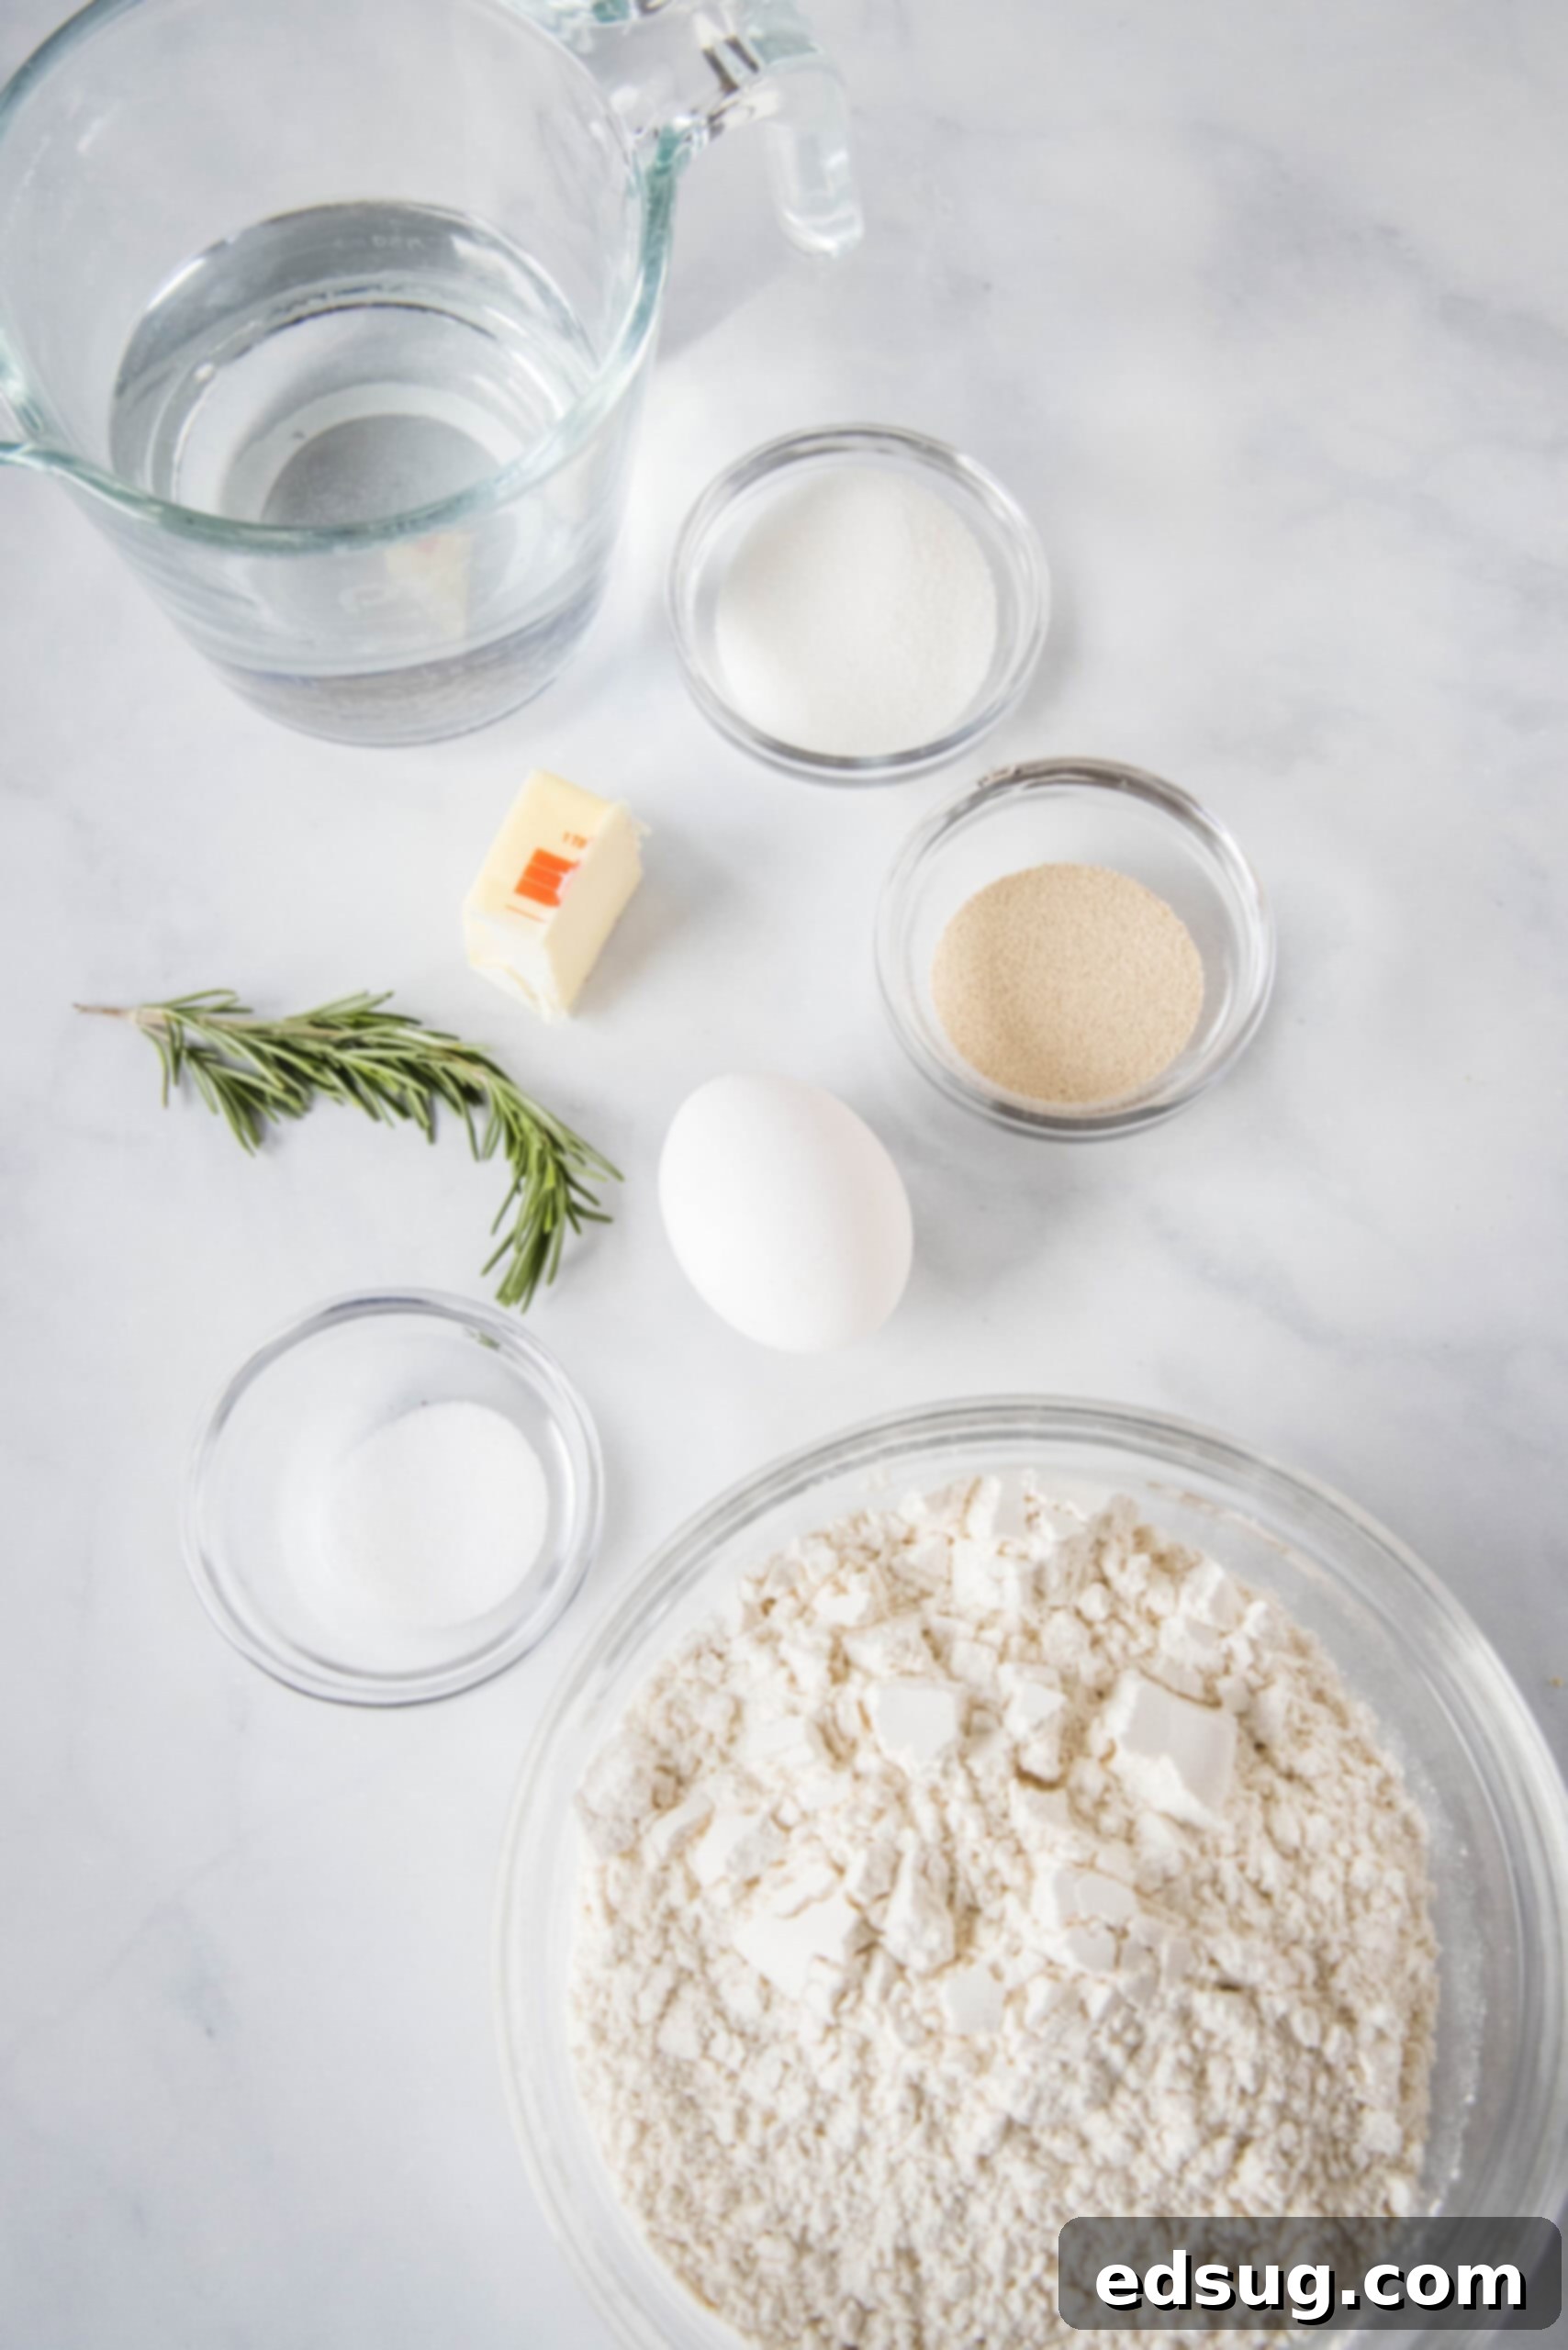
This delightful bread recipe relies on a handful of simple, readily available pantry ingredients. Understanding the role of each component will help you achieve the best results. I’ve included detailed notes below. For the complete, precise ingredients list with exact amounts and step-by-step instructions, please scroll down to the printable recipe card.
- Sugar: Both granulated sugar or light brown sugar will work beautifully in this recipe. Sugar not only provides that characteristic touch of sweetness but also acts as food for the yeast, helping it activate and rise effectively, contributing to a tender crumb.
- Butter: Melted butter, whether salted or unsalted, adds richness, flavor, and helps create a soft texture in the finished bread. If using unsalted butter, you might consider slightly increasing the amount of salt in the recipe to balance the flavors.
- Rapid-Rise Yeast: Also commonly known as instant yeast, this is your secret weapon for a quicker bake. Rapid-rise yeast is designed to be fast-acting, meaning it can be mixed directly into your dry ingredients without the need for prior proofing in warm water (though we do let it sit briefly with warm water and sugar to ensure activation). Always double-check the expiration date on your package to guarantee fresh and active yeast!
- Bread Flour: For that perfectly chewy and structured loaf, bread flour is preferred. It boasts a higher protein content compared to all-purpose flour, which translates to more gluten development. More gluten means a chewier texture and a bread that holds its shape wonderfully. If you don’t have bread flour, you can substitute it with all-purpose flour on a 1:1 basis, but be aware that the final texture might be slightly less chewy.
- Egg White: An egg wash (egg white whisked with water) is applied just before baking. This gives the bread a beautiful, glossy golden-brown crust and helps any added seasonings adhere perfectly. Separating the egg yolk from the white is easiest when the egg is cold straight from the fridge.
- Rosemary: Fresh or dried rosemary provides a fragrant, savory note that complements the subtle sweetness of the bread beautifully. Feel free to use your favorite herb, like thyme or oregano, or simply stick to a sprinkle of coarse salt for a more classic flavor. You can also skip the seasoning altogether if you prefer plain bread, especially for sandwiches.
- Warm Water: Crucial for activating the yeast. The temperature is key – ideally between 110ºF and 115ºF. Water that’s too hot will kill the yeast, while water that’s too cold won’t activate it, leading to a flat loaf. A kitchen thermometer is your best friend here.
- Salt: Essential for flavor, salt also plays a vital role in controlling yeast activity and strengthening the gluten structure.
Step-by-Step: How to Make Amish Bread
Making this homemade Amish bread is a straightforward process, combining simple ingredients with precise steps to achieve a truly rewarding result. The magic begins with properly activating your yeast with warm water – remember that crucial temperature range of 110ºF to 115ºF. Too hot, and you’ll kill the yeast; too cold, and it won’t activate, leading to a dough that won’t rise. Take your time with each stage, and you’ll be enjoying fresh, warm bread in no time!
Let’s walk through the steps below. For printable instructions, exact measurements, and the full recipe, please refer to the recipe card at the bottom of this page:
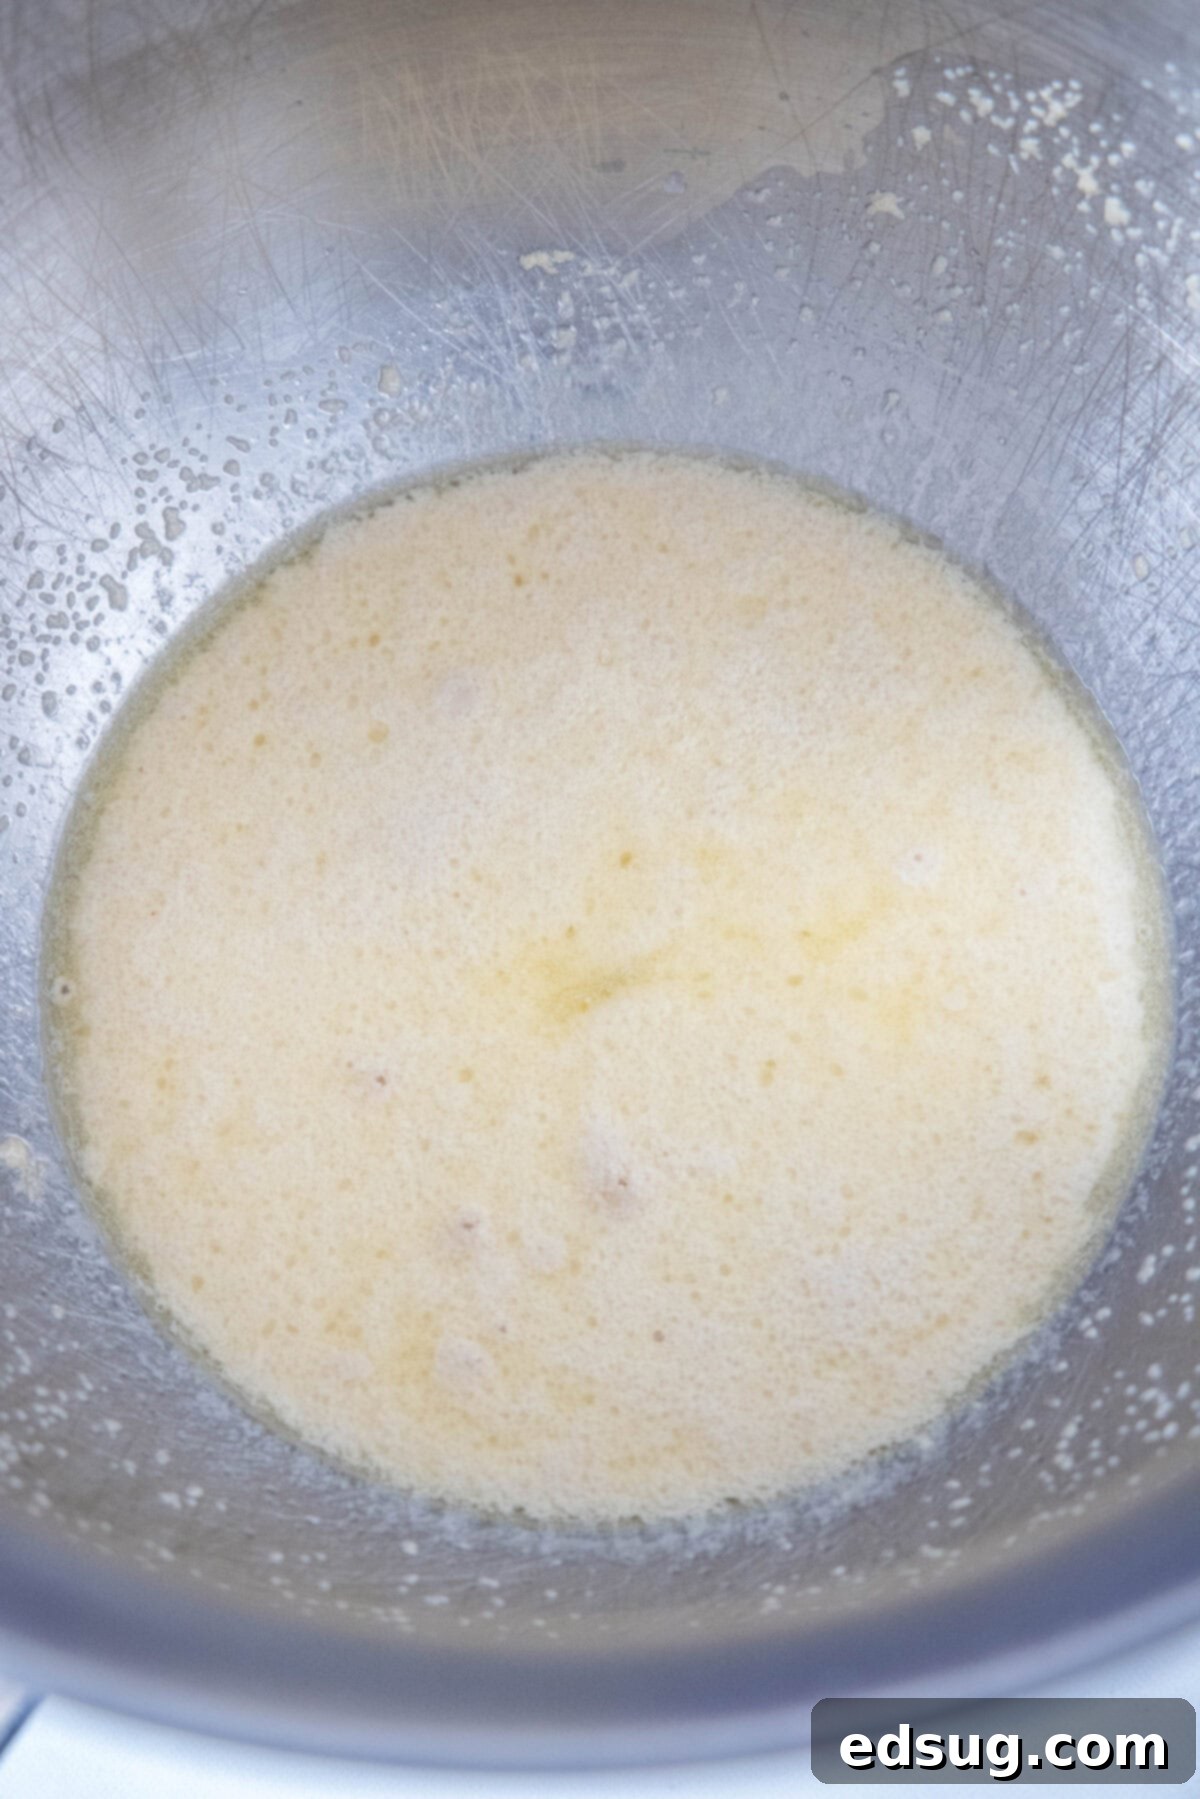
- Combine the Ingredients & Activate Yeast: In the bowl of your stand mixer (or a large mixing bowl if kneading by hand), combine the sugar, melted butter, salt, and precisely warm water (110ºF-115ºF). Sprinkle the rapid-rise yeast over this mixture. Let it rest undisturbed for about 5 minutes. During this time, the yeast will begin to “wake up” and feed on the sugar, creating a distinct foamy or bubbly layer on the surface. This foaminess is a positive sign that your yeast is active and ready to work its magic!
- Incorporate the Flour: Once your yeast is active and foamy, gradually add the bread flour to the wet ingredients, one cup at a time. Mix on low speed with the dough hook attachment (or stir with a sturdy spoon) until the dough starts to come together, pulling away from the sides of the bowl and forming a shaggy ball.
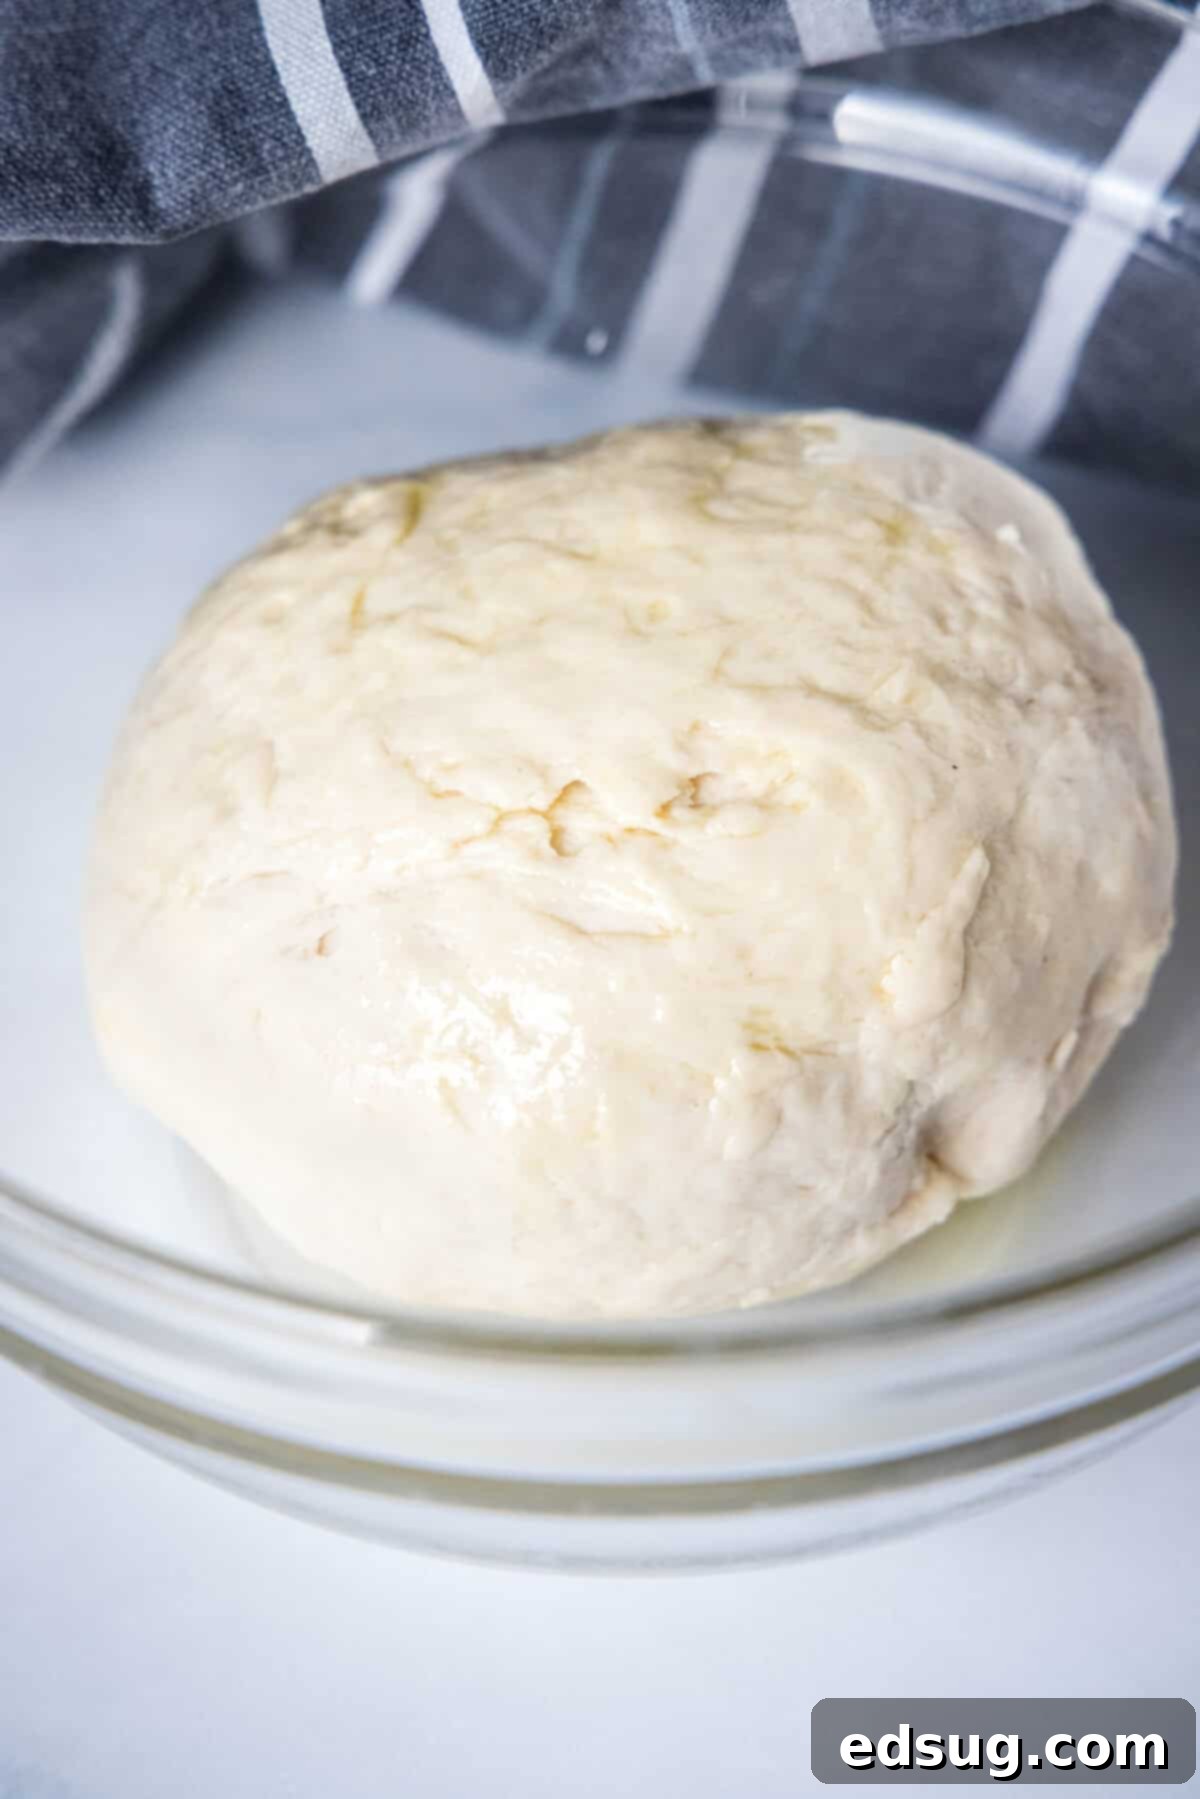
- Knead the Dough: Turn the dough out onto a lightly floured countertop. Knead the dough vigorously for about 8-10 minutes. This process develops the gluten, which is essential for the bread’s structure and chewy texture. You’ll notice the dough transform from shaggy and sticky to smooth, elastic, and pliable. It should spring back slowly when you gently poke it with your finger. After kneading, place the dough into a lightly greased bowl, turning it once to coat both sides. Cover the bowl with a clean kitchen towel or plastic wrap.
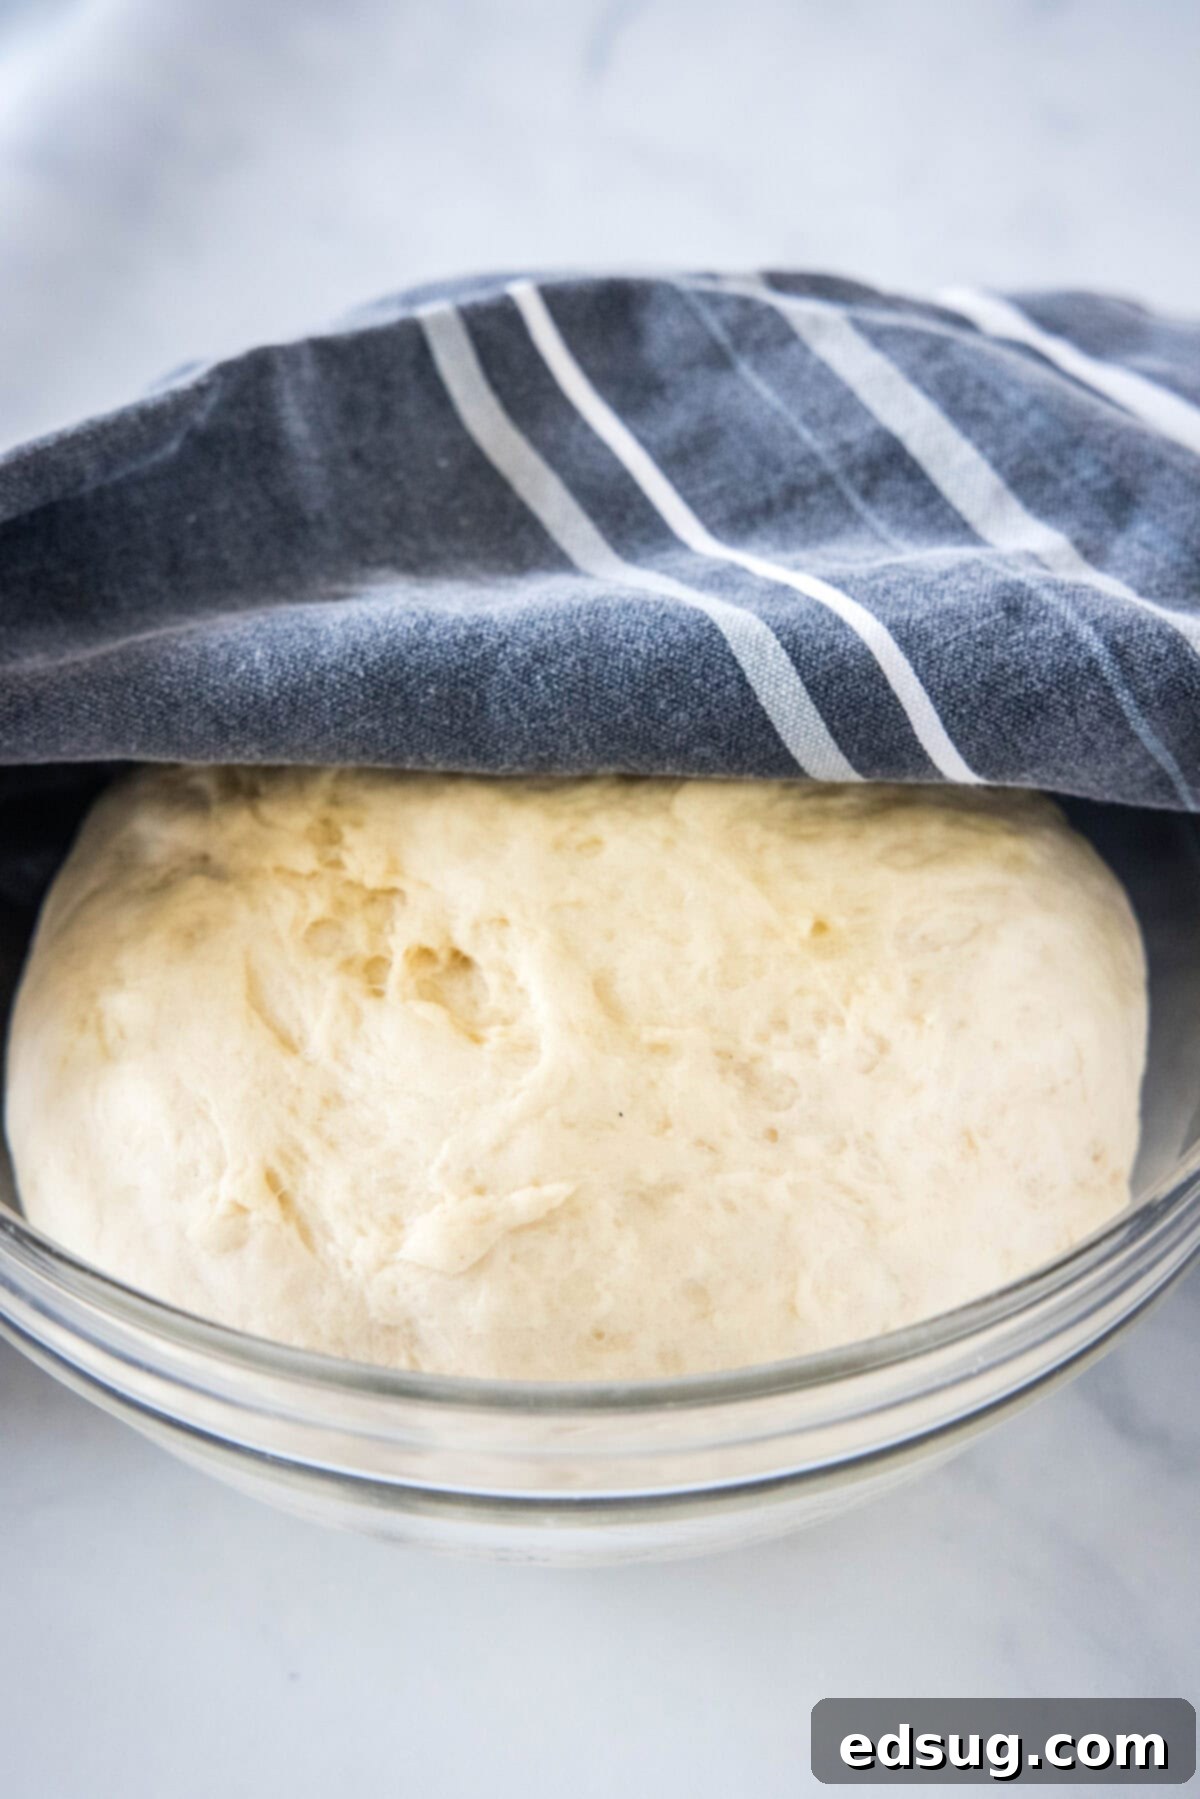
- First Rise (Proofing): Place the covered bowl in a warm, draft-free location in your kitchen. This could be near a sunny window, on top of your preheating oven, or even in a turned-off oven with the light on. Allow the dough to rise for about 30 minutes, or until it has noticeably doubled in size. This initial rise is crucial for developing flavor and creating a light, airy texture.
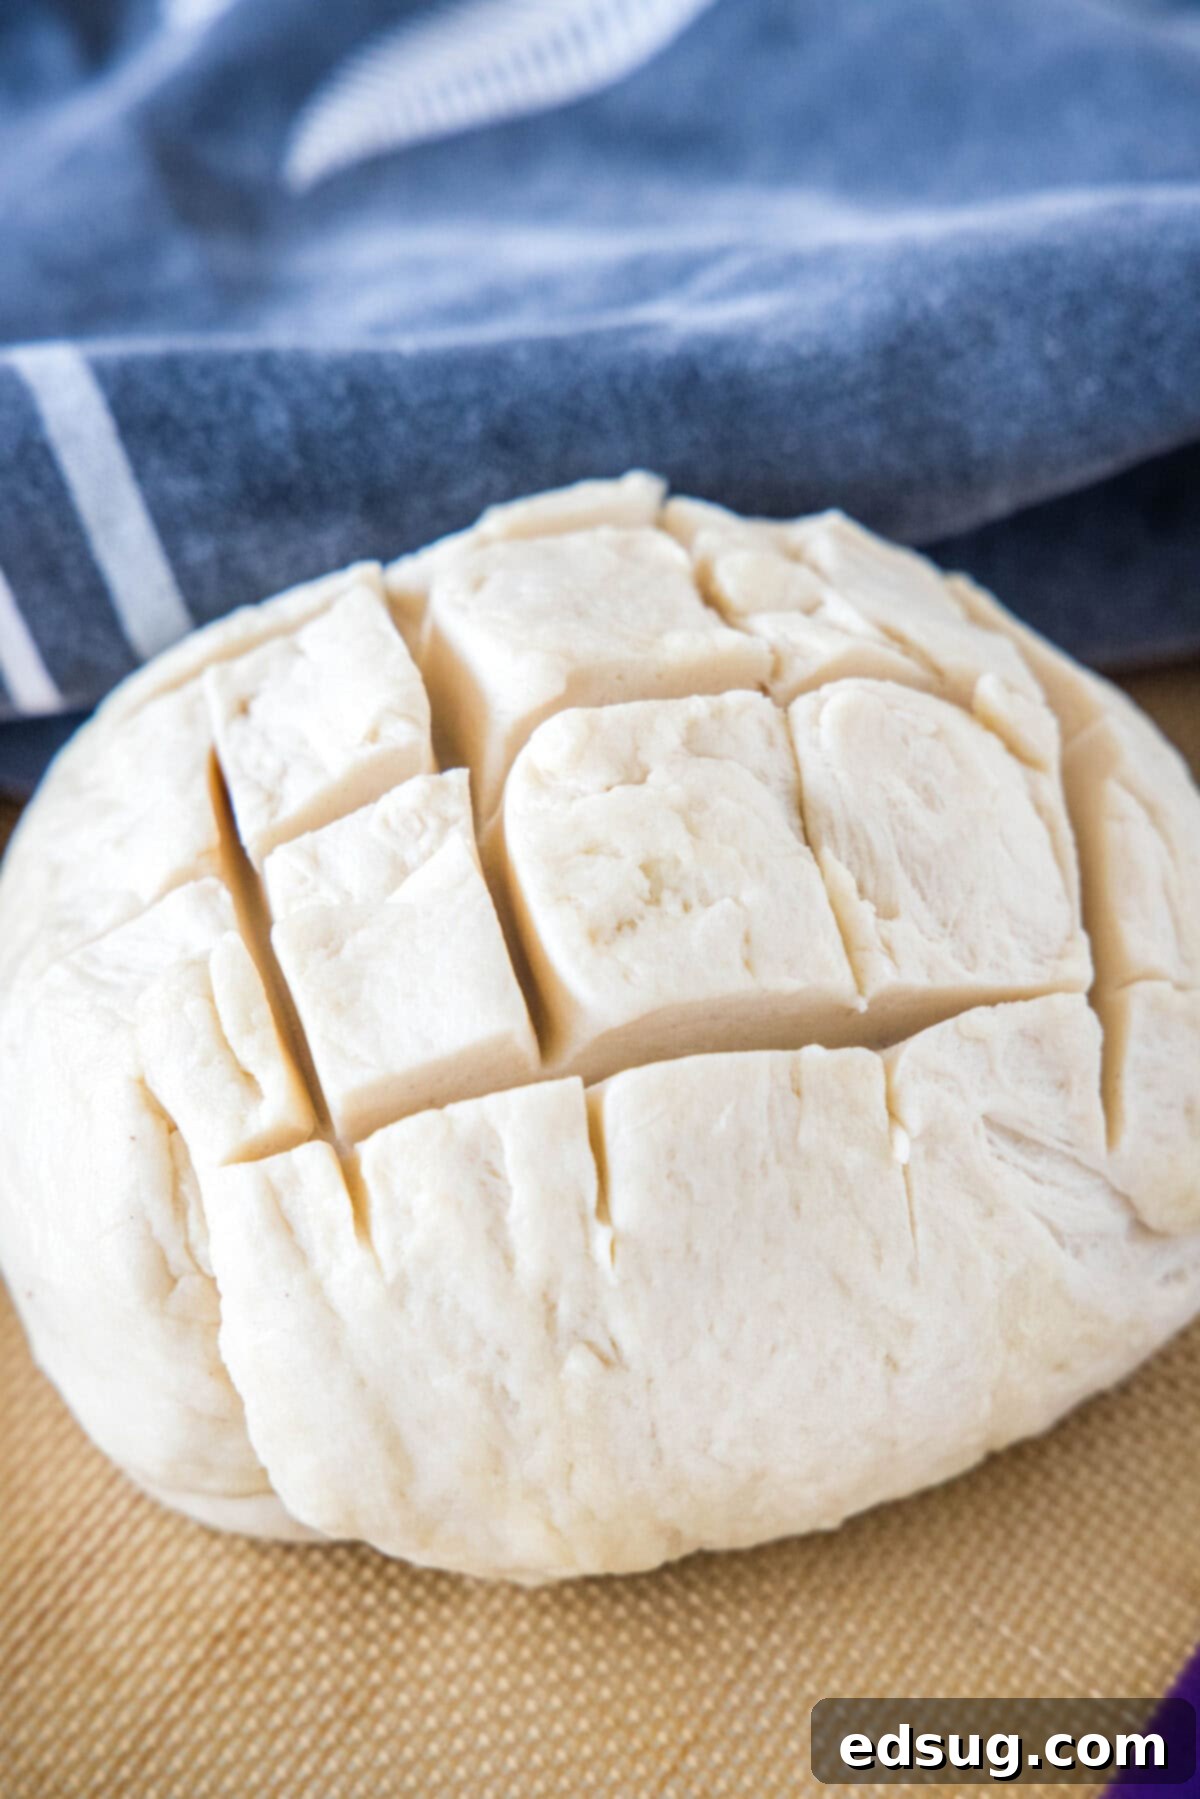
- Shape the Bread & Second Rise: Gently “punch down” the risen dough to release the air. Turn it out onto your clean countertop and divide it into two equal portions. Roll each portion into a smooth, round ball (or shape into traditional loaf pans if preferred) and carefully place them side-by-side on a baking sheet lined with parchment paper. Using a sharp knife or a baker’s lame, make a few shallow cross slits across the top of each loaf. These slits allow the bread to expand without tearing unevenly during baking. Cover the shaped loaves again with a clean dishcloth and let them rise for another 30 minutes in a warm place. They should look visibly puffy.
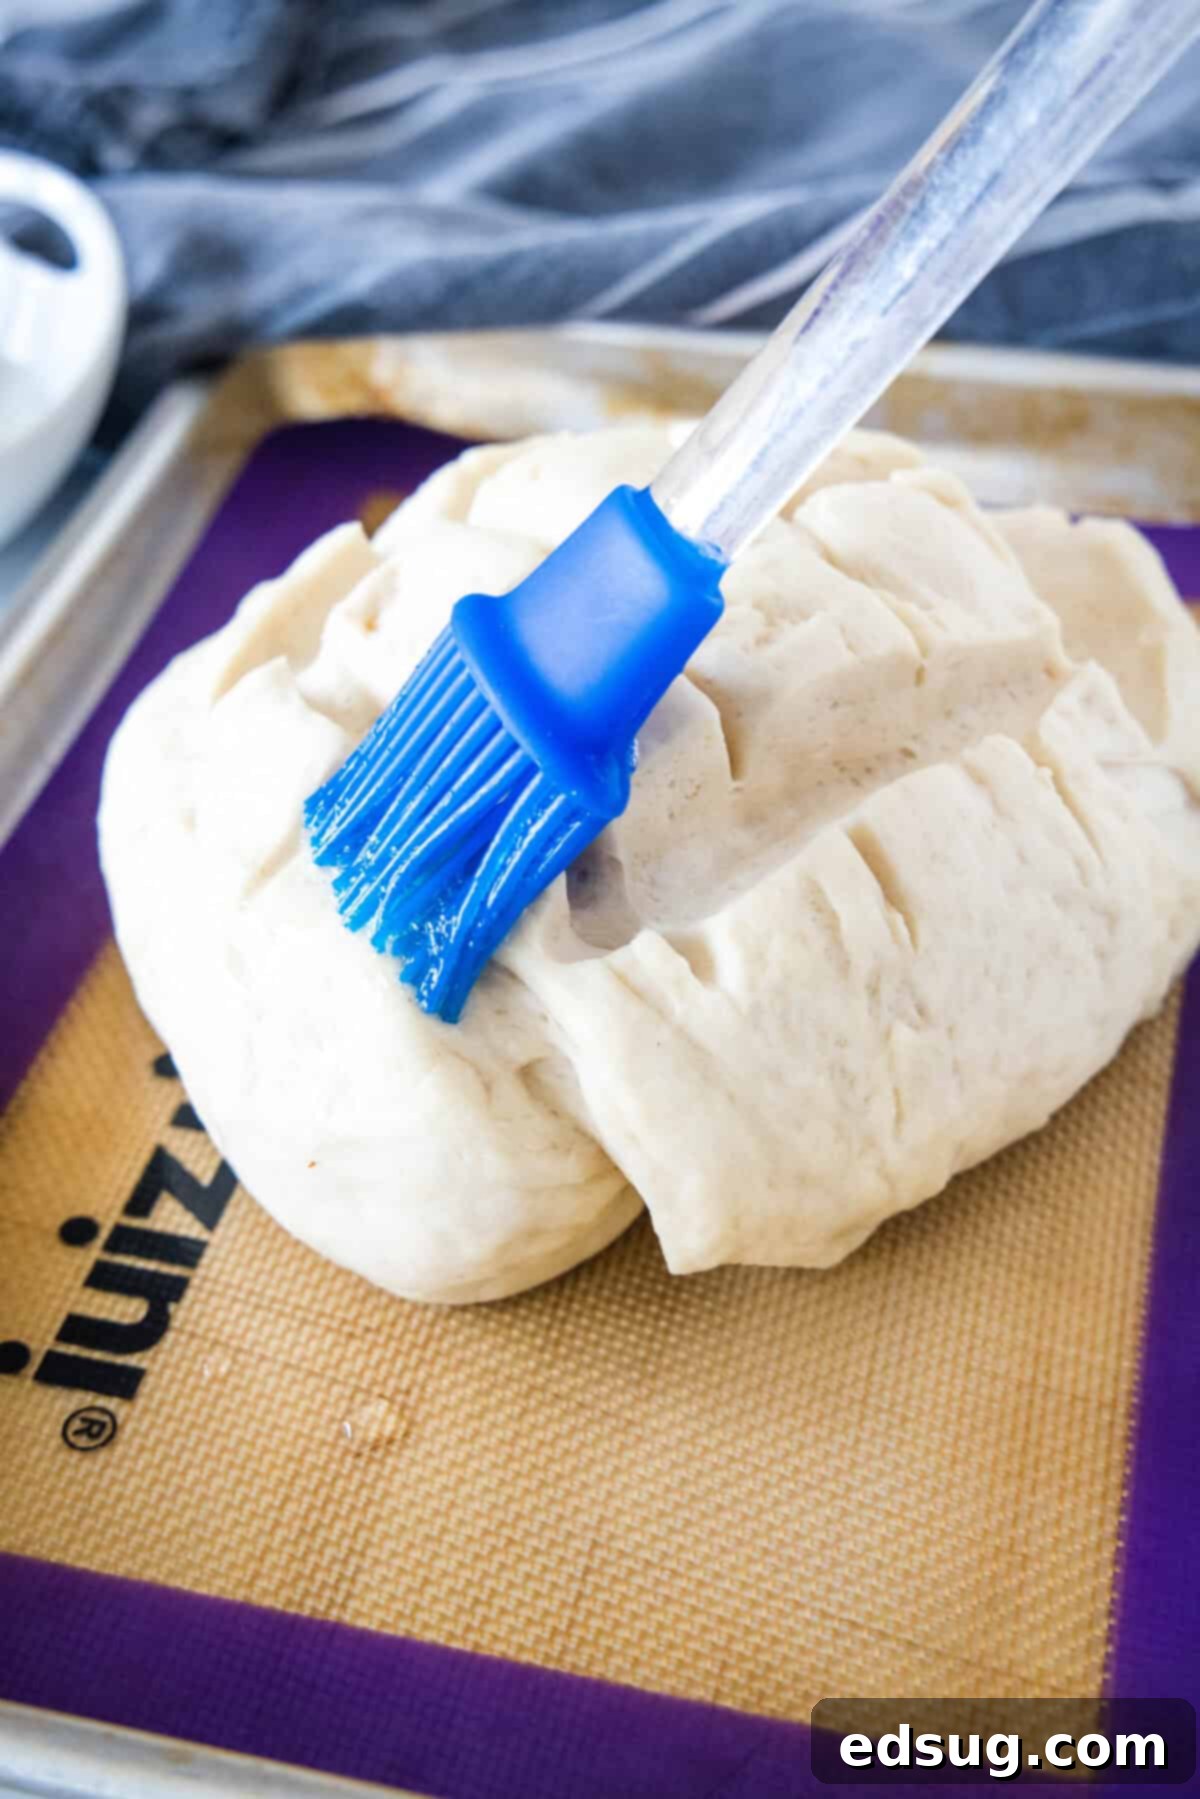
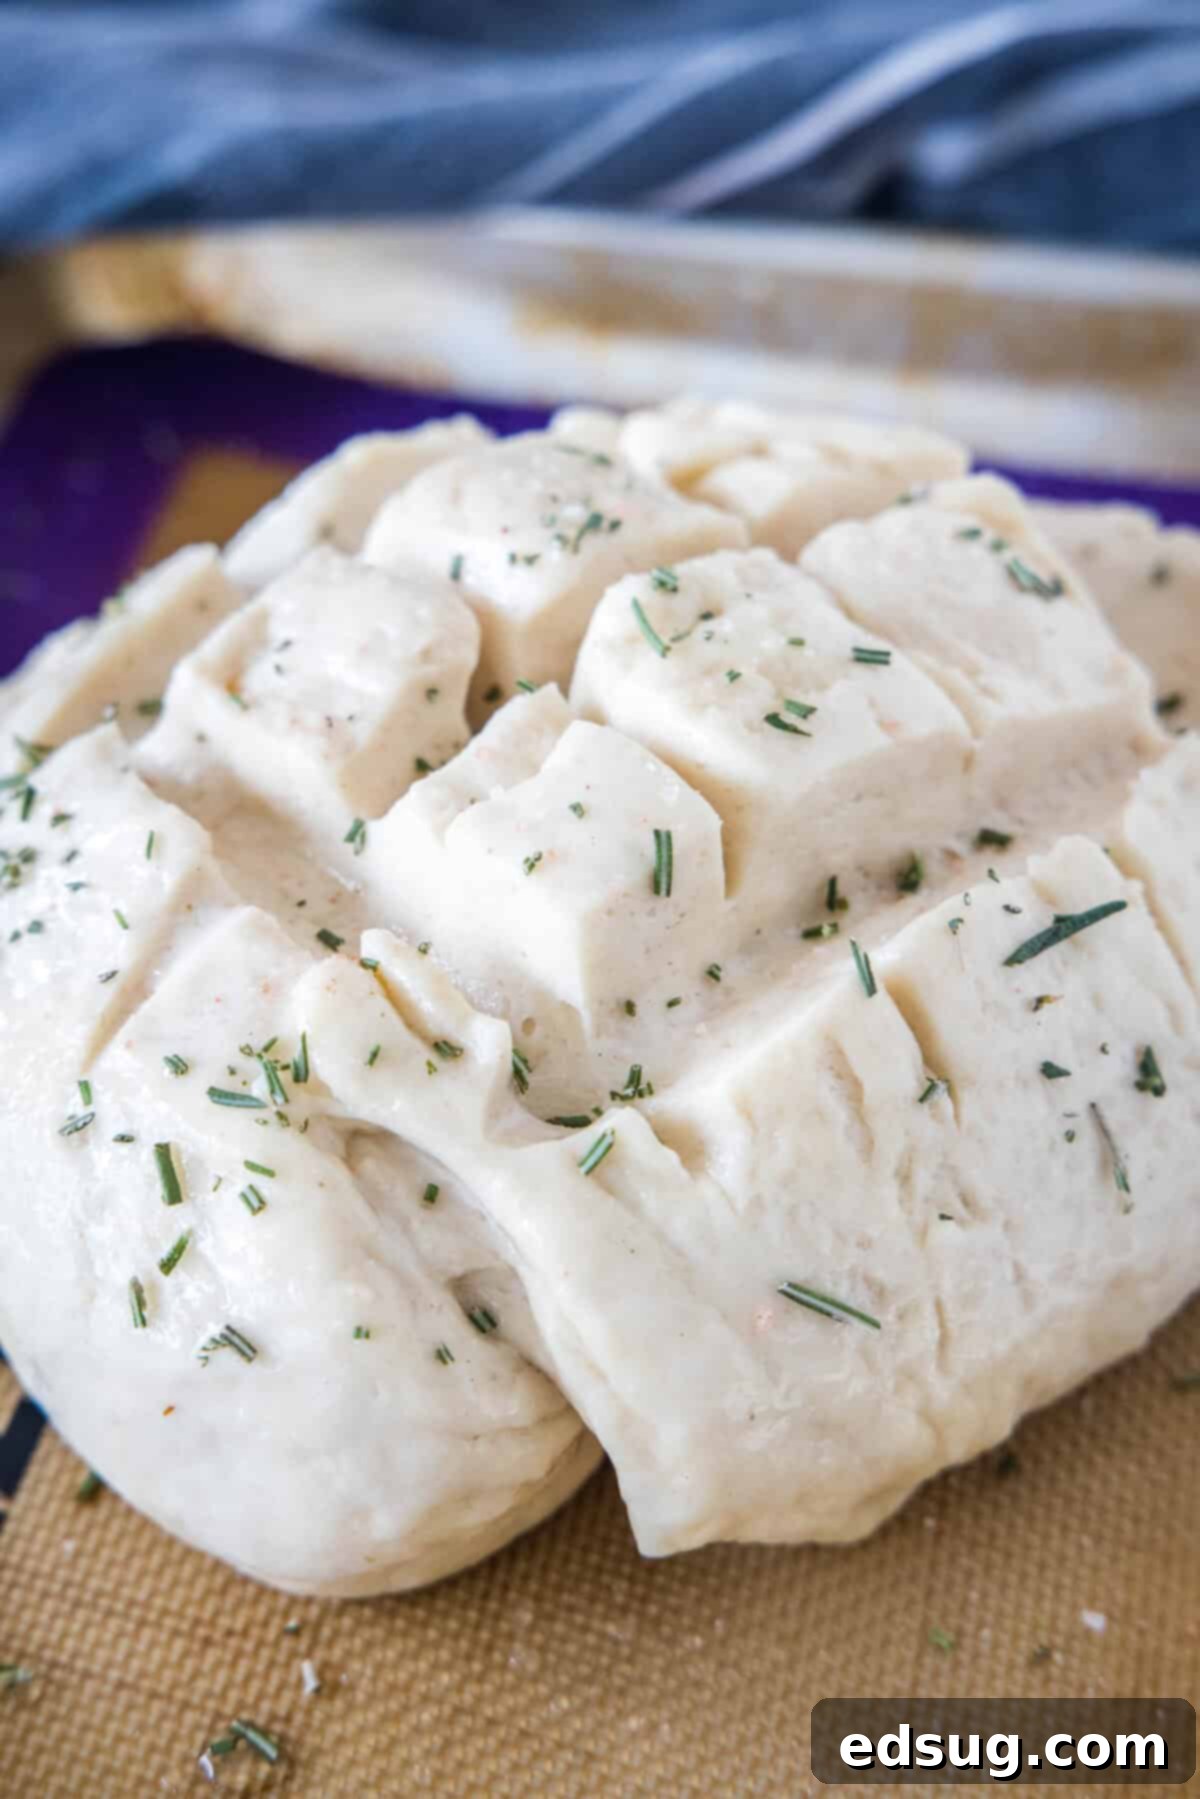
- Prepare for Baking: While the loaves are on their second rise, preheat your oven to 400ºF (200ºC). In a small bowl, whisk together the egg white with 1 tablespoon of water to create your egg wash. Just before baking, gently brush this mixture evenly over the tops of your risen dough balls. This egg wash will give your bread a beautiful, shiny, golden-brown crust.
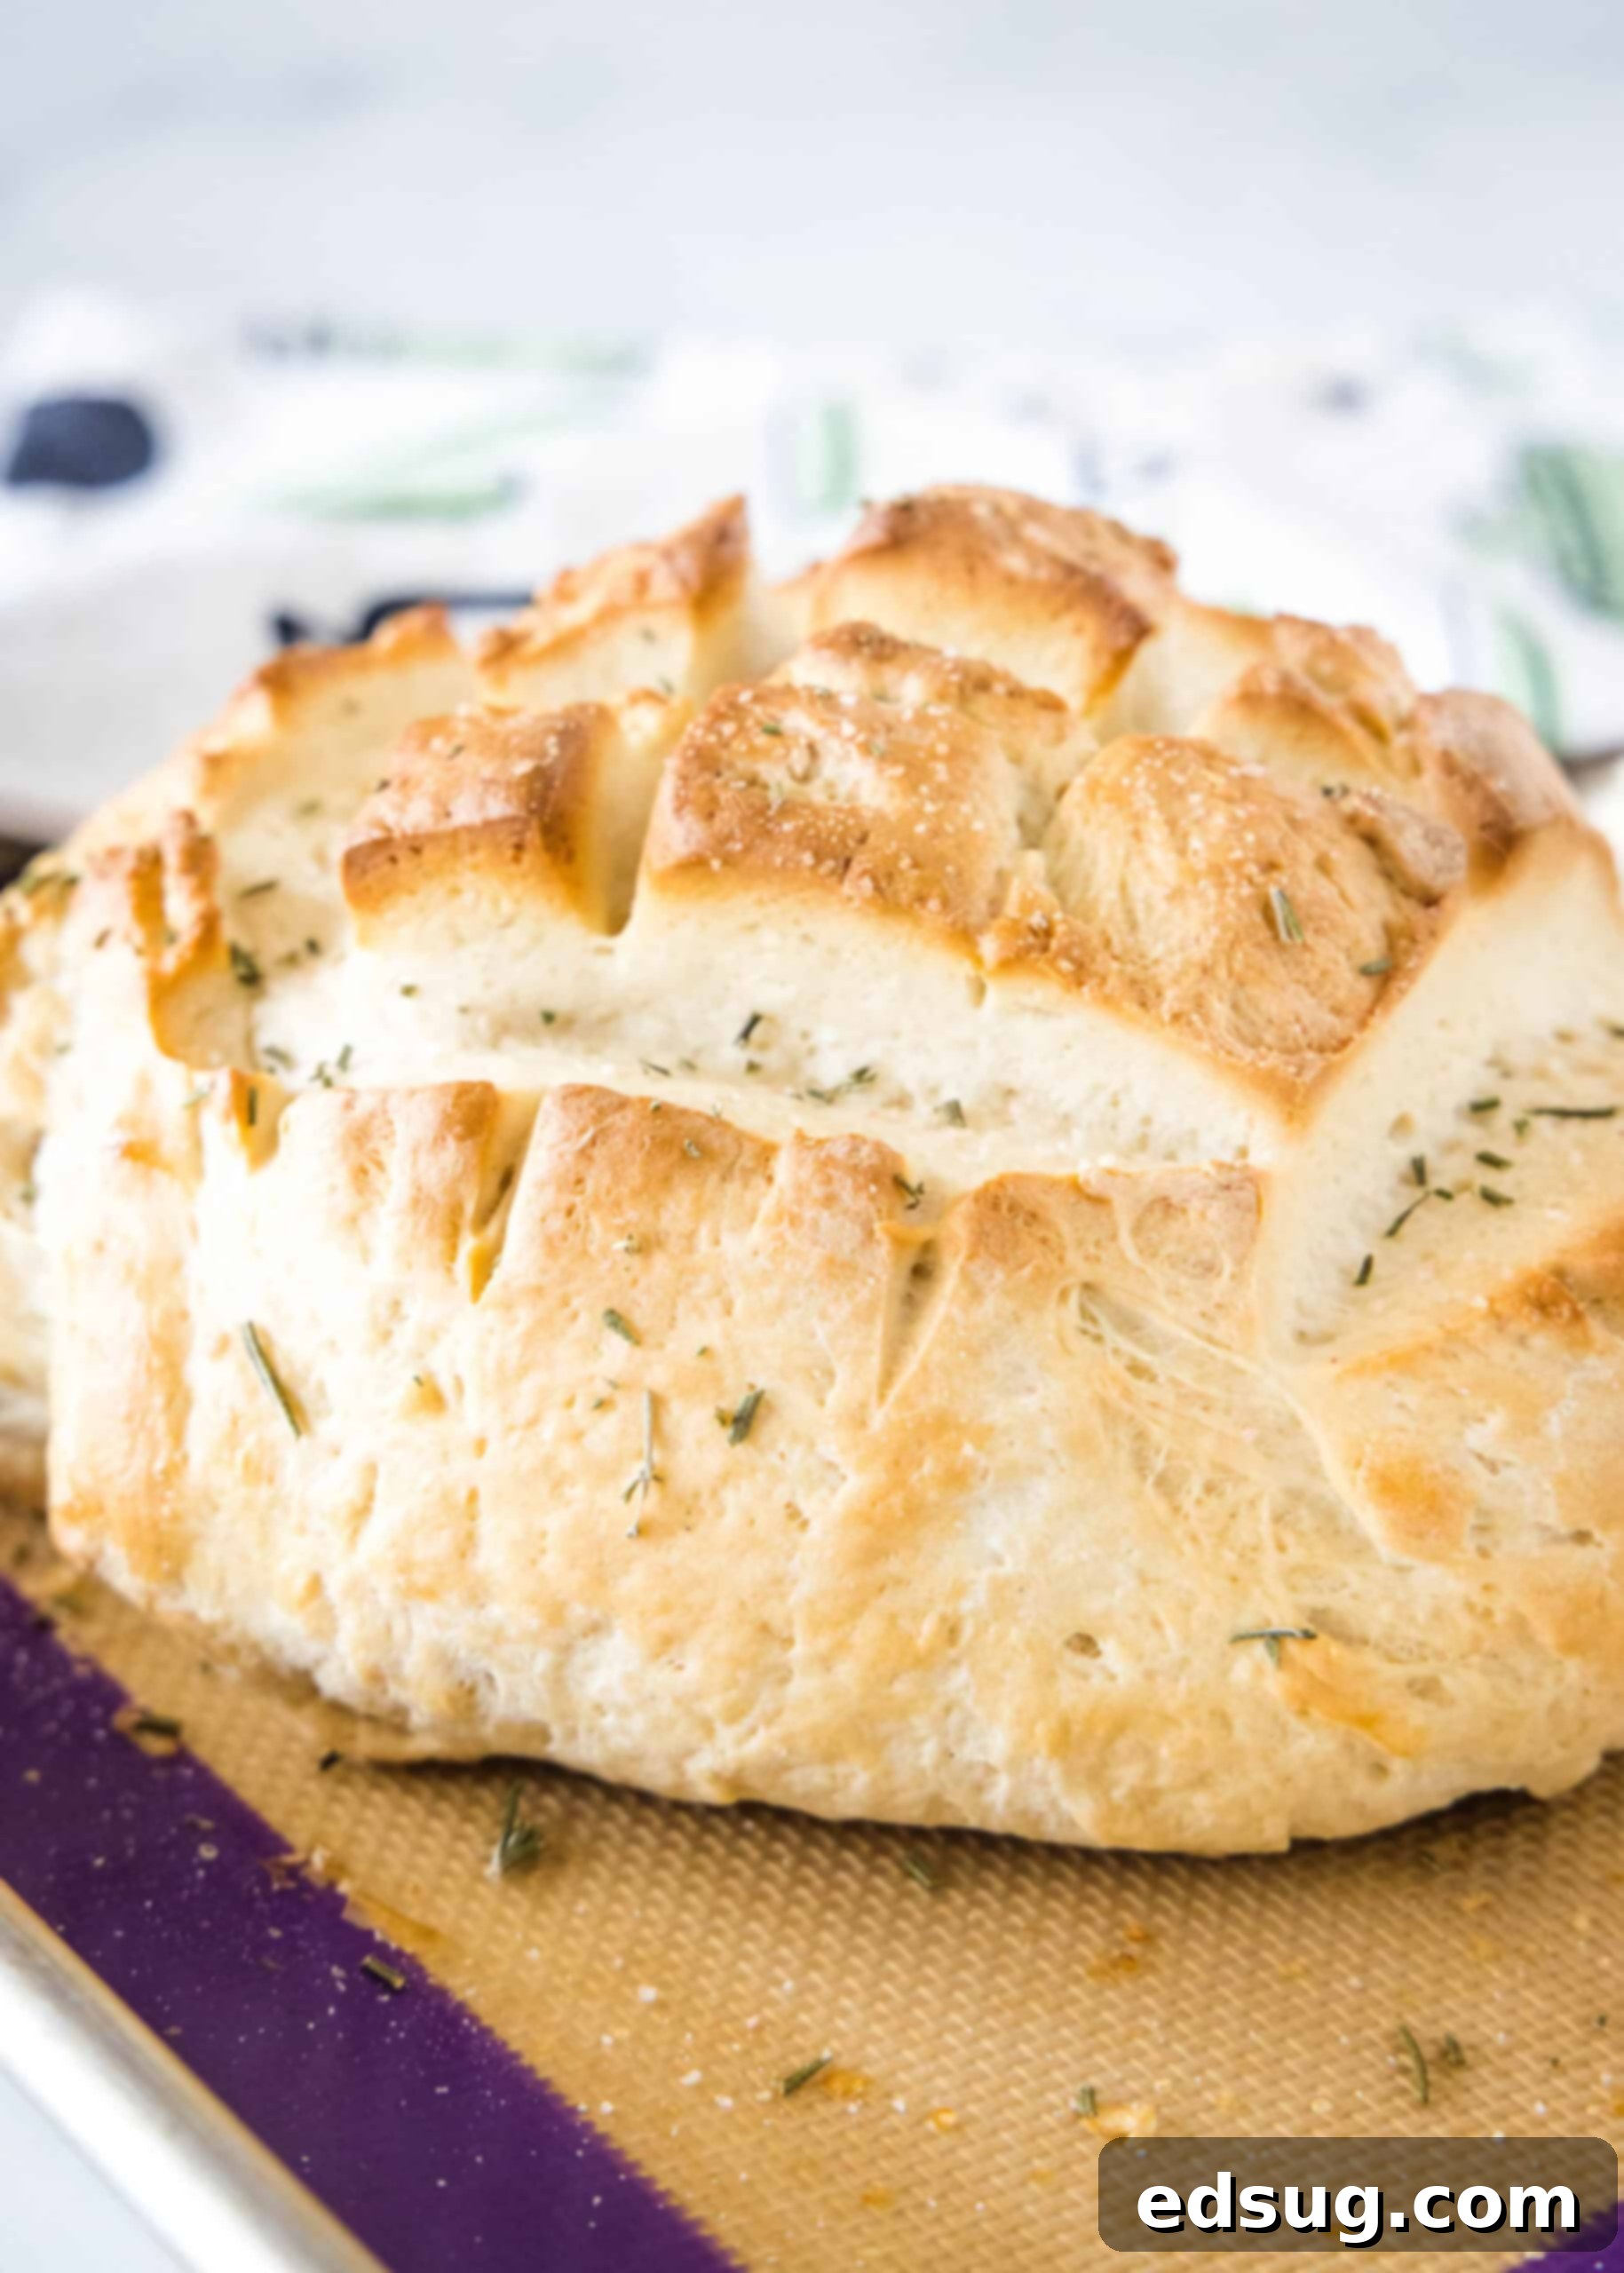
- Season & Bake: Generously sprinkle the tops of the loaves with a little coarse salt and fresh or dried rosemary (or your preferred seasoning). This adds an extra layer of flavor and visual appeal. Place the baking sheet into the preheated oven and bake for 20-25 minutes. The bread is perfectly baked when it turns a lovely golden brown and sounds hollow when you gently tap the bottom.
Expert Recipe Tips for Perfect Loaves
- Checking for Doneness: Beyond the beautiful golden-brown color, a reliable way to tell if your Amish bread is fully baked is by tapping the bottom of the loaf. If it sounds hollow, it means the interior is cooked through. You can also use an instant-read thermometer; the internal temperature should reach around 200-210°F (93-99°C).
- Finding a Warm Spot for Rising: Yeast loves warmth! If your kitchen is cool, finding a warm location is key for successful rising. Options include placing the dough near a sunny window, on top of the oven while it’s preheating, or even in a turned-off oven with the light on (the light generates just enough warmth). Avoid very hot spots, which can overproof the dough too quickly.
- Ensuring Yeast Activation: The initial step where you combine yeast, sugar, and warm water is critical. If, after 5-10 minutes, the mixture does not become foamy or bubbly, it’s a strong indicator that your yeast did not activate properly. This usually happens if the yeast is expired, or if the water temperature was either too hot (killing the yeast) or too cold (preventing activation). In such cases, it’s best to discard the mixture and start again with fresh yeast and carefully measured warm water to avoid a dense, flat loaf.
- The Importance of Kneading: Don’t rush the kneading process. Whether by hand or with a stand mixer, proper kneading develops the gluten strands that give the bread its structure and elasticity. A well-kneaded dough will be smooth, pliable, and will spring back when gently pressed. If your dough feels too sticky, add flour sparingly, a tablespoon at a time. If it’s too dry, add a tiny bit of water.
- Cooling is Crucial: While it’s tempting to slice into a warm loaf right out of the oven, allowing bread to cool completely on a wire rack is important. This allows the internal starches to set, resulting in a better texture and easier slicing. Cutting into hot bread can make it gummy.
Delicious Serving Suggestions
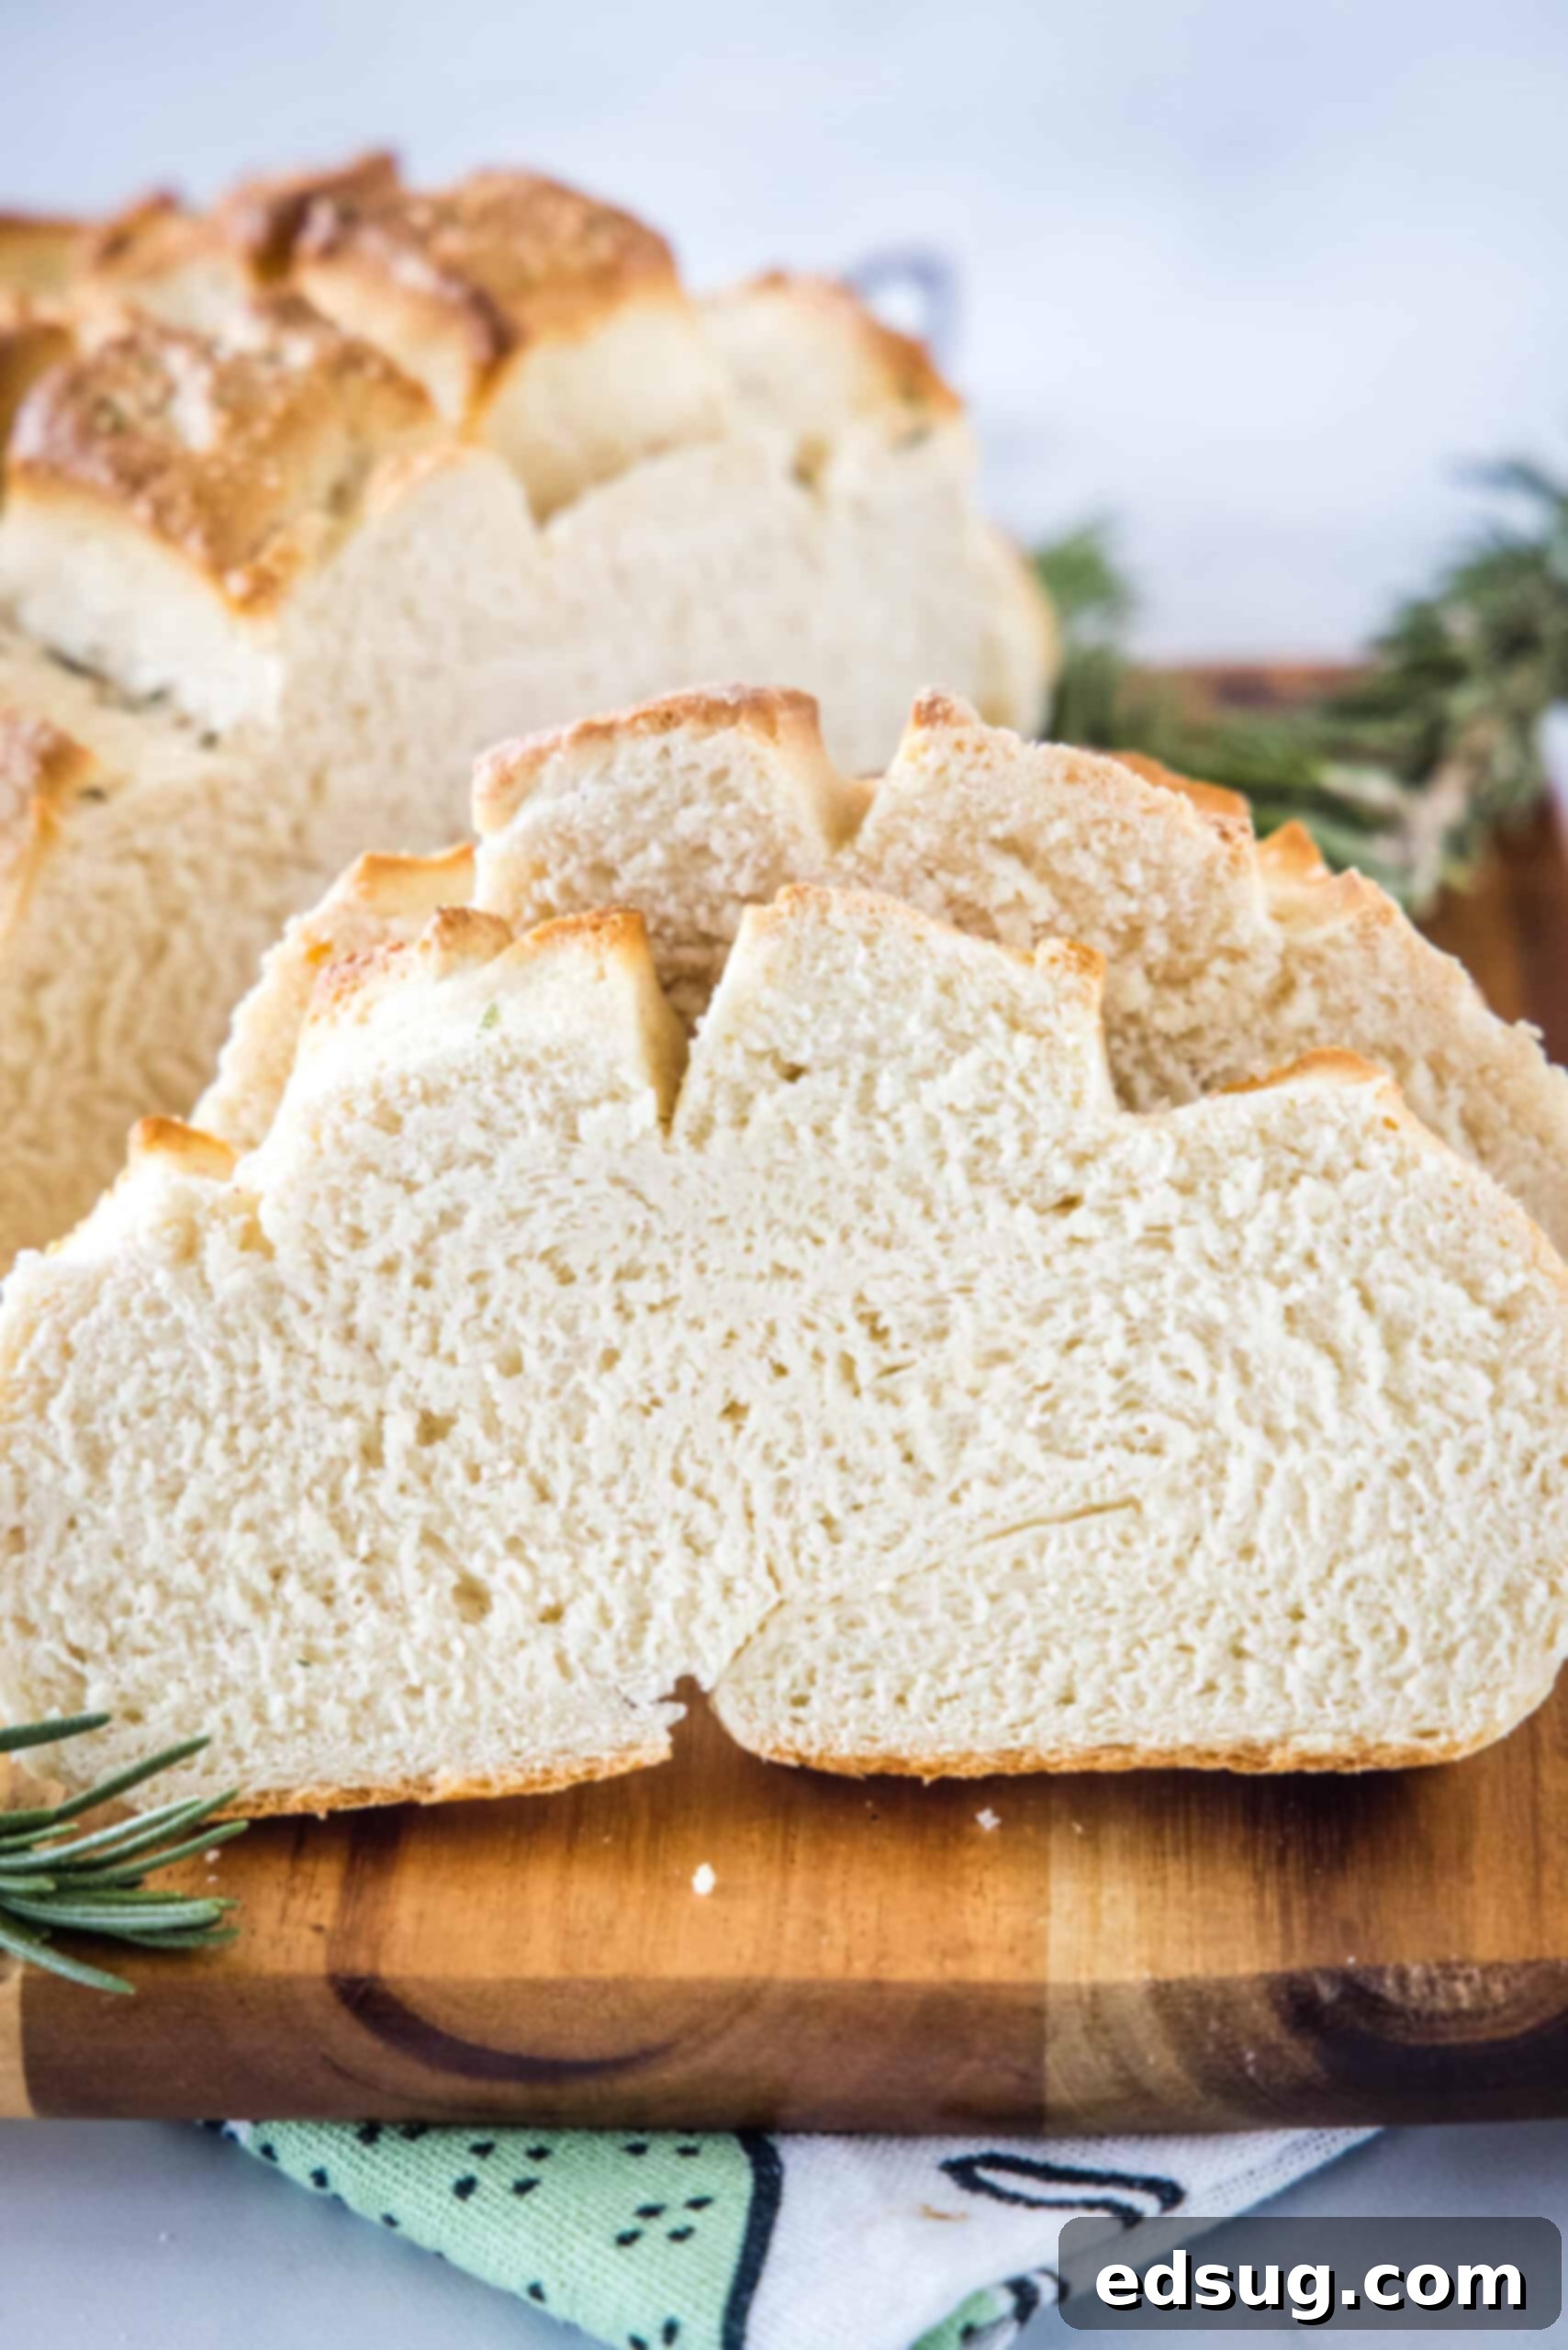
This thick, crusty, and tender Amish bread is incredibly versatile and makes a perfect accompaniment to almost any meal, from breakfast to dinner and everything in between. Its subtle sweetness and sturdy texture make it an ideal partner for a wide range of dishes.
For a truly comforting meal, I love serving this bread alongside a creamy broccoli cheese soup or using it to sop up the rich broth of a hearty chicken stew. It’s also a fantastic addition to pasta nights, like with a robust beef ragu, offering a delightful vehicle for savoring every last bit of sauce. Don’t forget how well it works for mopping up the delicious leftover gravy from a succulent pork roast or richly braised short ribs.
Beyond dinner, this homemade bread truly shines at breakfast or brunch. Toast thick slices and slather them generously with your favorite jam, honey, or creamy butter. For a savory start to your day, turn it into an unbeatable grilled cheese sandwich. There’s really no limit to how you can enjoy the simple pleasure of homemade bread for any occasion!
How to Store and Enjoy Later
- At Room Temperature: To maintain its freshness and soft texture, allow your Amish bread to cool completely on a wire rack before storing. Once cool, wrap the loaf tightly in plastic wrap or place it in an airtight bread bag or container. It will keep beautifully at room temperature for 4-5 days. If it starts to go a bit stale, don’t despair! Leftover bread is perfect for transforming into delicious treats like French toast, bread pudding, or even homemade croutons.
- Freezing for Long-Term Storage: This recipe makes two loaves, so freezing one (or both!) is a smart move. To freeze, ensure the bread is completely cool. Wrap each loaf tightly first in plastic wrap, then in aluminum foil, or place it in a freezer-safe bag. It can be stored in the freezer for up to 1 month without significant loss of quality. You can also pre-slice the bread before freezing, making it easy to grab individual slices as needed. To thaw, simply remove the bread from the freezer and let it come to room temperature on your countertop. This usually only takes minutes for slices and a few hours for a whole loaf. You can even warm slices directly in a toaster for a fresh-baked feel.
More Easy Bread Recipes to Try
If you loved making this easy Amish bread, you’re in for a treat! The world of homemade bread is vast and rewarding. Here are some other fantastic and approachable bread recipes that you might enjoy adding to your baking repertoire:
- Honey Oat Bread
- French Bread Dinner Rolls
- Easy Biscuits
- Potato Bread
- Cheddar Beer Bread
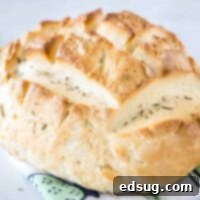
Amish Country Bread
Erin Sellin
10 minutes
25 minutes
1 hour
1 hour
35 minutes
10
servings
Pin Recipe
Rate Recipe
Print Recipe
Ingredients
-
4
Tablespoons
sugar
-
2
Tablespoons
butter
,
melted -
3
teaspoons
salt
-
1 ½
cup
hot water,
(about 115 degrees) -
2
Tablespoons
rapid rise yeast -
5
cups
bread flour
-
1
egg white
-
1
Tablespoons
water -
1
teaspoon
kosher salt
-
1
teaspoon
rosemary
Instructions
-
Using a stand mixer, mix together the sugar, butter, salt, water, and yeast. Let it set for 5 minutes until nice and foamy.
-
Add the flour, 1 cup at a time, until it forms a ball.
-
Turn onto a floured surface and knead for 8-10 minutes.
-
Place dough in a greased bowl, cover and let rise until doubled in size (about 30 minutes).
-
Punch down the dough and divide it into 2 equal balls. Roll into a ball and place side by side on a baking sheet. Cut cross slits in the top. Cover and let rise for another 30 minutes.
-
Preheat the oven to 400 degrees.
-
Mix the egg white with the water. Brush over the top of each ball of dough. Sprinkle evenly with salt and rosemary. Bake for 20-25 minutes. It will be golden brown and sound hollow when you tap on the bottom.
Notes
- Adapted from One More Moore
- It can be baked in a loaf pan if desired, and it will make 2 loaves.
- The rosemary and salt on top are just for added flavor; you can omit them if you want to make just sandwich bread.
- Can cut the recipe in half and make one loaf.
Nutrition
Calories:
271
kcal
|
Carbohydrates:
51
g
|
Protein:
7
g
|
Fat:
3
g
|
Saturated Fat:
1
g
|
Cholesterol:
6
mg
|
Sodium:
957
mg
|
Potassium:
67
mg
|
Fiber:
1
g
|
Sugar:
6
g
|
Vitamin A:
75
IU
|
Calcium:
11
mg
|
Iron:
0.6
mg
Nutrition information is automatically calculated, so should only be used as an approximation.
Additional Info
Erin Sellin
10 minutes
25 minutes
1 hour
1 hour
35 minutes
Side Dish
American
10
servings
271
amish bread
Like this recipe? Leave a comment below!
I created a fun group on Facebook, and I would love for you to join us! It’s a place where you can share YOUR favorite recipes, ask questions, and see what’s new at Dinners, Dishes and Desserts (so that you never miss a new recipe)!
Be sure to follow me on Instagram and tag #dinnersdishes so I can see all the wonderful DINNERS, DISHES, AND DESSERTS recipes YOU make!
Be sure to follow me on my social media, so you never miss a post!
Facebook |
Twitter |
Pinterest |
Instagram
