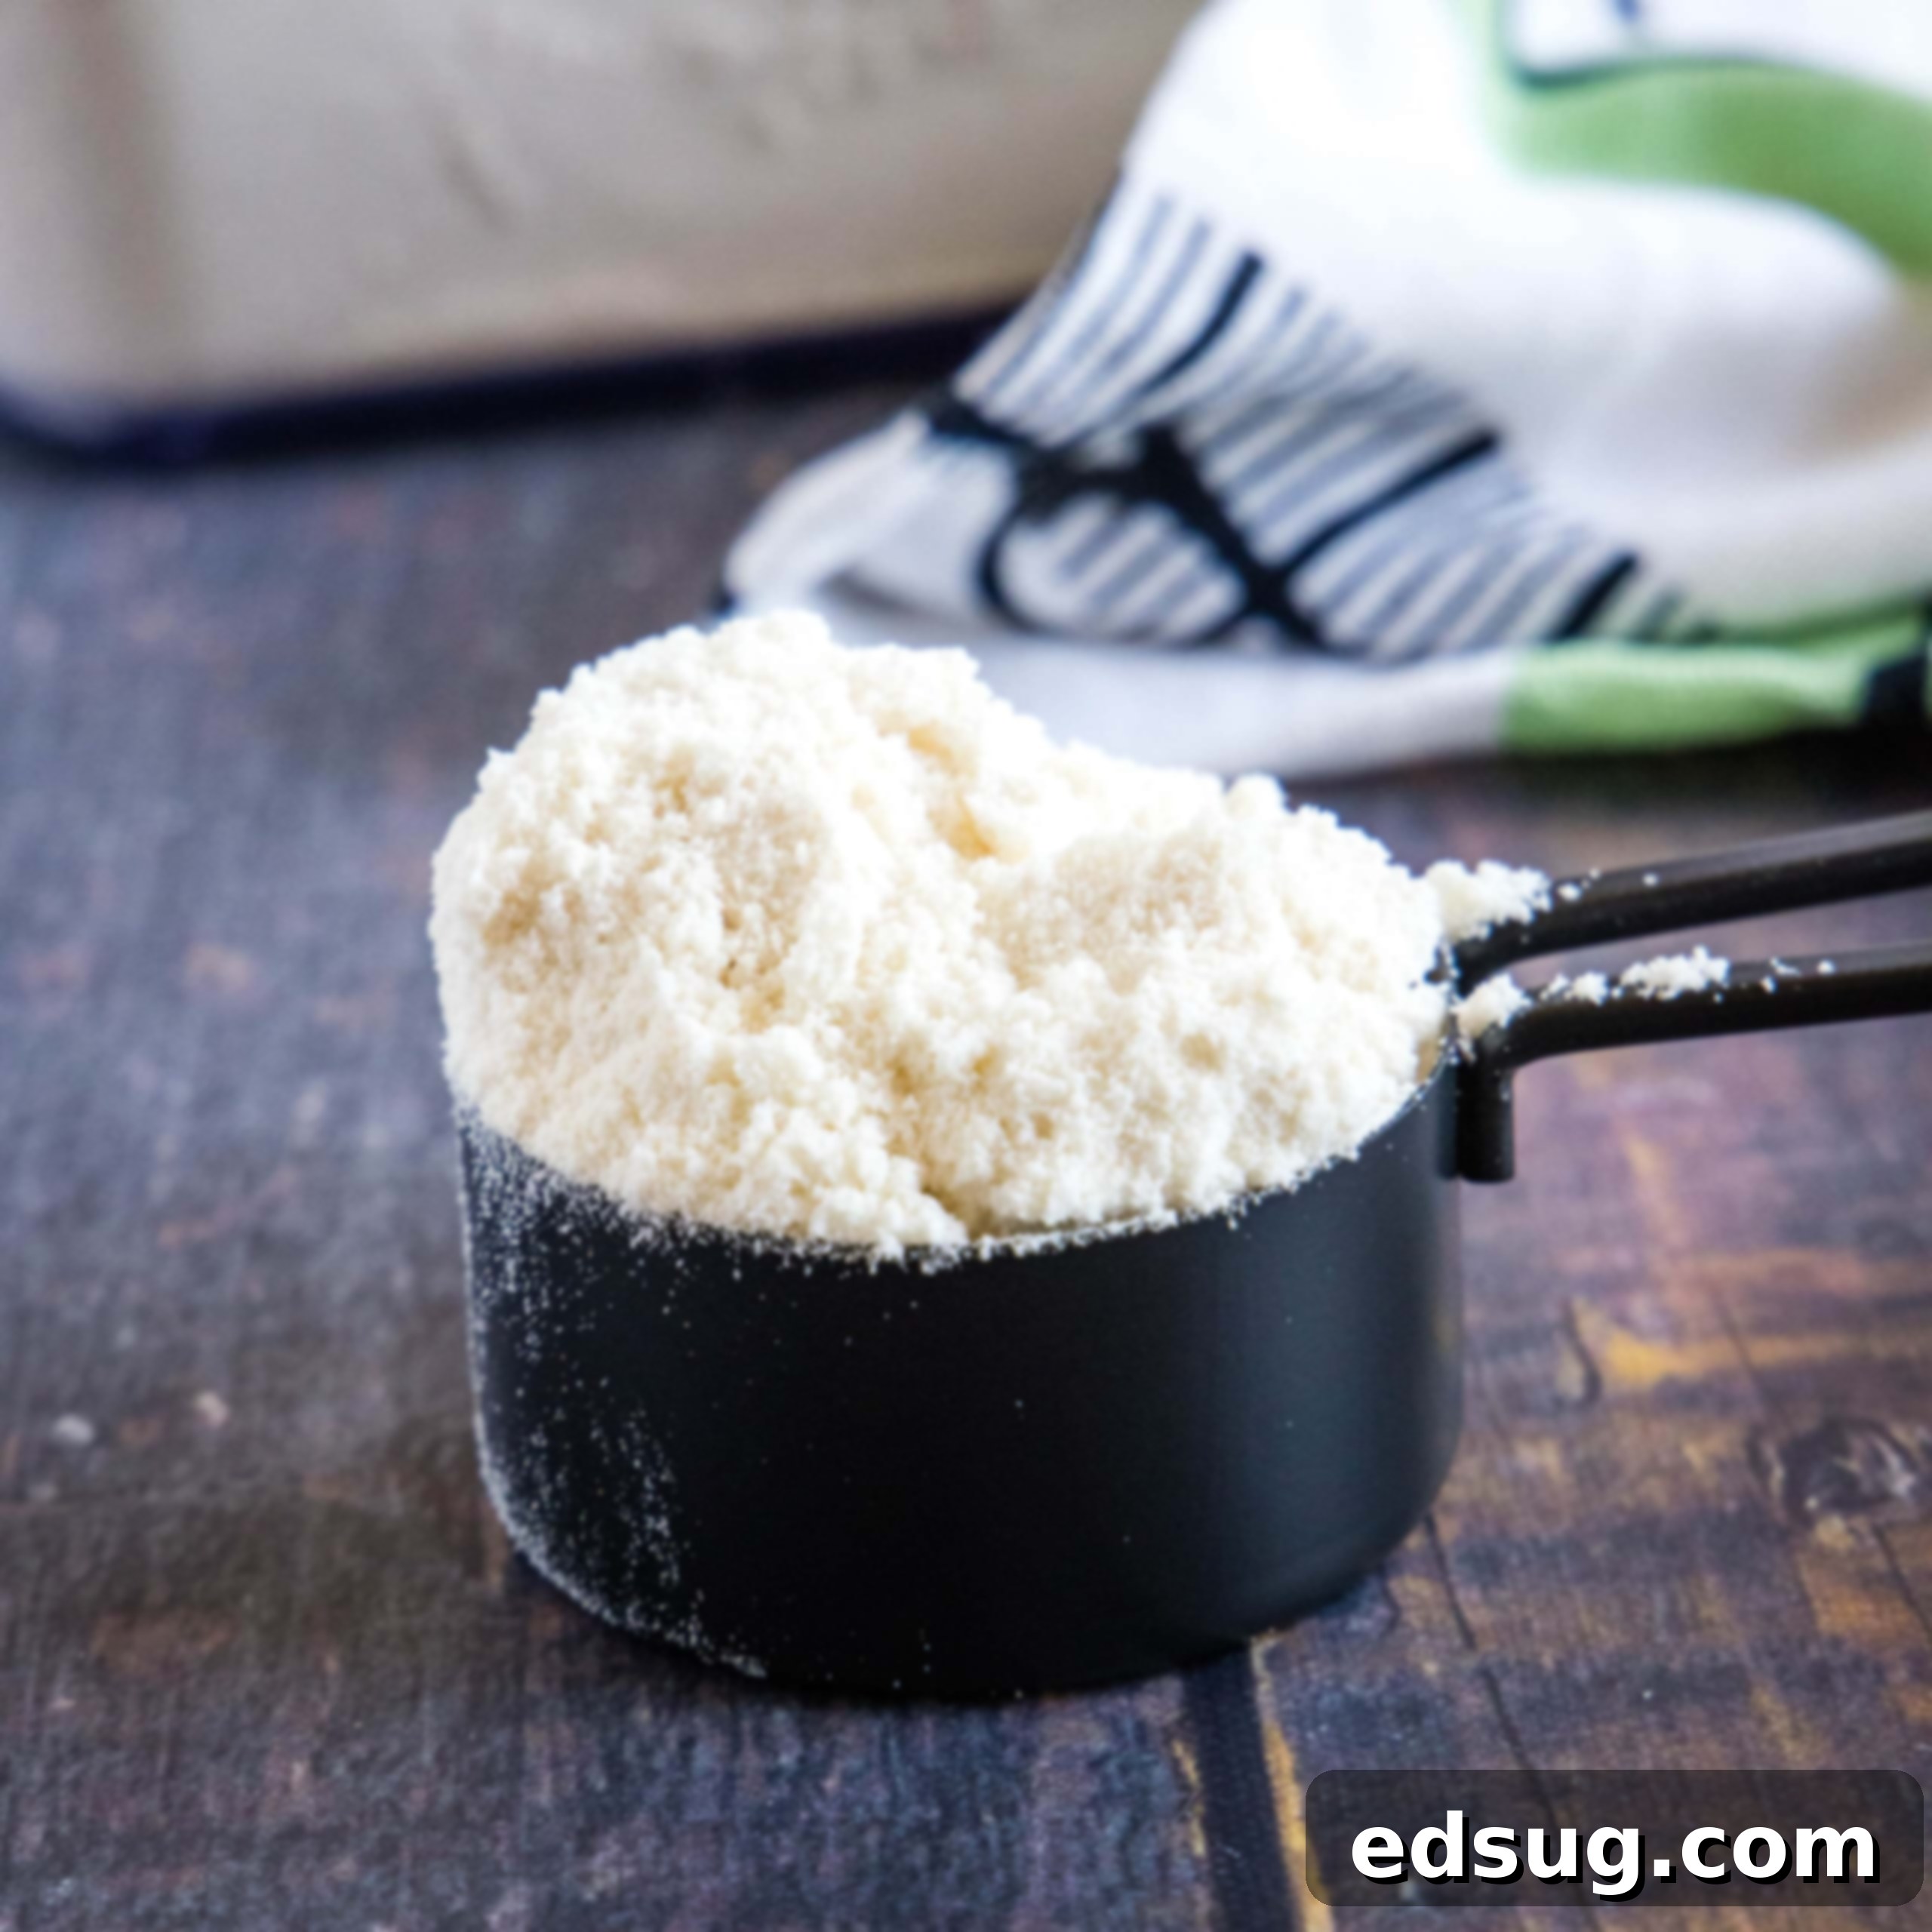
Homemade Bisquick Mix: Your Essential 4-Ingredient Baking Shortcut
Discover how to whip up your very own **Homemade Bisquick** baking mix with just four simple ingredients and about five minutes of your time! This incredibly versatile mix can be used interchangeably with store-bought Bisquick in any of your favorite recipes, offering a convenient, cost-effective, and cleaner alternative. Whether you’ve unexpectedly run out, reside in a region where this popular mix is unavailable, or simply prefer to know exactly what goes into your food, making your own Bisquick is a game-changer for any home baker.
In today’s fast-paced world, finding shortcuts that don’t compromise on quality is invaluable. While I often advocate for baking from scratch, there are moments when a pre-made mix is simply indispensable. This homemade version steps in perfectly, allowing you to prepare a large batch in mere minutes. Once ready, you’ll have this versatile mix on hand for countless recipes, from fluffy Bisquick Muffins and delectable Bisquick Cookies to quick pancakes, waffles, and savory biscuits. It truly streamlines your baking process without sacrificing that homemade touch.
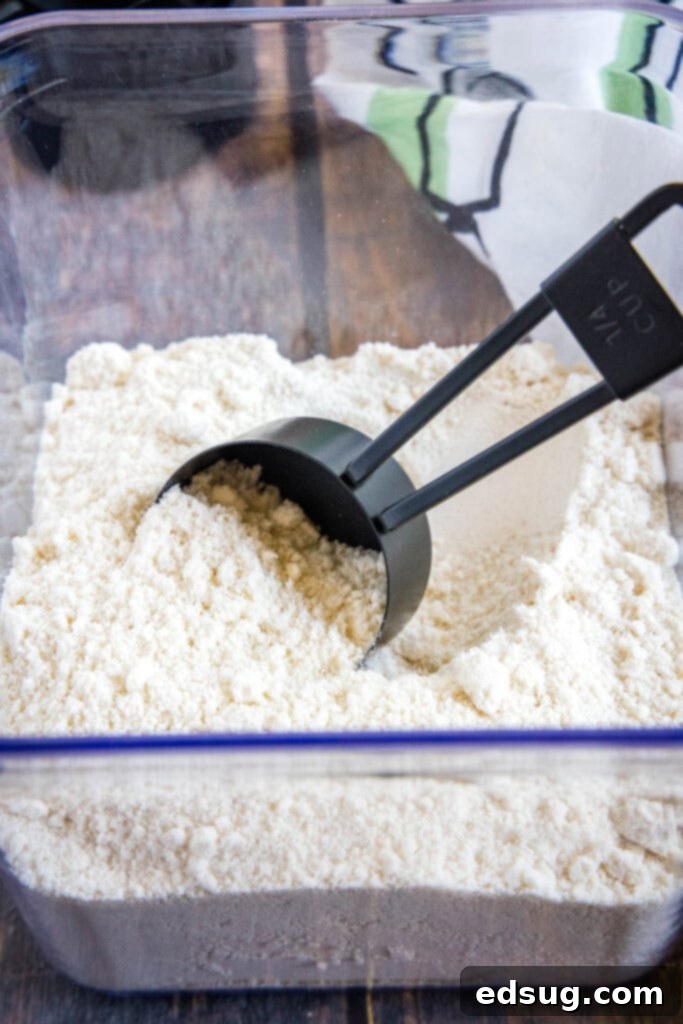
The beauty of this recipe lies in its simplicity and the control it gives you over the ingredients. Unlike many commercial mixes that come with a long list of unfamiliar additives, our homemade version champions transparency. You’ll use everyday pantry staples, ensuring a wholesome foundation for all your baked goods. This not only enhances the flavor but also aligns perfectly with a desire for cleaner eating. Get ready to transform your kitchen into a hub of effortless baking with this fantastic homemade staple!
Why You’ll Love This Homemade Bisquick Mix
There are numerous compelling reasons why making your own Bisquick mix is a brilliant idea. Beyond the sheer satisfaction of DIY, this recipe offers practical benefits that will make it a regular in your kitchen:
- Incredibly Fast to Prepare – Forget lengthy prep times! This mix comes together in just about 5 minutes, especially when utilizing a food processor. It’s a truly rapid solution for creating a versatile baking staple. Imagine having a fresh batch ready to go before your oven even preheats!
- Effortlessly Easy Recipe – With only four common ingredients, you likely already have everything you need in your pantry. There’s no need for special shopping trips. Simply measure, combine in your food processor (or alternative method), and pulse until perfectly blended. It’s a foolproof recipe, ideal for bakers of all skill levels.
- Made with Whole Food Ingredients – Take a look at the ingredient list on a box of store-bought Bisquick, and you’ll find it’s quite extensive. Our homemade version strips it down to essentials: flour, baking powder, salt, and your chosen fat. This gives you complete control over the quality and type of ingredients, allowing for a cleaner, more wholesome mix tailored to your dietary preferences. You can even choose your fat source, making it fit your lifestyle.
- Impressive Long Shelf Life – Just like its commercial counterpart, homemade Bisquick boasts a fantastic shelf life. Stored properly in an airtight container, it can last for up to 6 months in your pantry. This means you can easily double or triple the recipe, ensuring you always have a convenient baking mix ready for any culinary endeavor, saving you time and effort in the long run.
- Cost-Effective Solution – Buying pre-made mixes can add up over time. By making your own, you’re utilizing bulk pantry staples, which is often much more economical. This savings can be significant, especially if you bake frequently.
- Customizable for Dietary Needs – Want to experiment with different flours? Need to adjust the salt content? Making Bisquick from scratch empowers you to customize it. While this recipe uses all-purpose flour, you could explore options like a portion of whole wheat flour for added fiber, or even gluten-free flour blends (though specific adjustments might be needed for gluten-free versions).
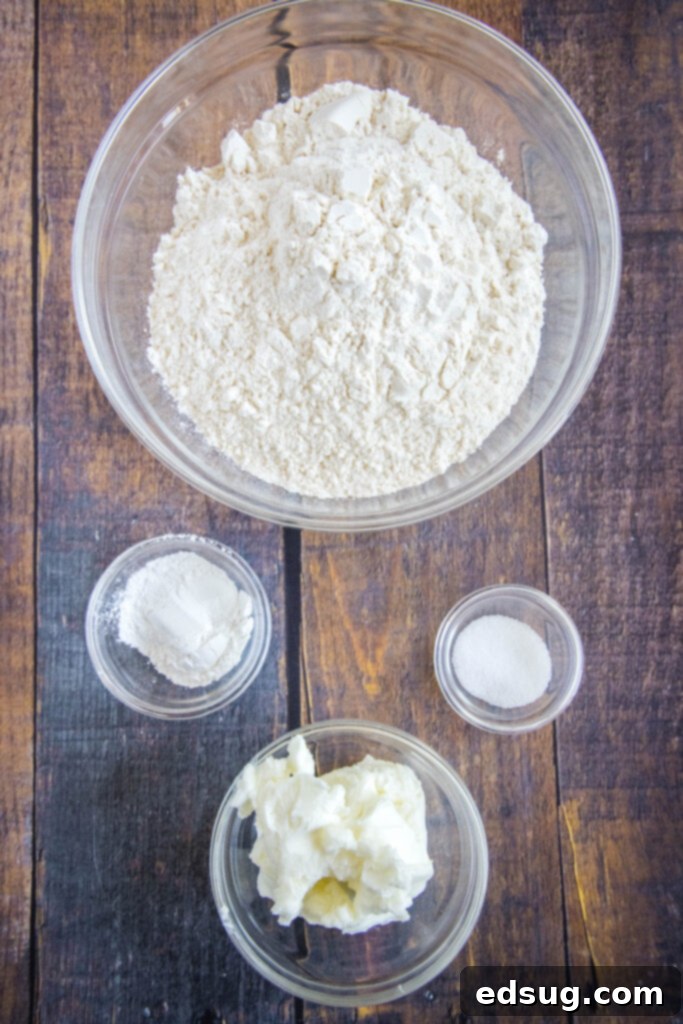
What You’ll Need: The Simple Ingredients
To get started on your homemade Bisquick journey, gather these fundamental ingredients. You’ll find a complete, printable recipe card with precise measurements at the very bottom of this post.
- All-Purpose Flour: This forms the primary base of your mix, providing structure and texture. Standard unbleached all-purpose flour works perfectly for a consistent result, mimicking the commercial product closely. For an alternative, you could experiment with a mix of all-purpose and a small amount of whole wheat flour for added nutrition, though this might slightly alter the final texture of your baked goods.
- Baking Powder: This crucial leavening agent is what makes your pancakes fluffy and your biscuits rise. Ensure your baking powder is fresh for optimal results; older powder may not be as potent, leading to dense baked goods.
- Salt: A touch of salt balances the flavors and enhances the overall taste of anything you bake with the mix. It’s a small but mighty ingredient that brings out the best in both sweet and savory applications.
- Vegetable Shortening or Butter: This is where you have a choice to tailor the mix to your preference and storage needs. Each option offers distinct characteristics, which we’ll delve into below. Using high-quality fat is key to achieving that tender, flaky texture in your baked goods.
How To Make Homemade Bisquick: A Step-by-Step Guide
Making your own Bisquick is incredibly straightforward, especially with the help of a food processor. Follow these simple steps for a perfect batch every time:
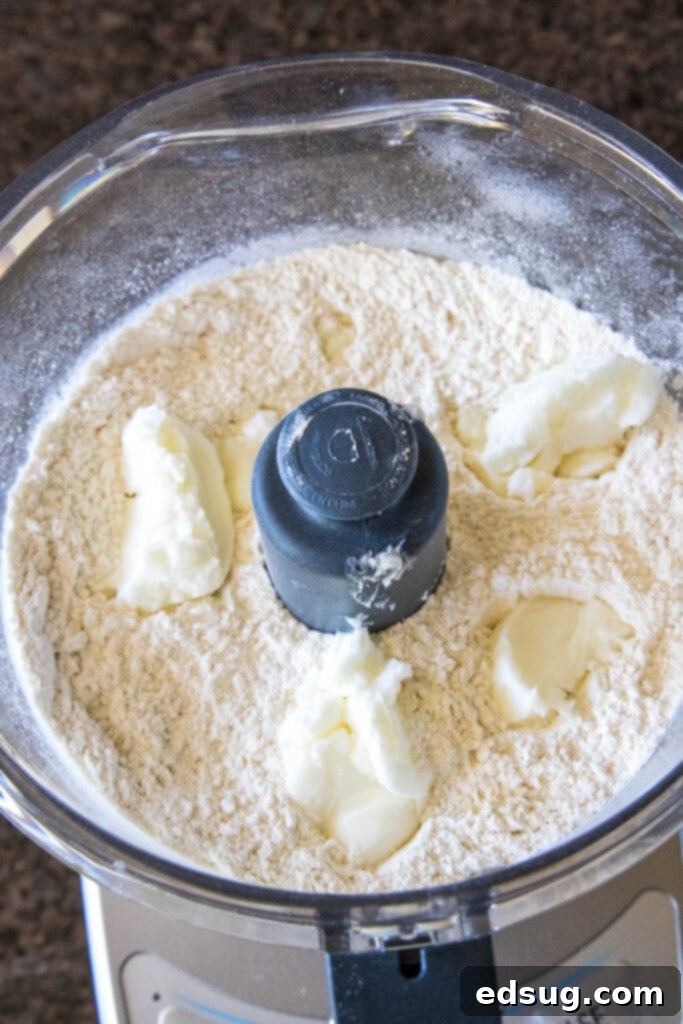
- Process Dry Ingredients: Begin by adding your all-purpose flour, baking powder, and salt to the bowl of your food processor. Secure the lid and pulse the mixture a few times. This ensures all the dry ingredients are thoroughly combined and evenly distributed, which is essential for consistent leavening in your future baking projects.
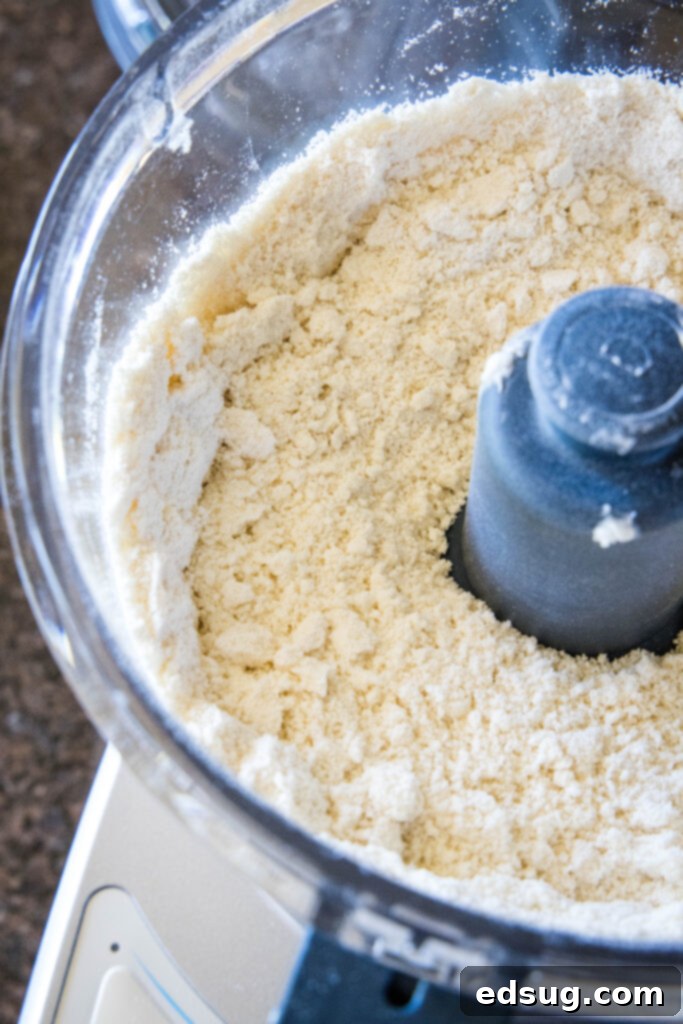
- Incorporate the Fat: Now it’s time to add your chosen fat. Whether you’re using vegetable shortening, butter, or lard, add it to the food processor with the dry ingredients. If using butter, make sure it’s cold and cut into small cubes for best results. Pulse the mixture repeatedly in short bursts. Continue processing until the fat is fully incorporated and the mixture resembles coarse sand or fine crumbs. This texture is crucial for achieving light and flaky baked goods, much like the consistency of store-bought Bisquick. Avoid over-processing, which can warm the fat too much, especially with butter.
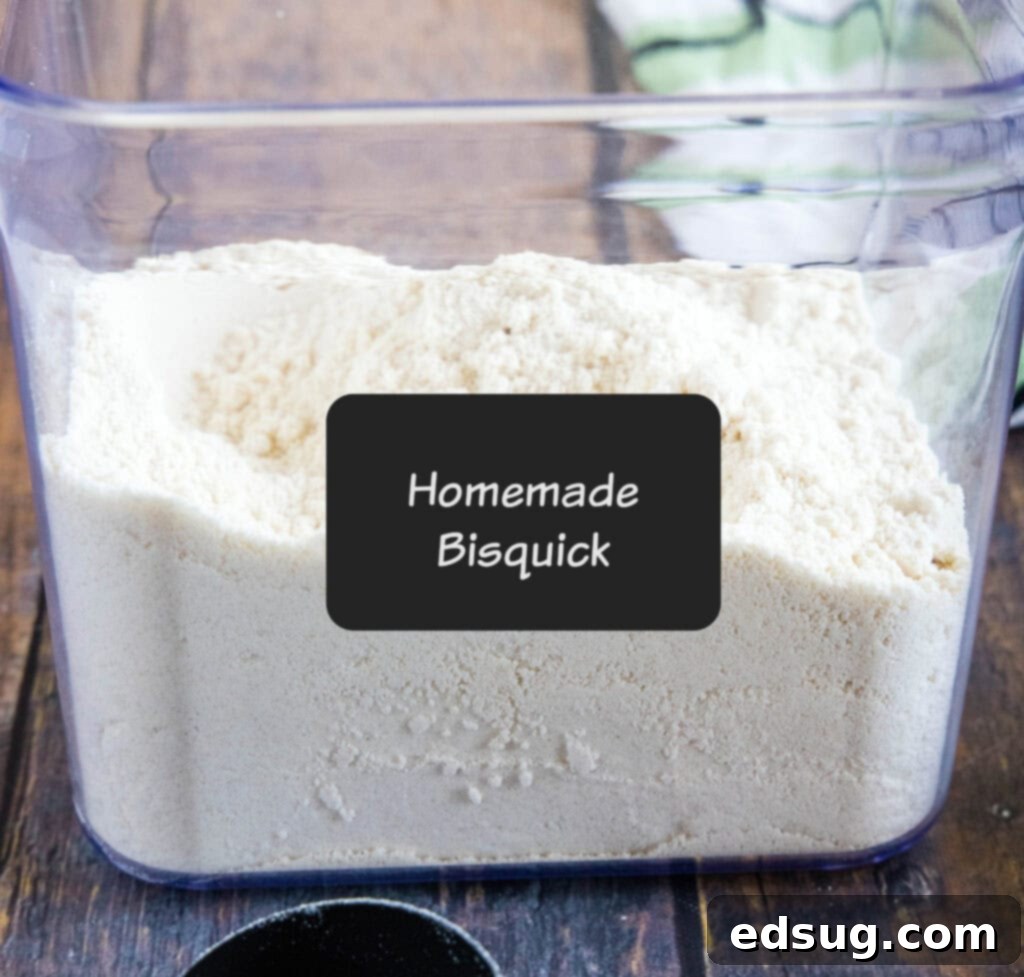
- Storage and Labeling: Once your homemade Bisquick mix is ready, carefully transfer it from the food processor into an airtight container. A large jar, a plastic storage container with a tight-fitting lid, or even a heavy-duty freezer bag works well. It’s a good practice to add a label to your container, noting what the mix is and the date it was made. This helps you keep track of its freshness. Store your mix in the pantry or refrigerator, depending on the type of fat you used (see notes below for specific guidance).
Choosing Your Fat: Vegetable Shortening, Butter, or Lard?
The type of fat you choose significantly impacts both the flavor profile and storage requirements of your homemade Bisquick mix. Each option has its unique advantages:
- Vegetable Shortening: If your goal is to replicate the classic taste and texture of original Bisquick, **vegetable shortening is your best bet**. It provides a neutral flavor and contributes to a wonderfully tender crumb in baked goods. Critically, mixes made with vegetable shortening are **pantry-safe** and **do NOT require refrigeration**. This makes it an incredibly convenient option for long-term storage at room temperature, just like the store-bought box.
- Butter: For those who prefer the rich, creamy flavor of butter, it’s an excellent alternative. Using butter will impart a slightly more pronounced buttery taste to your baked goods, which many find delightful. However, there’s one important consideration: mixes made with butter **need to be refrigerated** to prevent the butter from spoiling and to maintain its solid state. Ensure the butter is very cold and cut into small cubes before adding it to the food processor for the best incorporation.
- Lard: A third, traditional, and often overlooked option, particularly outside of certain culinary traditions, is lard. **Lard does not typically need to be refrigerated after opening** (check specific product instructions). It’s a fantastic choice if you desire a mix that can be stored in the pantry like shortening, while offering a unique, often richer, flavor profile reminiscent of old-fashioned baking. Lard produces exceptionally flaky and tender results, especially in biscuits and pie crusts.
Consider your personal preference for flavor, your preferred storage method, and any dietary considerations when making your choice. All three options will yield a functional and delicious homemade Bisquick mix.
What If I Don’t Have A Food Processor? No Problem!
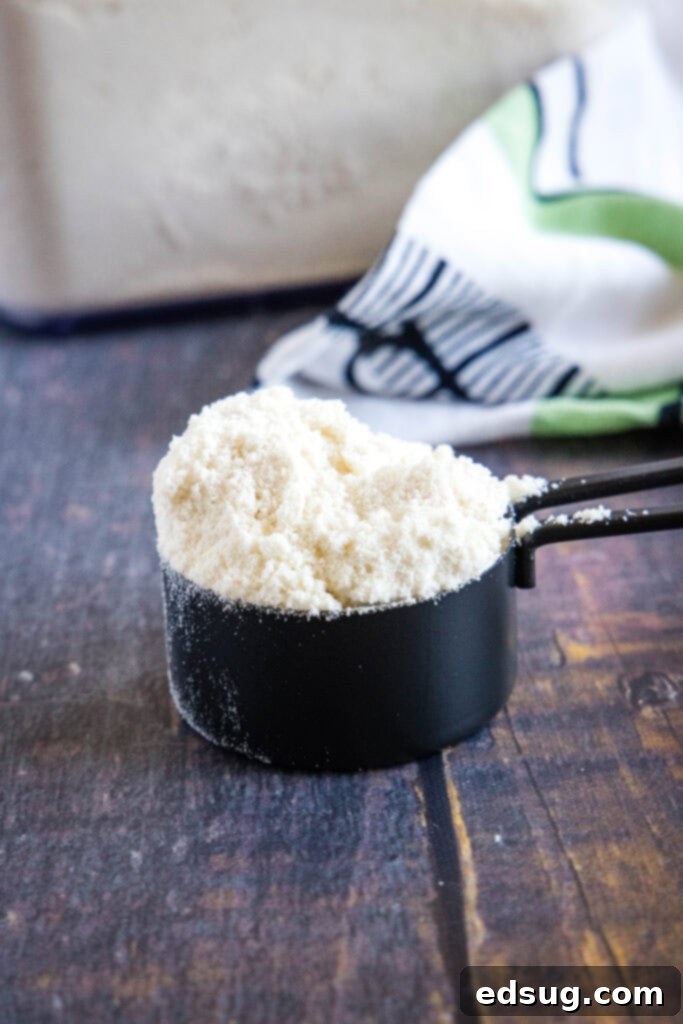
While a food processor certainly makes preparing homemade Bisquick super quick and convenient, it’s by no means essential. You can absolutely achieve the perfect sandy texture using other common kitchen tools:
- Stand Mixer Method: If you own a stand mixer, you can use its whisk attachment (or even the paddle attachment) to incorporate the fat. Add your dry ingredients to the mixing bowl, then add your cold, cubed butter or dollops of shortening. Mix on a low speed, allowing the attachment to gradually break down and blend the fat into the flour mixture. Continue mixing until the texture resembles coarse sand. This method offers hands-free convenience, similar to a food processor.
- Pastry Cutter or Fork Method: This traditional technique is perfect for incorporating cold fat into flour, just like when you’re making flaky pie crusts or delicious Buttermilk Biscuits. Combine your dry ingredients in a large bowl. Add small cubes of very cold butter or dollops of vegetable shortening over the surface. Use a pastry cutter (or two forks held like scissors) to cut the fat into the flour mixture. Work quickly to prevent the fat from warming up too much from your hands. Continue until the mixture has the desired coarse, sandy texture with no large chunks of fat remaining.
- Using Your Fingers: This is the most hands-on approach, but it’s very effective. Place your dry ingredients in a large bowl. Add your cold, cubed butter or shortening. Use your fingertips to rub the fat into the flour. Gently squeeze and rub the mixture between your thumb and forefingers until the fat is fully incorporated and the mixture forms pea-sized crumbs that then break down into a sandy consistency. Again, work efficiently to keep the fat cold.
No matter which method you choose, the key is to ensure the fat is thoroughly mixed into the dry ingredients until it reaches that signature coarse, sandy consistency. This is what gives your baked goods the desired tenderness and flakiness.
Storing Your Homemade Bisquick Mix
Proper storage is key to maximizing the shelf life and freshness of your homemade baking mix. Here are some tips:
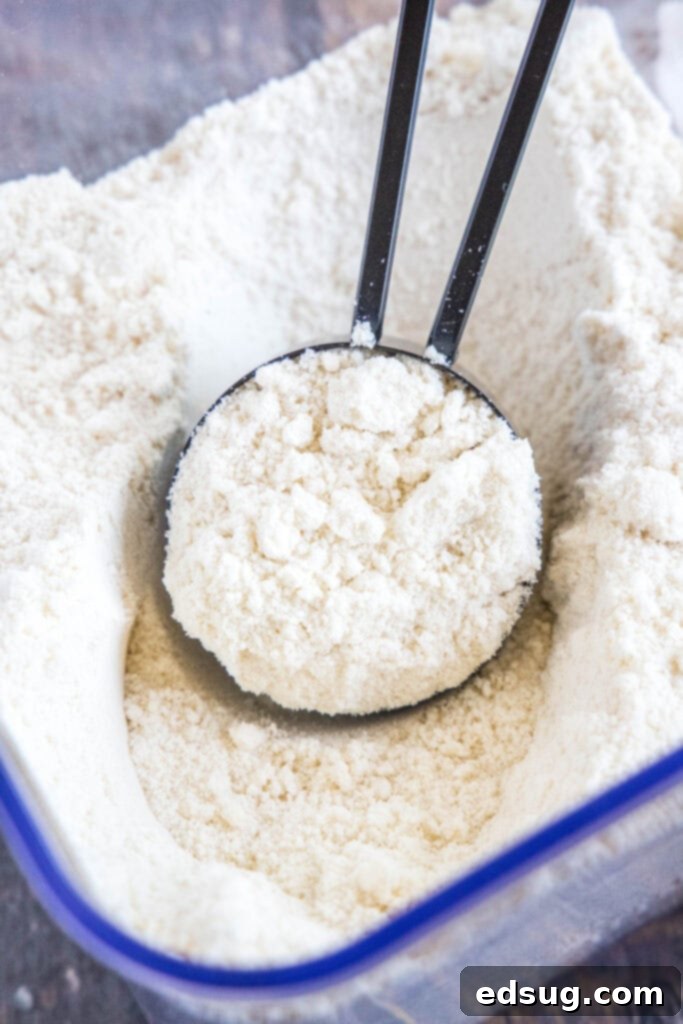
- Airtight Container is Essential: Always store your Bisquick mix in an airtight container. This prevents moisture from getting in, which can activate the baking powder prematurely or lead to spoilage. It also keeps out pantry pests and odors. Glass jars with tight-fitting lids, food-grade plastic containers, or even heavy-duty zip-top bags (with as much air removed as possible) work well.
- Label and Date: Before storing, clearly label your container with “Homemade Bisquick” and the date you prepared it. This simple step helps you keep track of its freshness and ensures you use it within its optimal window.
- Pantry Storage (for Shortening or Lard): If you used vegetable shortening or lard, your homemade Bisquick can be stored at room temperature in a cool, dry pantry for up to 6 months. Make sure the pantry isn’t subject to extreme temperature fluctuations, which can affect the mix’s quality.
- Refrigerator Storage (for Butter): If you opted for butter as your fat source, it is crucial to store the mix in the refrigerator. This prevents the butter from going rancid and helps maintain its texture. Refrigerated butter-based mix will also last up to 6 months.
- Freezing for Extended Freshness: For even longer storage, you can freeze your homemade Bisquick mix. Place it in a freezer-safe airtight container or bag. When properly frozen, it can last for up to a year. Thaw it in the refrigerator overnight or at room temperature for a few hours before using.
By following these storage guidelines, you’ll always have a fresh and reliable batch of homemade Bisquick ready for all your baking adventures!
How To Use Your Homemade Bisquick Mix
The best part about making your own Bisquick is its incredible versatility! You can use this homemade mix as a direct, 1:1 substitute for any recipe that calls for store-bought Bisquick. Its applications are nearly endless, making it a true kitchen hero.
We absolutely love incorporating it into our summer traditions for delightful Strawberry Shortcake. It creates a wonderfully light and tender base that pairs perfectly with fresh berries and whipped cream. Beyond desserts, it shines in savory dishes too! Consider using it for crowd-pleasing Cream Cheese Sausage Balls, where it forms a tender, flavorful binder, or for creating comforting Ham & Cheese Biscuits that are perfect for breakfast, brunch, or a side with dinner.
Of course, you can also whip up the classic dishes Bisquick is most famous for. Transform your homemade mix into:
- Fluffy Pancakes: Start your day with a stack of light, airy pancakes.
- Crispy Waffles: Achieve that perfect golden crunch for breakfast or brunch.
- Tender Biscuits: Create quick, easy biscuits that are wonderful with butter, jam, or gravy.
- Quick Breads & Muffins: Use it as a base for sweet or savory muffins and loaf cakes.
- Cobblers & Dumplings: It’s an excellent shortcut for fruit cobbler toppings or savory dumplings in stews.
With this homemade mix, you’re not just baking; you’re unlocking a world of culinary possibilities, all from your own pantry.
More Essential Basic Recipes for Your Kitchen
Once you’ve mastered homemade Bisquick, you’ll love having these other essential homemade basics ready to go:
- Homemade Italian Seasoning: Elevate your Italian dishes with a fresh, aromatic blend.
- DIY Ranch Dressing Mix: Perfect for dips, dressings, and seasoning.
- Homemade Ketchup: A fresher, healthier alternative to store-bought.
- How To Make Buttermilk Substitute: A clever trick for when you’re out of buttermilk.
- Stabilized Whipped Cream: Achieve perfect peaks that hold their shape.
- Homemade Ranch Dressing: Creamy, tangy, and so much better than bottled.
- Easy Chocolate Frosting: A simple recipe for a decadent chocolate topping.
Homemade Bisquick
Pin Recipe
Rate Recipe
Print Recipe
Ingredients
- 3 cups all-purpose flour
- 1 1/2 Tablespoons baking powder
- 1 1/2 teaspoons salt
- 1/2 cup vegetable shortening, or small cubes of butter
Instructions
-
Add flour, baking powder and salt to a food processor. Pulse a few times until blended together.3 cups all-purpose flour, 1 1/2 Tablespoons baking powder, 1 1/2 teaspoons salt
-
Add vegetable shortening in small dollops across the top.1/2 cup vegetable shortening
-
Pulse until fully incorporated and the texture of sand.
-
Store in an airtight container for up to 6 months.
Notes
Nutrition
Nutrition information is automatically calculated, so should only be used as an approximation.
Additional Info
Like this recipe? Leave a comment below!
I created a fun group on Facebook, and I would love for you to join us! It’s a place where you can share YOUR favorite recipes, ask questions, and see what’s new at Dinners, Dishes and Desserts (so that you never miss a new recipe)!
Be sure to follow me on Instagram and tag #dinnersdishes so I can see all the wonderful DINNERS, DISHES, AND DESSERTS recipes YOU make!
Be sure to follow me on my social media, so you never miss a post!
Facebook | Twitter | Pinterest | Instagram
.
