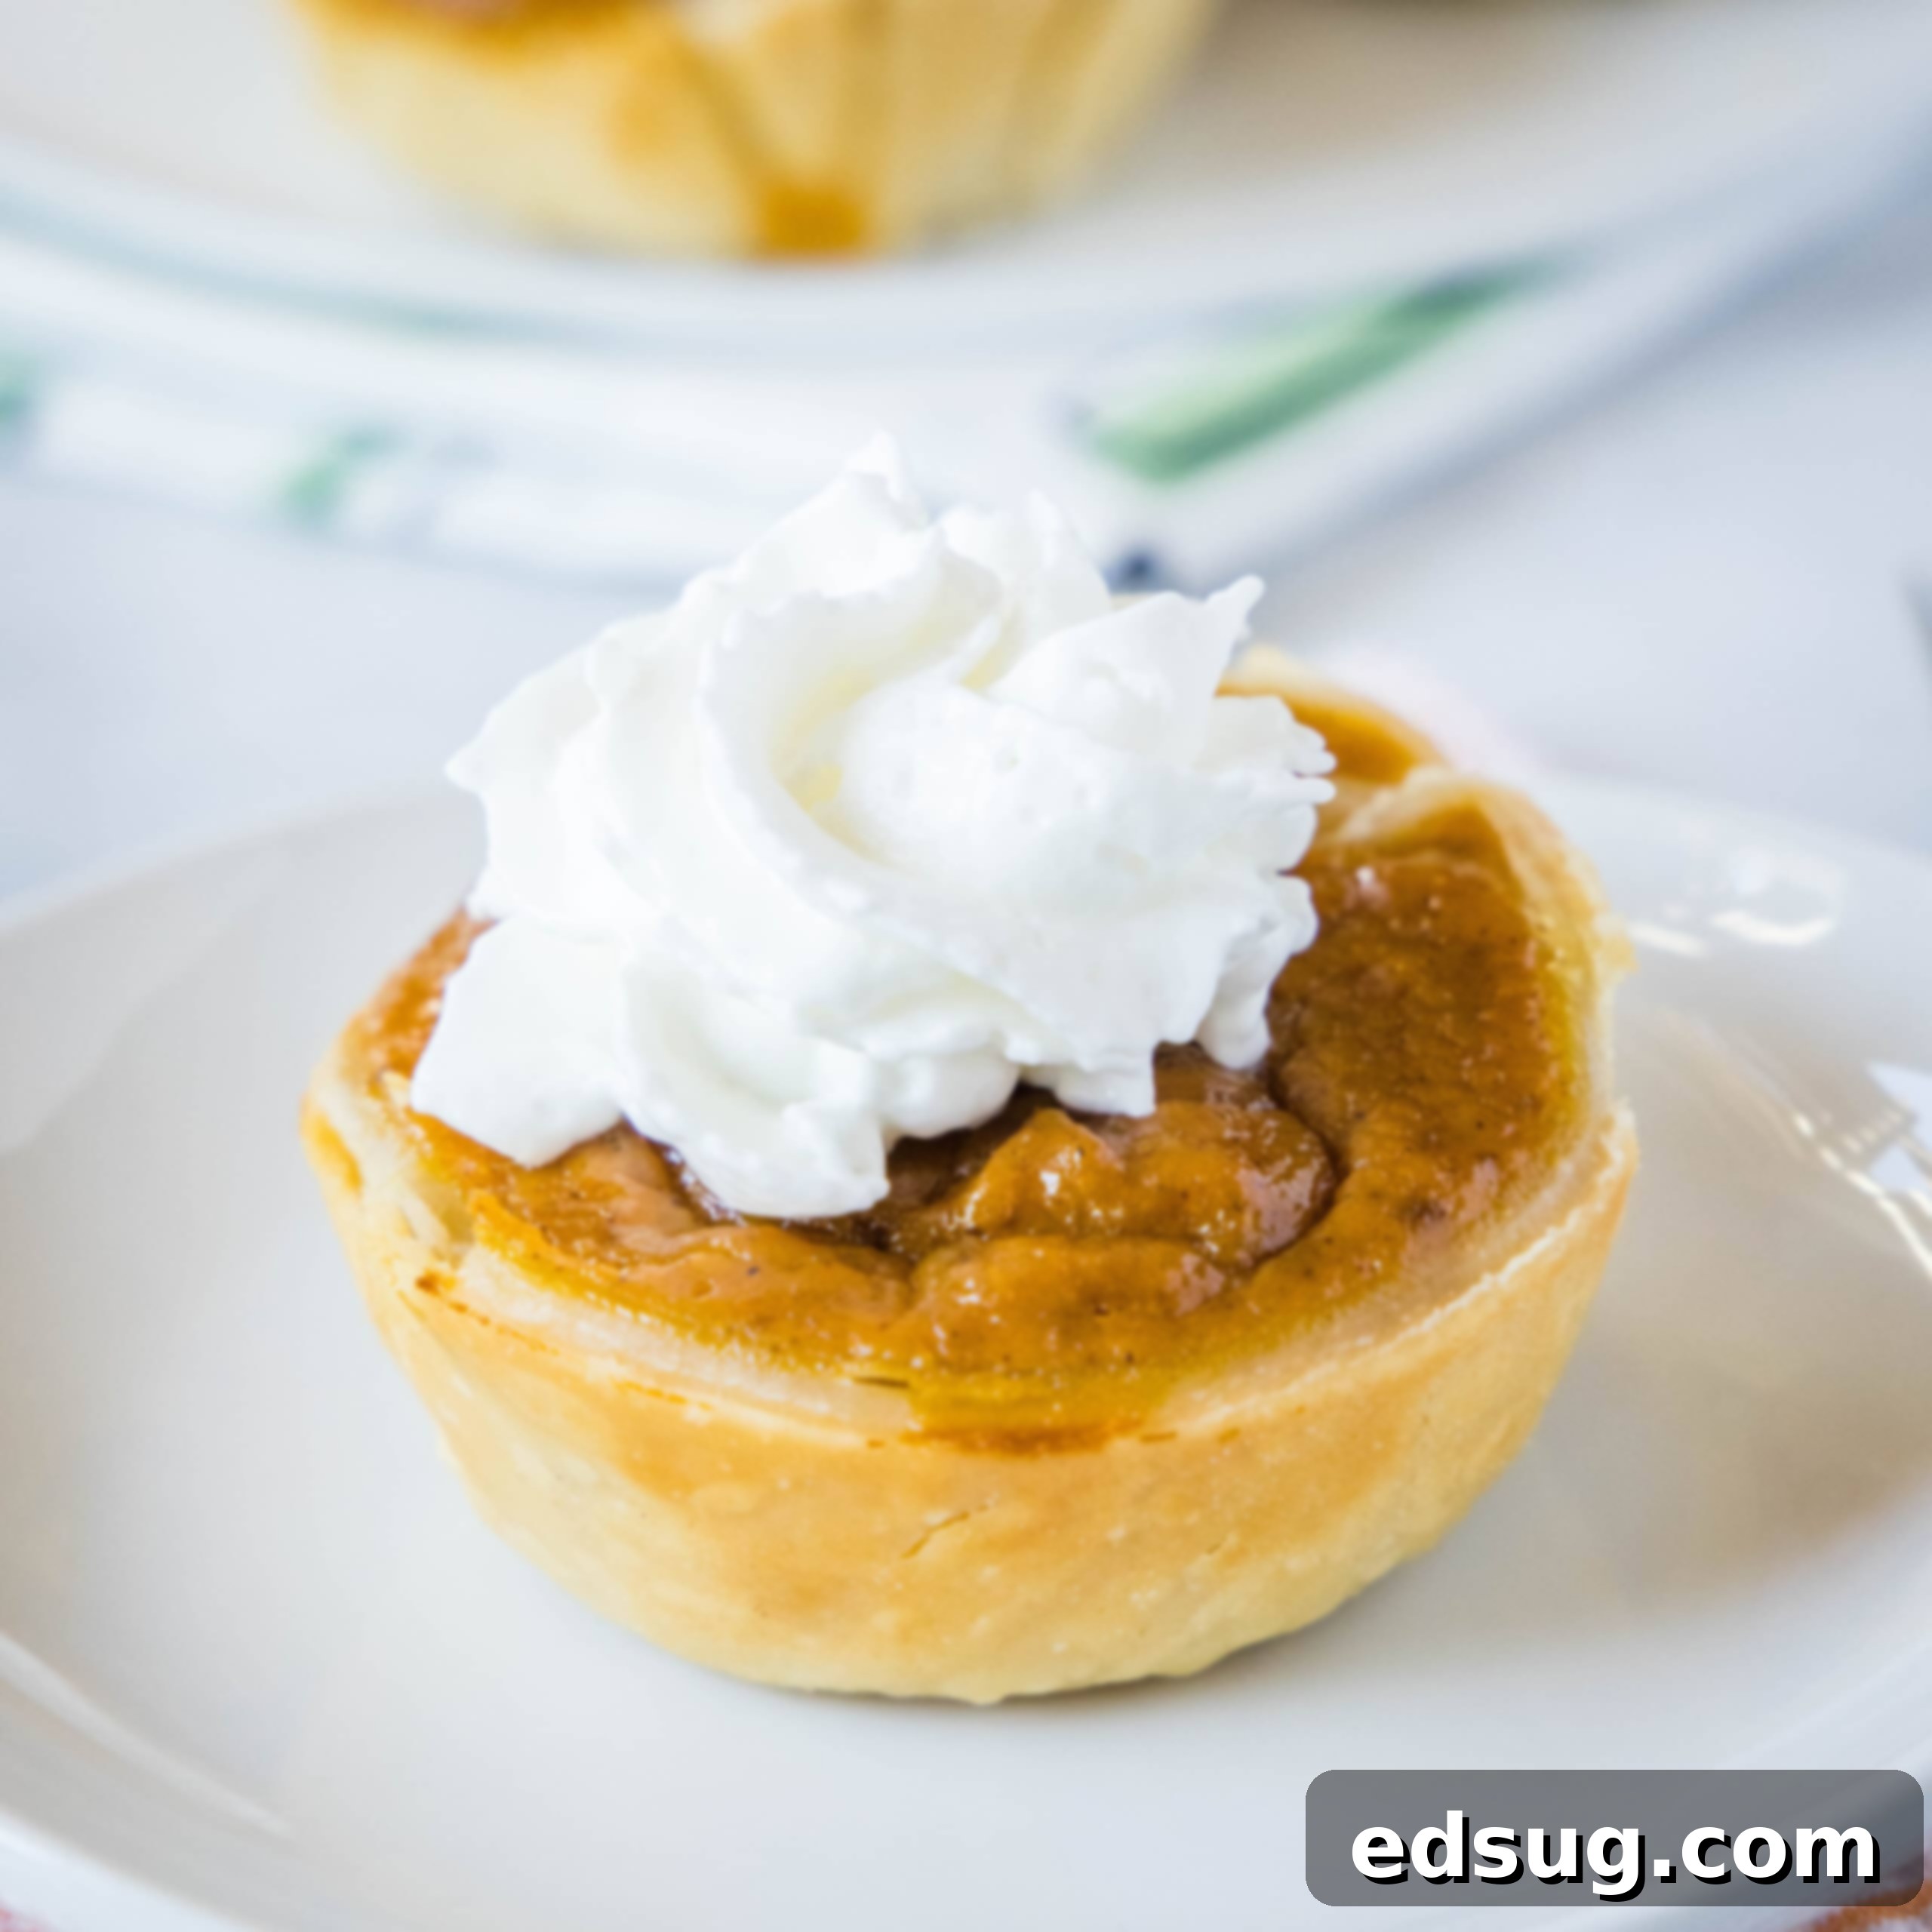
Irresistible Mini Pumpkin Pies: The Ultimate Individual Fall & Holiday Dessert
Transforming the classic pumpkin pie into delightful individual mini desserts! These mini pumpkin pies are perfect for holiday gatherings, potlucks, or simply enjoying a personal treat. They’re easier to make than their larger counterparts and just as deliciously nostalgic as you remember.
The aroma of pumpkin pie is synonymous with the holiday season, particularly Thanksgiving. For many, it’s a cherished tradition, a staple dessert that marks the culmination of festive feasts. While a traditional pumpkin pie holds a special place in our hearts, sometimes a full-sized pie can be a bit much, especially if not everyone shares the same enthusiasm for this seasonal favorite. My son, for instance, adores pumpkin pie, and I love finding ways to make it for him more often than just once a year. That’s where the magic of mini pumpkin pies comes in!
One of the primary reasons I’ve fallen in love with these individual pumpkin pies is their incredible convenience. You no longer need to bake an entire pie; instead, you can whip up a batch of these charming mini versions, allowing everyone to enjoy their own perfectly portioned dessert. This makes them ideal for various occasions, from a casual family dinner to a grand holiday buffet, offering a delightful alternative to serving slices from a larger pie.
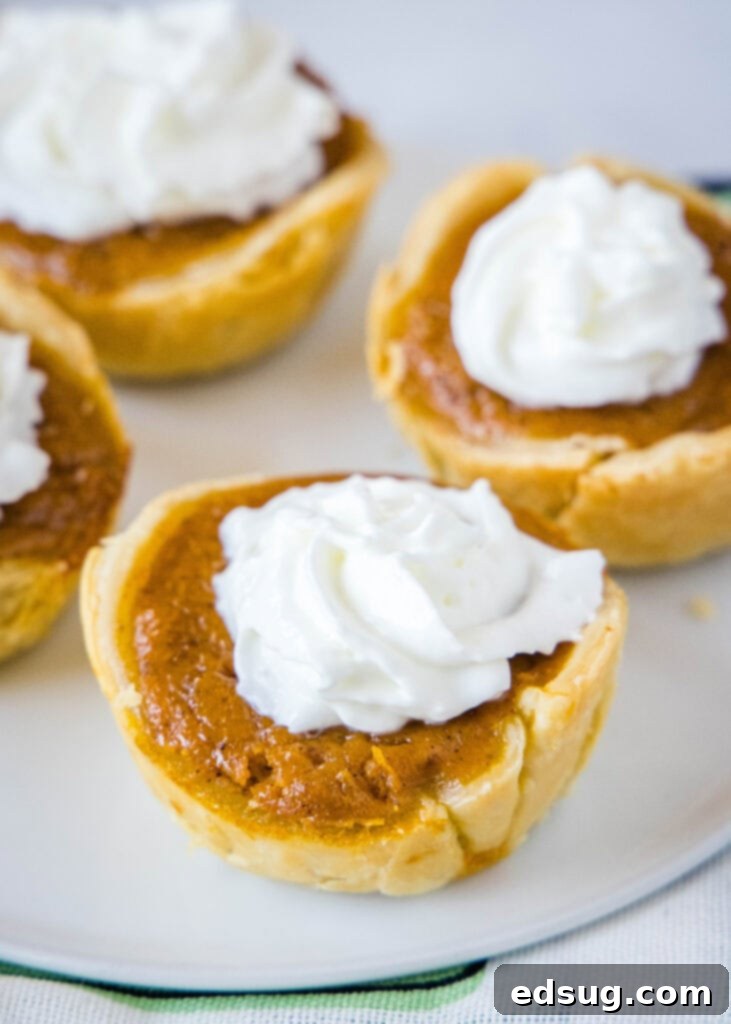
Beyond their charming size, I genuinely find these Mini Pumpkin Pies simpler to prepare than a full-sized pie. The crust, in particular, becomes significantly less daunting. When baking a traditional large pie, there’s a delicate balance to strike: ensuring the crust is perfectly baked, the filling is fully set, and the edges of the crust don’t burn to a crisp. This often involves intricate techniques like crimping foil around the edges, which can be fussy and time-consuming. With mini pies, these concerns largely disappear! The smaller size means the crust bakes more uniformly alongside the filling, reducing the risk of a soggy bottom or over-baked edges.
While there’s the added step of cutting out individual crusts and lining each muffin cup, I believe this minor extra effort is entirely worth it. The process is straightforward, and the benefits far outweigh this small task. Plus, these delightful miniature treats bake much faster, cool down quicker, and are ready to be savored sooner. This efficiency is a huge advantage when you’re preparing for a holiday spread or simply craving a quick pumpkin fix. Their individual nature also makes them incredibly portable, perfect for taking to any holiday potluck or gathering without the worry of messy slices.
Essential Ingredients for Your Mini Pumpkin Pies
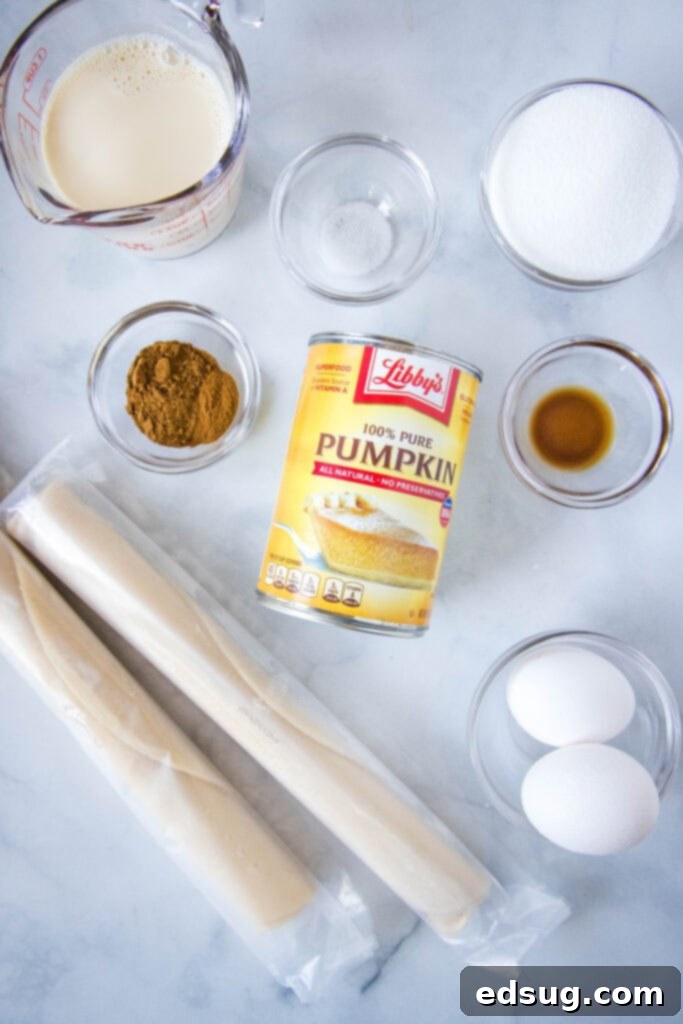
Crafting these delectable mini pumpkin pies requires a handful of simple, readily available ingredients that come together to create that quintessential fall flavor. Here’s a breakdown of what you’ll need to gather:
- Pie Crust: For ultimate convenience, I recommend using store-bought rolled pie crusts. You’ll typically need one full box, which contains two crusts, to yield 12 mini pies. If you prefer, you can certainly use your favorite homemade pie crust recipe.
- Pumpkin Puree: Ensure you grab pure pumpkin puree, not pumpkin pie filling, which is already spiced and sweetened. The pure variety gives you complete control over the flavor profile.
- Eggs: We use both a whole large egg and an additional large egg yolk. The eggs act as a binder, giving the pie filling its classic smooth, custardy texture and helping it set beautifully.
- Vanilla Extract: A splash of vanilla extract deepens the overall flavor, adding a warm, aromatic note that complements the pumpkin and spices.
- Granulated Sugar: This provides the perfect level of sweetness, balancing the earthy pumpkin and the bold spices.
- Pumpkin Pie Spice: This pre-mixed blend is key to achieving that signature fall taste. It typically includes cinnamon, nutmeg, ginger, and cloves.
- Cinnamon: An extra touch of ground cinnamon enhances the warm, inviting spice notes in the pie filling.
- Salt: A small amount of salt is crucial for balancing the sweetness and intensifying all the other flavors, preventing the pie from tasting flat.
- Evaporated Milk: This ingredient is vital for creating a rich, creamy, and wonderfully smooth pumpkin pie filling. Its concentrated nature adds a depth of flavor that regular milk simply can’t match.
And, of course, no pumpkin pie, mini or otherwise, is complete without a generous dollop of whipped cream! While I’ll share a fantastic homemade recipe in the card below, there’s absolutely no judgment if you opt for the convenience of store-bought whipped cream from a can. It’s all about enjoying your dessert!
Customizing Your Pumpkin Pie Spice Blend
This recipe specifically calls for pumpkin pie spice, which is a convenient blend of several warm spices, rather than just individual spices like cinnamon, cloves, and ginger, which might be listed separately in some traditional recipes. If you don’t have a jar of pumpkin pie spice on hand, or simply prefer to make your own, there’s absolutely no need to worry! I have an incredibly easy homemade version that you can whip up in just about 2 minutes. Making your own blend not only ensures you have it readily available for this recipe but also for all your other fall baking adventures, guaranteeing fresh, vibrant flavor every time. It’s a simple way to elevate your baking without an extra trip to the store!
Crafting Your Delicious Mini Pumpkin Pies: A Step-by-Step Guide
Making these individual pumpkin pies is a surprisingly simple process that yields impressive results. Follow these steps for perfect, bite-sized delights:
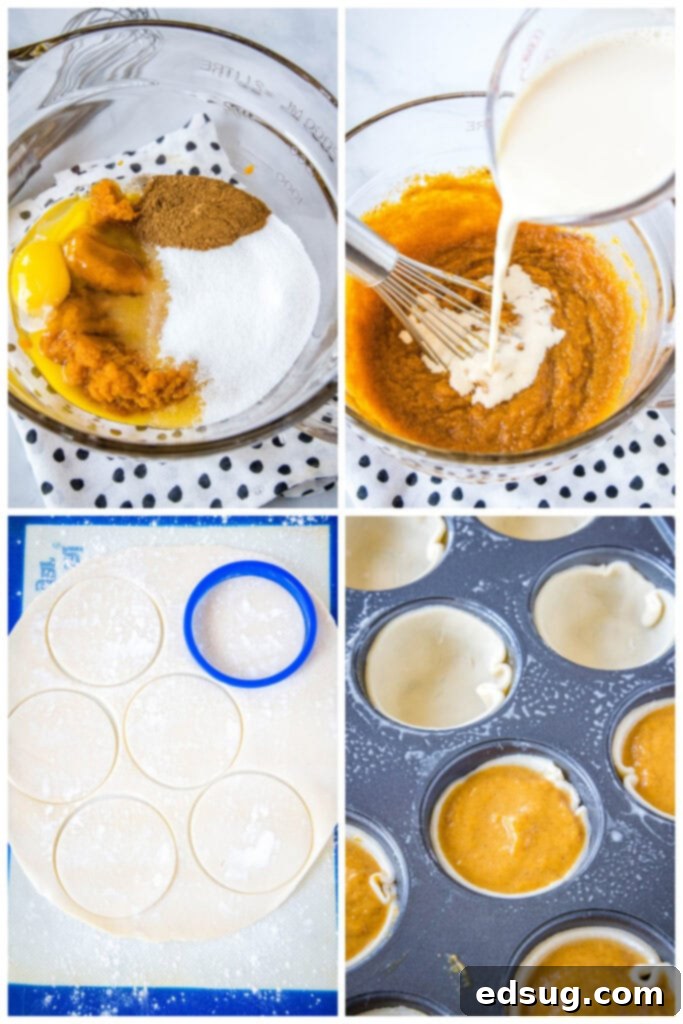
- Prepare Your Crust: Begin by allowing your store-bought pie crusts to warm up slightly or defrost, following the package instructions. This makes them more pliable and easier to work with. Once ready, unroll the crust onto a lightly floured surface. Using a rolling pin, gently roll it out a bit further, aiming for a thickness of approximately 1/8 inch. This ensures a delicate, flaky crust.
- Cut the Crust Circles: Grab a 3 1/2 inch round cookie cutter, a biscuit cutter, or even the rim of a wide-mouth jar. Use it to cut out 12 perfectly sized circles from your rolled-out pie crust. Gather any scraps, re-roll, and cut additional circles if needed to reach 12.
- Prepare the Muffin Tin: Thoroughly grease a standard 12-cup muffin tin. Ensuring each cup is well-greased will help prevent sticking and make for easy removal of your baked pies.
- Line the Muffin Tin: Carefully press each pie crust disk into the individual muffin cups. Gently mold the dough to fit the contours of the cup, creating a neat little pie shell.
- Mix the Pumpkin Filling: In a large mixing bowl, whisk together the pumpkin puree, the whole egg, the extra egg yolk, granulated sugar, vanilla extract, pumpkin pie spice, cinnamon, and salt until the mixture is smooth and well combined.
- Incorporate Evaporated Milk: Pour in the evaporated milk and stir until it’s fully incorporated into the pumpkin mixture. Ensure there are no streaks, creating a uniform, creamy batter.
- Fill the Pie Crusts: Carefully pour the pumpkin mixture into each prepared pie crust in the muffin tin, filling them all the way to the top. The filling will expand slightly during baking, but will settle to a perfect level.
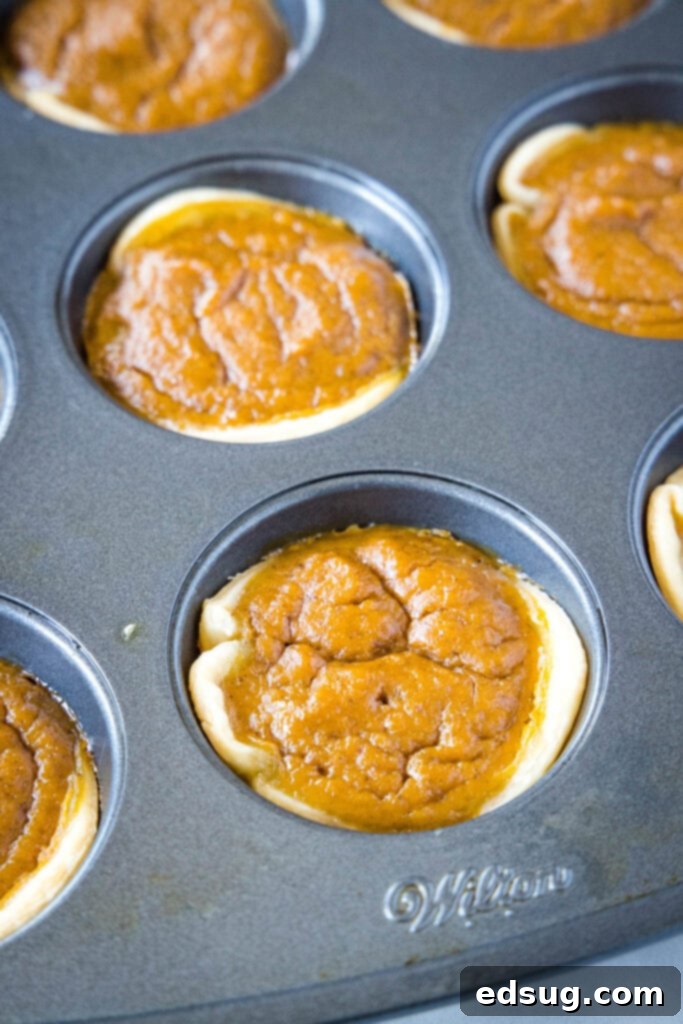
- Bake to Perfection: Transfer the muffin tin to your preheated oven and bake for approximately 35 minutes. You’ll know they’re ready when the crusts are golden brown, the top of the pie filling shows slight cracks, and a toothpick inserted into the center comes out clean. Baking times may vary slightly depending on your oven.
- Initial Cooling & Loosening: Once baked, remove the muffin tin from the oven and let the mini pies cool for about 10 minutes. This crucial step allows the pies to set slightly and makes them easier to remove. After 10 minutes, use a small knife or a thin spatula to gently run it around the edge of each muffin cup, carefully loosening the crust from the tin.
- Complete Cooling: Carefully remove the pies from the muffin tin and transfer them to a wire rack. Allow them to cool completely at room temperature. This full cooling process is essential for the filling to set properly and achieve the perfect texture.
Storage Solutions for Your Mini Pumpkin Pies
One of the fantastic advantages of pumpkin pie, including its mini versions, is its impressive shelf life compared to many other desserts. Proper storage ensures you can enjoy these delightful treats for days or even months:
- Refrigeration: Once your mini pumpkin pies have completely cooled, transfer them to an airtight container. Store them in the refrigerator, where they will remain fresh and delicious for up to 5-6 days. We often find that a slightly warm pie enhances its comforting flavors, so if desired, you can microwave individual pies for about 20 seconds before topping them with whipped cream and serving.
- Freezing: These mini pumpkin pies are also excellent candidates for freezing, allowing you to prepare them in advance or save leftovers for a later craving. Once they are fully cooled, arrange them in a single layer in an airtight, freezer-safe container or place them in a freezer-safe plastic bag, ensuring as much air is removed as possible. They will happily last in the freezer for up to 3 months. When you’re ready to enjoy them, simply let them thaw in the refrigerator for several hours or overnight before serving. You can also gently warm them in the microwave after thawing.
Elevating Your Individual Pumpkin Pie Experience
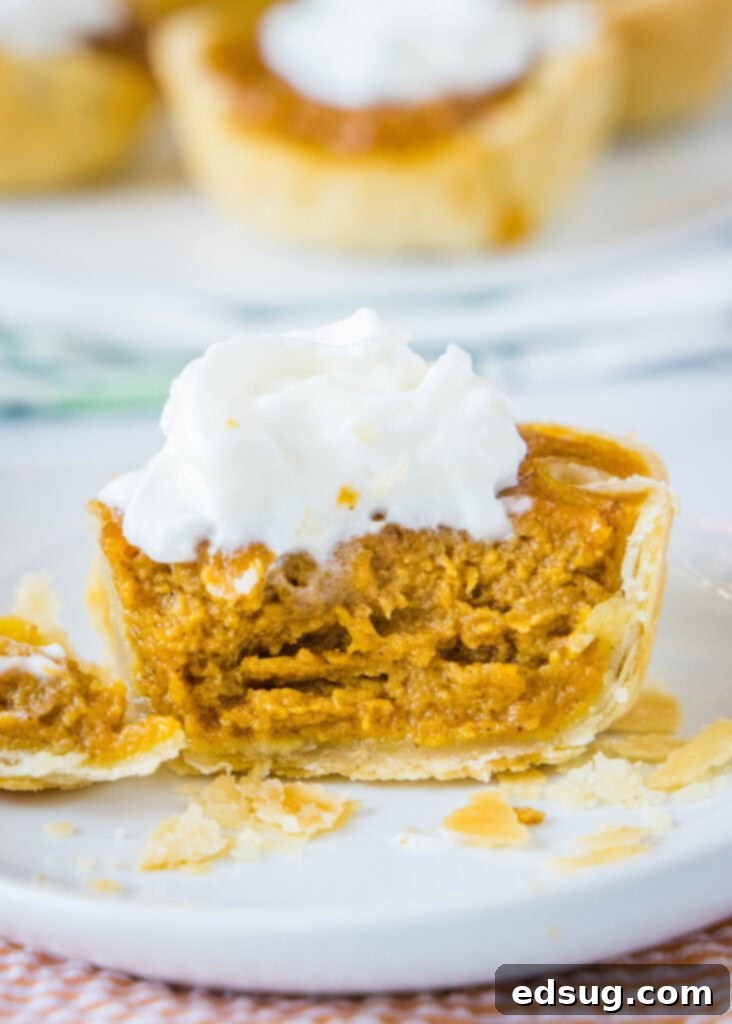
While a mini pumpkin pie is delicious on its own, a few thoughtful garnishes can truly transform it into an exquisite dessert. The most classic and arguably best way to serve these individual pumpkin pies is with a generous swirl of whipped cream on top. You can certainly use the homemade recipe provided in the recipe card below, which offers a fresh, rich texture. Alternatively, if you’re looking for convenience or a touch of nostalgia, options like Cool Whip or Redi-Whip were always our go-to growing up and work wonderfully. Feel free to use whatever you enjoy most and have readily available.
For an extra flourish, consider dusting the whipped cream with a pinch of ground cinnamon or nutmeg. A light drizzle of caramel sauce or a sprinkle of chopped pecans or walnuts can also add delightful texture and flavor. These individual pies are perfect for holiday dessert tables, autumn potlucks, or simply as a comforting treat with your evening coffee or tea. Their charming size makes them easy to handle and enjoy, making them a crowd-pleaser every time.
More Comforting Fall Dessert Recipes To Try
If you’re loving the flavors of fall, explore these other delightful pumpkin and autumn-inspired dessert recipes that are sure to bring warmth and comfort to your kitchen:
- Pumpkin Cream Cheese Muffins
- Pumpkin Dump Cake
- Pumpkin Crisp
- Pumpkin Sugar Cookies
- Pumpkin Waffles
- Pumpkin Cupcakes
- Chocolate Chip Pumpkin Bread
- Pumpkin Pancakes

Mini Pumpkin Pie
Pin Recipe
Rate Recipe
Print Recipe
Ingredients
- 2 store bought rolled pie crusts
- 1 15 ounce can pumpkin puree
- 1 whole large egg
- 1 large egg yolk
- 3/4 cup granulated sugar
- 1 teaspoon vanilla extract
- 2 teaspoon pumpkin pie spice
- 1 teaspoon cinnamon
- 1/4 teaspoon salt
- 6 ounces evaporated milk
Whipped Cream
- 1 cup heavy cream
- 1/4 cup powdered sugar
- 1/2 teaspoon vanilla extract
Instructions
-
Preheat oven to 350º F (175°C). Grease a 12-cup muffin tin very well to prevent sticking. Set aside.
-
Allow the pie crust to warm up to room temperature or defrost according to package instructions. Unroll the crust and gently roll it out a bit further with a rolling pin, aiming for approximately 1/8 inch thick.
-
Use a 3 1/2 inch round cookie cutter, biscuit cutter, or the rim of a wide-mouth jar to cut out 12 circles from the pie crust.
-
Gently press the cut pie disks into each greased muffin cup, forming individual pie shells.
-
In a large bowl, whisk together the pumpkin puree, whole egg, egg yolk, granulated sugar, vanilla extract, pumpkin pie spice, cinnamon, and salt until smooth.
-
Stir in the evaporated milk until fully combined and the filling is uniform.
-
Carefully pour the pumpkin mixture into the prepared pie crusts, filling each cup almost to the very top.
-
Bake for about 35 minutes, or until the crust is golden brown and the pie filling is set. The top of the pie may crack slightly, and a toothpick inserted into the center should come out clean.
-
Remove from the oven and let cool in the muffin tin for 10 minutes. Then, use a thin knife or spatula to gently loosen the crusts from around the edges of each muffin cup.
-
Carefully remove the mini pies from the muffin tin and transfer them to a wire rack to cool completely. This helps the filling set properly.
-
To make homemade whipped cream: In a cold bowl, beat heavy cream with the whisk attachment of a stand mixer (or use a hand mixer) for 2-3 minutes, until soft peaks begin to form. Gradually add in powdered sugar and vanilla extract, then continue beating for another minute or until stiff peaks form.
-
Top the cooled mini pies generously with homemade or store-bought whipped cream just before serving.
Notes
Nutrition
Nutrition information is automatically calculated, so should only be used as an approximation.
Additional Info
Like this recipe? Leave a comment below!
I created a fun group on Facebook, and I would love for you to join us! It’s a place where you can
share YOUR favorite recipes, ask questions, and see what’s new at Dinners, Dishes and Desserts (so that you never miss a new recipe)!
Be sure to follow me on Instagram and
tag #dinnersdishes so I can see all the wonderful DINNERS, DISHES, AND DESSERTS
recipes YOU make!
Be sure to follow me on my social media, so you
never miss a post!
Facebook | Twitter | Pinterest | Instagram
.
