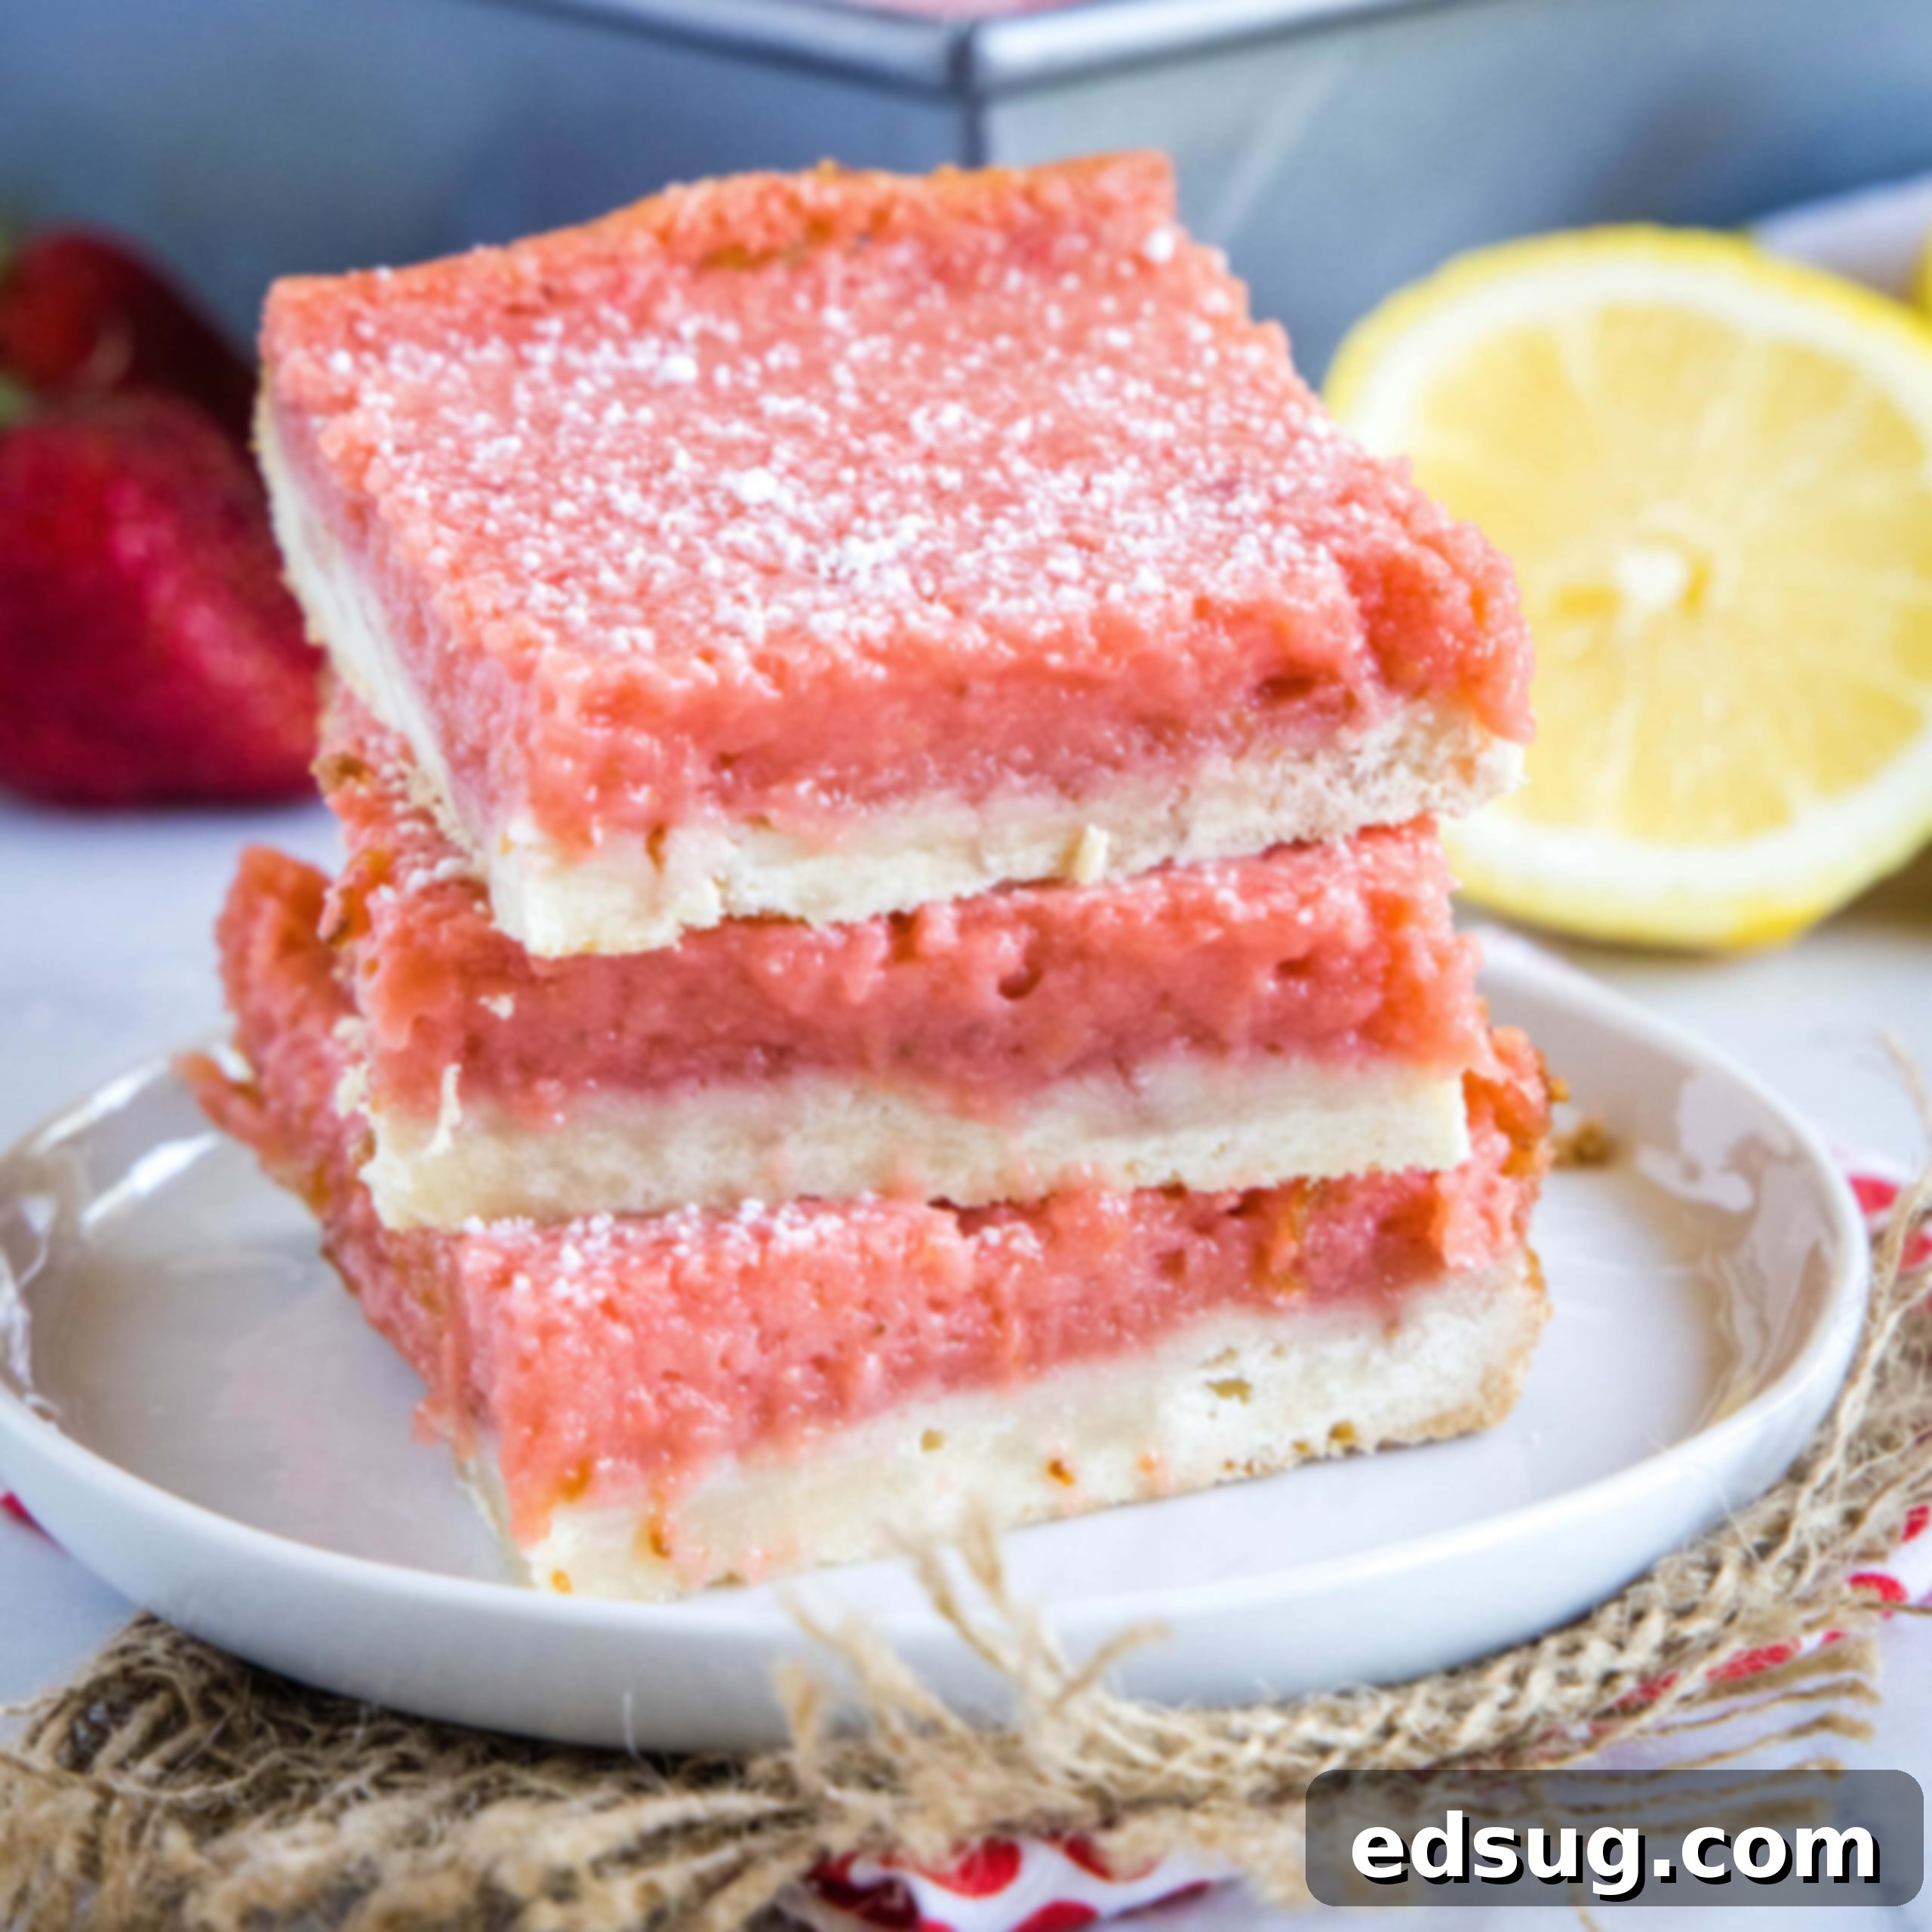
Irresistible Strawberry Lemon Bars: The Ultimate Sweet & Tart Summer Dessert Recipe
There’s something undeniably magical about the combination of sweet, juicy strawberries and bright, zesty lemons. These Strawberry Lemon Bars capture that perfect harmony in every bite. They begin with a delightfully tender, buttery shortbread-style crust that serves as the ideal foundation for a luscious, vibrant pink filling. This filling bursts with the sweet-tart essence of fresh strawberries and a bright lemon zing, creating a dessert that is both refreshing and deeply satisfying. A delicate dusting of powdered sugar just before serving adds an elegant finish, transforming these bars into a show-stopping treat perfect for any outdoor gathering, family picnic, or simply a delightful indulgence on a sunny afternoon.
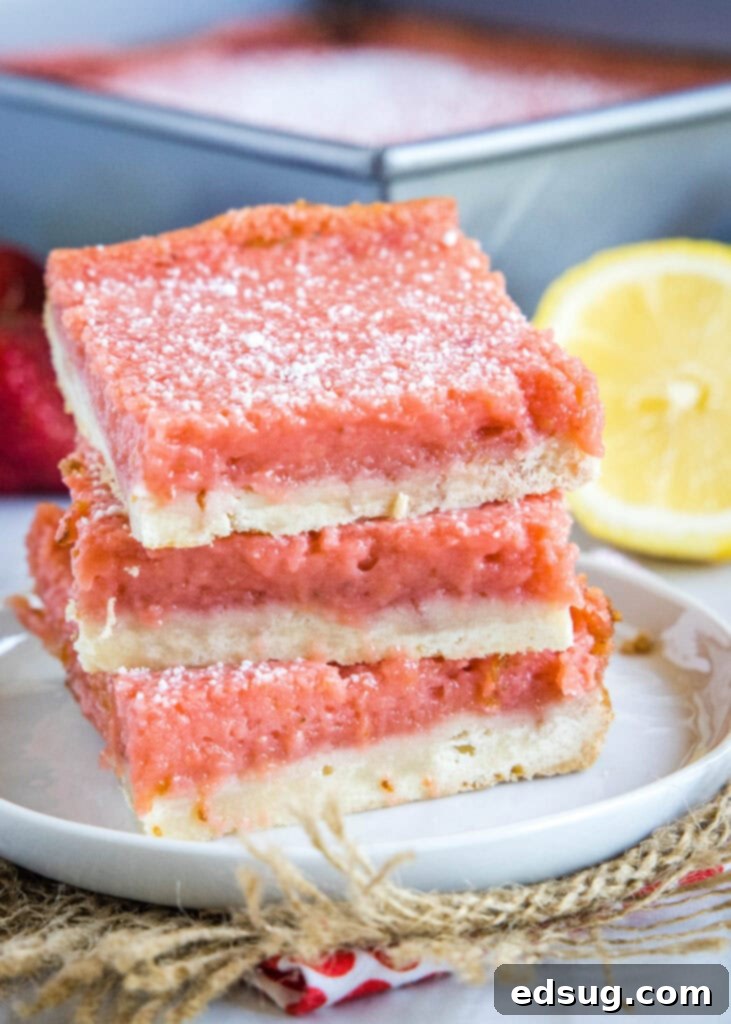
Classic lemon bars hold a special place in my heart; they were the first lemon-based dessert I ever mastered, and their bright flavor instantly hooked me. Building on that love, I was inspired to create this ultimate strawberry version, adding a beautiful fruitiness and a stunning pink hue. What makes these bars even more appealing is their incredible ease of preparation. You won’t need to haul out your heavy stand mixer; the creamy, fruit-filled topping comes together effortlessly in a blender or food processor. This simplicity ensures that even novice bakers can achieve spectacular results with minimal fuss.
If your palate leans more towards sweet than tart, and you’re craving another delightful strawberry dessert, be sure to explore my classic Strawberry Crumb Bars, which offer a comforting, crumble-topped experience. Alternatively, for those sweltering hot afternoons when only a frosty, refreshing treat will do, you’ll absolutely adore my dairy-free Strawberry Sorbet – a wonderfully cool and fruity indulgence that hits all the right notes.
Why You’ll Adore These Easy Strawberry Lemon Bars
These delightful strawberry lemon bars are more than just a pretty dessert; they offer a myriad of reasons to fall in love. Here’s why they’re destined to become a staple in your recipe collection:
- Effortlessly Delicious: You can whip up this incredible summer recipe in about an hour from start to finish. With just a few basic pantry staples and straightforward steps, you’ll create a dessert that tastes far more complex than it is to make.
- A Symphony of Flavors: Each bite of these bars is a vibrant explosion of fresh fruit flavor and exhilarating lemony zing. The sweetness of the strawberries beautifully balances the tartness of the lemon, creating an unexpectedly tasty treat that’s perfectly refreshing.
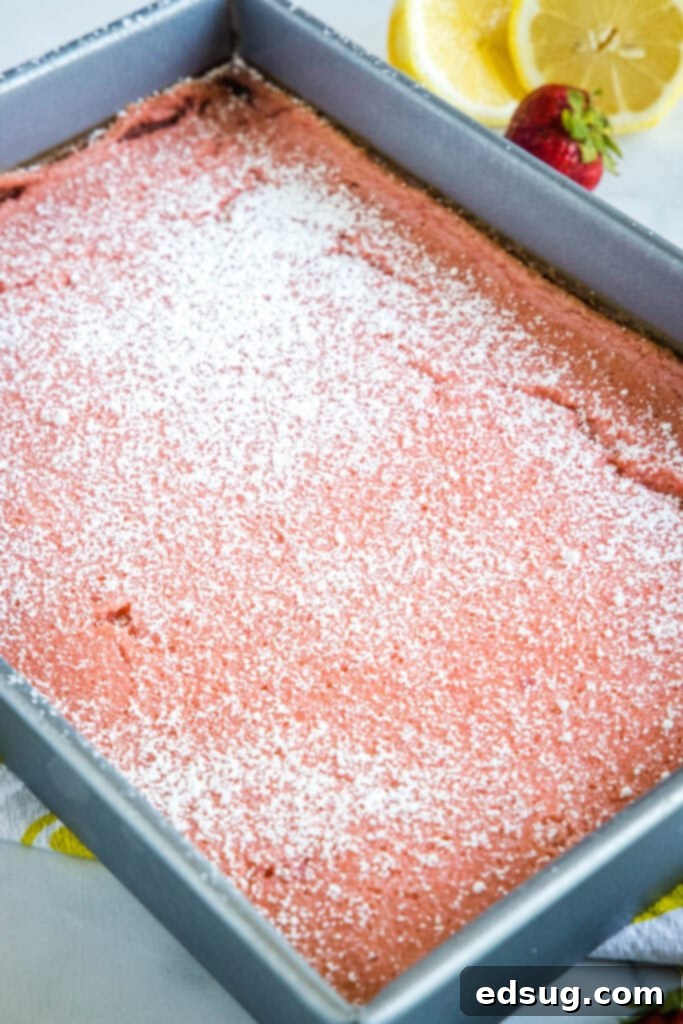
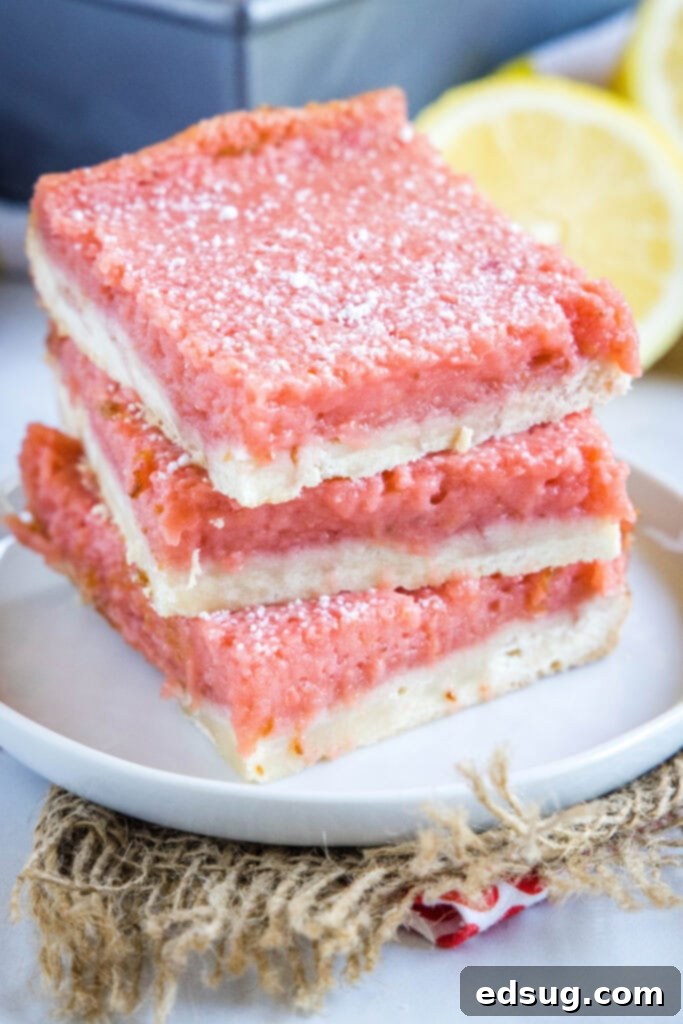
- Visually Stunning: The bright, natural pink color of the strawberry filling makes this dessert a true showstopper. It adds a pop of cheerful color to any table, making it perfect for special occasions or simply brightening up an everyday meal.
- Perfect for Sharing (and Freezing!): These bars are excellent for feeding a crowd at a family picnic, barbecue, or potluck. They’re also wonderfully freezer-friendly, so go ahead and make an extra batch to keep on hand for unexpected guests or whenever a craving strikes. Convenience meets deliciousness!
- Smart Use of Seasonal Produce: If you find yourself with an abundance of fresh strawberries after a trip to the farmer’s market or a berry-picking adventure, these bars are a fantastic and delicious way to use them up before they spoil.
- Simple Ingredients, Incredible Taste: You don’t need obscure ingredients to make these bars. Common kitchen staples are all it takes to create a dessert that will impress everyone.
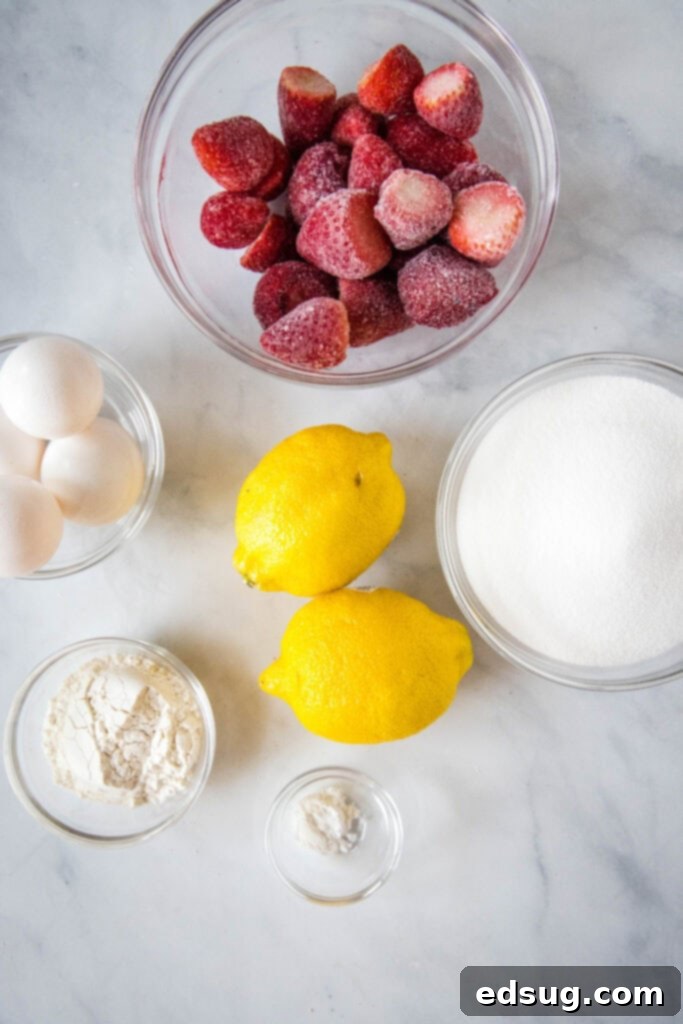
Gather Your Ingredients: What You’ll Need
For detailed measurements and the FULL PRINTABLE recipe card, please scroll to the bottom of the post.
For The Tender Shortbread Crust
- All-Purpose Flour: This forms the essential structure of our shortbread crust, ensuring it’s firm enough to hold the filling yet wonderfully tender. Sifting it beforehand can help create a lighter texture.
- Powdered Sugar (Confectioners’ Sugar): Unlike granulated sugar, powdered sugar dissolves more readily, contributing to the crust’s tender, melt-in-your-mouth texture and providing a delicate sweetness.
- Cold Butter: Crucial for a flaky and rich shortbread crust. Cut into cubes, cold butter helps create pockets of steam during baking, resulting in that desirable crumbly texture and imparting a luxurious, buttery flavor.
For The Bright & Fruity Strawberry Lemon Filling
- Frozen Strawberries: These are incredibly convenient and often provide an intense strawberry flavor. They blend beautifully into a smooth puree for the filling. You can certainly use fresh strawberries if they are in season and readily available!
- Fresh Lemon Zest: Don’t skip this! The zest holds the concentrated aromatic oils of the lemon, adding an extra punch of bright, sweet, and tangy lemon flavor that truly elevates the filling.
- Fresh Lemon Juice: Always opt for fresh-squeezed lemon juice over bottled for the best flavor. Its vibrant acidity is key to the tartness and freshness of the bars, and since you’ll be zesting lemons anyway, it’s a perfect fit.
- Large Eggs: Eggs are vital for binding and thickening the filling, giving it a custardy texture that sets beautifully, making the bars easy to slice and serve.
- Granulated Sugar: This provides the necessary sweetness to balance the tartness of the lemons and strawberries, creating a perfectly harmonious flavor profile. It also contributes to the filling’s smooth consistency.
- All-Purpose Flour: A small amount of flour acts as an additional thickening agent for the filling, ensuring it sets up firmly without being rubbery.
- Baking Powder: Just a touch of baking powder helps to lighten the texture of the filling, giving it a slightly airy and delicate quality.
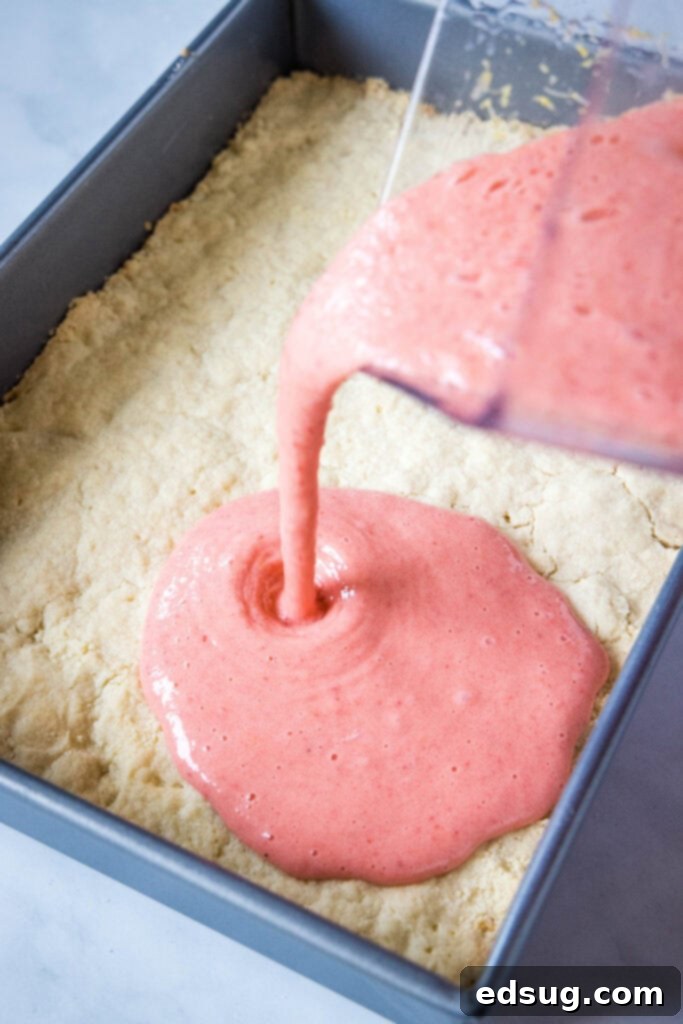
Crafting Your Strawberry Lemon Bars: Step-by-Step Guide
Creating these delightful bars is a straightforward process that yields impressive results. Follow these simple steps for perfect strawberry lemon bars every time:
- Prepare and Press the Crust: In a large mixing bowl, combine the flour, powdered sugar, and cubed cold butter. Use your hands to thoroughly mix the ingredients until they come together to form a cohesive, slightly crumbly dough, resembling wet sand. Press this dough evenly into your prepared 13×9 inch baking pan. Ensure the crust is compact and uniform.
- Par-Bake the Crust: Transfer the pan with the pressed crust to your preheated oven. Bake for approximately 20-25 minutes at 350°F (175°C), or until the edges are lightly golden brown. This par-baking step is crucial for preventing a soggy crust once the filling is added. Remove the crust from the oven and set it aside to cool slightly while you prepare the filling.
- Blend the Strawberry Lemon Filling: While the crust bakes and cools, it’s time to create the star of the show! In a blender or food processor, combine the fresh lemon juice and frozen (or fresh) strawberries. Blend until the mixture is completely smooth and free of large fruit pieces. Next, add the granulated sugar, eggs, and lemon zest to the blender. Continue blending until all ingredients are well incorporated and the mixture is smooth and vibrant. Finally, add the all-purpose flour and baking powder, blending just until they are fully mixed in and the filling is smooth once more. Be careful not to overmix at this stage.
- Bake the Assembled Bars: Carefully pour the beautifully pink strawberry lemon filling evenly over the warm, par-baked crust in the baking pan. Return the pan to the oven and bake for an additional 25-30 minutes. The bars are finished when the filling is completely set in the middle and no longer jiggles when you gently shake the pan.
- Cool Completely Before Serving: This is perhaps the most important step for clean, neat slices! Once baked, remove the bars from the oven and allow them to cool completely at room temperature before garnishing and cutting. Cooling can take a couple of hours. Once cool, dust generously with powdered sugar just before slicing and serving.
Recipe Tips & Delightful Variations for Success
Achieving perfect strawberry lemon bars is easy with a few simple tricks and knowing how to customize them. Here are some expert tips and exciting variations to make these bars truly your own:
- Parchment Paper is Your Best Friend: For significantly easier removal of the bars and a much quicker cleanup, line your greased baking dish with parchment paper, leaving an overhang on the sides. Once cooled, you can simply lift the entire slab of bars out of the pan.
- Always Start with the Crust: It’s absolutely essential to prepare and par-bake the crust first. This initial baking step ensures the crust is firm and partially cooked, preventing it from becoming soggy when the moist filling is poured over it.
- Avoid Overmixing the Crust Dough: When combining the crust ingredients, be careful not to overmix the dough. Overworking the flour can develop too much gluten, resulting in a tough, dense crust rather than a tender, crumbly shortbread. Mix just until the ingredients are combined and resemble wet sand. A pastry blender can be a great tool to cut in the butter quickly without overworking the dough with your hands.
- A Warm Crust is Perfectly Okay: While the crust shouldn’t be piping hot straight out of the oven when you pour the filling over it, it’s perfectly fine if it’s still warm. A slightly warm crust can even help the filling adhere better. Just avoid pouring filling over a crust that’s scorching hot.
- Experiment with Different Fruit Flavors: The beauty of this recipe lies in its adaptability! While strawberry and lemon are a classic pairing, feel free to try other berries. Raspberries or blackberries can offer a wonderfully tart and flavorful twist. You could even combine different berries for a mixed berry lemon bar experience.
- Adjust Lemon Intensity: If you prefer a milder lemon flavor, you can slightly reduce the amount of lemon zest. For an extra lemon kick, consider adding a tiny bit more zest.
- Garnish creatively: While a simple dusting of powdered sugar is traditional and beautiful, consider other garnishes. Fresh strawberry slices, thin lemon twists, or a sprig of fresh mint can add both visual appeal and a fresh aroma.
- Gluten-Free Option: To make these bars gluten-free, substitute the all-purpose flour in both the crust and the filling with a 1:1 gluten-free baking flour blend. Ensure your blend contains xanthan gum for best results.
- Vary the Crust: For a different base, consider a graham cracker crust, or even an almond flour crust for a nutty flavor profile. Adjust proportions as needed to achieve the right consistency.
Frequently Asked Questions About Strawberry Lemon Bars
The strawberry lemon bars are ready when the filling appears set in the middle and no longer jiggles significantly when you gently shake the baking pan. The edges may be slightly golden. It’s crucial to let the bars cool completely before garnishing and cutting them; this allows the filling to fully set and ensures clean, precise slices.
Absolutely! Feel free to use fresh strawberries if they are ripe and in season. The filling may appear slightly more liquid as you pour it over the crust if using fresh berries, but the finished bars will still have a similar delicious flavor and texture once baked and cooled. Ensure they are thoroughly blended for a smooth consistency.
Runny lemon bars are usually a sign that they haven’t baked long enough or weren’t allowed to cool completely. Ensure your oven temperature is accurate and bake until the center is set. Cooling the bars fully, preferably in the refrigerator for a short period, is essential for the filling to firm up properly.
Yes, these strawberry lemon bars are an excellent make-ahead dessert! You can bake them a day or two in advance and store them in the refrigerator. In fact, chilling them overnight often enhances their flavor and makes them even easier to slice beautifully.
Storage Guidelines for Freshness
Proper storage is key to keeping your strawberry lemon bars delicious and safe to eat. Since they contain eggs, refrigeration is generally recommended.
- Room Temperature: Due to the egg-based filling, it’s best to avoid leaving these bars at room temperature for longer than 2-3 hours, especially in warm climates.
- Refrigerate: For optimal freshness and safety, store strawberry lemon bars in an airtight container in the refrigerator for up to 5 days. This will keep the filling firm and flavors vibrant.
- Freeze: These bars freeze beautifully! To freeze, first cut the cooled bars into individual servings. Place them uncovered on a sheet tray and freeze for about 1-2 hours until solid. Once firm, stack them in an airtight freezer-proof container with wax paper or parchment paper between the layers to prevent sticking. If you prefer to freeze them in their entire baking tray, double-wrap the tray tightly in plastic wrap, followed by a layer of aluminum foil. They can be stored in the freezer for up to 3 months. Thaw in the refrigerator before serving.
More Delicious Strawberry Dessert Recipes to Try
If you’re a fan of the sweet and versatile strawberry, you’re in luck! There’s a world of delightful strawberry desserts waiting to be explored. Here are some more of my favorite recipes that celebrate this fantastic fruit:
- Creamy Strawberry Milkshakes
- Moist Strawberry Poke Cake
- No-Bake Strawberry Cheesecake Lasagna
- Classic Strawberry Crumb Bars
- Decadent Strawberry Brownies
- Refreshing Fresh Strawberry Pie
- Warm Strawberry Crumble

Strawberry Lemonade Bars
Erin Sellin
10 minutes
50 minutes
1 hour
24
Pin Recipe
Rate Recipe
Print Recipe
Ingredients
Base Layer (Shortbread Crust)
-
2
cups
all-purpose flour
, sifted -
1/2
cup
powdered sugar
-
1
cup
cold butter
, cut into cubes
Strawberry Lemon Filling
-
4
whole large eggs -
1 1/2
cups
granulated sugar
-
1
cup
fresh squeezed lemon juice -
2
teaspoons
lemon zest
-
1 1/4
cup
frozen strawberries -
1/4
cup
all-purpose flour
-
1/2
teaspoon
baking powder
-
2
Tablespoons
powdered sugar for dusting
Instructions
-
Preheat your oven to 350º F (175°C). Lightly spray a 13×9 inch baking pan with non-stick spray, or line it with parchment paper for easier removal. Set aside.
-
In a large bowl, combine the all-purpose flour, powdered sugar, and cubed cold butter. Using your hands or a pastry blender, mix these ingredients until they are thoroughly combined and resemble a coarse, wet sand-like consistency. Press this mixture firmly and evenly into the bottom of your prepared baking dish to form the crust.
-
Bake the crust in the preheated oven for 20-25 minutes, or until the edges are lightly golden brown. Remove the pan from the oven and allow the crust to cool slightly while you prepare the filling.
-
Meanwhile, in a blender or food processor, combine the fresh lemon juice and frozen (or fresh) strawberries. Blend until the mixture is completely smooth and no large pieces of fruit remain.
-
To the strawberry-lemon puree, add the granulated sugar, large eggs, and lemon zest. Blend again until all ingredients are well incorporated and the filling is smooth and uniform in color.
-
Finally, add the remaining all-purpose flour and baking powder to the filling mixture. Blend briefly, just until these dry ingredients are fully mixed in and the filling is smooth once more. Be careful not to overmix at this stage.
-
Pour the prepared strawberry lemon filling evenly over the warm, par-baked crust in the baking pan. Return the pan to the oven and bake for an additional 25-30 minutes, or until the filling is completely set in the middle and no longer jiggles when gently shaken.
-
Once baked, remove the bars from the oven and allow them to cool completely at room temperature. This is a critical step for the filling to set properly, enabling clean and easy slicing. Once fully cooled, dust generously with powdered sugar just before slicing and serving. Enjoy your homemade Strawberry Lemon Bars!
Notes
Nutrition
Serving:
24
Servings
|
Calories:
188
kcal
|
Carbohydrates:
26
g
|
Protein:
2
g
|
Fat:
9
g
|
Saturated Fat:
5
g
|
Polyunsaturated Fat:
3
g
|
Cholesterol:
51
mg
|
Sodium:
84
mg
|
Fiber:
1
g
|
Sugar:
16
g
Nutrition information is automatically calculated, so should only be used as an approximation.
Additional Info
Erin Sellin
10 minutes
50 minutes
1 hour
Dessert Recipes
American
24
188
Like this recipe? Leave a comment below!
I’ve created a fun and supportive community on Facebook, and I would absolutely love for you to join us! It’s a fantastic place where you can share YOUR favorite recipes, ask questions, get inspiration, and stay updated on all the new and exciting things happening at Dinners, Dishes, and Desserts (so you never miss a delicious new recipe!).
Be sure to follow me on Instagram and tag #dinnersdishes so I can see all the wonderful DINNERS, DISHES, AND DESSERTS recipes YOU make! Your culinary creations inspire me!
Don’t miss out on any delicious updates! Be sure to follow me on my social media channels:
Facebook
|
Twitter
|
Pinterest
|
Instagram
