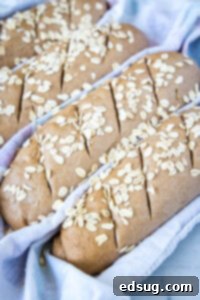
Copycat Cheesecake Factory Brown Bread: Recreate the Restaurant Favorite at Home
Indulge in the iconic Cheesecake Factory Brown Bread from the comfort of your kitchen! This easy-to-follow recipe brings you a wonderfully whole wheat, subtly sweet, and incredibly flavorful bread that’s perfect for any meal.
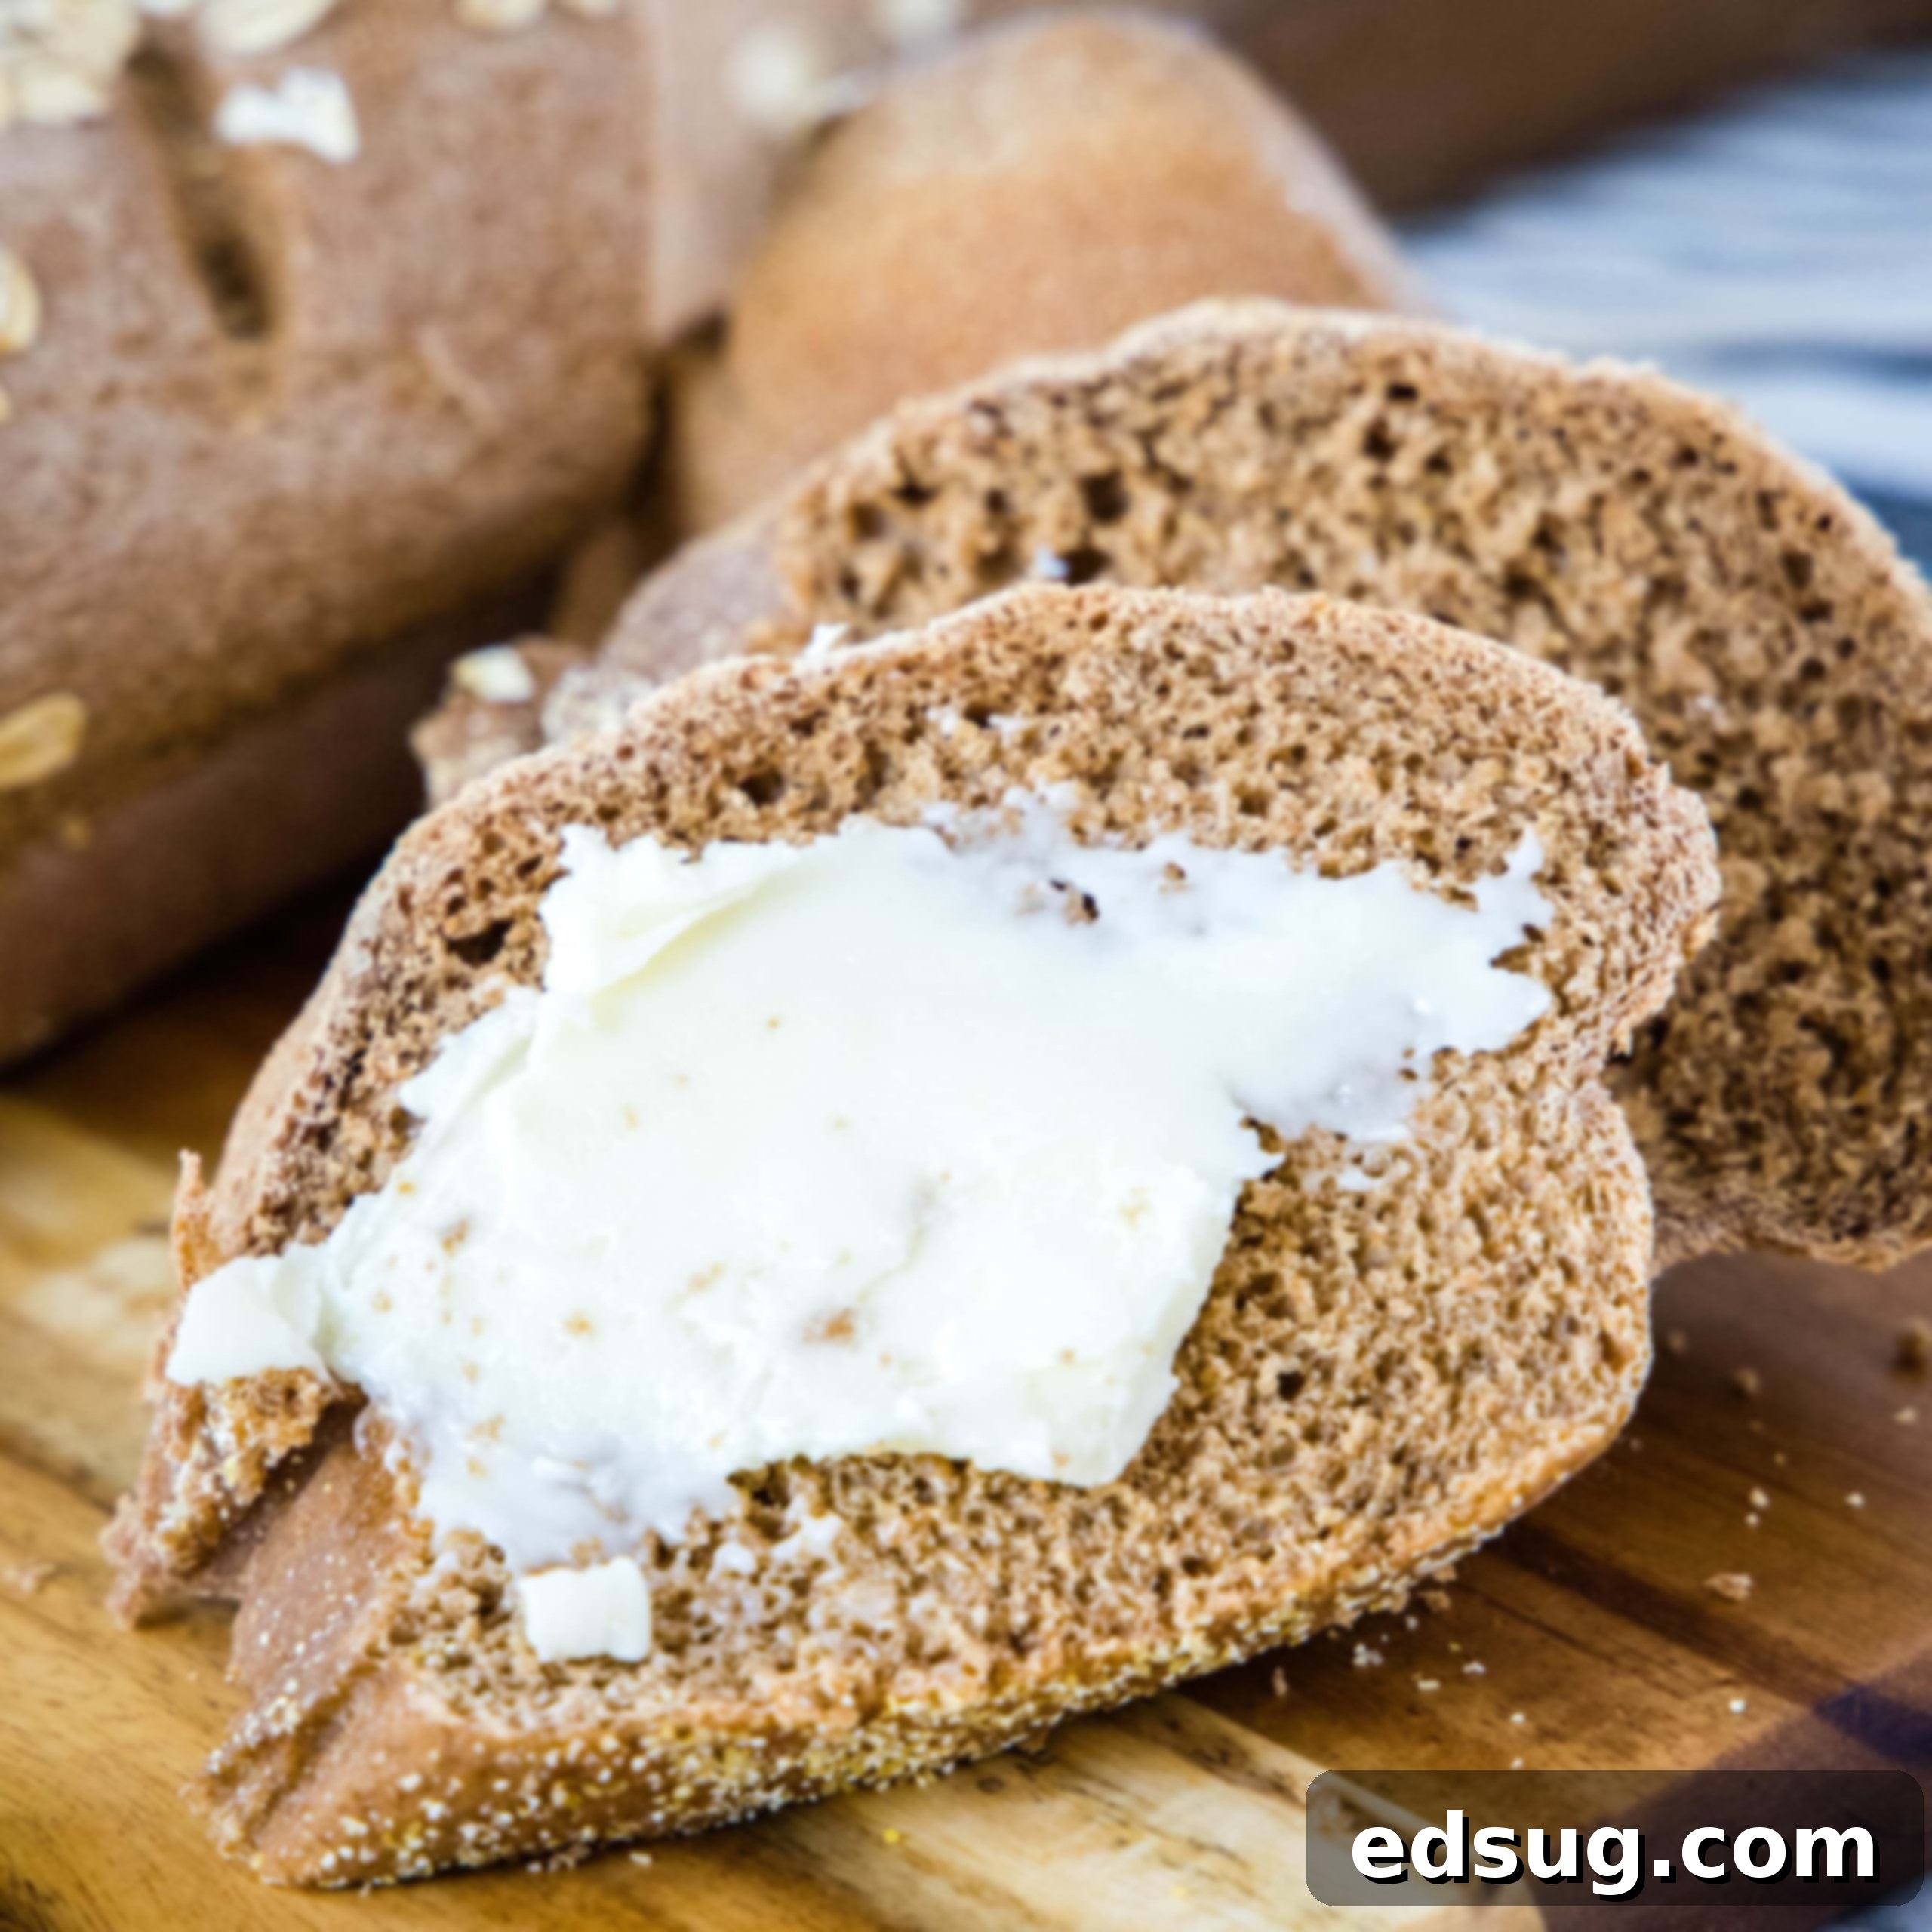
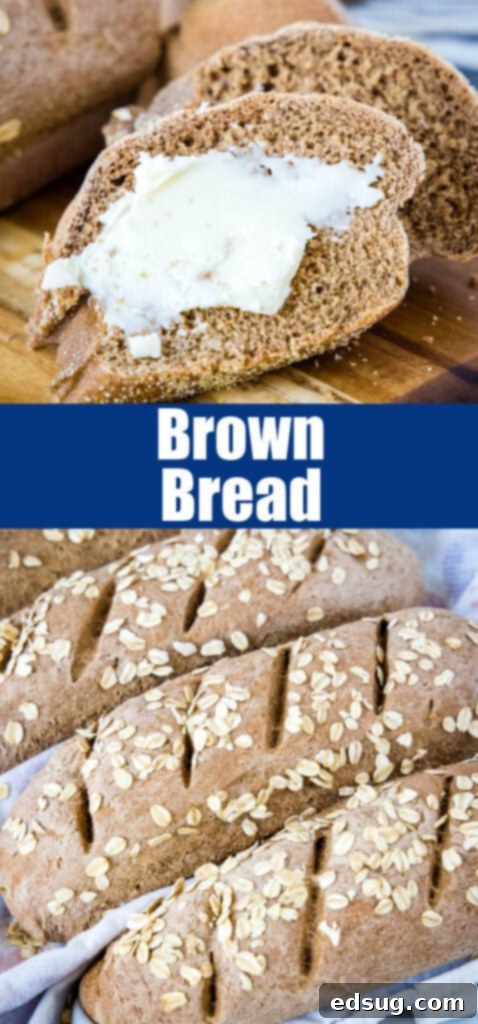
Few restaurant experiences are complete without that unforgettable basket of warm, dark brown bread from The Cheesecake Factory. If you’ve ever savored its unique taste, you know exactly what we’re talking about. It’s not just bread; it’s an experience – a delightful harmony of earthy whole wheat, a touch of sweetness from molasses and honey, and a mysterious depth from cocoa and espresso that makes it utterly addictive. When you spread that creamy butter over a warm slice, it’s nothing short of heavenly. The good news? That heavenly experience is now within your reach, right in your own kitchen!
Imagine serving this beloved bread alongside other Cheesecake Factory-inspired dishes. You can easily craft a full restaurant-quality meal without ever having to leave your house. Pair this incredible bread with a homemade Chicken Madeira, and for dessert, whip up a decadent Cookie Dough Cheesecake. Your family and friends will be amazed that these gourmet delights originated from your kitchen!
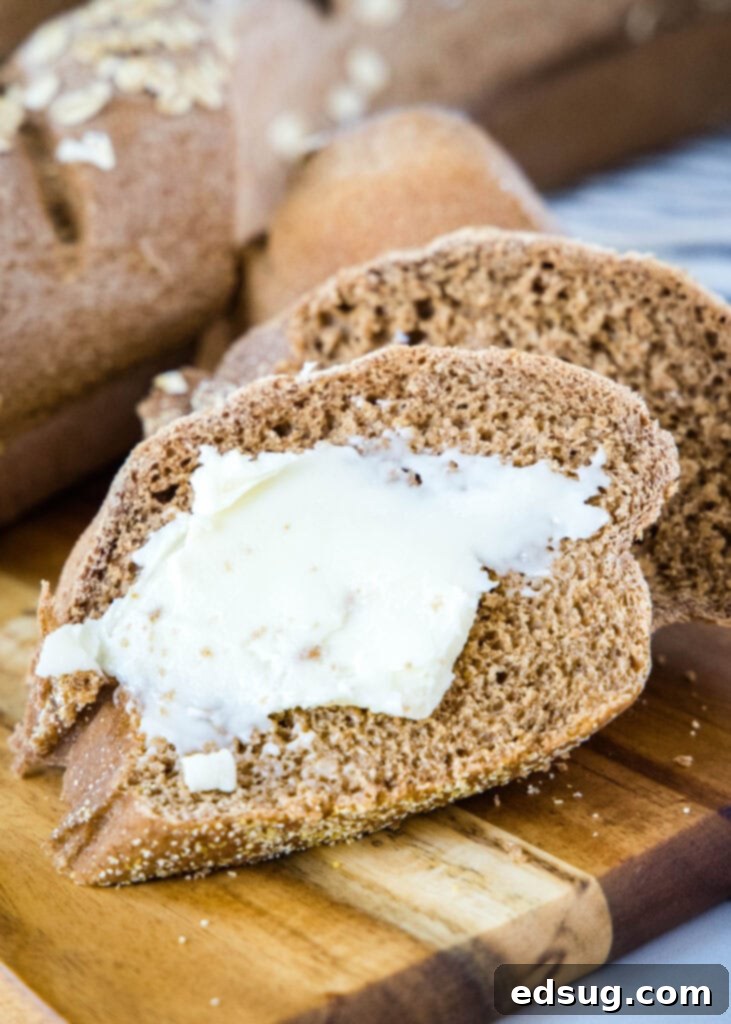
What Makes This Bread So Special? The Secret Behind Its Deep Color and Flavor
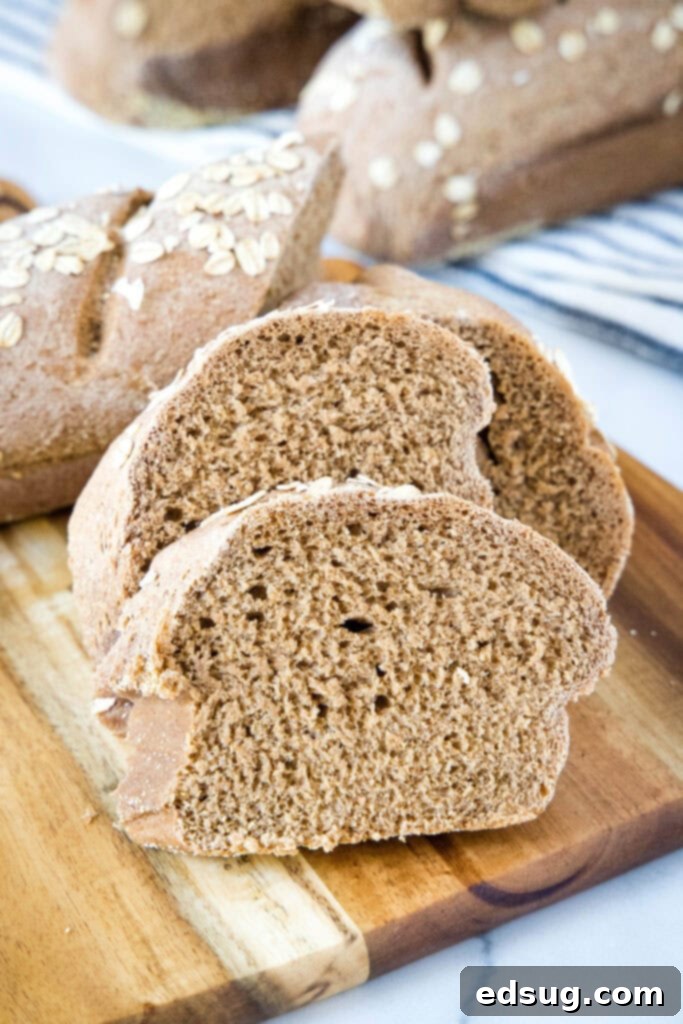
The Cheesecake Factory’s brown bread stands out not just for its deep, inviting color, but for its complex flavor profile. At its heart, it’s a whole wheat bread, which contributes a rustic, wholesome base. However, what truly sets it apart are the unique ingredients responsible for its distinctive hue and incredible taste. A touch of molasses lends a rich, slightly smoky sweetness and deep brown shade, while cocoa powder adds a subtle earthy bitterness and enhances the bread’s dark appearance without making it taste like chocolate. The real secret weapon, often surprising to many, is espresso powder. This ingredient doesn’t make the bread taste like coffee; instead, it deepens the overall flavor, amplifying the notes of the cocoa and molasses, creating a more rounded and sophisticated taste. The result is a bread that is neither overwhelmingly sweet nor strictly savory, but rather a perfect balance of both, with a satisfyingly dense yet tender crumb.
Gather Your Ingredients: Essential Supplies for Homemade Brown Bread
Crafting this restaurant-quality bread at home requires a few key ingredients, most of which you likely already have in your pantry. Using fresh, high-quality ingredients will always yield the best results for your bread. Here’s a detailed look at what you’ll need to create four delicious loaves:
- Warm Water (110-115º F): Crucial for activating your yeast.
- Granulated Sugar: Feeds the yeast and adds a hint of sweetness.
- Active Dry Yeast: The leavening agent that makes your bread rise.
- Bread Flour: Provides the necessary gluten for a chewy, structured crumb.
- Whole Wheat Flour: Contributes to the nutty flavor and signature brown color.
- Unsweetened Cocoa Powder: For depth of color and subtle earthy notes.
- Espresso Powder: Enhances the rich flavors without a prominent coffee taste.
- Salt: Balances flavors and strengthens the gluten structure.
- Butter (melted and slightly cooled): Adds richness and tenderness to the dough.
- Honey: Offers natural sweetness and moisture.
- Molasses: Key for the bread’s deep color and distinctive sweet-savory flavor.
- Cornmeal: For dusting your baking sheet, preventing sticking and adding a rustic touch.
- Old-Fashioned Oats: For sprinkling on top, adding texture and visual appeal.
Baking Your Own Cheesecake Factory Brown Bread: A Step-by-Step Guide
Making this impressive bread might seem intimidating, but with this clear, step-by-step guide, you’ll be baking like a pro in no time. The process involves standard bread-making techniques, focusing on proper mixing, kneading, and rising, which are all crucial for that perfect texture and flavor. Take your time with each step, and you’ll be rewarded with warm, fragrant loaves straight from your oven.
- **Activate the Yeast:** In a large mixing bowl, combine the warm water (ensure it’s between 110-115º F), granulated sugar, and active dry yeast. Give it a gentle stir and let it rest undisturbed for 10 minutes. You’ll know your yeast is active and ready when the mixture becomes foamy and bubbly, indicating the yeast is alive and well.
- **Prepare Dry Ingredients:** In a separate large bowl, whisk together the bread flour, whole wheat flour, unsweetened cocoa powder, espresso powder, and salt. This ensures all dry ingredients are evenly distributed.
- **Combine Wet and Dry:** Pour the bloomed yeast mixture, melted and slightly cooled butter, honey, and molasses into the bowl with the dry ingredients. Mix everything together, either with a sturdy spoon or the paddle attachment of a stand mixer, until a rough, tacky dough forms.
- **Knead the Dough:** Turn the dough out onto a lightly floured surface or switch to the dough hook attachment on your stand mixer. Knead the dough for 8-10 minutes. The kneading process is vital for developing the gluten, which gives the bread its structure and chewiness. If the dough is too sticky during manual kneading, add a very small amount of additional flour, one teaspoon at a time, until it’s more manageable but still soft.
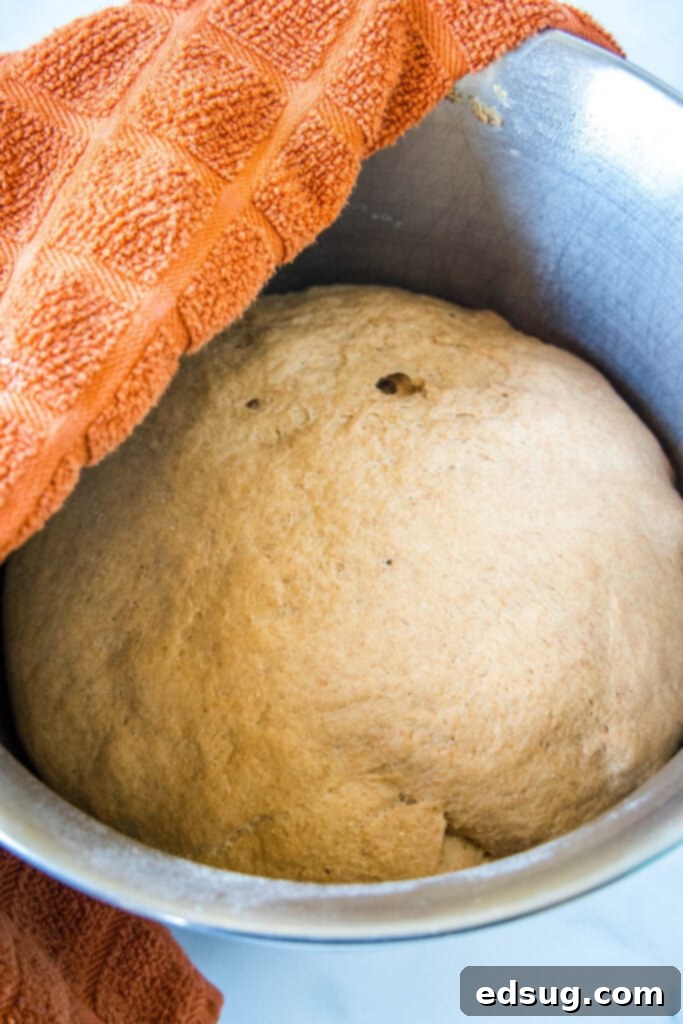
- **First Rise:** Once the dough is soft, smooth, and elastic, lightly oil a large bowl. Place the dough in the oiled bowl, turning it once to coat all sides. Cover the bowl with plastic wrap or a clean kitchen towel and let it rise in a warm, draft-free place for 60-90 minutes, or until it has visibly doubled in size.
- **Divide and Shape:** Gently punch down the risen dough to release the air. Turn it out onto a clean surface and divide it into 4 equal portions.
- **Form Logs:** Roll each portion of dough into an approximate 8-inch long log shape.
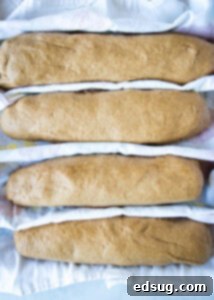
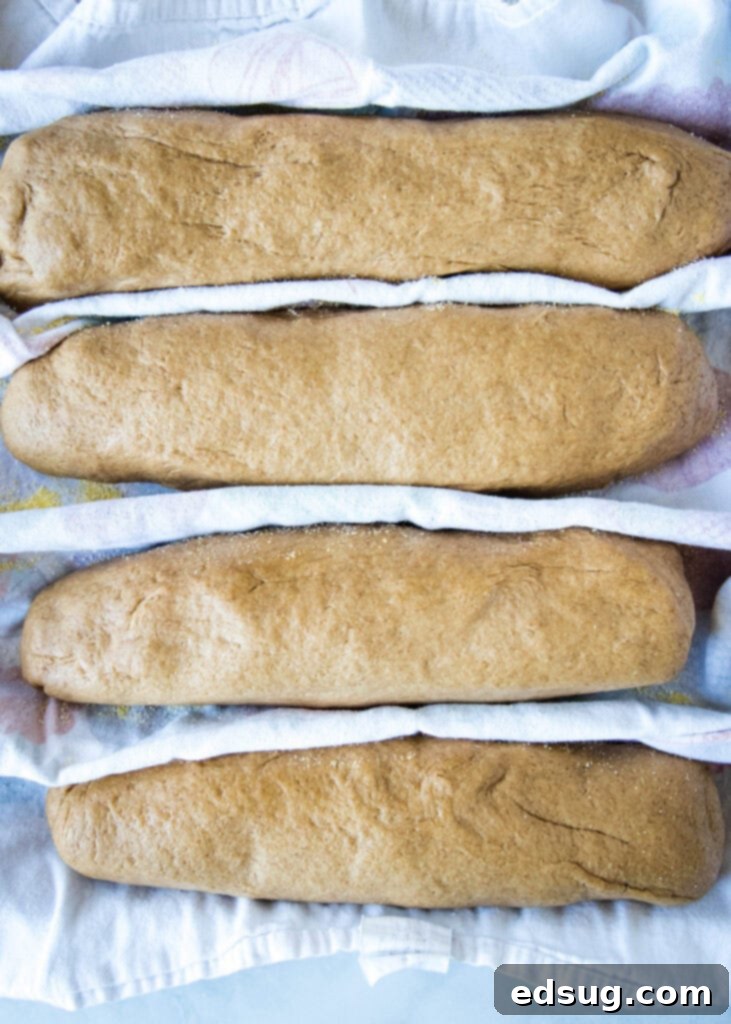
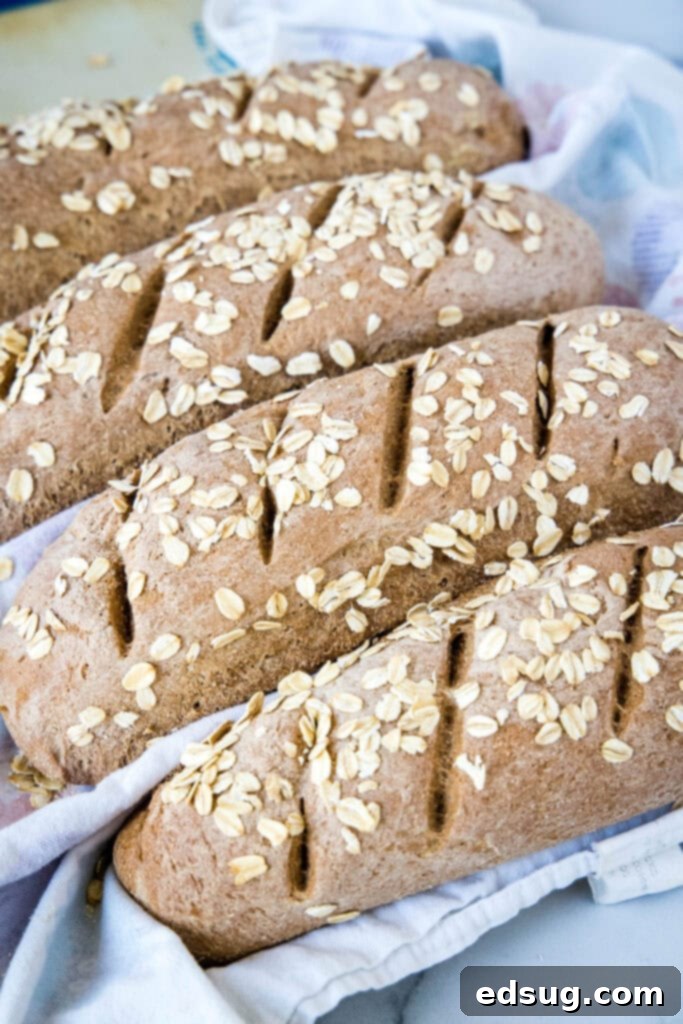
- **Prepare for Second Rise:** Line a large baking sheet with a clean kitchen towel. Dust the towel generously with cornmeal. Place one dough log along the edge of the baking tray, touching the lip. Then, pull up a section of the towel to create a soft, supportive “wall” next to the dough, providing support. Repeat this with the remaining dough logs, creating separate compartments for each. If you happen to have a baguette pan, you can place the dough directly into the pan’s indentations.
- **Second Rise & Topping:** Lightly spray the tops of the shaped dough loaves with a non-stick cooking spray and generously sprinkle with old-fashioned oats. Cover the baking sheet loosely with plastic wrap or another clean towel and let the loaves rest for another 30-40 minutes, or until they have nearly doubled in size again.
- **Preheat Oven & Bake:** While the bread is on its second rise, preheat your oven to 375º F (190º C).
- **Score and Bake:** Just before baking, use a very sharp knife or a baker’s lame to make a few shallow diagonal scores across the top of each loaf. This helps the bread expand evenly in the oven. Bake for 35-40 minutes. To confirm doneness, the internal temperature should reach 195º F (90º C), or the bottom of the loaf should sound hollow when tapped.
- **Cool and Serve:** Remove the baked loaves from the oven and transfer them to a wire rack to cool completely before slicing and serving. This cooling step is important for the internal structure to set properly.
No Baguette Pan? No Problem! Creative Shaping Solutions
Many home bakers might wonder if a specialized baguette pan is essential for achieving those perfectly shaped loaves. The answer is a resounding no! While a baguette pan can be a convenient tool, especially if you bake baguettes frequently, it’s absolutely not a requirement for this recipe. In fact, you can achieve wonderfully shaped loaves using a simple kitchen towel and a standard baking sheet. If you’re keen on getting a baguette pan, they are relatively inexpensive and widely available on platforms like Amazon, but don’t let its absence stop you from making this delicious bread.
My preferred method, which I use regularly, involves lining a large baking sheet with a clean tea towel. After dusting the towel with cornmeal (which helps prevent sticking and adds a nice texture to the crust), I place one shaped dough log along the edge of the baking sheet, right against the lip. Then, I gently pull up a section of the towel to create a soft, supportive “wall” next to the loaf. This creates a cozy, confined space that encourages the bread to rise upwards and maintain its log shape rather than spreading out too much. I repeat this process for each subsequent loaf, using the towel to create divisions. You might need more than one towel for four loaves, depending on their size. This clever trick provides just enough support during the crucial second rise and early baking stages, ensuring your loaves come out beautifully shaped and rise properly, even without a dedicated pan. The most important thing is that the bread tastes fantastic, regardless of a perfectly uniform shape!
Bread Flour vs. All-Purpose Flour: Understanding the Difference
This recipe specifically calls for bread flour, and there’s a good reason for that. Bread flour has a higher protein content compared to all-purpose flour, typically around 12-14% versus 10-12%. This higher protein level is crucial because when kneaded, these proteins form more gluten. Gluten is the elastic network that gives bread its characteristic chewy texture, strength, and an open, airy crumb structure. It allows the dough to stretch and hold the gases produced by the yeast, resulting in a well-risen loaf.
That being said, if all-purpose flour is what you have on hand, don’t let that deter you from trying this recipe! All-purpose flour will certainly work as a substitute, but be aware that the final bread might have a slightly different texture. It may be a bit softer and less chewy than if made with bread flour, and the crumb might be a little denser. However, it will still produce a delicious homemade loaf. In my family, we live by the motto: “Any fresh bread is better than no fresh bread!” So, feel free to experiment with what you have, and you’ll still enjoy a wonderful homemade version of this Cheesecake Factory classic.
Storing Your Homemade Brown Bread to Keep it Fresh
Proper storage is key to enjoying your freshly baked brown bread for as long as possible. Once the bread has cooled completely to room temperature, you’ll want to store it in an airtight environment to prevent it from going stale too quickly. Staling occurs when moisture leaves the bread and starch molecules recrystallize, making the bread hard and dry. Stored correctly, your homemade brown bread will remain wonderfully fresh for about 4-5 days.
There are several excellent options for airtight storage. Dedicated bread bags, often reusable, are a fantastic investment if you bake frequently. They are designed to keep bread fresh by allowing some air circulation while preventing excessive moisture loss. If you don’t have specialized bread bags, heavy-duty aluminum foil, plastic wrap, or even large zip-top freezer bags can work effectively. For cut loaves, consider placing the cut side down on a clean surface or wrapping it tightly before placing it in a container. Always ensure the container or wrapping is sealed tightly to lock in that precious moisture and flavor.
Can You Freeze Brown Bread? Absolutely!
Yes, absolutely! Freezing is an excellent way to extend the life of your homemade brown bread and enjoy it weeks or even months later. Bread freezes exceptionally well, making it a great option for meal prep or simply having a fresh loaf on demand. To freeze your brown bread, ensure it has cooled completely to room temperature. Warm bread will create condensation inside the wrapping, leading to ice crystals and freezer burn.
For best results, wrap each loaf tightly in plastic wrap, then an additional layer of aluminum foil, or place it in a freezer-safe storage bag. Double-wrapping helps protect against freezer burn and preserves its texture and flavor. Whole loaves can be frozen for 3-4 months. When you’re ready to enjoy it, simply remove the loaf from the freezer and let it thaw completely on your kitchen counter. If you prefer your bread warm, which is highly recommended for that fresh-from-the-oven experience, you can place the thawed loaf (unwrapped) in a preheated oven at 350º F (175º C) for 10-15 minutes until it’s warmed through and slightly crisp on the outside.
Mastering Yeast Baking: Essential Tips for Success
Baking with yeast can seem a bit daunting at first, but with a few key tips, you’ll gain confidence and achieve consistently fantastic results. Yeast is a living organism, and understanding its needs is fundamental to successful bread making. Here are my top tips for working with yeast:
- Pay attention to the temperature of your liquid. This is perhaps the most critical factor when working with yeast. You need the water (or milk, depending on the recipe) to be *warm*, but not hot. A temperature range of 105-115º F (40-46º C) is generally ideal for activating active dry yeast. If the water is too hot (above 130º F / 54º C), it will kill the yeast, and your bread simply won’t rise. If the water is too cold (below 100º F / 38º C), the yeast will be sluggish or won’t activate properly, leading to a very slow or non-existent rise. Always use a kitchen thermometer to accurately measure the temperature. This small step makes a huge difference!
- Use good, fresh yeast. Yeast is a living organism, and like any ingredient, its freshness matters. Always check the expiration date on your yeast packet or jar. Expired yeast is often inactive and won’t make your bread rise. For optimal freshness, store active dry yeast in an airtight container in the refrigerator or freezer. This extends its shelf life significantly. Before starting a recipe, you can also “proof” your yeast: dissolve a teaspoon of sugar in 1/4 cup of warm water (105-115°F), then sprinkle a packet of yeast over it. If it becomes foamy and bubbly within 5-10 minutes, your yeast is active and ready to use. If not, it’s time to get a new batch.
- Knead your dough thoroughly. Kneading is essential for developing the gluten structure in your bread. Whether you’re using an electric stand mixer with a dough hook or kneading by hand, ensure you follow the recipe’s recommended kneading time. Don’t rush this step! For this brown bread, 8-10 minutes of consistent kneading is usually required. When I first started baking bread, I often estimated kneading time and experienced many failures. Properly kneaded dough will be smooth, elastic, and pass the “windowpane test” (where you can stretch a small piece of dough thin enough to see light through it without tearing). This gluten development is what gives bread its chewiness and ability to rise.
- Provide an optimal environment for your bread to rise. Yeast thrives in a slightly warm, moist, and draft-free environment. If your kitchen is cool, finding a warm spot is crucial. You can place your dough in an oven that’s been turned off but has the light on (the warmth from the bulb is usually enough). Some modern ovens have a “bread proof” setting, which is perfect for this. Alternatively, a microwave with a cup of hot water placed inside (not turned on!) can create a warm, humid environment. Covering the bowl with plastic wrap or a damp towel helps retain moisture. Always let your dough rise until it has genuinely doubled in size, as indicated in the recipe. This visual cue tells you that the yeast has done its work.
Explore More Delicious Homemade Bread Recipes
If you’ve enjoyed baking this Copycat Cheesecake Factory Brown Bread, you’re likely developing a love for homemade bread! The aroma of freshly baked bread filling your home is truly one of life’s simple pleasures. Expand your baking repertoire with these other fantastic bread recipes, perfect for any occasion:
- French Bread Rolls: Soft, fluffy, and perfect for dinner.
- Texas Roadhouse Rolls: Sweet, buttery, and incredibly addictive, just like the restaurant’s.
- Olive Garden Breadsticks: Recreate these iconic garlic breadsticks at home.
- Parmesan Garlic Knots: Chewy, garlicky, and topped with savory Parmesan.
- Potato Bread: Incredibly soft and moist thanks to the addition of potato.
- Honey Oat Bread: Wholesome and slightly sweet, with a comforting texture.
- Classic Oatmeal Bread: A hearty and satisfying loaf, great for sandwiches or toast.
- English Muffins: Perfect for breakfast with those signature nooks and crannies.
Cheesecake Factory Brown Bread
Pin Recipe
Rate Recipe
Print Recipe
Ingredients
- 2 1/2 cups warm water, 110-115º F
- 2 Tablespoons granulated sugar
- 2 1/4 teaspoons active dry yeast, 1 packet
- 3 1/2 cups bread flour
- 3 cups whole wheat flour
- 2 Tablespoons unsweetened cocoa pwoder
- 2 teaspoons espresso powder
- 1 teaspoon salt
- 4 Tablespoons butter, melted and cooled slightly
- 1/4 cup honey
- 1/4 cup molasses
- 1/4 cup cornmeal, for dusting
- 1/4 cup old fashioned oats, for topping
Instructions
-
Mix together warm water, sugar, and yeast and let it rest for 10 minutes. It will bloom and foam up.
-
Whisk together bread flour, whole wheat flour, cocoa powder, espresso powder and salt.
-
Pour in yeast mixture, butter, honey, and molasses and mix until it forms a rough and tacky dough.
-
Turn onto a well floured surface or use the dough hook on your stand mixer to knead the dough for 8-10 minutes. Add additional flour if the dough is too sticky.
-
Once the dough is soft and smooth, place in a well oiled bowl, cover and let rise for 60-90 minutes, until it doubles in size.
-
Punch down the dough, and divide into 4 equal portions.
-
Roll each portion of dough into about a 8 inch log.

-
Place a towel on a large baking sheet, dust with cornmeal. Put one log of dough on the edge, touching the lip of the baking tray. Pull up the towel to make a little wall next to the dough, repeat with the rest of the dough. If you have a baguette pan, place the dough in your baguette pan.

-
Lightly spray the tops of the dough with non-stick spray and sprinkle oats over the top. Cover and let rest for 30-40 minutes until it almost doubles.

-
Preheat oven to 375º F.
-
Score the tops of the loaves with a sharp knife and bake for 35-40 minutes. You want an internal temperature of 195º F to know that it is fully cooked. It will also sound hollow when you knock on it.

-
Remove from the oven and let cool before slicing to serve.
Nutrition
Nutrition information is automatically calculated, so should only be used as an approximation.
Additional Info
Love this recipe? Share your thoughts below!
Join our vibrant community on Facebook! It’s the perfect place to share your favorite recipes, ask questions, and stay updated with all the new delicious creations from Dinners, Dishes and Desserts. Don’t miss out!
Be sure to follow me on Instagram and tag your beautiful creations with #dinnersdishes. I love seeing all the wonderful DINNERS, DISHES, AND DESSERTS recipes YOU make!
Stay connected and never miss a delicious update! Follow me on my social media channels:
Facebook | Twitter | Pinterest | Instagram
