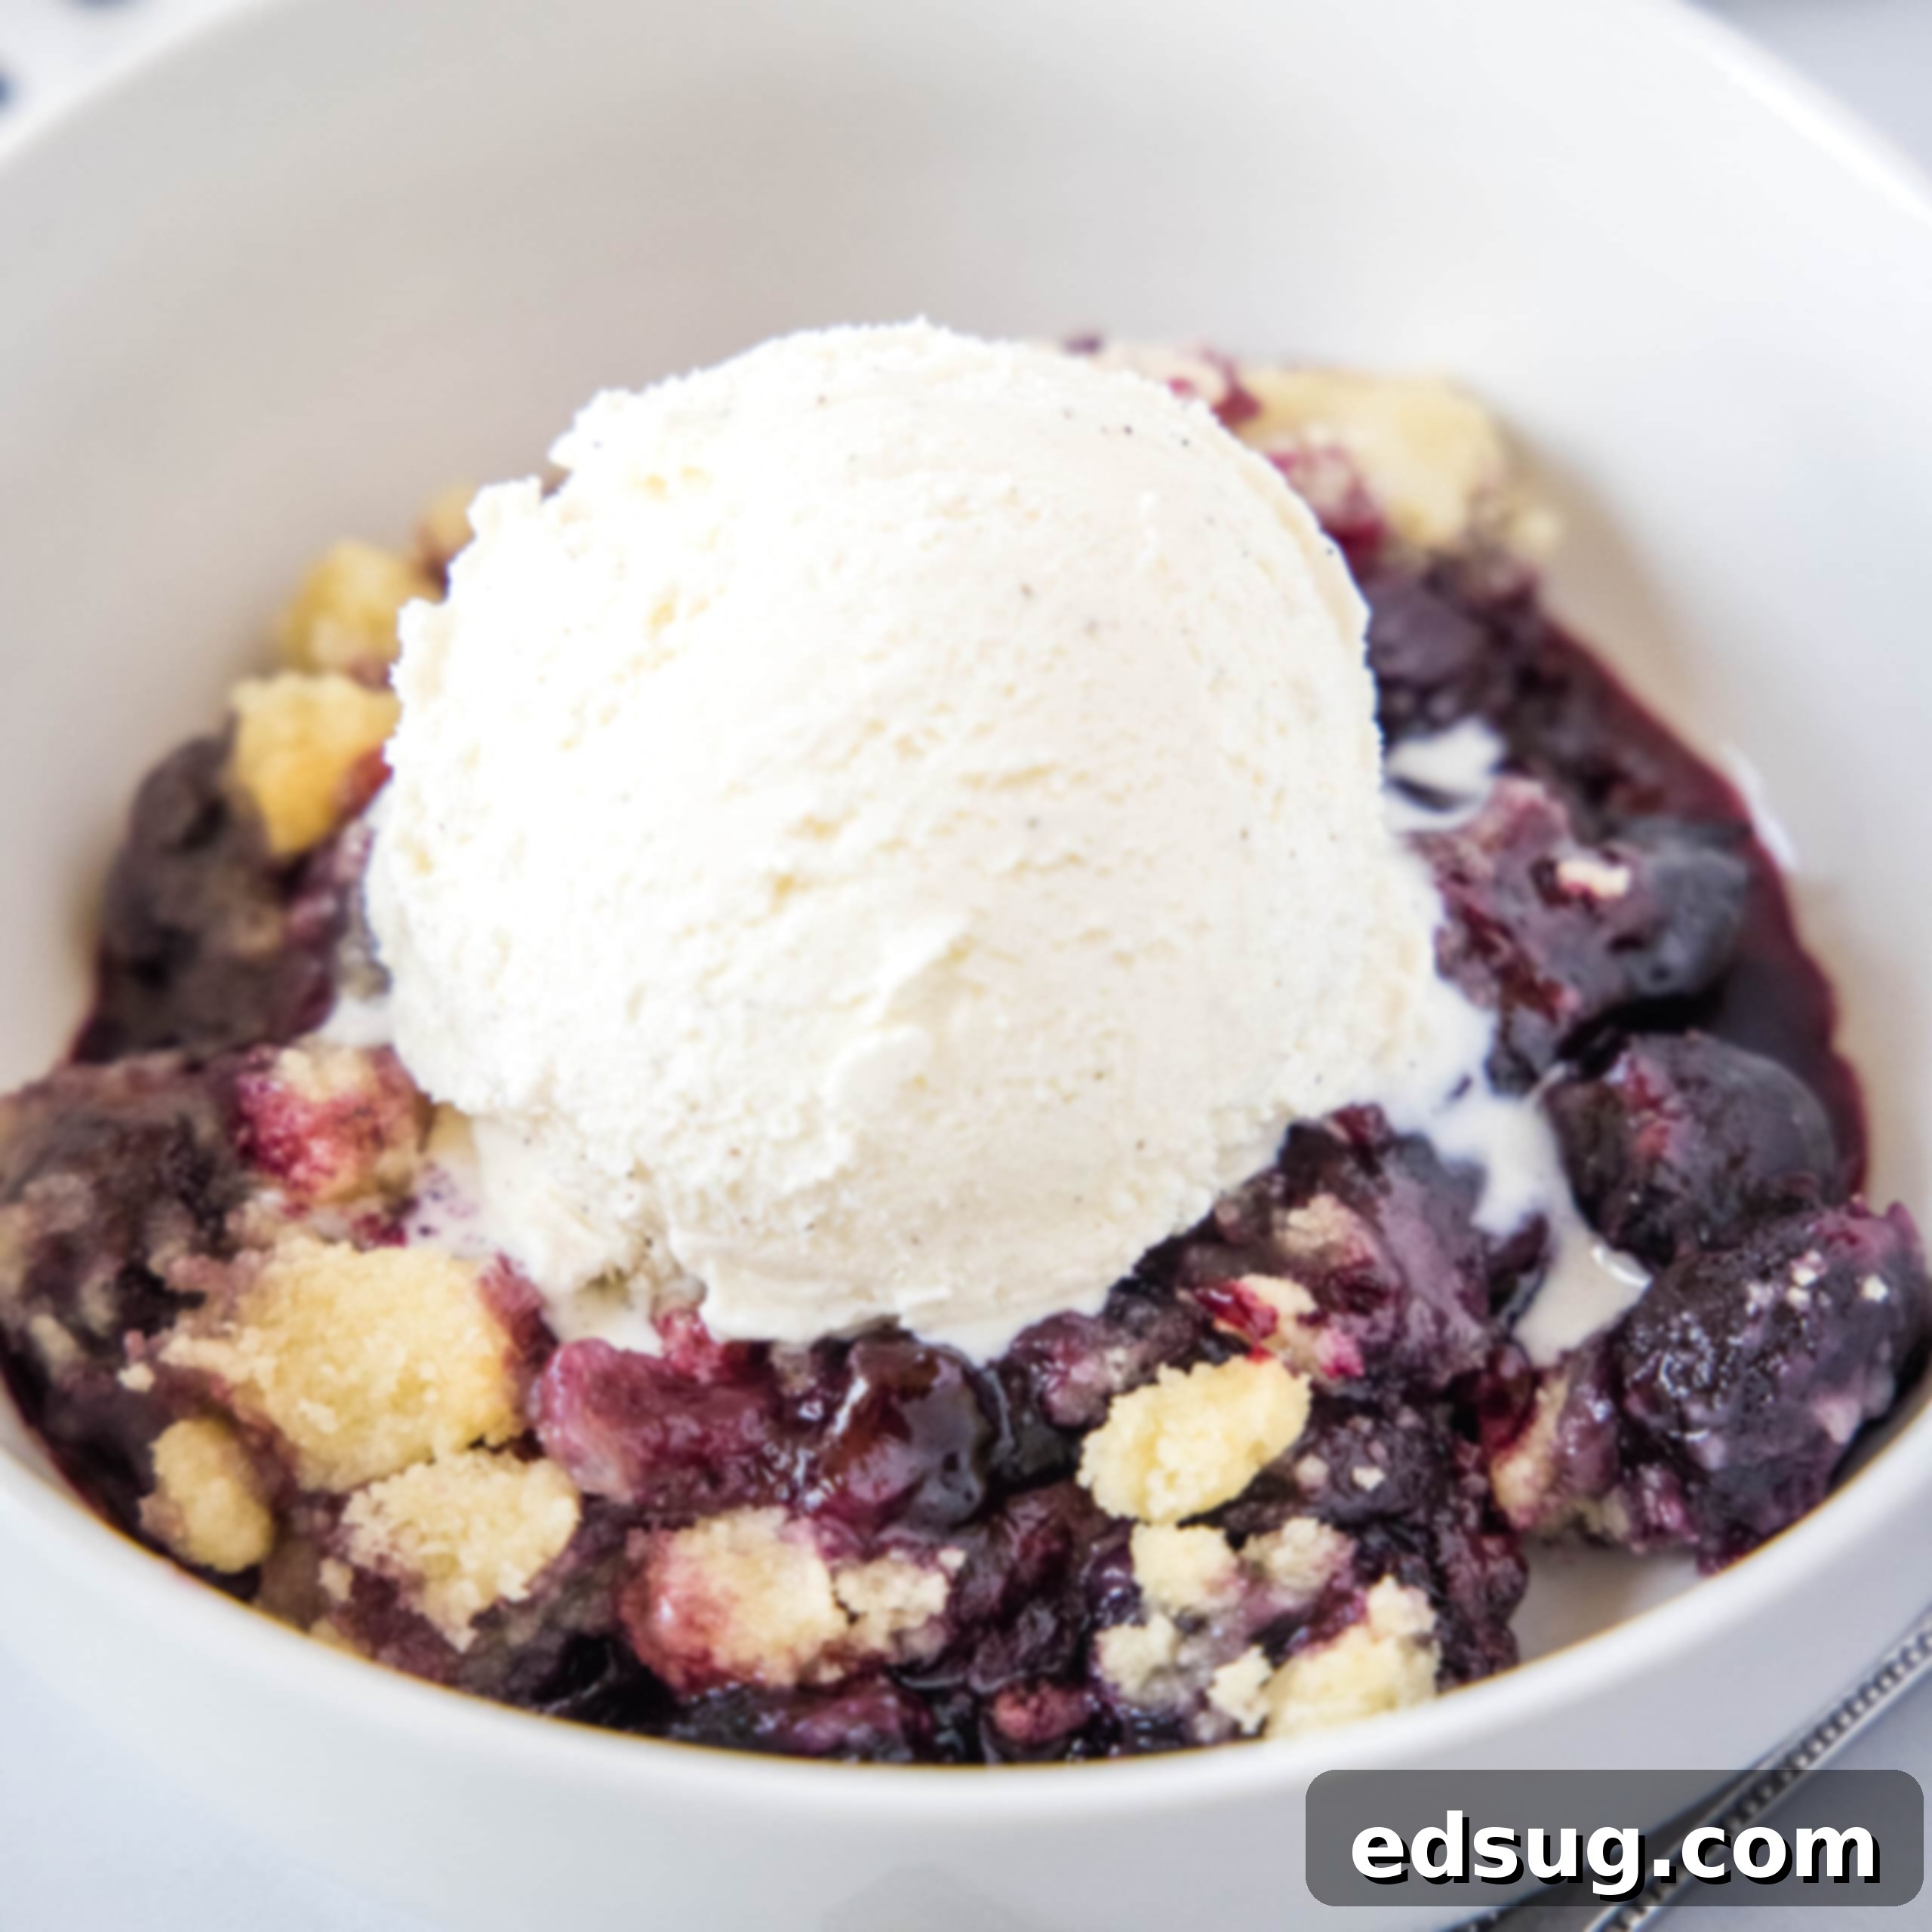
Easy Cherry Cobbler Recipe: A Simple & Delicious Homemade Dessert with Fresh or Frozen Cherries
There’s nothing quite like a warm, comforting fruit dessert, especially when it features the vibrant flavors of summer or a sweet reminder of sunshine in the colder months. Cherry cobbler perfectly embodies this sentiment – a timeless classic that brings joy with every spoonful. This recipe focuses on simplicity and deliciousness, creating a dessert that highlights the natural sweetness of cherries complemented by a delightful crumb topping. Whether you have a bounty of fresh summer cherries or a stash of frozen ones, this cobbler recipe is your go-to for an effortlessly elegant and deeply satisfying treat.
Fresh fruit is often the star of the most memorable desserts. For instance, Strawberry Crumb Bars are a beloved staple in many homes during the summer, offering a fantastic way to enjoy seasonal berries. Similarly, a Lemon Blueberry Cake is a bright and refreshing option to utilize fresh blueberries. But when it comes to combining ease, rustic charm, and incredible flavor, cherry cobbler stands out. It’s an old-fashioned favorite for a reason, adaptable to any season, making it a truly versatile addition to your dessert repertoire.
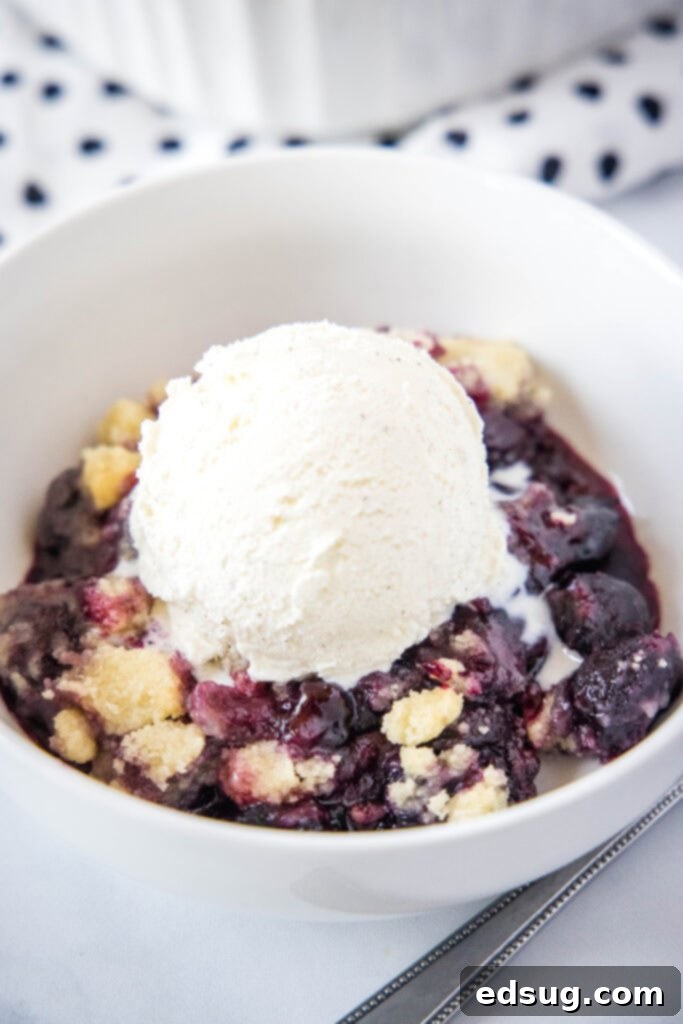
What Exactly Is a Cobbler? Understanding This Classic Dessert
The world of fruit desserts can be a delightful maze, with cobblers, crisps, crumbles, and buckles all vying for attention. So, what sets a cobbler apart? At its heart, a cobbler is a traditional fruit-based dessert topped with a batter, biscuit, or dumpling-like dough that’s baked until golden and bubbly. The name “cobbler” is often thought to come from its “cobbled” appearance, with the topping resembling cobblestones.
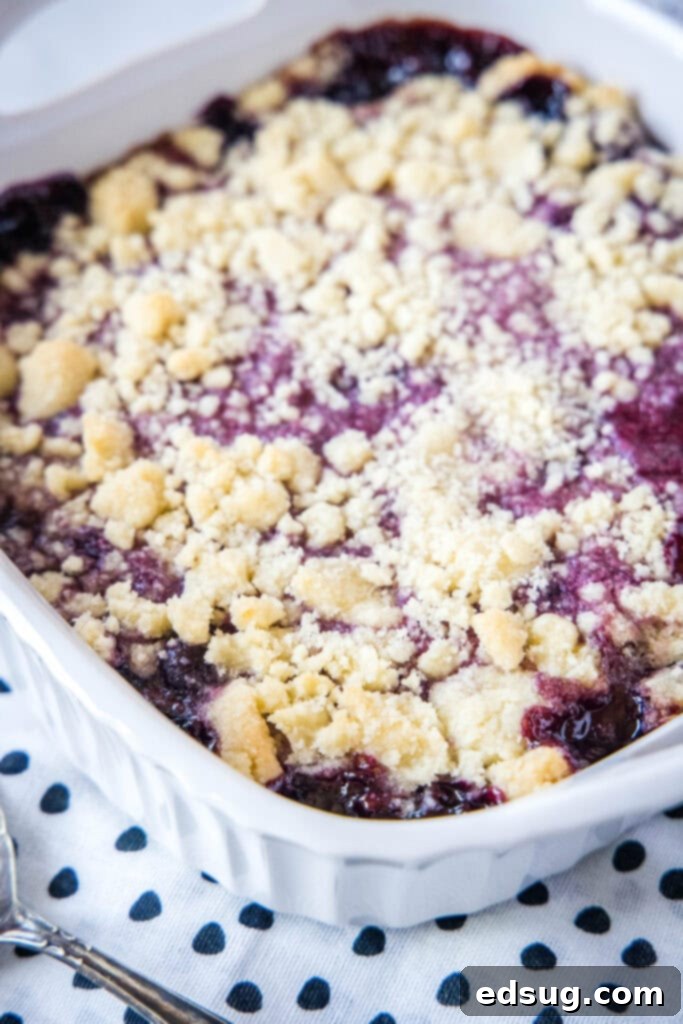
Unlike a fruit pie, a cobbler typically doesn’t have a bottom crust, making it a quicker and often lighter alternative. The defining characteristic of a traditional cobbler lies in its topping. While crisps feature a streusel-like topping with oats, and crumbles are similar but without oats, a true cobbler uses a dough-based topping. This can range from a drop biscuit style, which bakes up fluffy and tender, to a cake-like batter, or in this recipe’s case, a unique crumbly topping that melts into the fruit for an incredible texture.
Historically, cobblers have been a staple in American cuisine, especially in the South, where they provided a delicious way to utilize seasonal fruits like peaches, berries, and apples. Their rustic charm and straightforward preparation have ensured their enduring popularity. This particular cherry cobbler recipe offers a slightly different take on the topping, leaning into a sweet crumb texture that is both easy to prepare and incredibly satisfying, blurring the lines in the best possible way between a traditional cobbler and a crumble, but still offering that comforting, fruit-forward experience.
Why Cherry Cobbler Reigns Supreme: A Flavorful Choice
Cherries are a spectacular choice for a cobbler for several reasons. Their naturally sweet-tart flavor profile creates a wonderfully balanced dessert that isn’t overly cloying. When baked, cherries soften and release their vibrant juices, which then combine with sugar and a hint of flour to form a luscious, thick sauce. The deep red hue of the cooked cherries also adds a beautiful visual appeal to the dish.
Beyond their delightful taste, cherries boast numerous health benefits, being rich in antioxidants, vitamins, and minerals. While dessert is often an indulgence, enjoying a fruit-filled cobbler means you’re getting a dose of wholesome goodness alongside your sweet treat.
Fresh vs. Frozen Cherries: Your Year-Round Delight
One of the best aspects of this cherry cobbler recipe is its adaptability. You can absolutely use fresh cherries during their peak season, typically late spring to mid-summer, for an unparalleled taste and texture. Look for plump, firm, and shiny sweet cherries like Bing, Rainier, or Dark Sweet varieties. If you’re using fresh cherries, remember to pit them – a cherry pitter makes this task quick and easy, but a chopstick or even a sturdy straw can work in a pinch. You’ll need about 6 cups of pitted cherries for this recipe.
But what if it’s the middle of winter and you’re craving that comforting cherry flavor? No problem! Frozen cherries work wonderfully here. There’s no need to thaw them completely before mixing, but if they’ve released a lot of ice crystals or liquid, you might want to slightly drain them to prevent the cobbler from becoming too watery. Using frozen cherries means you can enjoy this delectable dessert any time the craving strikes, making it a truly versatile recipe for all seasons.
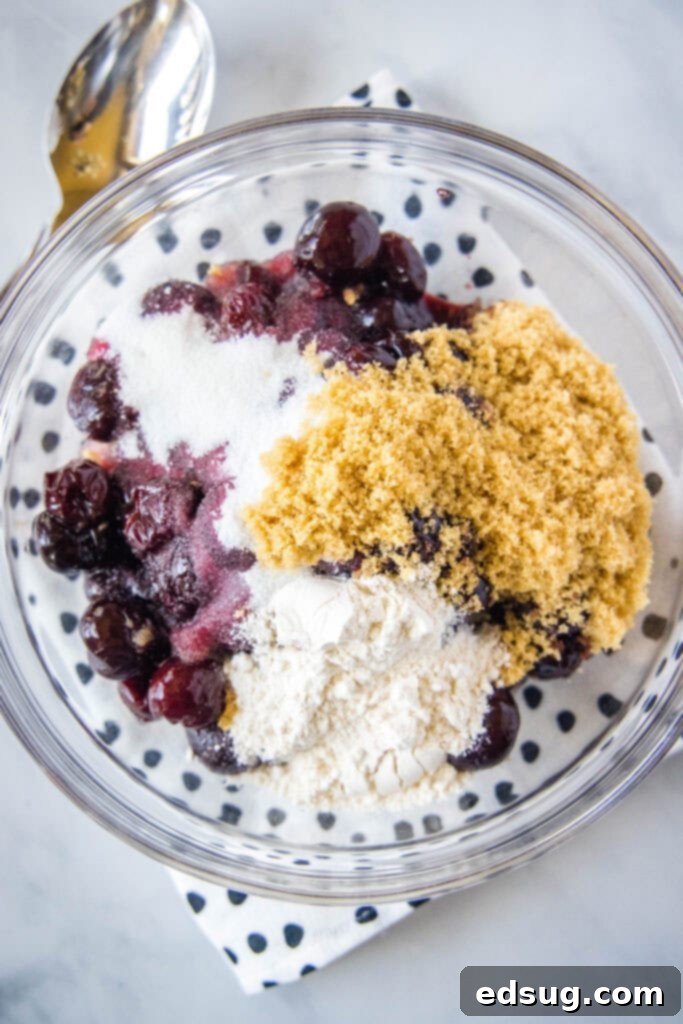
Gathering Your Ingredients: Simplicity Meets Flavor
This cobbler recipe uses a straightforward list of ingredients, most of which you likely already have in your pantry. The magic lies in how these simple components come together to create something truly extraordinary. Here’s a closer look at what you’ll need and why each ingredient plays a crucial role:
- Cherries: As discussed, fresh or frozen sweet cherries are key. About 6 cups (stem and pit removed if fresh) will provide ample fruitiness. Avoid sour cherries unless you plan to significantly increase the sugar content, as this recipe is designed for sweet varieties.
- Sugar & Brown Sugar: A combination of granulated white sugar and light brown sugar creates a nuanced sweetness. The brown sugar adds a subtle caramel note and a touch of moisture that enhances the fruit filling.
- Lemon Juice: A splash of fresh lemon juice is vital. It brightens the flavor of the cherries, preventing the dessert from tasting flat, and helps balance the sweetness.
- Vanilla Extract: A classic dessert enhancer, vanilla extract adds warmth and depth to both the cherry filling and the topping.
- Almond Extract: This is a secret weapon when working with cherries! Almond extract has a magical ability to intensify and complement the natural flavor of cherries, elevating the cobbler to new heights. Don’t skip it!
- Flour (All-Purpose): Used as a thickener for the cherry filling, ensuring it’s beautifully saucy and not watery. It’s also the base for our delicious crumb topping.
- Baking Powder: Provides lift and tenderness to the topping, creating that desired crumbly yet soft texture.
- Salt: A pinch of salt is essential in both the filling and the topping to balance the sweetness and enhance all the other flavors.
- Butter (Melted): The melted butter in the topping is what binds the crumbs together and provides richness, contributing to its golden-brown finish and delightful texture.
With these simple ingredients, you’re well on your way to baking a truly unforgettable cherry cobbler.
How To Make the Perfect Cherry Cobbler: A Step-by-Step Guide
Making this cherry cobbler is surprisingly straightforward, requiring minimal fuss for maximum flavor. Follow these simple steps to create a dessert that will impress:
- **Prepare the Cherry Filling:** In a large bowl, combine your pitted (or frozen) cherries with the granulated sugar, light brown sugar, all-purpose flour, fresh lemon juice, vanilla extract, and almond extract. Toss everything gently until the cherries are thoroughly coated. This mixture will form the delicious, bubbling fruit base of your cobbler. Pour this vibrant cherry mixture evenly into an 8-inch casserole dish or a 10-inch oven-safe skillet.
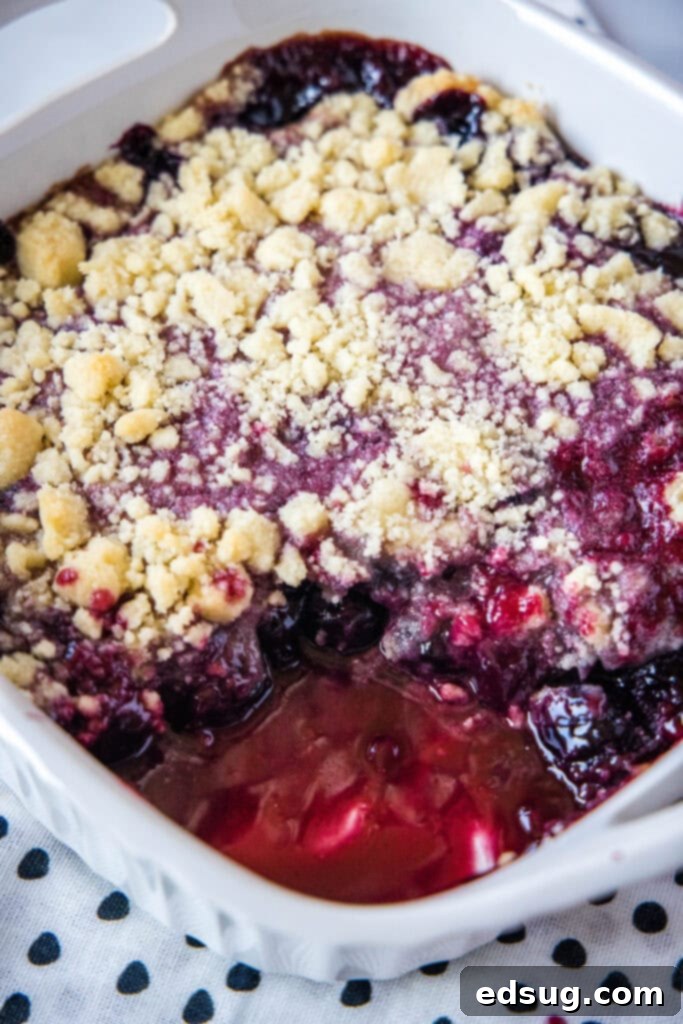
- **Craft the Crumb Topping:** In a separate medium-sized bowl, whisk together the flour, granulated sugar, baking powder, salt, and the remaining almond extract. Pour in the melted butter and mix with a fork or your fingertips until the mixture comes together into coarse, moist crumbs. This topping is designed to be crumbly, not a smooth batter, which gives the cobbler its signature texture.
- **Assemble and Bake:** Evenly sprinkle the crumb topping over the prepared cherry filling in your baking dish. Don’t worry if it doesn’t completely cover the cherries; some of the fruit peeking through is part of the rustic charm. Place the dish into your preheated oven.
- **Bake to Perfection:** Bake for approximately 35-40 minutes at 350º F (175º C), or until the cherry filling is visibly bubbly around the edges and the crumb topping has turned a beautiful golden brown. The bubbling fruit indicates that the filling has thickened and cooked through.
- **Cool Before Serving:** Once baked, remove the cobbler from the oven and let it cool for at least 20 minutes before serving. This crucial step allows the fruit juices to set and thicken, preventing a runny cobbler and ensuring each scoop holds its shape perfectly.
The crumb topping for this fruit cobbler is intentionally designed to be a bit different from a traditional “biscuit” dough consistency. I absolutely love this approach because, as it bakes, some of the buttery crumbs melt slightly into the cherries, creating incredible pockets of tender, sweet, and slightly crunchy texture throughout the entire cobbler. This unique method delivers a depth of texture that’s simply irresistible.
However, if you prefer a more traditional biscuit-style topping, you can easily adapt. Simply stir in 1/2 cup of milk (or buttermilk for extra tang) into the crumb topping mixture after adding the melted butter. This will bring the mixture together into a soft dough. Then, you can either drop spoonfuls of the dough over the cherries or gently roll out the dough and cut it into shapes (like biscuits or strips) to place on top of the fruit. Both methods yield a delicious cobbler, so choose the one that suits your preference!
Frequently Asked Questions About Cherry Cobbler
Absolutely! Cobblers are incredibly versatile, and you can substitute cherries with almost any fruit you like. Some popular and delicious options include:
Peaches: A classic choice, especially when ripe and juicy.
Pears: Great for a less sweet, more subtle flavor, often paired with a hint of ginger or cinnamon.
Apples: Perfect for autumn, creating a comforting, spiced cobbler.
Berries: Strawberries, Blueberries, Raspberries, Blackberries, or any combination make for wonderfully vibrant cobblers. You can even mix cherries with other berries for a complex flavor profile!
For this recipe, you’ll want to use sweet cherries. I highly recommend Dark Sweet Cherries (like Bing or Lambert) because they hold their shape beautifully when baked and offer the perfect amount of natural sweetness. These varieties contribute a rich, deep flavor and a gorgeous color to the cobbler. You should generally avoid very sour cherries (like Montmorency) unless you specifically enjoy a very tart dessert or plan to significantly increase the amount of sugar in the recipe, as the sweetness balance in this particular cobbler is designed for sweeter cherry varieties.
You have a few great options for baking a cobbler! While you’ll often see them beautifully made in a cast iron skillet, which works wonderfully for even heat distribution and a rustic presentation, you can really use any oven-safe pan you have on hand. I typically use an 8-inch square casserole dish, which is perfect for this recipe’s yield. However, a 10-inch or 11-inch skillet (especially cast iron), a round cake pan, or even an oval gratin dish will work great. Just ensure your chosen pan is deep enough to hold the fruit filling and the topping without overflowing during baking.
Yes, you can! To prepare ahead, assemble the cobbler as directed (cherries in the dish, topping spread over), but don’t bake it. Cover the dish tightly with plastic wrap and refrigerate for up to 24 hours. When you’re ready to bake, remove it from the fridge while the oven preheats, and then bake as instructed, possibly adding 5-10 minutes to the baking time if starting from cold.
Absolutely! Cobblers freeze well. You can freeze it unbaked or baked.
Unbaked: Assemble in a freezer-safe dish, cover tightly with foil and plastic wrap, and freeze for up to 3 months. Bake from frozen at 350°F (175°C) for about 60-75 minutes, or until bubbly and golden, covering with foil if the topping browns too quickly.
Baked: Allow the baked cobbler to cool completely. Cover tightly with foil and plastic wrap and freeze for up to 3 months. Thaw overnight in the refrigerator, then reheat in the oven at 350°F (175°C) until warm through.
How To Serve Your Delicious Cherry Cobbler
The waiting period after baking can be tough, but remember, the recipe advises letting the cobbler cool for at least 20 minutes before serving. This isn’t just to prevent burnt tongues; it’s a crucial step that allows the cherry juices to thicken and set, ensuring your cobbler isn’t overly runny. This brief cooling period helps solidify the fruit filling into that perfectly saucy consistency we all love.
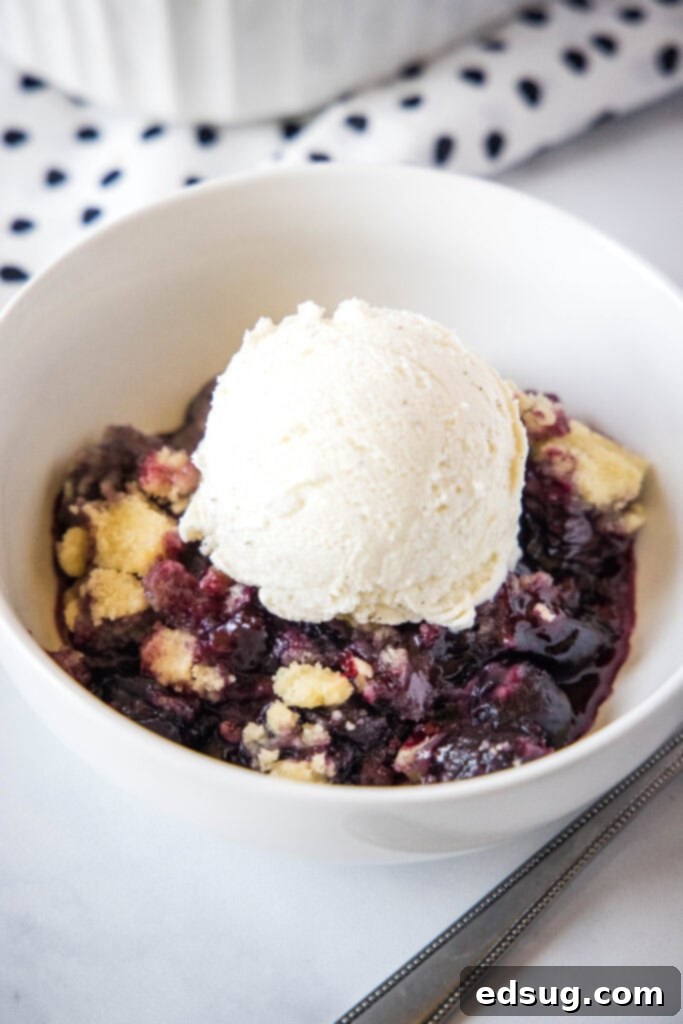
While delicious at room temperature, cherry cobbler is truly at its best served warm. After those essential 20 minutes of cooling, scoop generous portions into bowls. The ideal accompaniment? A big scoop of creamy vanilla ice cream, which slowly melts into the warm fruit, creating a heavenly combination of temperatures and textures. Alternatively, a dollop of freshly whipped cream or a spoonful of tangy crème fraîche can also provide a wonderful contrast to the sweet, warm cherries. It’s the perfect dessert for family dinners, potlucks, or a cozy evening treat.
Storage and Reheating Tips for Leftover Cobbler
If by some miracle you have any leftovers of this delectable cherry cobbler, they store beautifully. Simply cover the baking dish tightly with plastic wrap or transfer individual servings to airtight containers and store them in the refrigerator for up to 5 days. The flavors often deepen overnight, making it just as enjoyable the next day.
For the best experience when enjoying leftovers, I highly recommend serving it warm. For individual portions, a quick reheat in the microwave for 20-30 seconds is usually sufficient to bring it back to that comforting warmth. Then, just like when freshly baked, top with a fresh scoop of ice cream or a dollop of whipped cream for a delightful treat. If you’re reheating a larger portion or the entire pan, you can return it to a preheated oven at 350º F (175º C) for about 15-20 minutes, or until the cherries are warm and bubbly again. This method helps the topping regain some of its crispness.
More Irresistible Dessert Recipes to Explore
If you loved this cherry cobbler, you’ll surely enjoy these other delightful dessert creations:
- Fresh Strawberry Pie
- Strawberry Poke Cake
- Blueberry Banana Bread
- Pineapple Coconut Cupcakes
- Strawberry Cheesecake Lasagna
- Lemon Blueberry Cake
- Raspberry Lemon Cupcakes
- Chocolate Strawberry Shortcake
Cherry Cobbler
Pin Recipe
Rate Recipe
Print Recipe
Ingredients
- 6 cups cherries, stem and pit removed (or frozen)
- 1/4 cup granulated sugar
- 1/4 cup light brown sugar
- 3 Tablespoons all-purpose flour
- 1 Tablespoon lemon juice
- 1 teaspoon vanilla extract
- 1/2 teaspoon almond extract
Topping
- 1 cup all-purpose flour
- 2/3 cup granulated sugar
- 1 teaspoon baking powder
- 1/2 teaspoon salt
- 1/2 teaspoon almond extract
- 6 Tablespoons butter, melted
Instructions
-
Preheat oven to 350º F (175° C).
-
In a bowl, mix together cherries with the granulated sugar, brown sugar, flour, lemon juice, vanilla, and almond extract. Mix until everything is well coated. Pour into an 8-inch casserole dish or a 10-inch skillet.
-
In a separate bowl, mix together the 1 cup flour, 2/3 cup granulated sugar, baking powder, salt, almond extract, and melted butter. The mixture will be crumbly. Spread this crumb topping evenly over the cherries. It will be crumbly and not like a batter.
-
Bake for about 35-40 minutes until the cherries are bubbly around the edges and the topping is golden brown.
-
Remove from the oven and let cool for at least 20 minutes before serving. This allows the fruit juices to set.
Notes
Nutrition
Nutrition information is automatically calculated, so should only be used as an approximation.
Additional Info
Like this recipe? Leave a comment below!
I’ve created a fun group on Facebook, and I would love for you to join us! It’s a fantastic place where you can share YOUR favorite recipes, ask questions, and stay up-to-date with all the new delicious content from Dinners, Dishes and Desserts, ensuring you never miss a new recipe!
Be sure to follow me on Instagram and tag #dinnersdishes so I can see all the wonderful DINNERS, DISHES, AND DESSERTS recipes YOU make!
Stay connected and be sure to follow me on my social media channels, so you never miss a post or a delicious new recipe!
Facebook | Twitter | Pinterest | Instagram
