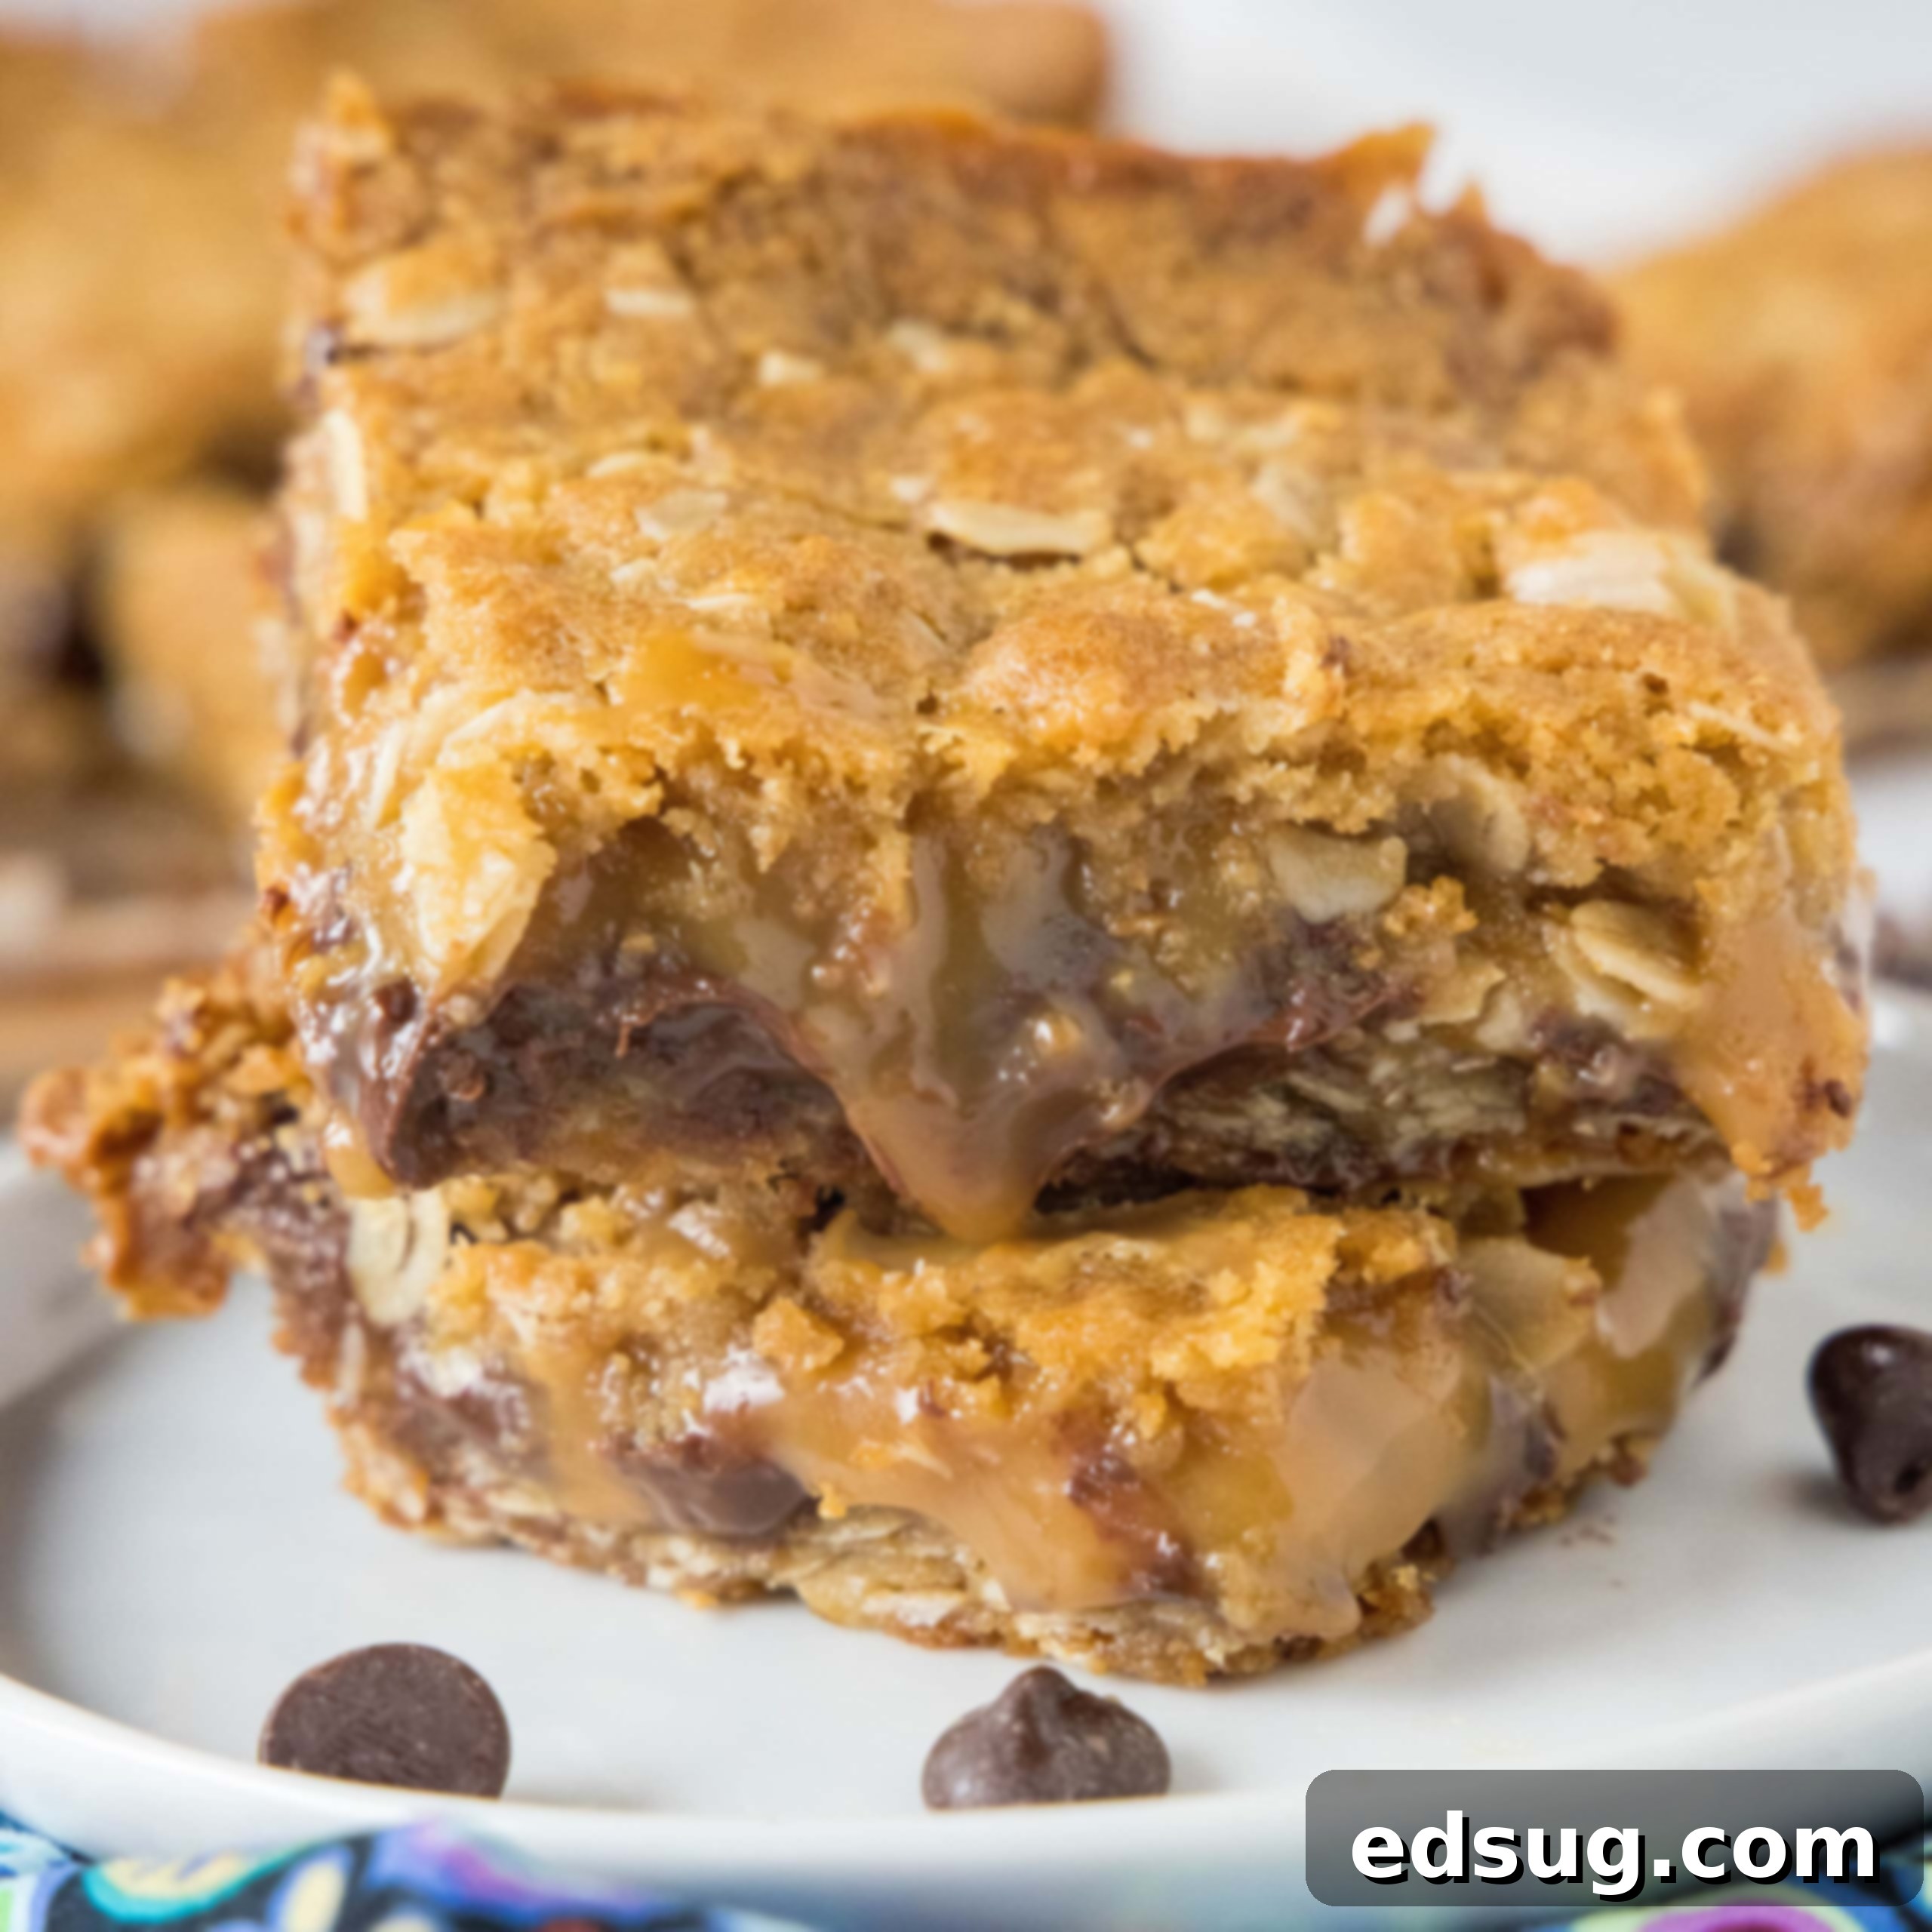
Homemade Caramelitas: The Best Easy Recipe for Gooey Oatmeal, Chocolate, and Caramel Bars
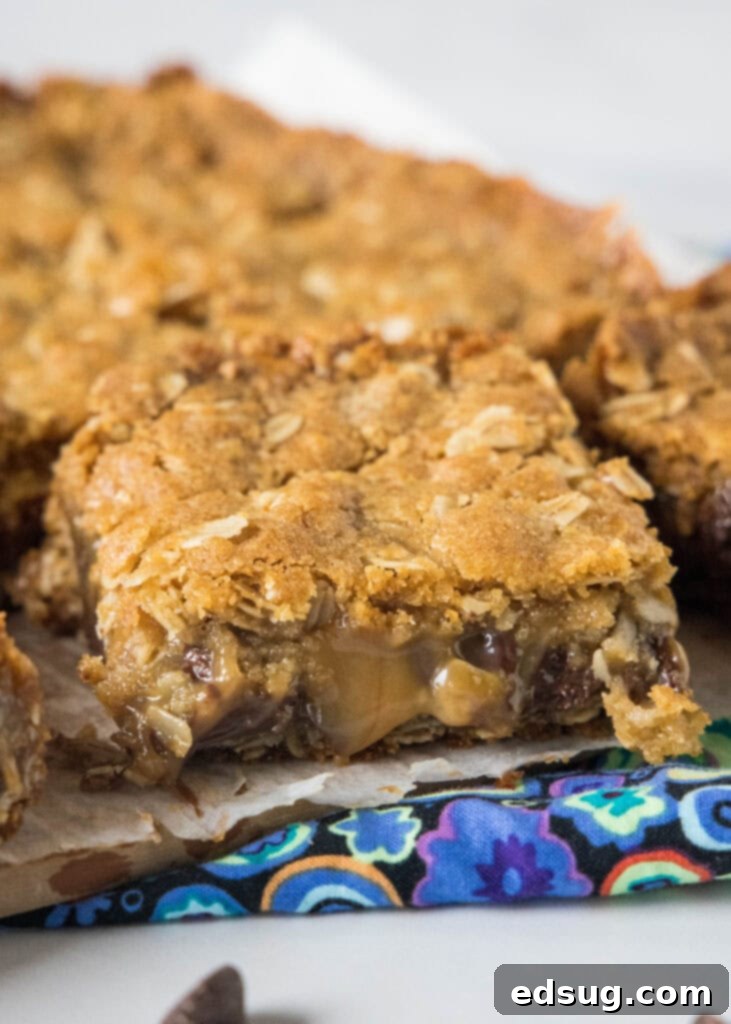
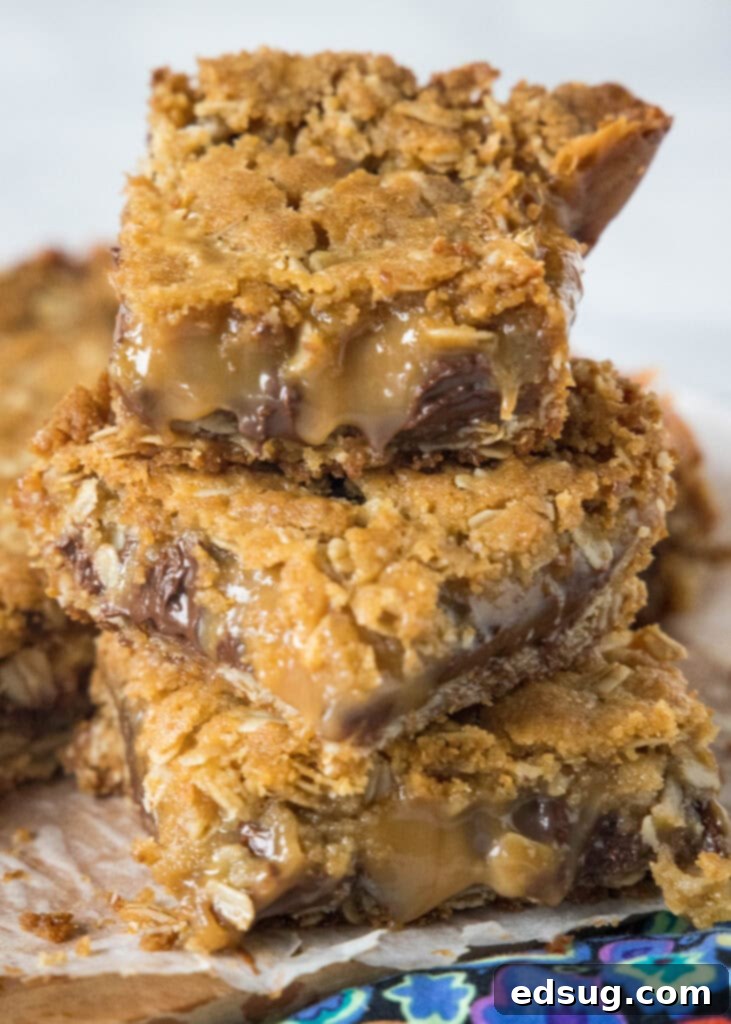
Caramelitas – An easy bar cookie with a buttery oatmeal cookie base and filled with chocolate and gooey caramel.
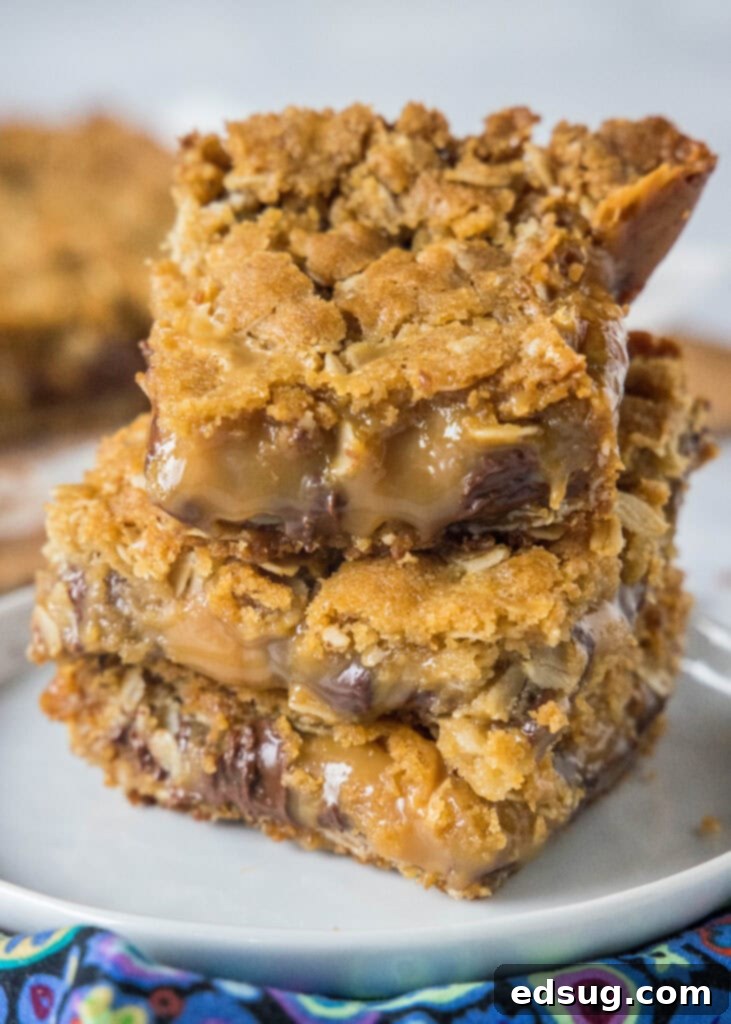
Prepare to embark on a truly delightful baking journey with Caramelitas! If you haven’t had the pleasure of tasting these incredible dessert bars, you’re truly missing out on a glorious combination of flavors and textures. Imagine a perfectly buttery oatmeal cookie base, infused with comforting warmth and a delightful chew. Now, picture that base generously filled with an irresistibly gooey, rich caramel layer, perfectly complemented by an abundance of melted chocolate. These aren’t just any ordinary bar cookies; they are an experience in decadence, surprisingly easy to make, and utterly delicious from the very first bite to the last. They masterfully bridge the gap between a classic Oatmeal Chocolate Chip Cookie and a luxuriously Caramel Brownie, offering the best of both worlds in one convenient, shareable bar. Perfect for parties, potlucks, or simply satisfying your sweet tooth, Caramelitas are a tried-and-true favorite that will have everyone asking for the recipe. Their sweet, satisfying profile and delightful chewiness make them a standout treat in any dessert spread, guaranteed to become a household staple.
Why You’ll Adore These Easy Caramelita Bars
- Effortlessly Easy – Baking doesn’t get much simpler than this! These delightful bar cookies come together in a flash, typically requiring just about 5 minutes of hands-on prep time. Forget searching for obscure ingredients – you likely have most of what you need in your pantry already. Plus, there’s no tedious scooping and baking multiple trays of individual cookies. You simply press the dough into one pan, layer, and bake, making it a fantastic option for beginner bakers or those short on time but craving something homemade and special. The straightforward process means less mess and more time to enjoy the anticipation of a truly decadent treat.
- Irresistibly Delicious – What’s better than the classic pairing of gooey caramel and rich chocolate? This combination is a match made in dessert heaven, creating a flavor profile that is both comforting and incredibly decadent. The sweet, buttery oatmeal base provides the perfect foundation, absorbing the luscious caramel and melting chocolate into a harmonious symphony of taste. Each bite offers a delightful contrast of chewy oats, smooth chocolate, and stretchy caramel, ensuring a truly satisfying experience. These bars are guaranteed to be a hit with anyone who loves sweet, rich treats, making them a perfect addition to any dessert table.
- Versatile & Customizable – One of the best aspects of this Caramelitas recipe is its adaptability. You have the freedom to play with the type of chocolate chips you use – whether you prefer classic semi-sweet for balanced sweetness, milk chocolate for extra creaminess, or dark chocolate for a less sweet, more intense flavor profile. For those who aren’t fans of overly sweet desserts, consider adding a sprinkle of flaky sea salt over the caramel layer before baking. This simple addition introduces a sophisticated salty-sweet twist that elevates the bars and cuts through the richness beautifully, creating an even more complex and enjoyable treat that can be tailored to individual tastes.
Essential Ingredients for Perfect Caramelitas
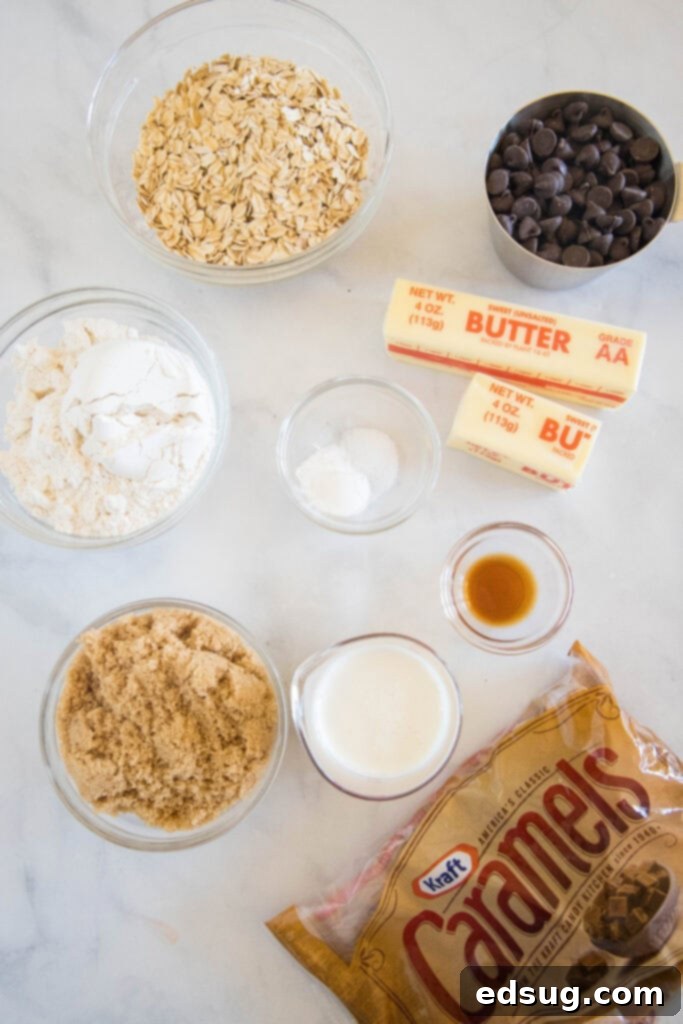
To ensure you create the most exquisite Caramelitas, gathering the right high-quality ingredients is key. Below is a list of what you’ll need, but always refer to the FULL PRINTABLE recipe card at the bottom of the post for precise measurements and detailed instructions.
- Butter – For baking, I consistently recommend using unsalted butter. This gives you complete control over the salt content in your recipe, allowing you to achieve the perfect flavor balance. If you only have salted butter, you can use it, but consider reducing the added salt slightly to avoid an overly salty taste.
- Light Brown Sugar – This ingredient is crucial for adding a deep, molasses-rich sweetness and ensuring a wonderfully soft and chewy texture to our oatmeal cookie base. Its inherent moistness contributes significantly to the overall mouthfeel of the bars, making them incredibly tender.
- Vanilla Extract – A touch of pure vanilla extract is indispensable as it enhances all the other flavors, adding a warm, aromatic depth that is essential for any great baked good. Don’t skip this ingredient, as it truly rounds out the profile.
- All-Purpose Flour – The foundational dry ingredient that provides structure to our delicious oatmeal cookie layer. Make sure it’s properly measured, preferably by weight, or by spooning into the measuring cup and leveling off, to ensure the correct consistency of the dough.
- Old Fashioned Oats – This is a non-negotiable! Old-fashioned rolled oats provide the ideal chewy texture and heartiness for the base, ensuring it holds up well to the gooey caramel and chocolate. Quick-cooking or instant oats are too finely processed and will not give you the desired robust texture or chewy bite.
- Baking Soda – Our leavening agent. Baking soda helps the cookie base rise slightly and contributes to its tender crumb, reacting with the acidic brown sugar to create that perfect light yet sturdy texture.
- Salt – A pinch of salt is vital in baking as it expertly balances sweetness and enhances all the other flavors, preventing the bars from tasting overly sugary and adding complexity.
- Caramels – For that signature gooey center, you’ll need individually wrapped, chewy caramels. Brands like Kraft or Werther’s Chewy Caramels work perfectly, melting down into a smooth, luscious sauce that sets beautifully.
- Heavy Cream – This is mixed with the caramels to create that incredibly smooth, pourable, and ultimately gooey caramel layer. It adds richness and helps achieve the ideal consistency, ensuring your caramel is both decadent and easy to work with.
- Semi-Sweet Chocolate Chips – The final touch of chocolatey goodness. Semi-sweet chips offer a balanced sweetness that pairs beautifully with the rich caramel and oatmeal base. Feel free to experiment with milk or dark chocolate based on your preference for sweetness and intensity.
Step-by-Step Guide: Crafting Your Perfect Caramelitas
Making these Caramelitas is surprisingly straightforward, even for novice bakers. Follow these simple steps to create a truly irresistible dessert that will impress everyone with its homemade charm and incredible flavor.
- Prepare the Oatmeal Dough Base – Begin by preheating your oven to 350°F (175°C). Next, and this step is crucial, heavily grease or line an 8-inch square baking dish with parchment paper, ensuring there’s an overhang on the sides. This parchment paper sling will make lifting the finished, cooled bars out of the pan incredibly easy, preventing sticking. In a large mixing bowl, combine the melted butter, light brown sugar, and vanilla extract. Stir these ingredients thoroughly with a spoon or spatula until the mixture is smooth and well-incorporated, with no visible streaks of butter or sugar. Now, add the dry ingredients: all-purpose flour, old-fashioned oats, baking soda, and salt. Mix gently until just combined; be careful not to overmix, as this can lead to tough bars. Take half of this delicious oatmeal dough mixture and press it evenly into the bottom of your prepared baking pan. Use your hands or the back of a spoon to ensure a compact and uniform layer across the entire bottom. Bake this base for approximately 10 minutes. This initial bake time helps to set the cookie base, giving it a sturdy foundation and preventing it from becoming too soft once the gooey caramel and rich chocolate layers are added.
- Craft the Gooey Caramel Layer – While your cookie base is par-baking, prepare the luscious caramel filling. In a microwave-safe bowl, combine the individually wrapped caramels and the heavy cream. To melt them smoothly, heat this mixture in the microwave in short intervals, typically 45 seconds at a time. After each interval, stir the mixture vigorously with a whisk or spoon until the caramels are completely melted and the sauce is smooth, creamy, and uniform. It’s important to stir well after each heating burst to prevent scorching and ensure even melting. Continue this process until no lumps remain. Alternatively, you can melt them gently in a heavy-bottomed saucepan over low heat, stirring constantly until smooth. The goal is a perfectly smooth, pourable caramel that will create that irresistible gooey layer.
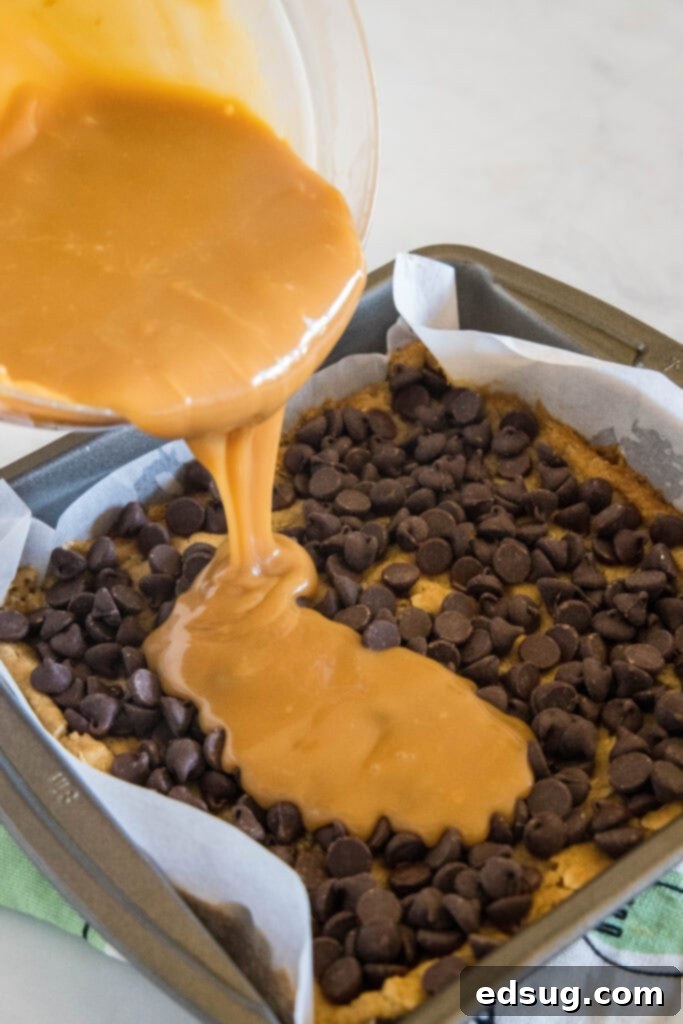
- Assemble and Finish Baking – Once the initial cookie base has baked for 10 minutes, carefully remove the pan from the oven. The base should look slightly golden and feel somewhat set. Evenly sprinkle the semi-sweet chocolate chips over the warm, partially baked cookie base. The residual heat from the base will start to gently melt the chocolate, contributing to the gooey texture. Immediately pour the freshly melted caramel sauce over the chocolate chips, spreading it gently with the back of a spoon or spatula to create an even, luscious layer. Finally, take the remaining half of the oatmeal dough and crumble it loosely over the caramel layer. Don’t worry about perfect coverage; the rustic, streusel-like topping adds charming visual appeal and a delightful textural contrast. Return the pan to the oven and bake for an additional 15-20 minutes, or until the topping is beautifully golden brown and the caramel filling appears set, with perhaps a slight jiggle in the very center. The edges of the bars should look firm. Once baked, the hardest part begins: waiting! Allow the Caramelitas to cool completely in the pan on a wire rack before attempting to slice them. This patience is key, as it allows the caramel to firm up and prevents the bars from becoming a messy, sticky ordeal when cut, ensuring clean, perfect squares.
Pro Tips & Delicious Variations for Your Caramelitas
To ensure your Caramelitas turn out perfectly every time, and to explore exciting flavor variations, keep these expert tips in mind. These suggestions will help you achieve the best results and customize your bars to suit any palate.
- This recipe truly shines when you use old-fashioned rolled oats. Resist the urge to substitute with quick-cooking or instant oats. Old-fashioned oats provide a more substantial, chewier texture that forms a robust and satisfying base for the rich caramel and chocolate layers. Quick oats are too finely processed and will result in a softer, less structured base that might not hold up as well under the weight of the gooey filling, potentially leading to crumbly bars.
- For a sophisticated twist that appeals to those who prefer less intensely sweet desserts, consider a salted caramel approach. Before crumbling the remaining dough over the caramel layer, sprinkle a generous pinch of flaky sea salt (like Maldon or a good quality fleur de sel) directly over the melted caramel. You can also swap out the semi-sweet chocolate chips for dark chocolate chips for an even deeper, less sweet flavor. This combination introduces a wonderful complexity, with the salt beautifully contrasting the sweetness of the caramel and chocolate, creating a truly gourmet experience that elevates the humble bar cookie.
- Planning for a crowd, a special event, or simply want more deliciousness on hand? Feel free to double the recipe. If you do, make sure to bake the Caramelitas in a larger 13×9 inch pan to accommodate the increased volume. Adjust the baking times accordingly; the initial base bake might take a bit longer, and the final bake could extend by a few minutes, so keep a close eye on it until it’s beautifully golden brown and the filling appears set.
- Cooling completely is absolutely critical for successful slicing and serving. I cannot stress this enough! The caramel layer, while incredibly delicious, needs ample time to cool down and firm up. If you attempt to cut the bars while they are still warm, the caramel will be runny and sticky, leading to a messy presentation and a significant loss of that precious, gooey filling. Patience here is a virtue – let them cool for several hours at room temperature, or even overnight, for the cleanest cuts and best results.
- Prepare your pan properly. Heavily grease your baking dish or, better yet, line it completely with parchment paper, ensuring that the paper extends up and over the sides of the pan. Caramel is notoriously sticky, and this parchment paper sling method will ensure that you can easily lift the entire slab of cooled bars out of the pan in one piece, making slicing much simpler and cleaner without any sticky residue left behind.
- Experiment with chocolate types. While semi-sweet chocolate chips are a classic and delicious choice, don’t hesitate to customize! Use milk chocolate for a sweeter, creamier profile that many adore, or opt for dark chocolate for a richer, more intense, and less sugary bar. White chocolate chips could also be a fun addition for a different flavor dynamic and visual contrast, especially when paired with a sprinkle of berries on top.
Choosing the Right Caramel for Gooey Perfection
The success of your Caramelitas hinges significantly on the type of caramel you use. For that signature gooey, chewy texture that sets these bars apart, you absolutely must use individually wrapped, chewy caramels. Popular brands like Kraft Caramels or Werther’s Chewy Caramels are ideal choices and readily available in most grocery stores. These caramels are specifically designed to melt smoothly and then firm up just enough as they cool, retaining their delightful chewiness without becoming rock-hard or overly liquid.
While the thought of using homemade caramels might sound appealing, for the sake of ease and consistency in this recipe, it often introduces a lot of extra work without a significant improvement in the final bar, especially if you’re aiming for a quick and simple dessert. Unless you have a go-to homemade caramel recipe that you know will set up perfectly and have the right chewy consistency, stick with the reliable store-bought chewy variety.
A crucial piece of advice: do not use caramel sauce (like the kind you’d drizzle over ice cream or coffee). These sauces contain stabilizers and often have a thinner consistency designed to remain liquid or semi-liquid. If you use caramel sauce, your Caramelitas will never properly set, resulting in a runny, sticky, and ultimately disappointing mess. The entire bar will fall apart, and you won’t get that satisfying, chewy caramel layer that makes Caramelitas so special. Stick to the unwrapped, firm caramels for the best, most authentic, and successful results.
Storing Your Delicious Caramelitas
Proper storage is essential to keep your Caramelitas fresh and delicious for as long as possible. Once completely cooled and sliced into individual bars, store your Caramelitas in an airtight container at room temperature. They will remain wonderfully fresh, chewy, and gooey for about 3-4 days. To prevent them from sticking together, especially if you stack them, consider placing a piece of parchment paper or wax paper between layers of bars within the container. This is particularly helpful if your kitchen tends to be on the warmer side.
If you prefer to store them in the refrigerator, they will last a bit longer, perhaps up to a week. However, be mindful that chilling makes the caramel significantly firmer and chewier, almost to the point of being hard. For the best eating experience, always allow refrigerated Caramelitas to come back to room temperature for at least 30 minutes before serving. Biting into cold, firm caramel can be quite a challenge for your teeth and doesn’t showcase their true gooey potential!
Freezing Caramelitas – Yes, you can absolutely freeze these delightful bars! This is a fantastic option for meal prepping desserts, making them ahead for parties, or simply saving some for later cravings. Once completely cooled and sliced, arrange the bars in a single layer on a baking sheet and freeze until solid. This “flash freeze” prevents them from sticking together. Then, transfer the frozen bars to a freezer-safe airtight container or a heavy-duty freezer bag, separated by parchment paper between layers for easy retrieval. They will keep beautifully in the freezer for 4-5 months without losing their quality. When you’re ready to enjoy them, simply let them thaw on the counter at room temperature for a few hours. This makes them a perfect make-ahead treat for future cravings or unexpected guests, offering convenience without sacrificing flavor or texture.
More Irresistible Easy Dessert Recipes to Try
- Chocolate Chip Shortbread
- Peanut Butter Oatmeal Bars
- Cake Mix Brownies
- Cream Cheese Chocolate Chip Cookies
- Special K Bars
- Oatmeal Cake
Caramelitas
Ingredients
Oatmeal Bars
- 3/4 cup salted butter, melted
- 3/4 cup light brown sugar
- 1 teaspoon vanilla extract
- 1 cup all-purpose flour
- 1 cup old-fashioned oats
- 1 teaspoon baking soda
- 1/2 teaspoon salt
Topping
- 1 bag, 14 oz caramels, unwrapped
- 1/2 cup heavy cream
- 1 cup semi-sweet chocolate chips
Instructions
- Preheat oven to 350°F. Heavily grease or line an 8-inch baking dish with parchment paper as caramel will stick to sides.
- In a bowl mix butter, brown sugar, and vanilla until smooth. Add flour, oats, baking soda, and salt. Mix until well combined. Spread 1/2 of dough into prepared baking dish. Bake for 10 minutes.3/4 cup salted butter, 3/4 cup light brown sugar, 1 teaspoon vanilla extract, 1 cup all-purpose flour, 1 cup old-fashioned oats, 1 teaspoon baking soda, 1/2 teaspoon salt
- Meanwhile melt caramels and heavy cream together.1 bag, 1/2 cup heavy cream
- After removing pan from oven, sprinkle chocolate chips over dough. Pour caramel on top and spread into an even layer. Crumble last 1/2 of dough over top. It does not need to cover perfectly. Return to oven and bake for 15-20 minutes, until golden brown.1 cup semi-sweet chocolate chips
- Let cool completely before serving and cut into squares.
Nutrition
Nutrition information is automatically calculated, so should only be used as an approximation.
Additional Info
I created a fun group on Facebook, and I would love for you to join us! It’s a place where you can share YOUR favorite recipes, ask questions, and see what’s new at Dinners, Dishes and Desserts (so that you never miss a new recipe)!
Be sure to follow me on Instagram and tag #dinnersdishes so I can see all the wonderful DINNERS, DISHES, AND DESSERTS recipes YOU make!
Be sure to follow me on my social media, so you never miss a post!
Facebook | Twitter | Pinterest | Instagram
.
