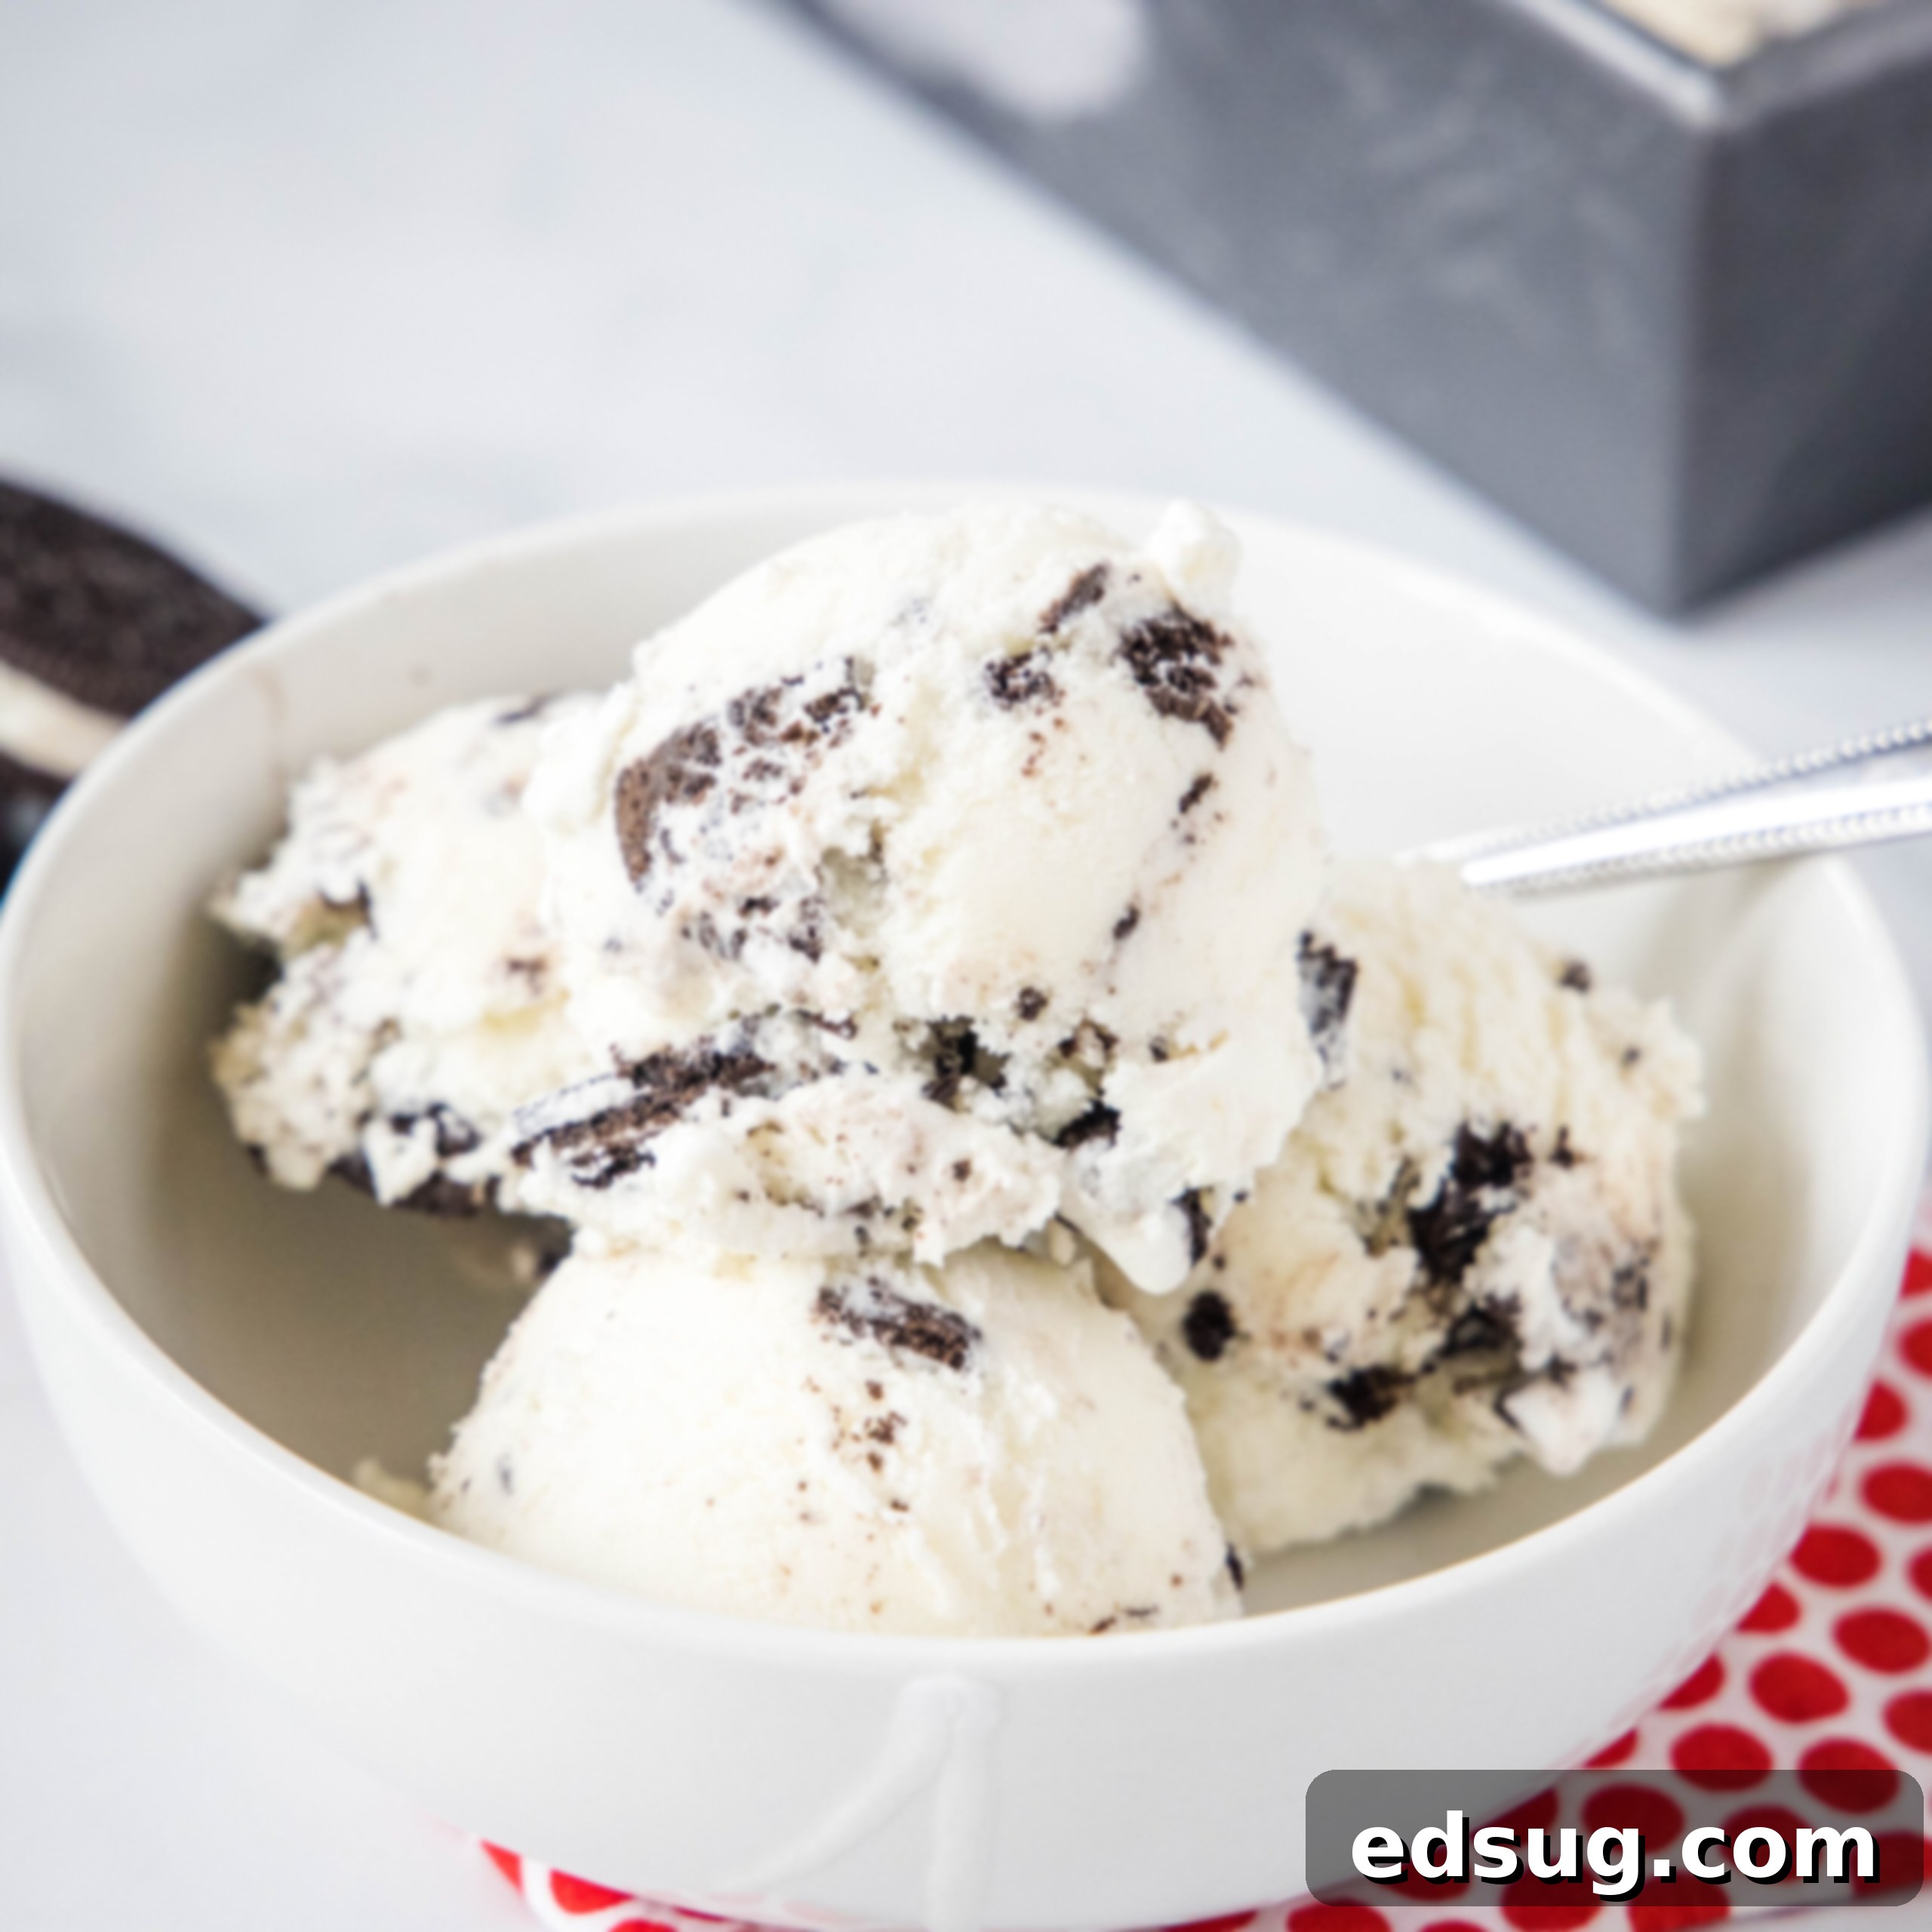
Creamy Homemade Cookies and Cream Ice Cream: The Ultimate Oreo Dessert Recipe
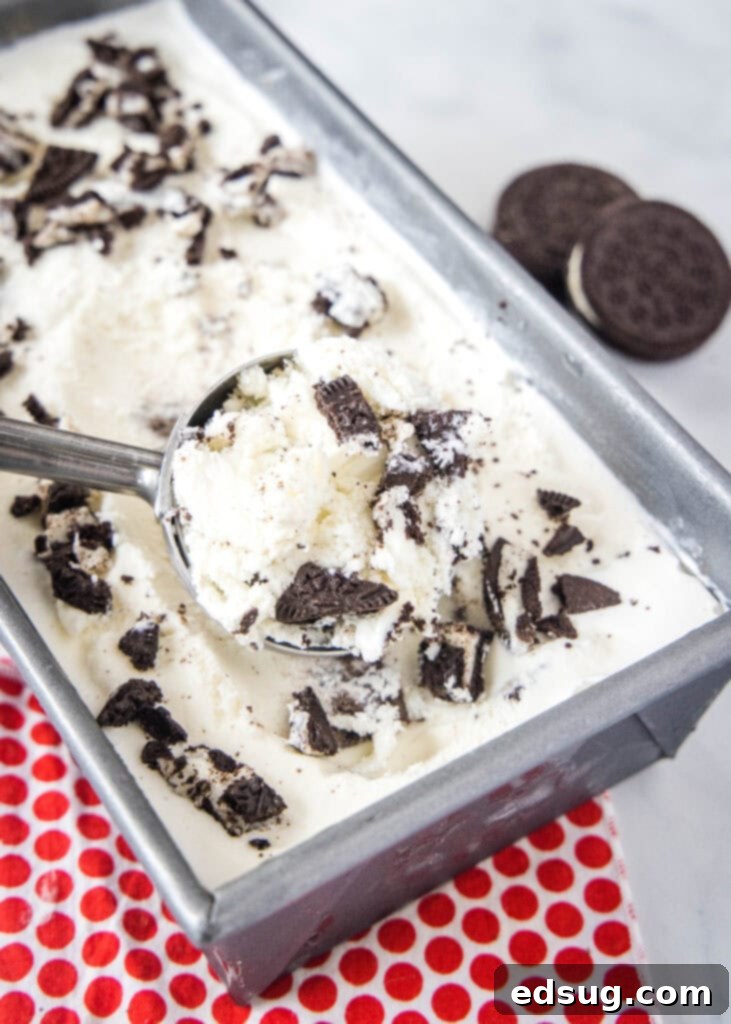
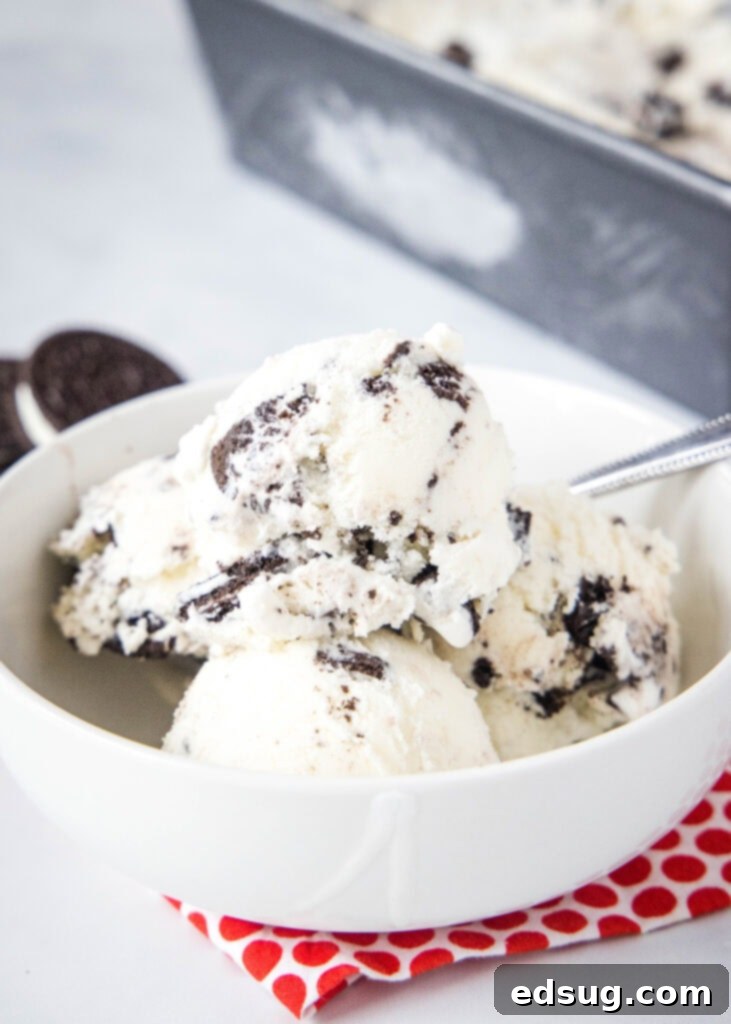
Nothing quite compares to the rich, smooth indulgence of homemade ice cream, especially when it’s loaded with generous chunks of your favorite cookies. This Cookies and Cream Ice Cream recipe promises a truly superior experience compared to anything you can buy in a store. We’re talking about a vanilla ice cream base that’s incredibly creamy, packed with so many real Oreo cookie pieces that you get a delightful crunch and chocolatey flavor in every single scoop. Forget those disappointing store-bought versions with their sparse, barely-there cookie crumbs; this recipe delivers on its promise of an authentic cookies and cream sensation.
If you’re tired of vanilla ice cream with just a hint of cookie, prepare to have your expectations exceeded. Our homemade rendition features abundant, substantial pieces of Oreo cookies, ensuring that the iconic chocolate sandwich cookie taste and texture are front and center. This isn’t just ice cream; it’s a celebration of two beloved desserts rolled into one, and it’s guaranteed to become your new favorite summer treat (or any time treat, for that matter!).
The Magic of Homemade Ice Cream: Custard vs. Philadelphia Style
When embarking on the delightful journey of making ice cream at home with an ice cream maker, you’ll generally encounter two primary base styles:
Custard Base Ice Cream
A custard base is the traditional route for exceptionally rich and dense ice cream. This method involves eggs, which are cooked over low heat with milk, cream, and sugar to form a thick, silky custard. The mixture must reach a specific temperature (usually around 170-175°F or 77-79°C) to ensure the eggs are safely cooked, creating a luxurious mouthfeel and preventing iciness. While the result is a truly decadent ice cream, the process is more involved. It requires careful tempering of eggs, constant stirring, and a significant chilling period (often several hours or overnight) before it can be churned. This extra step ensures the base is thoroughly cold, which is crucial for achieving the perfect consistency in your ice cream maker. If you have the time and desire for the absolute richest ice cream, a custard base is an excellent choice.
Philadelphia Style Ice Cream
The Philadelphia style ice cream base, on the other hand, is known for its simplicity and speed. This “no-cook” method skips the eggs entirely, relying solely on heavy cream, whole milk, sugar, and flavorings. You simply whisk all the ingredients together until the sugar dissolves, and then pour the mixture directly into your ice cream maker. There’s no cooking involved, which dramatically reduces preparation time. While it might be slightly lighter in texture than its custard counterpart, it still produces a wonderfully creamy and incredibly delicious ice cream. It’s the ideal choice for those times when you crave homemade goodness without the extensive kitchen commitment. For this Easy Cookies and Cream Ice Cream recipe, we’re embracing the Philadelphia style, allowing you to enjoy a sensational dessert with minimal effort and in record time!
Opting for the Philadelphia Style base for our Oreo ice cream means you don’t have to worry about complicated cooking steps or long cooling times. This allows you to quickly get to the best part: churning your ice cream and then, of course, eating it! It’s the perfect method for instant gratification without compromising on flavor or creaminess.
Essential Ingredients for Your Cookies and Cream Creation
For the exact measurements and full instructions, make sure to scroll down to the bottom of the post for the COMPLETE PRINTABLE recipe card.
Crafting the perfect batch of homemade Cookies and Cream Ice Cream requires just a handful of quality ingredients. Each component plays a crucial role in achieving that rich, creamy texture and unforgettable flavor:
- Whole Milk: Provides a foundational liquid for the ice cream base and contributes to its overall creaminess and body.
- Heavy Cream: The star ingredient for richness! Heavy cream, with its high fat content, is essential for creating a smooth, velvety texture and preventing ice crystals from forming. The higher the fat content, the creamier your ice cream will be.
- Granulated Sugar: Sweetens the ice cream to perfection and also plays a vital role in its texture, helping to keep it softer and less icy.
- Vanilla Extract: A classic flavor enhancer that gives our ice cream its signature sweet, aromatic vanilla base. Opt for pure vanilla extract for the best flavor.
- Pinch of Salt: A small amount of salt balances the sweetness and enhances all the other flavors, making them pop. Don’t skip it!
- Oreo Cookies: The irreplaceable hero of cookies and cream! We use plenty of crushed Oreo cookies to ensure a fantastic mix of chocolate cookie crunch and creamy filling in every bite.
Choosing high-quality dairy products will significantly impact the final taste and texture of your homemade Oreo ice cream. Fresh, full-fat ingredients are always recommended for the best results.
How to Make Homemade Cookies and Cream Ice Cream: Step-by-Step
Making this incredible ice cream is surprisingly simple, thanks to the no-cook Philadelphia style base. Follow these easy steps to create your own creamy masterpiece:
- Prepare the Base Mixture: In a large mixing bowl, combine the whole milk, heavy cream, granulated sugar, vanilla extract, and a pinch of salt. Whisk vigorously until the sugar is completely dissolved. This usually takes a few minutes. Ensure there are no grainy sugar crystals remaining at the bottom of the bowl.
- Chill the Mixture (Optional but Recommended): For the creamiest results, cover the bowl and refrigerate the mixture for at least 30 minutes, or even better, for 1-2 hours. While the Philadelphia style is “no-cook,” a well-chilled base churns faster and produces a smoother ice cream texture.
- Churn the Ice Cream: Ensure your ice cream maker’s freezer bowl is thoroughly frozen (typically 12-24 hours prior). Turn on your ice cream maker, and slowly pour the chilled base mixture into the churning bowl. Let it churn according to your machine’s package directions, usually 20-30 minutes, until it reaches the consistency of soft-serve ice cream.
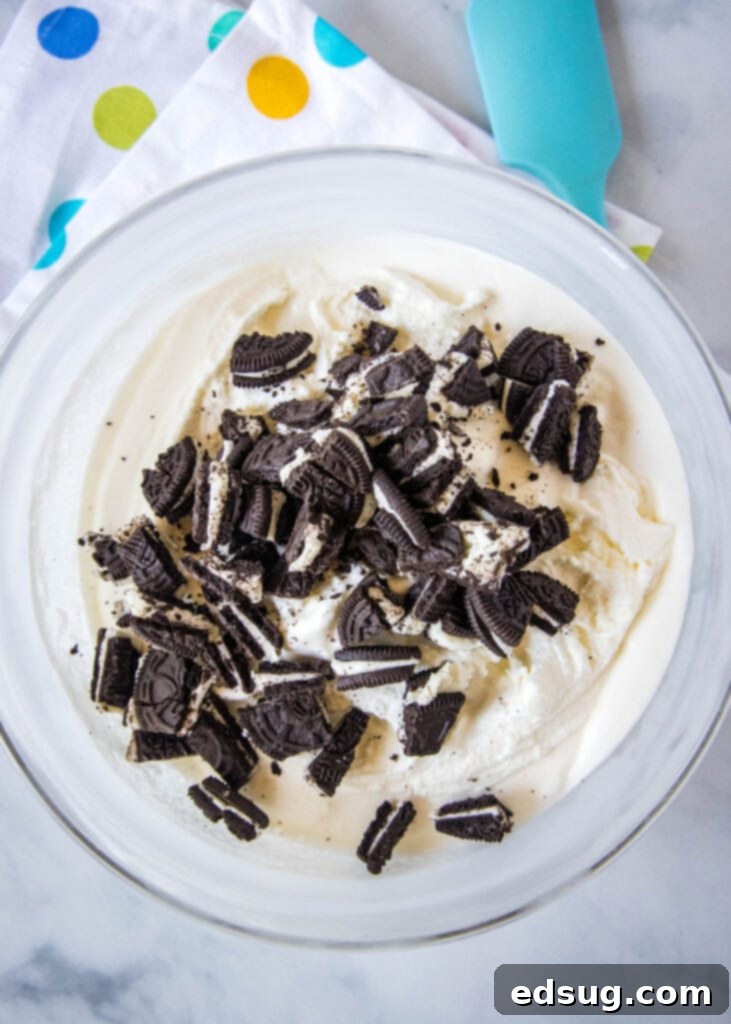
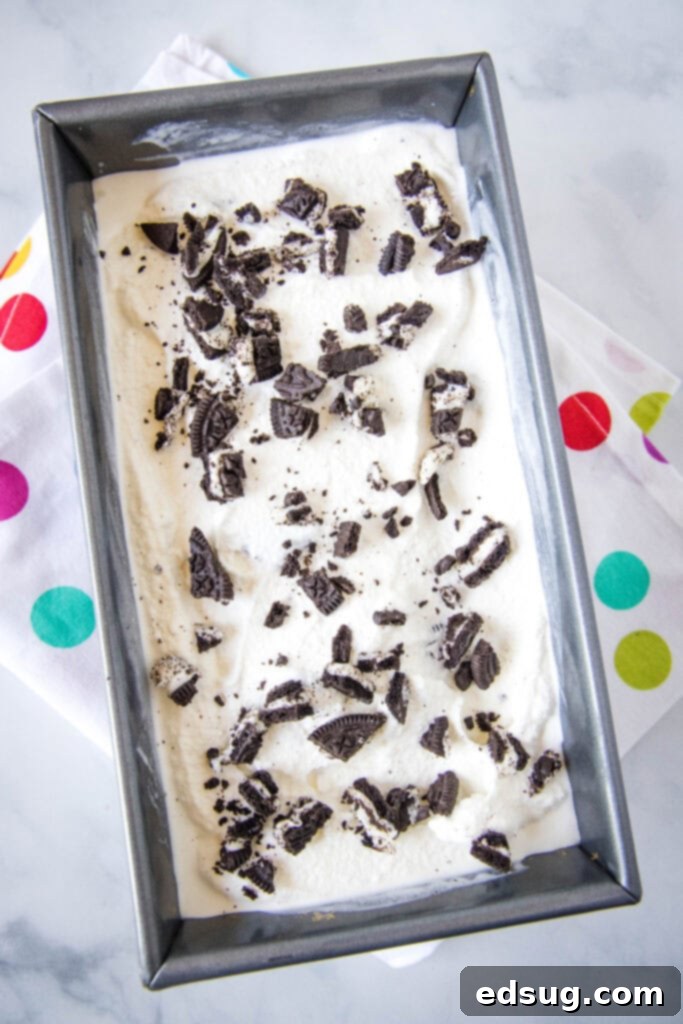
- Add the Oreo Cookies: Once the ice cream is churned to a soft-serve consistency, transfer it to a large, freezer-safe bowl. Gently fold in the chopped or crushed Oreo cookies. Don’t overmix; you want the cookies to be evenly distributed but not completely pulverized.
- Firm Up (Ripen) in the Freezer: Transfer the ice cream to a freezer-safe container. A loaf pan works wonderfully for this. Press a piece of parchment paper or plastic wrap directly onto the surface of the ice cream to prevent ice crystals from forming. Cover the container tightly and freeze for at least 2-4 hours (or longer, for firmer ice cream) until it reaches your desired scoopable consistency.
And just like that, you’ll have a batch of incredibly delicious, homemade Oreo ice cream ready to enjoy!
Tips for the Perfect Homemade Cookies and Cream Ice Cream
Achieving that dreamy, creamy consistency and perfect flavor balance is easier than you think with these expert tips:
- Freeze Your Bowl: The most crucial step! Your ice cream maker’s bowl needs to be frozen solid for at least 12-24 hours. A well-frozen bowl ensures the ice cream base freezes quickly and uniformly, resulting in a smoother texture.
- Don’t Skimp on Quality Ingredients: Use whole milk and heavy cream (full fat) for the best richness and flavor. High-quality vanilla extract also makes a noticeable difference.
- Chill the Base: Even though this is a no-cook recipe, chilling your liquid base thoroughly before churning (as suggested in the steps above) will significantly improve the texture and speed of churning.
- Don’t Over-Churn: Churn until the ice cream reaches a soft-serve consistency. Over-churning can lead to a less creamy texture. The ice cream will firm up further in the freezer.
- Crush Oreos Just Right: You want noticeable chunks of Oreos, not fine dust. A quick pulse in a food processor or crushing them by hand in a Ziploc bag works perfectly. Don’t add them too early during churning, as they can get too broken down.
- Store Properly: Transfer the finished ice cream to an airtight, freezer-safe container immediately after adding the cookies. Press plastic wrap directly onto the surface of the ice cream before putting on the lid. This prevents air exposure and the formation of ice crystals, keeping your ice cream fresh and scoopable.
- Allow for Ripening: The “additional time” in the recipe is for ripening. This is when the ice cream freezes further and develops its final firm, yet creamy, texture. Don’t skip this step for the best results!
Delicious Variations and Serving Suggestions
While classic Cookies and Cream is unbeatable, feel free to experiment with these ideas to make it your own:
- Different Cookies: Experiment with other sandwich cookies like mint Oreos, golden Oreos, or even Nutter Butter cookies for a peanut butter twist. Chocolate chip cookies or Biscoff cookies can also create unique flavor profiles.
- Add a Swirl: For an extra layer of decadence, swirl in some Homemade Hot Fudge Sauce or caramel sauce during the last few minutes of churning, or when folding in the cookies.
- Extra Chocolate: Mix in chocolate chips, white chocolate chunks, or a sprinkle of cocoa powder into the base for an even more chocolatey experience.
- Vanilla Bean: For a more gourmet base, split and scrape the seeds from one vanilla bean into the milk mixture, warming it gently (then chilling) before combining with the cream.
Serve your homemade ice cream in a classic bowl, piled high on a cone, or get creative:
- Ice Cream Sundaes: Top with hot fudge, whipped cream, sprinkles, and a cherry.
- Milkshakes: Blend with milk and extra Oreos for a thick, dreamy shake.
- Affogato: Place a scoop in a mug and pour a shot of hot espresso over it for a sophisticated dessert.
- Dessert Pairings: Enjoy alongside a warm brownie, apple pie, or a slice of your favorite cake.
Troubleshooting Common Ice Cream Issues
Even with a simple recipe, sometimes things don’t go exactly as planned. Here are solutions to common ice cream dilemmas:
- Ice Cream is Icy: This often happens if the base wasn’t chilled enough before churning, or if too much water is in the recipe. Ensure your freezer bowl is frozen solid, and chill the liquid base thoroughly. Proper storage in an airtight container also helps prevent ice crystals.
- Ice Cream is Too Soft/Doesn’t Firm Up: Your ice cream maker might not be powerful enough, or the base wasn’t cold enough. Ensure your freezer bowl is very cold, and give it ample time to firm up in the freezer after churning (the “ripening” stage).
- Ice Cream is Too Hard: This usually means it’s been frozen for too long, or there isn’t enough sugar/fat in the recipe (sugar acts as an anti-freeze). Allow it to sit on the counter for 5-10 minutes before scooping. If it’s consistently too hard, slightly increase sugar or fat in future batches.
- Oreo Pieces Are Soggy: Make sure to fold the cookies in *after* churning, right before transferring to the freezer for ripening. This minimizes their exposure to moisture.
Making homemade ice cream is a rewarding process, and with a few simple tricks, you’ll be a pro in no time!
More Summer Dessert Recipes
If you love this easy ice cream recipe, you’ll definitely want to check out these other fantastic desserts, perfect for warm weather or any time of year:
- No Bake Oreo Cheesecake: Another fantastic way to enjoy your favorite cookies.
- Strawberry Milkshakes: A refreshing and classic treat.
- Raspberry Lemon Cupcakes: Light, zesty, and bursting with fruity flavor.
- Lemon Dessert Lasagna: Layers of creamy lemon goodness, perfect for a crowd.
- Cookie Dough Ice Cream: For those who can’t get enough cookie in their ice cream!
- No Bake Peanut Butter Bars: Simple, rich, and utterly satisfying.
- Ice Cream Sandwich Icebox Cake: An incredibly easy and delicious layered dessert.
Cookies and Cream Ice Cream
Erin Sellin
5 mins
25 mins
2 hrs
2 hrs 30 mins
8
Rate Recipe
Print Recipe
Ingredients
- 2 cups whole milk
- 3/4 cup granulated sugar
- 2 cups heavy cream
- 1 tablespoon vanilla extract
- 1 1/2 cups crushed Oreo® cookies
- Pinch salt
Instructions
-
In a large bowl, whisk together whole milk, granulated sugar, vanilla extract, and salt until the sugar is completely dissolved.2 cups whole milk, 3/4 cup granulated sugar, 1 tablespoon vanilla extract, Pinch salt
-
Stir in the heavy cream until everything is well blended. For best results, cover and chill the mixture in the refrigerator for 1-2 hours before churning.2 cups heavy cream
-
With your ice cream maker running (ensure the freezer bowl is pre-frozen), gradually pour in the chilled milk mixture. Churn according to your manufacturer’s instructions, typically 20-30 minutes, until it reaches a soft-serve consistency.
-
Once churned, transfer the soft ice cream to a large, freezer-safe bowl. Gently fold in the crushed Oreo® cookies until evenly distributed.1 1/2 cups crushed Oreo® cookies
-
Transfer the ice cream to an airtight, freezer-safe container (a loaf pan works well). Press plastic wrap directly onto the surface of the ice cream to prevent ice crystals, then cover with a lid.
-
Freeze for at least 2 hours, or until firm enough to scoop, before serving.
Nutrition
Calories: 312kcal |
Carbohydrates: 52g |
Protein: 4g |
Fat: 10g |
Saturated Fat: 4g |
Polyunsaturated Fat: 6g |
Cholesterol: 6mg |
Sodium: 192mg |
Fiber: 1g |
Sugar: 39g
Nutrition information is an approximation based on ingredients and calculation.
Additional Info
Erin Sellin
5 minutes
25 minutes
2 hours
2 hours 30 minutes
Dessert
American
8 Servings
312
I created a fun group on Facebook, and I would love for you to join us! It’s a place where you can share YOUR favorite recipes, ask questions, and see what’s new at Dinners, Dishes and Desserts (so that you never miss a new recipe)!
Be sure to follow me on Instagram and tag #dinnersdishes so I can see all the wonderful DINNERS, DISHES, AND DESSERTS recipes YOU make!
Don’t miss out on new recipes! Be sure to follow me on my social media platforms:
Facebook | Twitter | Pinterest | Instagram
