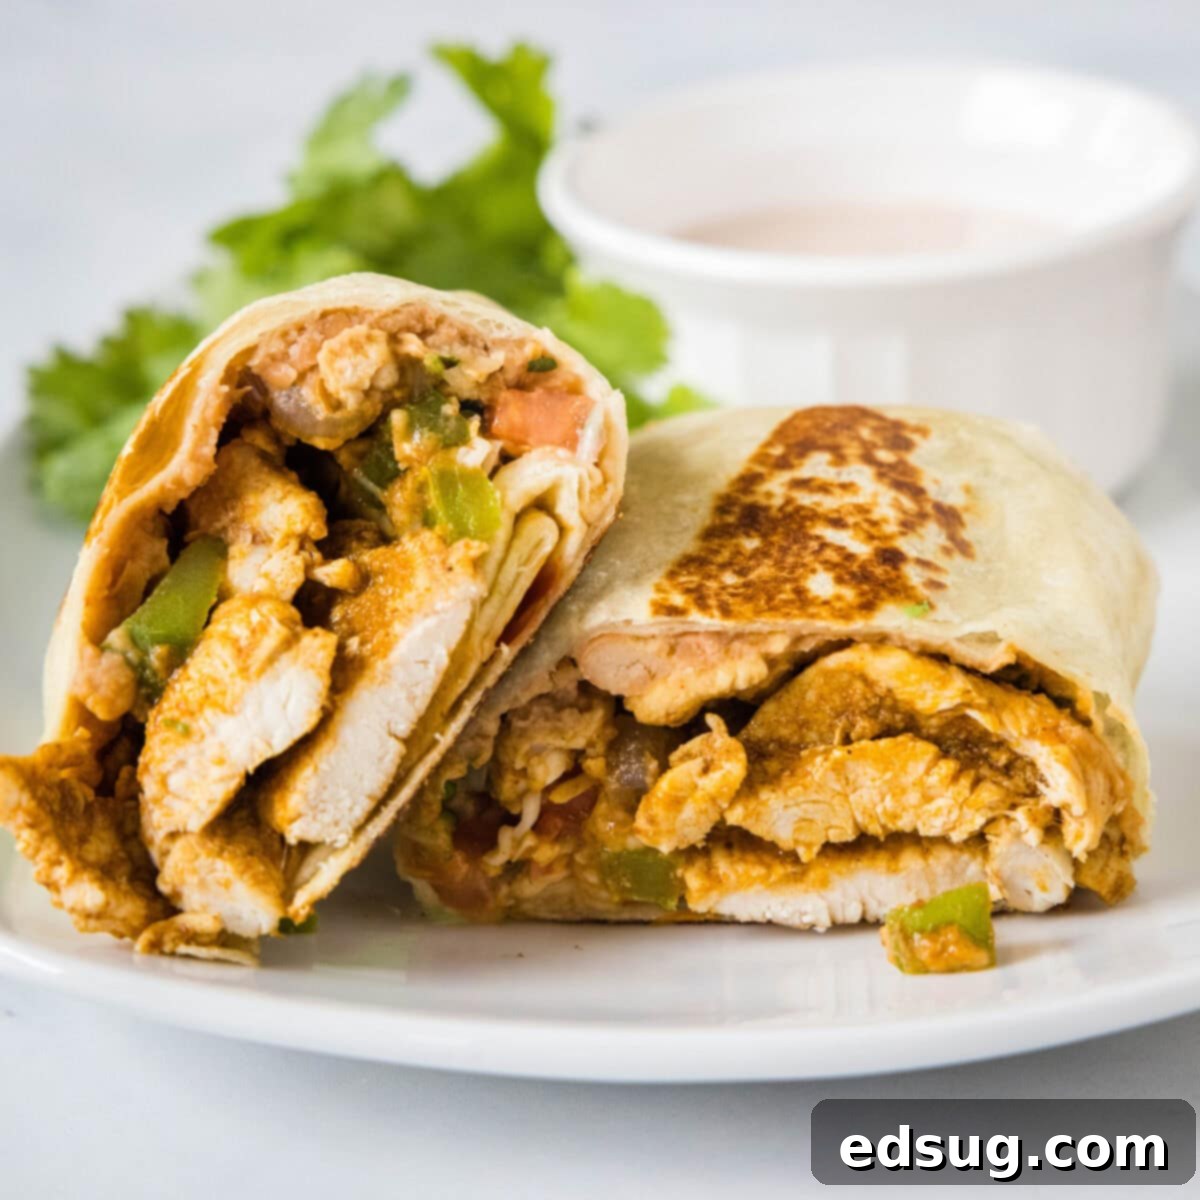
Easy & Delicious Chicken Fajita Wraps: A Quick Mexican Meal
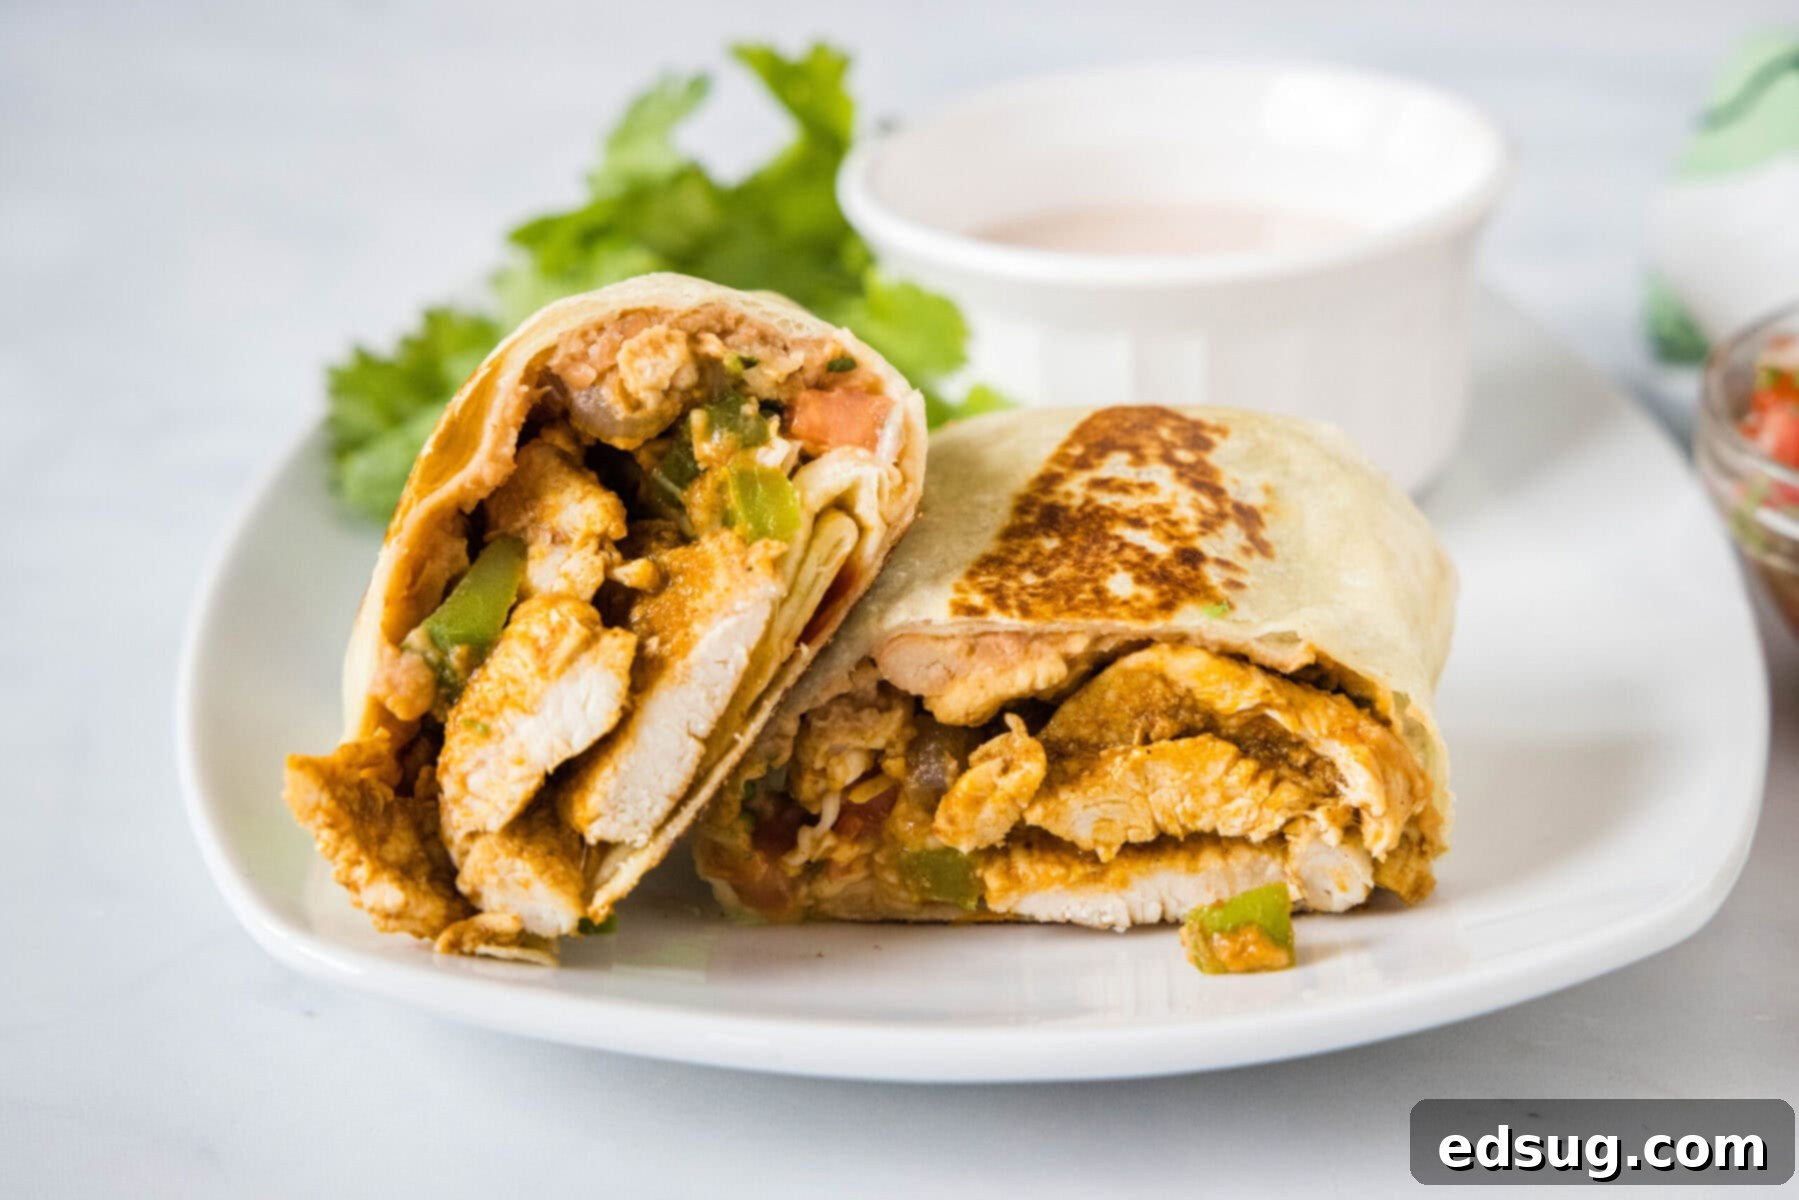
Loaded with succulent chicken, perfectly tender vegetables, and rich refried beans, these chicken fajita wraps offer an incredibly easy and protein-packed meal solution. Each bite is bursting with smoky, spicy, and savory flavors, complemented by creamy shredded cheese and vibrant, fresh pico de gallo. They combine the best elements of traditional fajitas and hearty burritos into one satisfying package, making them an instant family favorite.
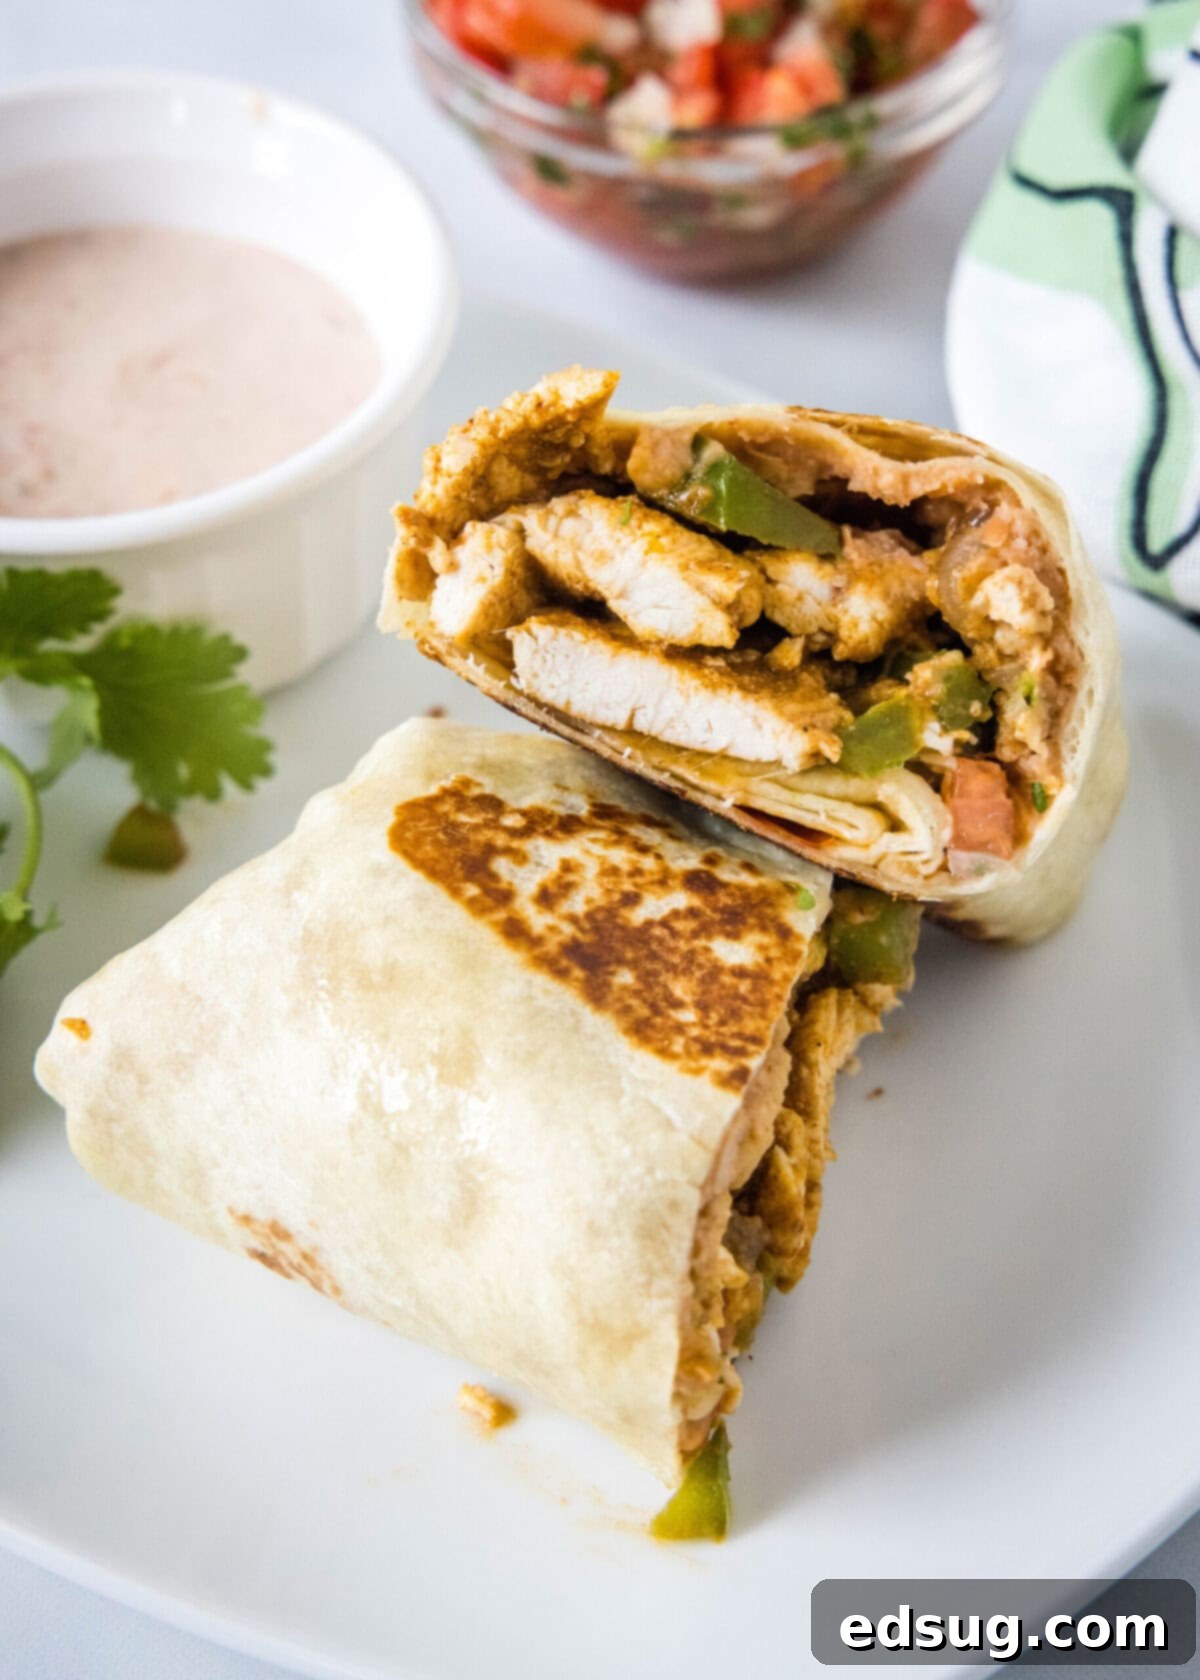
Fajitas have always been a staple in my kitchen, and for good reason. What’s not to adore about intensely seasoned, perfectly cooked meat paired with sweet onions, crisp bell peppers, and creamy beans? These chicken fajita wraps have quickly become my go-to method for enjoying this beloved Mexican classic, offering a convenient and portable twist.
These chicken fajita wraps capture everything you love about sizzling fajitas and the comforting heartiness of burritos. The chicken is cooked until tender and moist, coated in a fantastic homemade fajita seasoning blend, and sautéed with colorful peppers and onions. This flavorful fajita mixture is then lovingly wrapped in a soft tortilla alongside smooth refried beans, melty shredded cheese, and bright salsa. You simply must try this incredibly easy and delicious recipe!
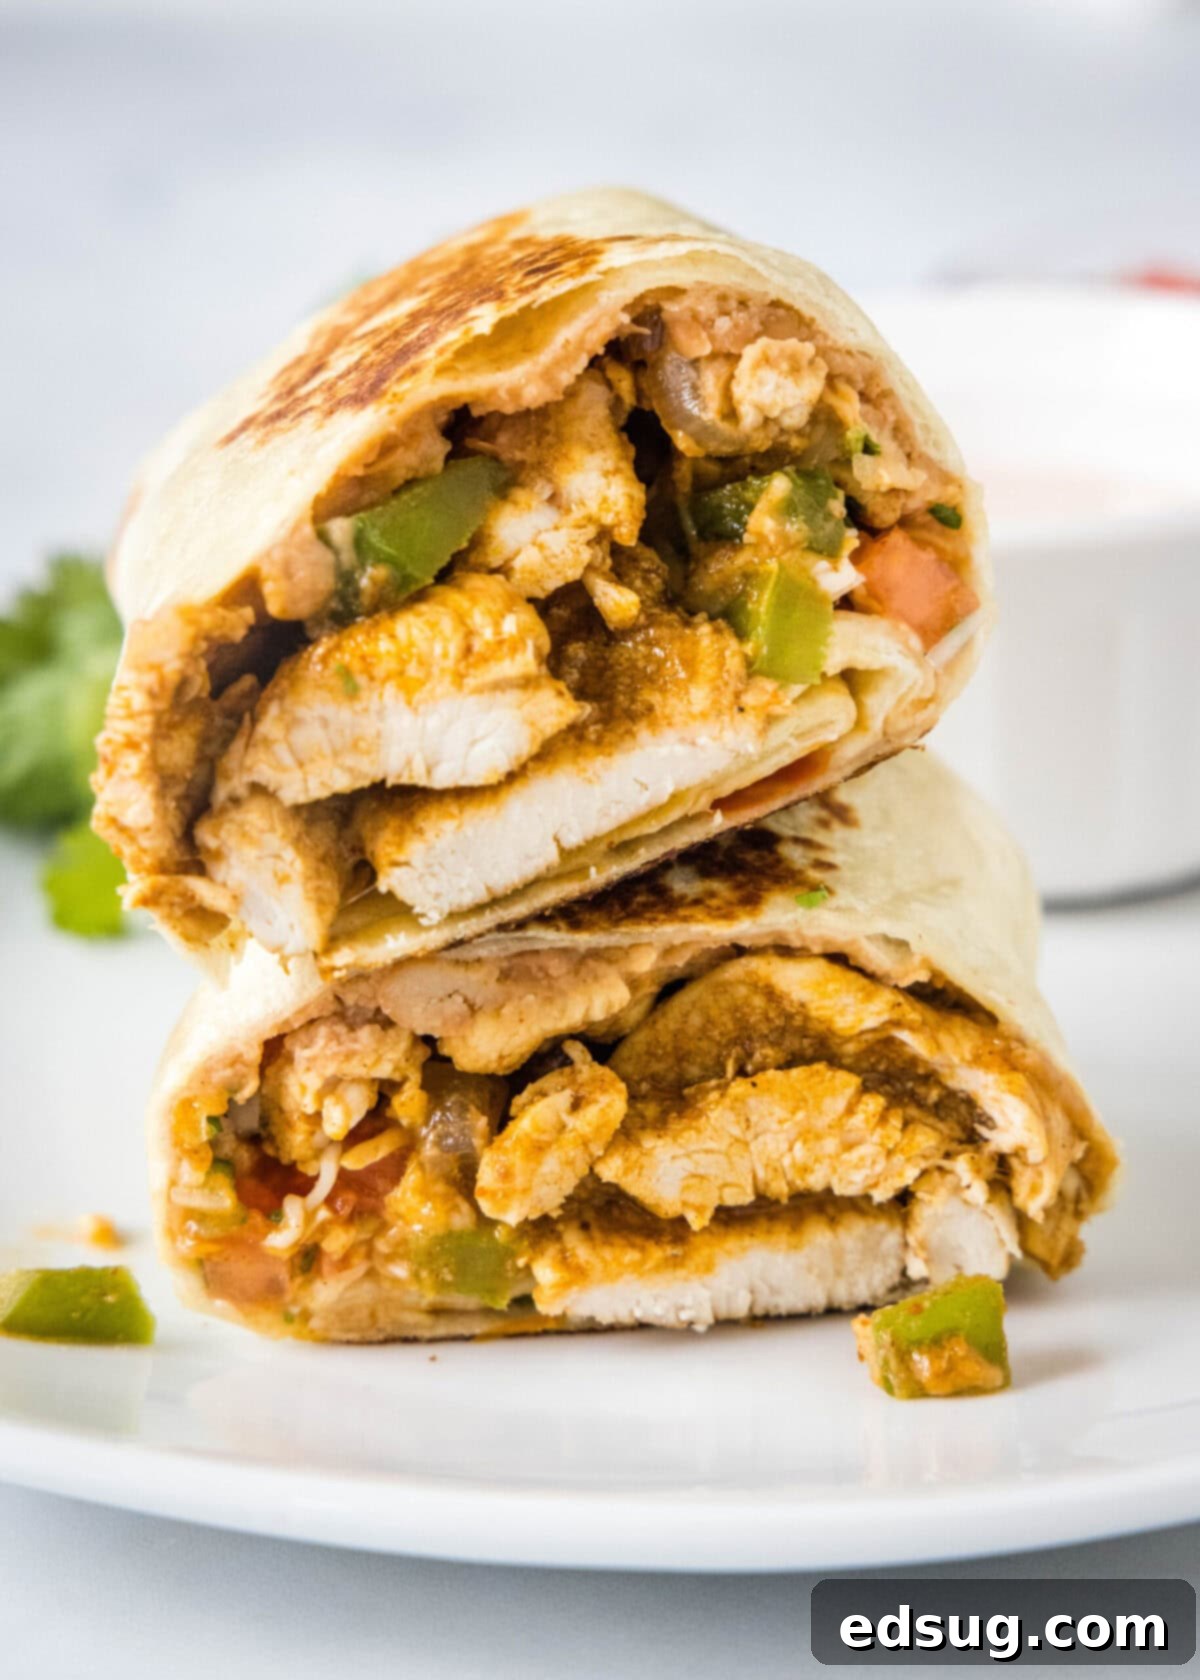
Why You’ll Love These Easy Chicken Fajita Wraps
These spicy chicken fajita wraps are a recipe I turn to time and again. Whether I’m craving vibrant Mexican flavors or just a wholesome, protein-rich meal, these wraps consistently hit the spot. Here’s why I’m confident you’ll adore them too:
- Effortlessly Easy: This recipe is incredibly straightforward to prepare, perfect for busy weeknights. With only about 20 minutes from start to finish, the simple instructions make cooking a breeze, even for novice home cooks. You’ll be amazed at how quickly you can get a delicious, restaurant-quality meal on the table.
- Incredibly Flavorful: The highlight of these fajita wraps is the intensely seasoned chicken and vegetables. Our special spice blend features seven distinct seasonings, ensuring every piece of chicken and every slice of pepper and onion is infused with deep, smoky, and spicy notes. The resulting flavor profile is complex and satisfying, far exceeding what you might expect from such an easy recipe.
- Perfectly Versatile for Any Occasion: These wraps are wonderfully adaptable. While they make an excellent, quick weeknight dinner, their portability also makes them ideal for meals on the go. Prepare them in advance for a convenient packed lunch or a quick snack, or double the batch to serve a crowd at a potluck, picnic, or casual gathering. They’re always a hit, no matter the event.
Essential Ingredients for Your Fajita Wraps
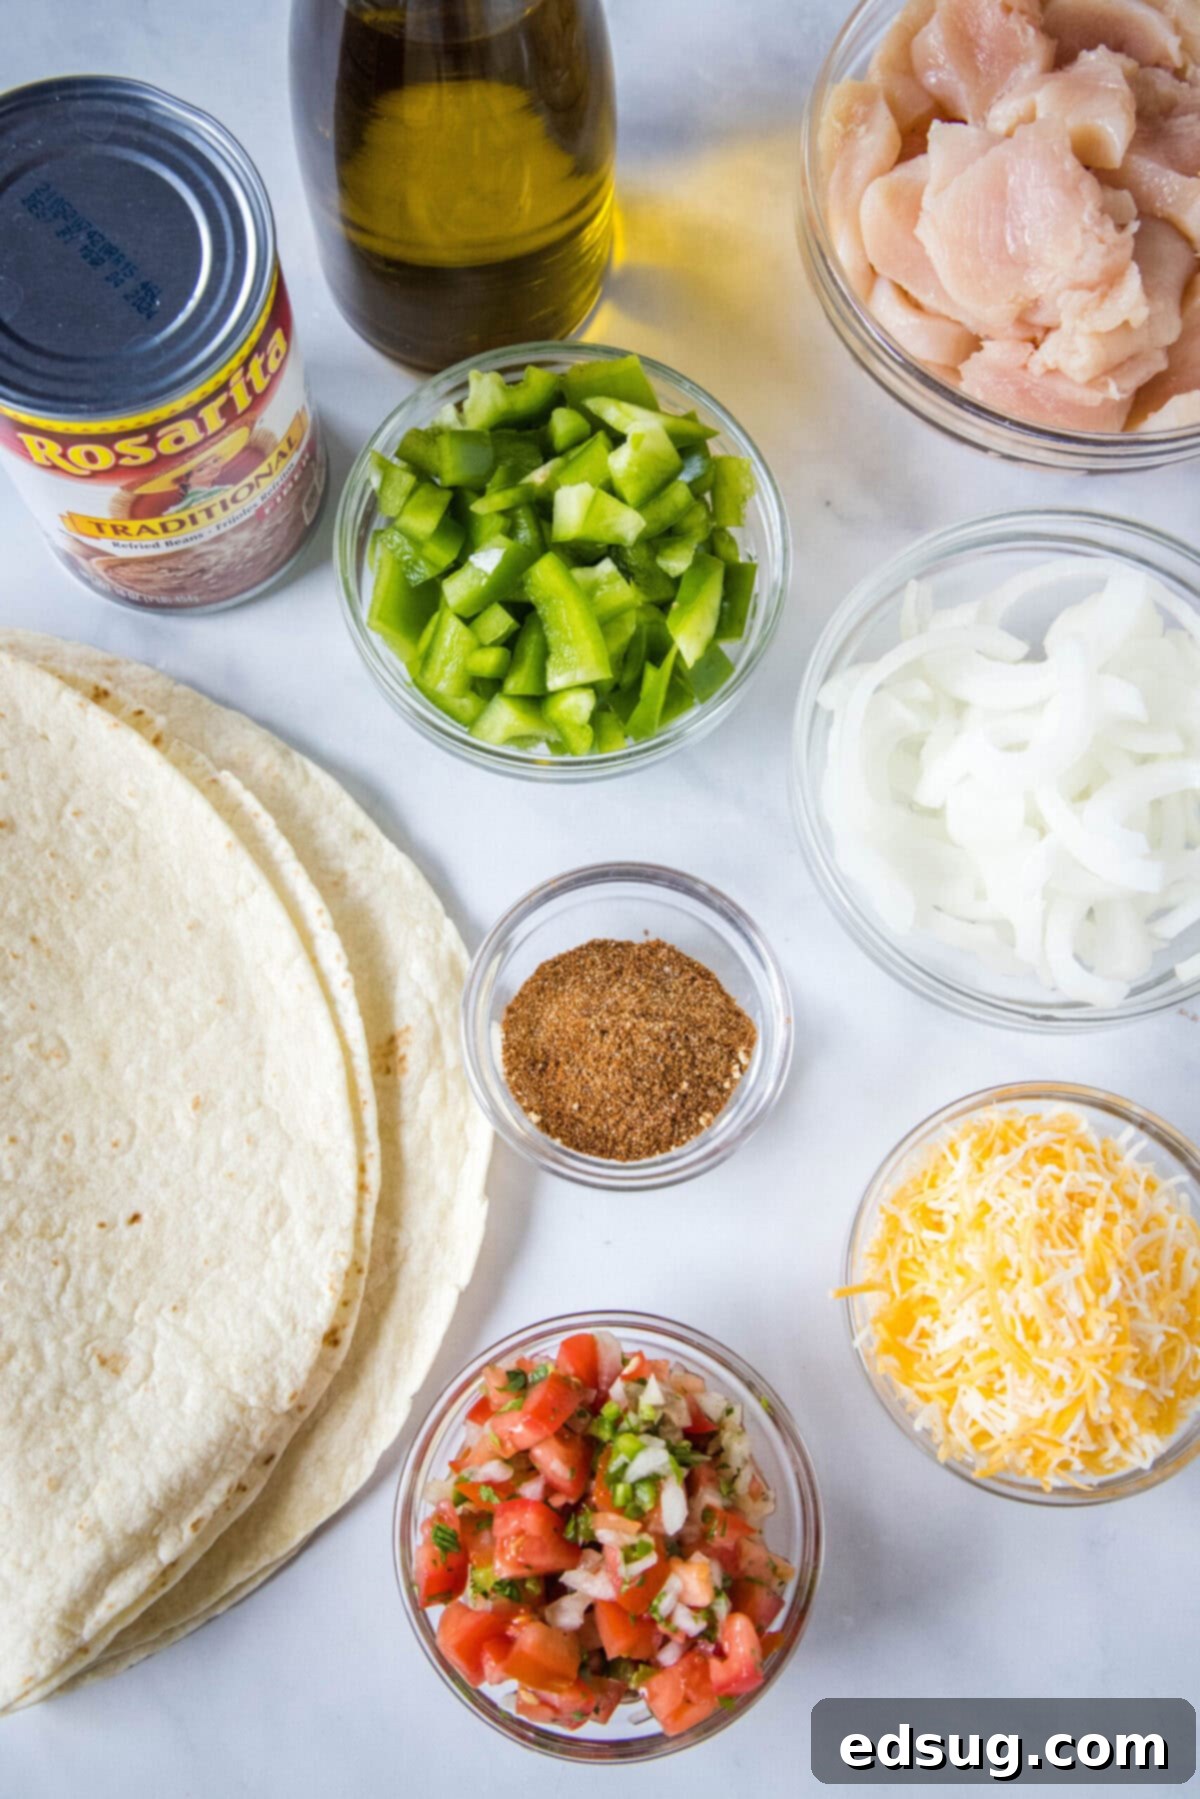
To create these mouthwatering chicken fajitas with beans and cheese, you’ll need a selection of fresh produce, quality protein, and aromatic spices. Be sure to consult the detailed recipe card at the very end of this article for precise measurements of each ingredient to ensure perfect results.
For the Flavorful Fajita Filling:
- Chicken Breasts: Boneless, skinless chicken breasts, thinly sliced, are ideal for quick cooking and tenderness. If you prefer a richer flavor, boneless chicken thighs can be used as a delicious alternative.
- Bell Pepper: Traditional recipes often call for green bell peppers, which provide a slightly bitter and crisp contrast. However, feel free to use red, yellow, or orange bell peppers for a sweeter profile and a vibrant splash of color.
- Onion: A classic yellow onion is typically recommended for its balanced flavor, but a white onion offers a sharper bite, while a red onion contributes a milder sweetness and beautiful purple hue. Any variety will work well.
- Olive Oil: Essential for sautéing the chicken and vegetables, helping them achieve a tender texture and slight char. Any high-quality cooking oil you have on hand will be suitable.
- Chili Powder: This provides a foundational warmth and a moderate level of heat, characteristic of Mexican cuisine. Adjust the amount to your preferred spice level.
- Cumin: An earthy, warm spice that is absolutely indispensable in fajita seasoning, adding a distinct depth of flavor.
- Paprika: Contributes a beautiful red color and a delightful smoky undertone, enhancing the overall aroma and taste of the fajitas. Smoked paprika can further intensify this effect.
- Garlic Powder: Offers a concentrated garlic flavor that permeates the chicken and vegetables.
- Onion Powder: Complements the fresh onion and garlic powder, adding another layer of savory depth to the spice blend.
- Salt: A crucial seasoning that balances all the flavors and brings out the best in the ingredients.
- Black Pepper: Always use freshly cracked black pepper for its pungent aroma and fresh, spicy kick.
For Assembling the Perfect Wraps:
- Flour Tortillas: Opt for burrito-sized flour tortillas. Their larger diameter and flexibility are key for holding a generous amount of filling and rolling tightly without tearing.
- Refried Beans: Creamy refried beans add a wonderfully smooth texture and rich flavor. If preferred, black beans or pinto beans (whole or mashed) can be excellent substitutes, offering a slightly different taste and texture.
- Shredded Cheese: A good quality shredded cheddar cheese or a pre-made Mexican cheese blend will melt beautifully and add a savory, creamy element. Monterey Jack or Colby Jack are also fantastic choices.
- Pico de Gallo: Whether you choose a store-bought option for convenience or prepare a batch of fresh Homemade Pico de Gallo, its vibrant freshness and tangy kick are essential for brightening the flavors of the wrap.
Step-by-Step: How to Make Chicken Fajita Wraps
Each time I prepare this recipe, I’m genuinely impressed by how simple and quick it is to create such a flavorful meal. Follow these easy steps to assemble your delicious chicken fajita wraps:
- Prepare the Fajita Mixture: In a large mixing bowl, combine the thinly sliced chicken breasts with the bell pepper and onion slices. Drizzle with olive oil, then add all the dry seasonings: chili powder, cumin, paprika, garlic powder, onion powder, salt, and black pepper. Toss everything thoroughly until the chicken and vegetables are evenly coated in the aromatic spice blend. This ensures every bite is packed with flavor.
- Cook the Filling: Heat a large skillet (cast iron works wonderfully for a nice char) over medium-high heat. Once hot, add the seasoned chicken and vegetable mixture. Cook, stirring frequently, for about 10-12 minutes, or until the chicken is fully cooked through and no longer pink, and the vegetables have softened to your desired tenderness, developing a slight caramelization on the edges. Remove the skillet from the heat.
- Assemble the Wraps: Lay out a burrito-sized flour tortilla on a clean surface. Spread 1-2 tablespoons of refried beans evenly over the center of the tortilla, leaving space around the edges for folding. Next, spoon about one-fifth of the cooked fajita mixture (chicken, peppers, and onions) onto the beans. Top with approximately 2 tablespoons of shredded cheese and 1 tablespoon of fresh pico de gallo.
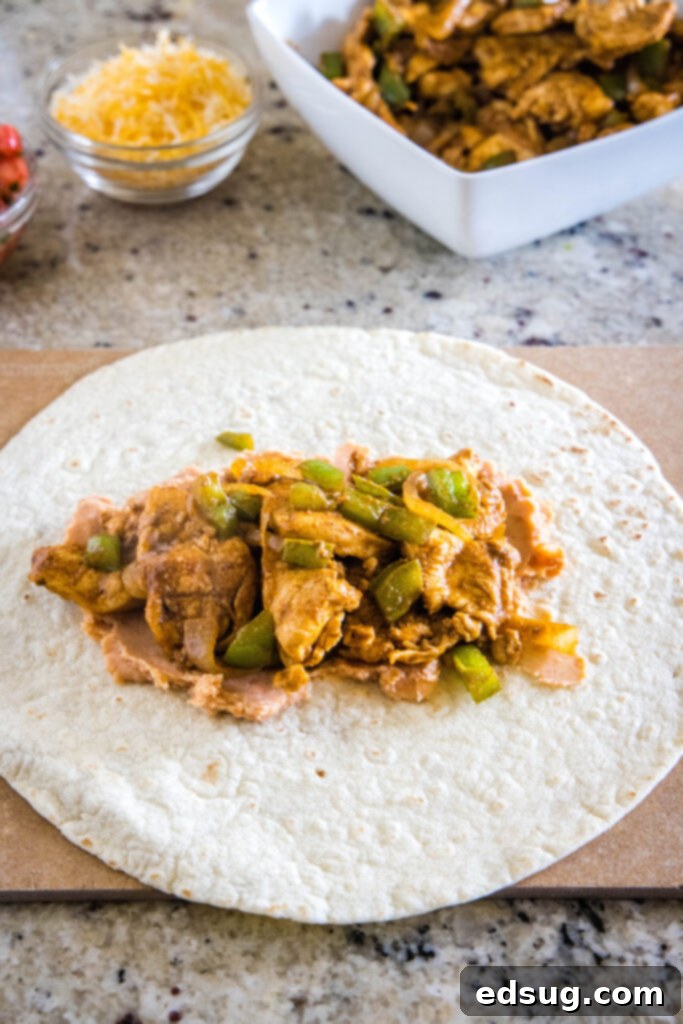
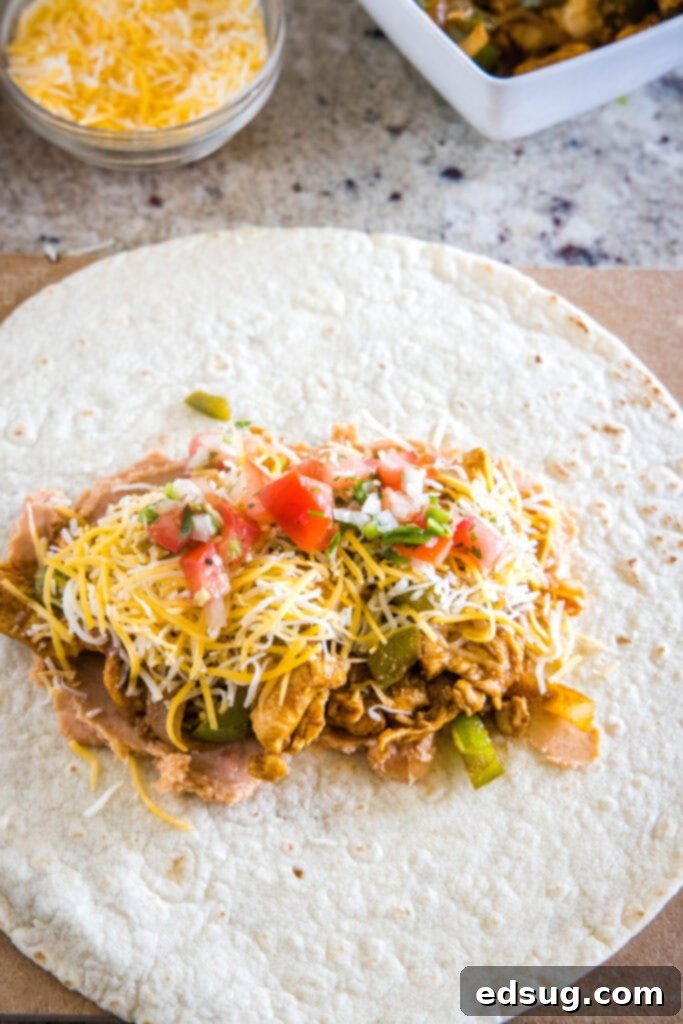
- Fold and Roll: To create a neat wrap, first fold the short edges of the tortilla inward over the filling. Then, starting from one long side, tightly roll the tortilla over the filling towards the other side, securing all the delicious contents inside.
- Repeat: Continue the assembly process with the remaining 4 tortillas and fajita mixture until all your wraps are ready.
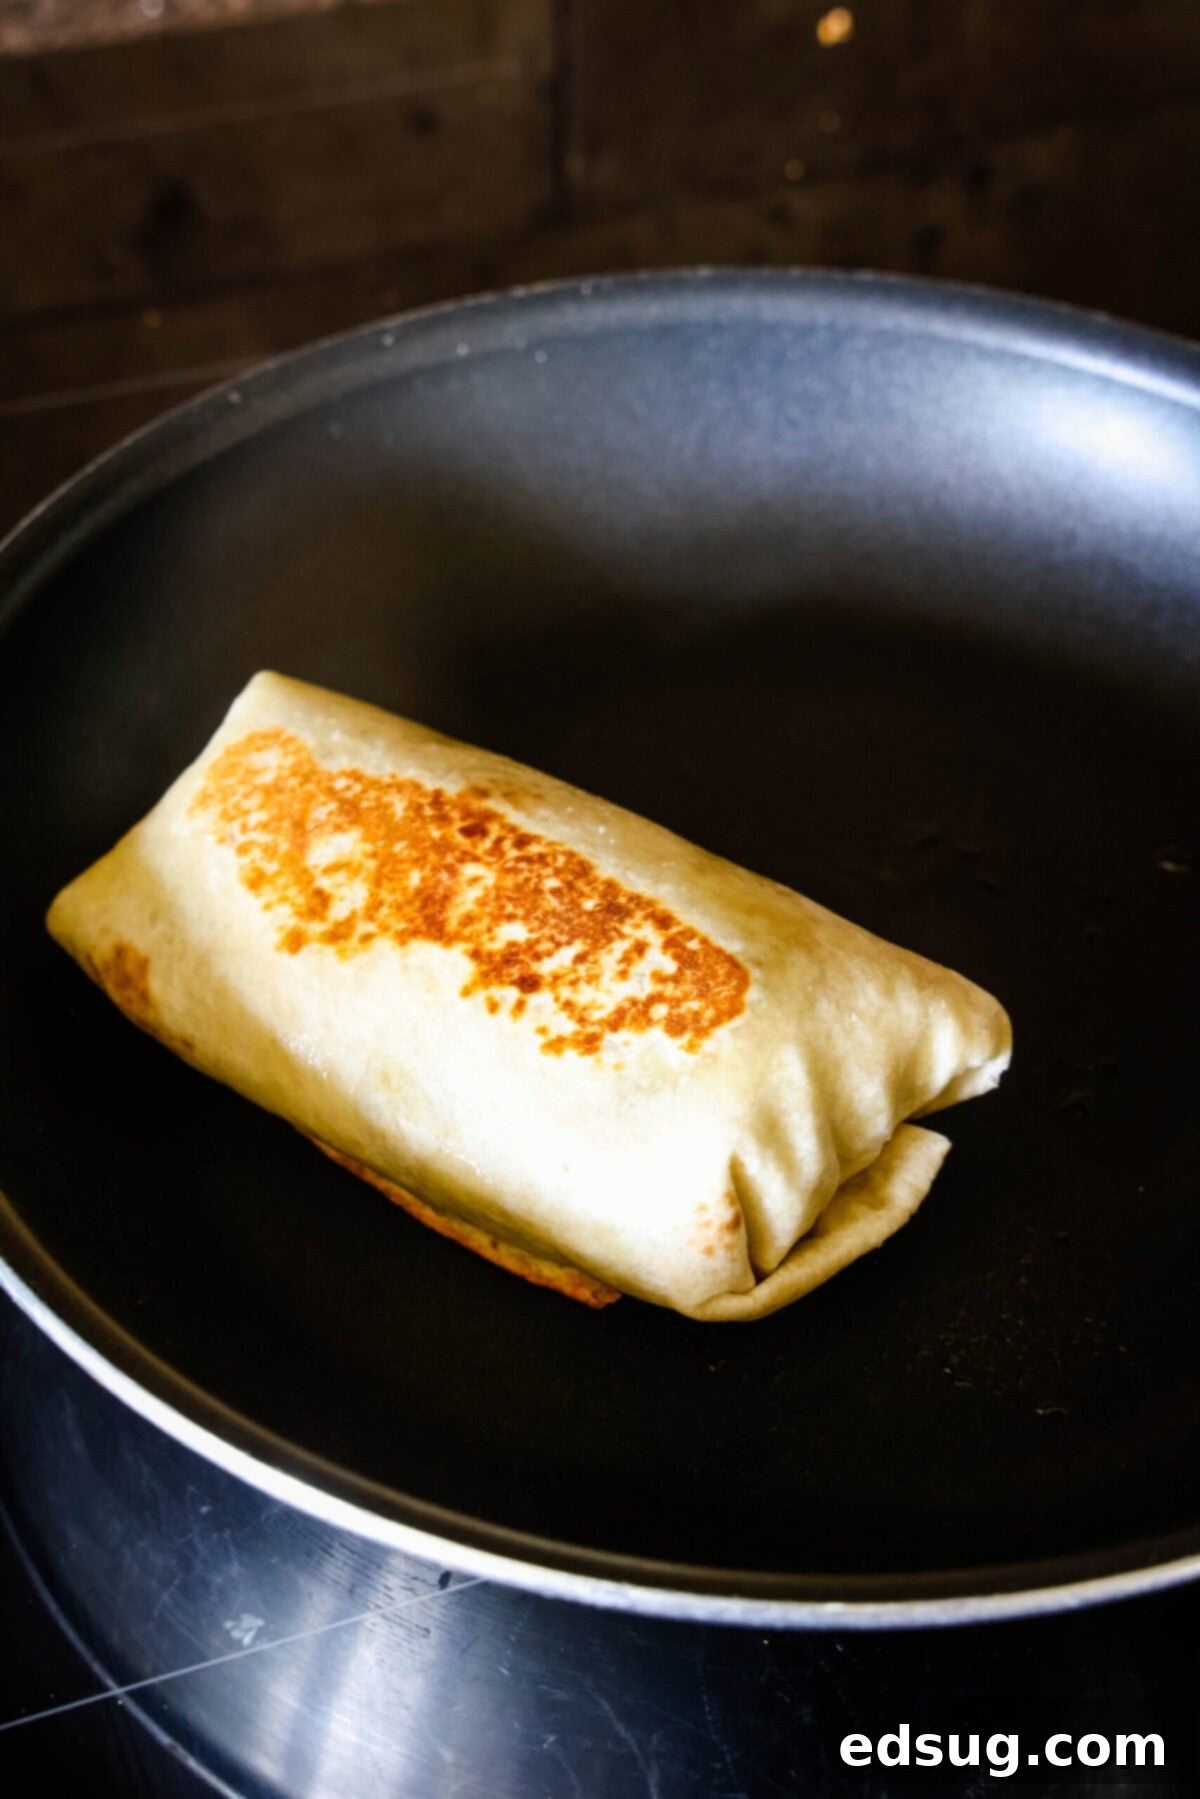
- Sear for Extra Crispiness (Optional): For an added layer of texture and a beautifully sealed wrap, heat a clean skillet over medium-high heat and add about a tablespoon of oil. Place each assembled wrap seam-side down in the hot pan and cook for about 2 minutes, or until golden brown and sealed. Flip the wrap and cook for another 2 minutes on the other side. This step also helps the cheese melt perfectly and slightly crisps the tortilla.
Expert Tips for Perfect Chicken Fajita Wraps
To ensure your smoky Mexican fajita wraps with juicy chicken turn out perfectly every time, keep these valuable tricks and tips in mind:
- Warm Your Tortillas: This is a game-changer for successful wrapping! Before you begin assembling, gently heat your tortillas. You can do this quickly in the microwave for 15-20 seconds or warm them individually on a dry skillet over medium heat for about 10-15 seconds per side. Warm tortillas become significantly more pliable and less likely to crack or tear when rolled, making assembly much easier.
- Roll Them Tightly: When folding your chicken fajita wraps, aim for a snug roll. The tighter you roll, the better the wrap will hold its shape, preventing the delicious filling from spilling out. A well-rolled wrap is not only neater to eat but also more enjoyable.
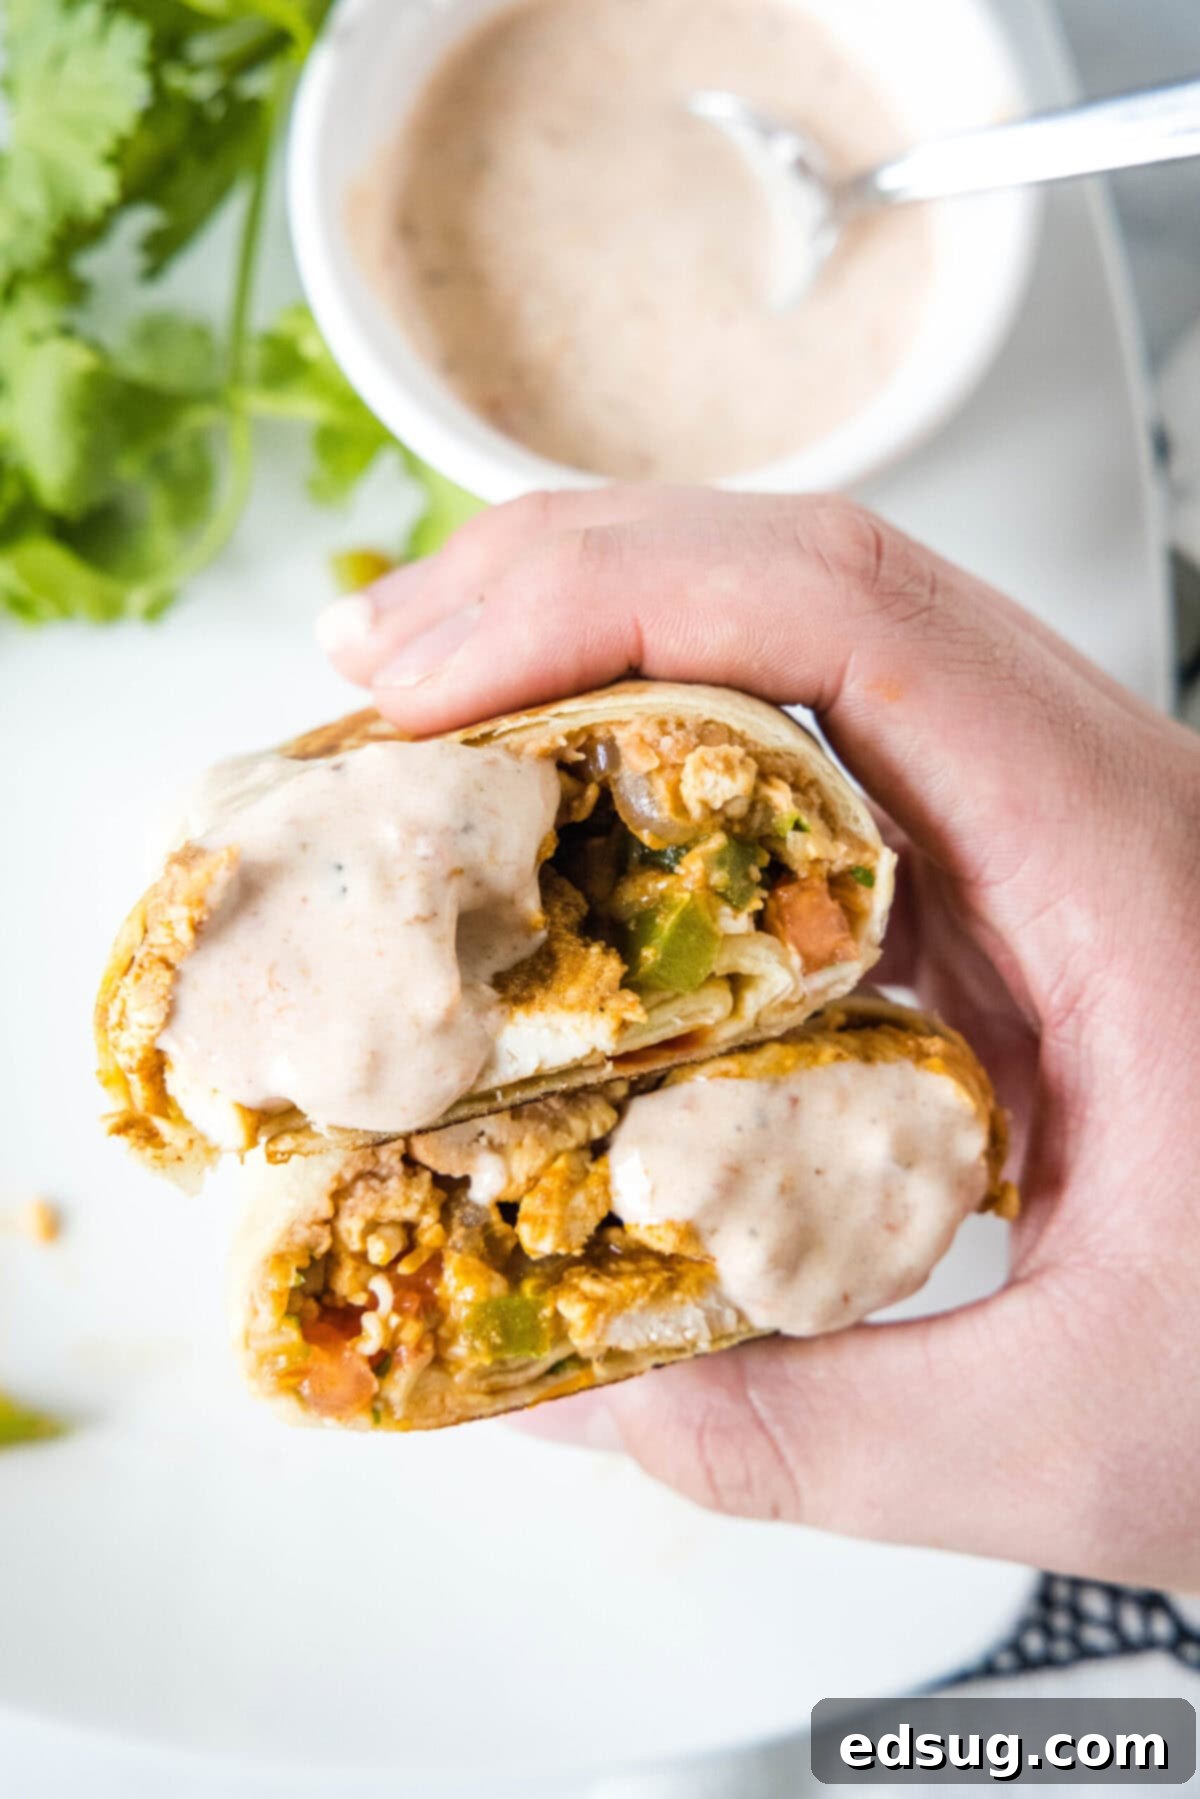
- Serve with a Complementary Sauce: While these chicken fajita wraps are fantastic on their own, they truly shine when paired with a fresh, flavorful dipping sauce. I highly recommend a creamy Mexican Ranch, which adds a cool, tangy contrast, or a rich, homemade Guacamole for an extra layer of creamy avocado goodness.
Exciting Fajita Wrap Variations
This chicken fajita wrap recipe is incredibly versatile, allowing for numerous delicious variations to suit different tastes and dietary preferences. Here are some ideas to inspire your culinary creativity:
- Boost the Veggies: Our chicken fajita wraps already feature tender bell peppers and onions, but you can easily incorporate even more vegetables for added nutrition and flavor. Consider adding sliced zucchini, yellow squash, fresh spinach (which will wilt down beautifully), broccoli florets, or even corn kernels to the fajita mix. Sautéing them alongside the chicken and bell peppers ensures they become tender and flavorful.
- Experiment with Different Proteins: While chicken is a lean, protein-packed, and affordable choice, this recipe adapts wonderfully to other meats. Try thinly sliced steak (like flank or skirt steak) for beef fajita wraps, lean ground turkey or beef, savory pork, or even quick-cooking shrimp for a seafood twist. Adjust cooking times as needed for each protein.
- Introduce Sour Cream or Crema: Mexican cuisine often benefits from a dollop of cool, tangy dairy. If you’re a fan, add a generous swirl of sour cream or authentic Mexican crema directly into the wrap along with the pico de gallo, or offer it on the side for dipping. It provides a delightful creamy contrast to the spices.
- Make it Vegetarian or Vegan: Easily transform this into a meat-free meal. Substitute the chicken with an equal amount of sliced portobello mushrooms (for a “meaty” texture), a hearty medley of your favorite vegetables (such as zucchini, corn, and black beans), or a plant-based meat alternative like plant-based chicken strips or ground crumbles. Ensure your refried beans are vegetarian (some contain lard).
- Amplify the Spice Level: This recipe delivers a pleasant warmth from the chili powder. For those who crave more heat, don’t hesitate to increase the amount of chili powder, or introduce other spicy elements. A pinch of cayenne pepper, a dash of chipotle powder for smoky heat, or fresh or pickled jalapeño slices (or even serranos for extreme heat) can take the spiciness up a notch.
Storing & Reheating Your Delicious Fajita Wraps
One of the best aspects of these smoky chicken fajita wraps is how well they store, making them perfect for meal prep. Here’s everything you need to know to enjoy your leftovers:
- Refrigeration: Any leftover assembled wraps should be stored in an airtight container in the refrigerator for up to 2 days. For longer storage and fresher wraps, it’s ideal to store the chicken fajita filling separately from the tortillas and other fresh toppings. The cooked fajita filling (chicken and veggies) will last in the fridge for up to 4 days. You can then assemble fresh wraps as you’re ready to eat them.
- Reheating: To reheat individual wraps, place them in the microwave and heat in 30-second increments until they are thoroughly warmed through. Alternatively, for a crispier exterior, wrap the fajita wraps loosely in aluminum foil and warm them in a preheated 375°F (190°C) oven for about 15 minutes, or until hot.
- Freezing: Chicken fajita wraps freeze beautifully, allowing you to prepare them far in advance. Once completely cooled, wrap each individual wrap tightly in plastic wrap, then place them in a freezer-safe airtight container or heavy-duty freezer bag. They will keep well in the freezer for up to 3 months. When ready to enjoy, thaw the wraps overnight in the refrigerator. Reheat thawed wraps in the microwave as described above, or for a frozen-to-oven option, wrap them in aluminum foil and bake in a 375°F (190°C) oven for approximately 20-25 minutes.
More Easy Mexican-Inspired Recipes
If you share my passion for vibrant Mexican cuisine, you’ll definitely want to explore some of these other fantastic and easy recipes:
- Totchos
- Mexican Coleslaw
- Sheet Pan Tacos
- Mexican Pizza
- Buffalo Chicken Quesadilla
- Mexican Rice

Fajita Wraps Recipe
Erin Sellin
5
15
20
5 servings
Rate Recipe
Print Recipe
Ingredients
For the Fajita Filling:
- 1 pound chicken breasts, thinly sliced
- 1 green bell pepper, thinly sliced
- 1 onion, thinly sliced
- 2 Tablespoons olive oil
- 2 teaspoons chili powder
- 1 1/2 teaspoons cumin
- 1 teaspoon paprika
- 1/2 teaspoon garlic powder
- 1/2 teaspoon onion powder
- 1/2 teaspoon salt
- 1/4 teaspoon black pepper
For the Wraps:
- 5 burrito-sized flour tortillas
- 1/2 cup refried beans
- 2/3 cup shredded cheese
- 1/2 cup pico de gallo
Instructions
-
Add all of the ingredients for the fajita filling (chicken, bell pepper, onion, olive oil, chili powder, cumin, paprika, garlic powder, onion powder, salt, black pepper) to a large bowl, and toss to combine until everything is well coated.
-
Heat a large skillet over medium-high heat, then add the seasoned chicken and veggie mixture.
-
Cook for 10-12 minutes, stirring frequently, until the chicken is cooked through and the vegetables are soft and slightly caramelized. Remove from the heat.
-
Spread 1-2 Tablespoons of refried beans over the center of one burrito-sized tortilla. Then, top with approximately 1/5 of the cooked fajita filling mixture.
-
Add about 2 Tablespoons of shredded cheese on top of the filling, followed by 1 Tablespoon of pico de gallo.
-
Fold over the shorter edges of the tortilla towards the center, then tightly roll the tortilla from one long side to seal the filling.
-
Repeat the assembly process with the remaining tortillas and fajita mixture.
-
Optionally, for a crispy exterior, heat a skillet over medium-high heat and add 1 Tablespoon of oil. Place each assembled wrap seam-side down and cook for 2 minutes, then flip and cook for 2 more minutes until golden brown and sealed.
-
Serve immediately with extra salsa, creamy guacamole, or a side of Mexican ranch sauce for dipping.
Notes
- Store leftover assembled wraps in an airtight container in the fridge for up to 2 days. For longer freshness, store the fajita filling separately; it will last in the fridge for up to 4 days.
- To freeze, allow wraps to cool completely, then wrap tightly with plastic wrap and store in an airtight container or freezer bag for up to 3 months.
- Reheat thawed wraps in the microwave in 30-second increments. Alternatively, wrap them in aluminum foil and heat in a 375°F (190°C) oven for 15-20 minutes.
- For the best rolling results, warm your tortillas slightly before assembling them; this makes them much more pliable.
Nutrition
Carbohydrates: 37g |
Protein: 38g |
Fat: 18g |
Saturated Fat: 6g |
Polyunsaturated Fat: 11g |
Cholesterol: 92mg |
Sodium: 811mg |
Fiber: 4g |
Sugar: 3g
Nutrition information is automatically calculated, so should only be used as an approximation.
Additional Information
I’ve created a fun and engaging group on Facebook, and I’d be absolutely delighted for you to join us! It’s a fantastic community where you can enthusiastically share YOUR favorite recipes, ask any cooking-related questions you might have, and stay completely up-to-date with all the latest happenings and new recipes from Dinners, Dishes and Desserts (ensuring you never miss out on delicious inspiration)!
Be sure to follow me on Instagram and tag #dinnersdishes so I can see all the wonderful DINNERS, DISHES, AND DESSERTS recipes YOU create!
Don’t forget to follow me on my social media channels, so you never miss a post or a new recipe update!
Facebook | Twitter | Pinterest | Instagram
