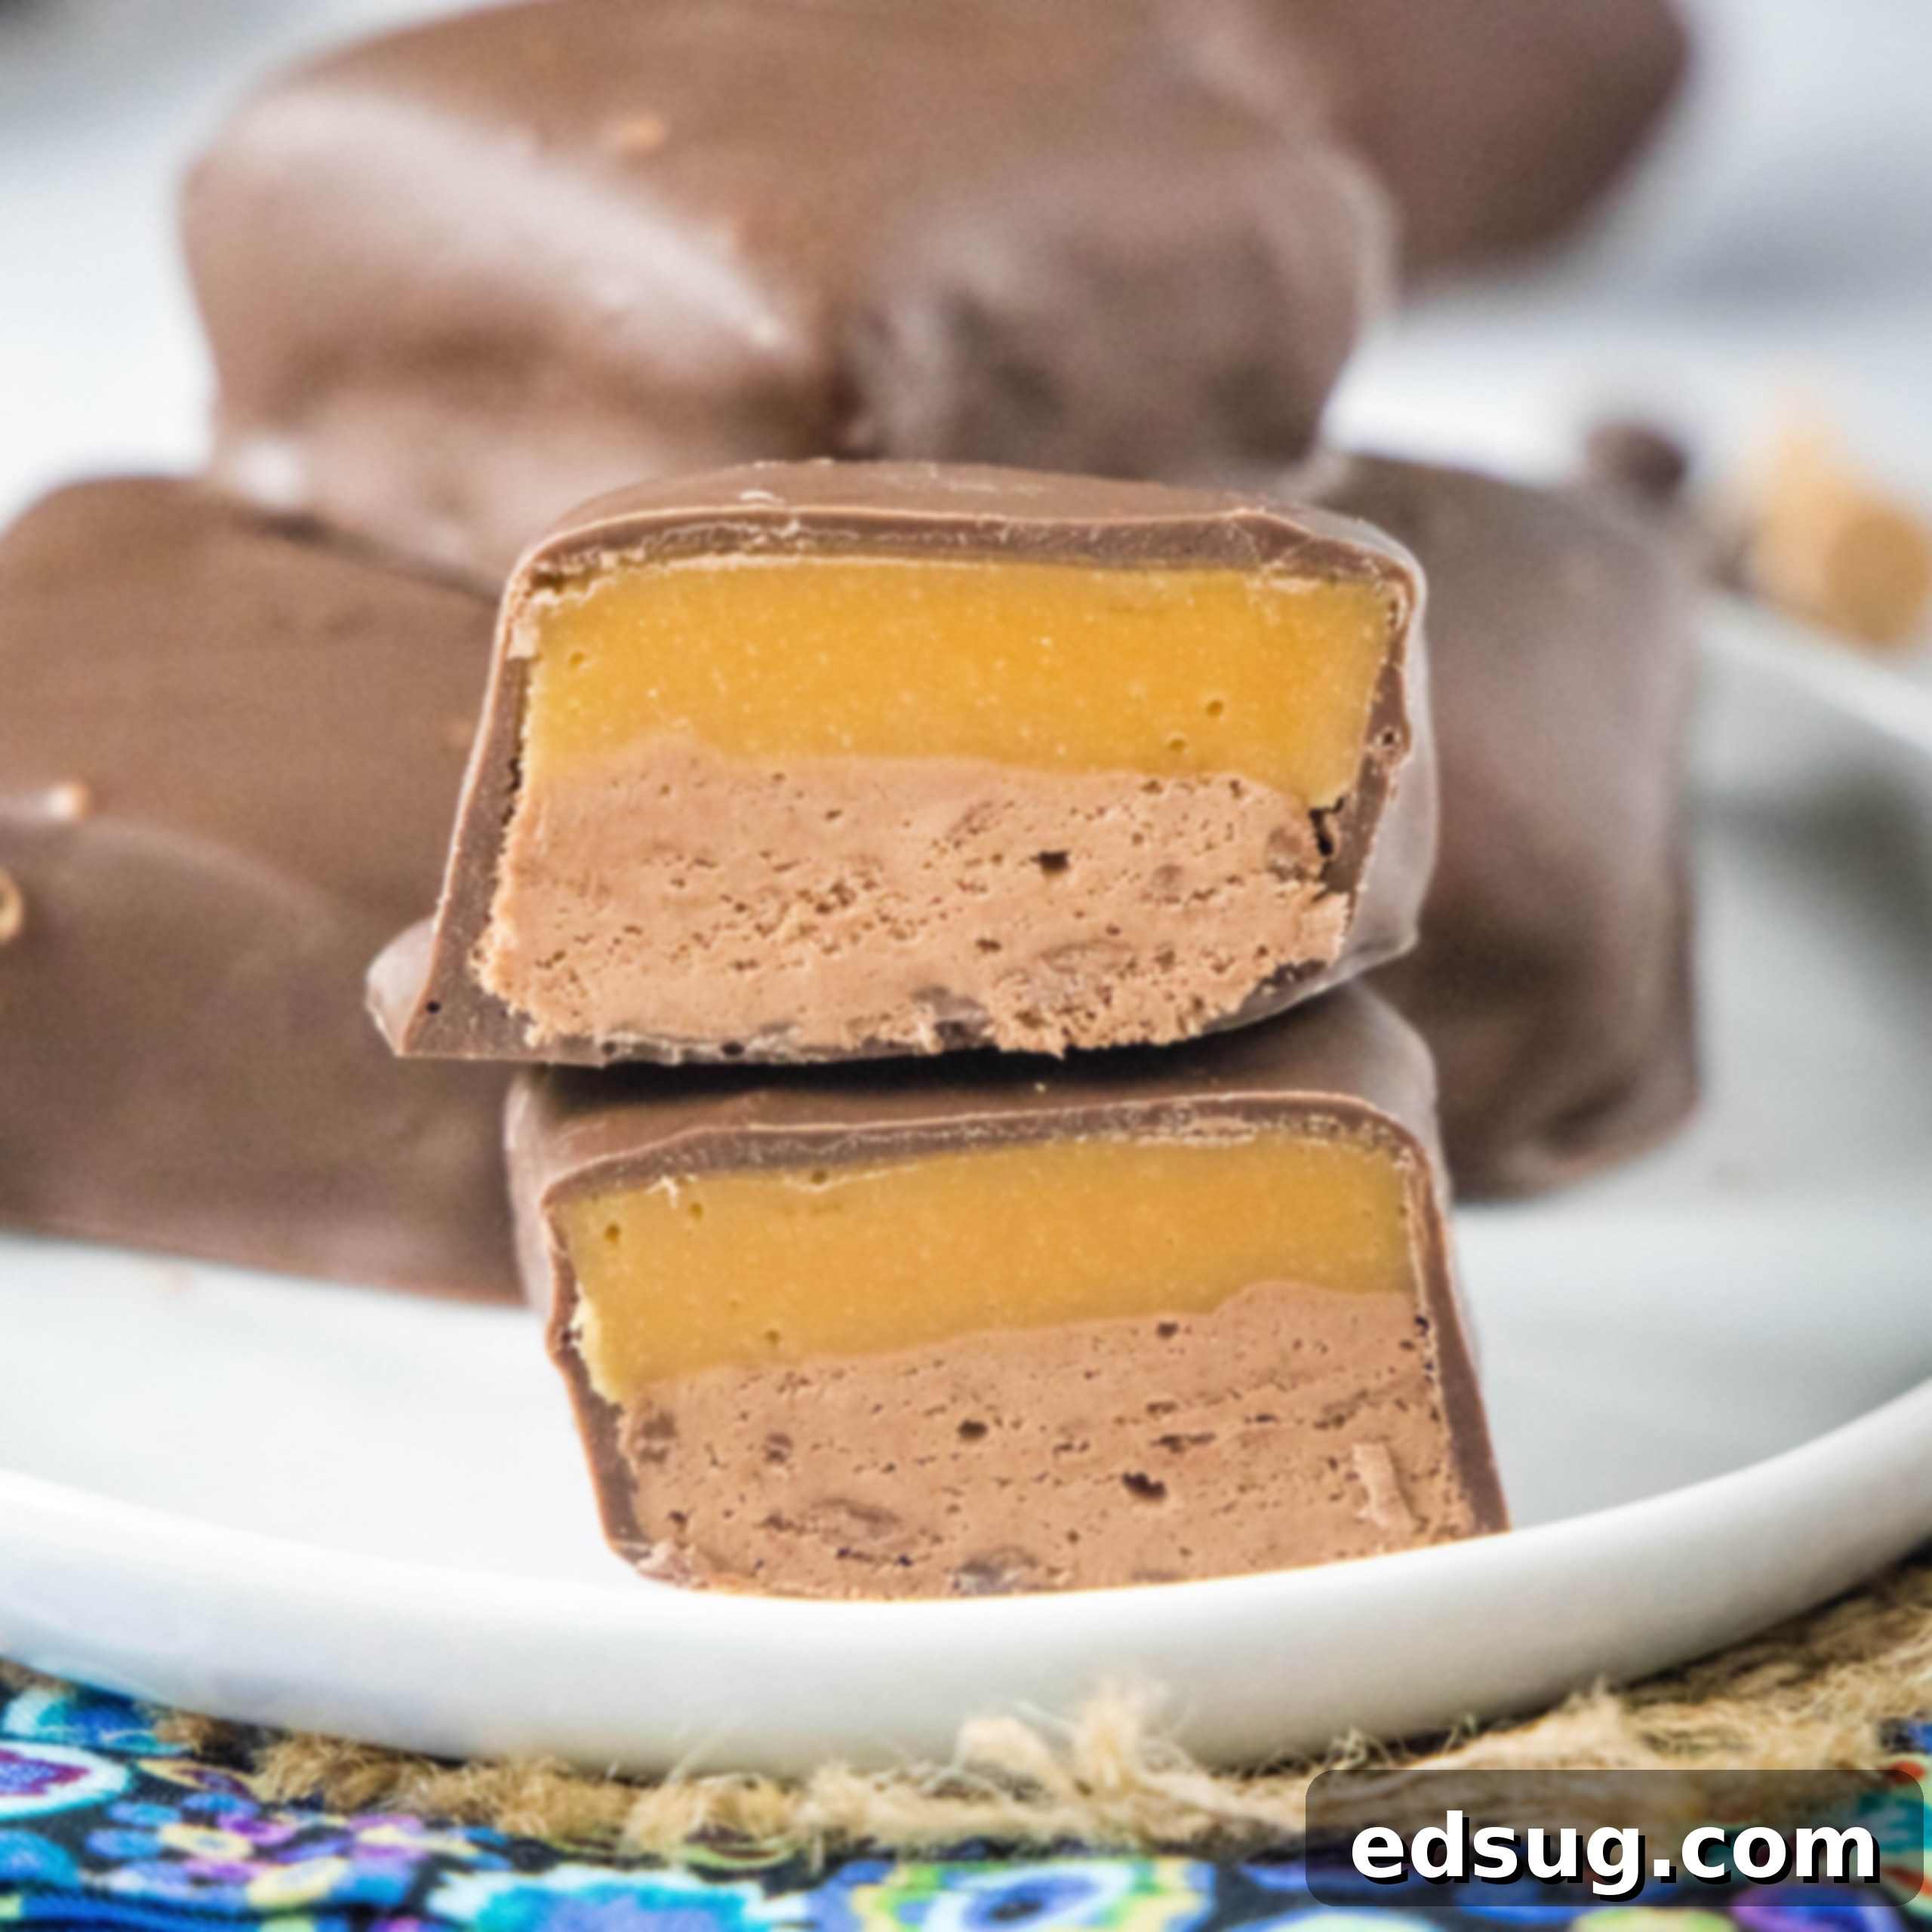
Homemade Milky Way Bars: Easy No-Bake Recipe for a Classic Chocolate Caramel Nougat Treat
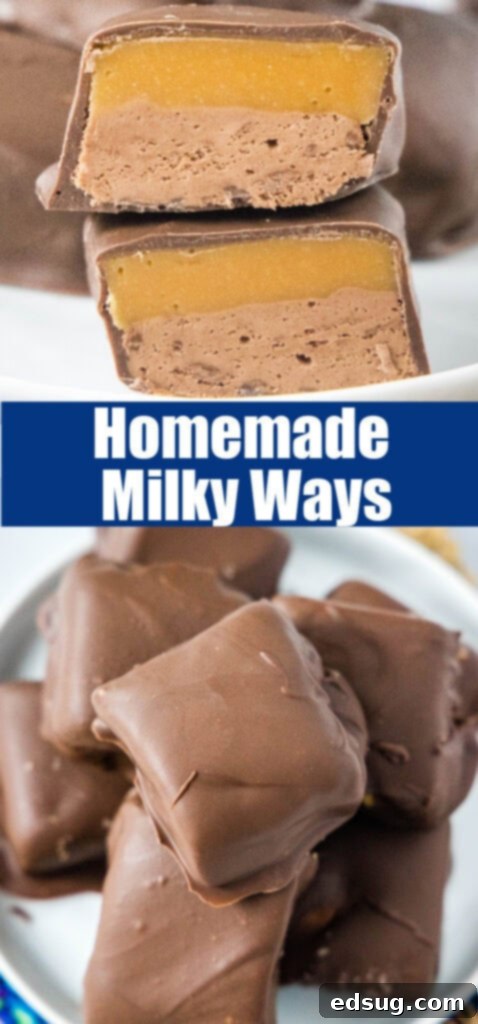
There’s a special place in our hearts for classic candy bars, and the Milky Way is undeniably one of them. With its signature blend of creamy, dreamy nougat, a luscious layer of soft caramel, and a generous coating of rich milk chocolate, it’s a symphony of textures and flavors that has captivated generations. If you, like many, grew up with a deep affection for this iconic treat, then get ready for a delightful surprise: you can recreate that magic right in your own kitchen! These homemade Milky Way bars are not just incredibly easy to make, requiring no baking whatsoever, but they often turn out even better than the store-bought version. Imagine biting into a fresh, perfectly balanced bar that captures all the nostalgia with an elevated homemade touch.
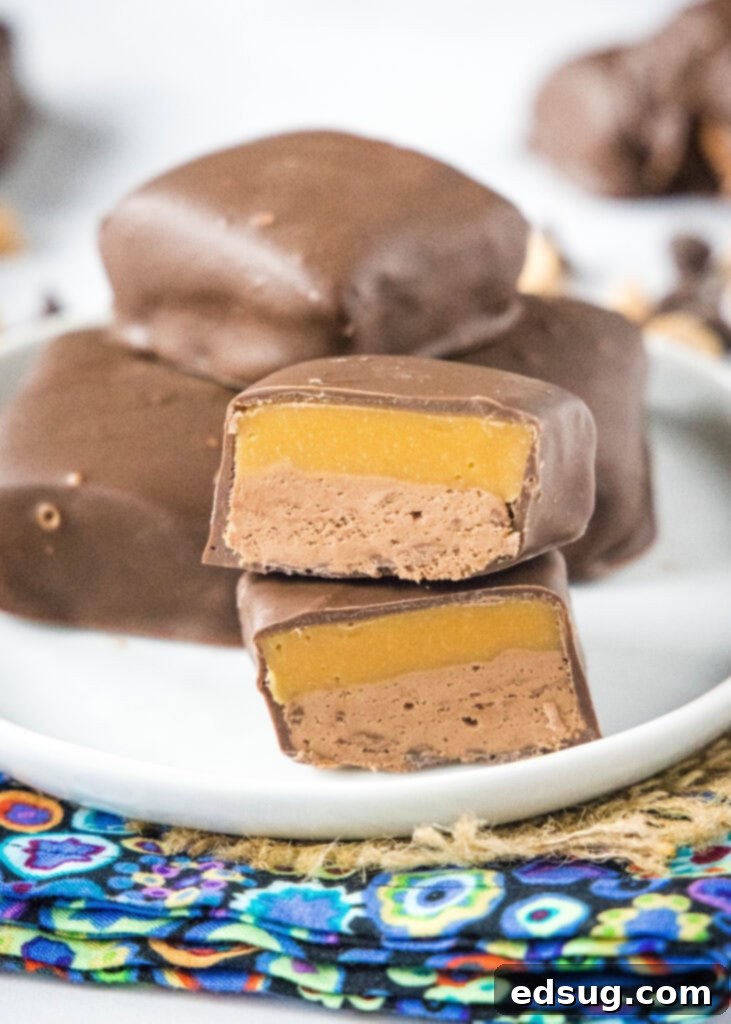
My journey with homemade candy began over a decade ago, back in 2011, when this very Milky Way recipe was one of the first creations I proudly shared on my blog. I remember crafting batches of these decadent treats as gifts for my son’s kindergarten teachers. The response was overwhelming; everyone was genuinely amazed that such a beloved candy bar could be so easily replicated at home. Fast forward eleven years, and it’s high time this phenomenal recipe received the attention it deserves. Buried beneath outdated photos and a less-than-perfect recipe format for too long, these homemade Milky Ways are finally stepping back into the spotlight. Trust me, if you have any fondness for the original, these are an absolute must-make!
Why Make Your Own Milky Way Bars?
Beyond the sheer joy of creating something delicious from scratch, there are several compelling reasons to embark on this homemade candy adventure:
- Superior Taste: While the store-bought Milky Way is fantastic, homemade versions often boast a fresher, richer flavor profile. You control the quality of ingredients, resulting in a more indulgent experience.
- Customization: Craving a darker chocolate coating? Or perhaps a hint of vanilla in your nougat? When you make them at home, you’re the boss. Adjust the sweetness, size, and even add a sprinkle of sea salt to the caramel for a gourmet twist.
- Simple Ingredients: You’ll be surprised how few ingredients are needed to achieve this complex flavor. With just five core components, you know exactly what’s going into your treat, free from preservatives and artificial flavors.
- No Baking Required: Perfect for a hot summer day or when your oven is occupied, this no-bake recipe simplifies the candy-making process, making it accessible for even novice confectioners.
- Impressive Gifting: Homemade candies make thoughtful and impressive gifts for holidays, birthdays, or just to show appreciation. These Milky Way bars are sure to be a hit!
- Fun for All Ages: The process is simple enough that kids can safely join in on some of the steps, making it a wonderful family activity.
Essential Ingredients for Homemade Milky Ways
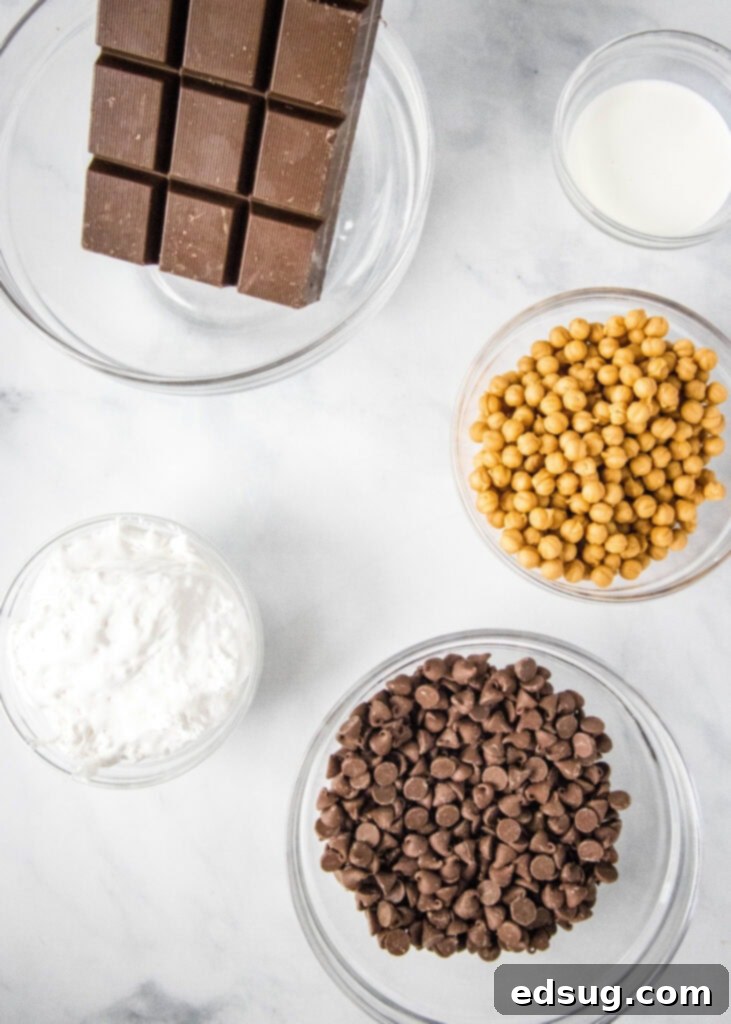
Before we dive into the creation process, let’s gather our simple yet powerful ingredients. Be sure to scroll to the bottom of the post for the FULL PRINTABLE recipe card.
- Milk Chocolate Chips: For the initial nougat layer, milk chocolate chips are perfect for mimicking the classic Milky Way flavor profile. However, feel free to experiment with semi-sweet or even a blend of chocolates if you prefer a less sweet or more complex base. High-quality chocolate chips will yield a smoother, more luxurious nougat.
- Evaporated Milk: This is a crucial ingredient for both the nougat and the caramel. Evaporated milk provides a rich creaminess and helps achieve the desired smooth consistency without adding excess liquid, which can happen with regular milk. Don’t confuse it with condensed milk; they are very different!
- Marshmallow Fluff: This is the star of our nougat layer, giving it that distinctively light, airy, and chewy texture. Store-bought marshmallow fluff works wonderfully and saves time, but if you’re feeling adventurous, homemade marshmallow fluff can take these bars to an even higher level of deliciousness.
- Caramels: You’ll need a bag of soft caramels for the gooey caramel layer. Both individual wrapped caramels (like Kraft Caramels) or caramel bits (which are unwrapped and melt easily) will work beautifully. The key is to choose a brand that melts smoothly to create that signature chewy, golden caramel.
- Chocolate Almond Bark or Dipping Chocolate: For the final coating, chocolate almond bark or dedicated melting wafers are highly recommended. These chocolates are formulated to melt smoothly, providing a thin, even, and crisp coating that sets quickly without needing tempering. While chocolate chips can be used in a pinch, they tend to be thicker and less smooth for dipping.
That’s truly it – just five fundamental ingredients stand between you and a batch of irresistible homemade Milky Ways. I’ve personally experimented with various types of caramels, from the individually wrapped soft chews to convenient caramel bits. The type you choose isn’t as critical as ensuring they melt down into a luxuriously smooth consistency when combined with evaporated milk.
Crafting Your Homemade Milky Way Bars: A Step-by-Step Guide
Making these classic candy bars at home is surprisingly simple, especially since no oven is required. Just follow these steps, and you’ll be enjoying your own luscious Milky Ways in no time.
- Prepare the Chocolate Nougat Base: In a microwave-safe bowl, combine your milk chocolate chips with 3 tablespoons of evaporated milk. Microwave for 45 seconds. Remove the bowl and stir the mixture thoroughly. If the chocolate hasn’t fully melted and become smooth, return it to the microwave, heating in short 10-second intervals. Stir well after each interval until the chocolate is completely melted and glossy. This gentle heating prevents the chocolate from seizing.
- Fold in the Marshmallow Fluff: Once your chocolate mixture is smooth, add the marshmallow fluff to the bowl. Stir vigorously until the marshmallow fluff is fully incorporated and the mixture is uniform, creating a light and airy nougat consistency. It might seem sticky at first, but keep stirring until it’s cohesive.
- Form the Nougat Layer: Line an 8-inch square pan with parchment paper, leaving an overhang on the sides to easily lift the candy later. Pour the chocolate nougat mixture into the prepared pan and spread it evenly to cover the bottom. Place the pan in the refrigerator to allow the nougat to firm up while you prepare the caramel. Be careful not to let it set for too long at this stage, as excessively firm nougat can sometimes lead to layers separating. About 15-20 minutes is usually sufficient.
- Create the Creamy Caramel Layer: In another microwave-safe bowl, combine the unwrapped caramels and the remaining evaporated milk. Heat in the microwave for 1 minute. Remove and stir. Continue heating in 10-second intervals, stirring thoroughly after each one, until the caramel is completely melted and perfectly smooth. This gradual heating is crucial to ensure the caramel remains soft and gooey, rather than becoming hard or grainy.
- Assemble and Chill: Carefully pour the warm, smooth caramel over the slightly set chocolate nougat layer in the pan, spreading it gently to create an even topping. Return the pan to the refrigerator for at least 4 hours, or until both layers are thoroughly firm and set. Chilling ensures that the bars hold their shape beautifully when cut.
- Cut into Bars: Once the candy is completely set, use the parchment paper overhang to lift the entire block out of the baking dish and place it onto a clean cutting board. Using a sharp knife (you can lightly warm it for cleaner cuts), slice the candy into your desired bar or square sizes. For authentic Milky Way bars, aim for rectangular shapes.
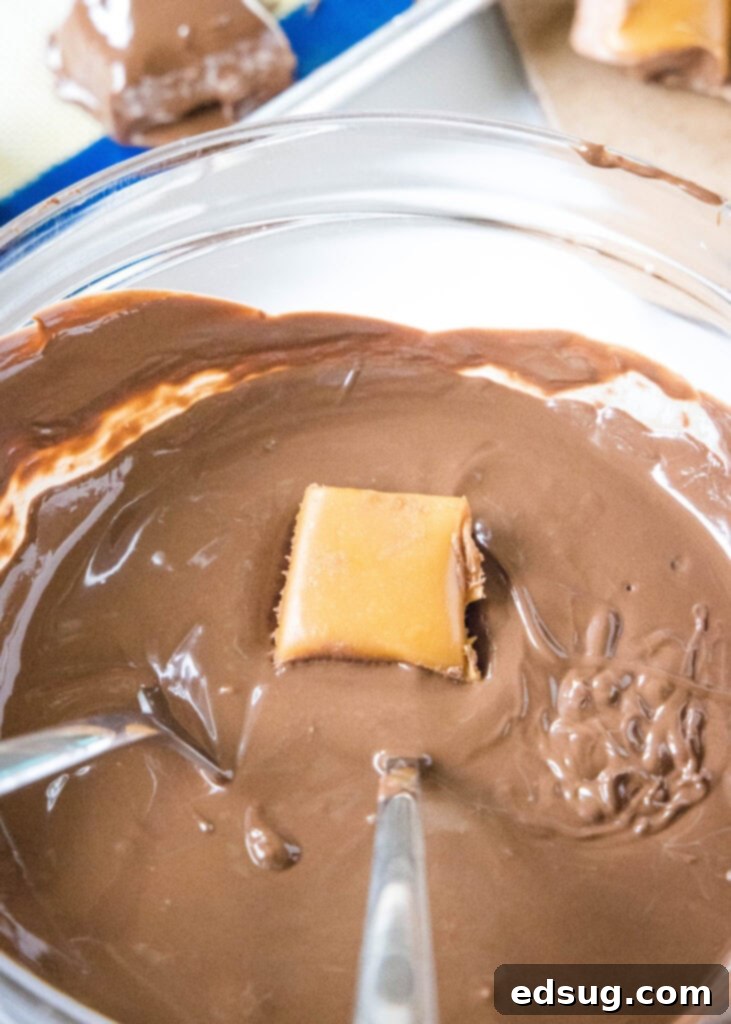
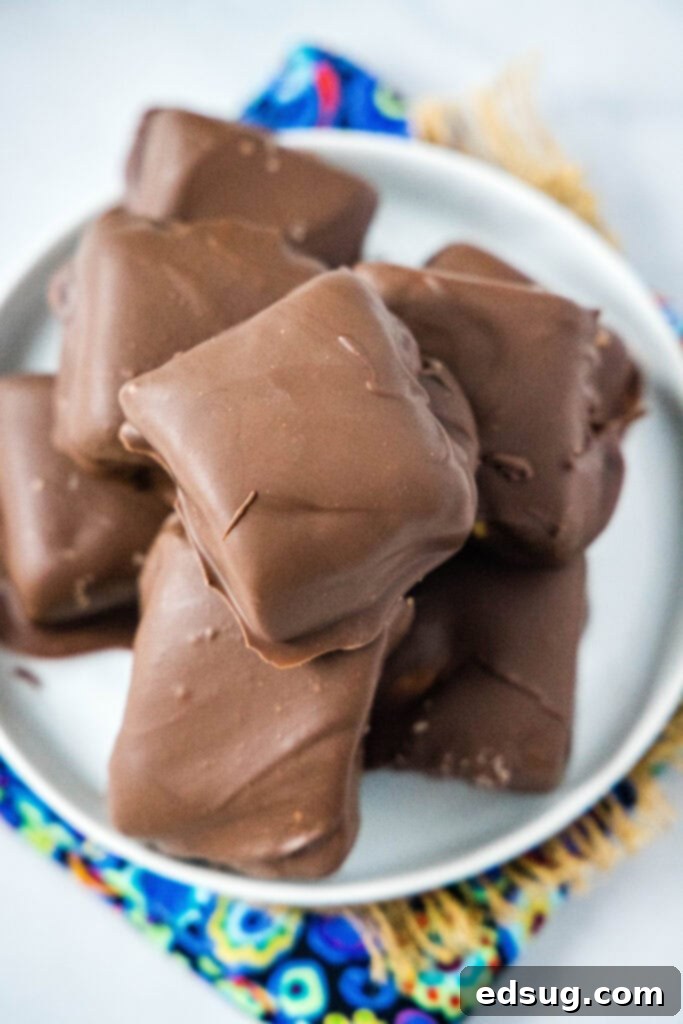
- Dip in Chocolate Coating: Melt your chocolate almond bark or dipping chocolate according to package directions. You can do this in the microwave (short bursts, stirring often) or over a double boiler. Using two forks, carefully dip each nougat and caramel square into the melted chocolate, ensuring it’s fully coated. Lift the bar out, allowing excess chocolate to drip off, then place it on a baking sheet lined with parchment paper or wax paper. Repeat with the remaining pieces. Allow the chocolate-dipped bars to set at room temperature or briefly in the fridge until the coating is firm and shiny.
Storing Your Delicious Homemade Milky Ways
To keep your homemade Milky Way bars fresh and perfectly structured, proper storage is key. Store them in an airtight container at room temperature for up to a week. However, I personally prefer to store them in the refrigerator, especially if your home tends to be warm, as this keeps the chocolate coating firm and prevents the nougat and caramel from becoming too soft or sticky. If stored in the fridge, let them sit out for about 10-15 minutes before serving to allow them to soften slightly for the best texture and flavor. These bars can also be frozen for longer storage (up to 2-3 months) in a freezer-safe, airtight container, separated by parchment paper. Thaw in the refrigerator before enjoying.
One of the truly wonderful aspects of making these classic candy bars at home is the freedom to customize their size. Whether you prefer dainty, bite-sized morsels for a party platter or substantial, full-sized candy bars reminiscent of their commercial counterparts, you have complete control. This versatility makes them perfect for any occasion!
Recipe Tips & Tricks for Perfect Homemade Milky Ways
Achieving candy bar perfection is within your reach with these helpful tips and tricks:
- Patience is a Virtue: The most critical advice for this recipe is to take your time, especially when melting the caramels and chocolate. Heating them too quickly or at too high a temperature can cause the chocolate to seize or the caramel to become hard, grainy, or even burnt. Use short intervals and stir diligently after each, ensuring smooth, gooey results. Gentle heat is your best friend here.
- Choose Your Dipping Chocolate Wisely: While chocolate chips are great for the nougat, they aren’t ideal for the outer coating. Chocolate almond bark or dedicated melting wafers (sometimes labeled “dipping chocolate” or “candy melts”) are superior for dipping. They contain stabilizers that allow them to melt smoothly and set quickly with a beautiful, glossy finish without needing complex tempering. This results in a much more professional-looking and satisfying outer shell.
- Work in Batches for Dipping: If you’re new to dipping candy or if your kitchen is warm, it’s a good idea to melt only half of your dipping chocolate at a time. Similarly, take out only half of your cut candy bars from the fridge to dip. This strategy helps keep the melting chocolate at an optimal, smooth consistency and prevents the candy from warming up too much while you work, ensuring a cleaner, faster dip.
- Customize the Chocolate Coating: The recipe calls for milk chocolate to perfectly mimic the store-bought Milky Way. However, if you find the original a bit too sweet, or simply prefer a different flavor profile, don’t hesitate to use dark chocolate or semi-sweet chocolate for the outer coating. This small change can dramatically alter the taste, offering a more sophisticated, less sugary candy bar.
- Flavor Enhancements: For an extra layer of flavor, consider adding a tiny dash of vanilla extract or a pinch of sea salt to your caramel layer. The salt can beautifully balance the sweetness of the caramel and chocolate.
- Pan Size Matters: Using an 8-inch square pan yields bars of a certain thickness. If you prefer thinner bars, you could use a 9×13-inch pan, but be aware that the layers will be thinner, and you might need to adjust chilling times slightly.
- Preventing Layer Separation: Ensure your chocolate nougat layer is sufficiently chilled to be firm, but not rock-hard, before pouring the caramel over it. If the nougat is too warm, the caramel might sink; if it’s too cold and completely solid, the layers might not adhere as well.
- Creative Presentation: Once the chocolate coating has set, you can drizzle extra melted chocolate (in a contrasting color, perhaps white chocolate) over the bars for a decorative touch. A sprinkle of sea salt on top of the wet chocolate coating before it sets also adds a gourmet appeal.
Explore More Delightful Dessert Recipes
If you’ve enjoyed crafting these homemade Milky Ways, you’ll love exploring other creative and delicious dessert recipes. Here are some more of my favorites that are perfect for satisfying any sweet tooth, from classic cookies to unique candy creations:
- Oreo Stuffed Chocolate Chip Cookies: A decadent mashup of two beloved treats.
- Homemade Reese’s Peanut Butter Cups: Better than store-bought, with customizable fillings.
- Peanut Butter Balls (Buckeyes): A classic no-bake treat with a rich peanut butter center.
- Homemade Snickers Bars: Another iconic candy bar, made from scratch.
- Cookie Dough Truffles: Edible cookie dough, covered in chocolate – what’s not to love?
- Homemade Turtle Candies: Crunchy pecans, chewy caramel, and smooth chocolate.
- Nutella Oreo Truffles: Simple, indulgent, and incredibly popular.
- Cornflake Cookies: A delightful no-bake cookie with a satisfying crunch.
Homemade Milky Ways
Pin Recipe
Rate Recipe
Print Recipe
Ingredients
- 1 11.5 oz bag milk chocolate chips
- 6 Tablespoons evaporated milk, divided
- 1 7 oz container Marshmallow fluff
- 1 11 oz bag of caramels, unwrapped
- 1 pound chocolate almond bark or milk dipping chocolate
Instructions
-
Add chocolate chips and 3 Tablespoons of evaporated milk to a microwave safe bowl. Microwave for 45 seconds, remove and stir. If your chocolate isn’t melted, return to the oven and heat for 10 second intervals, stirring well after each time until the chocolate is completely melted.
-
Stir in the marshmallow fluff until completely combined.
-
Pour into an 8-inch square pan that is lined with parchment paper. Place in fridge to set up, while you melt the caramel.
-
Place caramels and evaporated milk in a microwave safe bowl and heat for 1 minute. Remove and stir. Repeat with 10 second intervals, stirring after each time, until the caramel is completely melted and smooth.
-
Pour caramel over the chocolate layer and place in the fridge for about 4 hours, or until they are completely set up.
-
Using the parchment paper, lift the candy out of the baking dish, and place on a cutting board. Cut into squares.
-
Melt almond bark, and using 2 forks, dip squares of candy in chocolate. Place on a lined baking sheet to set up.
Nutrition
Nutrition information is automatically calculated, so should only be used as an approximation.
Additional Info
Like this recipe? Leave a comment below!
I’ve created a fun and vibrant community group on Facebook, and I’d be absolutely thrilled for you to join us! It’s a fantastic place where you can freely share YOUR favorite recipes, ask questions, exchange cooking tips, and stay updated on all the exciting new content at Dinners, Dishes and Desserts (ensuring you never miss a delicious new recipe!).
Be sure to follow me on Instagram and
tag #dinnersdishes so I can see all the wonderful DINNERS, DISHES, AND DESSERTS
recipes YOU create and share with your loved ones! I love seeing your culinary masterpieces!
Don’t miss out on any updates! Be sure to follow me on all my social media channels, so you
never miss a post, a new recipe, or a kitchen adventure!
Facebook | Twitter | Pinterest | Instagram
.
