Hearty & Flavorful: The Ultimate Copycat Wendy’s Chili Recipe You Must Try
There’s nothing quite like a warm, comforting bowl of chili, especially one that takes you back to a beloved restaurant favorite. This copycat Wendy’s Chili recipe is meticulously crafted to be thick, hearty, and bursting with the bold, familiar flavors you adore, mirroring the experience of the popular fast-food classic. Made with a rich blend of seasoned ground beef, tender beans, robust tomatoes, and a secret medley of spices, it’s more than just a meal – it’s a cozy embrace in a bowl, perfect for any occasion.
If you’re a true enthusiast of Wendy’s legendary chili, renowned for its comforting taste and satisfying texture, you’re going to absolutely love recreating this iconic version right in your own kitchen. This homemade rendition is generously packed with plenty of savory ground beef, a harmonious combination of two distinct kinds of beans (kidney and pinto), a variety of high-quality tomatoes, and precisely the right blend of aromatic spices to achieve that unmistakable, signature flavor profile. It’s a culinary journey that brings the taste of your favorite drive-thru right to your dinner table, but with the added satisfaction of knowing you made it yourself.

Beyond its incredible taste, this Wendy’s Chili recipe truly stands out for its remarkable ease of preparation. The beauty of this dish lies in its simplicity, as everything comes together effortlessly in a single pot. Once combined, it simmers gently on the stove, allowing the flavors to meld and deepen while you attend to other tasks or simply relax. This makes it an ideal choice for a multitude of scenarios: whether you’re planning to feed a hungry crowd at a gathering, looking to efficiently meal prep for a busy week ahead, or simply find yourself craving a deeply satisfying and warm bowl of chili on a chilly evening. Its versatility and straightforward cooking process make it a go-to recipe for both novice cooks and seasoned chefs alike.
For those who appreciate the convenience and rich flavors developed by slow cooking, this recipe is incredibly adaptable to a Crockpot Chili method. Imagine the tantalizing aroma filling your home all day as it slowly simmers to perfection, waiting to be served when you’re ready. When paired with a generous slice of the Best Cornbread, baked to a golden crisp, you create a truly unforgettable meal that embodies comfort food at its finest. This classic combination provides a perfect balance of textures and flavors, making it one of the most heartwarming and delicious dinners you can prepare.
Key Ingredients for the Perfect Copycat Wendy’s Chili
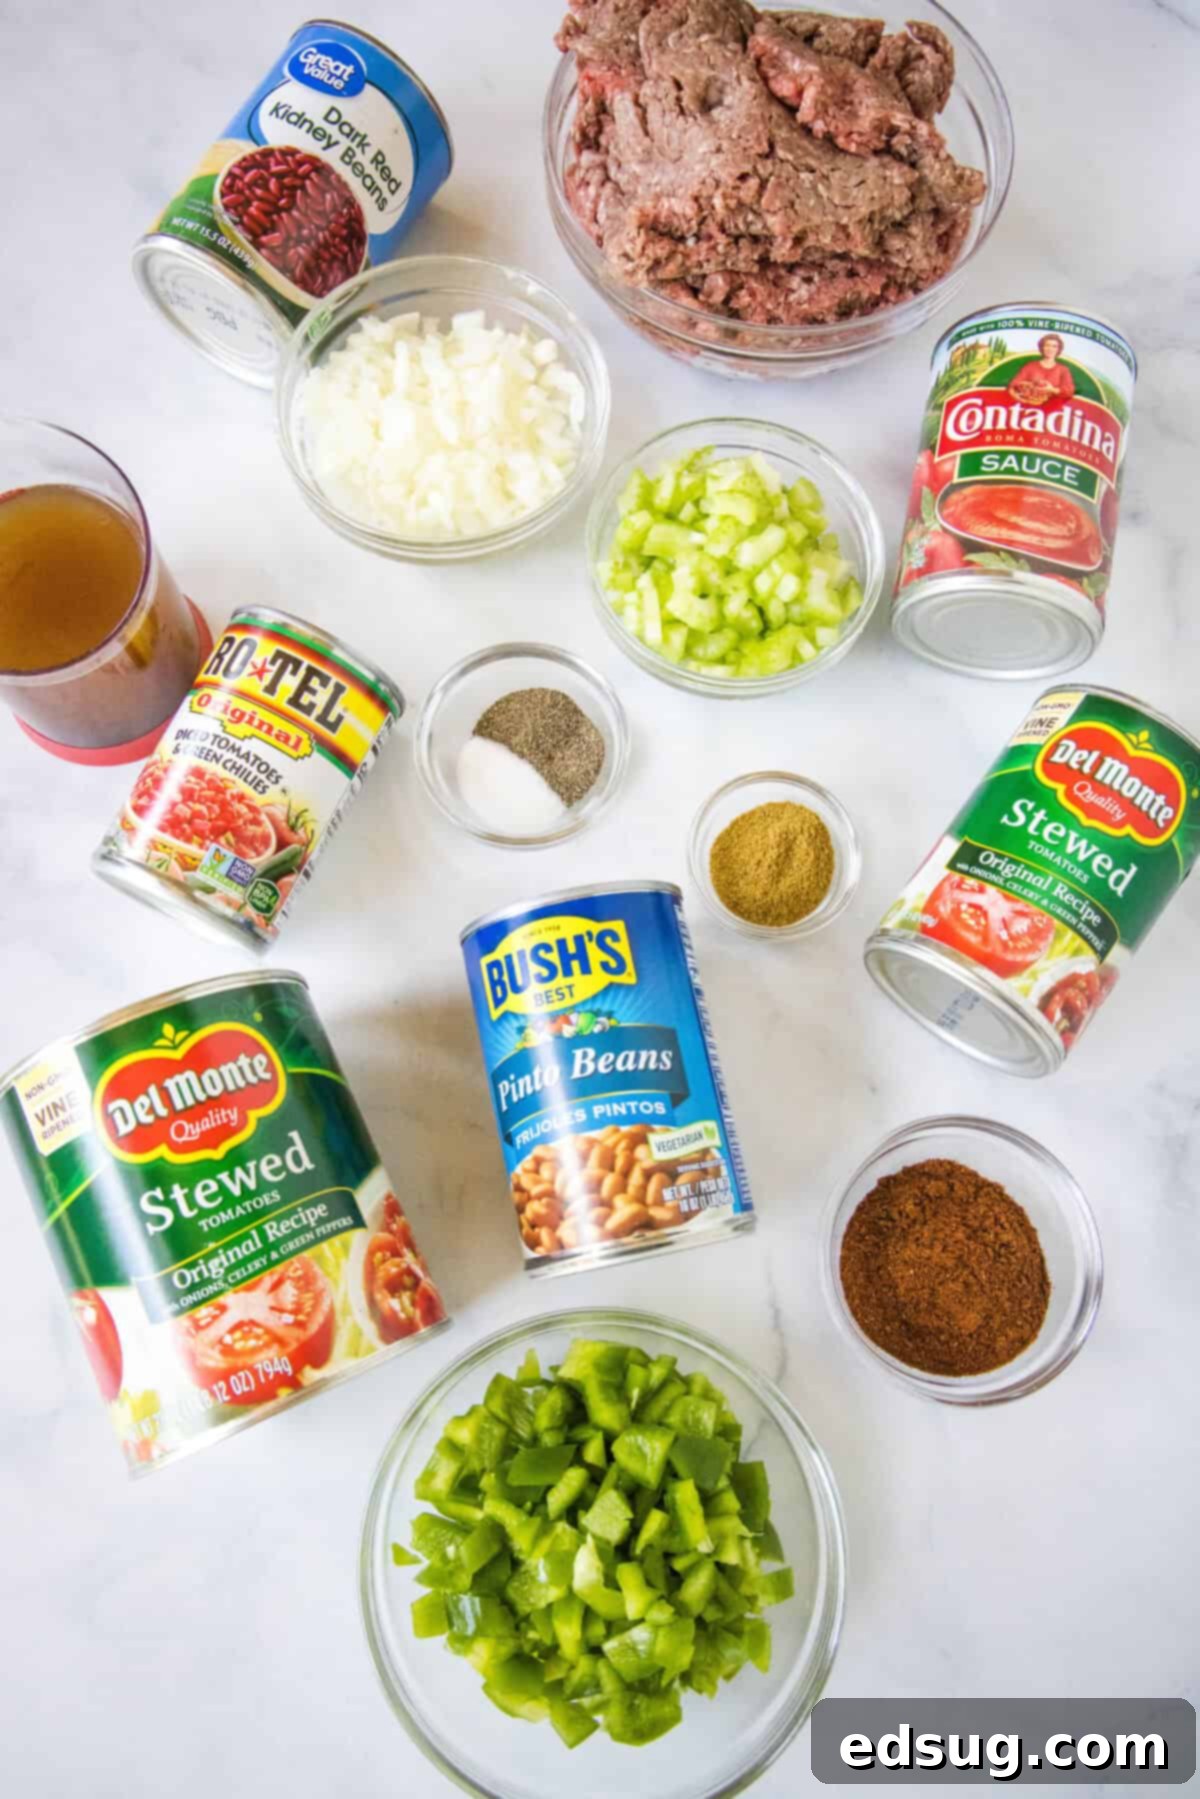
Achieving that authentic Wendy’s chili flavor starts with selecting the right ingredients. Here’s a closer look at what you’ll need and why each component is crucial for your success. Be sure to scroll to the bottom of the post for the FULL PRINTABLE recipe card with exact measurements and detailed instructions.
- Ground Beef: We recommend using lean ground beef. The choice of lean beef is essential as it minimizes excess grease, leading to a cleaner, less oily chili. Browning the beef properly before adding other ingredients is key to developing a deep, savory foundation for your chili.
- Celery: Finely chopped celery adds a subtle, fresh crunch and a layer of earthy flavor that is fundamental to the aromatic base, known as mirepoix, common in many hearty dishes.
- Onion: Just like celery, finely chopped onion contributes a sweet and pungent depth, softening as it cooks to infuse the entire pot with its signature aroma and taste.
- Green Bell Pepper: Diced green bell pepper offers a slightly bitter, fresh counterpoint to the richness of the beef and tomatoes. While you could swap for other colors, green bell pepper is traditional in Wendy’s chili for its distinct flavor profile.
- Stewed Tomatoes: These are a cornerstone of the chili’s body and flavor. Stewed tomatoes come in larger pieces and provide a robust tomato flavor. While they break down during simmering, you can gently mash them for a smoother consistency or use diced tomatoes for smaller chunks. However, be aware that diced tomatoes might lack some of the developed flavor found in stewed varieties.
- Tomato Sauce: This ingredient acts as a binding agent, contributing to the chili’s rich red color and helping to thicken the stew, ensuring a luscious, well-rounded tomato base.
- Rotel Tomatoes: Diced tomatoes with green chiles (often referred to as Rotel) introduce a fantastic layer of subtle heat and tang. They are crucial for that signature Wendy’s chili zing, adding complexity without making the chili overly spicy.
- Beef Broth: High-quality beef broth is vital for the chili’s liquid base, enhancing the savory beef flavor throughout the dish and contributing to its deep, umami richness.
- Kidney Beans: You can use either dark or light kidney beans, depending on your preference. These beans are known for their firm texture and mild, slightly sweet flavor, adding significant bulk and protein to the chili. It’s important to use them not drained, as the liquid contributes to the chili’s consistency.
- Pinto Beans: Pinto beans offer a creamier texture and a slightly nutty flavor compared to kidney beans, creating a more diverse mouthfeel. Like kidney beans, they should be added not drained to maintain the chili’s desired thickness and flavor.
- Chili Powder: This is the primary seasoning for any chili. A generous amount of good quality chili powder provides the characteristic warmth and depth of flavor.
- Ground Cumin: Cumin is indispensable for chili, providing an earthy, slightly smoky aroma and taste that pairs perfectly with the other spices and meats, elevating the overall flavor profile.
- Salt & Pepper: Essential for seasoning, these basic spices enhance and balance all the other flavors. Adjust to your taste, adding more as needed during the final stages of cooking.
How To Make Wendy’s Chili: A Step-by-Step Guide
Creating this delicious copycat Wendy’s Chili at home is a straightforward process, primarily involving one pot and simple steps. Follow this guide to achieve that rich, restaurant-quality flavor:
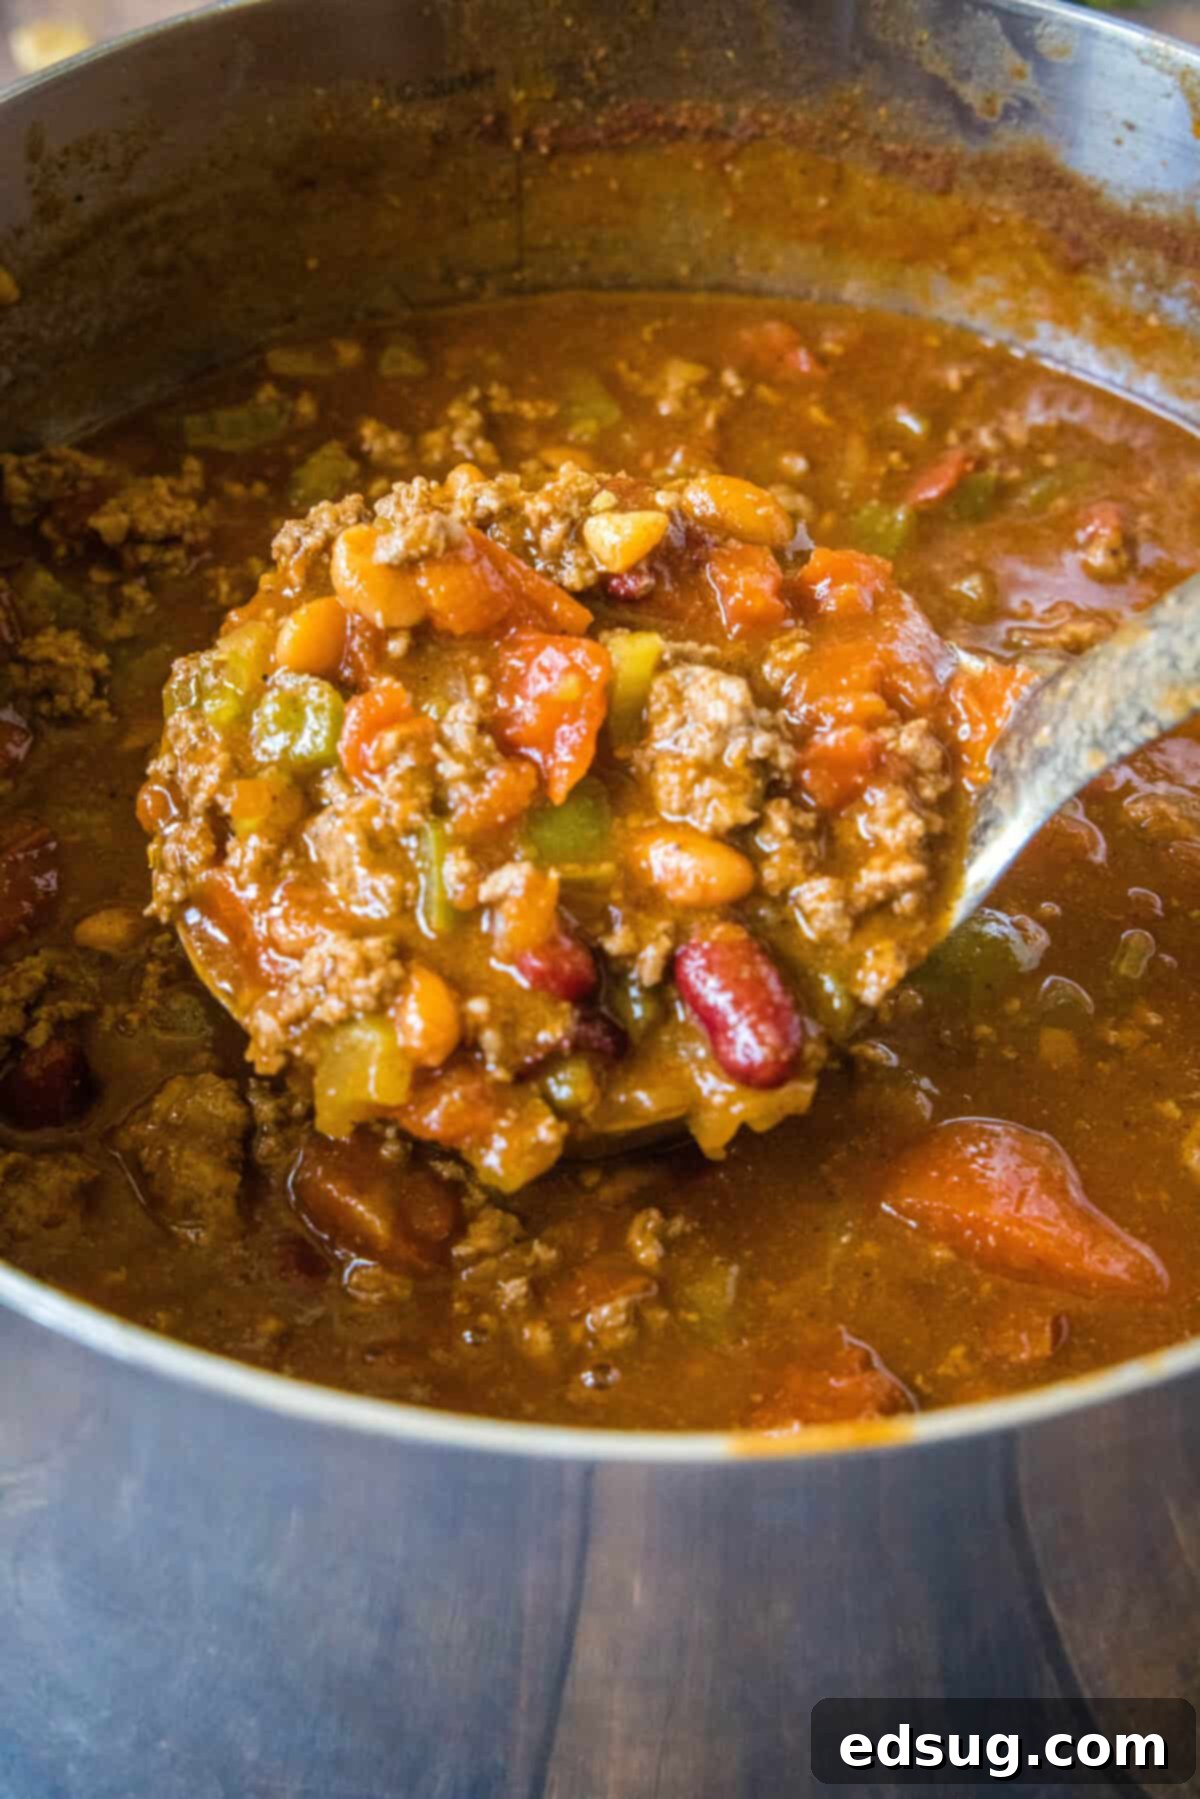
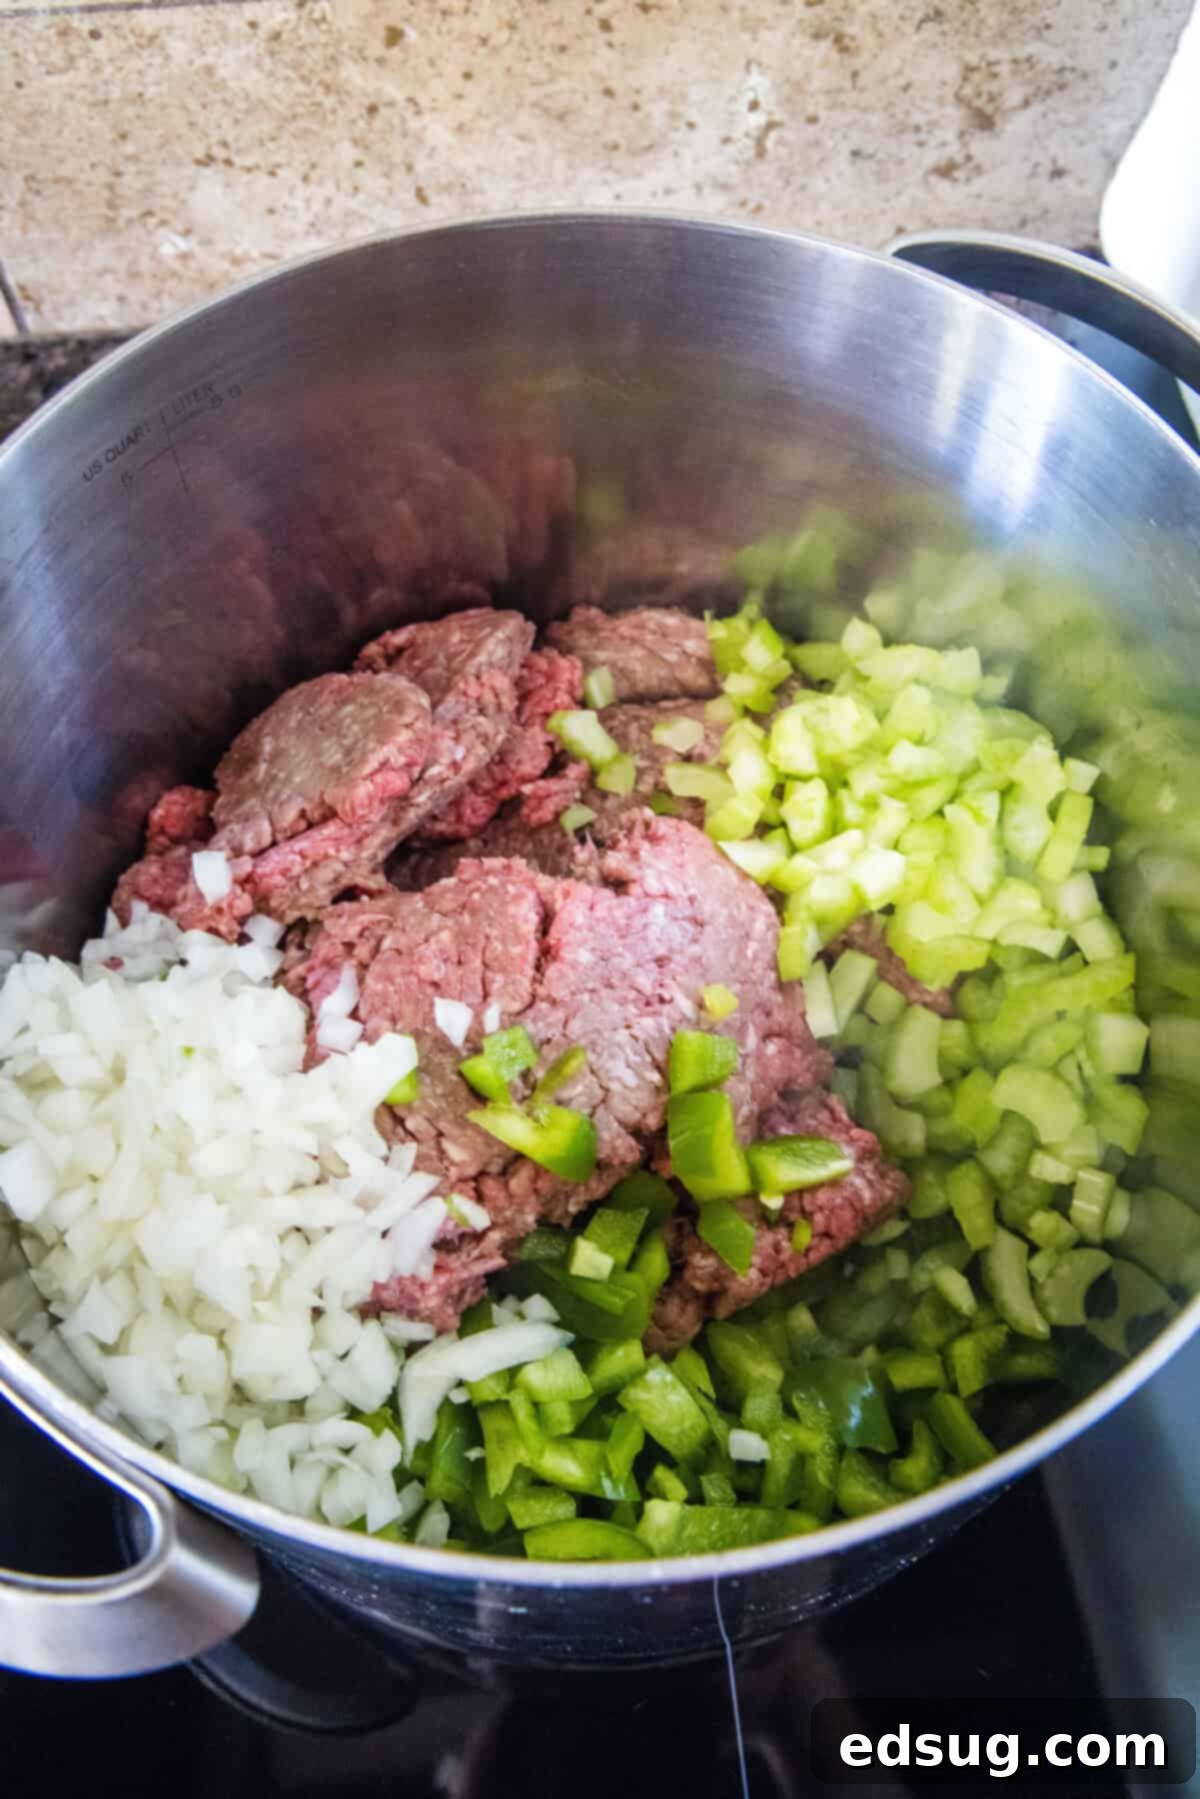
- Brown the Meat and Sauté the Aromatics: Begin by adding your lean ground beef, along with the chopped celery, finely diced onion, and bell pepper, to a large stockpot. Place the pot over medium-high heat. Cook this mixture for approximately 10 minutes, using a spoon or spatula to break up the ground beef into small, uniform pieces. Continue cooking until the ground beef is no longer pink and the vegetables have softened, releasing their aromatic flavors. This step is crucial for building the foundational taste of your chili. Once cooked, carefully drain any excess grease from the pot to prevent an oily chili.
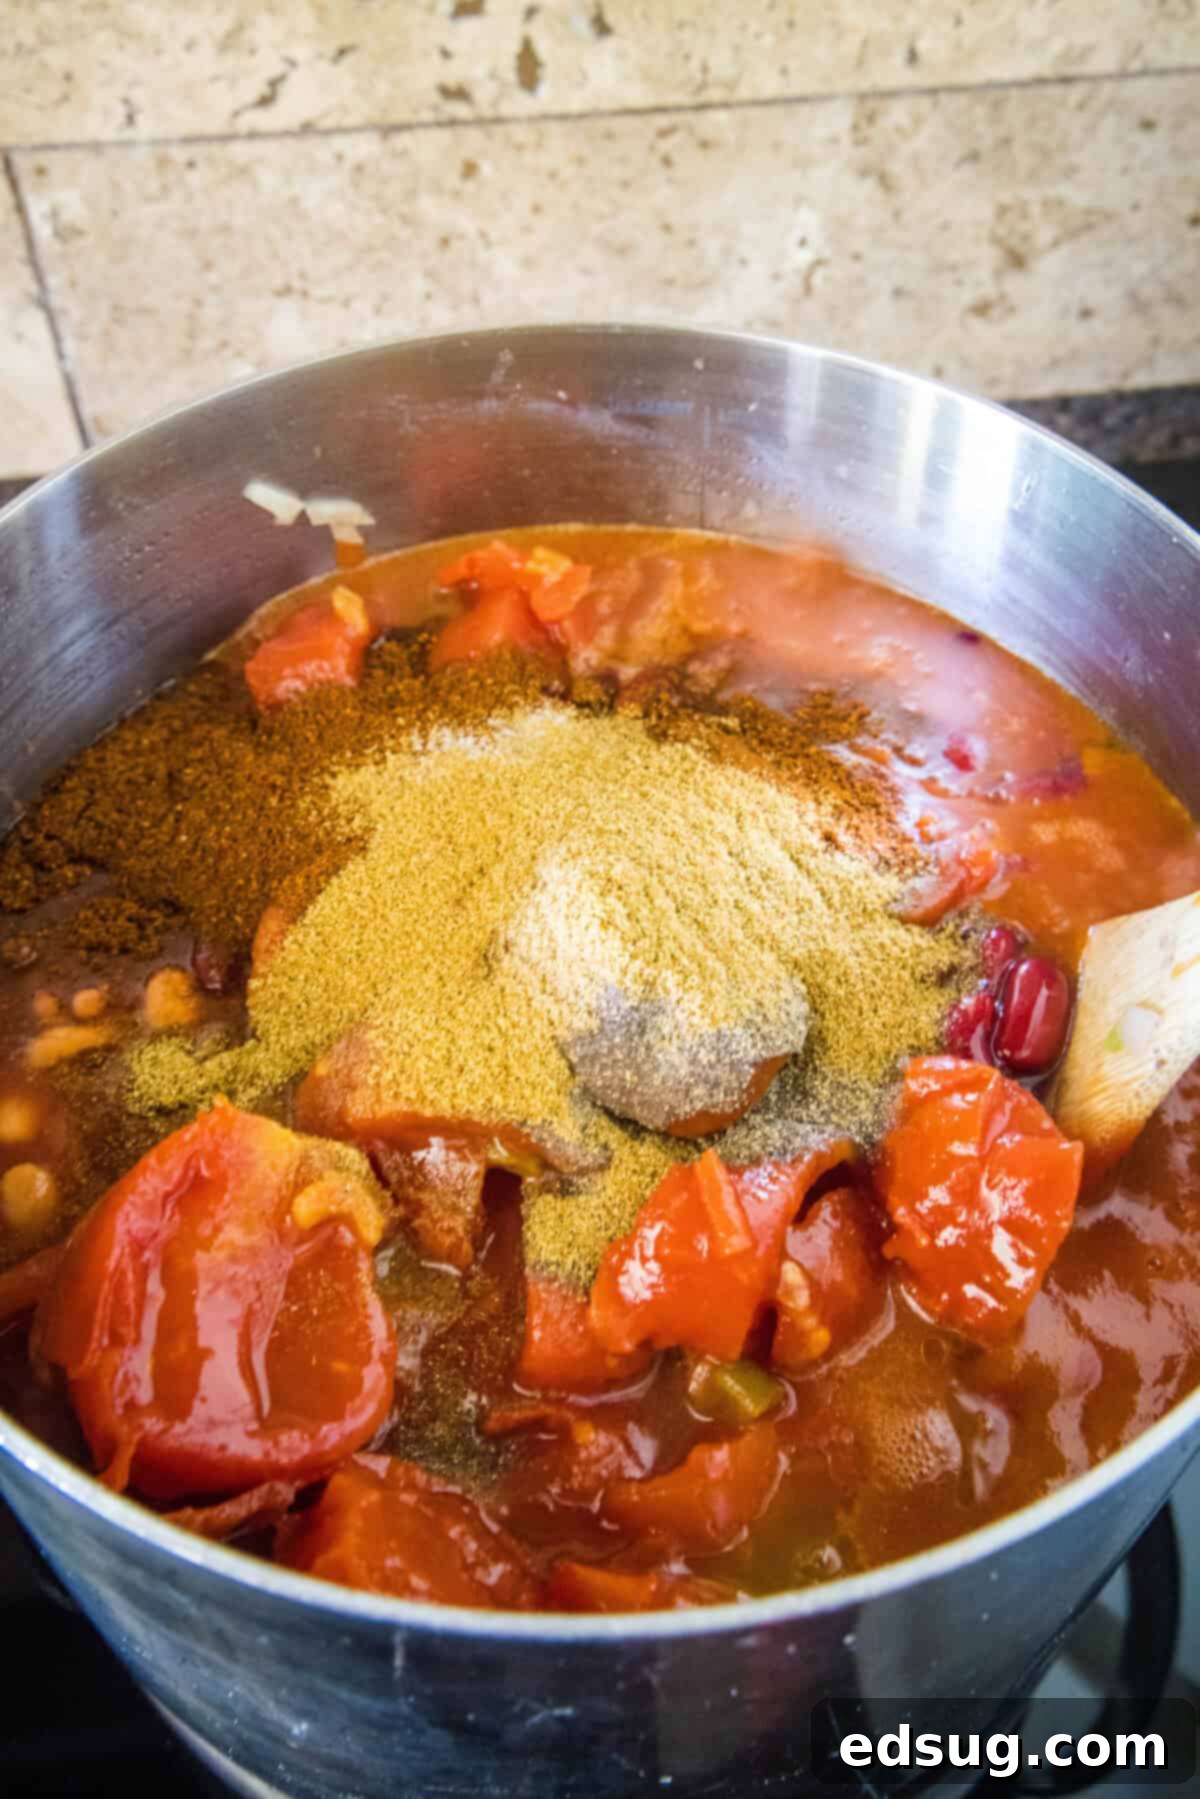
- Combine and Simmer to Perfection: With your beef and vegetables prepped, it’s time to introduce the remaining ingredients. Add the various tomatoes (stewed, tomato sauce, and Rotel), beef broth, both types of beans (kidney and pinto, not drained), and all the measured spices – chili powder, ground cumin, salt, and pepper – into the pot. Stir everything thoroughly until all the ingredients are well combined and evenly distributed. Bring the entire mixture to a rolling boil, then reduce the heat to a gentle simmer. Allow the chili to simmer uncovered for at least 45 minutes, or longer if desired, stirring occasionally. This simmering time is key to allowing the flavors to meld beautifully and for the chili to thicken to that perfect, hearty consistency.
- Serve and Garnish: Once your chili has reached its ideal thickness and the flavors have fully developed, remove the pot from the heat. Ladle generous portions into bowls and prepare for a truly satisfying meal. This chili is fantastic on its own, but it truly shines when topped with your favorite garnishes. Classic toppings like shredded cheddar cheese, a dollop of sour cream, a sprinkle of fresh green onions, and crunchy oyster crackers or Fritos are highly recommended to elevate the experience.
Expert Tips & Flavorful Variations for Your Copycat Chili
Mastering this Wendy’s Chili recipe is all about knowing a few tricks and customizing it to your liking. Here are some invaluable tips and suggestions to ensure your homemade chili is nothing short of perfect, along with ideas for delicious variations:
- Make it in Your Crockpot for Ultimate Convenience: If you prefer a hands-off approach or want your chili ready after a long day, adapting this recipe for a slow cooker is incredibly easy. First, complete the browning step by cooking the ground beef, celery, onion, and bell pepper in a skillet on the stovetop and draining the grease. Then, transfer the browned mixture and all the remaining ingredients into your slow cooker. Cook on low for 6-8 hours or on high for 3-4 hours, stirring occasionally. The extended cooking time in the slow cooker allows the flavors to deepen even further, resulting in an exceptionally rich and tender chili.
- Tomato Talk: Texture and Flavor Customization: Stewed tomatoes are chosen for their robust flavor and larger pieces. During the simmering process, they do soften and can be easily mashed with a spoon or potato masher directly in the pot to achieve a smoother consistency. Alternatively, if you prefer smaller pieces from the start, you can lightly chop or even roughly puree the stewed tomatoes before adding them to the pot. While using diced tomatoes is an option for convenience, keep in mind that stewed tomatoes often offer a more concentrated and developed tomato flavor, which is key to this chili’s authentic taste.
- Craft the Ultimate Topping Bar: Chili is truly elevated by its toppings, and personalizing your bowl is part of the fun! While cheese and sour cream are classic favorites, don’t stop there. Consider a vibrant array of options: finely chopped green onions for a fresh bite, a variety of shredded cheeses (cheddar, Monterey Jack), a dollop of creamy avocado or guacamole, a sprinkle of crispy bacon bits, a dash of hot sauce for an extra kick, or even some crushed tortilla chips or cornbread croutons for added texture. For a unique twist, try Fritos for that salty crunch, just like many chili parlors offer!
- Spice It Up (or Keep it Mild)!: This recipe produces a chili with a moderate flavor profile, intentionally not overly spicy, similar to the original Wendy’s version. However, if you crave more heat, it’s easy to adjust. You can add 1/4 to 1/2 teaspoon of cayenne pepper along with the other spices. For a fresher, more intense heat, mince a jalapeño or serrano pepper (remove seeds for less heat) and sauté it with the onions and bell peppers in the initial browning step. Remember to taste as you go and adjust spice levels to your personal preference.
- Scaling the Recipe for Any Crowd: This recipe is designed to make a generous batch, typically feeding at least 8 people, making it perfect for family dinners or entertaining. If you’re cooking for a smaller household, feel free to easily cut the recipe in half. Conversely, if you’re hosting a large gathering or planning for extensive meal prep, you can certainly double the recipe. Just be sure to use two large stockpots or two slow cookers if doubling to ensure even cooking and sufficient space.
- Serving Suggestions Beyond the Bowl: While a bowl of chili is satisfying on its own, it can also be part of a larger, delicious meal. Serve it alongside warm, buttery cornbread or crusty bread for dipping. It’s also fantastic paired with a fresh green salad to balance the richness. For a hearty lunch, consider using leftover chili to make chili dogs, chili cheese fries, or even a chili-topped baked potato. It also makes an excellent topping for nachos or burritos.
- Common Troubleshooting & FAQs: * Why is my chili too thin? Continue simmering uncovered for a longer period. The liquid will reduce, and the chili will naturally thicken. You can also mash some of the beans against the side of the pot. * Can I use different types of meat? Absolutely! While ground beef is classic, you can experiment with ground turkey or a mix of ground beef and sausage for varied flavor. * Can I add more vegetables? Yes! Diced carrots, zucchini, or corn can be added during the simmering stage for extra nutrition and flavor.

Storage and Reheating Made Easy
One of the many benefits of this Wendy’s Chili recipe is that it makes a substantial amount, making it absolutely perfect for leftovers. Chili often tastes even better the next day as the flavors continue to meld and deepen. Proper storage ensures you can enjoy this delicious meal long after it’s cooked.
You have excellent options for storing your chili, both in the fridge and the freezer. First, always allow the chili to cool completely to room temperature before storing. This prevents condensation and helps maintain its quality. Once cooled, transfer it into an airtight container. In the refrigerator, your chili will stay fresh and delicious for up to 4 days. This makes it a fantastic option for quick lunches or easy dinners throughout the week.
For longer-term storage, the freezer is your best friend. Stored correctly in an airtight, freezer-safe container, homemade chili can last for an impressive period of up to 6 months. To maximize convenience, I highly recommend freezing it in individual portions. This way, you can easily grab just what you need for a single serving lunch or a quick, fuss-free dinner without having to thaw the entire batch. Label your containers with the date to keep track.
When you’re ready to enjoy your frozen chili, simply let it thaw overnight in the fridge. Once thawed, you can reheat it in the microwave in individual portions, stirring occasionally until thoroughly heated through. Alternatively, for larger quantities, reheat on the stovetop over medium-low heat, stirring frequently until it reaches a gentle simmer and is piping hot. Add a splash of beef broth or water if it seems too thick during reheating.

More Hearty Dinner Recipes
- Chicken Stew
- Smothered Pork Chops
- Sausage & Rice Casserole
- Slow Cooker Red Beans & Rice
- Onion Soup Meatloaf

Wendy’s Chili Recipe
Ingredients
- 2 pounds lean ground beef
- 2 stalks celery, chopped
- 1 cup onion, finely chopped
- 1 green bell pepper, diced
- 43 oz stewed tomatoes
- 15 oz tomato sauce
- 10 oz diced tomatoes with green chiles, (Rotel tomatoes)
- 1 cup beef broth
- 15 oz kidney beans, not drained
- 15 oz pinto beans, not drained
- 1/4 cup chili powder
- 1 Tablespoon ground cumin
- 2 teaspoons salt
- 2 teaspoons black pepper
Instructions
- Heat a large stockpot over medium high heat. Add ground beef, celery, onion and bell pepper. Cook for about 10 minutes, breaking up the ground beef. Cook until the beef is no longer pink and the veggies have started to soften. Drain any excess grease.2 pounds lean ground beef, 2 stalks celery, 1 cup onion, 1 green bell pepper
- Pour in the tomatoes, tomato sauce, rotel tomatoes, beef broth, both beans, and all of the spices. Stir until everything is well combined.43 oz stewed tomatoes, 15 oz tomato sauce, 10 oz diced tomatoes with green chiles, 1 cup beef broth, 15 oz kidney beans, 15 oz pinto beans, 1/4 cup chili powder, 1 Tablespoon ground cumin, 2 teaspoons salt, 2 teaspoons black pepper
- Bring the mixture to a boil, reduce the heat and let it simmer for about 45 minutes, until it is nice and thick.
- Remove from the heat and serve.
Notes
Nutrition
Nutrition information is automatically calculated, so should only be used as an approximation.
Additional Info
I created a fun group on Facebook, and I would love for you to join us! It’s a vibrant community where you can share YOUR favorite recipes, ask questions, and stay updated on all the exciting new content from Dinners, Dishes and Desserts, ensuring you never miss a new, delicious recipe!
Be sure to follow me on Instagram and tag #dinnersdishes so I can see all the wonderful DINNERS, DISHES, AND DESSERTS recipes YOU make! Your culinary creations inspire me and the entire community.
Don’t miss out on any of our mouth-watering recipes and helpful cooking tips! Be sure to follow me on my social media channels, so you never miss a post!
Facebook | Twitter | Pinterest | Instagram
.
