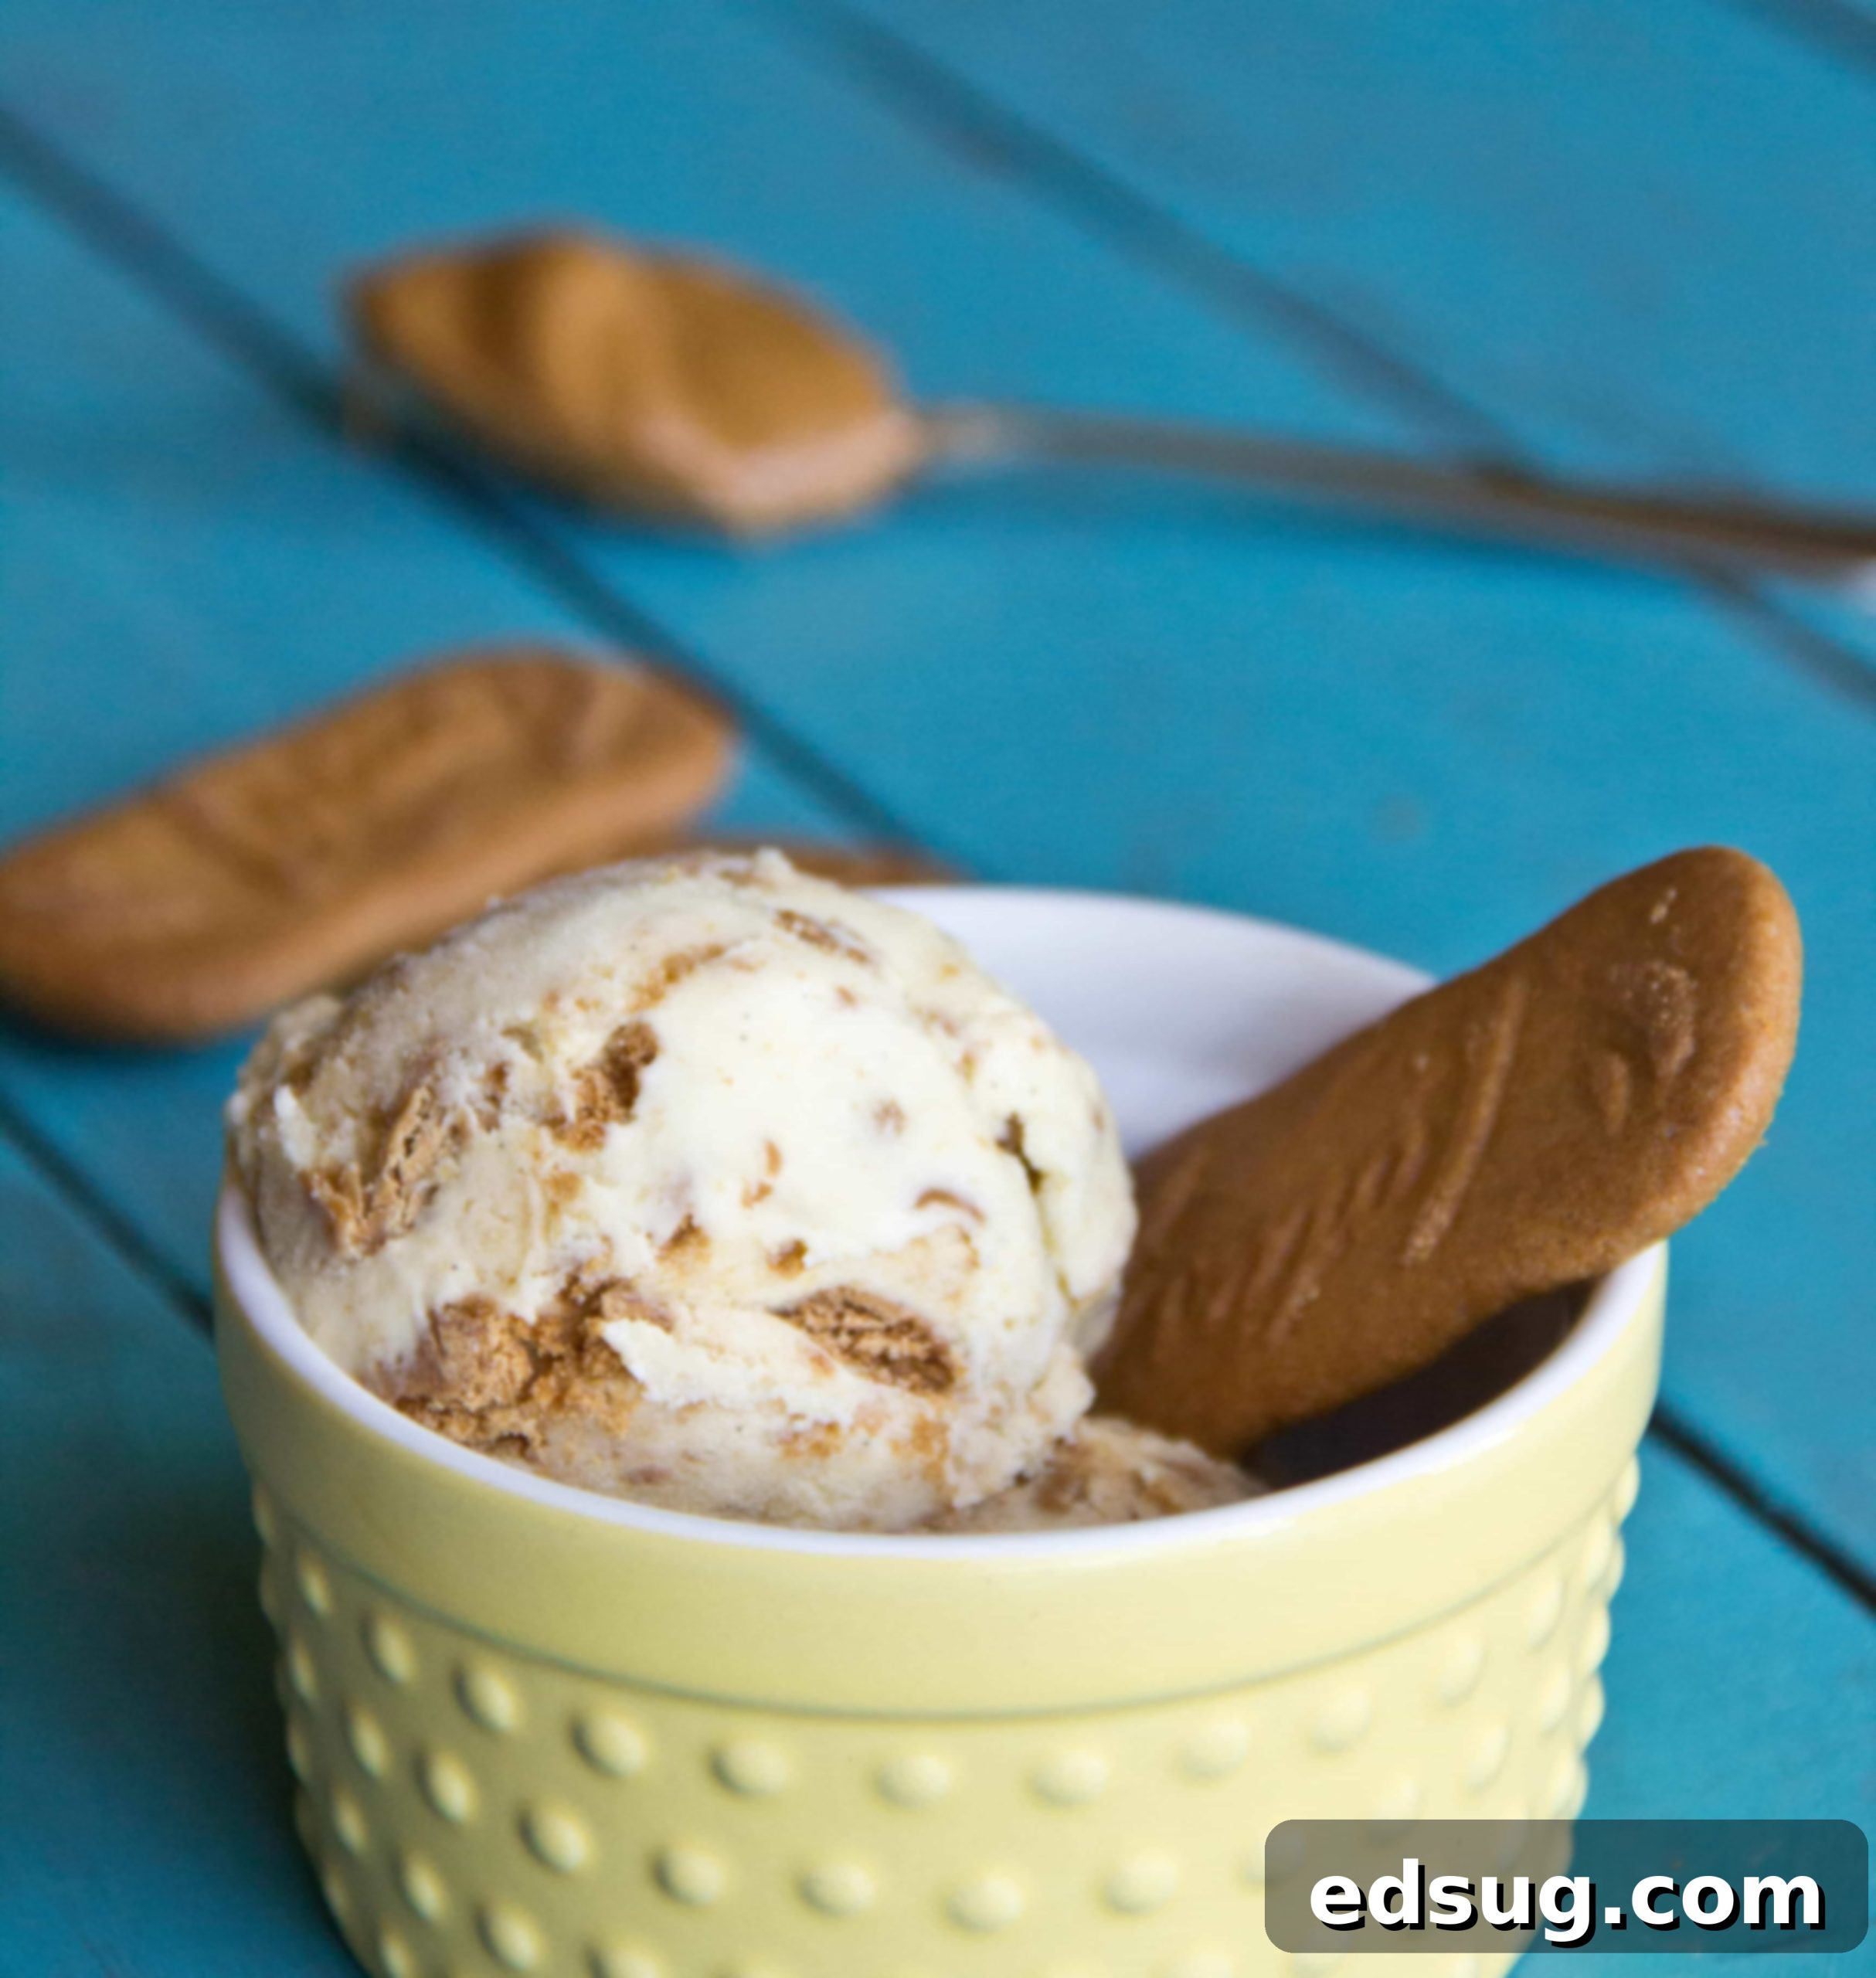
Ultimate Homemade Biscoff Cookie Butter Ice Cream: A Delectable Dessert Recipe
Prepare to tantalize your taste buds with our sensational Homemade Biscoff Cookie Butter Ice Cream! This isn’t just any frozen treat; it’s a creamy, dreamy experience featuring a rich vanilla ice cream base, generously studded with irresistible crushed Biscoff cookies, and beautifully swirled with ribbons of smooth, spiced Cookie Butter. It’s truly a delectable dessert that promises to be the highlight of any summer day or a cozy evening indulgence.
If you’ve ever savored Biscoff Spread, also known as Speculoos Spread or the beloved Cookie Butter from Trader Joe’s, then you’re already familiar with its uniquely spiced, caramel-like flavor and delightfully addictive quality. While Trader Joe’s has delighted fans with their own cookie butter ice cream featuring luscious swirls of the spread, our homemade version takes this culinary delight to an entirely new level.
This recipe was crafted years before popular store-bought versions emerged, inspired by a truly unforgettable scoop from a charming ice cream shop in Florida. What makes this homemade rendition stand out, we believe, is the brilliant addition of crunchy Biscoff cookie pieces alongside the buttery swirls. These delightful fragments add an extra layer of texture and intense cookie flavor that perfectly complements the creamy ice cream and smooth cookie butter ribbons. Get ready to create an unforgettable dessert that will have everyone asking for seconds!
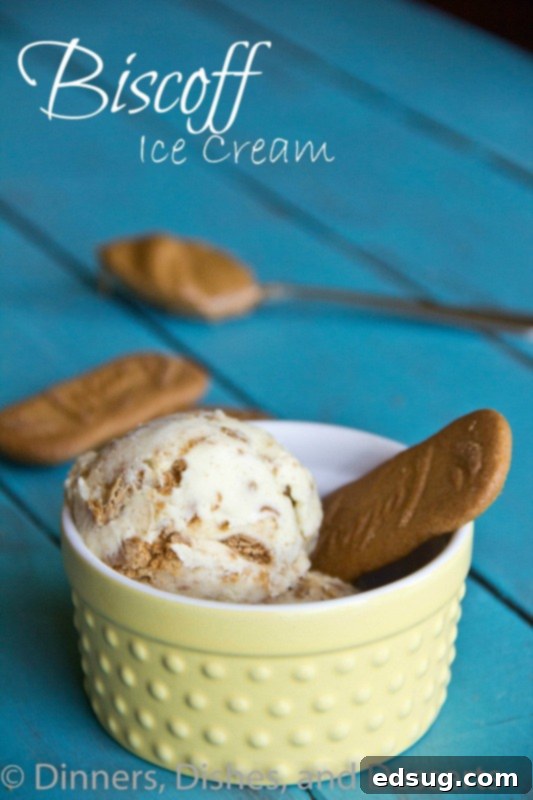
Understanding Cookie Butter: The Spiced European Delight
For those unfamiliar with this culinary marvel, the term “cookie butter” might sound a little unconventional. However, once you try it, you’ll understand why it has captured hearts worldwide. Essentially, it’s a sweet, creamy spread with a consistency similar to peanut butter, but made from crushed Speculoos cookies. These traditional European spiced shortbread biscuits are renowned for their distinct flavor profile, which combines warm spices like cinnamon, nutmeg, and cloves with a subtle hint of caramelized brown sugar. Imagine a delicate gingerbread note with a rich caramel undertone – that’s the essence of Speculoos.
The journey of Biscoff cookies from a beloved European treat to a global sensation began with their presence on airplanes, where they quickly became a passenger favorite. This led to the creation of the spread, allowing fans to enjoy that unique flavor in a versatile new form. The resulting “cookie butter” is incredibly smooth, richly flavored, and, as many will attest, downright addicting!
You might encounter this delightful spread under various names depending on your geographic location. In the United States, major grocery chains often stock it as Biscoff Spread. Trader Joe’s, a popular specialty grocery store, offers its highly sought-after version simply labeled Cookie Butter. In many other regions, especially across Europe, it’s commonly referred to as Speculoos Spread. Regardless of the name, the taste is remarkably consistent and interchangeable, meaning you can confidently use any of these varieties in this ice cream recipe or any other culinary creation that calls for it.
Beyond ice cream, cookie butter is incredibly versatile. It can be spread on toast, drizzled over pancakes or waffles, used as a dip for fruit, blended into milkshakes, or even incorporated into baked goods like cheesecakes and brownies. Its unique spice and caramel notes make it a fantastic ingredient to experiment with in both sweet and savory applications.

Crafting Your Own Dreamy Biscoff Cookie Butter Ice Cream
Making homemade ice cream might seem like a complex endeavor with several steps, but rest assured, the process is quite straightforward and incredibly rewarding. The effort you put into creating the custard base and allowing it to chill properly will result in the most luscious, rich, and creamy ice cream you’ve ever tasted. This particular recipe yields an exceptionally smooth texture, perfectly complemented by the crunchy cookie bits and the velvety cookie butter swirls. Follow these detailed steps for an unforgettable frozen delight:
-
Prepare the Vanilla Base: In a medium-sized saucepan, combine the whole milk, granulated sugar, 1 cup of the heavy cream, and a pinch of salt. Heat this mixture over low heat, stirring continuously until the sugar is completely dissolved. This ensures a smooth, non-gritty base for your custard.
-
Infuse Vanilla Flavor: Carefully split one vanilla bean lengthwise with a sharp knife and scrape out the tiny, aromatic seeds. Add both the scraped seeds and the vanilla bean pod itself into the warm milk mixture. Place a cover on the saucepan, remove it from the heat, and allow it to steep for at least 30 minutes. This crucial step infuses a deep, authentic vanilla flavor into your base, far superior to extract alone.
-
Set Up for Tempering: While the vanilla steeps, pour the remaining 1 cup of heavy cream into a large, heat-safe bowl. Place a fine-mesh sieve directly on top of this bowl. This setup will be essential for straining your custard later, ensuring a silky-smooth texture and preventing any accidental egg bits from making it into your final ice cream.
-
Temper the Egg Yolks: In a separate medium-sized bowl, vigorously whisk the egg yolks until they are light yellow and slightly thickened. This process is called “tempering.” Slowly and gradually, while continuously whisking the egg yolks, pour a small amount of the warm vanilla-infused milk mixture into the yolks. Continue adding the warm milk slowly, whisking constantly and quickly. This gentle heating prevents the eggs from scrambling and helps them gradually come up to temperature. Once about a third of the warm milk has been incorporated, pour the entire egg yolk mixture back into the saucepan with the remaining milk.
-
Cook the Custard: Return the saucepan to the stove and heat over medium-low. Using a heat-proof rubber spatula, stir the custard constantly, making sure to scrape the bottom and sides of the pan. Continue stirring until the mixture thickens enough to coat the back of your spatula, or reaches a temperature between 170-175 degrees Fahrenheit (77-79 degrees Celsius). Do not let it boil, as this can curdle the eggs. The custard should be thick enough to leave a clear path when you run your finger across the back of the spatula.
-
Chill for Perfection: Immediately pour the cooked custard mixture through the fine-mesh sieve into the large bowl containing the reserved heavy cream. This strains out any potential cooked egg bits and the vanilla bean pod, ensuring a perfectly smooth base. Stir in the vanilla extract until well combined. For an even deeper vanilla flavor, you can place the vanilla bean pod back into the mixture as it chills. Cover the bowl tightly with plastic wrap, pressing it directly onto the surface of the custard to prevent a skin from forming. Place it in the refrigerator until it is thoroughly cold, ideally for at least 8 hours, or even better, overnight. Proper chilling is vital for achieving the best consistency in your churned ice cream.
-
Churn the Ice Cream: Once the custard mixture is completely cold, pour it into your ice cream maker and churn according to the manufacturer’s instructions. Churning times can vary, but typically range from 20 to 30 minutes, until the ice cream reaches a soft-serve consistency. Once churned, transfer the soft ice cream to a freezer-safe, air-tight container.
-
Fold in Biscoff Cookies: Gently stir in the crushed Biscoff cookie pieces. These will add a wonderful textural contrast and an extra burst of that signature spiced cookie flavor throughout your ice cream.
-
Swirl in Cookie Butter: For easier mixing and a beautiful swirl, briefly heat the Biscoff Cookie Butter Spread in the microwave for about 20 seconds. This will make it more fluid. Using a spoon, generously drizzle several spoonfuls of the warmed spread over the ice cream. Using your spoon or a knife, gently fold and swirl the cookie butter into the ice cream. Avoid over-mixing if you want distinct ribbons of cookie butter. Repeat this drizzling and swirling process until all of the Biscoff spread has been incorporated, creating rich pockets and streaks of flavor.
-
Harden and Serve: Place the covered container of ice cream in the freezer for at least an hour to allow it to firm up to a scoopable consistency. For best results and a firmer scoop, freeze for 4-6 hours, or until thoroughly set. Then, it’s ready to serve and enjoy!
Tips for Making the Best Homemade Biscoff Ice Cream
Achieving perfectly creamy, delicious homemade ice cream, especially one as decadent as this Biscoff Cookie Butter version, is easier with a few expert tips:
- Use High-Quality Ingredients: Since this recipe uses a small number of ingredients, the quality truly shines through. Opt for fresh eggs, full-fat heavy cream, and a good quality vanilla bean for the best flavor foundation.
- Chill Thoroughly: Do not skip or rush the chilling time for the custard. An overnight chill (8-12 hours) is ideal. A well-chilled custard churns faster and results in a much smoother, creamier ice cream with smaller ice crystals.
- Temper Eggs Slowly: When adding the warm milk mixture to the egg yolks, do it very slowly in a thin stream while whisking vigorously. This prevents the eggs from scrambling, which can happen if they are heated too quickly.
- Don’t Overcook the Custard: Cook the custard just until it coats the back of a spoon (170-175°F or 77-79°C). Overcooking will lead to a grainy texture.
- Pre-chill Your Ice Cream Maker Bowl: If your ice cream maker requires a pre-frozen bowl, make sure it’s frozen for at least 24 hours (or as per manufacturer instructions) for optimal churning. A well-chilled bowl will help the ice cream freeze more efficiently.
- Don’t Over-Churn: Churn the ice cream until it reaches a soft-serve consistency. It will firm up more in the freezer. Over-churning can lead to a less creamy texture.
- Microwave the Cookie Butter: Warming the Biscoff spread slightly before swirling makes it much easier to incorporate smoothly into the soft ice cream, creating beautiful ribbons rather than hard clumps.
- Crush Cookies Variably: For an interesting texture, crush some Biscoff cookies into fine crumbs and leave others in larger chunks. This provides both delicate and satisfying crunchy bites.
- Air-Tight Storage is Key: Store your homemade ice cream in a shallow, air-tight container. This minimizes exposure to air, which is the primary cause of ice crystal formation and freezer burn.
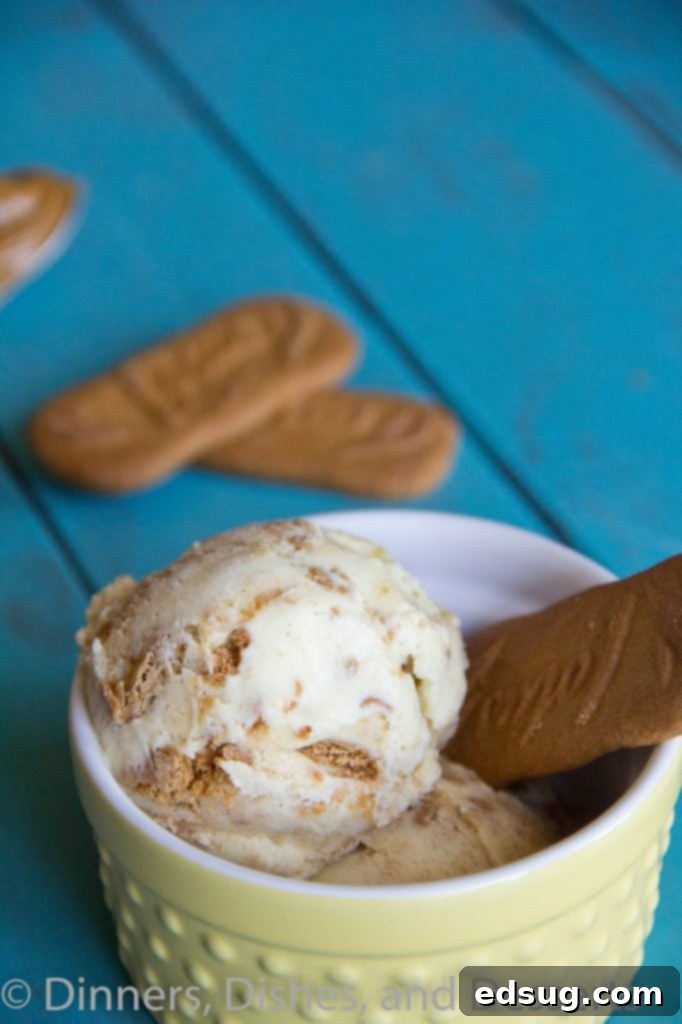
Maximizing Freshness: How to Store Your Homemade Biscoff Ice Cream
Proper storage is key to enjoying your homemade Biscoff Cookie Butter Ice Cream at its best, preserving its creamy texture and rich flavor. Since homemade ice cream lacks the stabilizers and preservatives found in commercial varieties, it’s more susceptible to developing ice crystals over time. Here’s how to ensure it stays delicious for as long as possible:
- Choose the Right Container: The absolute best way to store homemade ice cream is in a freezer-safe, air-tight container. Opt for a shallow container with a tight-fitting lid rather than a deep one. Shallow containers freeze more evenly and make scooping easier, reducing the amount of air exposure each time you open it. Glass containers with silicone lids or specialized ice cream tubs work wonderfully.
- Minimize Air Exposure: Air is the enemy of fresh ice cream. After transferring the churned ice cream to its container, place a piece of parchment paper or plastic wrap directly on the surface of the ice cream before sealing the lid. This creates an extra barrier, preventing frost and ice crystals from forming.
- Location in the Freezer: Store the ice cream in the coldest part of your freezer, typically at the back, rather than near the door. This minimizes temperature fluctuations each time the freezer is opened, which can degrade the ice cream’s quality.
- Shelf Life: Your delicious homemade Biscoff Cookie Butter Ice Cream will keep beautifully in the freezer for up to one month. Beyond that, while still safe to eat, you might notice a decline in texture, with more ice crystals forming and the flavors becoming less vibrant. Enjoy it within this timeframe for the ultimate experience!
Frequently Asked Questions About Biscoff Ice Cream
Here are some common questions you might have about making and enjoying this incredible Biscoff Cookie Butter Ice Cream:
Can I make this recipe without an ice cream maker?
While this recipe is designed for an ice cream maker to achieve the creamiest texture, you can adapt it for a no-churn method. After completing step 6 (chilling the custard), pour the cold mixture into a freezer-safe container. Freeze for 2-3 hours until the edges start to set, then remove and vigorously whisk or beat with an electric mixer to break up ice crystals. Repeat this process every 1-2 hours for a total of 3-4 times until the ice cream is mostly firm. Then, fold in your crushed cookies and cookie butter swirls as per steps 8 and 9, and freeze until solid. The texture won’t be as smooth as a churned version, but it will still be delicious!
What if I can only find Biscoff cookies, not the spread?
If you can’t find Biscoff spread, you can actually make your own! Simply process a generous amount of Biscoff cookies in a food processor until they form fine crumbs. Then, slowly add a neutral oil (like vegetable or canola) and a tiny bit of milk or cream, along with a pinch of sugar if desired, blending until it reaches a smooth, spreadable consistency. Alternatively, you could omit the swirl and just double the amount of crushed cookies for an intensely cookie-filled ice cream.
How can I make this ice cream even more decadent?
For an extra touch of indulgence, consider adding a drizzle of caramel sauce or chocolate fudge before serving. You could also sprinkle a few extra crushed Biscoff cookies on top of each scoop. A dollop of whipped cream would also elevate this treat to a gourmet dessert experience. For a boozy twist, a splash of Biscoff liqueur (if available) or a caramel-flavored liqueur could be added to the custard base before chilling.
More Frozen Treats You’ll Love
- Double Cookie Dough Ice Cream
- Chocolate Milkshakes
- Strawberry Popsicles
- No Churn Mint Chocolate Chip Ice Cream
- Ice Cream Floats
- Swiss Roll Ice Cream Cake
- Cookie Ice Cream Sandwiches

Homemade Biscoff Cookie Butter Ice Cream
Pin Recipe
Rate Recipe
Print Recipe
Ingredients
- 1 cup whole milk
- 3/4 cup granulated sugar
- 2 cups heavy cream, divided
- Pinch of salt
- 1 vanilla bean, split in half lengthwise
- 6 egg yolks
- 3/4 teaspoon vanilla extract
- 1/2 cup Biscoff Spread, or Cookie Butter Spread
- 1/2 cup Biscoff Cookies, crushed
Instructions
-
In a saucepan over low heat, gently warm the milk, sugar, 1 cup of heavy cream, and salt, stirring until the sugar dissolves completely. Scrape the seeds from the vanilla bean and add them, along with the pod, to the milk mixture. Cover, remove from heat, and let steep for 30 minutes to infuse the flavor.
-
Pour the remaining 1 cup of heavy cream into a large, heat-safe bowl and set a fine-mesh sieve over it. This will be used later for straining the custard.
-
In a separate medium bowl, whisk the egg yolks. Slowly and gradually add about a third of the warm milk mixture to the whisked eggs, whisking constantly to temper them. Then, pour the tempered egg mixture back into the saucepan with the remaining milk.
-
Return the saucepan to medium-low heat. Stir constantly with a rubber spatula, scraping the bottom and sides, until the mixture thickens and coats the back of the spatula (reaches 170-175°F / 77-79°C). Do not boil.
-
Immediately pour the cooked custard through the sieve into the bowl with the heavy cream. Stir in the vanilla extract until well combined. Place the vanilla bean pod back into the mixture (optional, for deeper flavor). Cover tightly with plastic wrap directly on the surface and refrigerate until thoroughly cold, ideally 8 hours or overnight.
-
Once the milk mixture is cold, churn it in your ice cream maker according to the manufacturer’s instructions until it reaches a soft-serve consistency. Transfer the churned ice cream to an air-tight, freezer-safe container.
-
Gently stir in the crushed Biscoff cookies until evenly distributed throughout the ice cream.
-
Briefly heat the Biscoff Spread in the microwave for about 20 seconds to make it more fluid. Drizzle spoonfuls of the warmed spread over the ice cream and gently fold it in to create beautiful swirls. Repeat until all the Biscoff spread is used.
-
Place the container in the freezer for at least an hour (or longer for a firmer consistency) before serving.
Notes
Nutrition
Nutrition information is automatically calculated, so should only be used as an approximation.
Additional Info
Like this recipe? Leave a comment below!
I created a fun group on Facebook, and I would love for you to join us! It’s a place where you can share YOUR favorite recipes, ask questions, and see what’s new at Dinners, Dishes and Desserts (so that you never miss a new recipe)!
Be sure to follow me on Instagram and tag #dinnersdishes so I can see all the wonderful DINNERS, DISHES, AND DESSERTS recipes YOU make!
Be sure to follow me on my social media, so you never miss a post!
Facebook | Twitter | Pinterest | Instagram
.
This is a sponsored conversation written by me on behalf of Biscoff. The opinions and text are all mine.
