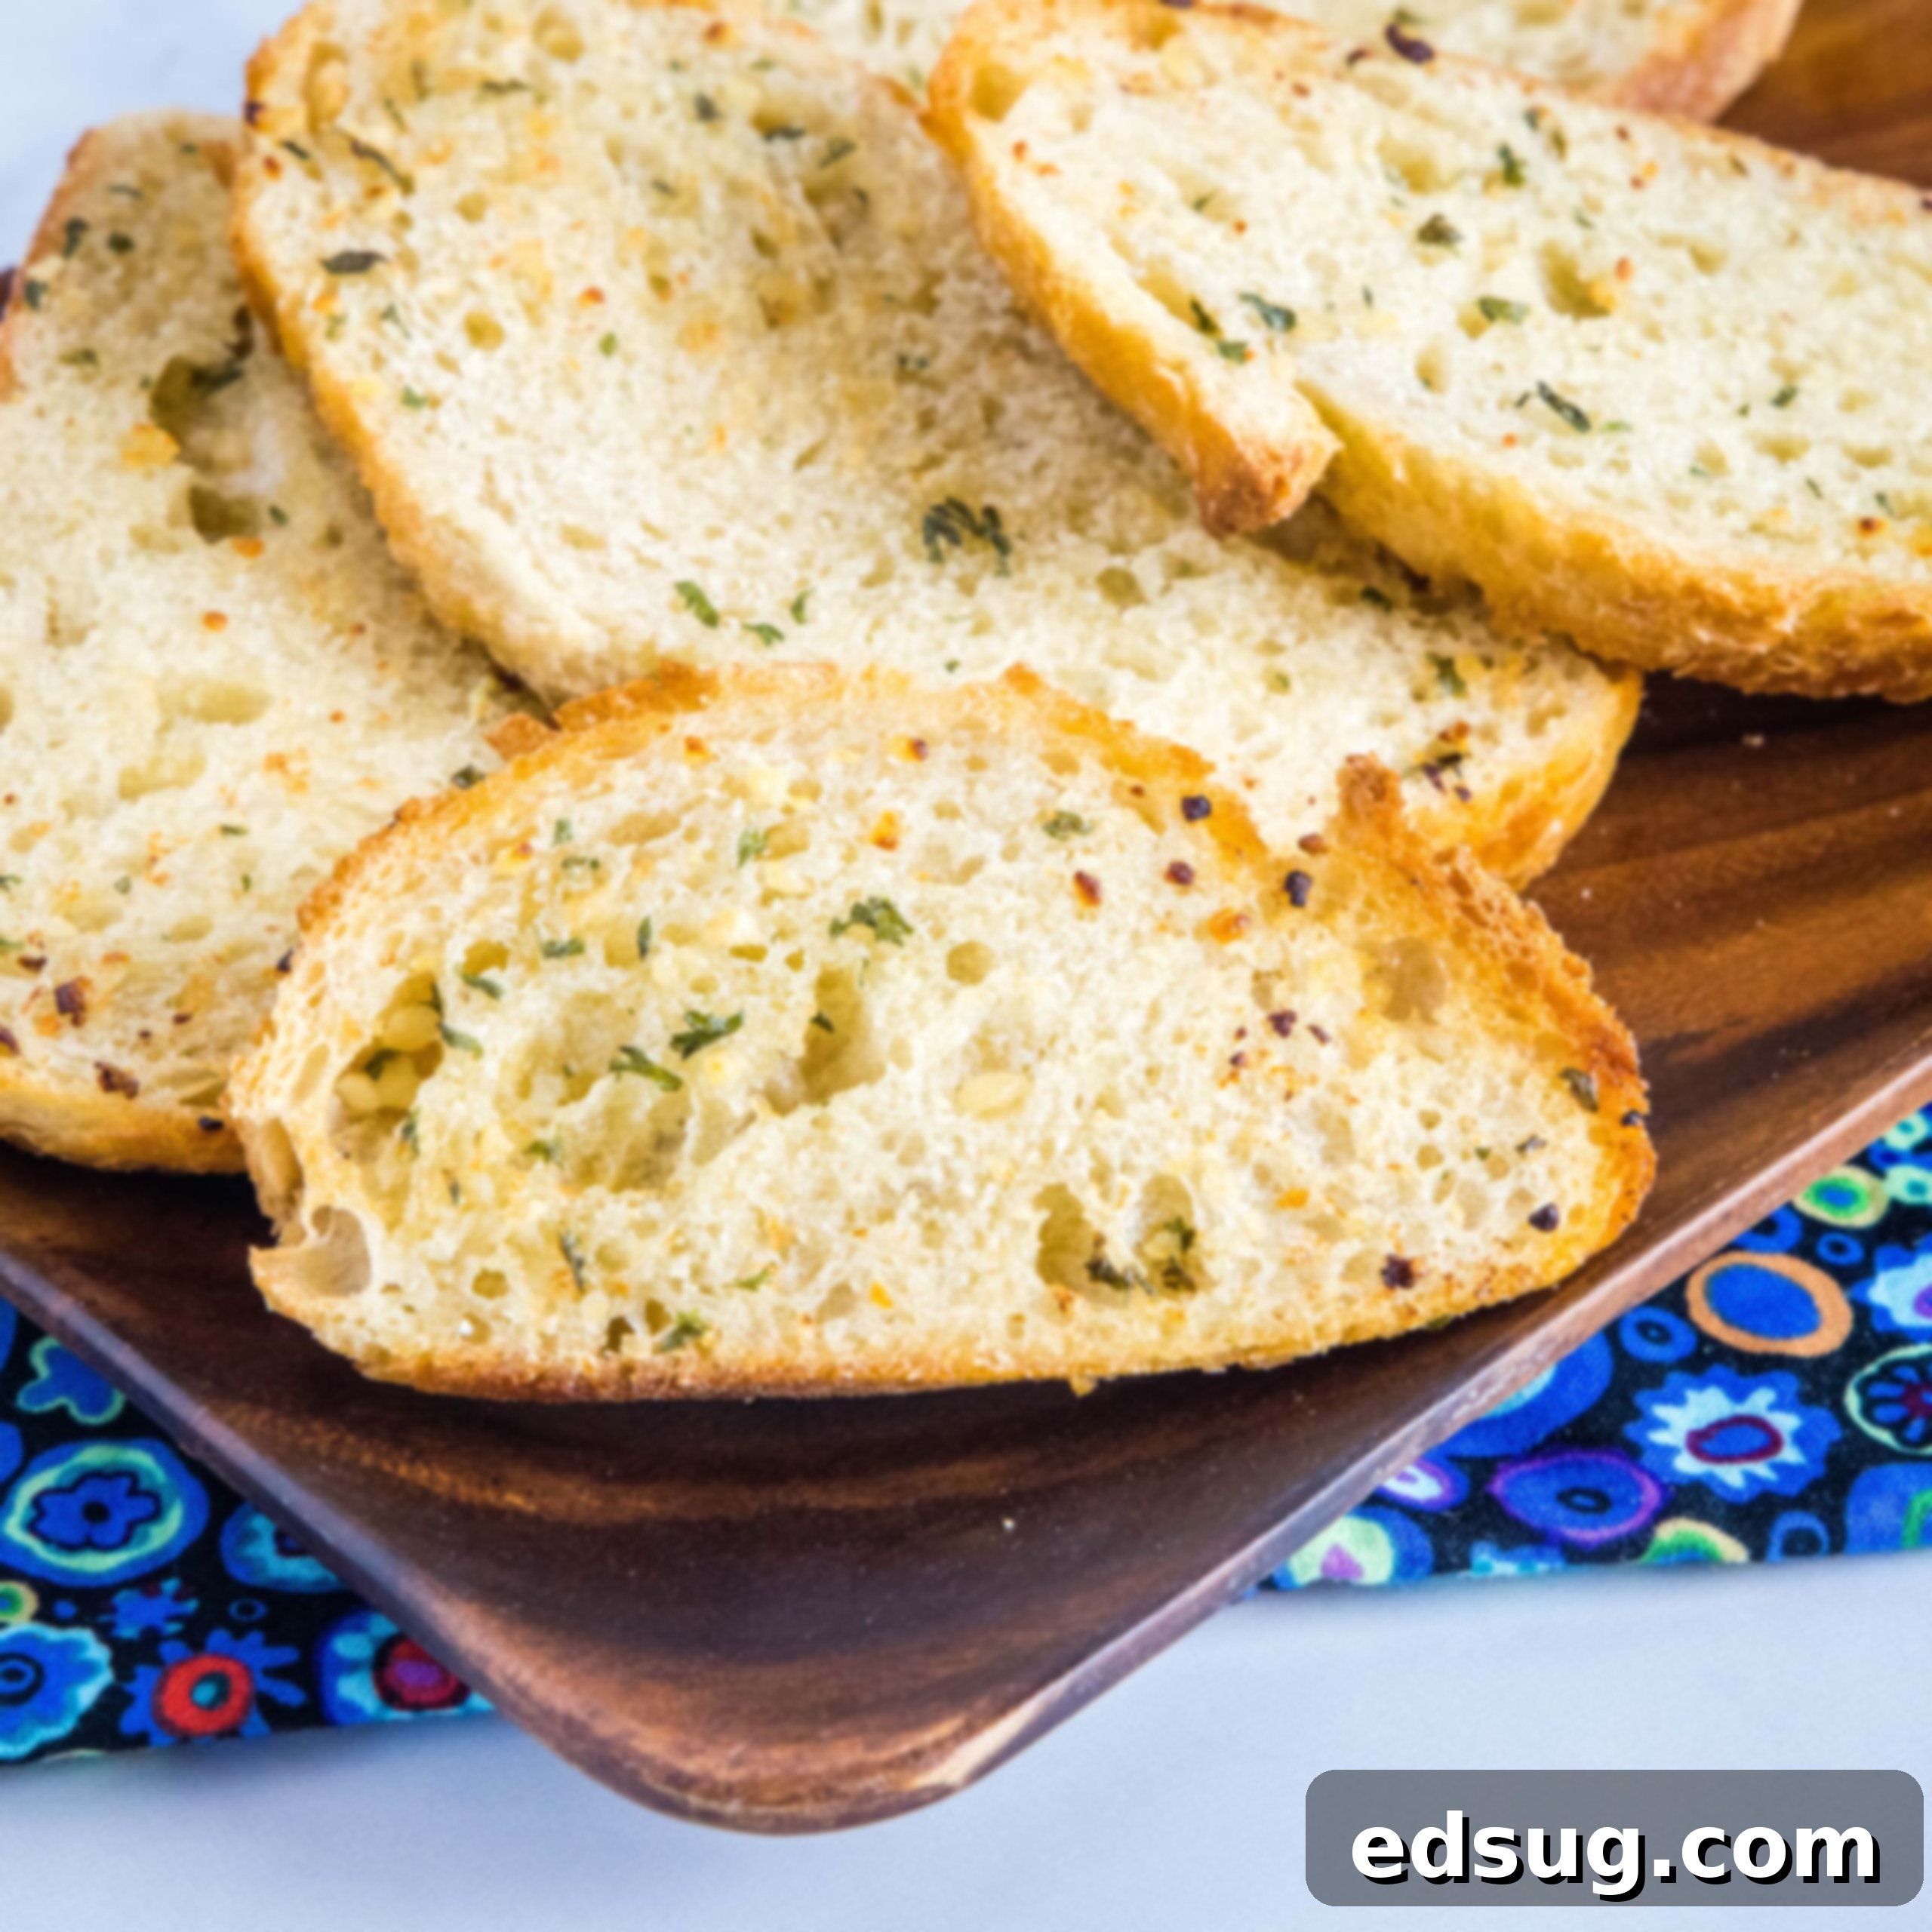
Perfect Air Fryer Garlic Bread: Crispy, Cheesy & Ready in Minutes!
Discover the ultimate guide to making irresistible garlic bread in your air fryer. This super simple recipe delivers buttery, flavorful slices that can be perfectly crispy or delightfully soft and chewy, just the way you like them. Easily customize with your favorite cheese or keep it classic with rich garlic butter. Prepare to elevate any meal with this quick and easy side!
Garlic bread holds a special place in the hearts of many, and it’s certainly one of my all-time favorite side dishes. Its versatility is unmatched, making it the perfect companion for a vast array of meals. Imagine serving warm, aromatic garlic bread alongside classic Italian fare like a hearty Spaghetti with Meat Sauce, or perhaps with a comforting soup. But its appeal isn’t limited to Italian cuisine; it’s equally delightful with dishes such as tender Oven Baked Pork Chops, a fresh salad, or even as a simple, satisfying snack.
The magic truly happens when you bring your air fryer into the equation. This incredible kitchen appliance transforms ordinary garlic bread into an extraordinary treat in mere minutes. The air fryer circulates hot air, ensuring even cooking and a consistent texture, whether you prefer your garlic bread wonderfully soft and chewy or boasting a golden, crispy crunch. Plus, the customization options are endless. Want a cheesy delight? Simply add your favorite shredded cheese. Prefer the pure, unadulterated flavor of garlic and butter? Stick to the basics. This recipe is designed to be perfectly adaptable to suit everyone’s preferences, making it a guaranteed crowd-pleaser.
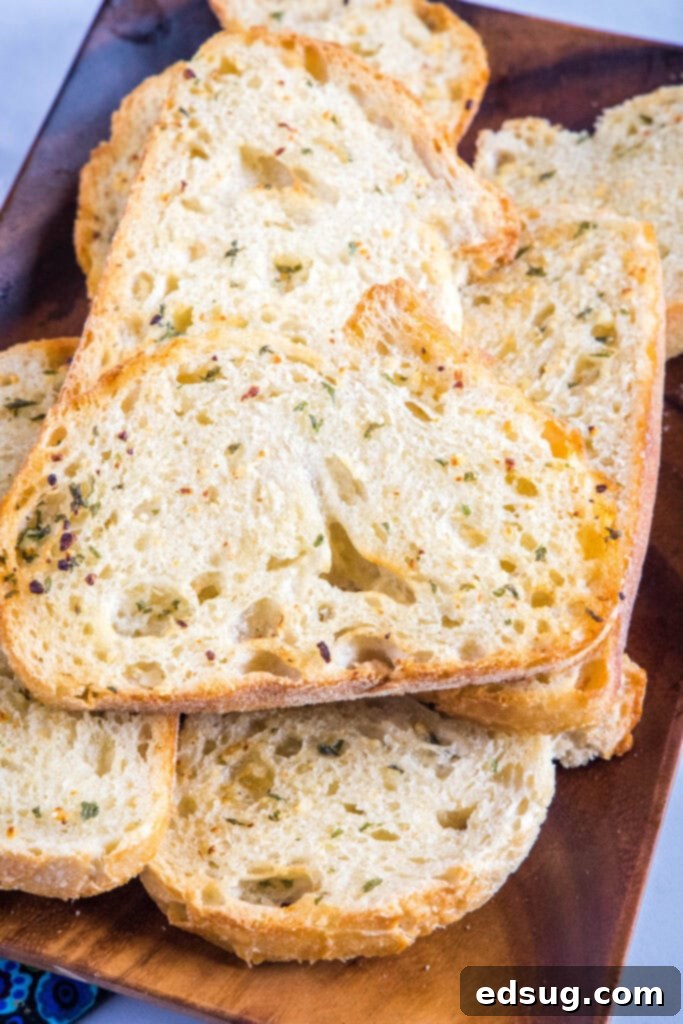
Why Make Garlic Bread in an Air Fryer?
If you haven’t yet discovered the wonders of making garlic bread in an air fryer, prepare to be amazed. This method is a game-changer for several reasons:
- Speed: Traditional ovens can take longer to preheat and cook, but an air fryer gets the job done in minutes. From prep to plate, you’re looking at under 15 minutes for perfectly cooked garlic bread.
- Perfect Texture Control: Whether you love a golden-brown crust with a soft interior or a uniformly crispy slice, the air fryer gives you precise control. You can easily adjust cooking times to achieve your desired level of crispiness.
- Even Cooking: The circulating hot air ensures every inch of your bread is evenly toasted and flavored, eliminating soggy spots or burnt edges that can sometimes happen in a conventional oven.
- Less Heat: On a hot day, firing up a large oven is the last thing you want. The air fryer generates significantly less ambient heat, keeping your kitchen cool.
- Energy Efficiency: For smaller batches, using an air fryer is often more energy-efficient than heating a full-sized oven.
- Convenience: It’s incredibly easy to use and clean, making it ideal for busy weeknights or impromptu gatherings.
Essential Ingredients for Air Fryer Garlic Bread
Crafting delicious air fryer garlic bread requires just a few simple ingredients, many of which you likely already have in your pantry. The beauty of this recipe lies in its simplicity and the ability to enhance these basic components into something truly special.
- Bread: The foundation of any great garlic bread! You have a multitude of choices here. Thinly sliced baguette pieces are classic, offering a perfect crisp-to-soft ratio. Texas toast provides a thicker, more substantial slice that’s wonderfully soft in the middle. Sourdough slices lend a tangy depth of flavor, while a good Italian loaf or French bread can also be sliced and used effectively. The key is to choose a bread that can hold up to the garlic butter without becoming soggy and can achieve a pleasant crispness when air-fried.
- Butter: Opt for unsalted butter to control the seasoning, or use salted if you prefer a bit more saltiness. Ensure your butter is softened to room temperature. This is crucial for easy mixing with the garlic and parsley, creating a smooth, spreadable compound butter that coats the bread evenly. Trying to spread cold butter will tear your bread.
- Garlic: Fresh garlic is non-negotiable for the best flavor. Minced garlic cloves release their pungent, aromatic oils into the butter, infusing every bite with that irresistible garlicky goodness. While pre-minced garlic from a jar can work in a pinch, fresh garlic offers a brighter, more vibrant taste.
- Dried Parsley: This adds a touch of color and a subtle herbaceous note, complementing the rich butter and sharp garlic. It’s primarily for visual appeal in this recipe, but it does contribute to the overall freshness of the flavor profile.
For those who love a little extra indulgence, you can effortlessly transform this into Cheesy Garlic Bread. Simply add grated Parmesan cheese directly to your butter mixture, or sprinkle shredded mozzarella or a blend of Italian cheeses over the garlic-buttered bread before air frying. The cheese will melt into a gooey, savory layer that takes this side dish to the next level.
Step-by-Step Guide to Air Frying Garlic Bread
Making garlic bread in your air fryer is incredibly straightforward. Follow these simple steps for perfect results every time:
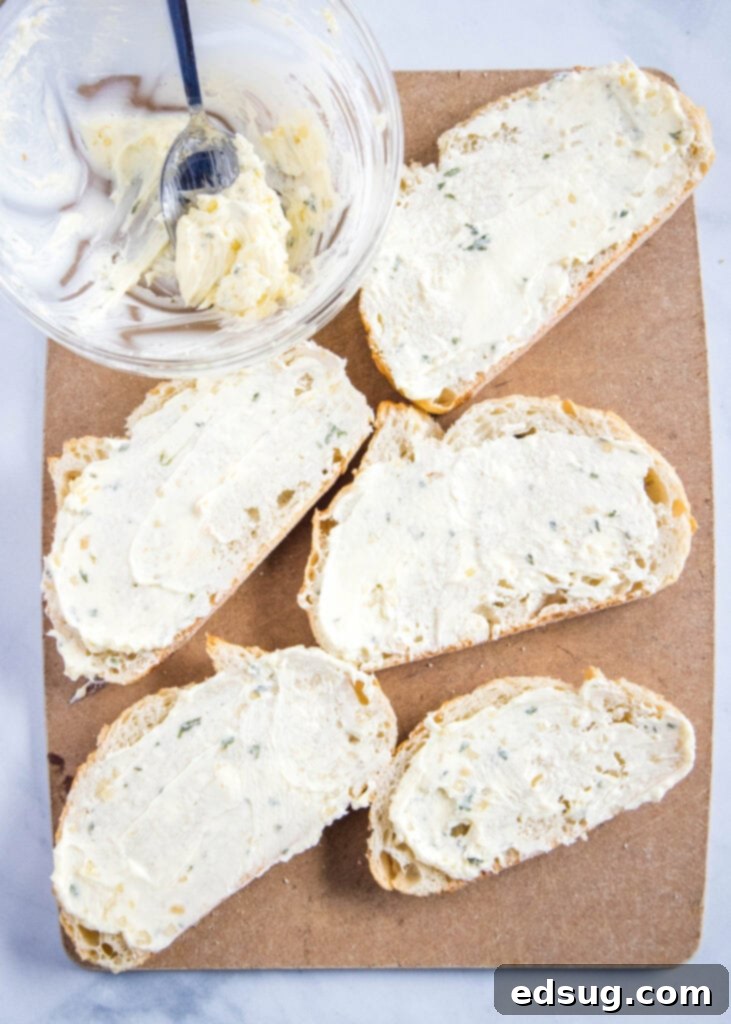
- Prepare the Garlic Butter: In a small bowl, combine your softened butter with the minced fresh garlic and dried parsley. Use a fork or a small spatula to mix everything together until it’s thoroughly combined and appears uniform. Make sure the butter is truly soft for the best results.
- Spread the Flavor: Take each slice of bread and generously spread the garlic butter mixture over one side. Ensure an even coating across the entire surface; this is where all the flavor comes from! Don’t be shy with the butter – it creates that lovely golden crust.
- Arrange in the Air Fryer Basket: Carefully place the buttered bread slices in a single layer in your air fryer basket. It’s crucial not to overlap the slices, as this will prevent them from cooking evenly and achieving that desired crispness. You may need to cook in batches depending on the size of your air fryer.
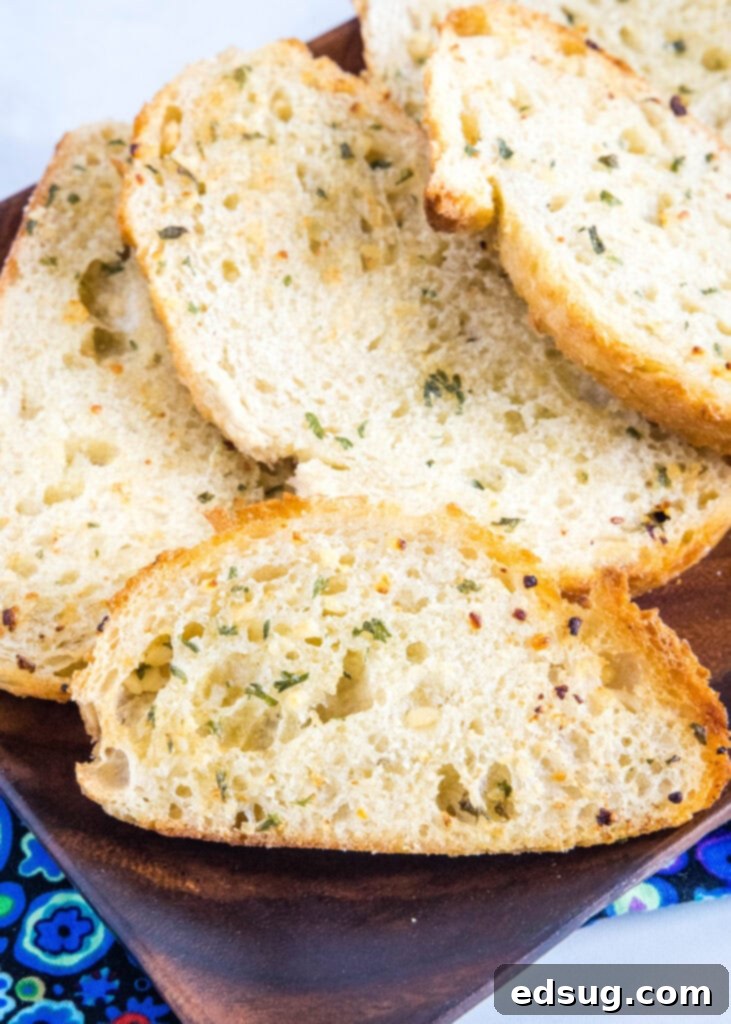
- Air Fry to Perfection: Cook the garlic bread at 350ºF (175ºC) for about 6 minutes. If you prefer your garlic bread softer and chewier, start checking it at 4 minutes. For a crispier texture, let it cook for the full 6 minutes, or even an additional minute, keeping a close eye on it to prevent burning. The exact timing can vary slightly depending on your air fryer model and the thickness of your bread, so watch for that beautiful golden-brown color.
Customization and Delicious Variations
The beauty of homemade garlic bread is how easily you can adapt it to your taste. Beyond the basic recipe, there are endless ways to get creative:
- Cheesy Garlic Bread: As mentioned, adding cheese is a popular choice. Mix 1/4 cup of grated Parmesan cheese into your butter mixture for a subtle cheesy kick, or sprinkle shredded mozzarella, cheddar, or an Italian cheese blend over the buttered bread during the last 2-3 minutes of air frying until melted and bubbly.
- Herbaceous Twist: Swap out or add to the dried parsley with other herbs. Freshly chopped basil, oregano, thyme, or rosemary can add wonderful depth. A sprinkle of Italian Seasoning is always a fantastic choice for that classic Italian flavor.
- Spicy Kick: If you enjoy a bit of heat, mix a pinch of red pepper flakes into your garlic butter. You can also add a dash of cayenne pepper for a spicier punch.
- Lemon Zest Brightness: A small amount of fresh lemon zest (about half a teaspoon) mixed into the butter can brighten up the flavors beautifully, adding a subtle citrusy note that cuts through the richness.
- Garlic Bread Sticks/Knots: If using a loaf of bread, you can slice it into thicker sticks before buttering. For garlic knots, use pre-made pizza dough or crescent roll dough, roll into strips, tie into knots, then brush with garlic butter and air fry until golden.
Make-Ahead & Freezing Instructions
One of the most practical aspects of this air fryer garlic bread recipe is how easily you can prepare it in advance. Forget relying on store-bought frozen options; now you can enjoy the superior taste of homemade garlic bread with the same grab-and-go convenience.
To make it ahead, simply follow the first two steps of the recipe: mix together your softened butter with garlic and dried parsley, then spread this flavorful mixture generously over each slice of bread. Once buttered, arrange these slices in a single layer on a baking sheet. Place the baking sheet into your freezer until the bread slices are completely frozen solid. This usually takes a couple of hours, ensuring they won’t stick together. Once frozen, transfer the individual garlic bread slices into a freezer-safe plastic bag or an airtight container. Label it with the date, and you’ll have perfectly prepped garlic bread ready whenever a craving strikes, or guests arrive unexpectedly. It can be stored in the freezer for up to 2-3 months.
When you’re ready to enjoy your homemade frozen garlic bread, there’s no need to thaw it! Just take out as many slices as you need and place them directly into your air fryer basket. You will need to make a slight adjustment to the cooking temperature and time. Reduce the air fryer temperature to 340ºF (170ºC) and cook for approximately 7-9 minutes, or a minute or two longer than fresh bread. Keep an eye on it, checking at the 7-minute mark, and adjust the time as needed to achieve your desired level of crispiness and ensure the center is warmed through. This method guarantees a warm, buttery, and delicious side dish with minimal effort.
Perfect Pairings: What to Serve With Air Fryer Garlic Bread
Garlic bread is the ultimate versatile side dish, enhancing nearly any meal. Its rich, savory flavor and satisfying texture make it a fantastic accompaniment for:
- Italian Favorites: Naturally, it pairs wonderfully with pasta dishes like a hearty Instant Pot Bolognese or a flavorful Sun-Dried Tomato Pasta.
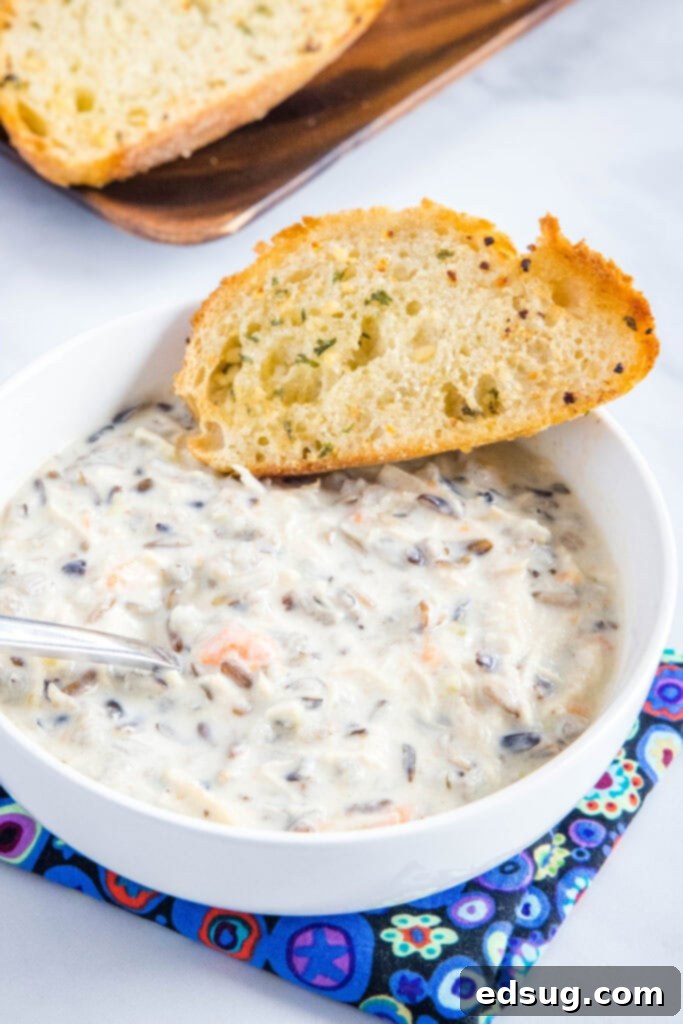
- Soups and Stews: Use it for dipping into a comforting bowl of Tomato Tortellini Soup or any of your favorite stews.
- Salads: Add a crunchy, savory element to a fresh Chicken Caesar Salad, transforming it into a more substantial meal.
- Grilled Meats: Serve alongside grilled chicken, steaks, or pork chops for a simple yet satisfying meal.
- As a Snack: Sometimes, hot, buttery garlic bread is simply perfect on its own as a delightful snack!
Top Tips for the Best Air Fryer Garlic Bread
Achieving perfectly cooked air fryer garlic bread is simple, especially with these helpful tips:
- No Preheating Required: One of the greatest advantages of using an air fryer for garlic bread is that you typically don’t need to preheat it. Just place your buttered slices directly into the basket and start cooking. This saves time and makes the process even quicker.
- Customize Your Seasoning: While dried parsley adds a lovely touch of color and a subtle herb flavor, feel free to experiment. For a more pronounced Italian profile, mix in a teaspoon of Italian Seasoning with your garlic butter. If you enjoy a bit of heat, a pinch of crushed red pepper flakes will add a delightful kick.
- Embrace the Cheese: If you’re a cheese lover, there are two main ways to incorporate it. You can either stir about 1/4 cup of grated Parmesan cheese directly into your softened butter mixture before spreading, or for a meltier, gooey result, sprinkle your favorite shredded cheese (like mozzarella or an Italian blend) over the buttered bread during the last 2-3 minutes of the air frying cycle. This allows the cheese to melt and bubble without burning.
- Single Layer is Key: To ensure every slice cooks evenly and becomes wonderfully crispy, always arrange the bread in a single layer in your air fryer basket. Overlapping slices will steam rather than toast, leading to inconsistent textures. If you have a larger batch, cook in multiple batches.
- Monitor Closely: Air fryers cook quickly! Keep an eye on your garlic bread, especially during the final minutes, to achieve your desired level of crispness without overcooking or burning. Air fryers can vary, so your first batch might be a test run to find the perfect timing.
- Room Temperature Butter: Don’t underestimate the importance of softened butter. It makes mixing the garlic and herbs effortless and ensures a smooth, even spread on your bread slices without tearing them.
To make this recipe, I find a larger capacity air fryer incredibly useful, such as the Cosori 5.8 Qt Air Fryer. Its generous size allows you to cook a good amount of food in one go, and the removable basket makes it super easy to shake, stir, or flip your food for even cooking and perfect results every time.
More Easy Side Dish Recipes
Looking for more simple and delicious sides to complement your meals? Here are some other favorites:
- Air Fryer Green Bean Fries
- Fajita Veggies
- Air Fryer Onion Rings
- Sautéed Asparagus
- Buttermilk Biscuits
- Broccoli Rice Casserole
- Best Cornbread
- Parmesan Garlic Knots
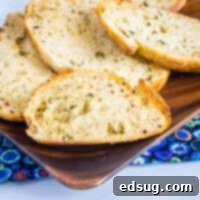
Garlic Bread In Air Fryer
Erin Sellin
5 minutes
10 minutes
15 minutes
8
Rate Recipe
Print Recipe
Ingredients
- 8-10 baguette slices, or your favorite bread (Texas toast, sourdough, Italian loaf)
- 1/2 cup butter, softened at room temperature
- 6 cloves garlic, freshly minced
- 1 teaspoon dried parsley
Instructions
-
In a small bowl, combine the softened butter with the minced garlic and dried parsley. Mix until all ingredients are well combined and the butter is evenly flavored.
-
Generously spread the garlic butter mixture over one side of each bread slice.
-
Place the buttered bread slices in a single layer in your air fryer basket. Ensure there is no overlap for even cooking. You may need to cook in batches.

-
Air fry at 350ºF (175ºC) for 6 minutes. For softer, chewier garlic bread, check at 4 minutes. For extra crispy, cook for the full 6 minutes or an additional minute, watching carefully to prevent burning.

Notes
Nutrition
Nutrition information is automatically calculated, so should only be used as an approximation.
Additional Info
Erin Sellin
5 minutes
10 minutes
15 minutes
Side Dish
American
8
188
Like this recipe? Leave a comment below!
I created a fun group on Facebook, and I would love for you to join us! It’s a place where you can share YOUR favorite recipes, ask questions, and see what’s new at Dinners, Dishes and Desserts (so that you never miss a new recipe)!
Be sure to follow me on Instagram and tag #dinnersdishes so I can see all the wonderful DINNERS, DISHES, AND DESSERTS recipes YOU make!
Be sure to follow me on my social media, so you never miss a post!
Facebook |
Twitter |
Pinterest |
Instagram
