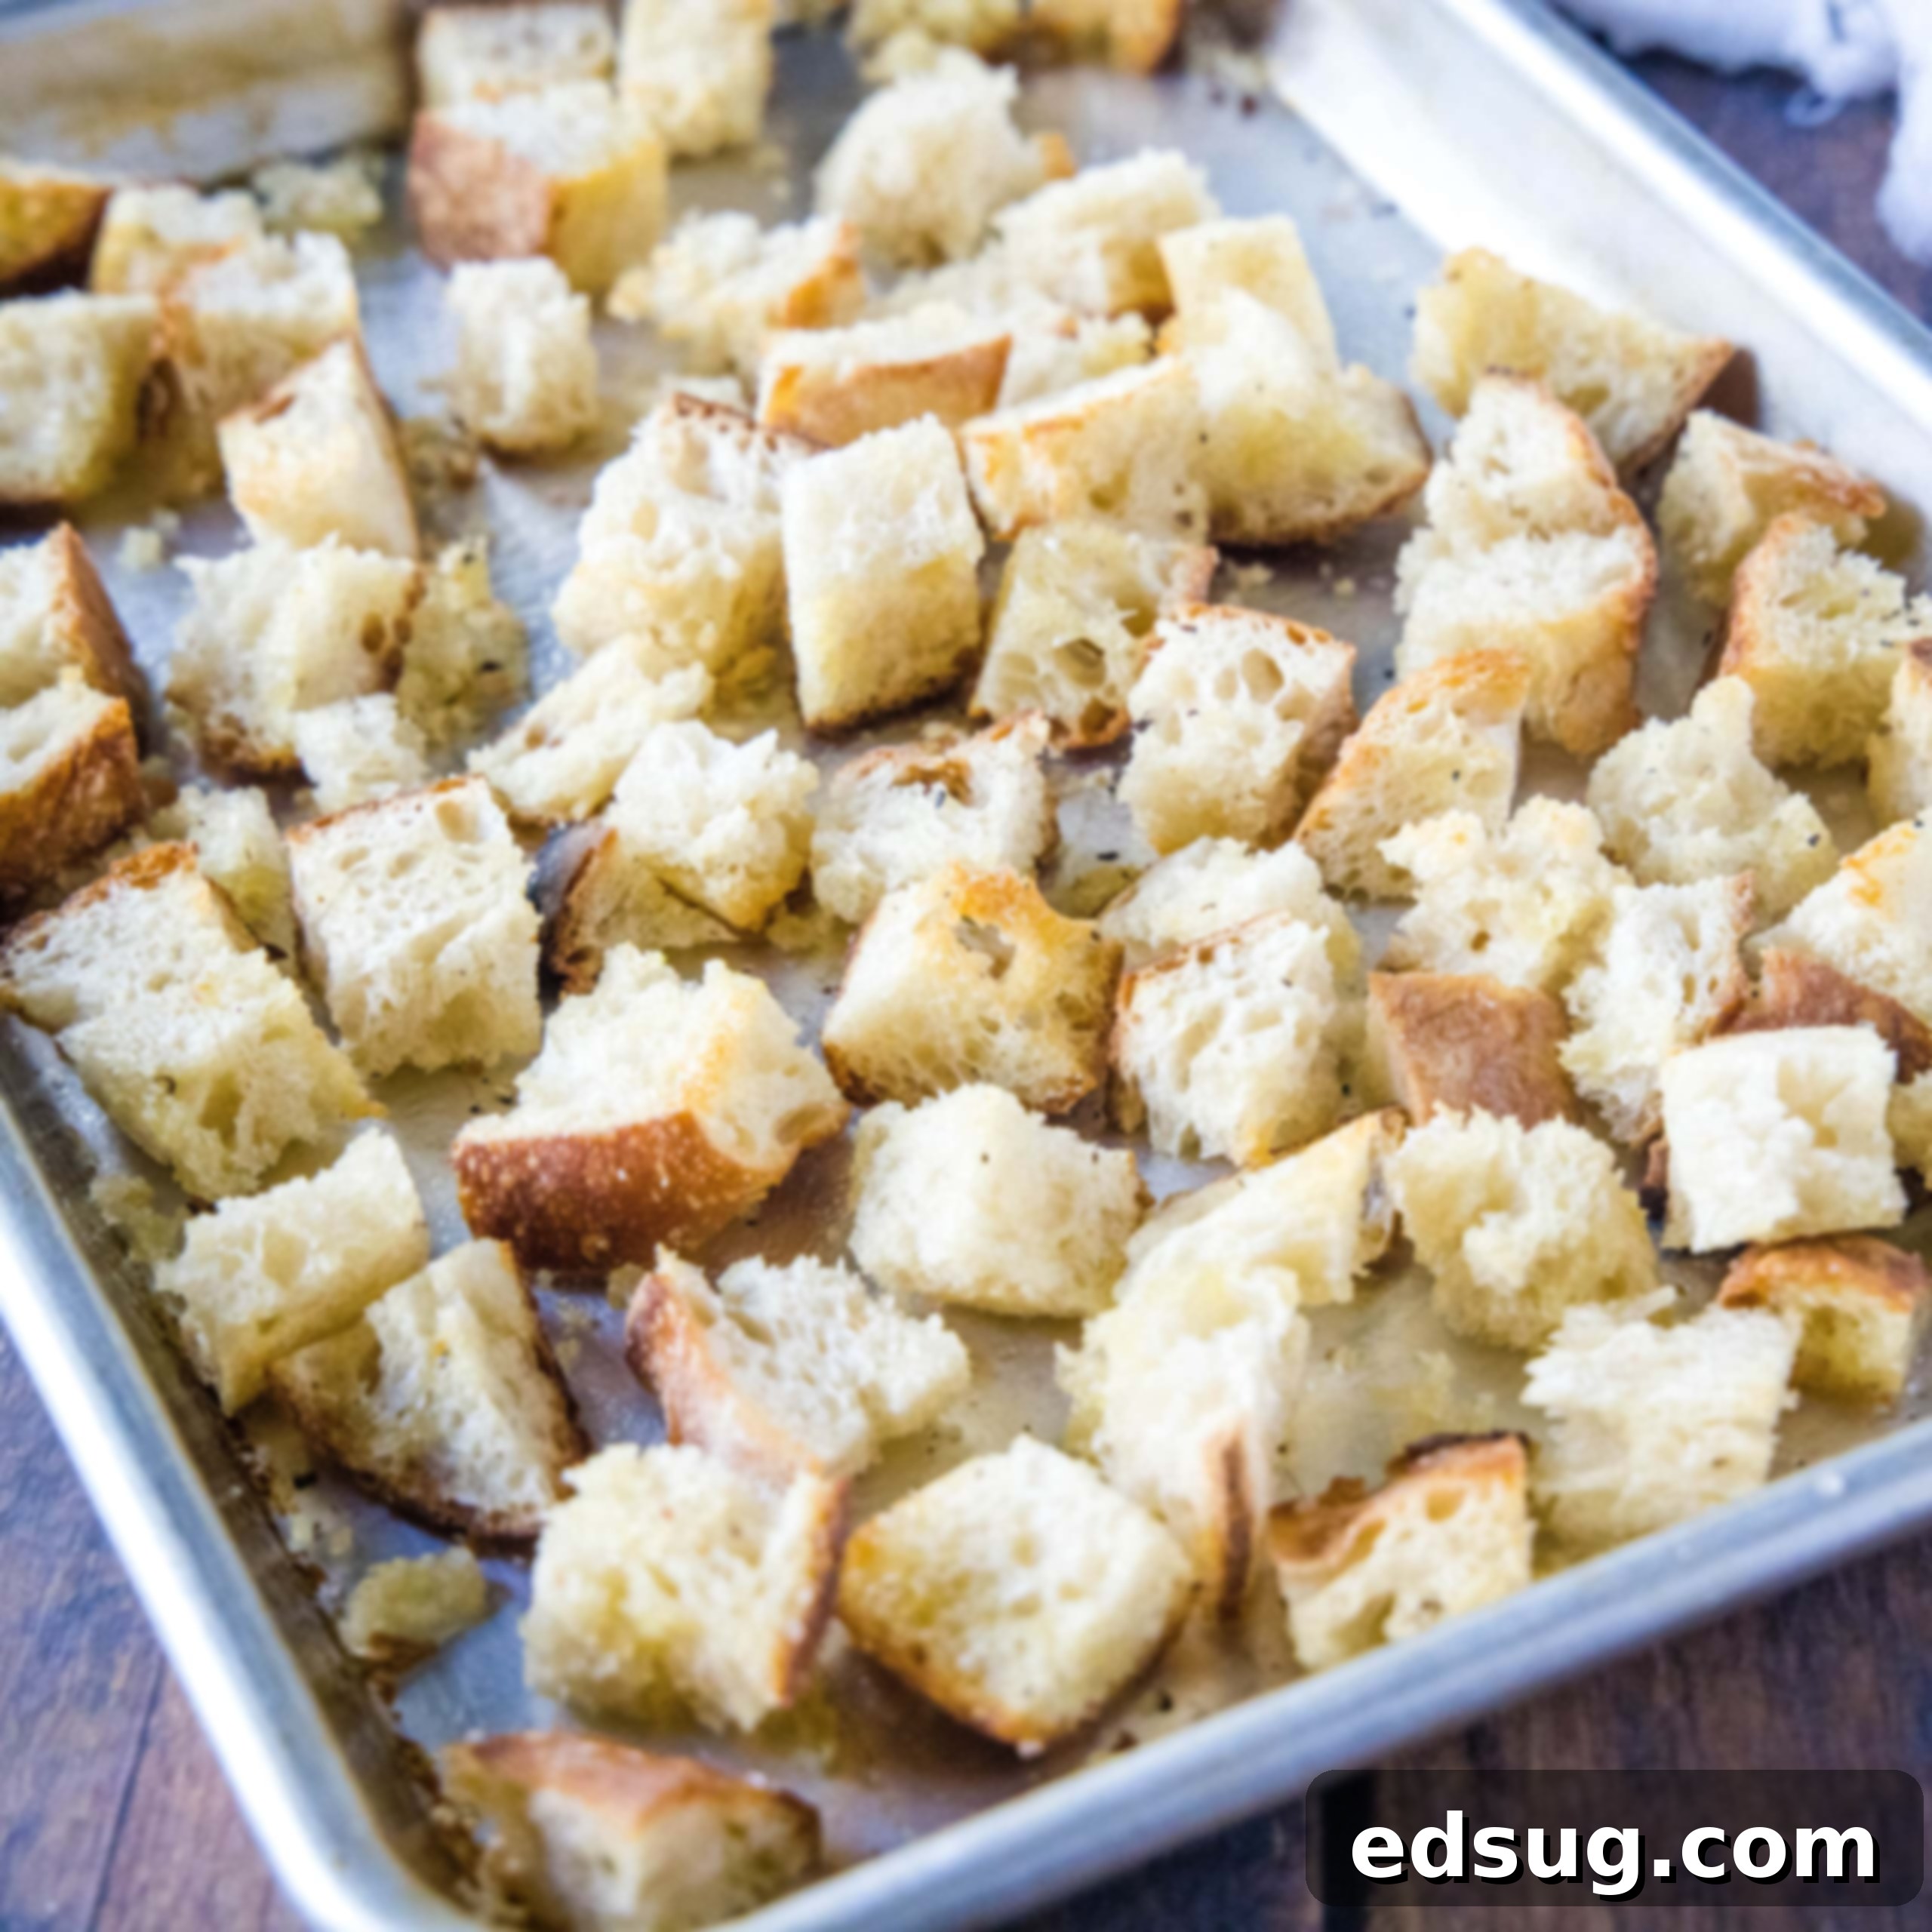
Easy Homemade Croutons: Transform Your Meals with Crunchy Goodness
Learn how to make delicious, perfectly crunchy croutons from scratch in minutes! This super easy recipe is customizable, allowing you to perfectly complement any salad, soup, or dish.
Salads are a regular feature in my home, often accompanying dinner several times a week. The secret to getting my family to happily enjoy them? The toppings! While we always have a variety of crunchy additions like nuts and seeds, one topping consistently steals the show and disappears first: croutons.
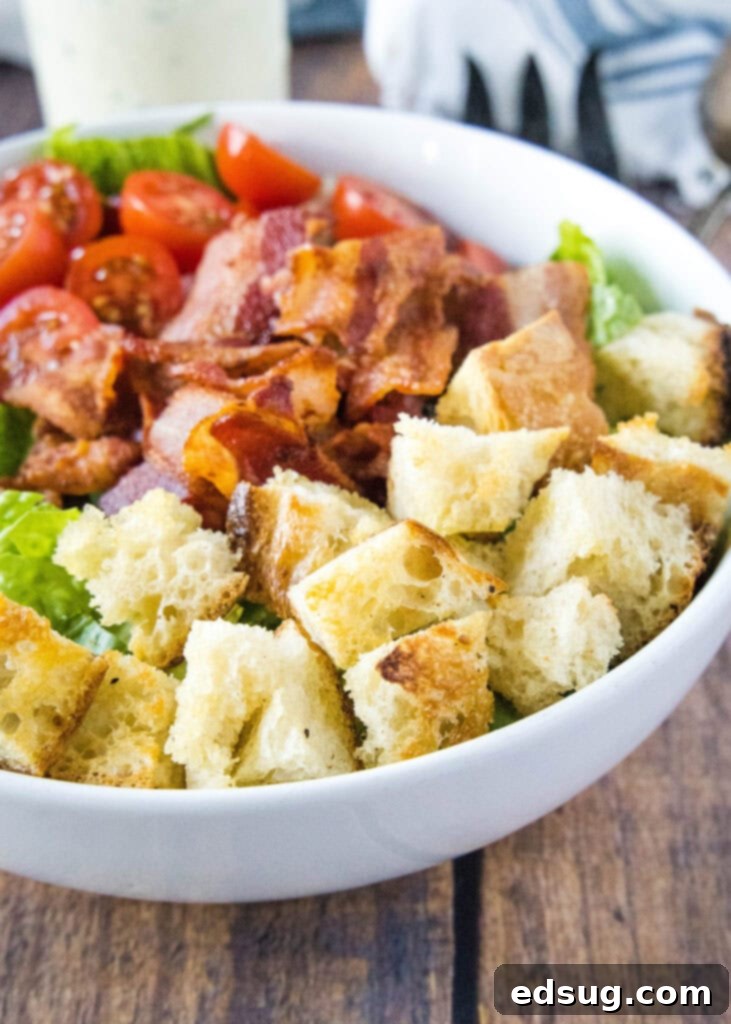
Why Homemade Croutons Are a Game Changer
There’s simply no comparison between store-bought and homemade croutons. The moment you try a batch made from scratch, you’ll understand how they can elevate a good salad to an unforgettable culinary experience. Beyond their superior taste and texture, making croutons at home is an incredibly practical way to reduce food waste by utilizing leftover bread.
Whether you have a single slice of day-old bread or an entire loaf, you have the potential to create a batch of golden, savory crunch. They’re perfect for topping a couple of individual salads or making a larger quantity to store for a few days, ensuring you always have this delightful garnish on hand.
Essential Ingredients for Perfect Croutons
Making croutons is incredibly straightforward, requiring just a handful of basic ingredients. From there, you can easily experiment with various seasonings to match your preferences or the dish you’re serving them with.
- Day-Old Bread: The drier, the better for absorbing flavor and crisping up.
- Olive Oil or Melted Butter: Both add richness and help achieve that golden, crispy exterior.
- Salt: A fundamental seasoning to bring out the flavor.
- Pepper: Adds a subtle hint of spice.
These four are your basic building blocks. For an elevated flavor profile, consider adding garlic powder, onion powder, a pinch of paprika, or a blend of dried herbs like Italian seasoning, oregano, or parsley. The possibilities for customization are endless!
Choosing the Best Bread for Croutons
One of the beauties of making homemade croutons is their adaptability to almost any type of bread you have on hand. Don’t feel limited to specific varieties; the best bread is often the one you already have!
I frequently use sourdough bread as it’s a staple in my kitchen, yielding wonderfully tangy and crispy croutons. However, French bread, Italian bread, ciabatta, or even regular sandwich bread will work beautifully. The key is to use bread that is a day or two old, as its slightly drier texture prevents sogginess and promotes superior crisping. Even humble sandwich bread will produce croutons far superior in taste and texture to most store-bought options.
For a heartier crouton, opt for denser loaves. If you prefer a lighter, airier crunch, a softer bread like challah or brioche can be transformed, though they may require slightly less baking time. Feel free to experiment with whole grain breads for added fiber and a nutty flavor profile.
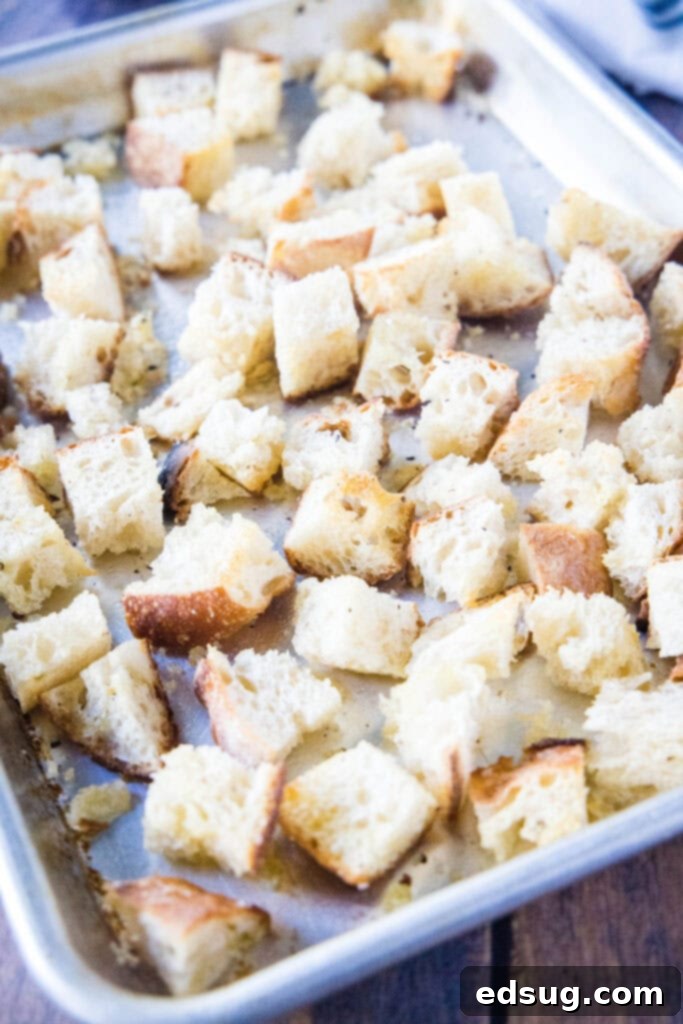
Step-by-Step Guide: How to Make Homemade Croutons
Making croutons is a simple process, but a few key steps ensure uniform crispiness and maximum flavor.
- Preheat Oven: Begin by preheating your oven to 400°F (200°C). This high temperature is crucial for quickly toasting the bread without drying it out excessively.
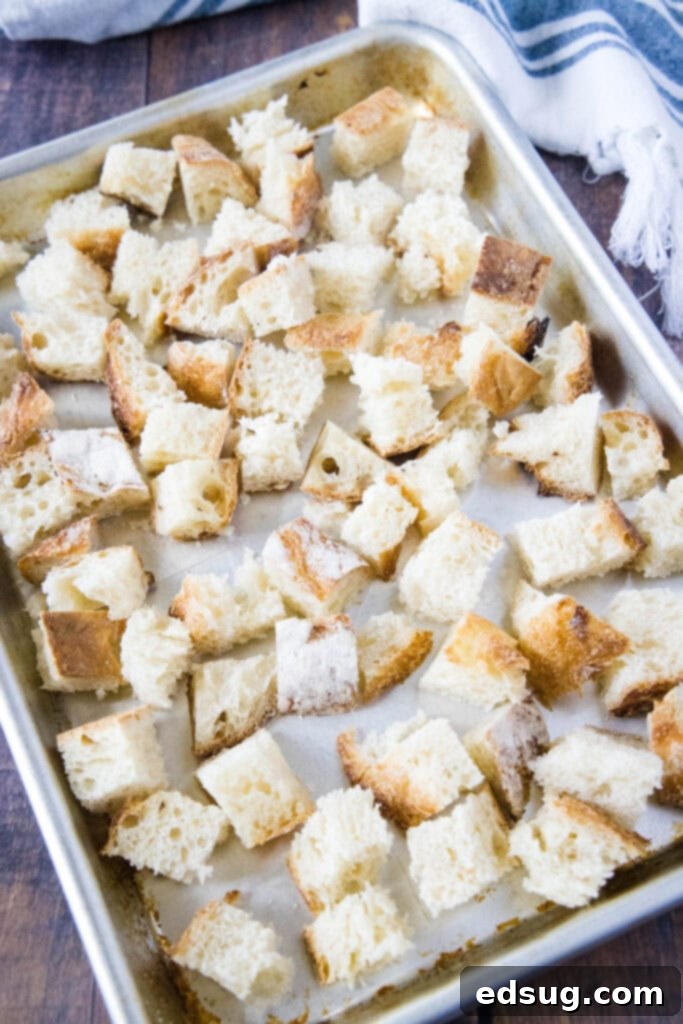
- Prepare the Bread: Carefully dice your day-old bread into uniform cubes. The size is entirely up to your preference – whether you like large, substantial croutons or smaller, bite-sized pieces. The most important aspect is consistency in size, as this ensures they bake evenly and crisp up at the same rate. Unevenly sized cubes will result in some burning while others remain soft.
- Arrange on Baking Tray: Spread the bread cubes in a single, even layer on a large baking sheet. Avoid overcrowding the pan, as this can steam the bread instead of toasting it, leading to less crispy results. Use two baking sheets if necessary.
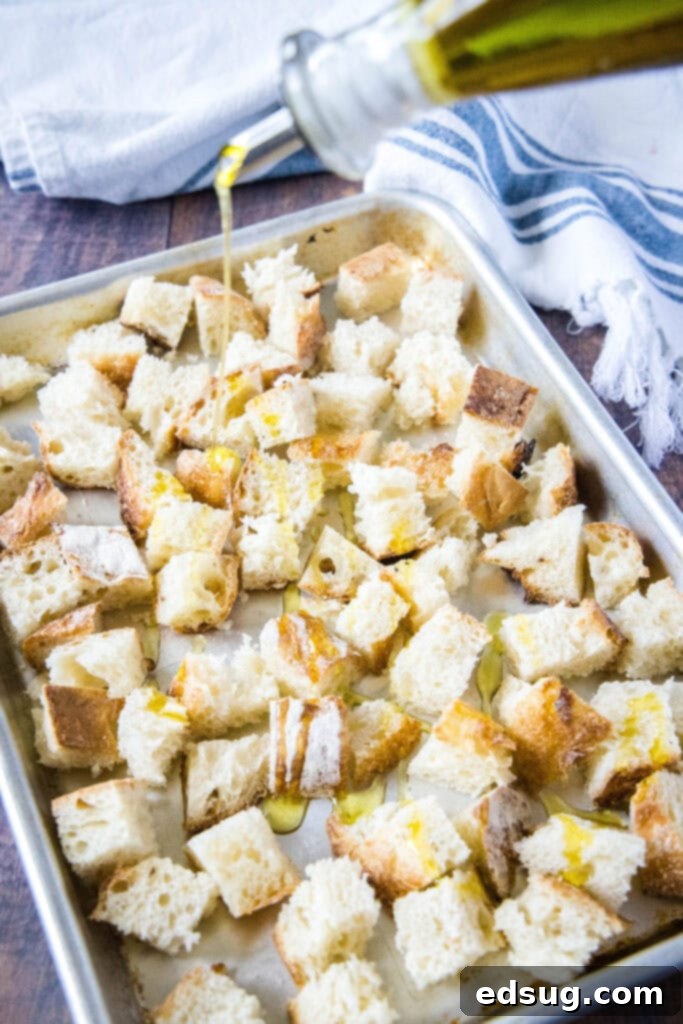
- Season Generously: Drizzle your choice of olive oil or melted butter evenly over the bread cubes. Follow with a generous sprinkle of salt and pepper. This is also the perfect time to add any additional seasonings like garlic powder, onion powder, dried herbs (such as oregano, basil, or Italian seasoning blend), or a pinch of red pepper flakes for a subtle kick.
- Toss to Coat: Using your hands or a spatula, gently toss the bread cubes until every piece is thoroughly and evenly coated with the oil and seasonings. This ensures that each crouton is bursting with flavor and will achieve that desirable golden-brown crispness.
- Bake Until Golden: Bake for 12-15 minutes, or until the croutons are golden brown and perfectly crispy. It’s essential to toss them halfway through the baking time to promote even browning and prevent scorching. Keep a close eye on them, especially towards the end, as they can go from perfectly toasted to burnt very quickly.
- Cool Completely: Once baked, remove the croutons from the oven and let them cool completely on the baking sheet. They will continue to crisp up as they cool.
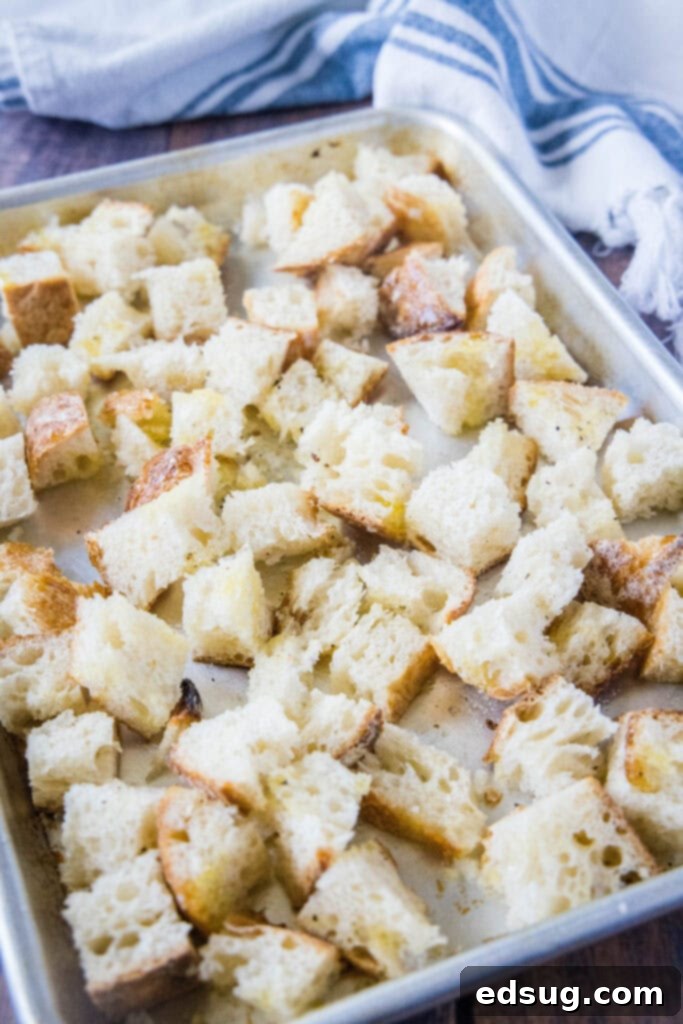
Tips for Achieving Perfectly Crunchy Croutons Every Time
- Use Day-Old Bread: This is paramount. Fresh bread has too much moisture, which can lead to soggy or chewy croutons.
- Consistent Sizing: As mentioned, uniform cubes ensure even cooking. Take an extra minute to dice them carefully.
- Don’t Overcrowd the Pan: Give your bread cubes space to breathe on the baking sheet. Air circulation is key for crisping.
- Even Coating: Make sure every piece of bread is coated in oil and seasoning for maximum flavor and crunch.
- Watch Them Closely: Baking times can vary depending on your oven and the type of bread. Keep an eye on your croutons, especially after the 10-minute mark, to prevent burning.
- Cool Completely: Don’t store or serve them warm. Cooling allows them to firm up and reach their peak crispness.
Storing Your Delicious Homemade Croutons
Once your croutons have completely cooled to room temperature, transfer them to an airtight container. Stored properly in a cool, dry place (like your pantry), they will remain wonderfully fresh and crispy for up to two weeks. Avoid refrigerating them, as this can introduce moisture and make them stale faster.
Creative Ways to Enjoy Homemade Croutons
If you can resist the urge to snack on them straight off the baking sheet (a challenge, I know!), these homemade croutons are incredibly versatile and can enhance a myriad of dishes:
- Salads: The most classic use! They add essential crunch to everything from a BLT Salad to a Caesar Pasta Salad, or simply a fresh garden salad.
- Soups: A fantastic textural contrast for creamy soups. Sprinkle them over French Onion Soup (skip the bread under the cheese for an alternative texture), Butternut Squash Soup, tomato soup, or any hearty stew.
- Stuffing/Dressing: Homemade croutons are the perfect base for creating flavorful stuffing for holidays or everyday meals, like this Sausage Stuffing. Their robust texture holds up beautifully.
- Snacks: Honestly, they are delicious enough to be eaten on their own as a savory, crunchy snack.
- Casserole Topping: Crush them slightly and use them as a crispy topping for casseroles, baked macaroni and cheese, or gratins.
- Panzanella: An Italian bread salad that specifically calls for stale bread cubes, perfect for a fresh summer meal.
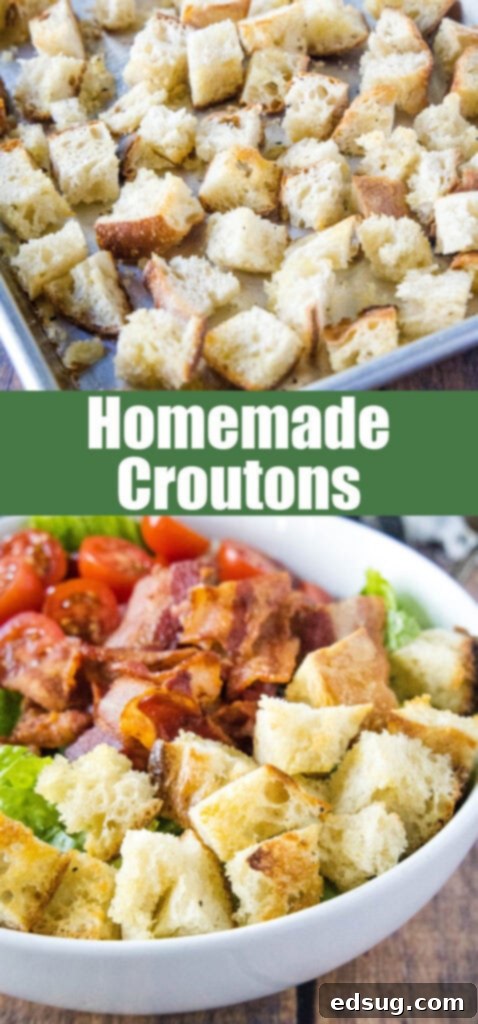
More Recipes to Elevate Your Salads
If you’re passionate about perfecting your salads, these recipes are sure to inspire and delight:
- Zesty Lemon Garlic Vinaigrette
- Hearty Grilled Chicken Antipasto Salad
- Rich & Creamy Balsamic Vinaigrette
- Authentic Greek Vinaigrette
- Satisfying Spinach Chicken Salad with Garlic Balsamic Vinaigrette
- Flavorful Ranch Oyster Crackers
★★★★★
Homemade Croutons
Erin Sellin
5
15
20
8
Rate Recipe
Print Recipe
Ingredients
- 1 loaf of day-old bread, approximately 4 cups diced
- 1/4 cup olive oil or melted butter
- 1 teaspoon salt
- 1/2 teaspoon black pepper
- Optional: 1 tsp garlic powder, 1/2 tsp onion powder, or 1 tsp dried Italian herbs
Instructions
-
Preheat oven to 400ºF (200°C).
-
Cut day-old bread into uniform 1/2 to 3/4 inch cubes.
-
Arrange bread cubes in a single, even layer on a large baking sheet. Do not overcrowd.
-
Drizzle olive oil or melted butter over the bread cubes. Sprinkle evenly with salt, pepper, and any optional seasonings like garlic powder or dried herbs.
-
Toss everything together until all bread cubes are thoroughly and evenly coated.
-
Bake for 12-15 minutes, tossing them gently halfway through, until they are golden brown and crispy. Watch them closely to prevent burning.
-
Remove from oven and let cool completely on the baking sheet before storing.
Notes
Nutrition
Nutrition information is automatically calculated, so should only be used as an approximation.
Additional Info
Erin Sellin
5
15
20
Side Dish Recipes
American
8
188
Like this recipe? Leave a comment below!
I created a fun group on Facebook, and I would love for you to join us! It’s a place where you can share YOUR favorite recipes, ask questions, and see what’s new at Dinners, Dishes and Desserts (so that you never miss a new recipe)!
Be sure to follow me on Instagram and tag #dinnersdishes so I can see all the wonderful DINNERS, DISHES, AND DESSERTS recipes YOU make!
Be sure to follow me on my social media, so you never miss a post!
Facebook |
Twitter |
Pinterest |
Instagram
