The Ultimate Guide to Making the Best Gooey Homemade Rice Krispie Treats
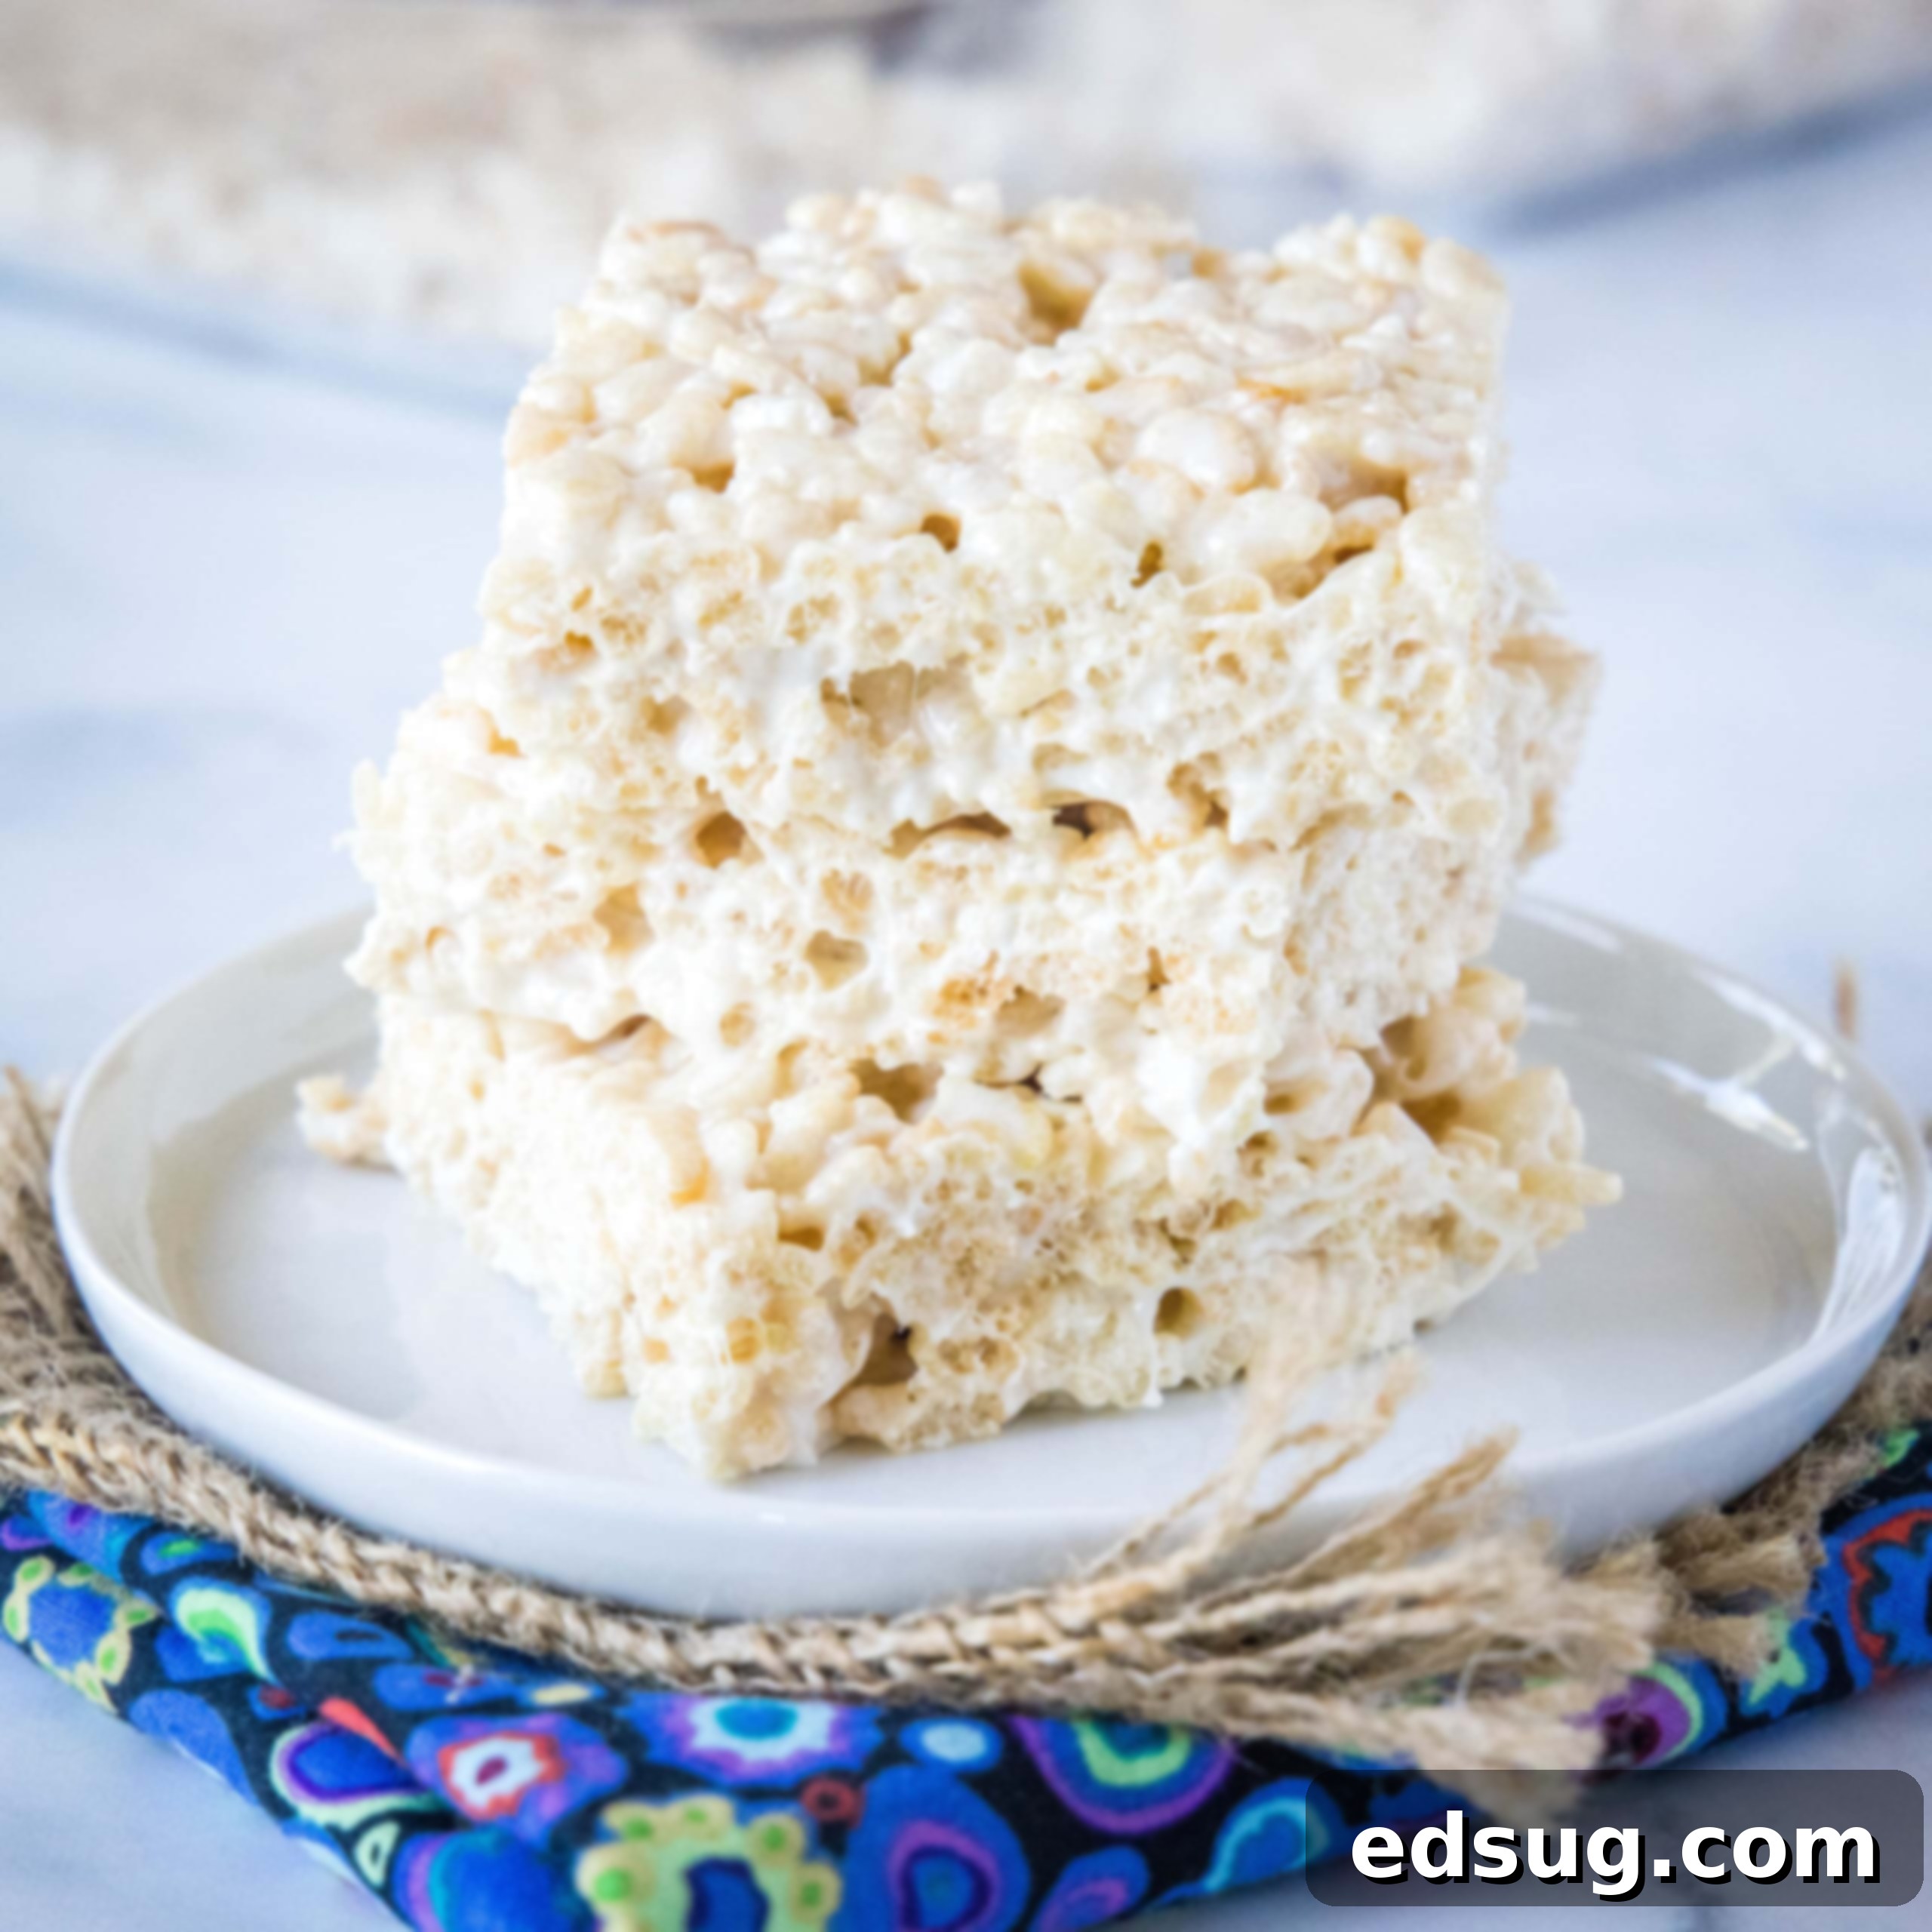
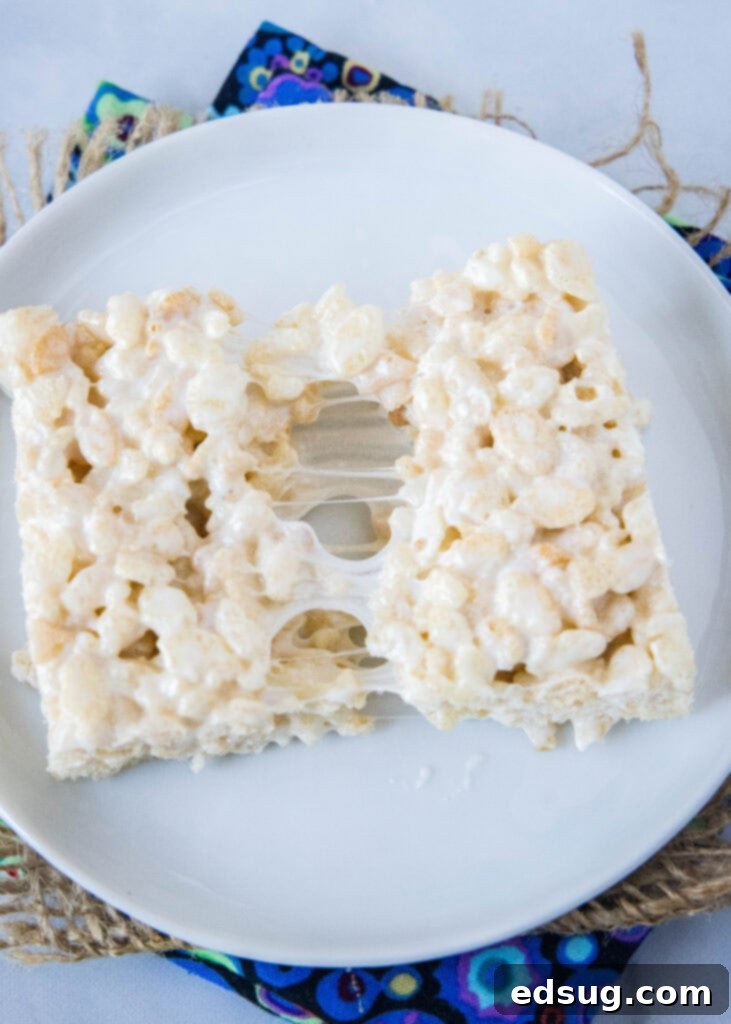
Prepare yourself for the absolute BEST Rice Krispie Treats you’ve ever tasted! Forget those dry, crumbly versions from the box; these homemade treats are incredibly gooey, perfectly dense, delightfully sweet, and utterly delicious. This recipe takes the classic childhood favorite and elevates it to a whole new level of perfection, ensuring every bite is a delightful experience you’ll want to savor.
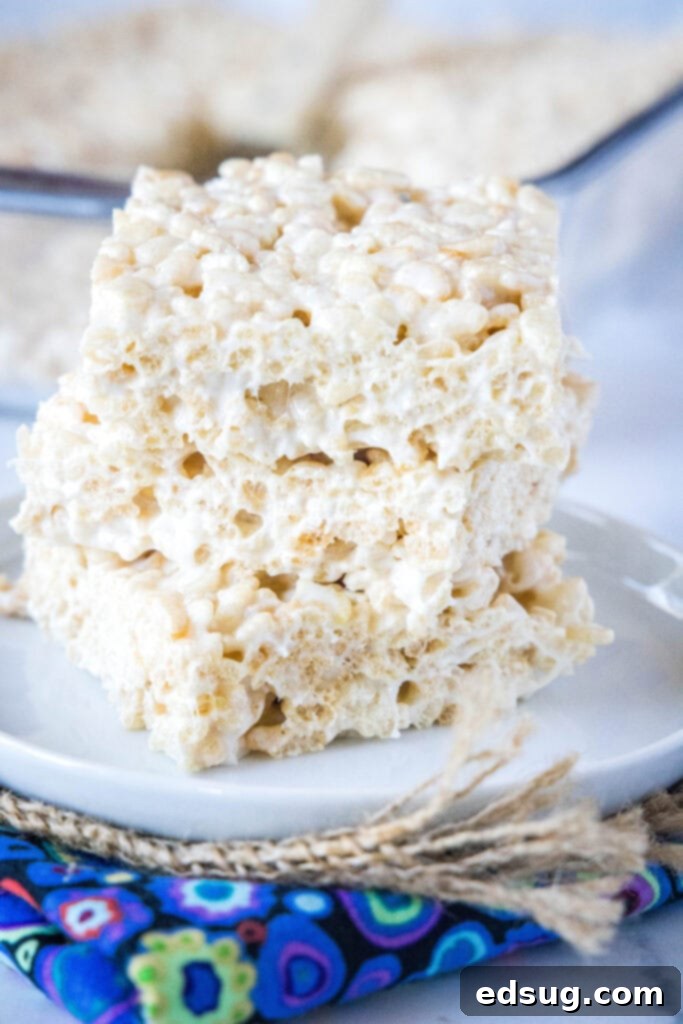
Everyone cherishes the nostalgic charm of classic Rice Krispie Treats, instantly bringing back floods of happy childhood memories. They are one of those incredibly simple desserts to whip up, yet many people often overlook their potential. Well, it’s time to bring these beloved treats back into the spotlight! But this time, don’t settle for the basic recipe found on the cereal box, which often results in bars that are, frankly, a bit too stiff and bland for my liking. To achieve that perfectly sweet, irresistibly gooey, and satisfyingly chewy bar that will have everyone begging for more, you need a little something extra. This perfected recipe incorporates a few key tweaks that make all the difference, transforming a simple snack into an extraordinary dessert.
Once you master this superior base recipe, the possibilities for customization are endless. You can effortlessly transform them into festive delights like Watermelon Krispie Treats for summer parties or vibrant 4th of July Krispie Treats to celebrate patriotic holidays. The versatility of this recipe means you can adapt it to fit any holiday, occasion, or simply to satisfy a creative craving, making it a truly indispensable addition to your dessert repertoire.
Why You’ll Absolutely Love These Homemade Rice Krispie Treats
There are countless reasons why this specific recipe for Rice Krispie Treats stands head and shoulders above the rest. From their effortless preparation to their undeniable deliciousness, these treats are guaranteed to become a household favorite. Here’s what makes them truly special:
- No Baking Required! Just like many of your favorite cereal bars, such as these or delightful Puppy Chow Bars, these Rice Krispie Treats require absolutely no oven time. This makes them an ideal dessert for any season, especially hot summer days when you want to avoid heating up your kitchen. The entire process involves simply melting marshmallows and butter, a task easily accomplished in minutes using just a microwave or a saucepan on the stovetop. It’s truly a fuss-free dessert!
- Unbelievably Gooey Texture. This is where our recipe truly shines and differentiates itself from the standard box instructions. Trust me when I say, skip that basic recipe! By using a slightly increased amount of marshmallows, we achieve an unparalleled gooeyness that makes each bite incredibly soft, chewy, and utterly delicious. The extra marshmallow ensures a melt-in-your-mouth experience that is both satisfyingly sweet and wonderfully comforting. This isn’t just a treat; it’s a delightful textural adventure.
- Effortlessly Easy & Quick. Despite their superior taste and texture, these treats remain incredibly simple to make. They use the same few classic ingredients as the original version, but with slightly adjusted quantities to maximize flavor and gooiness. This means you can always have the necessary components on hand, ready to be whipped up into a batch of fresh, warm treats in approximately 5 to 10 minutes of active prep time. It’s the perfect last-minute dessert or snack for unexpected guests or sudden cravings.
- Perfectly Balanced Sweetness. Our recipe ensures a sweet profile that is rich and satisfying without being cloying. The addition of vanilla extract subtly enhances the marshmallow and butter flavors, creating a more complex and inviting taste that goes beyond mere sugar. Each bar offers a harmonious blend of sweetness and a hint of warmth, making them irresistible to all ages.
- Versatile for Any Occasion. While incredible on their own, these Rice Krispie Treats serve as a fantastic base for endless customization. Whether you want to add sprinkles for a festive touch, mix in chocolate chips for a richer flavor, or drizzle with melted caramel, this recipe can be easily adapted. They are perfect for birthday parties, school lunches, potlucks, holidays, or simply as an everyday indulgence.
Essential Ingredients for Perfect Rice Krispie Treats
For precise measurements and the FULL PRINTABLE recipe card, please scroll to the bottom of this post.
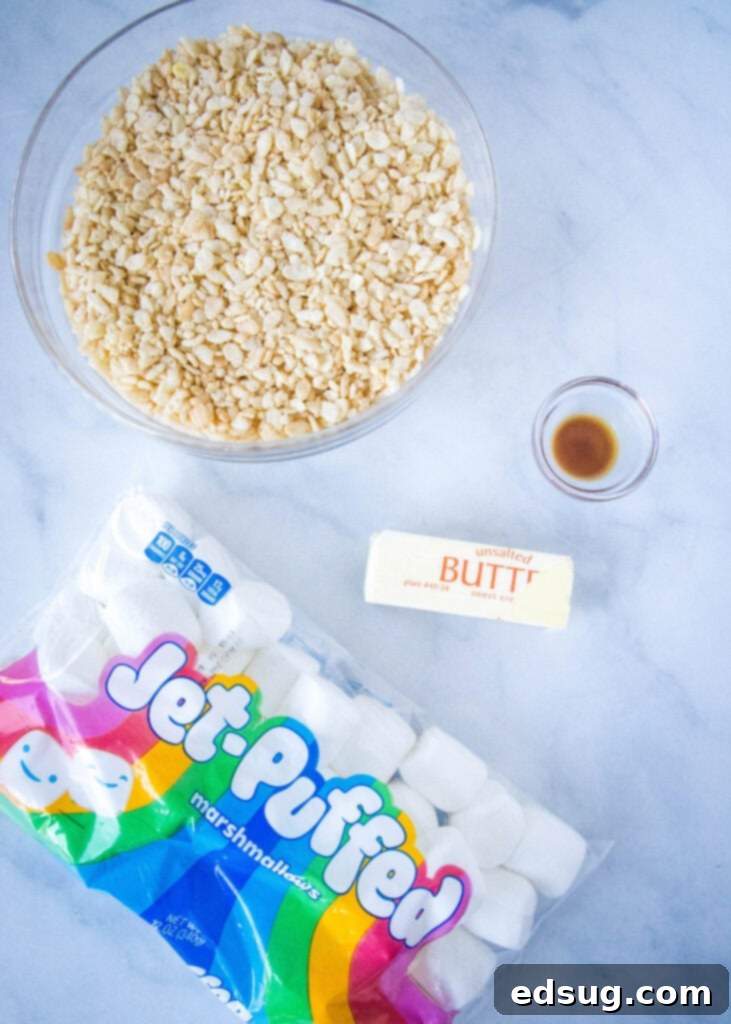
Creating these magical treats requires only a handful of readily available ingredients. The key, however, lies not just in the ingredients themselves, but in their quality and the slightly altered proportions we use to achieve that signature gooeyness and dense, satisfying chew. Here’s what you’ll need:
- Rice Krispie Cereal: The crispy foundation of our treats. Fresh cereal is crucial for the best texture, so avoid using a box that’s been open for too long.
- Unsalted Butter: This provides richness and helps create that smooth, cohesive marshmallow mixture. Using unsalted butter allows you to control the overall saltiness of the final product, though a pinch of salt can actually enhance the sweetness. Good quality butter makes a noticeable difference in flavor!
- Fresh Marshmallows: The star of the show! We use a generous amount to ensure maximum gooeyness. Fresh marshmallows melt smoothly and incorporate beautifully, contributing to the irresistible chew. Older, drier marshmallows won’t yield the same luscious texture.
- Pure Vanilla Extract: A secret weapon! A touch of vanilla elevates the flavor profile, adding warmth and depth that complements the sweet marshmallow and rich butter, taking these treats from good to truly extraordinary. Don’t skip this, as it brightens all the other flavors.
As you’ll discover in the detailed recipe card below, I prefer my Rice Krispie Treats to be extra gooey and possess a satisfying density. This is achieved through a carefully balanced, slightly different ratio of these classic ingredients compared to what you might find on a standard cereal box. This small adjustment makes all the difference in achieving the ultimate texture and flavor.
How To Make the Best Gooey Rice Krispie Treats – Step-by-Step
Creating these perfect treats is a straightforward process, but paying attention to a few simple steps will ensure a flawless, gooey result every time. Here’s a detailed guide:
- Prepare Your Pan: Before you begin melting, lightly grease a 13×9 inch baking pan with non-stick cooking spray or line it with parchment paper for easy removal. This crucial step prevents sticking and makes the cleanup much simpler. Set it aside, ready for the mixture.
- Gently Melt Marshmallows and Butter. In a large, microwave-safe bowl, combine your marshmallows with the cubes of unsalted butter. Microwave this mixture for approximately 1 minute on high. Remove the bowl and stir vigorously with a sturdy spatula or spoon until the butter and marshmallows are mostly melted and well combined. If there are still a few lumps or if your microwave isn’t as powerful, return the bowl to the microwave for an additional 15-20 seconds, then stir again until the mixture is completely smooth and cohesive. The goal is to melt, not to brown or harden, so keep a close eye on it.
- Stir in Vanilla Extract. Once your marshmallow and butter mixture is smooth and glossy, add in the pure vanilla extract. Stir it in thoroughly until it is completely blended into the sticky concoction. This step infuses the entire batch with a warm, inviting aroma and a depth of flavor that sets these treats apart.
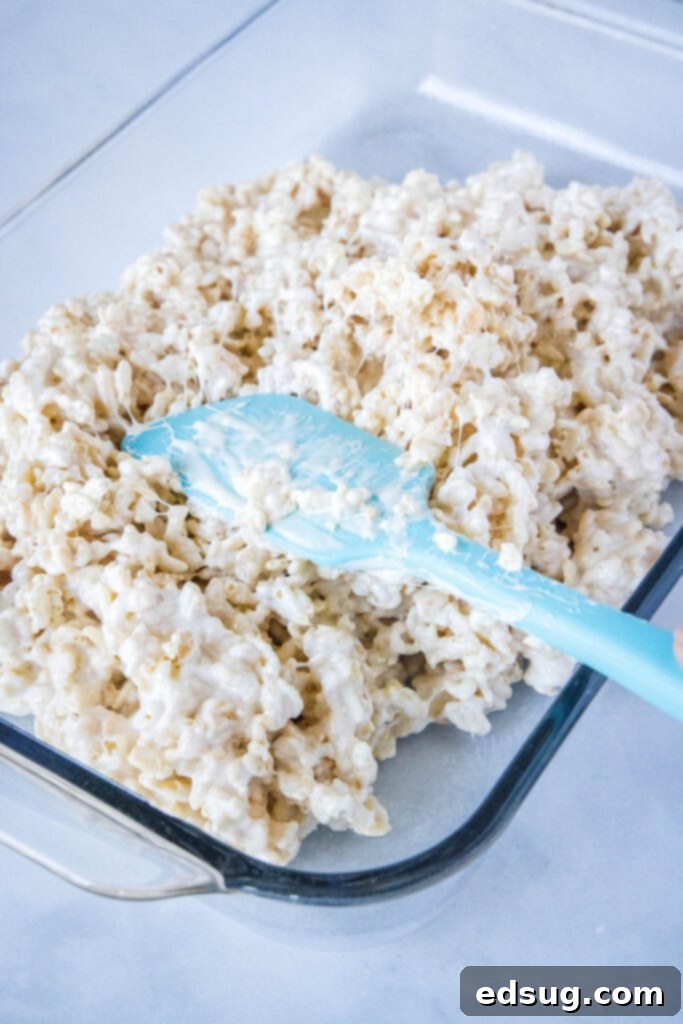
- Incorporate the Cereal. Now, it’s time to add the star crunch factor! Pour the Rice Krispie cereal directly into the bowl with the melted marshmallow mixture. Using your spatula, gently but quickly fold and mix until every single flake of cereal is evenly coated with the gooey marshmallow. Avoid over-mixing or pressing too hard, as this can crush the cereal and compromise the airy, crisp texture. The goal is a uniform coating without compacting the cereal.
- Press into Pan and Allow to Set. Transfer the entire cereal mixture into your prepared 13×9 inch baking pan. Here’s a pro tip for pressing: lightly spray a separate spatula with non-stick cooking spray or, even better, slightly dampen your hands with a little water (shaking off any excess). Then, gently but firmly press the mixture into an even layer in the pan. Avoid pressing too hard, as over-compressing can make the treats dense and hard rather than delightfully chewy. Just enough pressure to create a flat, cohesive block is perfect.
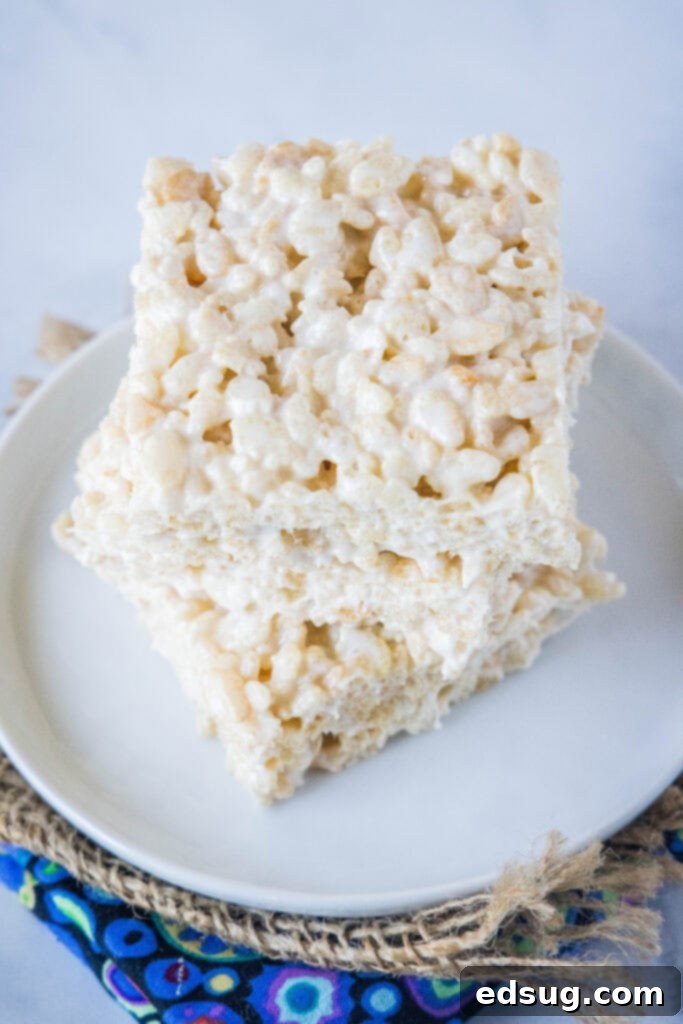
- Cool and Serve. Allow the treats to set up undisturbed at room temperature for at least 1 hour, or ideally a few hours. This gives them time to firm up just enough to be easily sliced without sticking to your knife or falling apart. Once set, cut them into squares or rectangles of your desired size, and prepare to enjoy the best Rice Krispie Treats you’ve ever had!
Recipe Tips & Delicious Variations
While this recipe for gooey Rice Krispie Treats is fantastic on its own, a few extra tips and creative variations can make your dessert experience even better:
- Microwave vs. Stovetop Melting: If you’re accustomed to melting marshmallows and butter on the stovetop, absolutely feel free to do so! Simply melt the butter in a large saucepan over low heat, then add the marshmallows and stir constantly until fully melted and smooth. I personally love the microwave method for its speed and convenience – it means less time in the kitchen and often using the same bowl for melting and mixing, which means less cleanup!
- Embrace Fresh Ingredients: This might sound obvious, but the freshness of your ingredients truly impacts the final texture and taste. Using old, stale marshmallows or a box of cereal that’s been sitting in the back of your pantry for six months will result in dry, lackluster treats. For the best gooey and crisp results, always start with a fresh bag of marshmallows and a new box of cereal. It makes a world of difference!
- The “Wet Hands” Trick for Pressing: To effortlessly press the sticky cereal mixture into your pan without it clinging to everything, there’s a simple trick. Lightly spray your spatula with non-stick cooking spray, or even better, briefly run your hands under cool water and shake off the excess. The dampness prevents the sticky marshmallow from adhering to your hands or tools, allowing you to create a perfectly even layer with ease. Re-wet your hands if things start to get sticky again.
- Don’t Over-Press! When spreading the mixture into the pan, apply gentle, even pressure. Over-compressing the treats will squeeze out too much air, making them hard and dense instead of delightfully chewy and airy. A light hand will yield the perfect gooey-crisp balance.
- Creative Cereal Swaps: Don’t limit yourself to just Rice Krispies! This versatile recipe can be adapted to many different cereals for fun flavor twists. Try it with Fruity Pebbles for a burst of color and fruit flavor, Cocoa Pebbles for a chocolatey indulgence, Honey Nut Cheerios for a subtle sweetness, Cinnamon Toast Crunch for a warming spice, or Golden Grahams for a honey-graham delight. The possibilities are endless!
- Mix-Ins and Toppings: Take your treats to the next level by folding in your favorite additions once the cereal is coated but before pressing. Think chocolate chips (milk, dark, or white), mini M&Ms, sprinkles for a festive look, crushed cookies, or even a handful of chopped nuts for extra crunch. Once set, you can drizzle them with melted chocolate, caramel sauce, or a simple glaze for an extra touch of decadence.
- Seasonal & Holiday Twists: Customize your treats for any occasion! Add food coloring to the melted marshmallow for vibrant hues, use holiday-themed sprinkles, or incorporate seasonal flavors like pumpkin spice, peppermint extract, or lemon zest. These are fantastic for school parties or family gatherings.
- Precision in Vanilla: Opt for good quality pure vanilla extract over imitation. The subtle difference in flavor really shines through in such a simple recipe.
- Serving Warm: While they need time to set, a slightly warm Rice Krispie Treat is heavenly. If you want to enjoy them warm, gently heat a single bar in the microwave for 5-10 seconds before eating.
Storing Your Perfect Rice Krispie Treats
Proper storage is key to keeping these delightful treats fresh, gooey, and ready to enjoy. Here’s how to ensure they stay at their best:
Store your finished Rice Krispie Treats in an airtight container at room temperature. This will help them retain their freshness and soft, chewy texture for up to 3 days. Beyond this timeframe, they tend to start drying out and losing their delightful gooeyness, becoming a bit harder. While still edible, they won’t be at their peak deliciousness.
It’s important to note that you generally do NOT want to freeze cereal treats. The texture changes significantly upon thawing, often becoming crumbly, tough, or overly hard, rather than maintaining that signature gooey chewiness we love. For this type of dessert, freshness is paramount.
If you find yourself with more treats than you anticipate needing or if you’re making a smaller batch, feel free to cut the recipe in half. You can then prepare them in an 8×8 inch baking pan, which will yield perfectly sized, thick squares without any waste. Always consider making a fresh batch if you want the absolute best taste and texture.
Frequently Asked Questions (FAQs)
Here are some common questions about making and enjoying Rice Krispie Treats:
- Can I use mini marshmallows instead of large ones? Absolutely! Mini marshmallows work wonderfully and often melt a little faster and more evenly than larger ones. The quantity remains the same (12 oz).
- Why are my Rice Krispie Treats hard and not gooey? This is a common issue, usually caused by one of two things: either the marshmallows were overcooked (heated for too long or too high heat, making them brittle), or you pressed the mixture into the pan too firmly. Always melt marshmallows gently and quickly, and press the mixture lightly into the pan to retain air and chewiness. Using old marshmallows can also contribute to hardness.
- How do I cut the treats cleanly without them sticking to the knife? For clean cuts, use a sharp knife and lightly spray it with non-stick cooking spray before slicing. You can also run the knife under hot water, wipe it dry, and then cut; repeat as needed.
- Can I add food coloring to Rice Krispie Treats? Yes! Add gel food coloring to the melted marshmallow mixture along with the vanilla extract. Stir well to distribute the color evenly before adding the cereal. This is a fun way to customize them for holidays or themed parties.
- How far in advance can I make these? For optimal freshness and gooeyness, these treats are best enjoyed within 1-2 days of making them. They can last up to 3 days in an airtight container at room temperature, but they will start to lose their soft texture over time.
- Do I need to grease my mixing bowl? While not strictly necessary if you’re working quickly, lightly greasing your mixing bowl and spatula can make cleanup easier by preventing the sticky marshmallow mixture from adhering too much.
More Easy No-Bake Desserts You’ll Love
If you’re a fan of quick, delicious, and fuss-free desserts, you’re in for a treat! Explore these other fantastic no-bake recipes that are perfect for satisfying your sweet tooth without turning on the oven:
- Special K Bars: A classic no-bake bar with a rich peanut butter and chocolate topping.
- Oreo Lasagna: Layers of crushed Oreos, cream cheese filling, pudding, and whipped topping.
- Brownie Batter Dip: A decadent, edible brownie batter that’s perfect for dipping cookies or fruit.
- Lemon Cheesecake Cones: Light and tangy cheesecake filling in crispy waffle cones.
- Biscoff Rice Krispie Treats: A delightful twist on the classic, featuring the irresistible flavor of Biscoff spread.
- Peanut Butter Krispie Treats: For peanut butter lovers, these add a rich, nutty flavor to the beloved cereal treat.
★★★★★
The Best Gooey Rice Krispie Treats
10
1
1
10
20
Rate Recipe
Print Recipe
Ingredients
Instructions
-
Spray a 13×9 inch baking dish with non-stick spray. Set aside.
-
Add marshmallows and butter to a large mixing bowl and place in the microwave for 60 seconds. Remove and stir until completely melted. If necessary heat again for 20 seconds.6 Tablespoons unsalted butter, 12 oz marshmallows

-
Add vanilla extract and mix until fully combined.1 teaspoon vanilla extract
-
Pour in cereal, mix until the cereal is evenly coated.6 cups rice krispies

-
Press mixture into a sprayed 13×9 inch baking dish. Wet your hands (shake off any excess water) and press mixture evenly into the pan.

-
Let bars set up for at least an hour before slicing.
Nutrition
Nutrition information is automatically calculated, so should only be used as an approximation.
Additional Info
I created a fun group on Facebook, and I would love for you to join us! It’s a place where you can share YOUR favorite recipes, ask questions, and see what’s new at Dinners, Dishes and Desserts (so that you never miss a new recipe)!
Be sure to follow me on Instagram and tag #dinnersdishes so I can see all the wonderful DINNERS, DISHES, AND DESSERTS recipes YOU make!
Be sure to follow me on my social media, so you never miss a post!
Facebook | Twitter | Pinterest | Instagram
