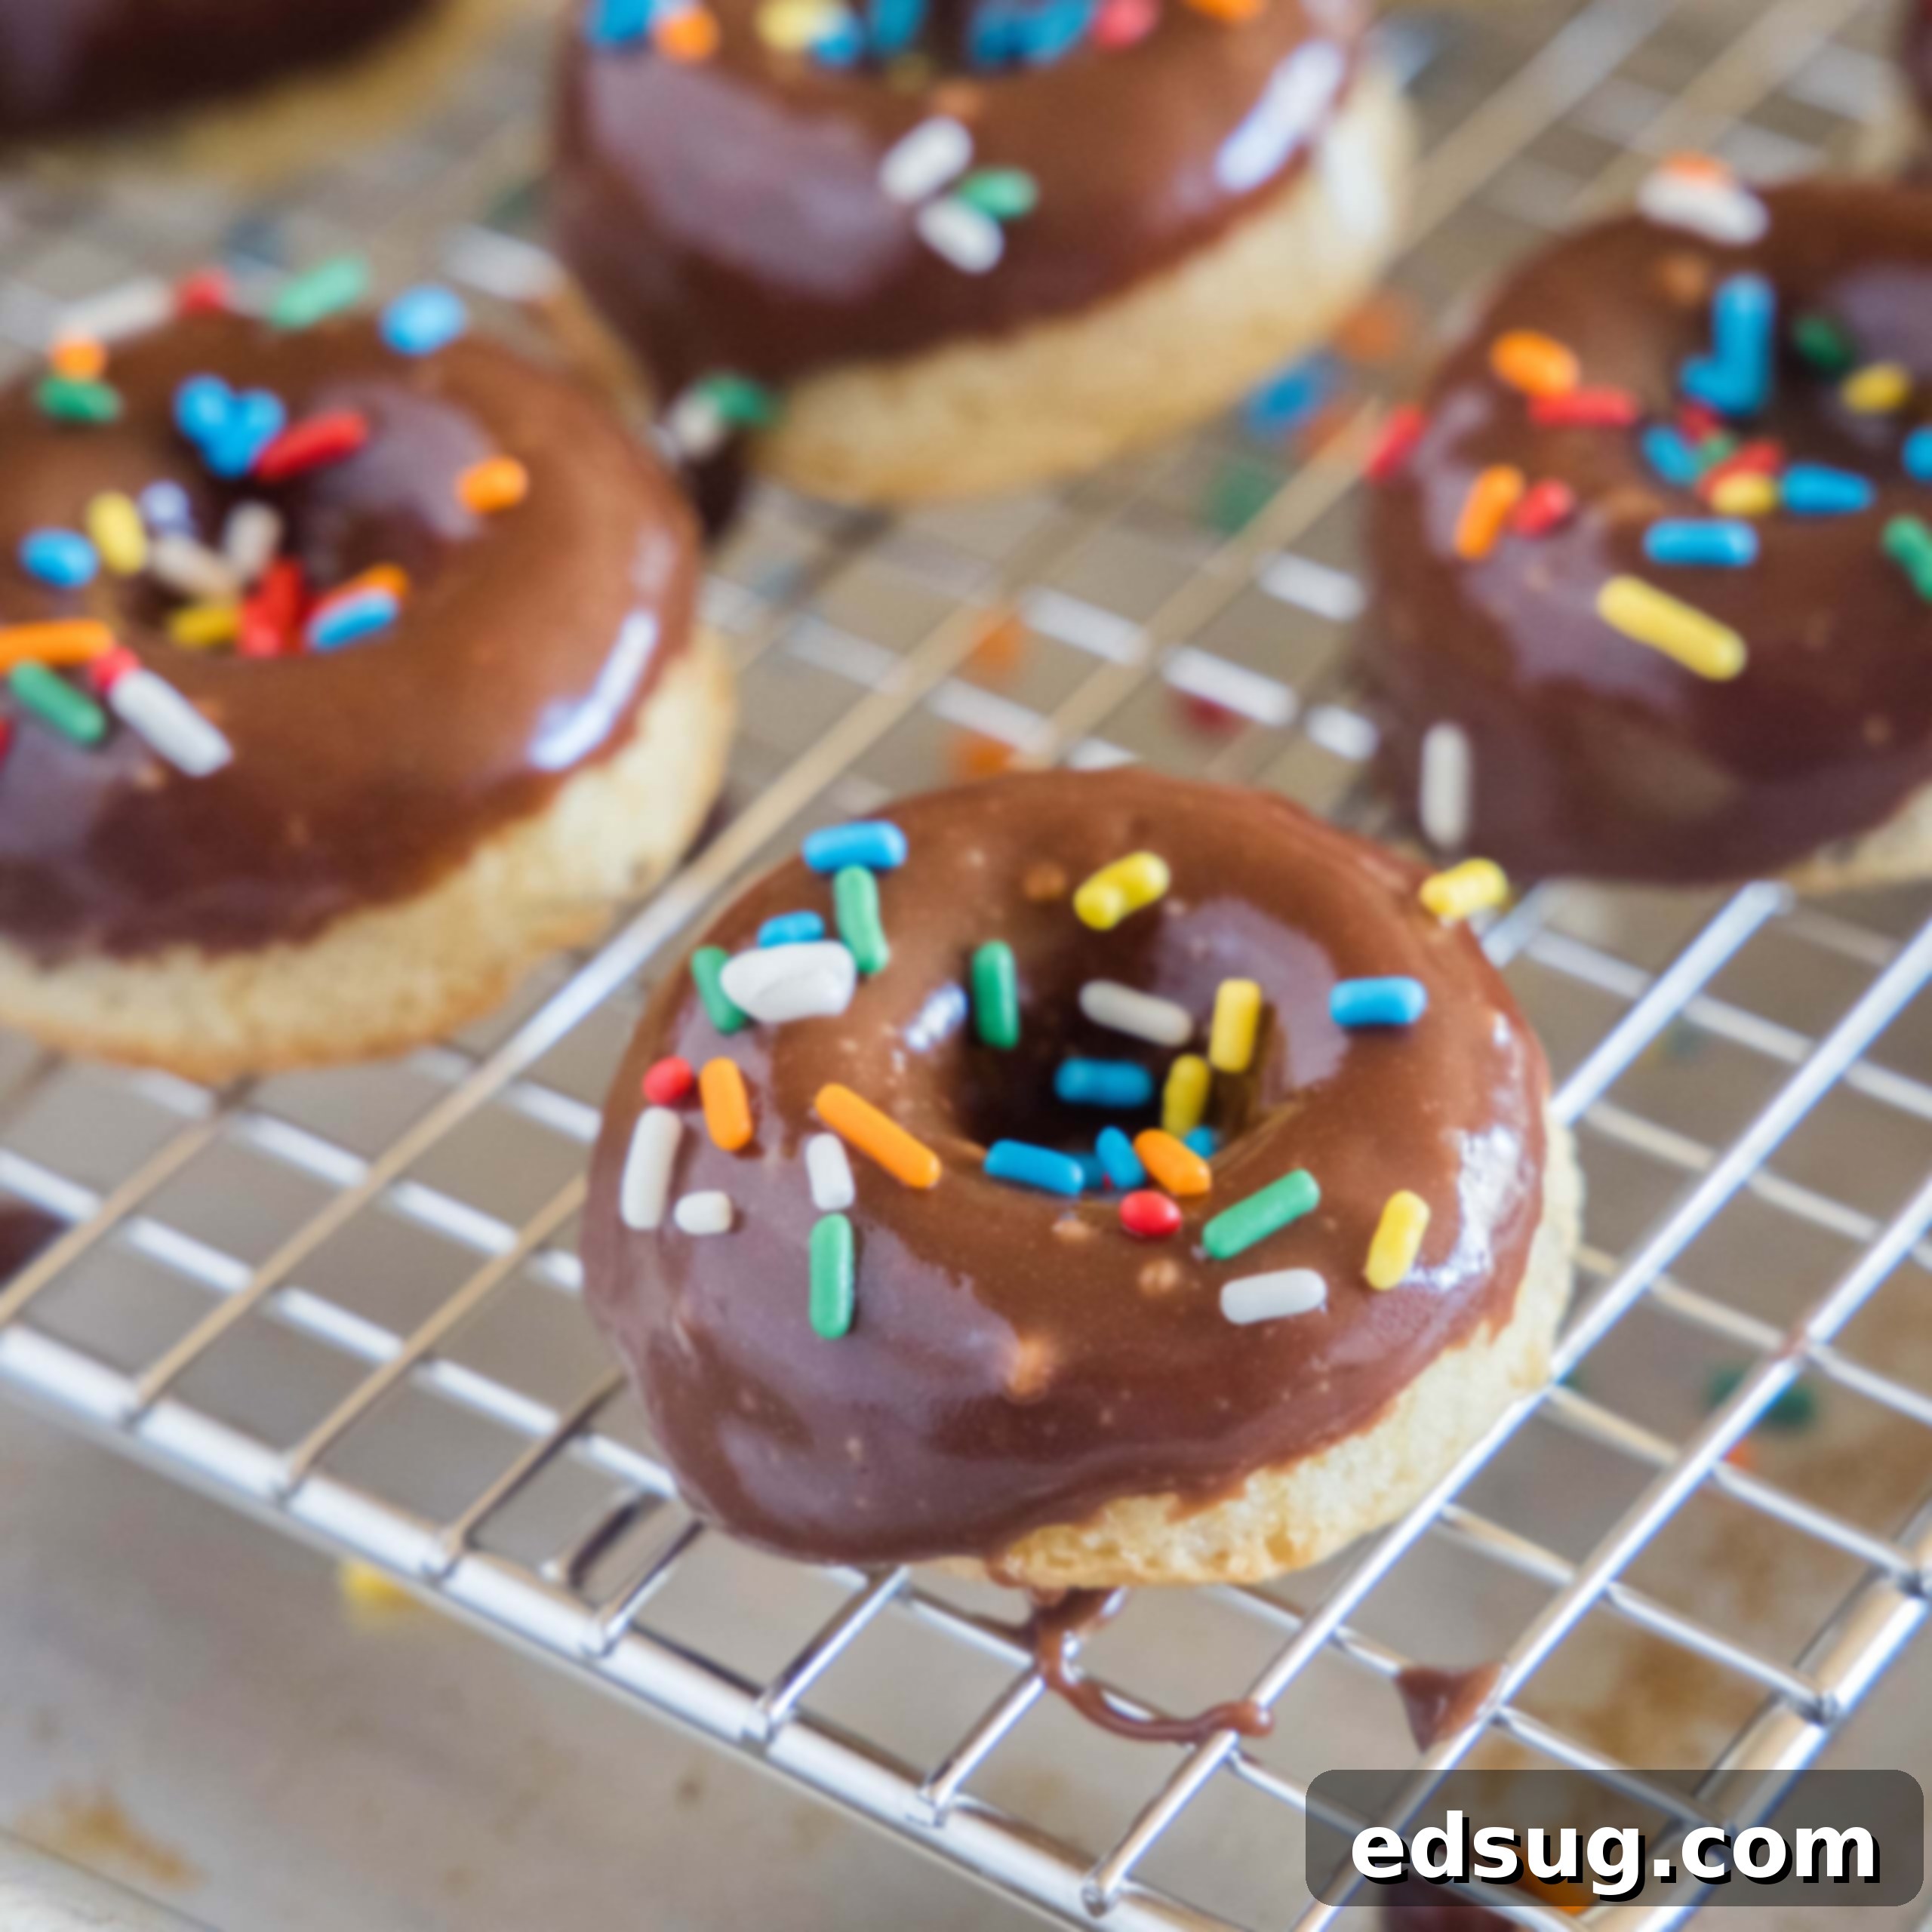
Delicious Baked Chocolate Mini Donuts: Your New Favorite Easy Recipe
Indulge in these delightful Chocolate Mini Donuts – an incredibly easy baked donut recipe that yields light, fluffy treats topped with a rich, luscious chocolate glaze! Perfect for any occasion, these mini marvels are super quick to make and can even be scaled up to full-size donuts. Get ready to transform your breakfast or dessert routine!
Are you a devoted fan of sweet breakfasts, or do you gravitate towards savory morning delights? For me, the sweet camp wins every time. Give me a plate of warm Chocolate Chip Muffins or a batch of Easy Cinnamon Rolls, and my day is off to a perfect start. While some family members might lean savory, perhaps craving Breakfast Tacos, there’s one sweet treat that unites us all: donuts!
Whether it’s for a quick breakfast, a satisfying snack, or a decadent dessert, classic donuts hold a special place in our hearts. And today, we’re taking that love to a whole new level with these irresistible baked chocolate mini donuts. Imagine biting into a tender, moist donut, generously coated in a smooth, glossy chocolate glaze. Pure bliss, right? The best part? They’re baked, not fried, making them a slightly lighter option without sacrificing any of that beloved donut taste and texture.
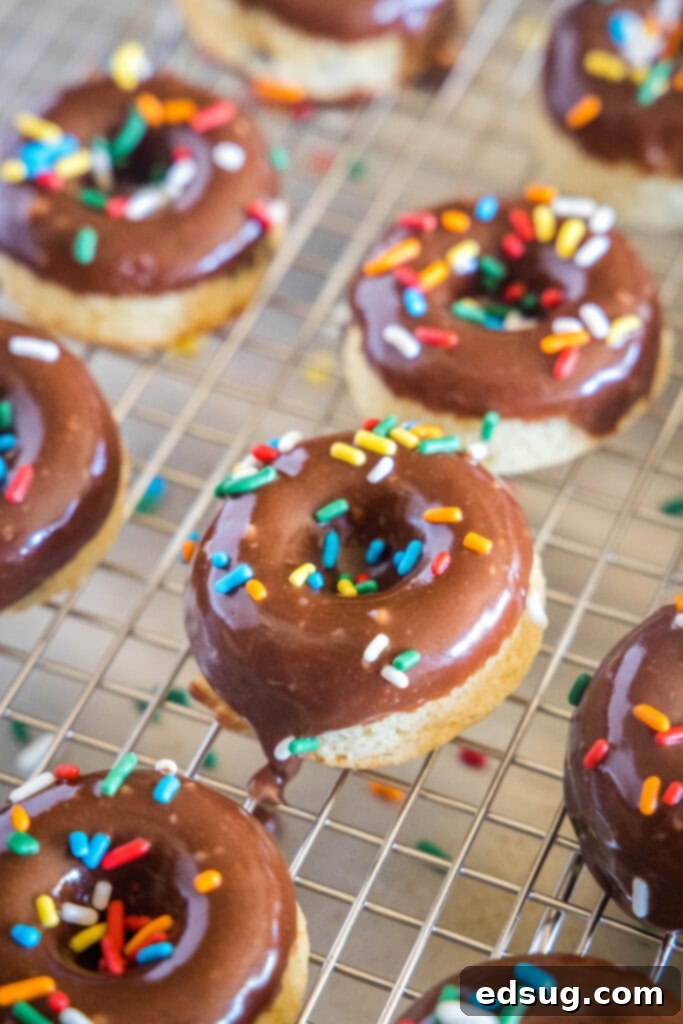
Why Choose Baked Donuts Over Fried?
While traditional fried donuts have their undeniable charm, baked donuts offer several fantastic advantages. For starters, they’re significantly less messy to make. No vats of hot oil to deal with, no splatters, and no lingering fried food smell in your kitchen. This alone makes them a winner for many home bakers!
Beyond the convenience, baked donuts are generally a healthier alternative. By opting for baking, you reduce the fat content considerably, allowing you to enjoy this sweet treat with a little less guilt. They bake up incredibly light and fluffy, often resembling a tender cake more than a heavy fried dough. This recipe, in particular, delivers that delightful cake-like texture that melts in your mouth.
Versatility: Mini or Full-Sized, Your Choice!
This recipe for baked donuts is incredibly versatile. While we’re focusing on the cute and convenient mini size, which is perfect for sharing or portion control, you can absolutely make them in any size or type of pan you have on hand. Don’t have a specific donut pan? No problem! Before I invested in a dedicated donut pan, I frequently used a mini muffin tin, and even a muffin top pan worked wonderfully. The key is simply having a mold that can hold the batter and give it a fun shape. If you use a muffin tin, you’ll get delightful little cake bites, and if you’re feeling adventurous, you can even use a regular cake pan and then cut out shapes once cooled. The taste will be just as amazing, though baking times will vary for larger sizes.
Let’s be honest, calling these “baked donuts” is often just an excuse to enjoy cake for breakfast! Much like muffins, which are essentially unfrosted cakes, these baked mini donuts come complete with a decadent glaze. But somehow, when you give them that classic donut shape (even if it’s just an illusion in a muffin tin), it transforms them into something acceptable to eat at 7 AM, completely guilt-free. It’s the magic of the donut!
Essential Ingredients for Your Baked Mini Donuts
Creating these delightful chocolate mini donuts requires a few simple, pantry-staple ingredients. Each plays a crucial role in achieving that perfect light and fluffy texture, combined with rich chocolate flavor.
For the Donut Base:
- All-Purpose Flour: The structural foundation of our donuts, giving them shape and tenderness.
- Granulated Sugar: Sweetens the donuts and contributes to their moist texture.
- Baking Powder: Our primary leavening agent, ensuring those light and airy results.
- Salt: A pinch enhances all the other flavors, balancing the sweetness.
- Buttermilk: This acidic ingredient reacts with the baking powder, producing extra lift and a wonderfully tender crumb. If you don’t have buttermilk, you can make a substitute by adding 1 tablespoon of lemon juice or white vinegar to a measuring cup, then filling the rest with regular milk to reach 1/2 cup. Let it sit for 5 minutes before using.
- Eggs: Provide structure, richness, and help bind the ingredients together.
- Butter: Adds richness, flavor, and moisture to the donuts.
- Vanilla Extract: A classic flavor enhancer that complements the chocolate beautifully.
- Mini Chocolate Chips: These are folded directly into the batter, ensuring a burst of chocolate in every bite!
Customize Your Toppings!
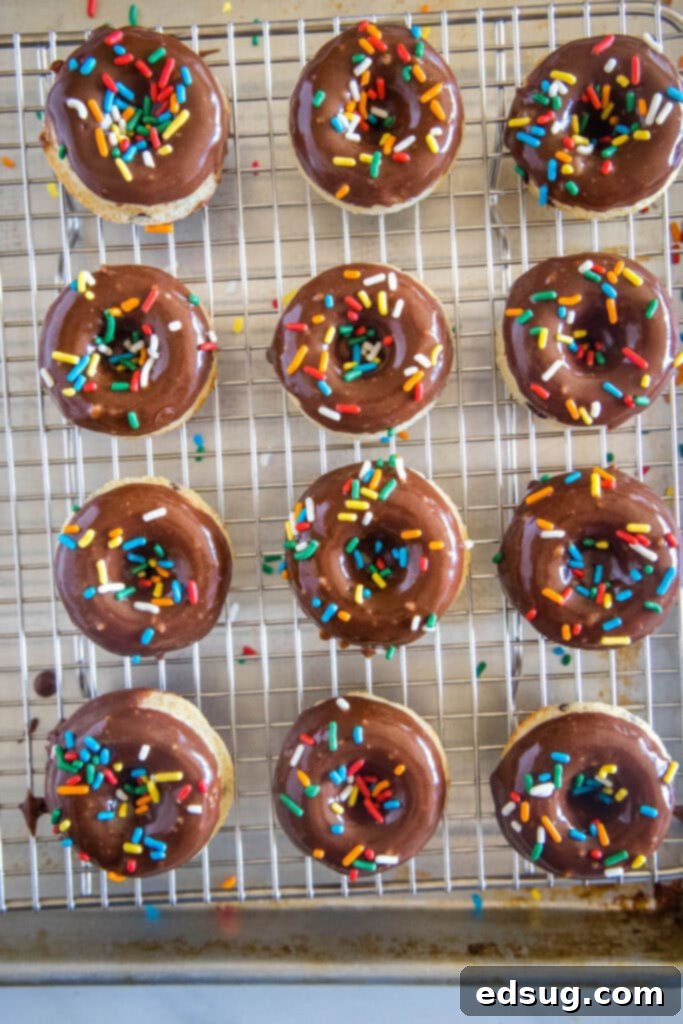
While a luscious chocolate glaze is a star of this recipe, the beauty of homemade donuts is the freedom to customize! You can get creative with your toppings to suit any preference or occasion. For a more traditional, carnival-style mini donut experience, consider tossing them in a mixture of cinnamon and sugar while they’re still warm. A simple vanilla glaze offers a delightful contrast to the chocolate donut base. You could even use store-bought chocolate frosting for a quick and easy topping when you’re short on time. For these particular photos, I opted for a rich chocolate glaze, but feel free to explore! If you’re looking for a classic vanilla glaze recipe, you can follow the instructions in this Homemade Donut Recipe.
For the Decadent Chocolate Glaze:
The chocolate glaze takes these mini donuts from simple cake-like treats to truly indulgent delights. Here’s what you’ll need for this glossy, rich topping:
- Butter: Creates a smooth, rich base for the glaze.
- Milk: Thins the glaze to the perfect dipping consistency.
- Light Corn Syrup: Adds shine and helps prevent the glaze from crystallizing, giving it that professional, smooth finish.
- Chocolate: The star of the glaze!
- Powdered Sugar: Provides sweetness and thickens the glaze.
The type of chocolate you choose for your glaze will significantly influence its final sweetness and depth of flavor. I typically opt for semi-sweet chocolate because I enjoy a slightly sweeter profile that still has that distinct cocoa punch. However, if you prefer a darker, more intense chocolate flavor, bittersweet chocolate would be an excellent choice. Experiment to find your perfect balance!
How To Make Irresistible Chocolate Mini Donuts
Making these baked mini donuts is a straightforward process, perfect for bakers of all skill levels. Follow these simple steps for a batch of homemade goodness:
- Prepare Your Pan: First, preheat your oven to 425º F (220º C). This high temperature helps the donuts rise quickly and become fluffy. Thoroughly grease your mini muffin or donut pan. Don’t skip this step, especially for mini sizes, as it ensures they pop out easily without sticking. Set the prepared pan aside.
- Combine Dry Ingredients: In a large mixing bowl, whisk together the all-purpose flour, granulated sugar, baking powder, and salt until they are thoroughly combined. This ensures the leavening agent is evenly distributed.
- Combine Wet Ingredients: In a separate bowl, beat together the buttermilk, eggs, melted butter, and vanilla extract until the mixture is smooth and well incorporated.
- Mix Wet and Dry: Pour the buttermilk mixture into the flour mixture. Using a spoon or spatula, mix until just combined. It’s crucial not to overmix the batter; a few lumps are perfectly fine. Overmixing can develop the gluten in the flour too much, leading to tough, dense donuts rather than light and fluffy ones.
- Fold in Chocolate Chips: Gently fold in the mini chocolate chips until they are evenly dispersed throughout the batter.
- Fill and Bake: Fill each well of your well-greased muffin or donut tin about two-thirds of the way full. Bake for 7-8 minutes, or until the donuts are golden brown and a toothpick inserted into the center comes out clean.
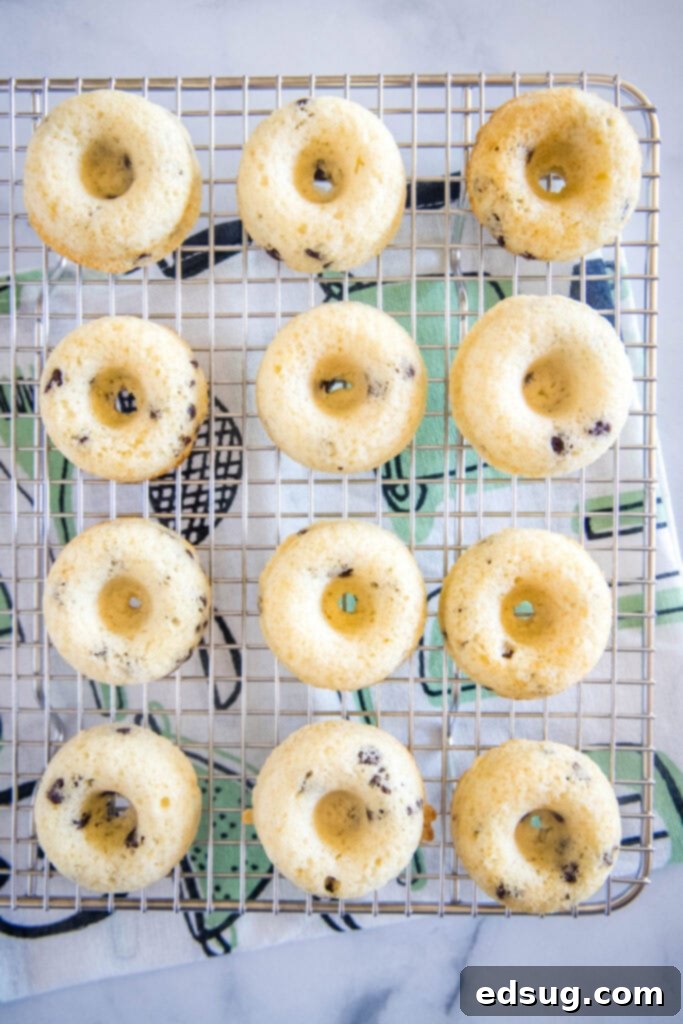
- Cool: Remove the pan from the oven and let the donuts rest in the pan for about 5 minutes. This allows them to firm up slightly before you transfer them. Then, carefully remove them from the pan and place them on a wire rack to cool completely. They must be cooled before glazing to prevent the glaze from melting off.
Crafting the Perfect Chocolate Glaze and Glazing Your Donuts
Once your mini donuts are cool, it’s time for the crowning glory: the chocolate glaze! This simple glaze comes together quickly and adds incredible flavor and visual appeal.
- Prepare the Glaze: In a small saucepan, melt the butter over medium heat. Add the chocolate, milk, and light corn syrup. Stir continuously until all the chocolate is melted and the mixture is smooth and glossy. Remove the pan from the heat.
- Whisk in Powdered Sugar: Gradually whisk in the powdered sugar until the glaze is smooth and free of lumps. If the glaze is too thick, add a tiny bit more milk (half a teaspoon at a time) until it reaches your desired dipping consistency. If it’s too thin, whisk in a little more powdered sugar.
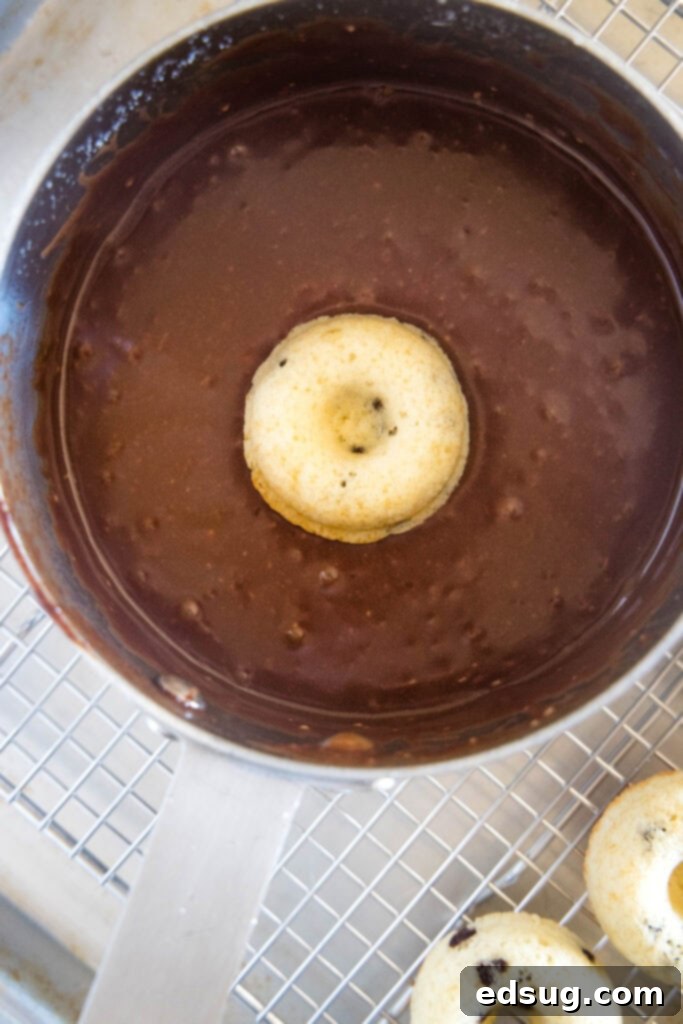
- Dip and Set: Immediately dip the top of a completely cooled donut into the warm chocolate icing. Allow any excess glaze to drip off, then place the donut back on the wire rack to set.
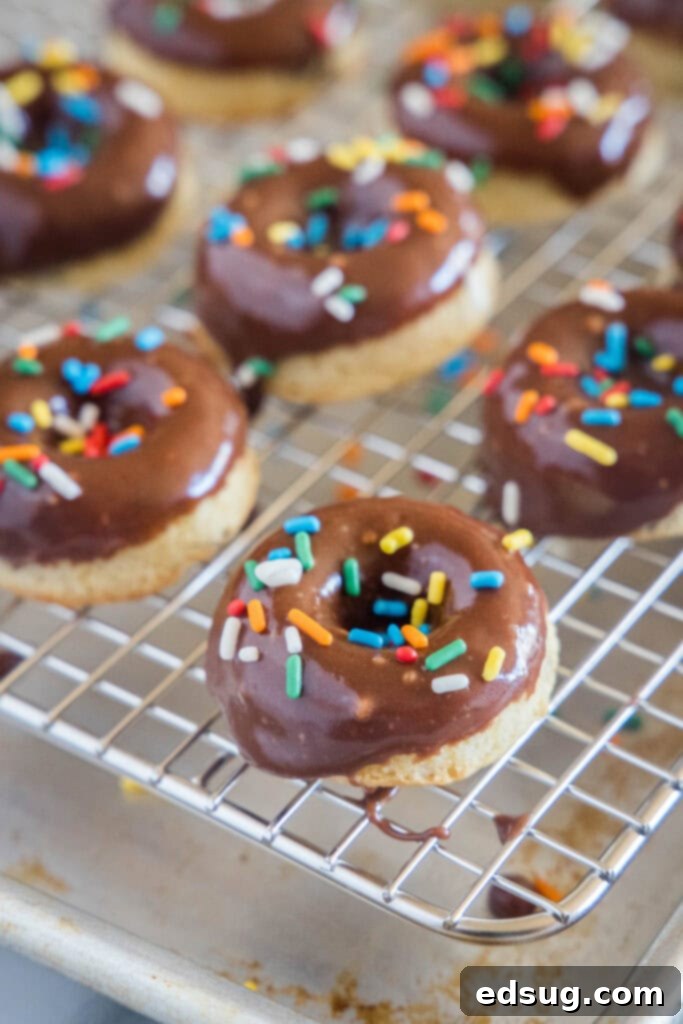
- Add Sprinkles (Optional): If you plan to add sprinkles or other decorations, work quickly! The icing sets up fairly fast once it’s on the donuts. Dip 3-4 donuts at a time, apply the sprinkles, then continue with the next batch.
No Donut Pan? No Problem! Creative Alternatives
While a donut pan creates that classic ring shape, it’s by no means essential for enjoying these delicious baked treats. You can use almost any pan you have in your kitchen to achieve a similar outcome. As mentioned, a mini muffin pan is an excellent substitute; you’ll get bite-sized donut holes or mini donut-muffin hybrids. A muffin top pan also works wonderfully for flatter, disc-shaped treats. If you’re really in a pinch, you could even bake the batter in a regular cake pan, then use a round cookie cutter (and a smaller one for the hole, if desired) to cut out individual donut shapes once the cake has cooled. The flavor and tenderness will be exactly the same. Just remember that baking times will need to be adjusted if you are using a larger or different shaped pan than specified for mini donuts.
Storage Tips for Freshness
These baked chocolate mini donuts are best enjoyed fresh, but they will last wonderfully for about 2 days at room temperature in an airtight container. They’ll retain their light, fluffy texture and delicious flavor. For optimal freshness and to prevent the glaze from becoming soggy, it’s often best to bake the donuts ahead of time and then apply the glaze just before you plan to serve them. This ensures each bite is as perfect as possible. You can store unglazed donuts in an airtight container at room temperature for up to 3 days, or even freeze them for longer storage (up to 3 months). Thaw frozen donuts at room temperature before glazing.
Craving More Sweet Breakfast Treats?
If you’ve enjoyed these chocolate mini donuts, you’re in for a treat with more of our favorite breakfast recipes that are sure to sweeten your mornings:
- Chocolate Pancakes: A chocolate lover’s dream way to start the day.
- Nutella Crepes: Delicate crepes filled with a rich, hazelnut-chocolate spread.
- Apple Cider Donuts: A seasonal favorite, bursting with autumn spices.
- Double Chocolate Cheesecake Muffins: Two classics combined into one irresistible muffin.
- Chocolate Chip Coffee Cake: Perfect for pairing with your morning coffee.
- Nutella Muffins: Another delightful way to enjoy Nutella for breakfast.
- Cinnamon Roll Pancakes: The flavors of cinnamon rolls, in pancake form!
These recipes, much like our chocolate mini donuts, are designed to be easy, delicious, and perfect for sharing with family and friends. Explore the full Breakfast Recipes category for even more inspiration!

Chocolate Chip Mini Donuts
Erin Sellin
20 minutes
10 minutes
30 minutes
24
Pin Recipe
Rate Recipe
Print Recipe
Ingredients
-
1
cup
all-purpose flour
-
1/2
cup
sugar
-
1
teaspoon
baking powder
-
1/2
teaspoon
salt
-
1/2
cup
buttermilk
-
1
whole large egg -
1
Tablespoon
butter
,
melted -
3/4
teaspoon
vanilla extract
-
1/4
cup
mini chocolate chips
Chocolate Glaze
-
4
Tablespoons
butter
-
2
Tablespoons
milk
-
1
Tablespoon
light corn syrup -
2
oz
semi-sweet chocolate,
chopped -
1
cup
powdered sugar
Instructions
-
Preheat oven to 425º F. Grease a mini muffin pan well. Set aside
-
In a large bowl whisk together flour, sugar, baking powder and salt until it is well combined.
-
In a separate bowl beat buttermilk, eggs, melted butter and vanilla together until smooth.
-
Add buttermilk mixture to the flour mixture and mix until it is just combined. You do not want to overmix.
-
Fold in the chocolate chips until they are evenly dispersed.
-
Fill a well greased muffin tin about 2/3rd of the way full. Bake for 7-8 minutes until they are golden and a tester comes out clean.
-
Remove from the oven and let them rest for about 5 minutes before removing from the pan and cooling on a wire rack.
-
To make the glaze, melt the butter in a small saucepan over medium heat. Add the chocolate, milk and corn syrup and stir until everything is melted and smooth. Remove the pan from the heat and whisk in the powdered sugar.
-
Immediately dip the to of a cooled donut into the icing and place back on the wire rack to set up.
-
If you are using sprinkles, you will want to dip 3-4 donuts and then put the sprinkles on. The icing does set up pretty quickly once it is on the donuts.
Nutrition
Serving:
1
g
|
Calories:
103
kcal
|
Carbohydrates:
16
g
|
Protein:
1
g
|
Fat:
4
g
|
Saturated Fat:
2
g
|
Polyunsaturated Fat:
1
g
|
Cholesterol:
14
mg
|
Sodium:
98
mg
|
Sugar:
12
g
Nutrition information is automatically calculated, so should only be used as an approximation.
Additional Info
Erin Sellin
20 minutes
10 minutes
30 minutes
Breakfast Recipes
American
24
103
Like this recipe? Leave a comment below!
I created a fun group on Facebook, and I would love for you to join us! It’s a place where you can share YOUR favorite recipes, ask questions, and see what’s new at Dinners, Dishes and Desserts (so that you never miss a new recipe)!
Be sure to follow me on Instagram and tag #dinnersdishes so I can see all the wonderful DINNERS, DISHES, AND DESSERTS recipes YOU make!
Be sure to follow me on my social media, so you never miss a post!
Facebook |
Twitter |
Pinterest |
Instagram
