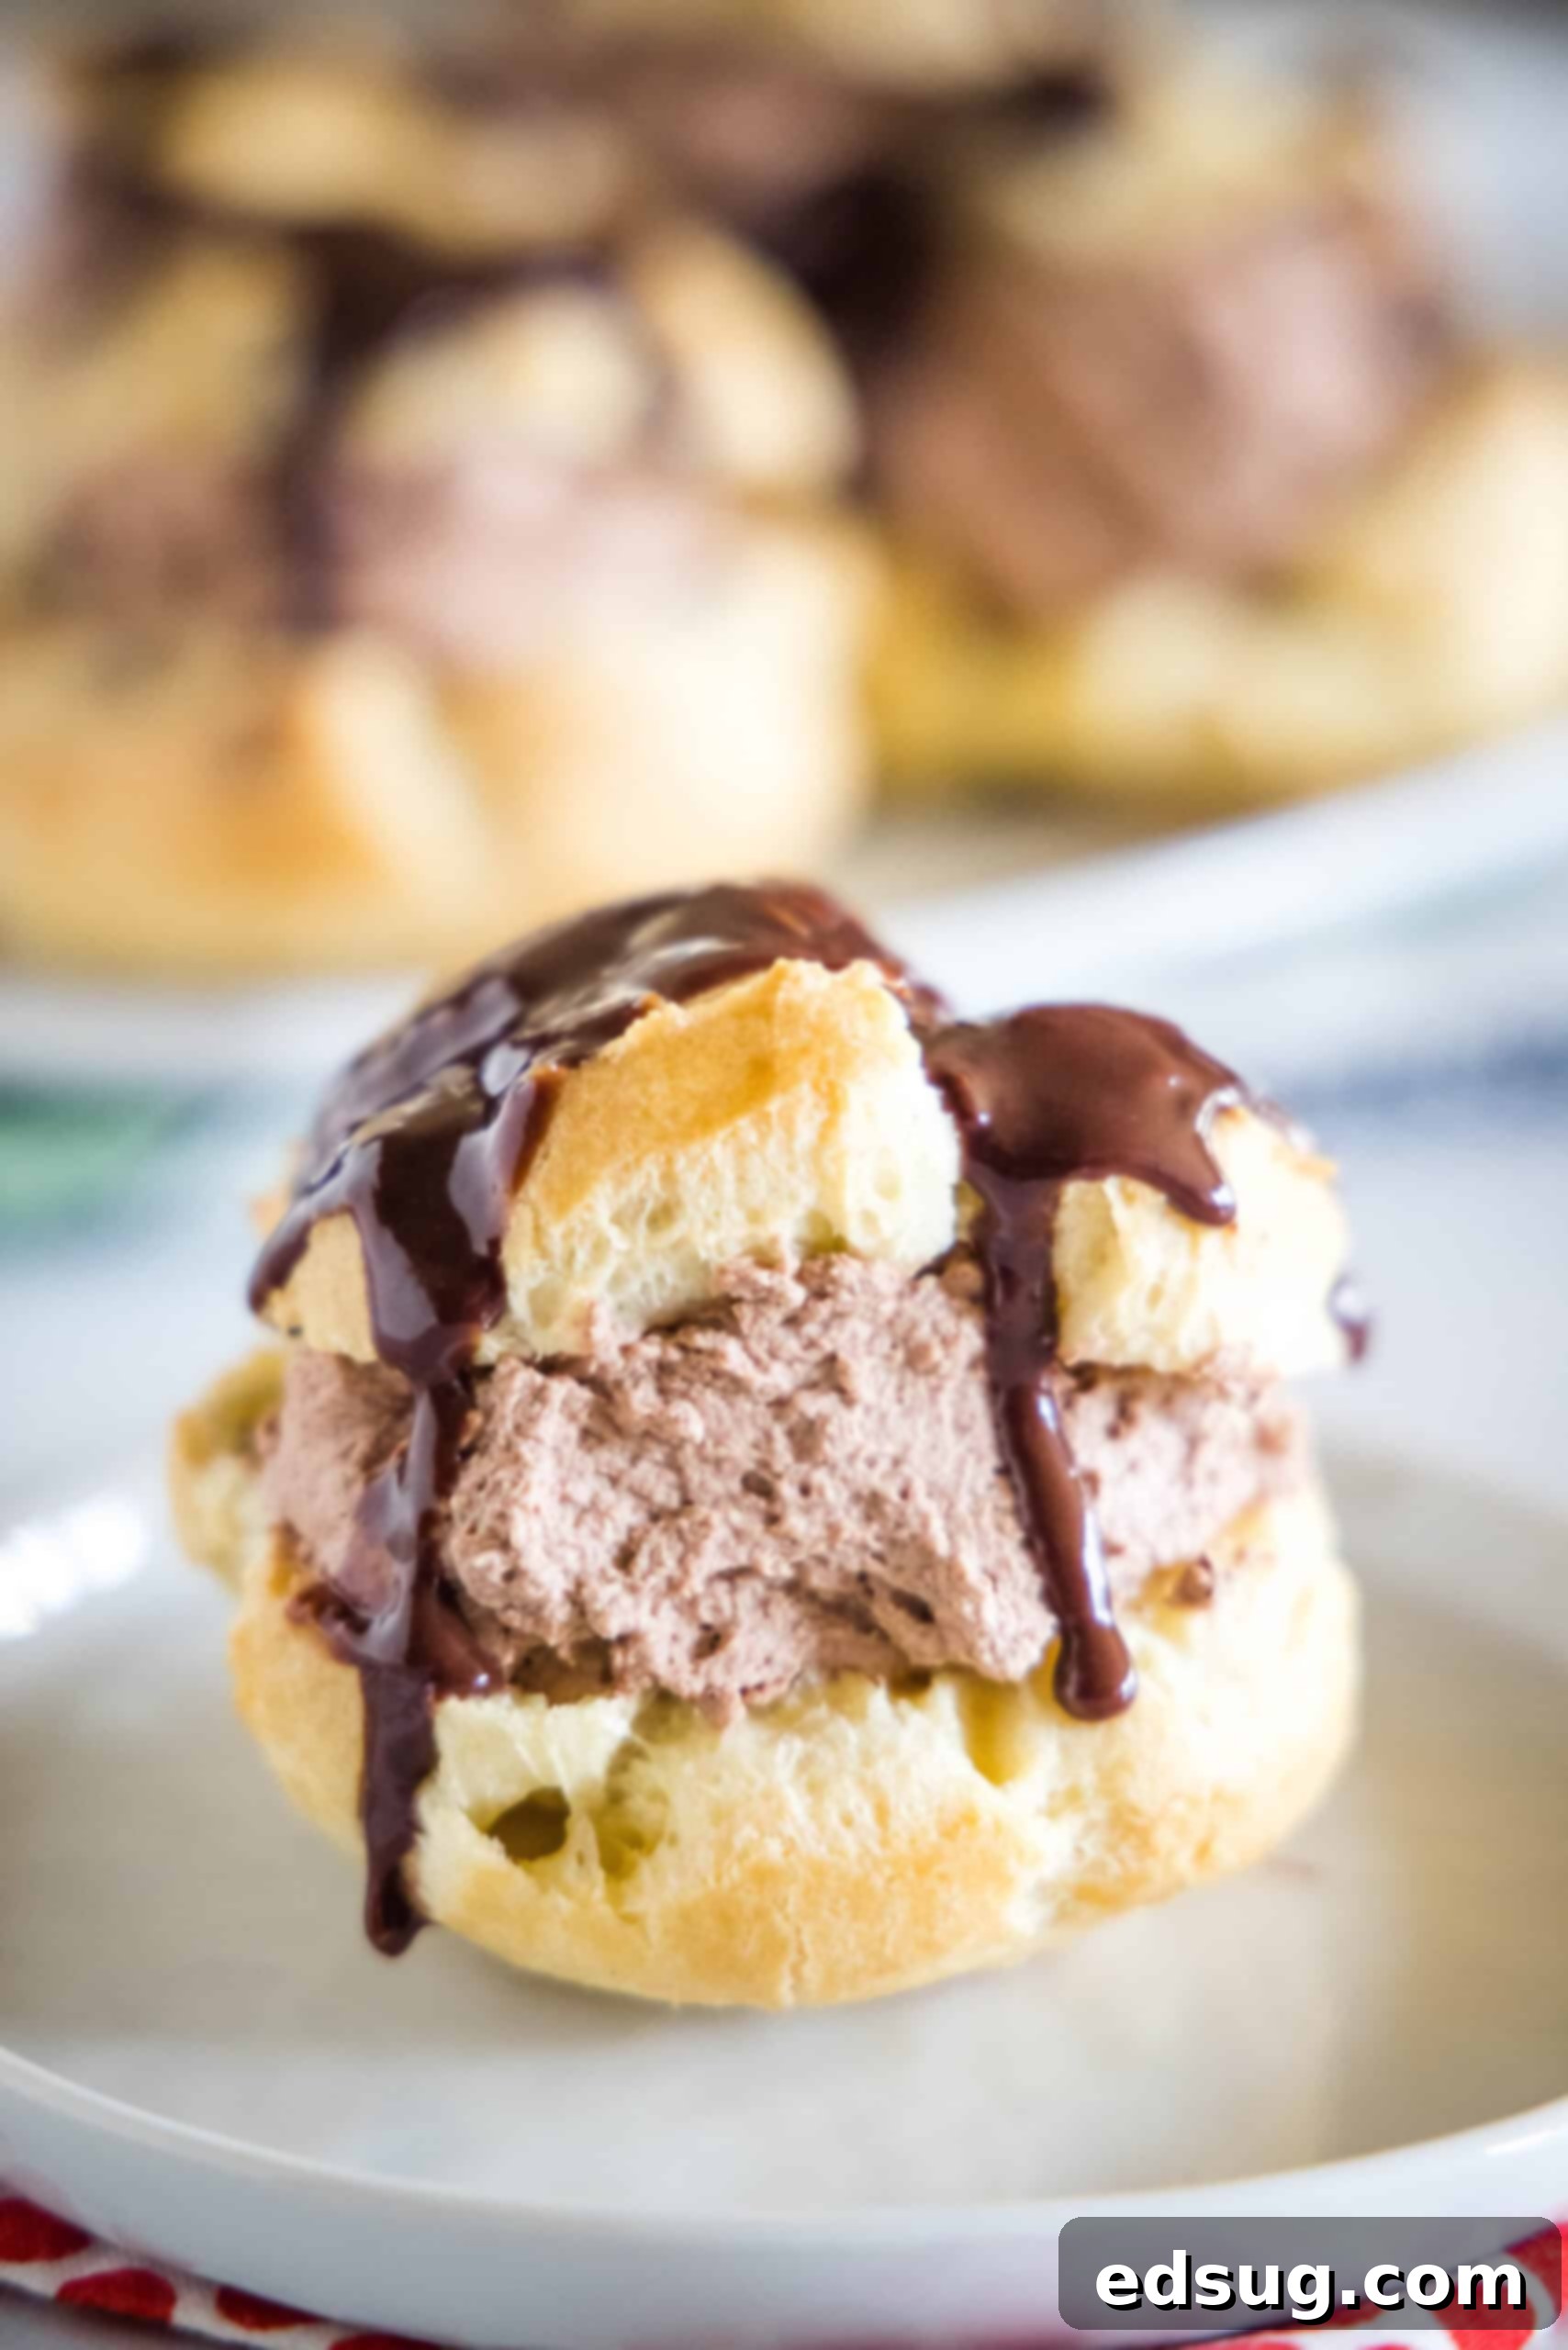
Decadent Homemade Chocolate Cream Puffs: Your Ultimate Guide to Bakery-Worthy Profiteroles
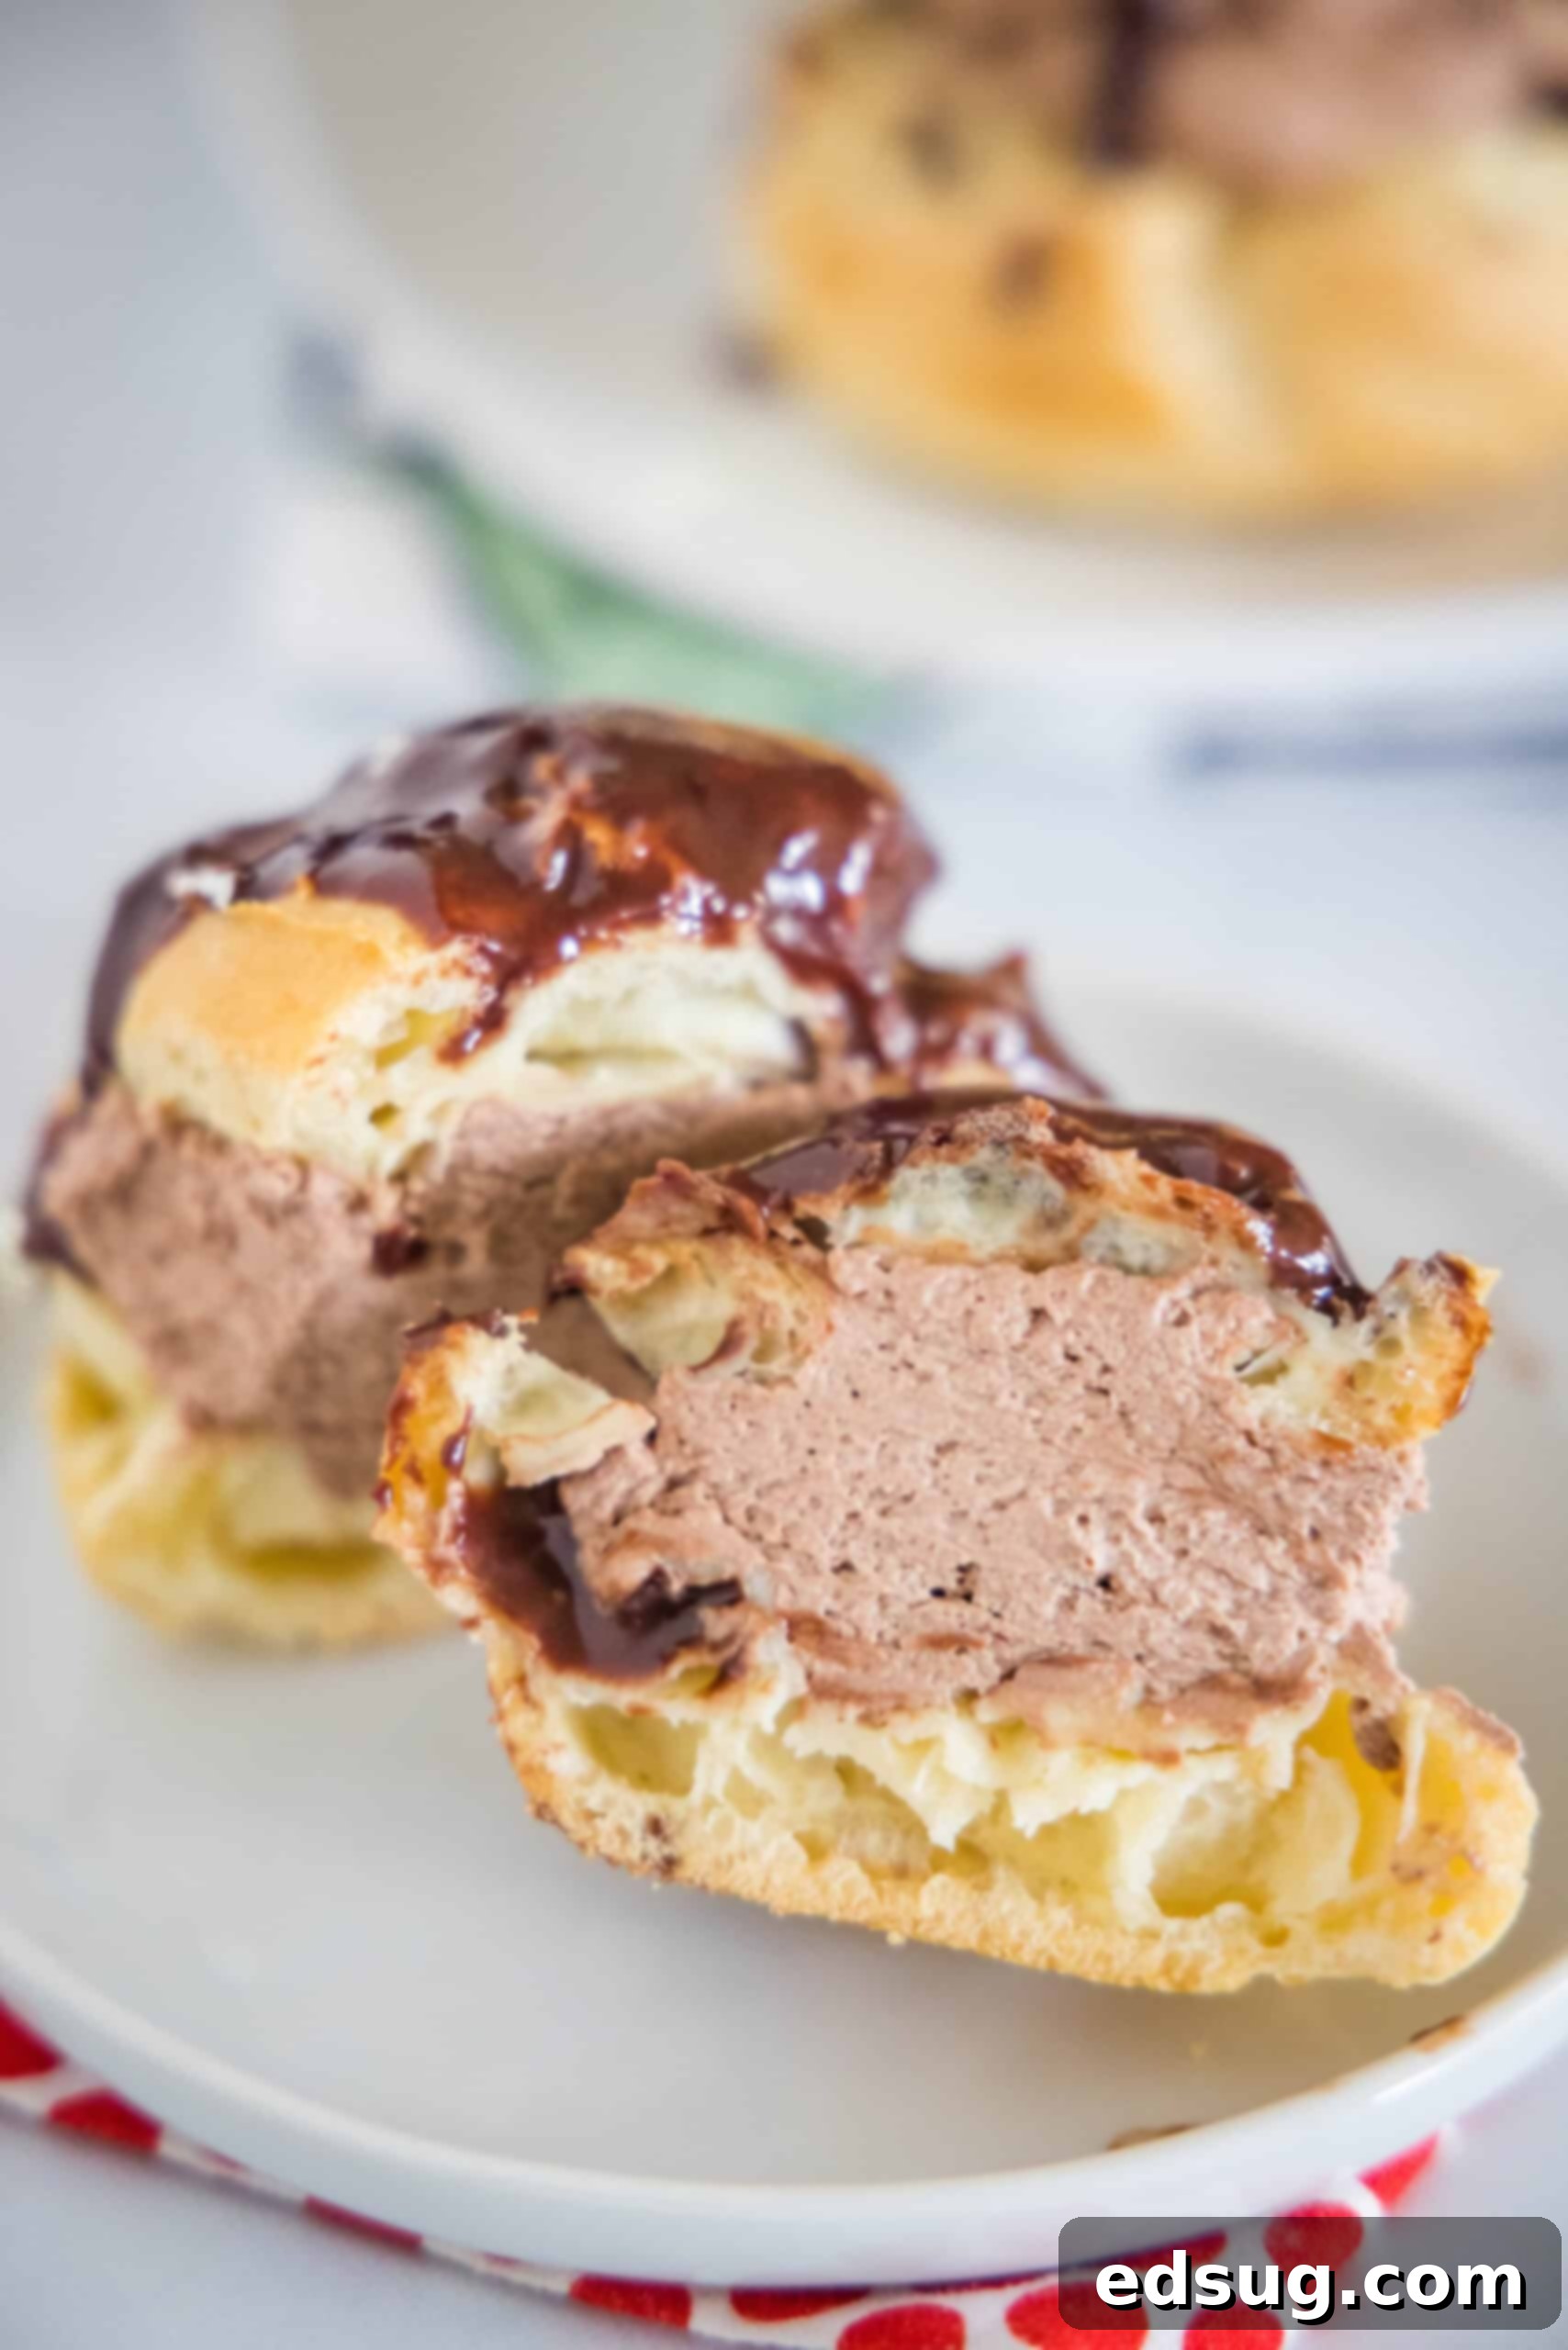
These exquisite chocolate cream puffs, also known as profiteroles, are the ultimate indulgence for any chocolate enthusiast! They offer a delightful twist on classic cream puff pastries, proving that homemade can easily rival bakery quality. Each delicate choux pastry shell is generously filled with light, airy, and intensely flavored chocolate whipped cream, then elegantly drizzled with a silky, rich chocolate ganache. Prepare to impress with this surprisingly simple yet utterly sophisticated dessert.
There’s an unparalleled joy in creating fresh, homemade pastries from scratch. From flaky chocolate croissants to soft Nutella donuts, baking at home allows for unmatched freshness and flavor. These delicate chocolate cream puffs stand out as another absolute favorite, perfect for any occasion.
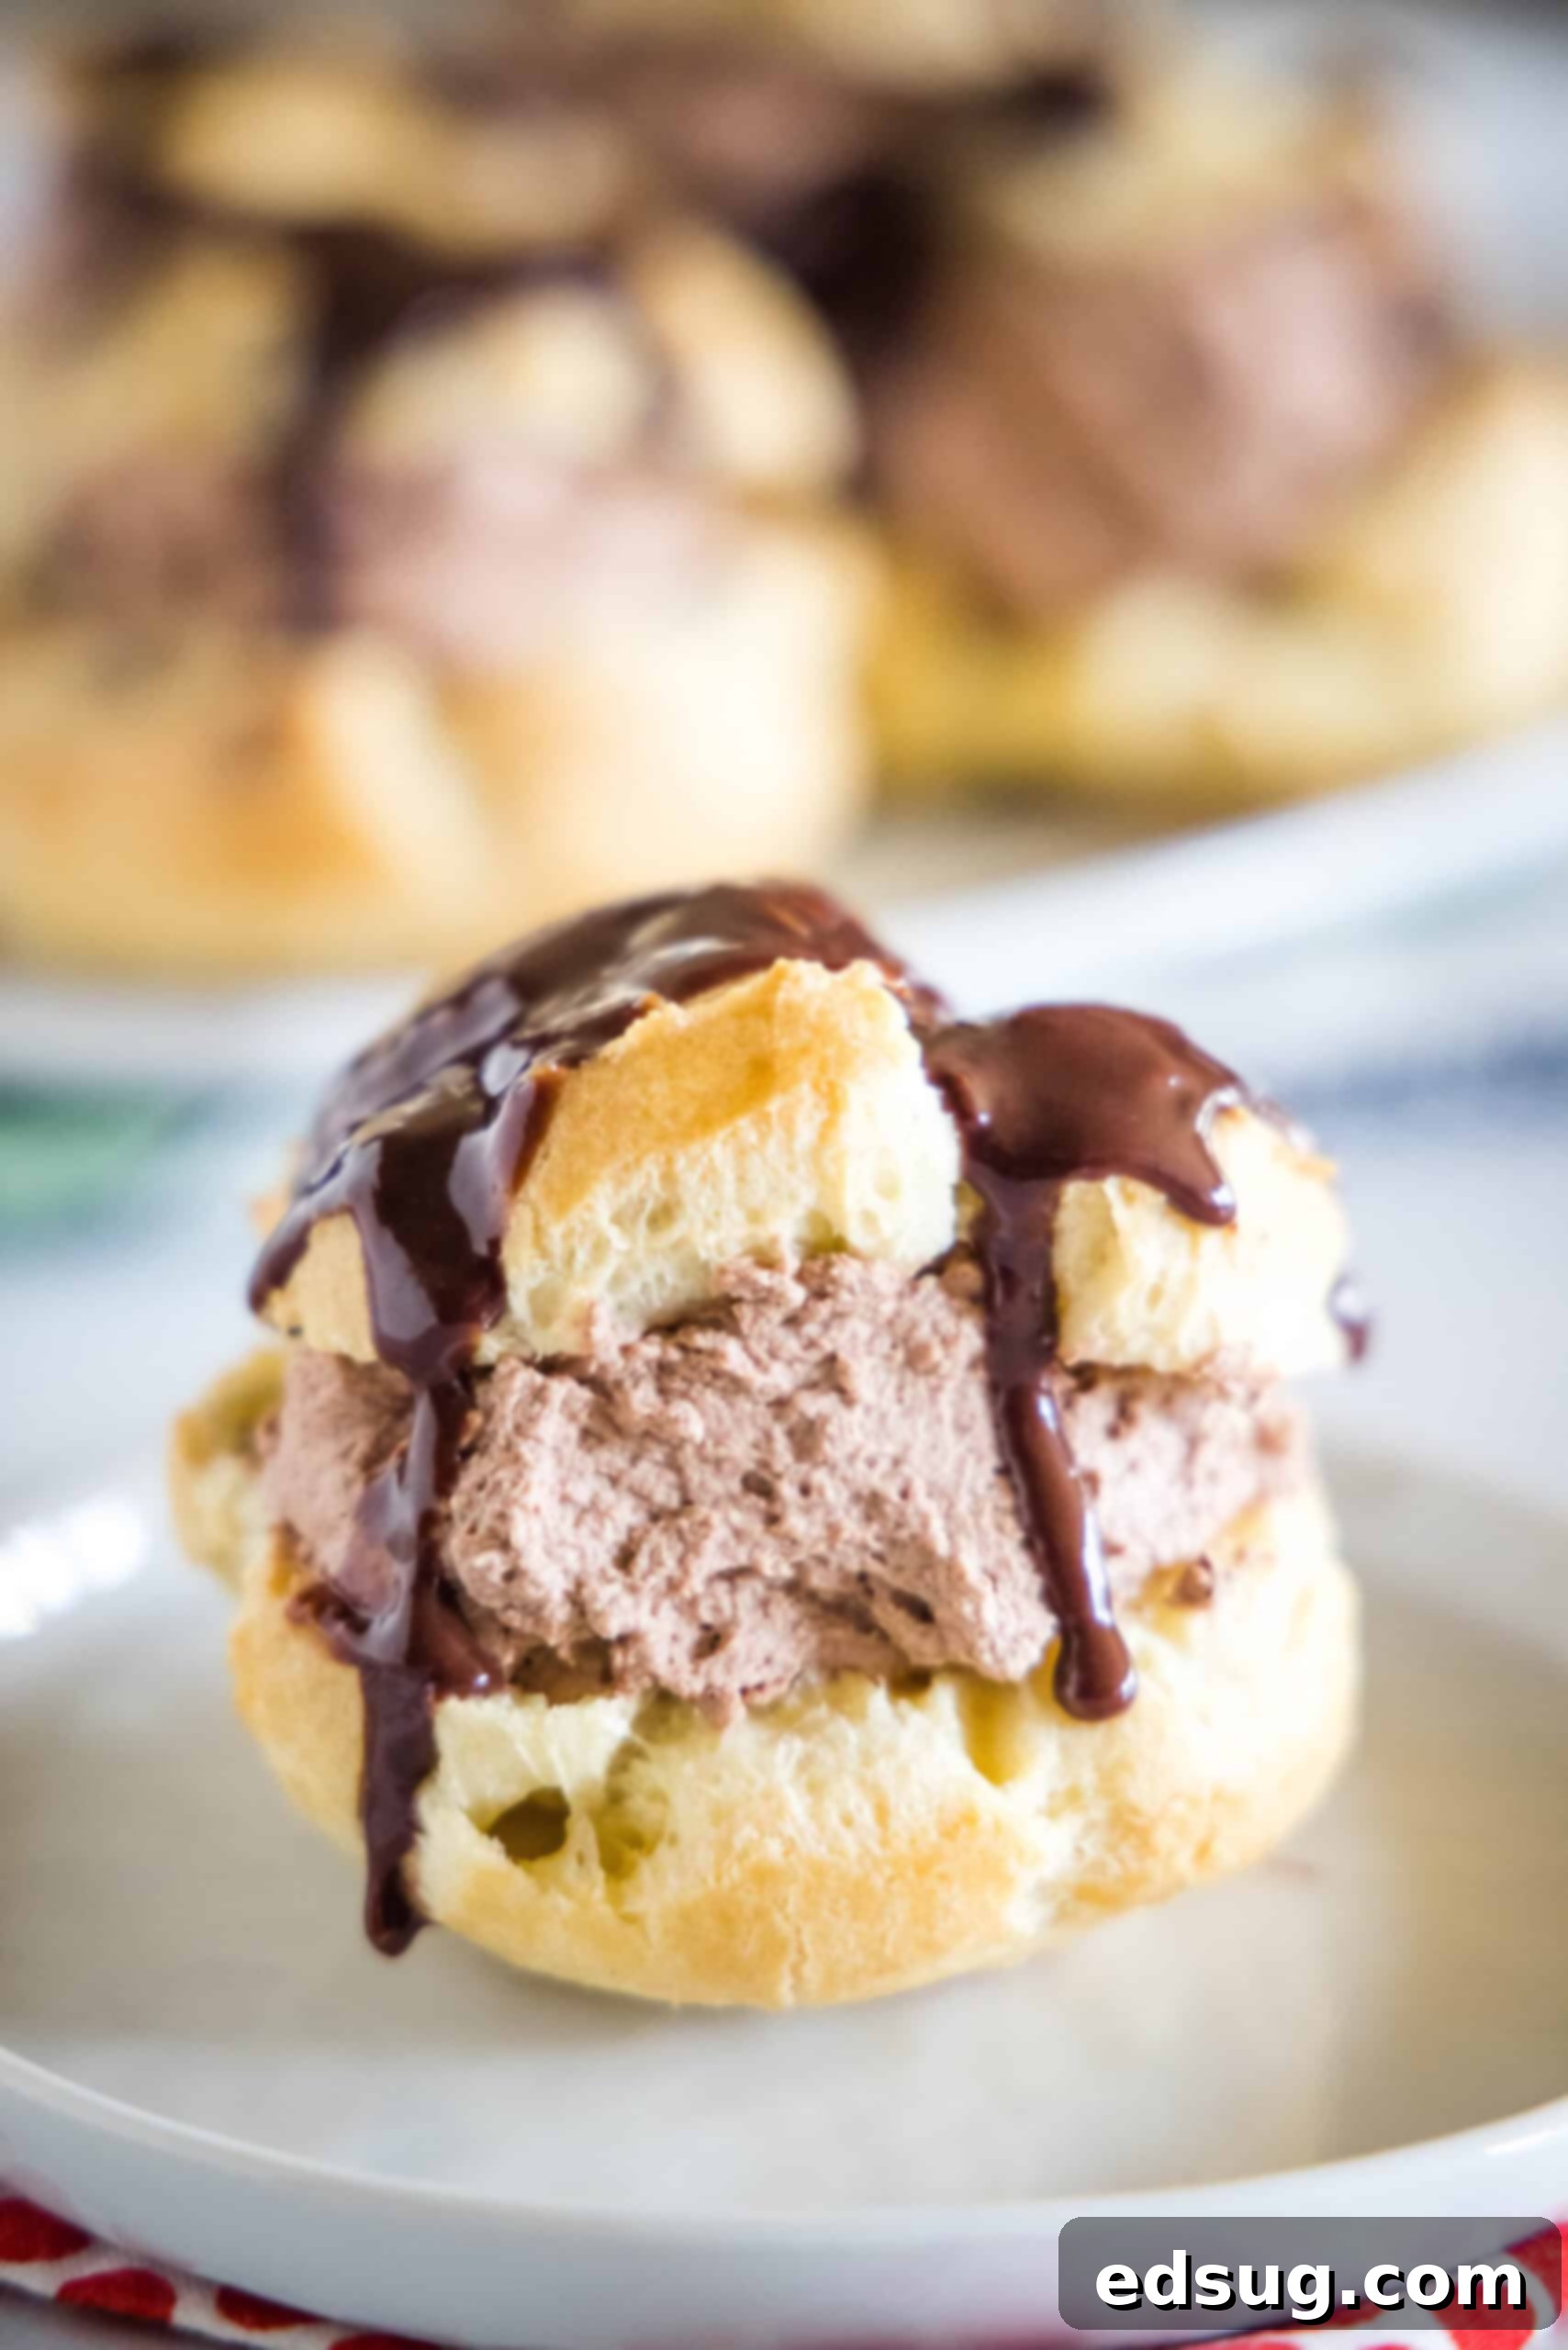
Table of Contents
- Why You’ll Adore These Chocolate Cream Puffs
- Essential Ingredients for Chocolate Cream Puffs
- Step-by-Step Guide: How to Make Chocolate Cream Puffs
- Expert Recipe Tips for Perfect Cream Puffs
- Creative Cream Puff Filling Variations
- How to Store Your Chocolate Cream Puffs
- More Homemade Pastry Recipes
- Chocolate Cream Puffs Full Recipe Card
After many attempts, I finally perfected my husband’s classic cream puffs recipe. It was only natural that I would then embark on creating a chocolate-infused version! These chocolate cream puffs retain all the lightness and crispness of the original, but elevate the experience with a rich, fluffy chocolate whipped cream filling and a generous finish of luscious chocolate ganache. If you were a fan of the traditional recipe, I am absolutely certain you will fall in love with these decadent chocolate profiteroles.
Why You’ll Adore These Chocolate Cream Puffs
These chocolate cream puffs aren’t just a dessert; they’re an experience. Here’s why they’ve become a staple in my baking repertoire:
- Effortless and Speedy Pastry Dough: Forget complicated pastry techniques! Traditional cream puff and profiterole recipes rely on French pâte à choux pastry, which sounds intimidating but is surprisingly simple to master. My easy homemade version requires just three core ingredients, plus water, and comes together in a mere 10 minutes right on your stovetop. It’s a foundational pastry that every home baker can conquer.
- Consistently Perfect, Puffed Results: I have to give my husband full credit for the original recipe, as these truly are the best cream puffs! By following the recipe instructions precisely, you’re guaranteed shells that are beautifully puffed with an airy, hollow interior and a perfectly golden-brown, crisp exterior. The satisfying contrast between the delicate shell and the rich filling makes fresh chocolate cream puffs utterly irresistible. They truly look and taste bakery-worthy!
- The Ideal Sweet Ending: Sometimes, even after a hearty meal, like a succulent prime rib, you crave something sweet but not overly heavy. These charming chocolate cream puffs are precisely the right size. They are light, flaky, and possess just the right amount of sweetness to satisfy your dessert cravings without being overwhelming. Their bite-sized nature also makes them fantastic finger food for parties, potlucks, or any festive gathering.
Essential Ingredients for Chocolate Cream Puffs
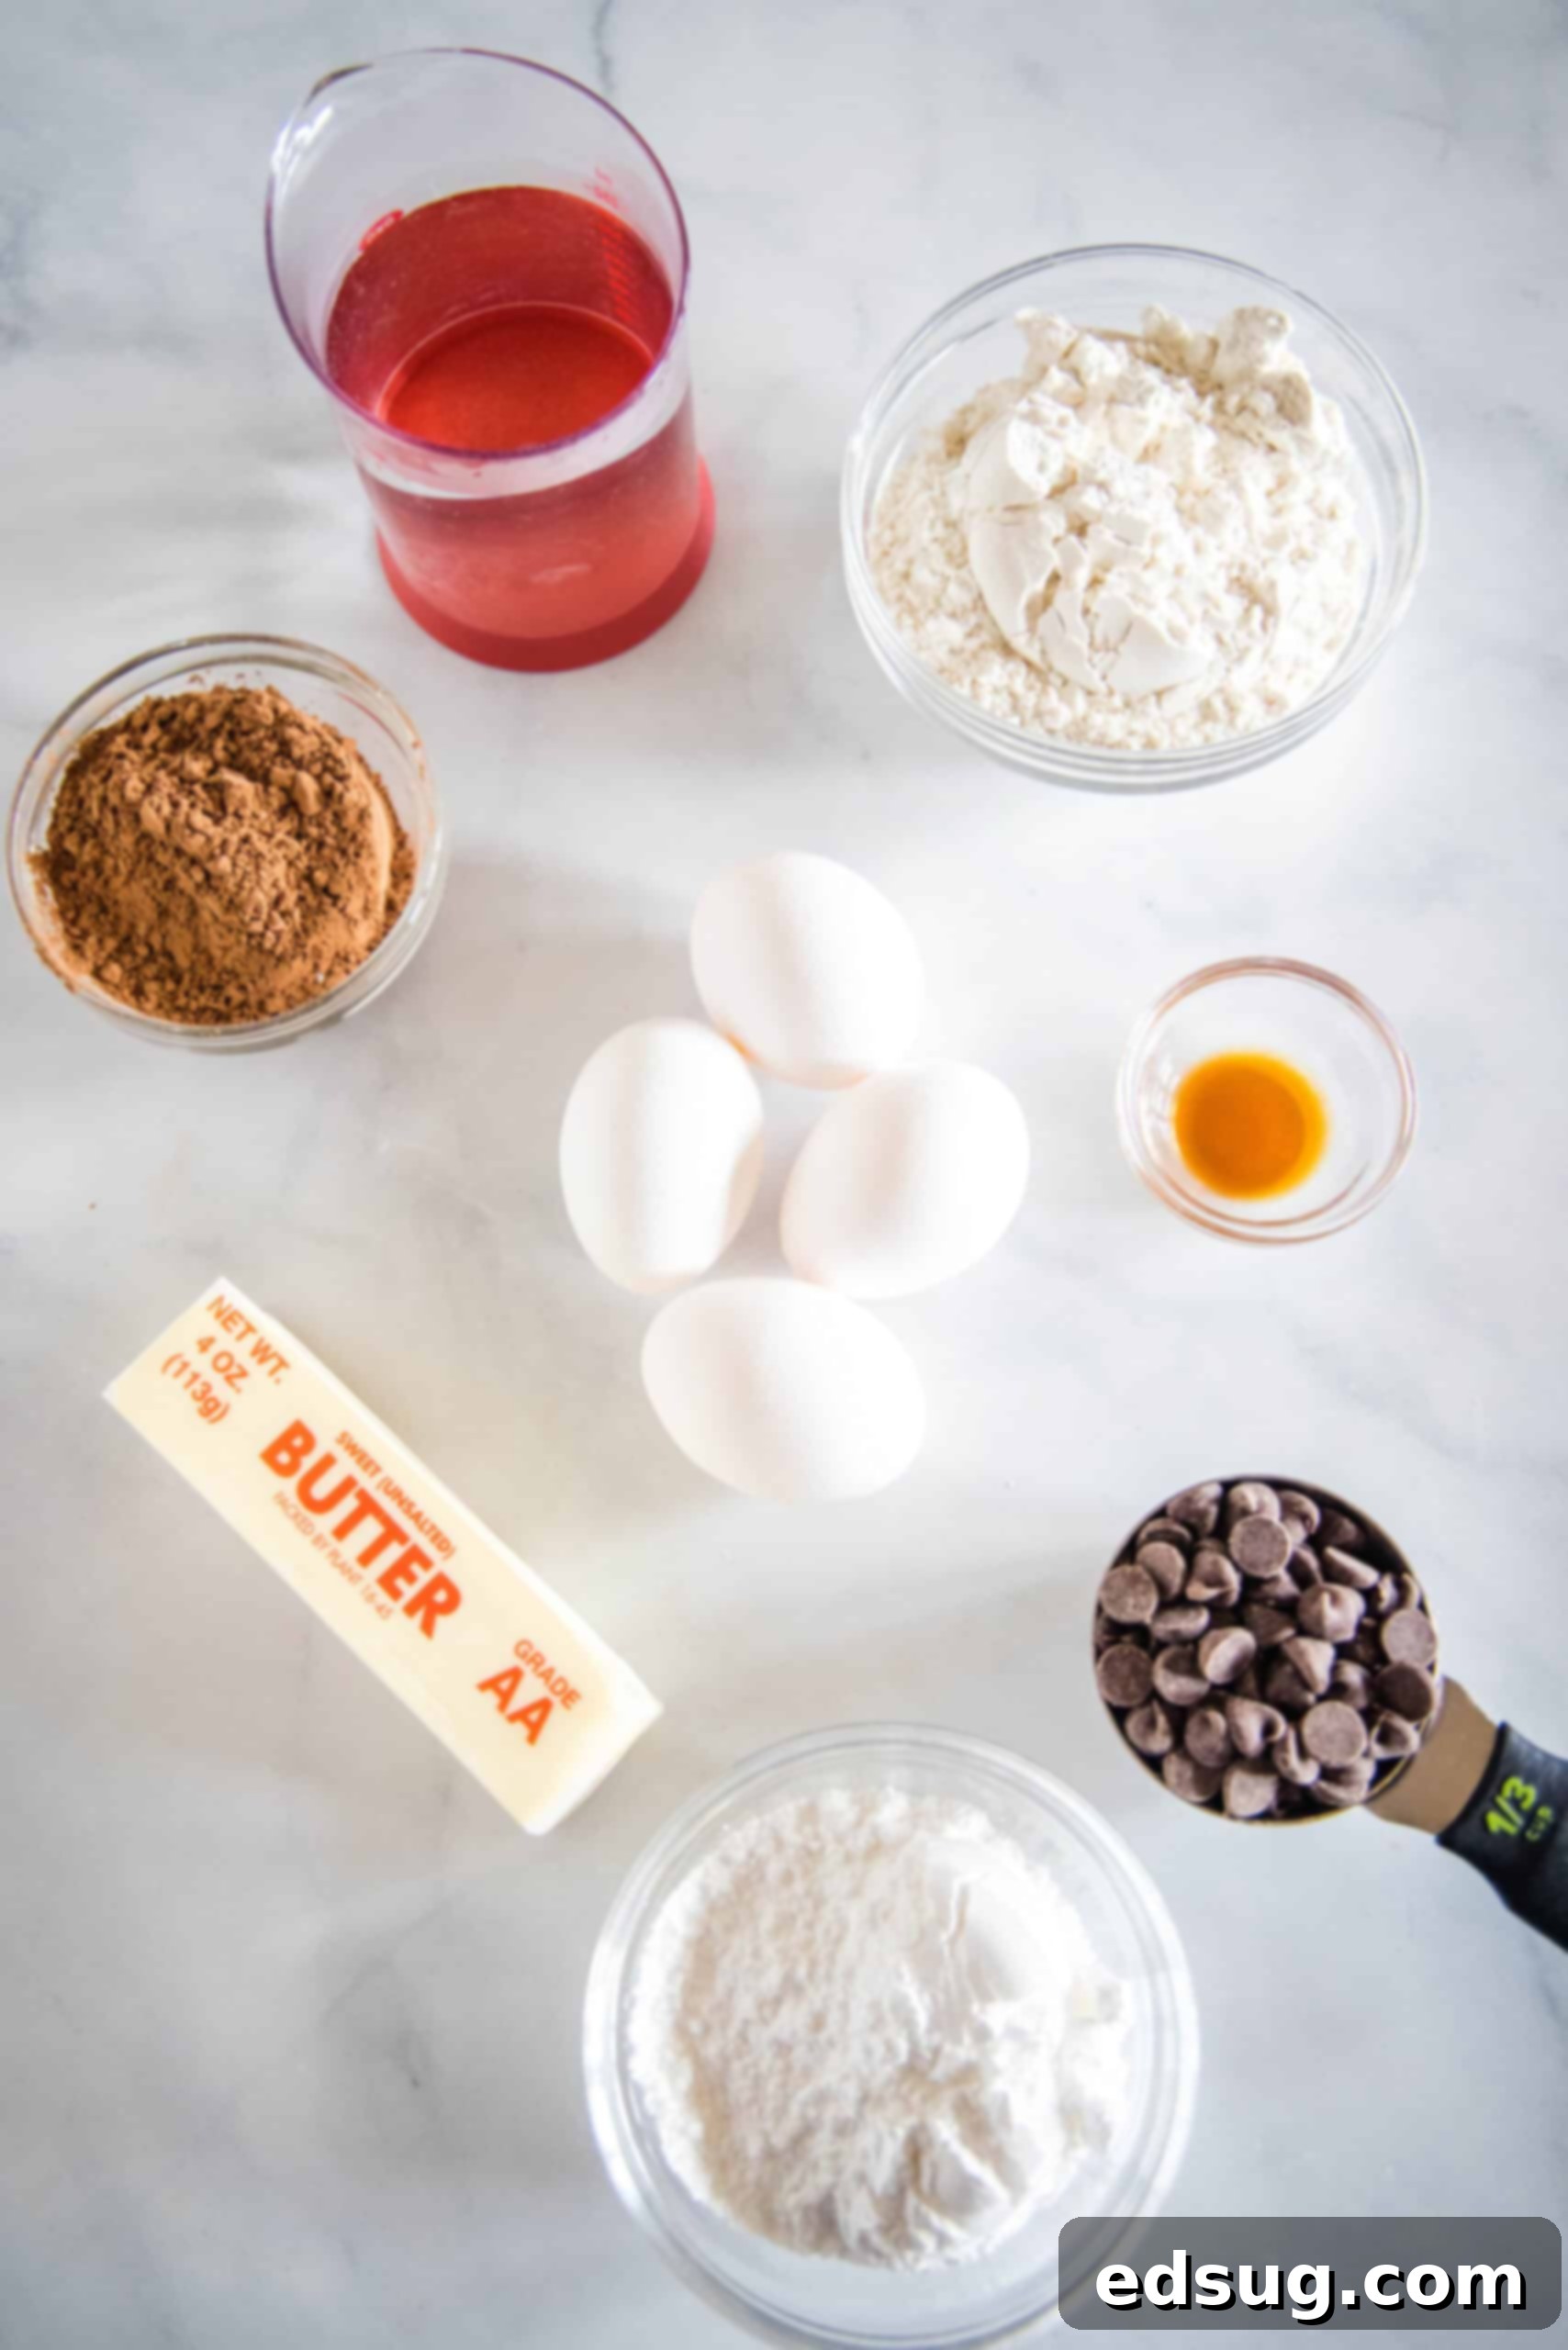
Beyond plain water, you’ll be amazed at how few ingredients are needed to create the foundational choux pastry. The luxurious filling, meanwhile, is a rich, chocolatey adaptation of my effortless homemade whipped cream, enhanced with high-quality cocoa powder for an irresistible depth of flavor.
Below, you’ll find quick notes on each ingredient to help you understand their role. For the precise quantities and a complete, printable recipe, please refer to the comprehensive recipe card located at the end of this post.
- Butter: Essential for melting with water to create the base of the choux pastry. While I typically opt for unsalted butter to control the overall saltiness of the dessert, salted butter can also be used if that’s what you have on hand.
- All-Purpose Flour: This is my go-to flour choice as it consistently yields the best results for the pastry structure. I haven’t yet experimented with alternative or gluten-free flours for this particular recipe, so I recommend sticking to all-purpose for guaranteed success.
- Eggs: The magic ingredient in choux pastry! Eggs are crucial for creating the light, hollow interior and classic puffed shape. They bind the dough, add richness, and, most importantly, provide the steam needed for the dramatic rise in the oven.
- Heavy Cream: For the filling, always reach for full-fat heavy whipping cream. Its higher fat content is key to achieving that wonderfully thick, stable, and fluffy whipped texture that holds its shape beautifully inside the puffs.
- Cocoa Powder: Unsweetened, natural cocoa powder is perfect for imparting a deep chocolate flavor to the whipped cream. If you desire an even more intense, darker chocolate hue and flavor, Dutch-processed cocoa powder is an excellent alternative.
- Powdered Sugar: Also known as confectioner’s sugar or icing sugar, this fine sugar dissolves seamlessly into the whipped cream, ensuring a smooth, non-gritty texture and providing just the right amount of sweetness.
- Vanilla Extract: A splash of pure vanilla extract enhances the chocolate notes in the whipped cream, adding a layer of warmth and complexity to the overall flavor profile.
Step-by-Step Guide: How to Make Chocolate Cream Puffs
Creating these delightful chocolate cream puffs involves two main stages: preparing the crisp, airy pastry shells and then filling them with luscious chocolate whipped cream and ganache. Let’s begin by crafting those perfect puff pastries. Follow the detailed steps below, and remember that you’ll find all the printable instructions in the comprehensive recipe card at the end of this post.
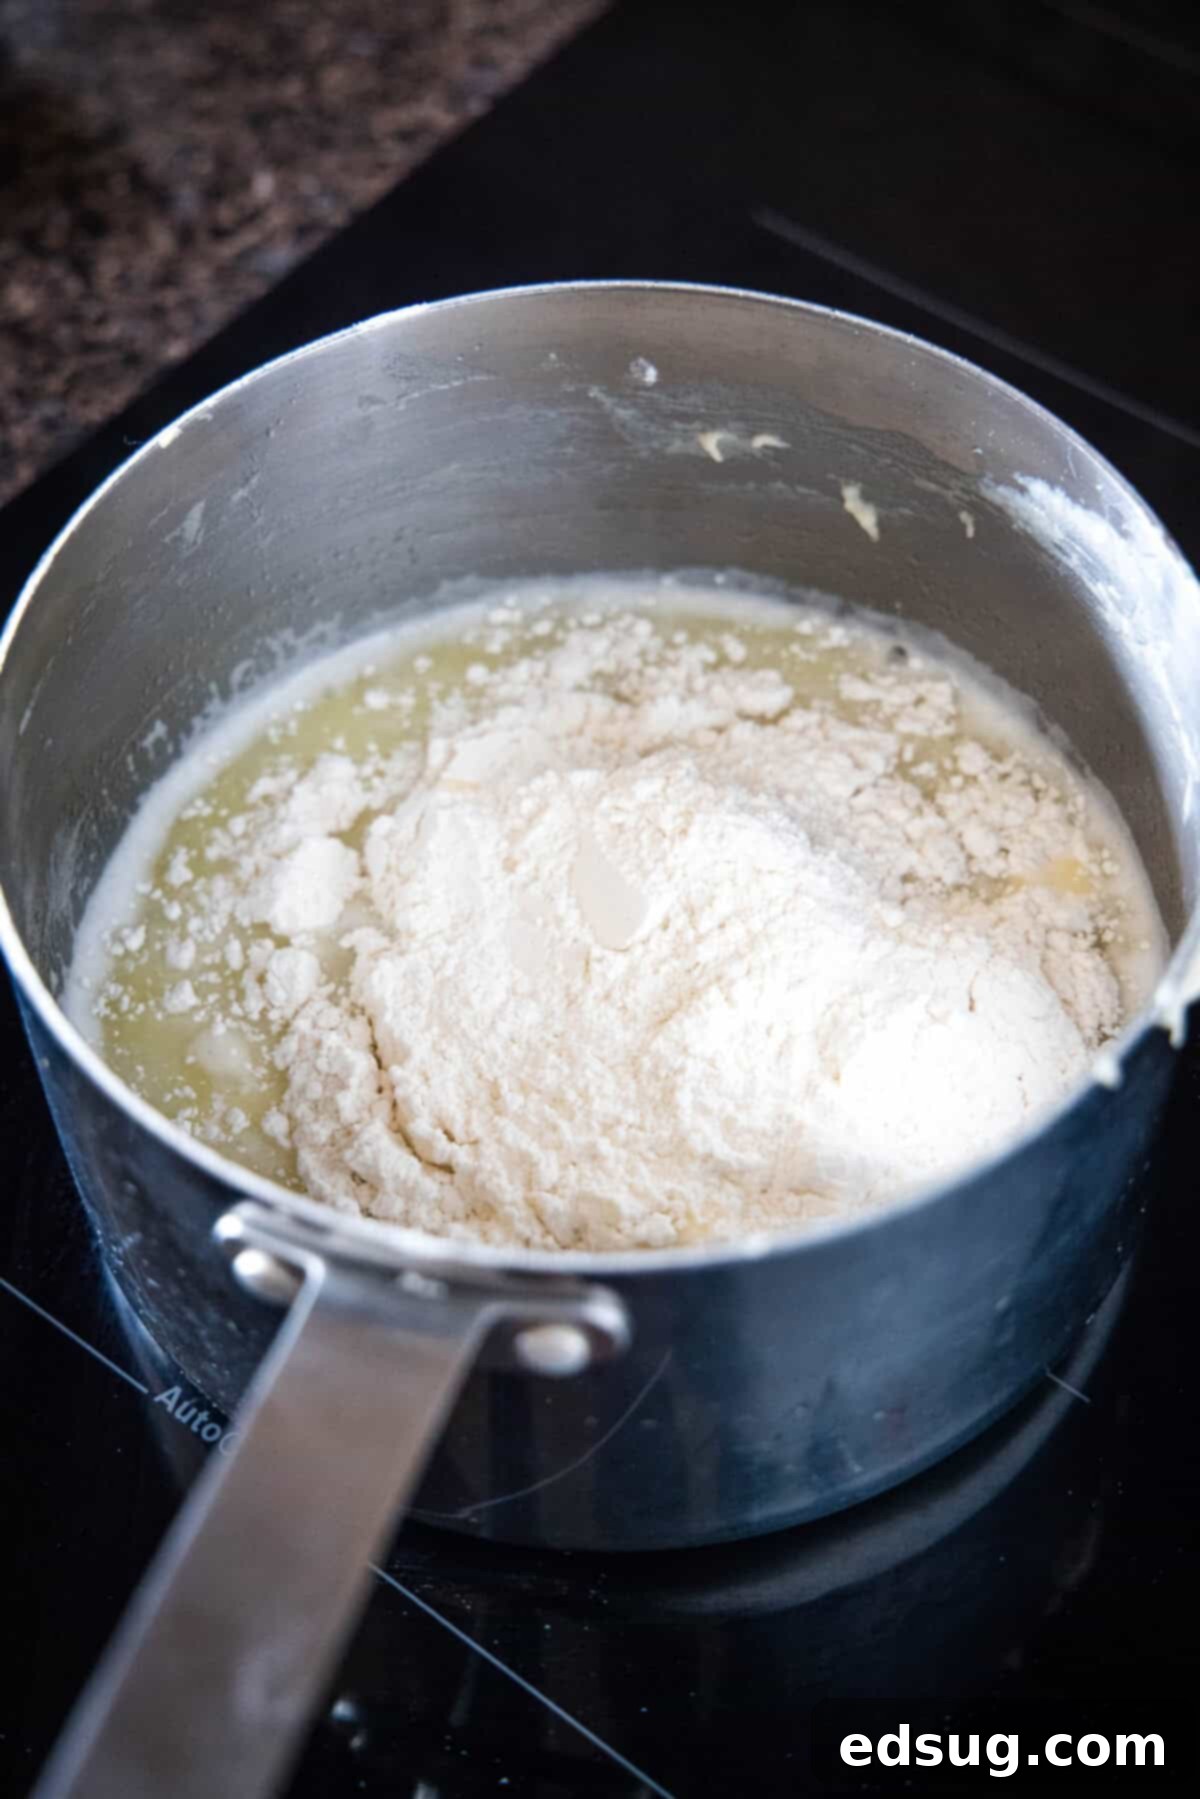
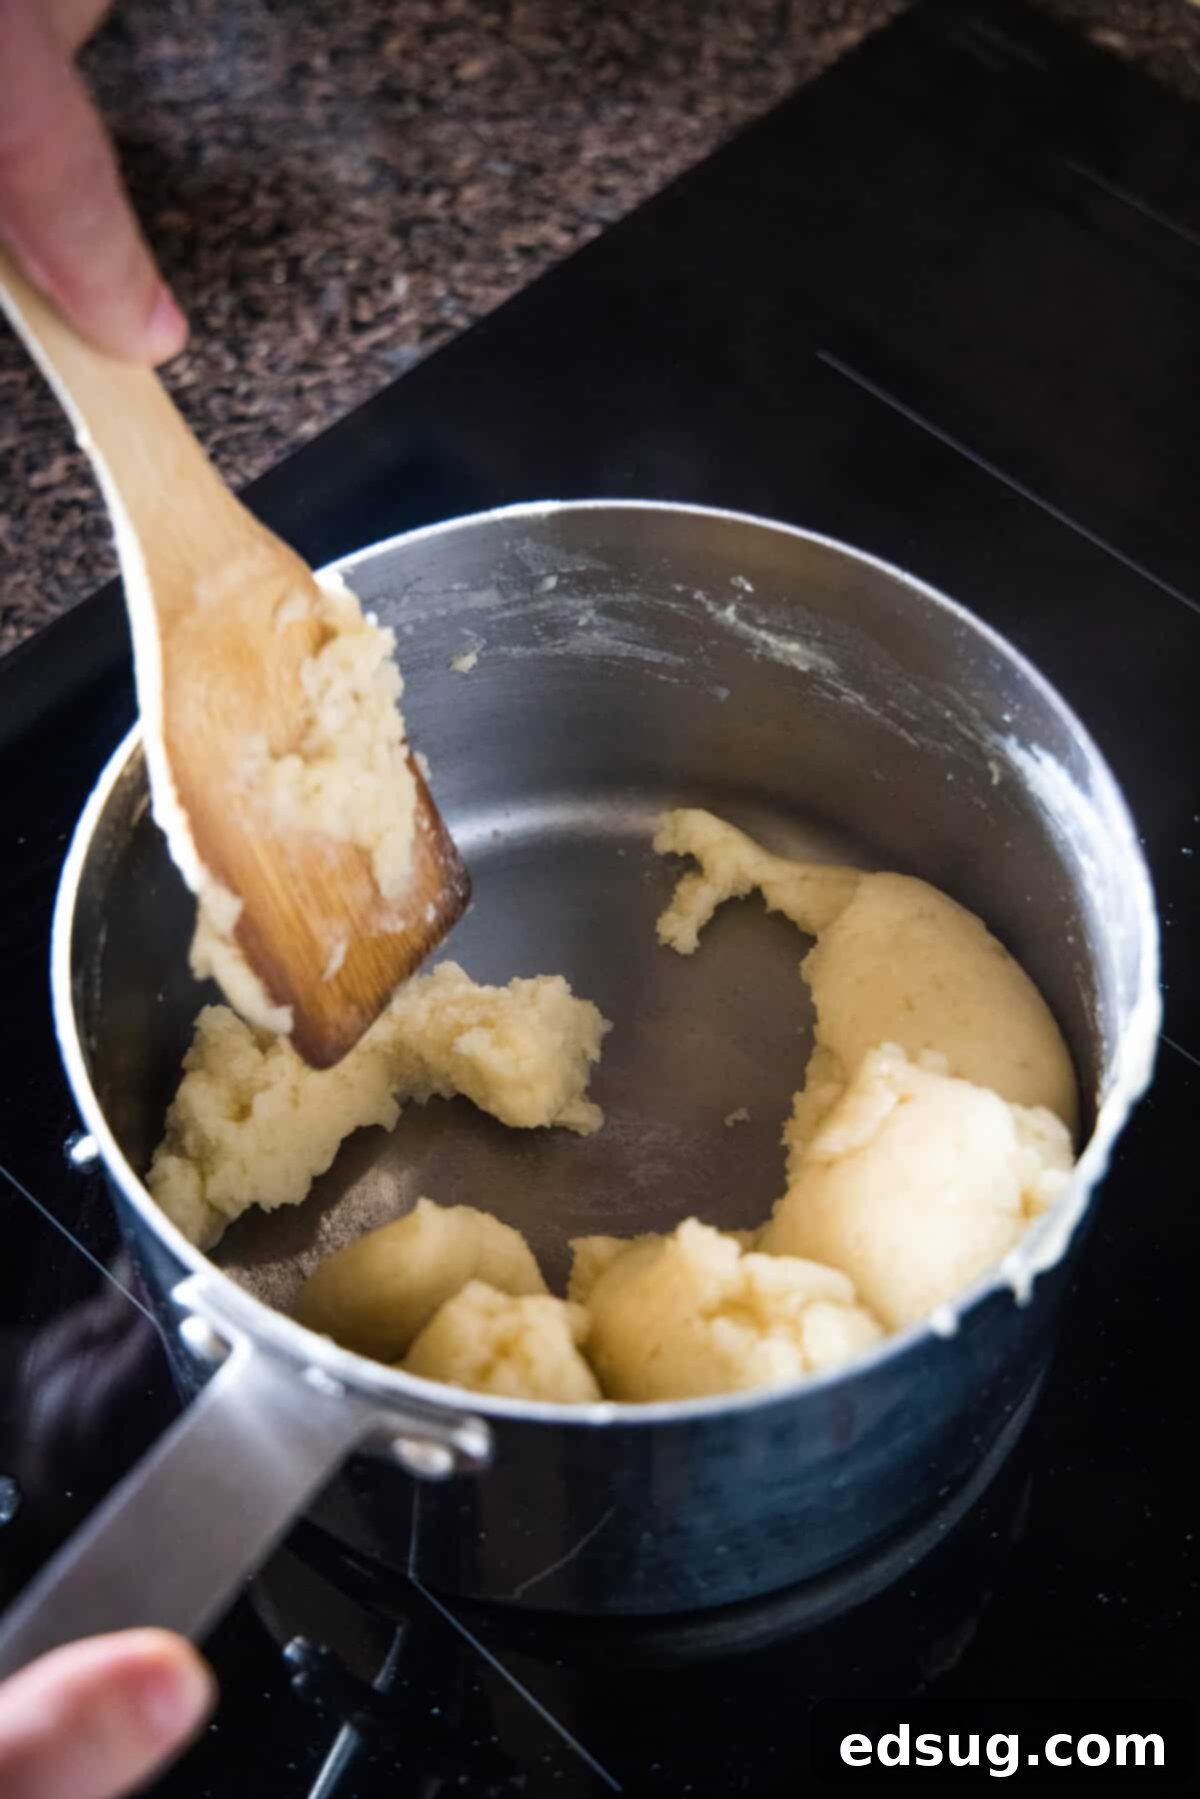
- Prepare the Liquid Base and Add Flour: To begin your choux pastry, combine butter and water in a medium saucepan. Heat the mixture over medium-high heat until it reaches a vigorous, rolling boil – this means the bubbles are breaking rapidly across the entire surface. Once boiling, immediately reduce the heat to low and quickly add all the flour at once. Stir vigorously with a sturdy wooden spoon or whisk. Continue stirring and cooking over low heat for about one minute. During this time, the dough will miraculously come together into a cohesive ball, pulling away from the sides of the pan. This step is crucial for drying out the dough.
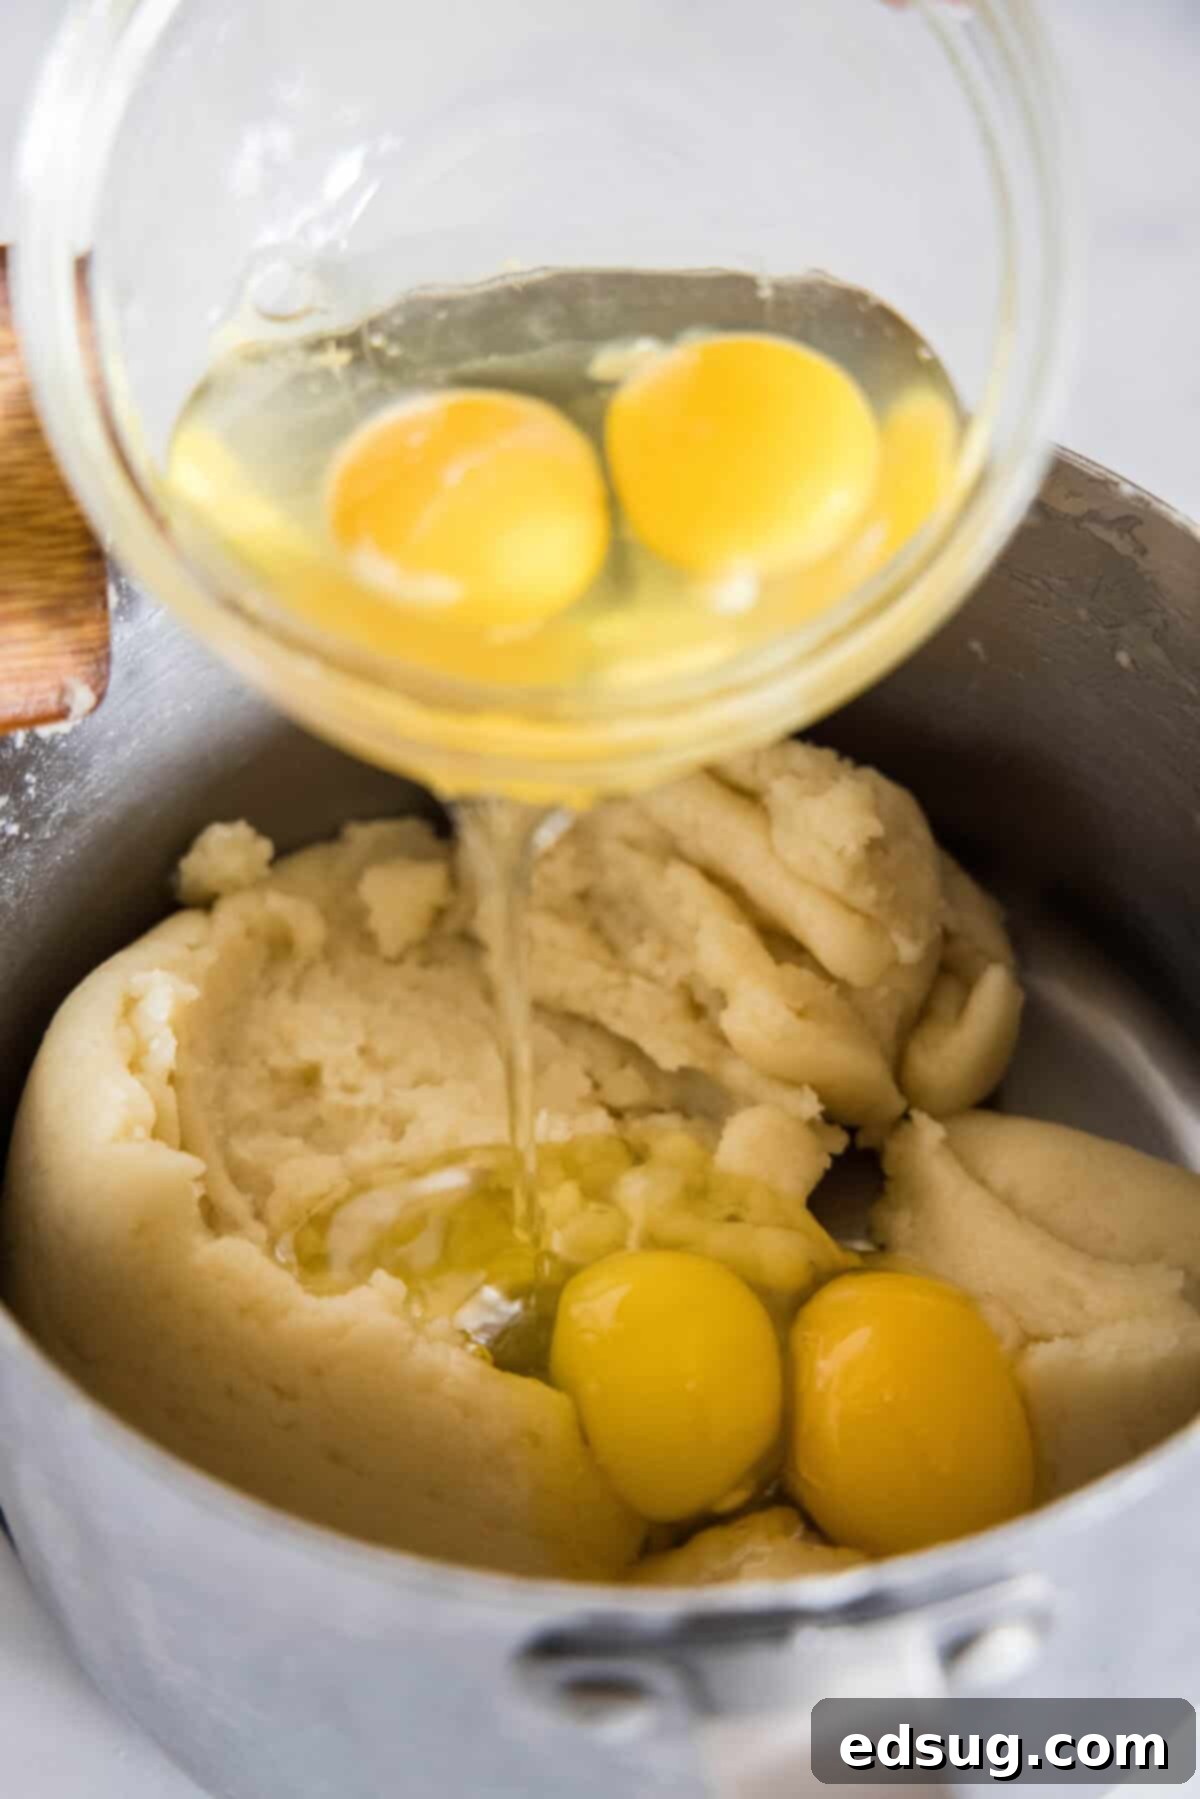
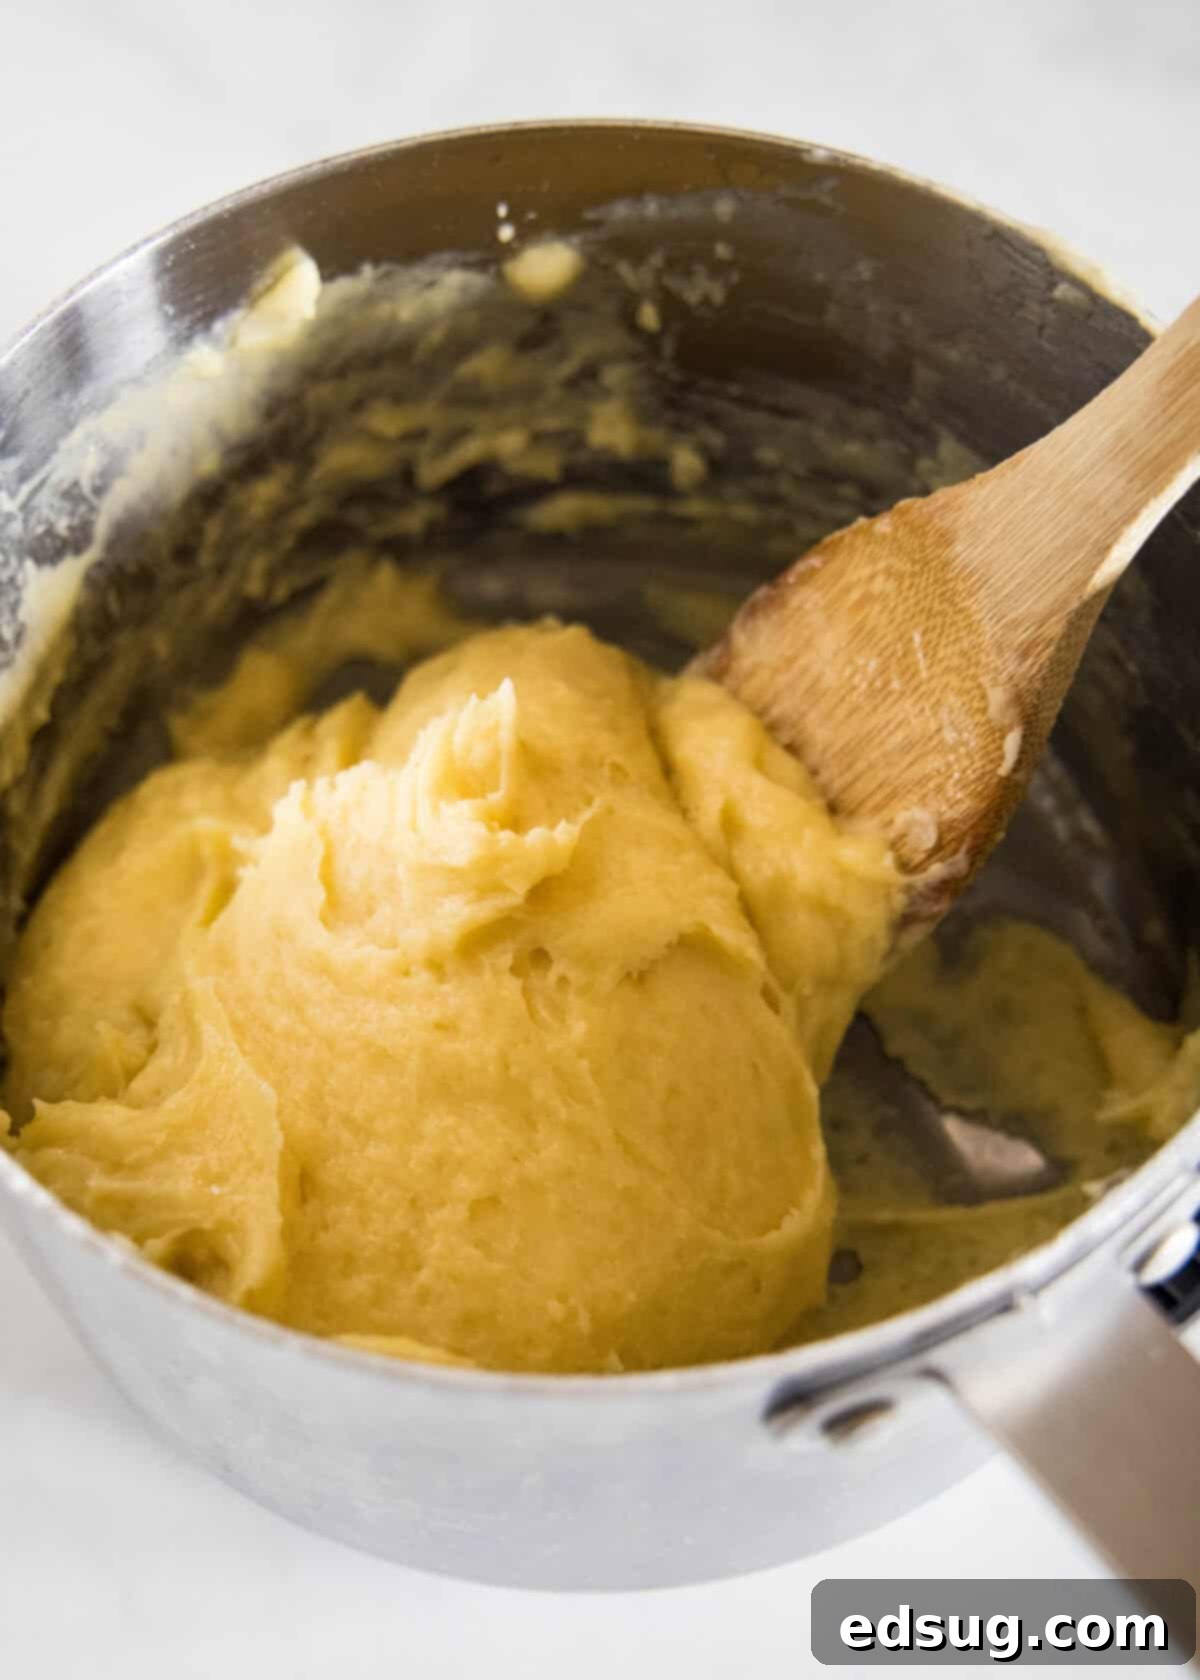
- Incorporate the Eggs: Remove the pan from the heat. This is where the magic happens for puffiness! Using a wooden spoon, immediately beat in all the eggs, one at a time, incorporating each fully before adding the next. This ensures proper emulsion. Continue beating vigorously until the dough transforms from a lumpy mass into a remarkably smooth, glossy, and thick batter. It should be pipeable but still hold its shape.
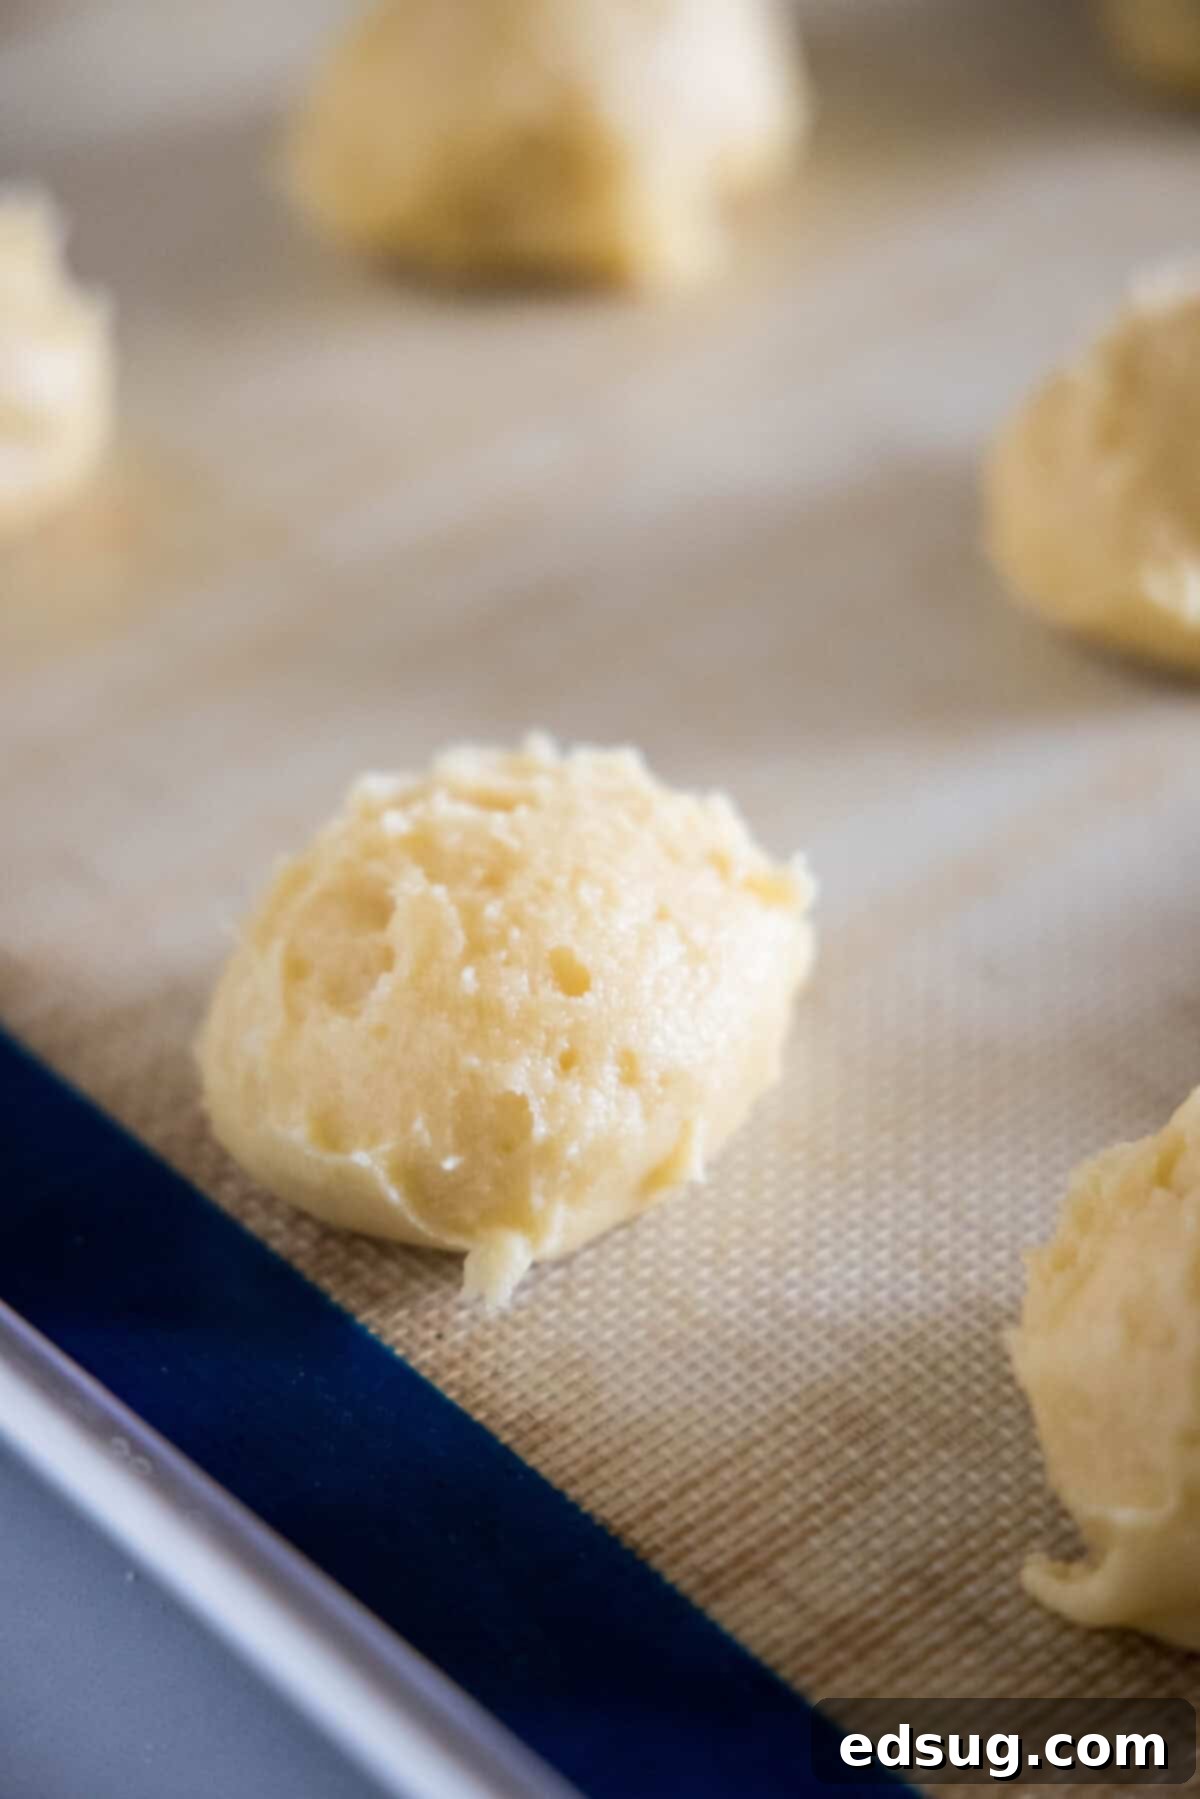
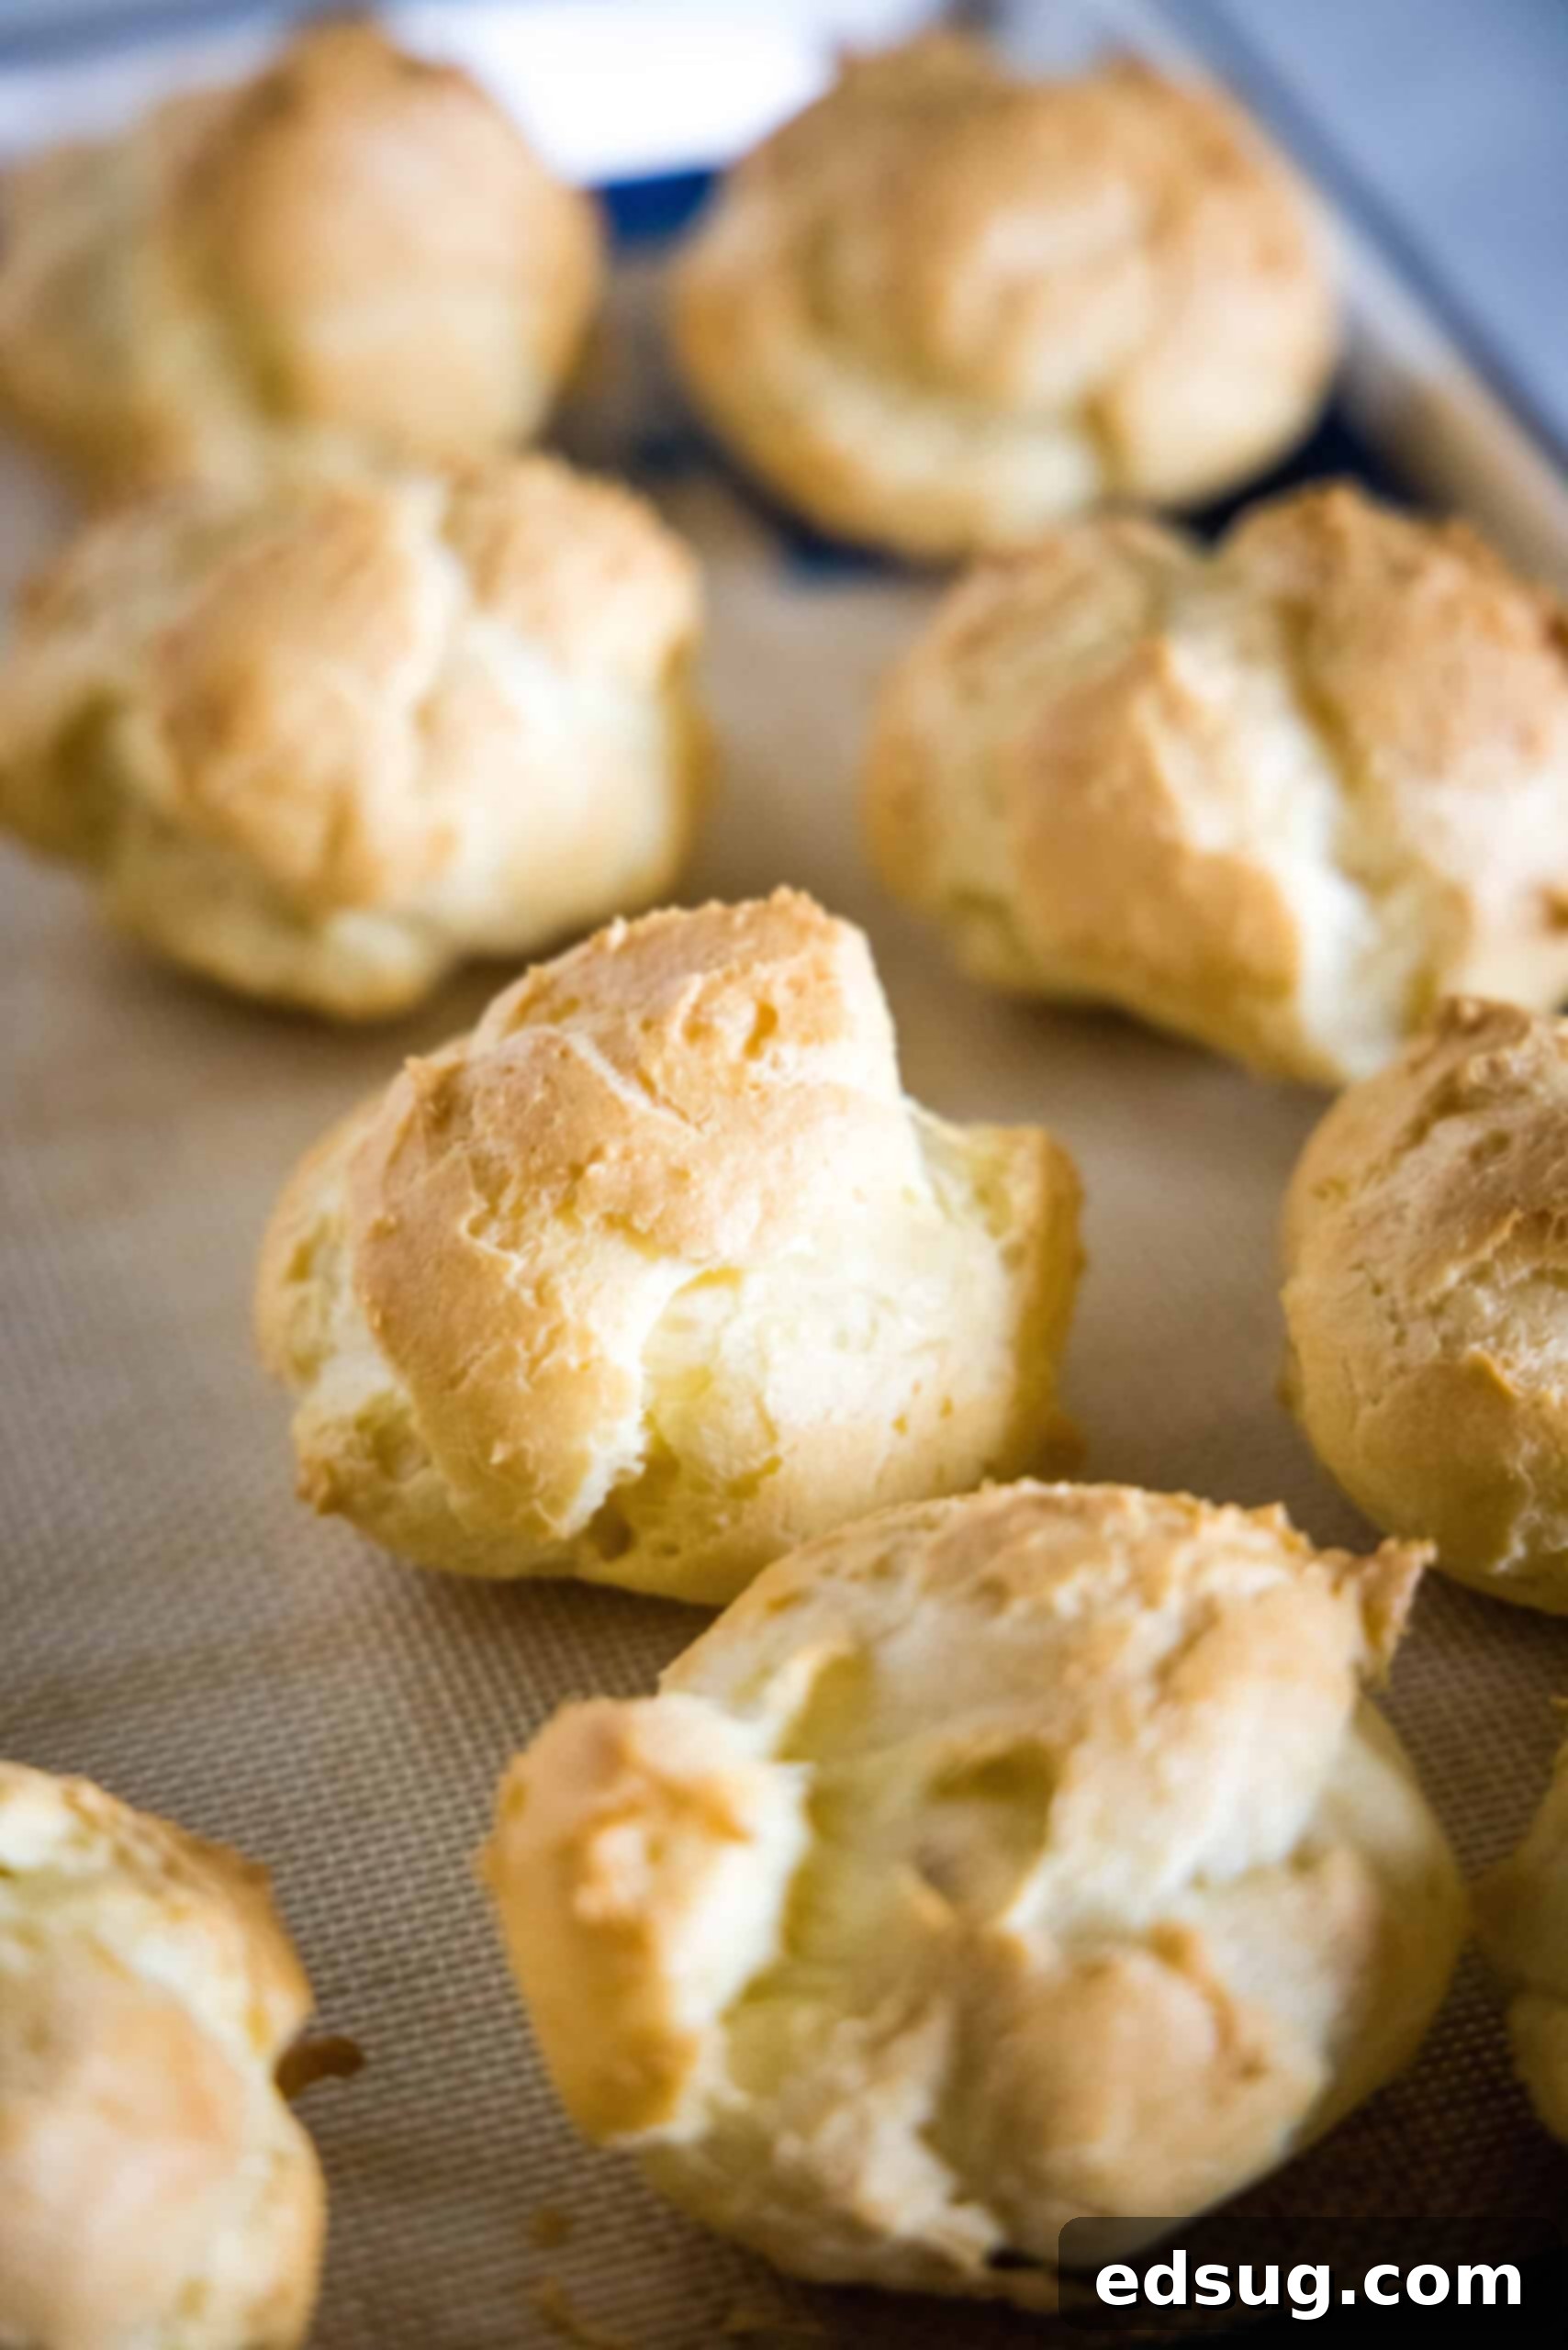
- Bake the Cream Puffs: Preheat your oven to 400ºF (200ºC). Line a baking sheet with parchment paper for easy release. Using a large cookie scoop (a ¼ cup measure works perfectly for generous-sized puffs), portion mounds of dough onto the prepared baking sheet. Ensure you space the cream puffs approximately 3 inches apart to allow for proper expansion during baking. Bake for 35-40 minutes, or until the pastries are beautifully puffed, golden brown, and feel light and crisp to the touch. The high initial heat helps create the steam needed for expansion.
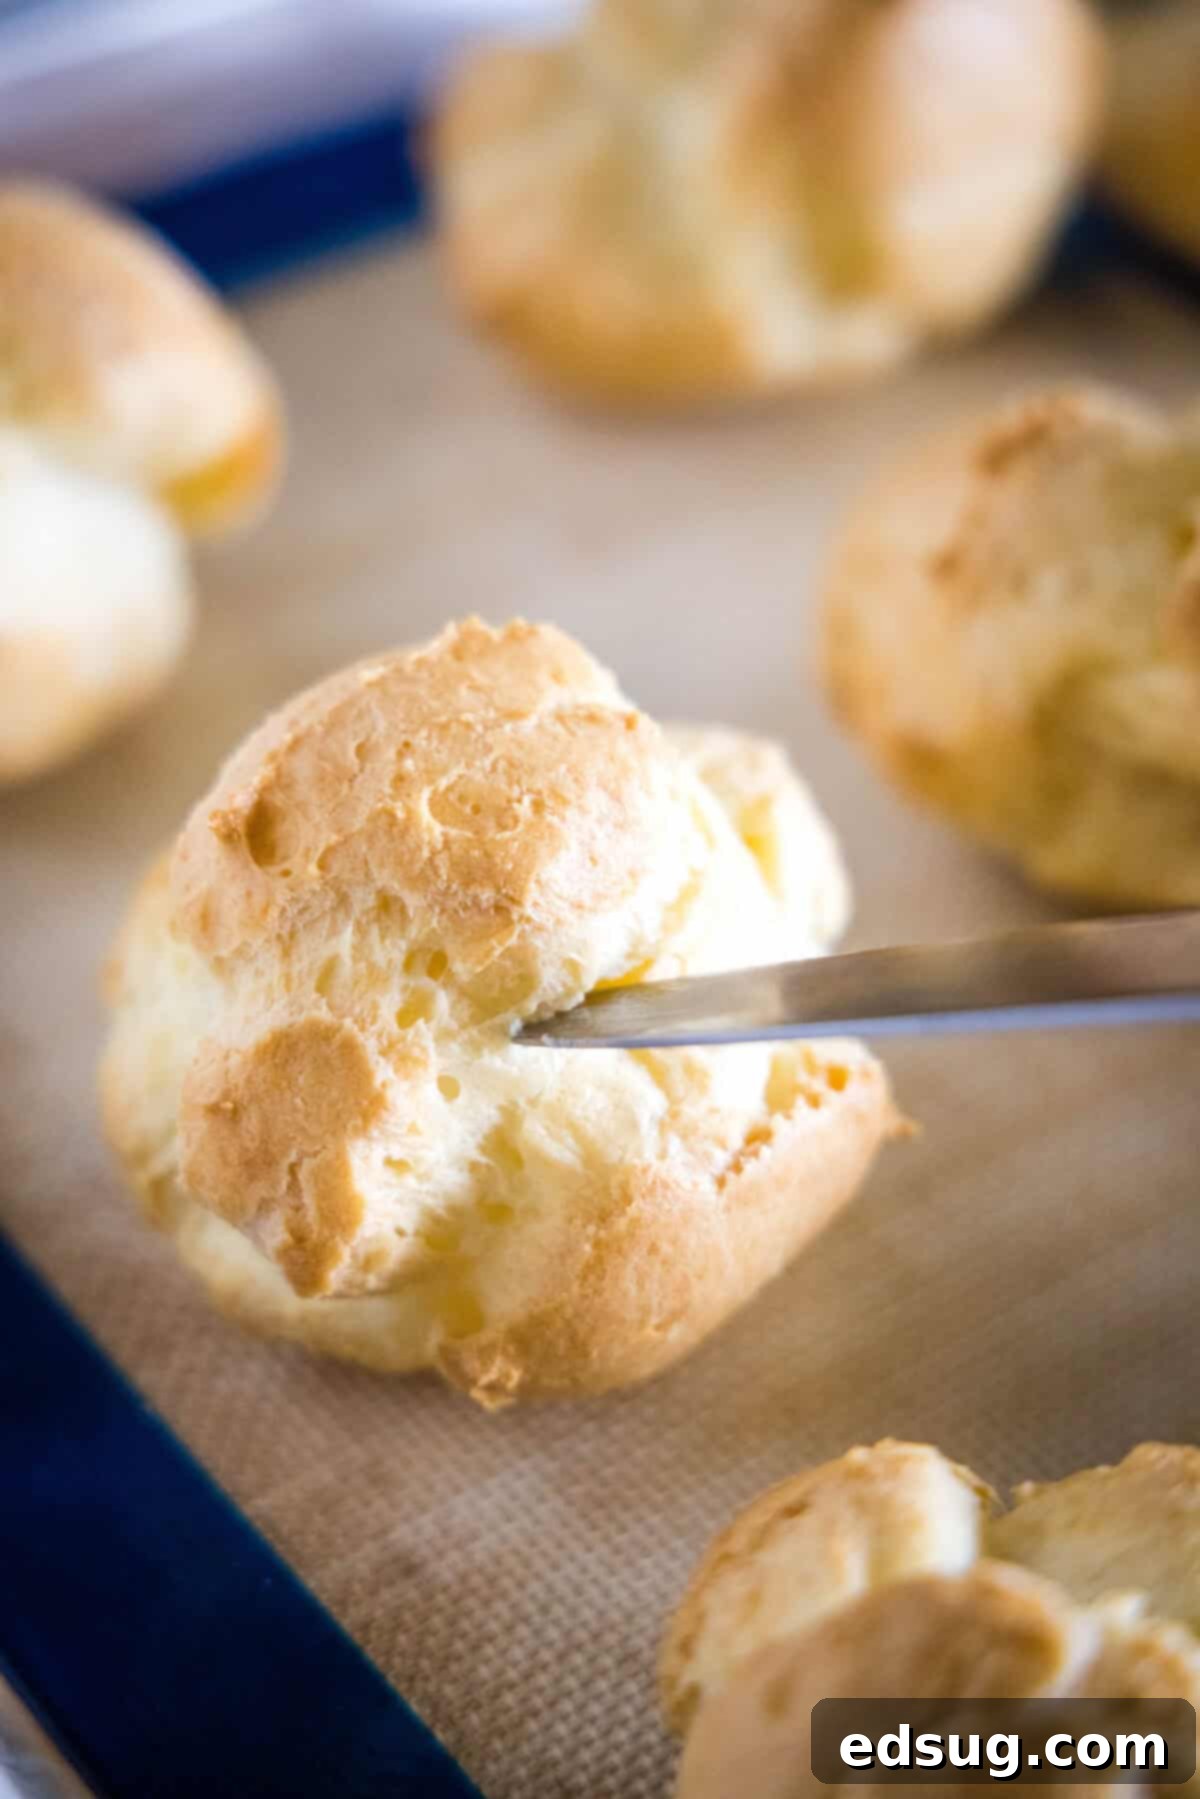
- Gradual Cooling for Optimal Crispness: Once baked, remove the cream puffs from the oven. Immediately, and carefully, use a small, sharp knife to gently pierce the side of each puff. This vital step allows steam to escape from the hollow interior, preventing the shells from becoming soggy. Return the pierced puffs to the oven, leaving the oven door ajar, for an additional 20 minutes. This allows them to dry out slowly and cool down gradually, ensuring they remain wonderfully crisp. After this gradual cooling, transfer the cream puffs to a wire rack to cool completely to room temperature before filling.
Filling the Cream Puffs
The success of your chocolate cream puffs largely depends on waiting until the pastry shells are fully baked and completely cooled. Once they’ve reached room temperature, you can then proceed to prepare a quick, decadent chocolate whipped cream and fill them to perfection:
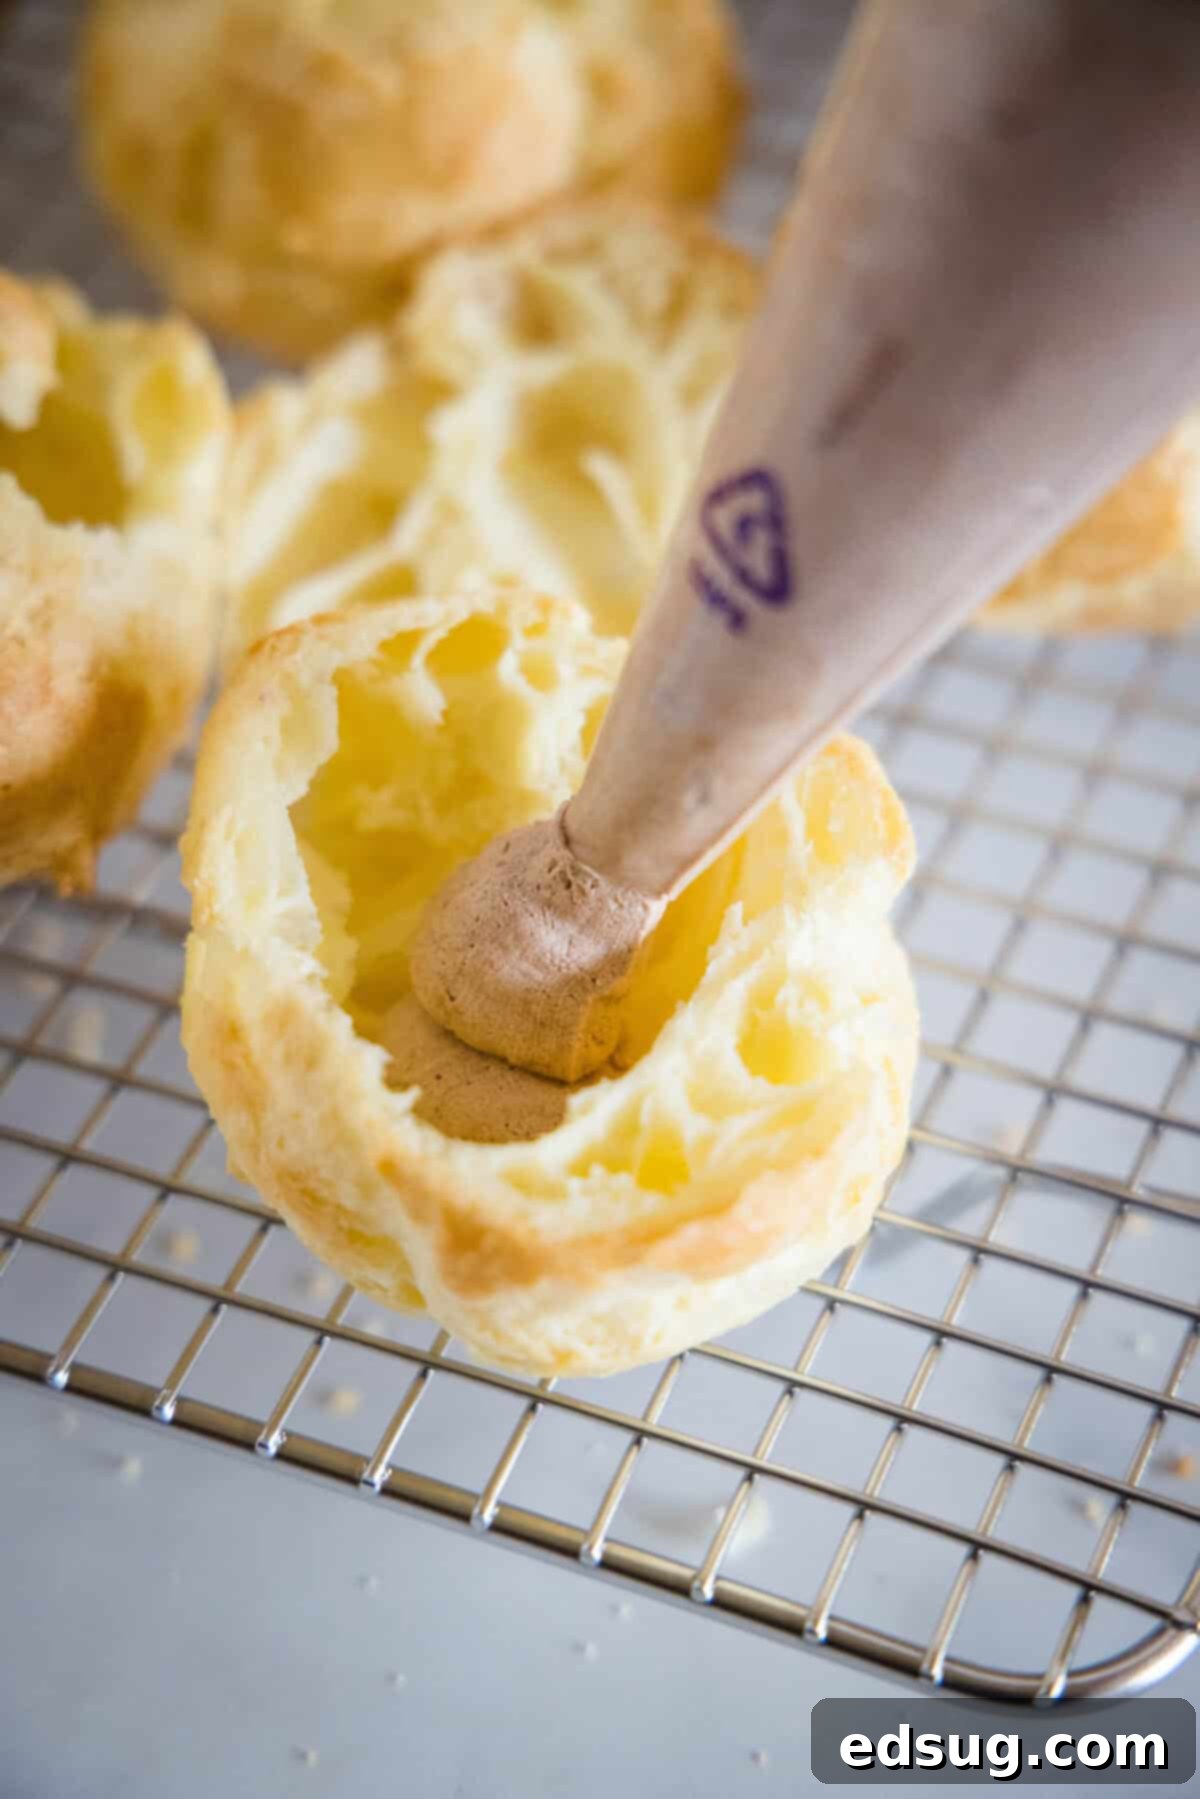
- Whip the Chocolate Cream: In the bowl of a stand mixer fitted with a whisk attachment (or using a hand mixer), beat the very cold heavy cream on medium-high speed until it begins to form soft peaks. Then, add the unsweetened cocoa powder, powdered sugar, and vanilla extract. Continue to whip the mixture until it reaches stiff peaks – this means the cream will hold its shape firmly when the whisk is lifted. Ensure all ingredients are well combined and the cream is light and fluffy.
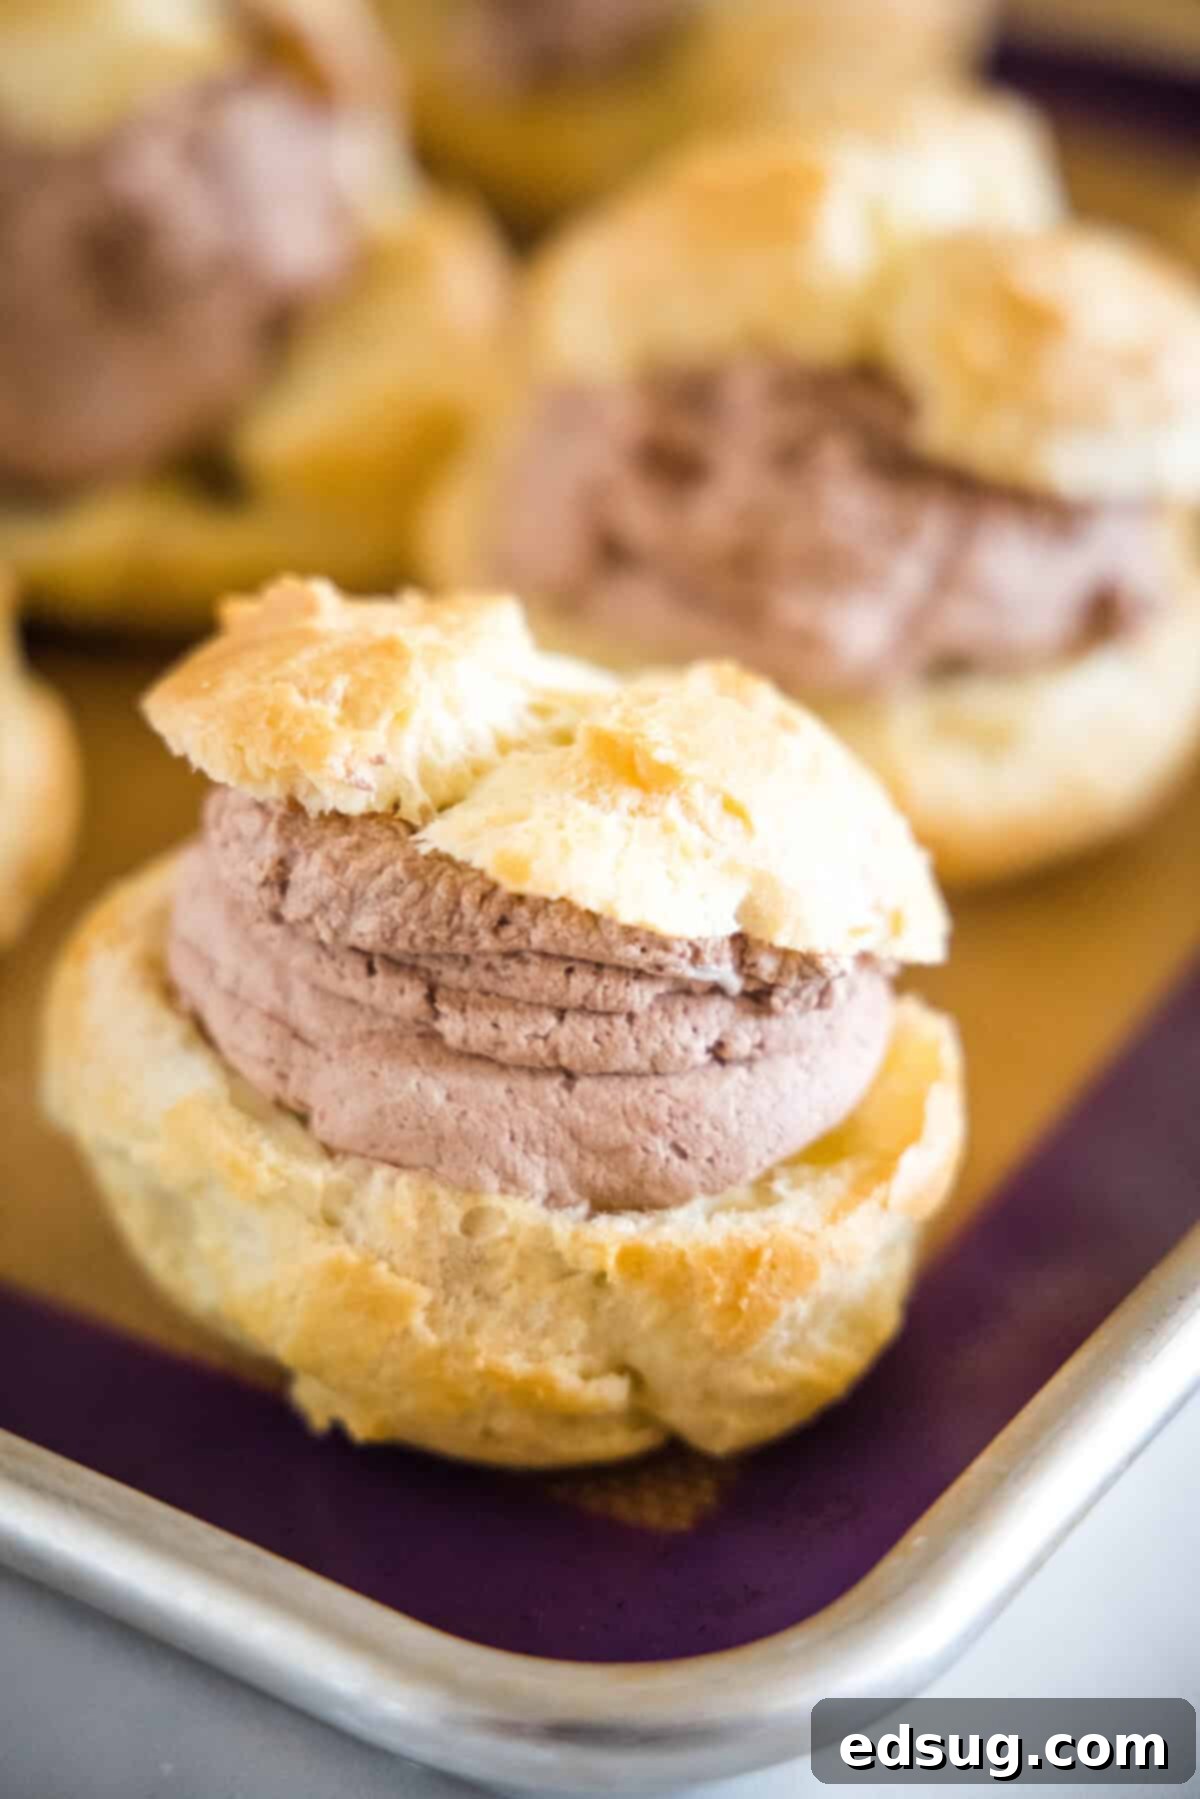
- Fill Each Cream Puff: Once your baked cream puff shells are completely cool, use a serrated knife to carefully trim off the top third of each pastry. This creates a “lid” for your puffs. Using a spoon or, for a more elegant presentation, a piping bag fitted with a large star tip, add a generous dollop of the chocolate whipped cream into the bottom half of each cream puff. Gently place the pastry top back on, like a hat, over the filling.
Easy Homemade Chocolate Ganache
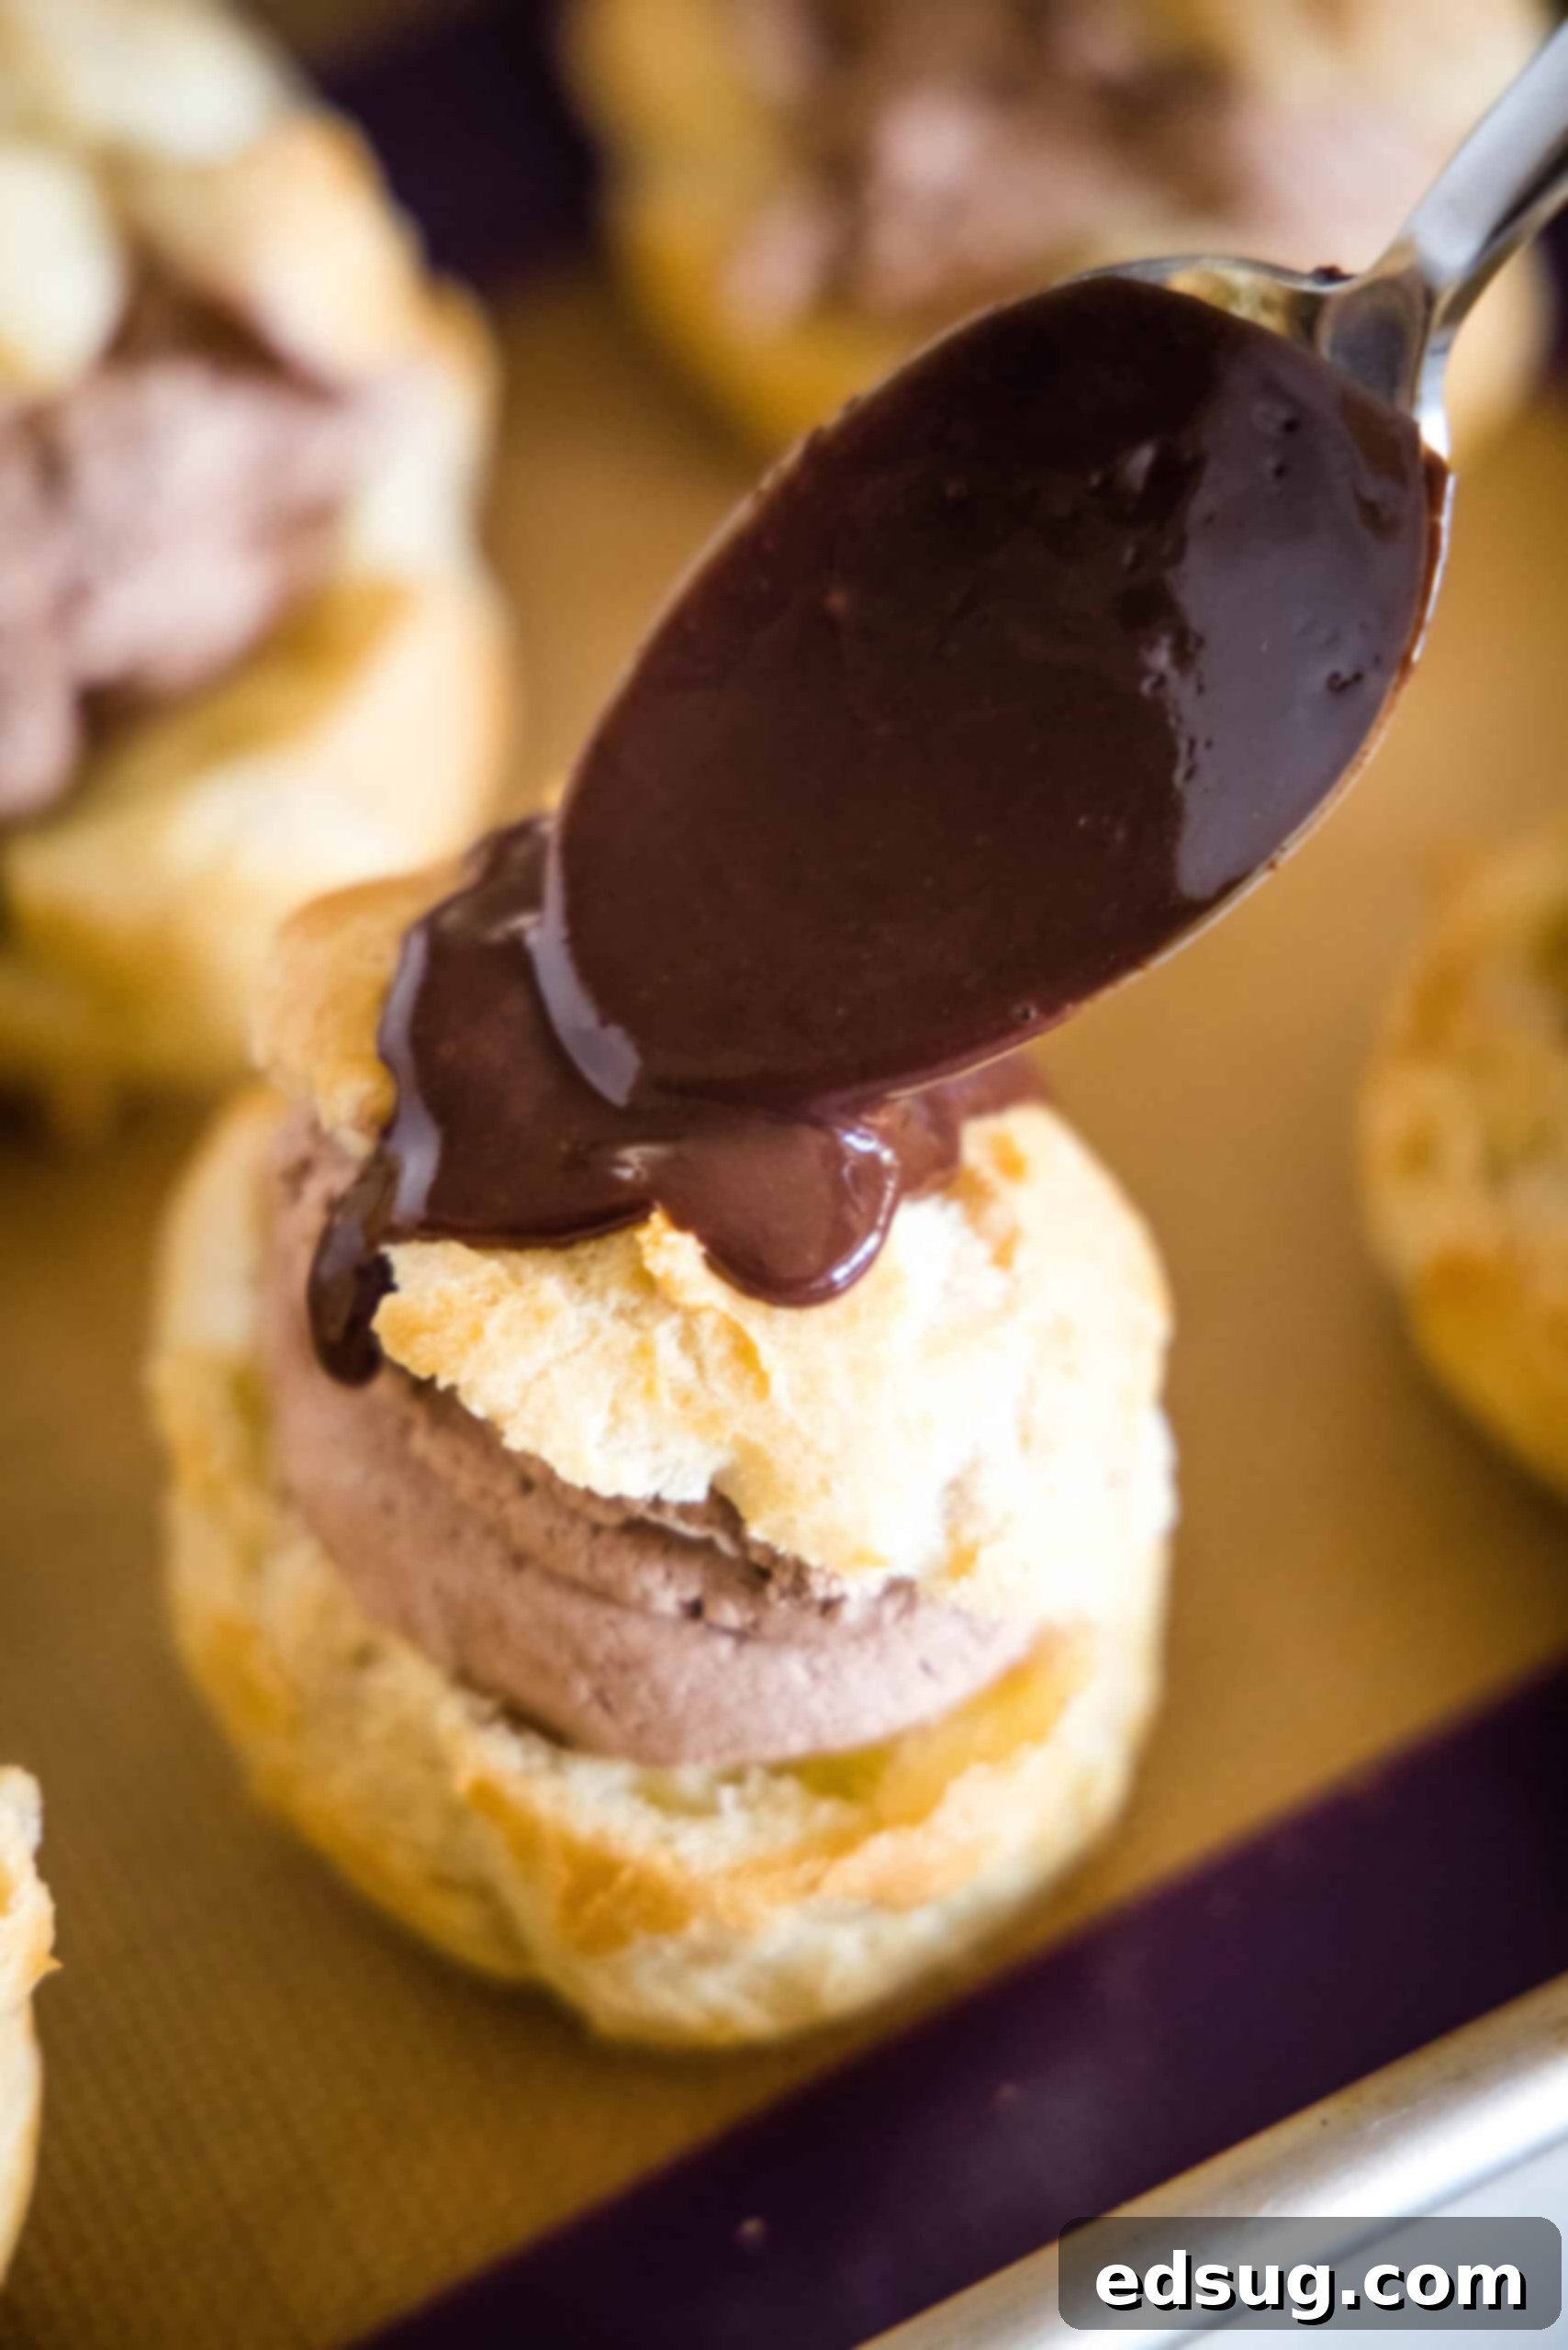
While entirely optional, I highly recommend drizzling a luscious chocolate ganache over your finished chocolate cream puffs for an added layer of decadence and visual appeal! It’s incredibly easy to prepare and elevates the entire dessert. This rich ganache is made by simply melting semi-sweet chocolate with warm heavy cream. You can certainly use chocolate chips for convenience, but for an even smoother, more professional-looking ganache, finely chopped high-quality chocolate works best. This is the very same delightful ganache I use to create my show-stopping chocolate drip cake. To quickly prepare this simple chocolate ganache:
- In a microwave-safe bowl, heat the heavy cream for approximately 45 seconds, or until it’s very warm and just beginning to simmer around the edges.
- Immediately add your chosen chocolate (chips or chopped) to the hot cream. Do not stir yet; let it stand undisturbed for 2 minutes. This allows the heat from the cream to gently melt the chocolate.
- After 2 minutes, stir the mixture thoroughly with a small whisk or spoon until the chocolate has completely melted and the ganache is smooth, glossy, and uniform in consistency.
Once your ganache is ready, generously spoon or drizzle it over the tops of your filled chocolate cream puffs. For the best presentation and set, allow the ganache to stand for about an hour at room temperature before serving. Alternatively, if you prefer a simpler finish, you can dust the tops of your chocolate puffs with a light coating of powdered sugar or a sprinkle of cocoa powder. The choice is yours!
Expert Recipe Tips for Perfect Cream Puffs
Achieving truly bakery-quality chocolate cream puffs is within your reach with these essential tips and tricks:
- Ensure Cream Puffs Are Completely Cooled: This is arguably the most critical tip! After baking, it’s imperative to follow the gradual cooling steps, including piercing the shells and leaving the oven door ajar. More importantly, ensure the cream puff shells are absolutely, completely cooled to room temperature before you even think about adding the filling. Any residual warmth in the pastry will cause your beautiful chocolate whipped cream to melt, resulting in a soggy, disappointing mess. Patience here pays off!
- Utilize Cold Ingredients for Whipped Cream: When you’re preparing the chocolate whipped cream filling, the colder your heavy cream, the better it will whip and the more stable it will be. It’s also an excellent practice to chill the bowl of your stand mixer (preferably a metal one) and your whisk attachment in the freezer for about 5-10 minutes before you add the cold cream. This extra chill helps the fat molecules in the cream stiffen more effectively, ensuring your whipped cream becomes incredibly smooth, fluffy, and holds its stiff peaks beautifully.
- Enjoy Promptly for Peak Freshness: Like many delicate pastries, cream puffs are at their absolute best when consumed fresh, shortly after they have been filled. The crispness of the choux pastry and the airy lightness of the whipped cream are most pronounced right after assembly. While they can be stored, the texture will inevitably change over time. For the ultimate experience, serve them within a few hours of filling.
- Bake for Sufficient Time: Don’t be tempted to pull your cream puff shells out of the oven too early. When they first come out, they should be distinctly dry to the touch, firm, and a lovely light golden brown color. Underbaking will leave too much moisture in the pastry, making the shells prone to collapsing or becoming soft and chewy once the filling is added. A well-baked shell is the foundation for a perfect cream puff.
Creative Cream Puff Filling Variations
While I adore filling these easy chocolate cream puffs with their namesake chocolate whipped cream, the versatility of choux pastry means the possibilities for fillings are almost endless! Many classic cream puff recipes feature fillings like rich pastry cream, a more stable whipped cream (which includes a stabilizer to prevent weeping), or a smooth, creamy custard (much like the filling found in elegant chocolate eclairs). But don’t stop there!
For a refreshing, unique twist, you could even make a delightful summer version filled with a scoop of creamy chocolate ice cream or classic vanilla bean ice cream! Imagine a warm, crisp shell encasing a cold, melting scoop of your favorite frozen treat. Other ideas include lemon curd, fruit-flavored whipped creams (raspberry, strawberry), or even a spiced pumpkin cream for a seasonal touch. Let your imagination guide you!
How to Store Your Chocolate Cream Puffs
Proper storage is key to maintaining the quality and freshness of your homemade chocolate cream puffs, especially since they taste best when freshly made.
- Make Ahead Prep: If you’re planning to prepare these delightful cream puffs for a special event or party, a fantastic strategy is to bake the pastry shells the day before. This allows you to tackle part of the process in advance, reducing stress on the day of serving. Store the fully baked and cooled shells in an airtight container at room temperature. This will help them retain their crispness. Wait to fill them until you are ready to serve to ensure the filling is fresh and the shells don’t get soggy.
- Refrigeration for Leftovers: As mentioned, cream puffs truly shine on the day they are assembled and eaten. However, if you happen to have any delicious leftovers (a rare occurrence!), they can be stored. Place the filled puffs in an airtight container and refrigerate them for 1-2 days. Be aware that the pastry shells will gradually soften from the moisture of the filling, but they will still be delicious.
- Freezing Unfilled Shells: For ultimate convenience, you can freeze the unfilled, fully baked, and completely cooled cream puff shells. Arrange them in a single layer on a baking sheet and freeze until solid. Once frozen, transfer them to a freezer-safe airtight container or bag. They can be stored in the freezer for up to 1 month. When you’re ready to use them, simply thaw the shells at room temperature for about 30 minutes, and then crisp them up in a 300°F (150°C) oven for 5-7 minutes before cooling and filling as usual.
More Homemade Pastry Recipes
If you enjoyed making these chocolate cream puffs, you might love exploring other homemade pastry recipes:
- Homemade Croissants
- Quick Cream Cheese Danishes
- Apple Turnovers
- Homemade Donuts
Chocolate Cream Puffs Recipe
Erin Sellin
10 mins
40 mins
50 mins
12 servings
Rate Recipe
Print Recipe
Ingredients
Cream Puffs
- 1 cup water
- 1/2 cup unsalted butter
- 1 cup all-purpose flour
- 4 large eggs
Cream Filling
- 2 cups heavy cream
- 1/3 cup unsweetened cocoa powder
- 1/3 cup powdered sugar
- 1/2 teaspoon vanilla
Chocolate Ganache (optional)
- 1/3 cup heavy cream
- 1/3 cup semi-sweet chocolate chips
Instructions
- Preheat oven to 400º F (200°C).
- In a small saucepan, combine 1 cup water and 1/2 cup unsalted butter. Melt together until it comes to a rolling boil.
- Add 1 cup all-purpose flour, reducing heat to low. Stir vigorously, over low heat for 1 minute, or until the dough forms a ball and pulls away from the sides of the pan. Remove from heat.
- Using a wooden spoon, beat in all 4 large eggs, one at a time, ensuring each is fully incorporated before adding the next. Continue beating until it forms a smooth, glossy batter.
- Drop ¼ cup portions of dough (using a large cookie scoop or spoon) about 3 inches apart on a parchment-lined baking sheet.
- Bake for 35-40 minutes, until puffed, firm, and golden brown.
- Remove from the oven and gently pierce the side of each cream puff with a knife. Return to the oven with the door open for 20 minutes to cool gradually and dry out. After 20 minutes, remove from the oven and cool completely on a wire rack.
- While the puffs are cooling, prepare the whipped cream. Using a stand mixer, whisk 2 cups heavy cream until soft peaks form. Add 1/3 cup unsweetened cocoa powder, 1/3 cup powdered sugar, and 1/2 teaspoon vanilla. Beat until stiff peaks form.
- Once the puffs are cool, use a serrated knife to cut the top 1/3 off each puff. Fill each puff generously with a scoop of chocolate whipped cream. Place the top back on.
- Dust with powdered sugar, cocoa powder, or prepare the chocolate ganache.
- To make the ganache: Heat 1/3 cup heavy cream in a microwave-safe bowl for 45 seconds. Add 1/3 cup semi-sweet chocolate chips and let stand for 2 minutes. Stir until the chocolate chips are completely melted and the ganache is smooth.
- Spoon the ganache over the top of the prepared cream puffs. Let stand for about an hour for the chocolate to set up before serving.
Nutrition
Nutrition information is automatically calculated, so should only be used as an approximation.
Additional Info
Erin Sellin
10 minutes
40 minutes
50 minutes
Dessert Recipes
American
12 servings
332
chocolate cream puffs
Like this recipe? Leave a comment below!
I created a fun group on Facebook, and I would love for you to join us! It’s a place where you can share YOUR favorite recipes, ask questions, and see what’s new at Dinners, Dishes and Desserts (so that you never miss a new recipe)!
Be sure to follow me on Instagram and tag #dinnersdishes so I can see all the wonderful DINNERS, DISHES, AND DESSERTS recipes YOU make!
Be sure to follow me on my social media, so you never miss a post!
Facebook | Twitter | Pinterest | Instagram
.
