Mastering Homemade Chocolate Eclairs: A Decadent Dessert Guide
There’s an undeniable magic to chocolate desserts, and for me, they will always hold a special place in my heart. While I truly adore classic cream puffs, the allure of a perfectly crafted eclair, with its luscious chocolate topping, is simply irresistible. That sweet, glossy chocolate adds a layer of indulgence that elevates a simple pastry into an extraordinary treat every single time.
Funnily enough, my husband isn’t typically a chocolate enthusiast; his ultimate favorite dessert is often something like a rich Crème brûlée. However, even he can’t resist the charm of these chocolate eclairs. This particular recipe has become a rare, delightful common ground for our dessert preferences, making it a staple in our household for special occasions and everyday cravings alike. Prepare to be impressed by how simple it is to create these elegant pastries at home!
What Exactly is an Eclair?
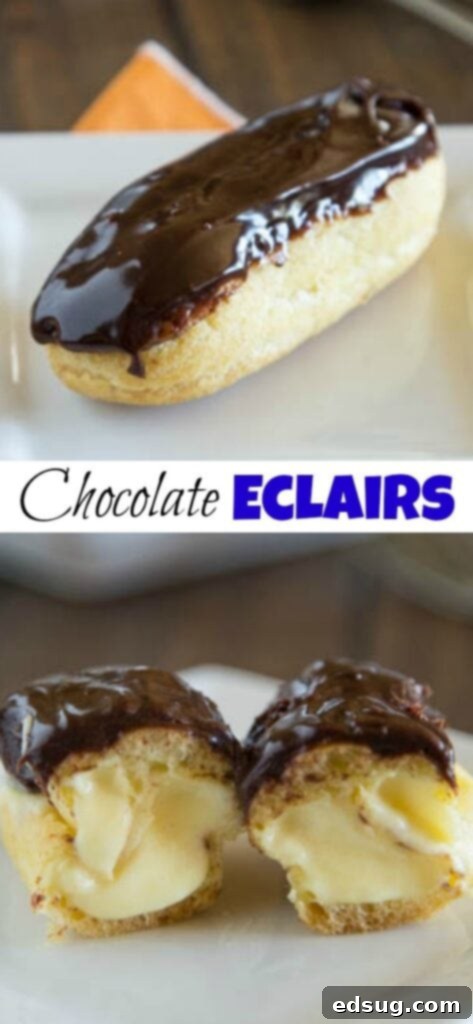
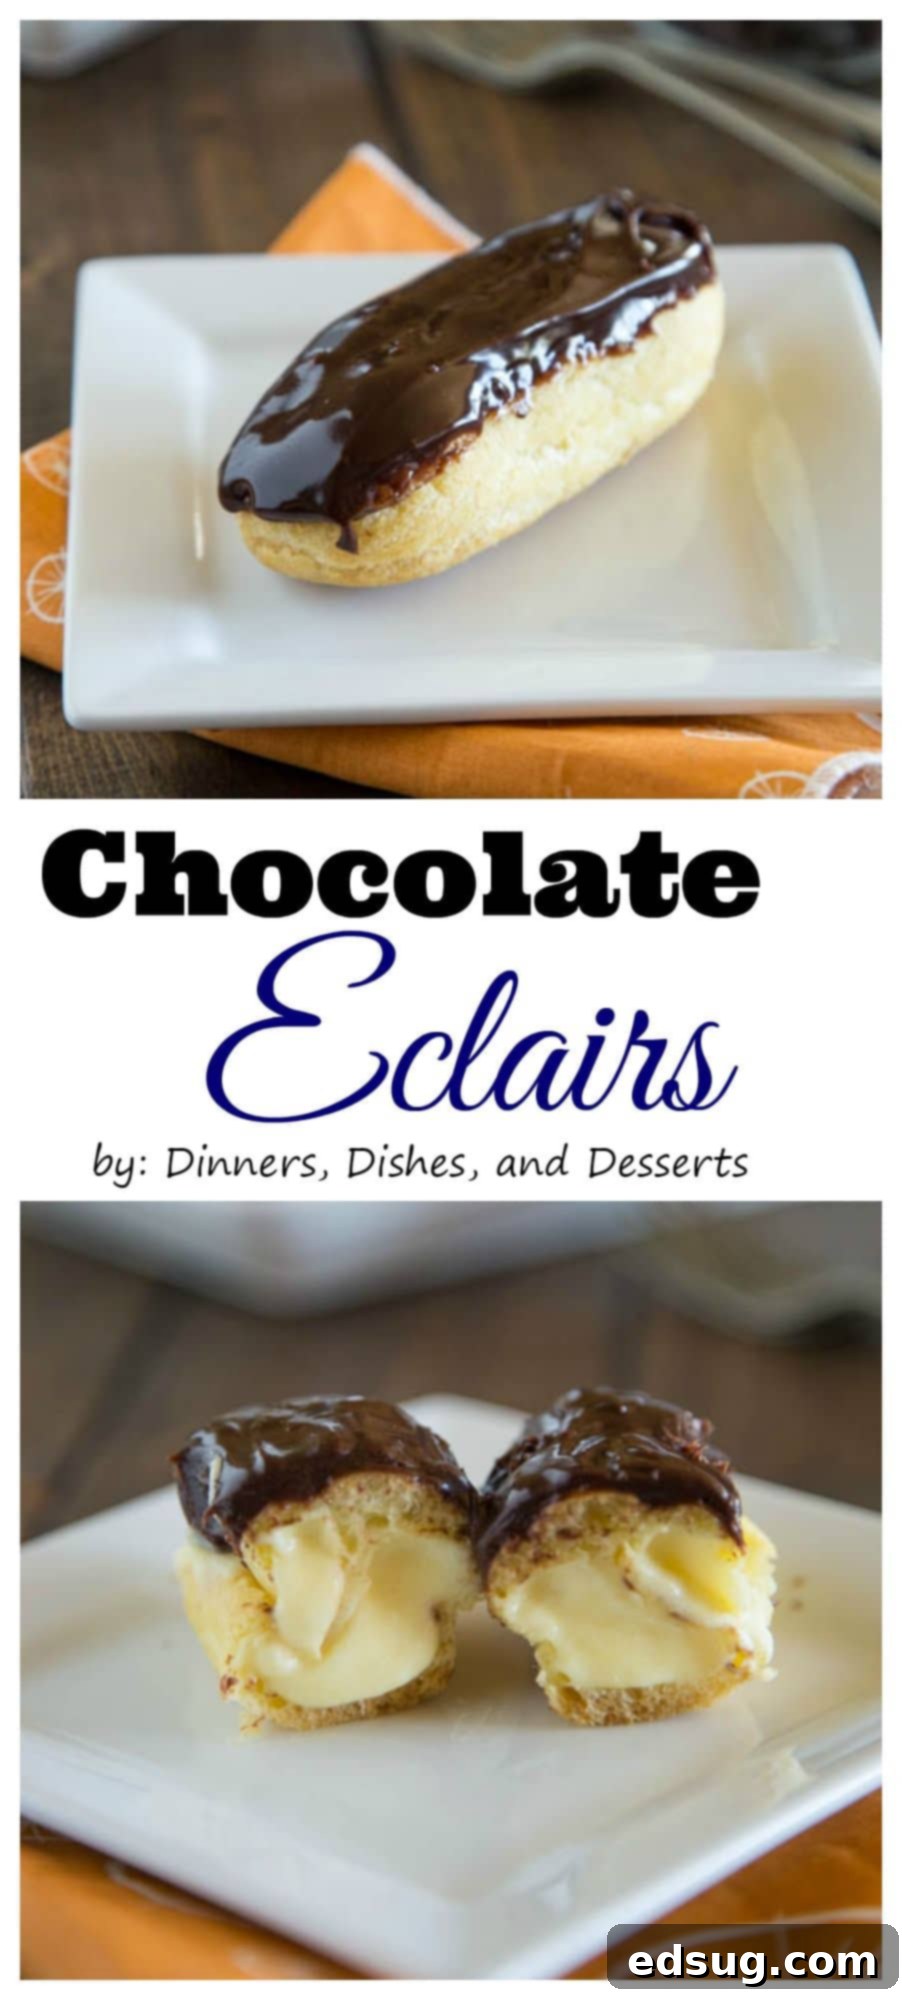
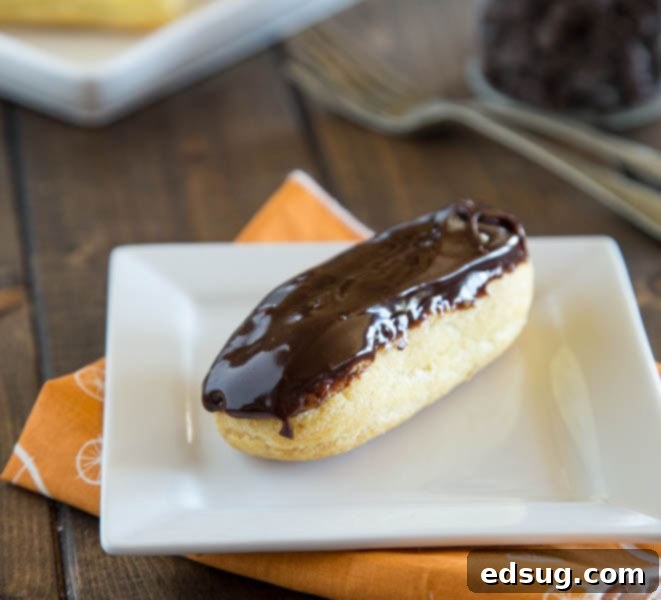
An eclair is an elegant, oblong pastry, renowned for its light and airy texture. At its heart, an eclair is made from choux pastry (pâte à choux), the very same versatile dough used to create delightful cream puffs. However, what sets an eclair apart is its distinctive shape, its decadent vanilla cream filling, and its signature chocolate icing or ganache topping.
While cream puffs are typically spherical and often filled with simple whipped cream, eclairs embrace an elongated form and are traditionally filled with a richer, more substantial vanilla cream—often a pastry cream (crème pâtissière) or a thick pudding-like custard. This recipe simplifies the filling process, leveraging the convenience of a box of instant pudding mix. This clever shortcut drastically speeds up preparation without compromising on that beloved creamy vanilla flavor, making homemade eclairs more accessible than ever. For those who prefer a completely scratch-made approach, a traditional pastry cream can certainly be substituted, though it adds a bit more time to the overall process.
The Art of Making Eclairs: A Step-by-Step Guide
Making eclairs might seem intimidating, but the process is quite straightforward once you understand the magic of choux pastry. The key is in precise timing and technique, which we’ll walk through step-by-step to ensure your eclairs are light, hollow, and perfectly golden.
- Preparing the Choux Pastry Dough: Begin by combining butter and water in a saucepan. Heat them gently, allowing the butter to melt completely without bringing the mixture to a rapid boil. The goal is a smooth, melted base for your dough.
- Incorporating the Flour: Once the butter is melted, remove the pan from the heat and add all of the flour at once. Stir vigorously with a wooden spoon. This step is crucial; you’ll notice the dough quickly come together, forming a ball and pulling away cleanly from the sides of the pan. Continue stirring for at least a full minute over low heat to “dry out” the dough, which helps create that signature hollow interior.
- Adding the Eggs: Remove the dough from the heat again. Now, add all the eggs at once. This might look messy at first, but keep beating. The dough will eventually transform into a smooth, thick, glossy batter, almost resembling a rich cake batter. This can be done with a sturdy wooden spoon or an electric mixer with a paddle attachment for ease.
- Piping the Eclair Shapes: Transfer your choux pastry dough into a piping bag. If you don’t have a specific piping tip, simply snip off a corner of a sturdy zip-top plastic bag to create an opening. On a baking sheet lined with parchment paper, pipe out uniform 4-inch logs of dough. Aim for about 16 eclairs per batch, ensuring they are spaced at least 3 inches apart. This generous spacing allows for proper air circulation, which is essential for them to puff up beautifully and bake evenly.
- Smoothing Imperfections: After piping, you might notice small tips or bumps on your dough. Lightly dampen your fingers with water and gently smooth out these imperfections. This small step contributes to a professional-looking finished eclair.
- Baking to Perfection: Bake your eclairs in a preheated oven (usually around 400°F or 200°C) for approximately 35-40 minutes. They are ready when they are wonderfully puffed, golden brown, and feel light when lifted. It’s critical that they are thoroughly baked to prevent them from deflating as they cool. Once baked, turn off the oven, crack the door slightly, and let them cool completely in the oven for about 10-15 minutes before removing. This helps them retain their shape and crispness. Cooling completely is non-negotiable before filling!
While eclairs are traditionally filled with a rich vanilla pastry cream, this recipe opts for a simplified approach using instant vanilla pudding. This shortcut makes the filling process quick and hassle-free, requiring no heating or lengthy cooling, and it’s ready in mere minutes. However, if you’re a purist, a homemade crème pâtissière can certainly be used for an even more authentic touch.
How Do You Fill Eclairs? Two Easy Methods
Once your eclair shells are completely cool and ready, it’s time for the delicious vanilla cream filling. The beauty of choux pastry is its naturally airy and somewhat hollow interior, which makes filling surprisingly simple. You have a couple of excellent methods to choose from, both yielding fantastic results:
- The Piping Method: This is arguably the most traditional way. Fill a piping bag fitted with a medium-sized plain or star tip with your vanilla cream. Gently poke a small hole (or a couple of holes) into the end or side of each eclair shell. Insert the tip into the hole and squeeze steadily until you feel the eclair fill up and become slightly heavier. This method keeps the exterior of the eclair intact and offers a neat, professional finish.
- The Slicing Method: Alternatively, you can carefully slice each eclair lengthwise, almost like a hot dog bun, without cutting all the way through. Then, simply spoon or spread the vanilla cream generously into the open pastry. This method is often preferred for presentation, as it allows for a beautiful display of the creamy filling. Both methods are effective and relatively easy, so choose the one that best suits your preference for aesthetics and convenience.
Planning Ahead: Can Eclairs Be Made in Advance?
Eclairs are best enjoyed fresh, but thoughtful preparation can significantly ease the workload on serving day. You can certainly make certain components ahead of time to streamline the process:
- Choux Pastry Shells: The baked eclair shells can be prepared up to 3 days in advance. Once fully cooled, store them in an airtight container at room temperature. For optimal crispness, you can even freeze them (unfilled) for up to a month. Thaw at room temperature and refresh in a warm oven for a few minutes before filling.
- Vanilla Cream Filling: The pastry cream or pudding mixture can be made the day before assembly. Store it in an airtight container, covered directly with plastic wrap to prevent a skin from forming, and refrigerate. Before filling, give it a quick whisk to restore its smooth consistency.
- Assembly and Glazing: The golden rule for eclairs is to fill and glaze them on the day you plan to serve them. This prevents the delicate pastry from becoming soggy from the cream filling. Assemble your eclairs, dip them in the chocolate ganache, and then refrigerate until serving.
This staggered approach ensures that you can serve impressive, fresh-tasting eclairs without feeling rushed.
Storing Your Delicious Eclairs
Once filled and topped with chocolate, eclairs are truly at their peak when served on the same day. The delicate choux pastry can absorb moisture from the cream filling, leading to a softer texture over time. While they are still delicious, for that perfect crisp-yet-creamy experience, fresh is best.
If you have leftovers, they will last for about 1-2 days when stored properly in the refrigerator. After this time, the pastry will start to become noticeably softer and less fresh. To maintain their quality for as long as possible, always store them covered tightly with foil or plastic wrap to prevent them from drying out or absorbing refrigerator odors.
Do You Put Eclairs in the Fridge?
Yes, absolutely! Due to their creamy, perishable filling, eclairs should always be refrigerated. After you’ve filled and glazed them, transfer them to the fridge promptly. Covering them carefully with plastic wrap or aluminum foil is essential to prevent them from drying out and to protect the delicate chocolate topping. Store them chilled until you’re ready to serve for the best taste and food safety.
The Grand Finale: Perfecting the Chocolate Ganache
The rich, glossy chocolate topping is truly the “icing on the cake” for eclairs, transforming them into a visually stunning and incredibly delicious dessert. This final step is surprisingly simple and creates that professional, irresistible finish. Making a perfect ganache requires just a few ingredients and a simple technique:
- Preparing the Ganache: Gently heat the heavy cream in a small saucepan until it reaches a simmer, but do not let it boil. Once simmering, remove it from the heat and immediately stir in your semi-sweet chocolate chips and a knob of butter. The residual heat from the cream will melt the chocolate and butter into a smooth, luxurious mixture. Continue stirring until every lump has dissolved and you have a perfectly glossy, uniform chocolate sauce.
- Dipping and Setting: Allow the ganache to cool slightly, making it thicker and easier to work with. Then, carefully dip the top of each filled eclair into the warm chocolate ganache. You can also use a spoon or offset spatula to spread the icing over the top if you prefer. As you dip, the chocolate will form a beautiful, even layer. Place the dipped eclairs on a baking sheet lined with parchment paper to allow the chocolate to set and harden. For a faster set, you can briefly place them in the refrigerator.
With their light and airy pastry, decadent vanilla cream, and rich chocolate ganache, these homemade eclairs are sure to impress anyone lucky enough to try them. Despite their elegant appearance, they are genuinely not difficult to make. So, cast aside any apprehension you might have, gather your ingredients, and get ready to create a truly memorable dessert. Trust me, the delightful end result is absolutely worth it!

I created a fun group on Facebook, and I would love for you to join us! It’s a place where you can share YOUR favorite recipes, ask questions, and see what’s new at Dinners, Dishes and Desserts (so that you never miss a new recipe)! If you’d like to check it out, you can request to join HERE.
Be sure to follow me on Instagram and tag #dinnersdishes so I can see all the wonderful DINNERS, DISHES, AND DESSERTS recipes YOU make!
Connect with Dinners, Dishes, and Desserts!
Be sure to follow me on my social media, so you never miss a post!
Facebook | Twitter | Pinterest | Instagram

Chocolate Eclairs
Pin Recipe
Rate Recipe
Print Recipe
Ingredients
Eclair Pastry (Choux Dough)
- 1 cup water
- 1/2 cup butter
- 1 cup all-purpose flour
- 4 large eggs
Vanilla Custard Filling
- 1 packaged instant vanilla pudding mix
- 2 1/2 cups cold milk
- 1 cup heavy cream
- 1/4 cup powdered sugar
- 1 teaspoon vanilla extract
Decadent Chocolate Ganache
- 4 oz semi-sweet chocolate
- 1/3 cup heavy cream
- 2 teaspoons butter
Instructions
-
Preheat oven to 400 degrees Fahrenheit (200 degrees Celsius). Line a baking sheet with parchment paper.
-
In a small saucepan, bring the water and butter to a gentle boil. Remove from heat, then stir in the flour vigorously, reducing heat to low. Continue stirring over low heat for 1 minute until the dough forms a smooth ball and pulls away from the sides of the pan. Remove from heat.
-
Add all of the eggs at once to the dough. Beat thoroughly (using an electric mixer or a strong wooden spoon) until the dough becomes smooth, glossy, and resembles a thick cake batter.
-
Transfer the pastry batter to a piping bag (or a large zip-top bag with the corner snipped off). Pipe 4-inch long logs onto the prepared baking sheet, ensuring they are at least 2-3 inches apart to allow for expansion.
-
If there are any bumps or uneven tips from piping, gently smooth them out with damp fingers.
-
Bake for 35-40 minutes, or until the eclairs are puffed, golden brown, and firm. Turn off the oven, crack the door slightly, and let them cool completely inside the oven for 10-15 minutes, then remove to a wire rack to finish cooling. They must be completely cool before filling.
-
To prepare the vanilla filling: In a large bowl, whisk together the instant pudding mix and cold milk for 2 minutes until thickened.
-
In a separate bowl, using an electric mixer with a whisk attachment, beat the heavy cream until stiff peaks form. Gently mix in the powdered sugar and vanilla extract. Fold the whipped cream mixture into the prepared pudding until well combined and smooth.
-
Once the eclair pastry shells are completely cool, fill them. Transfer the vanilla filling to a piping bag fitted with a medium-sized plain tip. Carefully poke a small hole in the end or side of each eclair, then pipe in the filling until the pastry feels full and slightly heavy.
-
After all eclairs are filled, prepare the chocolate ganache topping.
-
Heat the 1/3 cup heavy cream in a small saucepan until it simmers, but do not let it boil. Remove from heat and stir in the semi-sweet chocolate and 2 teaspoons of butter until the mixture is completely smooth and glossy.
-
Dip the top of each filled eclair into the warm chocolate ganache, or spread the ganache evenly over the top. Place the dipped eclairs on a baking sheet to allow the chocolate to set and harden.
-
Eclairs are best stored in the fridge and served chilled. Enjoy!
Nutrition
Nutrition information is automatically calculated, so should only be used as an approximation.
Additional Info
Like this recipe? Leave a comment below!
Be sure to browse through my Recipe Index for even more Dessert ideas. Follow along on Pinterest as well, where I am always pinning new desserts to inspire your next baking adventure!

