The Ultimate Guide to Crafting the Best Homemade Chocolate Milkshake: Creamy, Indulgent & Perfectly Chill
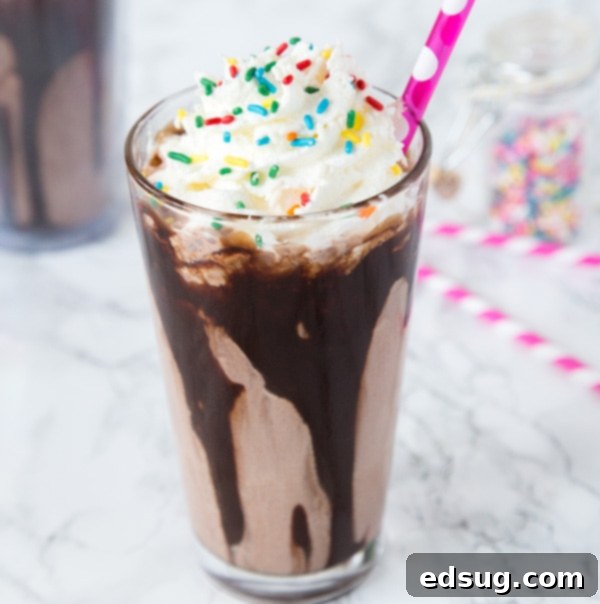
There’s nothing quite like a rich, creamy homemade chocolate milkshake to transport you to a state of pure bliss. Whether it’s the peak of summer and you’re craving a refreshing escape, or you simply desire a nostalgic, sweet treat, this classic dessert beverage hits all the right notes. Forget the drive-thru; making a truly exceptional chocolate shake at home is incredibly simple, requiring just a few basic ingredients and a blender. This recipe isn’t just about cooling off; it’s about indulging in a decadent dessert experience that’s surprisingly easy to achieve.
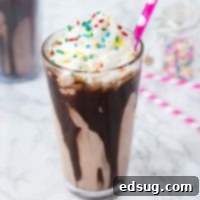
Our guide will walk you through creating a luscious chocolate milkshake, complete with homemade whipped cream and playful sprinkles, ensuring every sip is pure perfection. The secret to an outstanding shake lies in the quality of your ingredients, especially the ice cream. A good quality chocolate ice cream forms the foundation of a truly delicious milkshake, offering a depth of flavor that cheap alternatives simply can’t match. So, invest a little in quality, and you’ll be richly rewarded with an unbelievably smooth, thick, and satisfying treat.
What You’ll Need for Your Irresistible Chocolate Milkshake
Crafting the perfect homemade chocolate milkshake doesn’t require a long list of exotic ingredients. In fact, you likely have most of these on hand already! However, choosing the right quality makes all the difference in the final taste and texture. Here’s a detailed look at the essentials:
- High-Quality Chocolate Ice Cream: This is the star of the show. As mentioned, the better the ice cream, the better your milkshake. Look for brands that use real cocoa and have a rich, deep chocolate flavor without tasting artificial. You can opt for dark chocolate, milk chocolate, or even a double chocolate variety for an extra indulgent experience. If you only have vanilla ice cream, you can still make a fantastic chocolate shake by adding extra chocolate sauce or cocoa powder to the blend.
- Cold Milk: Milk is essential for achieving that smooth, drinkable consistency. Whole milk will yield the creamiest, richest milkshake, providing a luxurious mouthfeel. However, you can certainly use 2%, 1%, or even skim milk for a lighter version, though the texture might be slightly less thick. For dairy-free options, almond milk, oat milk, or soy milk work wonderfully, each adding its own subtle flavor profile. Just ensure it’s well-chilled!
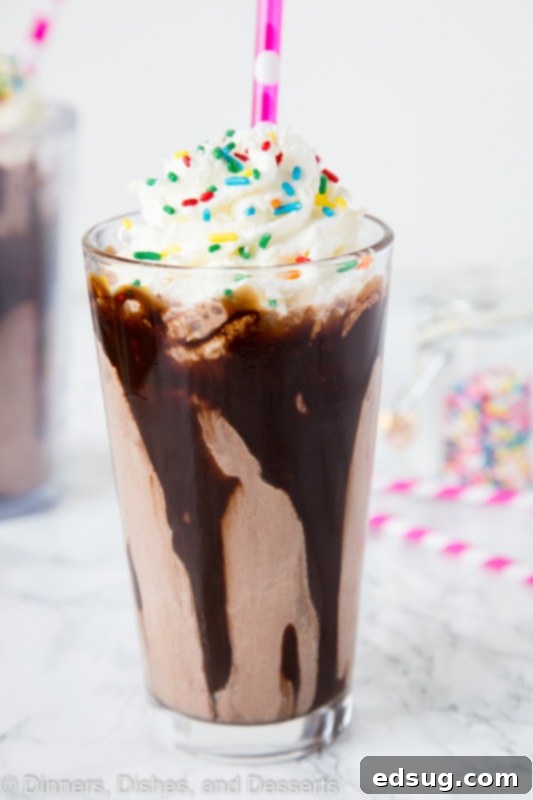
- Rich Chocolate Sauce: Beyond simply flavoring, chocolate sauce plays a crucial role in enhancing the chocolate intensity and decorating your serving glass. A good quality, thick chocolate syrup or fudge sauce works best. This is what you’ll use to drizzle down the inside of your glass for that professional, appealing look.
- Sprinkles (Optional, but highly recommended!): For a fun, festive touch, sprinkles are a must. They add a pop of color and a delightful texture, making your milkshake feel extra special, especially for kids (and adults who are young at heart!).
- Heavy Cream: For truly exceptional homemade whipped cream, heavy cream (or heavy whipping cream) is indispensable. It whips up beautifully to form a light, airy topping that perfectly complements the rich shake.
- Powdered Sugar: Used to sweeten and stabilize your homemade whipped cream. Powdered sugar dissolves easily and helps create a smooth, lump-free topping.
- Vanilla Extract: A touch of pure vanilla extract enhances the flavor of your whipped cream, adding a subtle warmth and depth that rounds out the sweetness.
How to Make the Perfect Homemade Chocolate Milkshake
Creating this decadent chocolate milkshake is incredibly straightforward, turning basic ingredients into a gourmet dessert in minutes. Follow these steps for milkshake perfection:
- Prepare Your Homemade Whipped Cream: While optional, homemade whipped cream elevates your milkshake from great to extraordinary. In a medium-sized bowl, combine the cold heavy cream, powdered sugar, and vanilla extract. Using an electric mixer (handheld or stand mixer with a whisk attachment), beat the mixture on medium-high speed. Start slowly to avoid splatters, then increase speed. Continue beating until soft peaks form – this means when you lift the beaters, the cream forms peaks that gently curl over. For stiffer peaks, continue beating for another 30-60 seconds until the peaks hold their shape more firmly. Be careful not to overbeat, or you’ll end up with butter! Set aside or refrigerate until ready to use.
- Blend the Milkshake Base: Scoop the chocolate ice cream into your blender. Pour in the cold milk. Begin blending on a low setting, gradually increasing the speed. Blend until the mixture is completely smooth and combined, with no chunks of ice cream remaining. The consistency should be thick but pourable. If your milkshake is too thick, add a tiny splash more milk and blend again. If it’s too thin, add another scoop of ice cream. Avoid over-blending, as this can warm the milkshake and make it less thick.
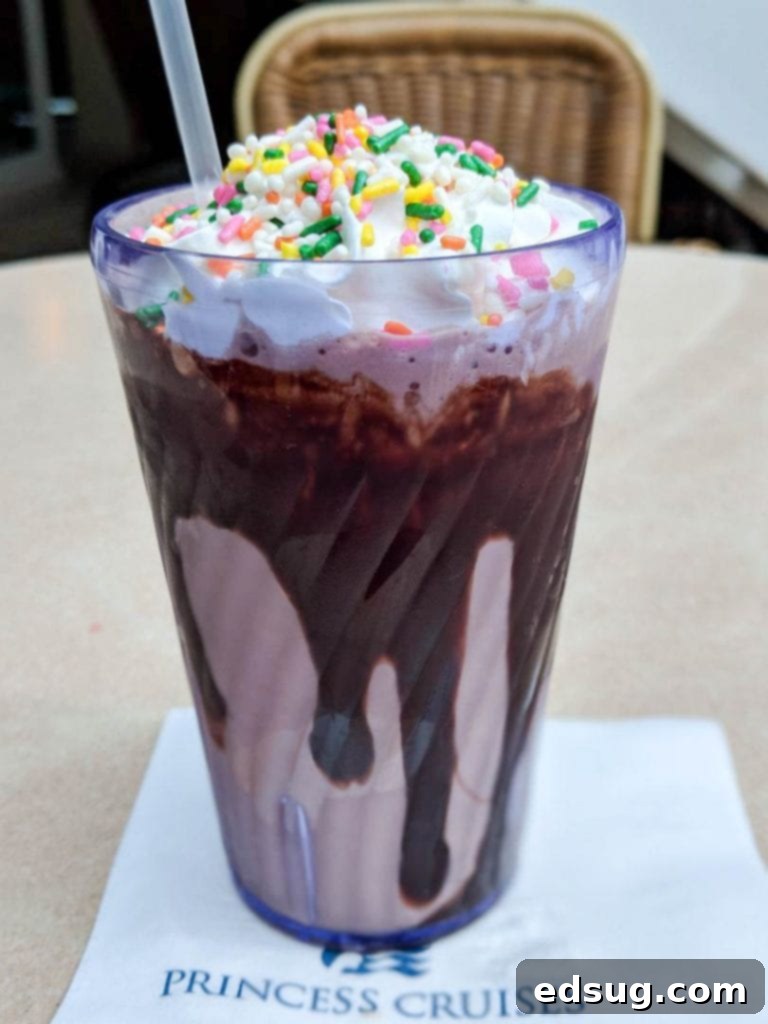
- Decorate Your Glass for a Professional Touch: This step adds a wonderful visual appeal and an extra layer of chocolatey goodness. Take your serving glass and a squeeze bottle of chocolate sauce (one with a fine nozzle works best). Hold the glass at a slight angle. Insert the tip of the chocolate sauce bottle about an inch from the rim of the glass. Gently squeeze and slowly rotate the glass, allowing the chocolate sauce to create a continuous line around the inside rim. As the glass is straightened, the chocolate will artfully drizzle down the sides, creating an appealing striped effect. Repeat with as many glasses as you are serving.
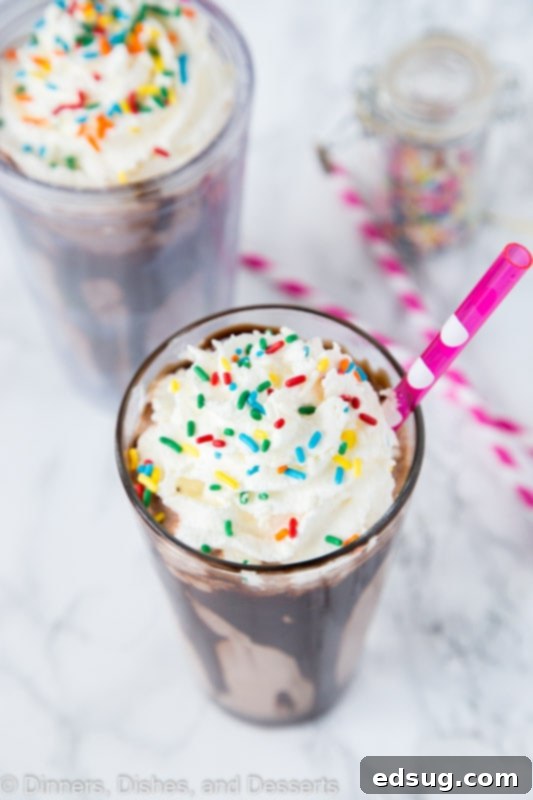
- Assemble and Serve Immediately: Carefully pour your freshly blended chocolate milkshake into the prepared, chocolate-drizzled glasses. Pile a generous dollop of your homemade whipped cream on top. Finish with a shower of colorful sprinkles for that ultimate festive look. Serve immediately with a wide straw and a long spoon to enjoy every last delicious drop.
Expert Tips for Milkshake Perfection & Troubleshooting
While making a chocolate milkshake is simple, a few expert tips can elevate your creation from good to absolutely phenomenal:
- Invest in Good Quality Ice Cream: This cannot be stressed enough. Cheap chocolate ice cream often has an artificial flavor and less creamy texture. Splurge a little on a premium brand, and you’ll taste the difference in every luscious spoonful. Real ingredients make for real flavor.
- Use Cold Milk, and Adjust Gradually: Start with very cold milk. You need just enough milk to help the ice cream blend smoothly without making the shake too thin. Begin with the recommended amount, then add more a tablespoon at a time if your blender is struggling or if you prefer a thinner consistency. Whole milk provides the richest flavor and thickest texture, but any milk will work.
- No Blender? No Problem!: While a blender is ideal, don’t let its absence stop you. A powerful food processor can achieve a similar creamy result. Alternatively, an immersion blender (stick blender) works wonderfully, allowing you to blend directly in a deep container or even your serving glass. For a truly old-fashioned method, you can soften the ice cream slightly, combine it with milk and chocolate sauce in a large jar, and shake vigorously, or use a sturdy whisk in a bowl until smooth.
- Chill Your Glasses: For an extra frosty milkshake that stays colder longer, place your serving glasses in the freezer for at least 15-20 minutes before preparing your shake. This small step makes a noticeable difference, especially on a hot day.
- Customize Your Toppings: While our recipe suggests homemade whipped cream and sprinkles, the topping possibilities are endless! Consider adding chocolate shavings, mini chocolate chips, a drizzle of caramel sauce, chopped nuts, a maraschino cherry, or even a crushed cookie for added texture and flavor.
- Achieving the Perfect Consistency: For a thicker shake, use slightly less milk or add an extra scoop of ice cream. If you prefer it thinner, add milk gradually until you reach your desired consistency. Remember, it’s easier to add more liquid than to remove it!
- Don’t Overblend: Blending for too long can melt the ice cream and lead to a watery, less satisfying shake. Blend just until smooth.
Creative Chocolate Milkshake Variations
Once you’ve mastered the classic, don’t hesitate to experiment with these exciting variations to create your signature chocolate milkshake!
- Mint Chocolate Milkshake: Add 1/4 to 1/2 teaspoon of mint extract and a handful of mint chocolate chips to the blender with your ice cream and milk.
- Peanut Butter Chocolate Milkshake: Blend in 2-3 tablespoons of creamy peanut butter for a rich, nutty twist that’s reminiscent of a popular candy bar.
- Mocha Milkshake: Add 1-2 teaspoons of instant espresso powder or a shot of cooled espresso to the mixture for a delightful coffee kick.
- Oreo Chocolate Milkshake: Crush 3-4 Oreo cookies and blend them into the shake for a cookies-and-cream texture and flavor. Don’t forget a few extra for topping!
- Spiked Chocolate Milkshake (Adults Only): For a grown-up treat, add 1-2 ounces of Irish cream liqueur, coffee liqueur, or a dark rum to the blender. Enjoy responsibly!
Chocolate Milkshake FAQs
Here are answers to some common questions about making the best chocolate milkshake at home:
- How do I make my milkshake thicker? To achieve a thicker milkshake, reduce the amount of milk you use or add an extra scoop of ice cream. Ensure your ice cream is very firm when you start.
- Can I make this dairy-free? Absolutely! Use a high-quality dairy-free chocolate ice cream and a plant-based milk like almond, oat, or soy milk. The consistency might vary slightly, but it will still be delicious.
- How long does a homemade milkshake last? Chocolate milkshakes are best enjoyed immediately after blending. The ice cream will melt quickly, and the texture will change. If you have leftovers, store them in the freezer for a very short period (30 minutes to an hour) and re-blend with a splash of milk if needed, but fresh is always best.
- What are the best toppings for a chocolate milkshake? Beyond whipped cream and sprinkles, popular toppings include chocolate shavings, mini chocolate chips, a drizzle of caramel or fudge sauce, chopped nuts (like pecans or walnuts), a maraschino cherry, or even crushed candy bars.
- Can I use chocolate syrup instead of chocolate ice cream? Yes, you can! If you only have vanilla ice cream, blend it with milk and 2-4 tablespoons of chocolate syrup or cocoa powder (sweetened with a little sugar) to create a chocolate milkshake. Adjust the amount to your preferred chocolate intensity.
Chocolate Milkshake Recipe
Erin Sellin
10 minutes
10 minutes
3
Rate Recipe
Print Recipe
Video
Equipment
-
Blender
Ingredients
- 1 pint chocolate ice cream
- 3/4 cup milk
- 2 Tablespoons sprinkles
- chocolate sauce
Whipped Cream
- 1/2 cup heavy cream
- 2 Tablespoons powdered sugar
- 1/2 teaspoon vanilla extract
Instructions
-
In a blender or food processor, combine the chocolate ice cream and milk. Blend until completely smooth and creamy. If it’s too thick, add a tiny bit more milk; if too thin, add another small scoop of ice cream.
-
To line the glasses with chocolate sauce: Use chocolate sauce that comes with a nozzle or is in a squeeze bottle. Place the tip of the bottle inside the glass, about 1 inch from the top. Gently squeeze the bottle while rotating the glass to create a continuous line of chocolate all the way around the inside rim. As you set the glass upright, the chocolate will artfully drizzle down the sides, creating an attractive pattern.
-
Pour the prepared milkshake into your decorated glasses. Top generously with the homemade whipped cream and finish with a sprinkle of your favorite colorful (or chocolate) sprinkles. Serve immediately for the best experience.
To make the whipped cream
-
In a mixing bowl, beat the heavy cream until soft peaks begin to form. Add the powdered sugar and vanilla extract, then continue beating until stiff peaks are achieved. This usually takes only a few minutes.
Nutrition
Nutrition information is automatically calculated, so should only be used as an approximation.
Additional Info
Erin Sellin
10 minutes
10 minutes
Dessert Recipes
American
3
720
chocolate milkshake, homemade chocolate milkshake, best chocolate milkshake
Love this recipe? Leave a comment and a star rating below!Your feedback helps others find and enjoy our recipes.
More Delicious Dessert Recipes to Try
If you loved this chocolate milkshake, be sure to explore more of our fantastic dessert recipes. From no-bake wonders to comforting classics, we have something to satisfy every sweet craving:
- No Bake Strawberry Jello Pie: A light, fruity, and incredibly easy pie perfect for summer gatherings.
- No Bake Peanut Butter Cheesecake: Creamy, rich, and bursting with peanut butter flavor, without ever turning on the oven.
- Easy No Bake Avalanche Cookies: Quick and satisfying, these chewy no-bake cookies are a family favorite.
- French Silk Pie: An elegant and indulgent chocolate pie with a silky smooth filling.
- Homemade Strawberry Popsicles: A refreshing and healthy frozen treat, bursting with natural strawberry flavor.
Join Our Community! I created a fun group on Facebook, and I would love for you to join us! It’s a place where you can share YOUR favorite recipes, ask questions, and see what’s new at Dinners, Dishes and Desserts (so that you never miss a new recipe)! If you’d like to check it out, you can request to join HERE.
Be sure to follow me on Instagram and tag #dinnersdishes so I can see all the wonderful DINNERS, DISHES, AND DESSERTS recipes YOU make!
Connect with Dinners, Dishes, and Desserts!
Be sure to follow me on my social media, so you never miss a post!
Facebook | Twitter | Pinterest | Instagram
