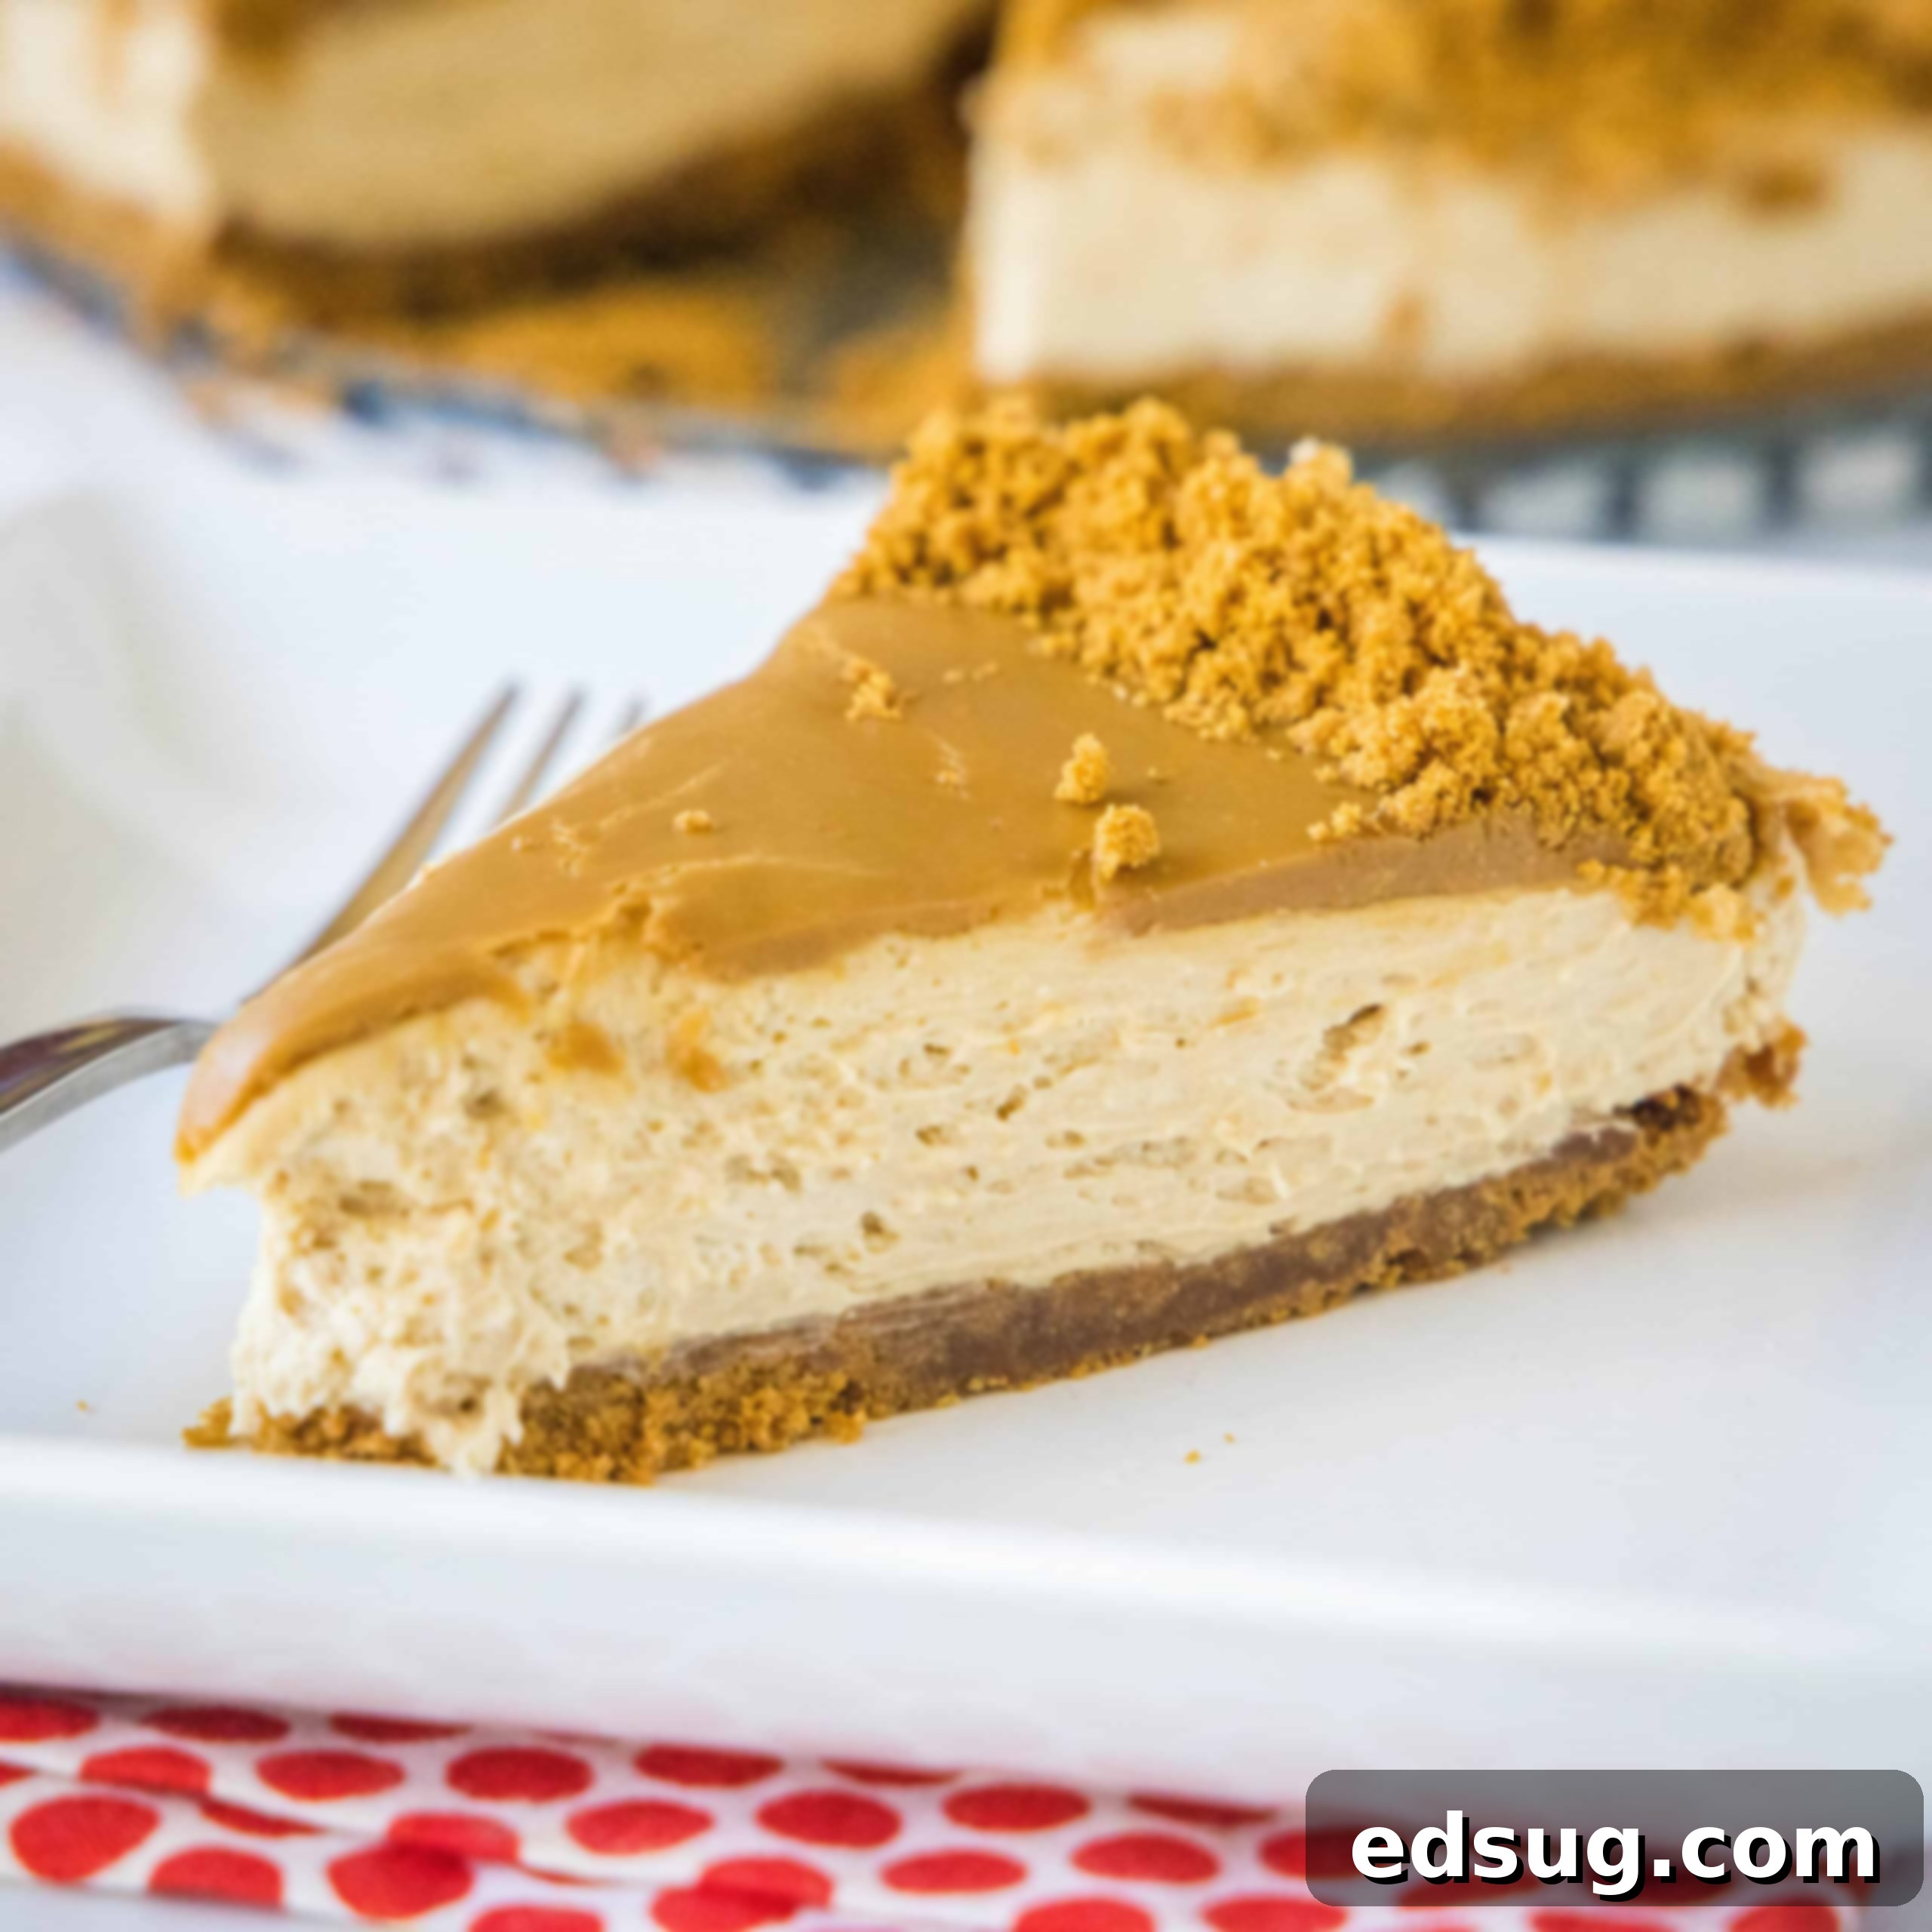
Indulge in the Easiest & Most Irresistible No-Bake Biscoff Cheesecake
Prepare to fall in love with this extraordinary No-Bake Biscoff Cheesecake. It’s a decadent dessert that delivers on every front: rich, incredibly creamy, and bursting with the unique, spiced caramel notes of Biscoff cookies and spread. Crafted with a crunchy Biscoff cookie crust and a luxuriously smooth cheesecake filling infused with generous amounts of Biscoff spread, this recipe is designed for pure indulgence without the fuss of baking. If you’re a devoted Biscoff enthusiast, this effortless, oven-free treat is about to become your new go-to dessert for any occasion, big or small.
The allure of Biscoff is undeniable. Its distinct flavor profile, a blend of caramel and warm spices like cinnamon, has captured hearts worldwide. This cheesecake harnesses that beloved taste, elevating it to a truly spectacular dessert experience. Imagine a buttery, crunchy crust made from finely crushed Biscoff cookies, perfectly complementing a light and airy cheesecake filling where Biscoff spread is not just an accent, but a star ingredient. Then, a final drizzle of melted Biscoff spread crowns the entire creation, guaranteeing an explosion of flavor in every single bite. And the best part? No oven required, making it perfect for summer gatherings, holiday celebrations, or simply satisfying that cheesecake craving any day of the week.
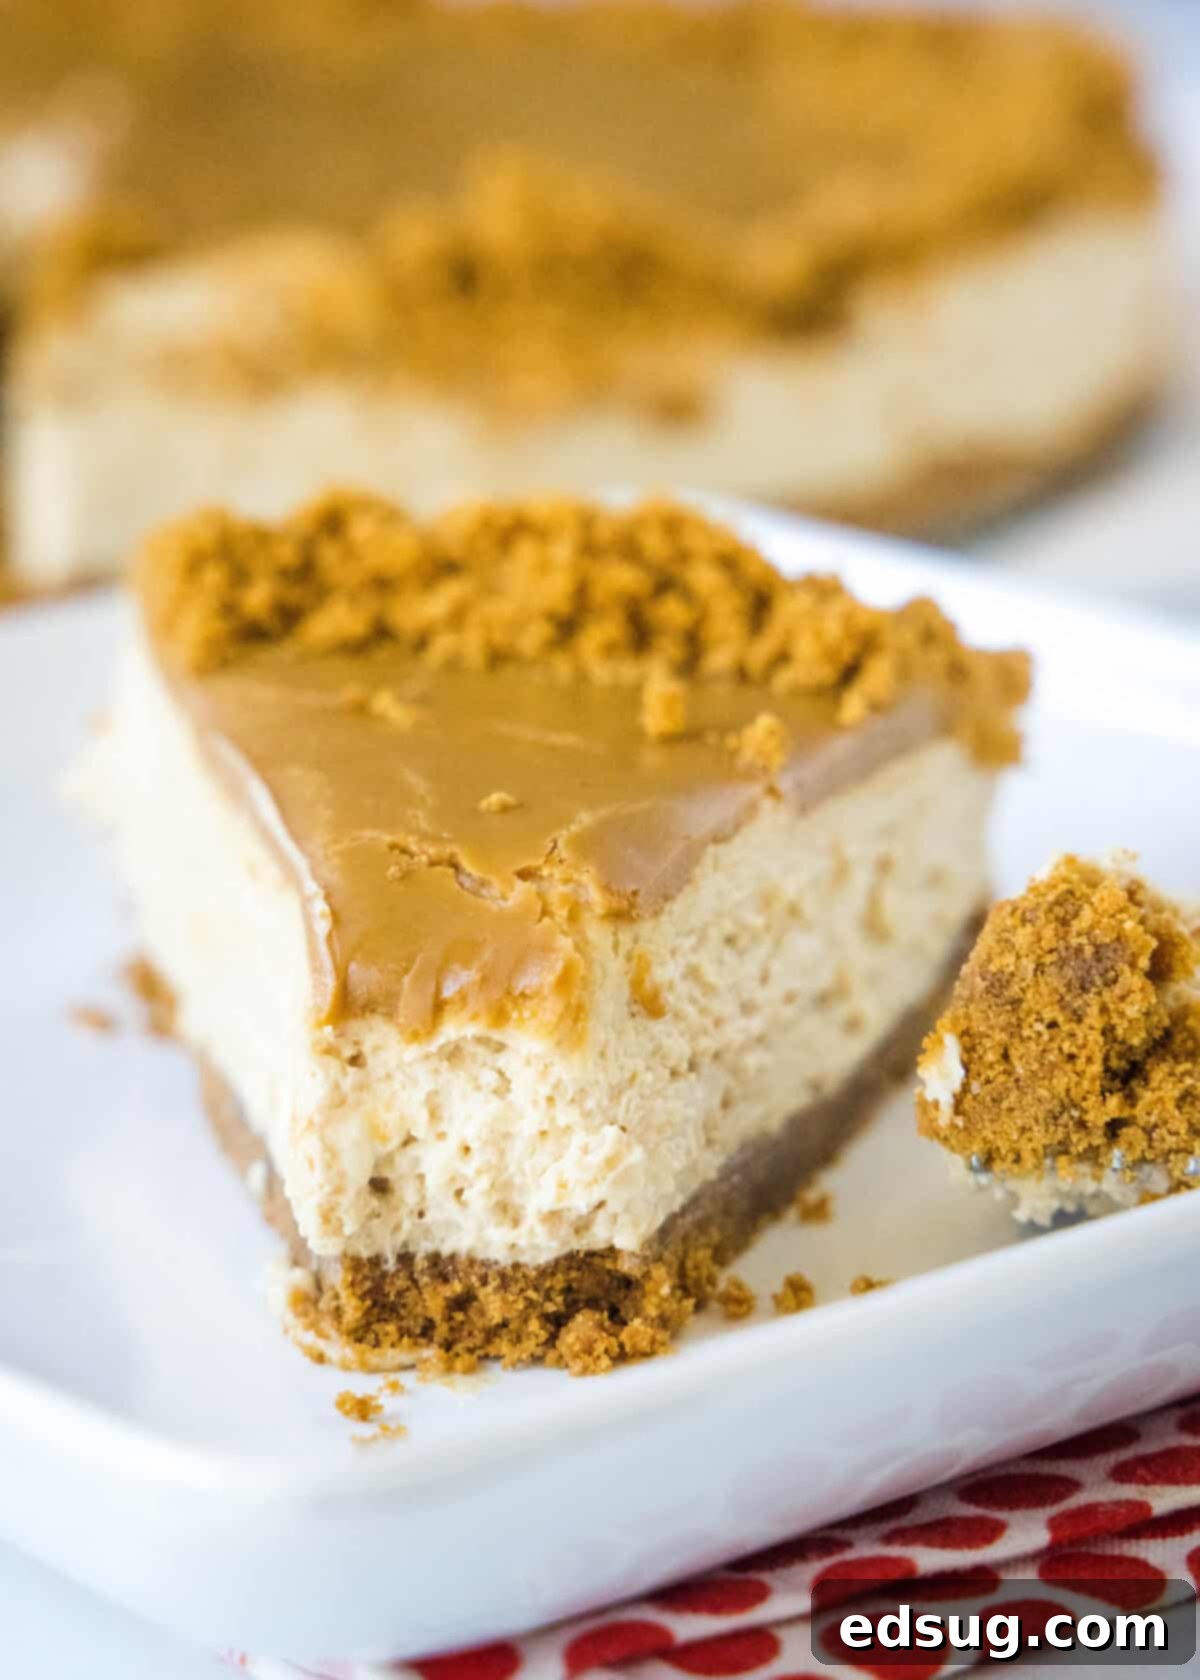
Why Choose a No-Bake Cheesecake? The Ultimate Convenience
While traditional baked cheesecakes are undeniably delicious, they often come with a reputation for being time-consuming and somewhat temperamental. The fear of cracks, the need for a water bath, and the long baking and cooling times can deter even experienced bakers. This is where the magic of a no-bake cheesecake truly shines. It eliminates all the typical complexities, offering a straightforward path to dessert perfection.
Forget turning on your oven, especially during warmer months. This recipe saves you from lengthy baking sessions and the anxious wait for the cheesecake to cool slowly to prevent unsightly cracks. Instead, you simply mix, assemble, and chill. The result is a smooth, rich, and stable cheesecake that rivals its baked counterparts in flavor and texture, but with significantly less effort and stress. It’s an ideal make-ahead dessert, allowing you to prepare it a day or two in advance, freeing up your time when you need it most.
Essential Ingredients for Your Biscoff Masterpiece
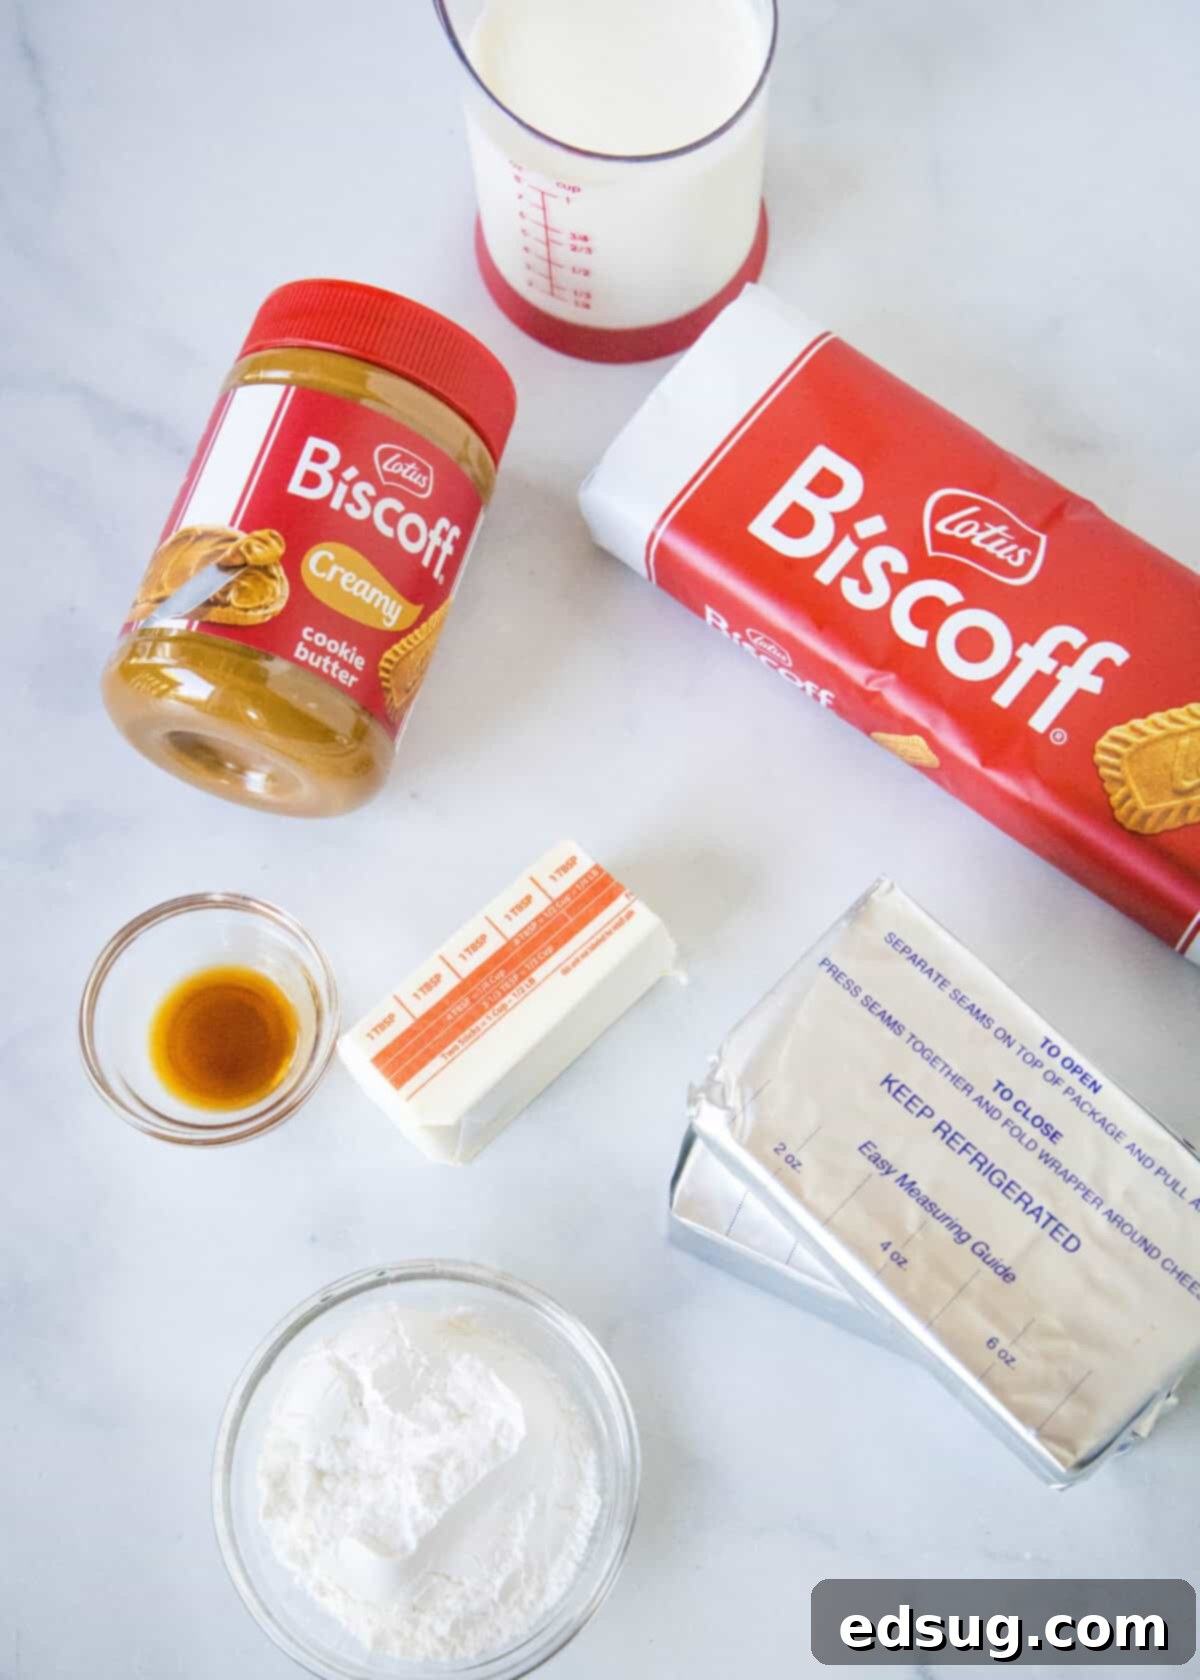
Before you begin, ensure you have all your ingredients ready. For the precise measurements, please refer to the FULL PRINTABLE recipe card below.
- Biscoff Cookies: These iconic spiced shortbread cookies form the flavorful foundation of our crust and provide a delightful garnish.
- Butter: We recommend unsalted butter for baking, as it gives you more control over the overall saltiness of your dessert. Melted butter is crucial for binding the cookie crumbs.
- Cream Cheese: Full-fat cream cheese is non-negotiable for achieving that signature rich, creamy, and luscious cheesecake texture. Ensure it’s softened to room temperature for smooth mixing.
- Biscoff Spread: The heart of this cheesecake! Used generously in both the filling and as a decadent topping, it infuses every layer with its irresistible flavor.
- Heavy Cream: Whipped into stiff peaks, heavy cream is what makes this no-bake cheesecake light, airy, and wonderfully fluffy.
- Powdered Sugar: Also known as confectioners’ sugar, it sweetens the filling and ensures a silky-smooth consistency without any granular texture.
- Vanilla Extract: A touch of pure vanilla extract enhances the warm, spiced notes of the Biscoff and balances the sweetness.
Crafting Your Delicious No-Bake Biscoff Cheesecake: A Step-by-Step Guide
Making this Biscoff cheesecake is surprisingly simple, broken down into a few easy stages. Precision in preparation and patience during chilling are key to achieving the perfect texture and flavor. Let’s walk through the process:
- Prepare the Irresistible Biscoff Cookie Crust. Start by transforming your Biscoff cookies into fine, uniform crumbs. A food processor or blender works perfectly for this, creating a sandy texture. Once crushed, reserve about 1/4 cup of these crumbs to use later as a beautiful garnish. Mix the remaining crumbs thoroughly with melted butter until well combined. This buttery mixture is then pressed firmly and evenly into the bottom of a 9-inch springform pan. The springform pan is essential for easy removal of your finished cheesecake. Pop the pan into the fridge while you prepare the filling; this helps the crust firm up and set.
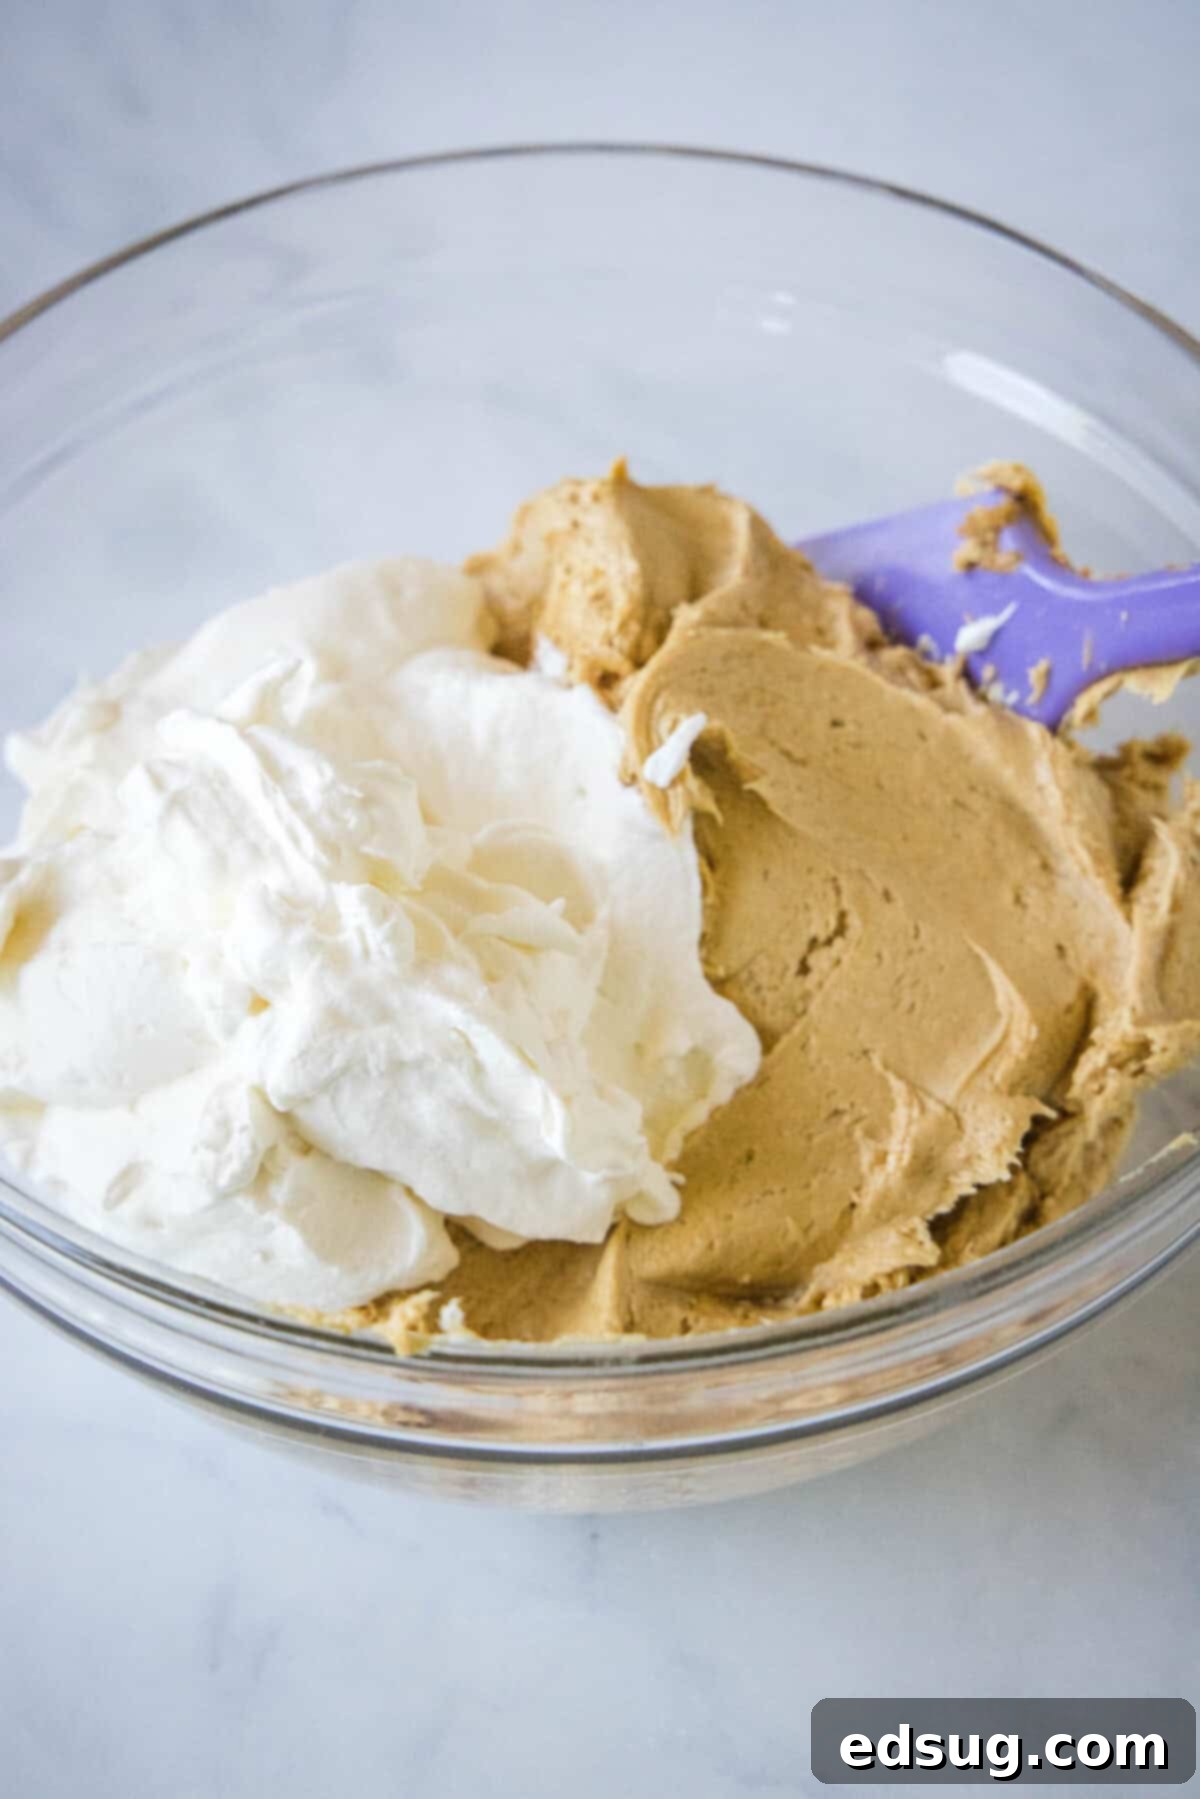
- Whip Up the Creamy Biscoff Filling. The heart of your cheesecake is this luscious filling. Begin by beating softened cream cheese until it’s completely smooth and free of lumps – this ensures a silky texture. Then, incorporate a generous amount of Biscoff spread, mixing until it’s fully combined and the mixture is smooth and uniform in color. In a separate, clean bowl, whisk cold heavy cream until soft peaks begin to form. Gradually add vanilla extract and powdered sugar, continuing to beat until stiff peaks are achieved. This perfectly whipped cream is what gives the cheesecake its light, airy structure. Finally, gently fold the whipped cream into the cream cheese and Biscoff mixture. The key here is to be gentle to maintain the airiness of the whipped cream, ensuring your cheesecake filling is light and fluffy, not dense.
- Assemble with Care. Once your filling is perfectly prepared, pour it evenly into the chilled Biscoff cookie crust in your springform pan. Use a spatula to spread it into a smooth, even layer across the entire crust. This sets the stage for a beautiful presentation.
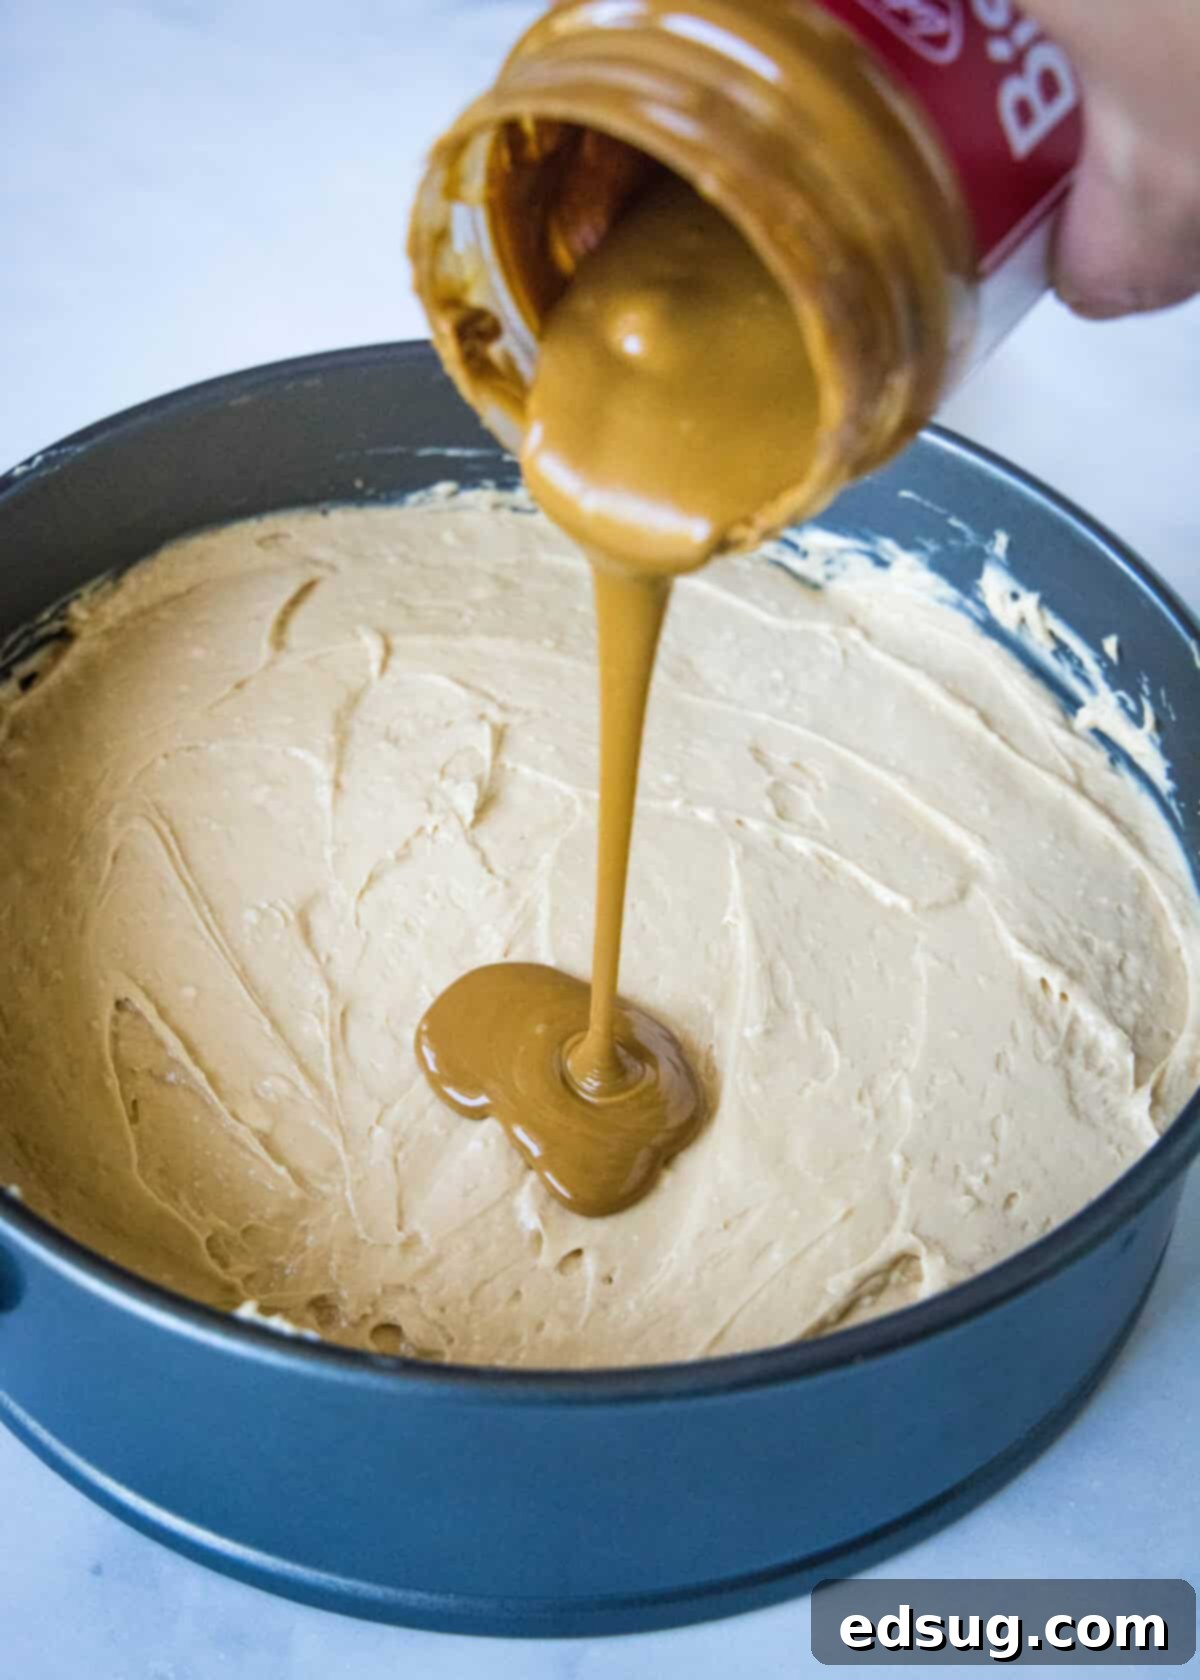
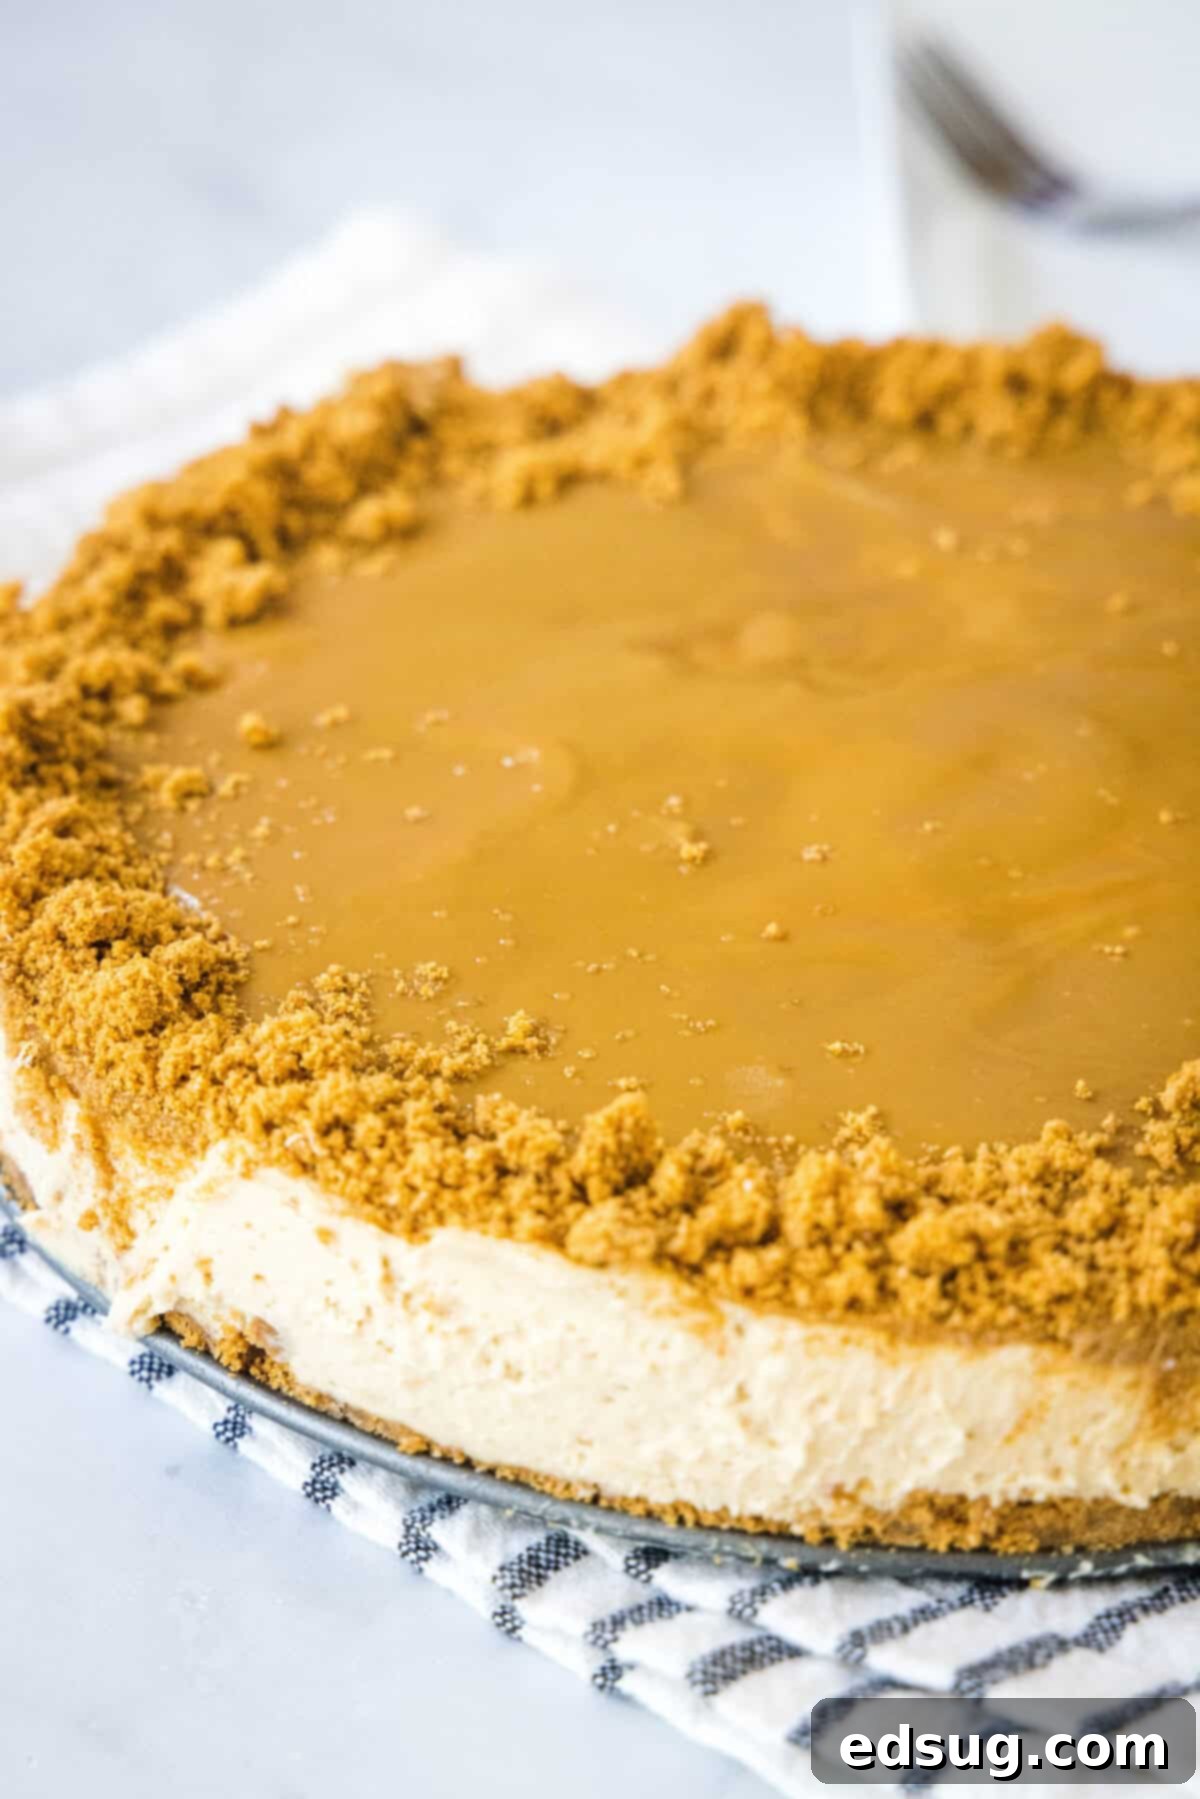
- Add the Signature Biscoff Topping and Garnish. For the crowning glory, take the remaining Biscoff spread and gently warm it in the microwave for about 30 seconds. Stir it thoroughly until it reaches a thin, pourable consistency. Carefully pour this melted Biscoff spread over the top of your cheesecake, then gently spread it into an even layer using the back of a spoon or an offset spatula. This creates a beautiful, glossy, and intensely flavorful Biscoff layer. Finally, take those reserved Biscoff cookie crumbs and sprinkle them delicately around the edge of the cheesecake for an appealing finish and an extra textural crunch.
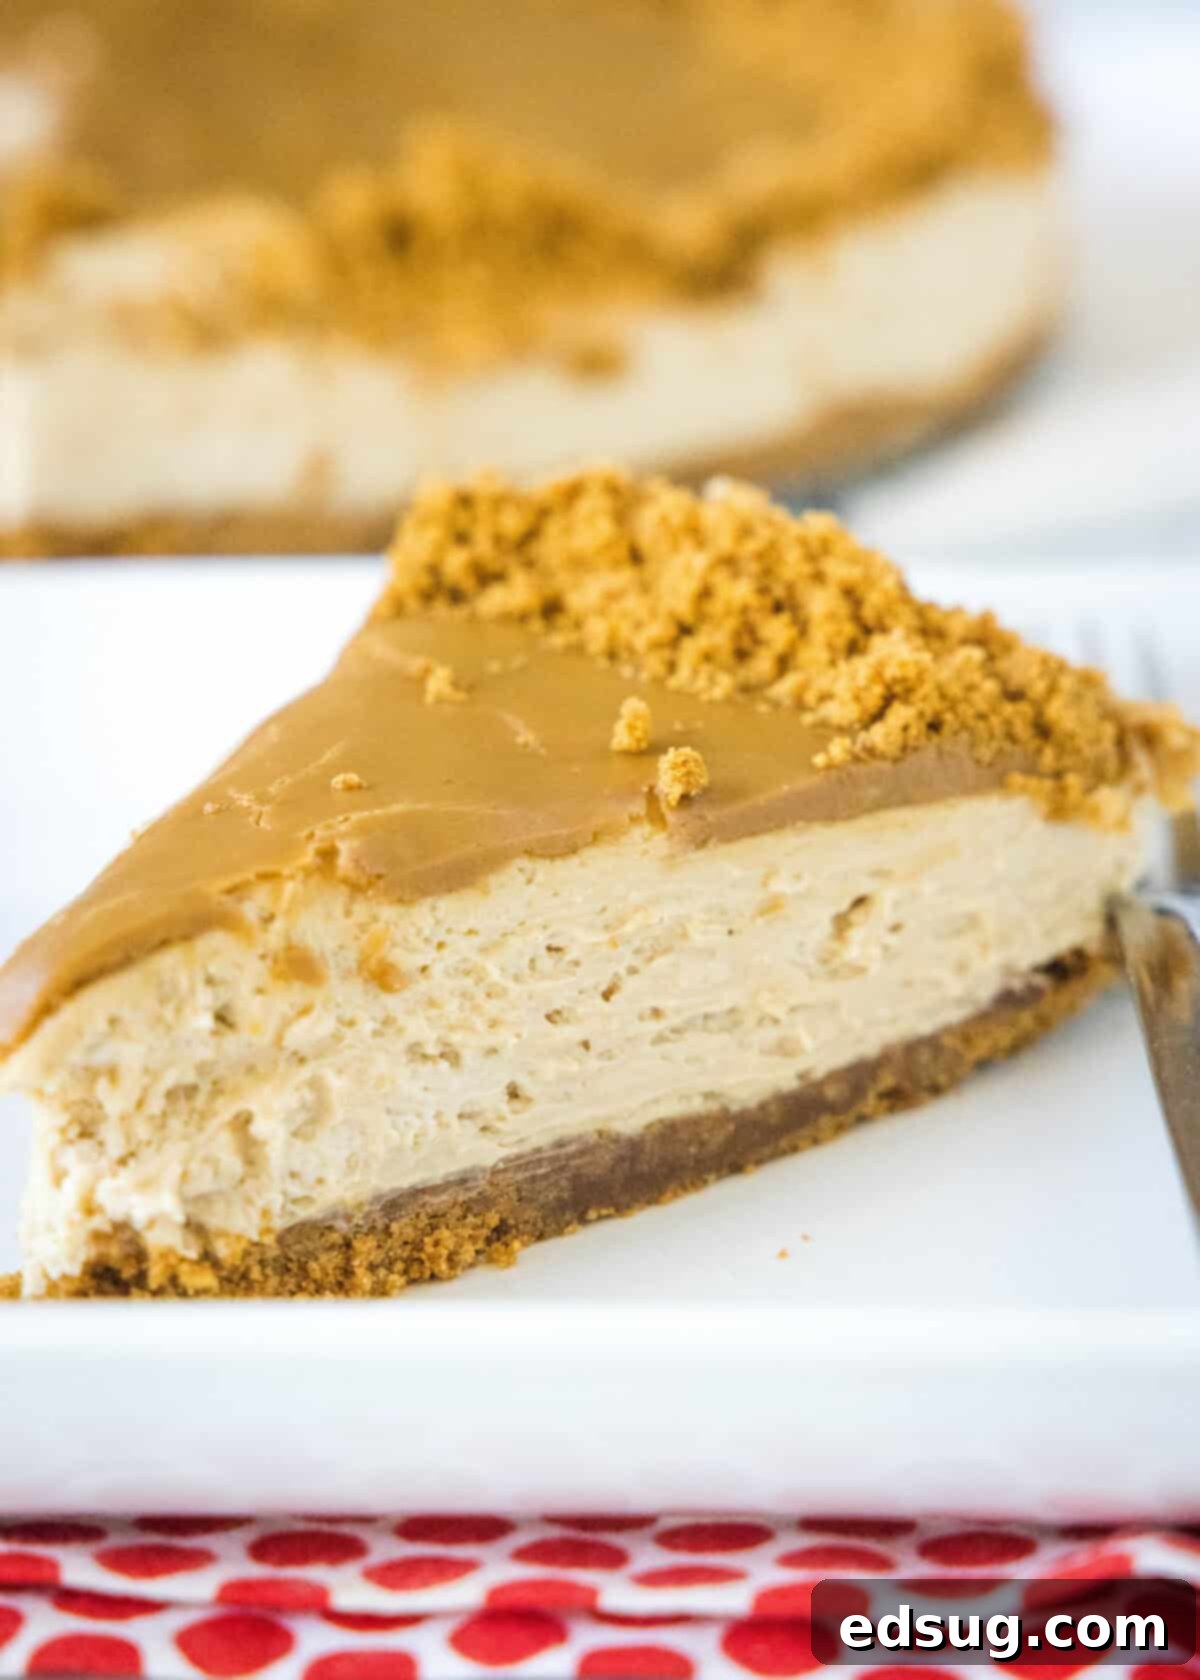
- Chill for Perfection. This is perhaps the most crucial step! Place the assembled cheesecake in the fridge and allow it to chill for a minimum of 4 hours. For best results and the firmest set, an overnight chill is highly recommended. Adequate chilling time ensures the filling sets properly, allowing for clean, beautiful slices. Make sure to cover the cheesecake loosely with plastic wrap once the topping has set slightly to prevent it from absorbing any fridge odors.
Expert Tips & Tricks for Biscoff Cheesecake Success
To ensure your No-Bake Biscoff Cheesecake turns out absolutely perfect every time, keep these helpful tips in mind:
- Embrace Full-Fat Cream Cheese: For the ultimate creamy, rich, and stable cheesecake, always opt for full-fat block cream cheese. Low-fat varieties have a higher water content and won’t set as firmly, nor will they provide the luxurious mouthfeel we’re aiming for. Ensure your cream cheese is completely softened to room temperature before beating to prevent lumps and achieve a truly smooth filling.
- Master the Whipped Cream: Making your own whipped cream is essential for the light and airy texture of this cheesecake. Beat the heavy cream until it forms stiff peaks – this means the peaks hold their shape when you lift the whisk. This “solid” whipped cream provides the necessary structure and fluffiness. While homemade is superior, in a real pinch, you could substitute with an 8 oz tub of store-bought, pre-made whipped topping (like Cool Whip), ensuring it’s thawed.
- Patience is a Virtue: Fully Chill Your Cheesecake: Resist the urge to slice early! A minimum of 4 hours of chilling is necessary, but for optimal results and the cleanest slices, letting the cheesecake set overnight in the refrigerator is highly recommended. This allows the filling to firm up completely and the Biscoff topping to solidify, preventing a messy presentation.
- The Beauty of Making Ahead: This No-Bake Biscoff Cheesecake is an excellent make-ahead dessert. Preparing it 1-2 days before you plan to serve it not only ensures it’s perfectly set but also allows the flavors to meld and deepen, enhancing the overall taste experience. Cover it loosely with plastic wrap once chilled.
- Biscoff Spread Alternatives: Don’t limit yourself! While Lotus Biscoff spread is classic, many other brands offer delicious “cookie butter” spreads that will work beautifully. Trader Joe’s Speculoos Cookie Butter is a popular and readily available option. Feel free to experiment with your favorite.
- Crust Variations: If Biscoff cookies are hard to find or you simply prefer a different base, a classic graham cracker crust or digestive biscuit crust can also be used. Just ensure the crumb-to-butter ratio is similar to achieve a firm crust.
- Springform Pan Essential: A 9-inch springform pan is ideal for this recipe, allowing you to easily remove the outer ring without disturbing the cheesecake, ensuring a perfect presentation.
- Avoid Overmixing: While beating the cream cheese until smooth is important, once you add the Biscoff spread and especially when folding in the whipped cream, mix just until combined. Overmixing can deflate the whipped cream, leading to a denser cheesecake.
- Garnish Get Creative: Beyond the reserved cookie crumbs, consider adding a sprinkle of sea salt flakes to enhance the caramel notes, a dusting of cinnamon, or even a few whole Biscoff cookies standing upright around the edge for a dramatic flair.
Storage & Freezing Instructions
Proper storage ensures your delicious Biscoff cheesecake remains fresh and delightful for days:
Refrigerator Storage: Any leftover cheesecake should be tightly covered with plastic wrap or stored in an airtight container. It will keep beautifully in the fridge for up to 5 days. This makes it a fantastic dessert to prepare in advance for parties or simply to enjoy throughout the week.
Freezing for Later Enjoyment: Most cheesecakes, including this no-bake variety, freeze exceptionally well, allowing you to savor it much later. You have a couple of options for freezing:
- Freezing the Entire Cheesecake: If freezing whole, ensure the cheesecake is fully chilled and firm. Remove it from the springform pan base (or leave it on if preferred, for protection). Wrap the entire cheesecake tightly in several layers of plastic wrap, followed by a layer of aluminum foil. This double-layer protection prevents freezer burn.
- Freezing Individual Slices: For convenience, freezing individual slices is ideal. Slice the chilled cheesecake into portions, and place a small piece of parchment paper or wax paper between each slice to prevent sticking. Wrap each slice tightly in plastic wrap, then place them in an airtight freezer-safe container or a freezer bag. This method allows you to pull out just one serving whenever a craving strikes!
Thawing Frozen Cheesecake: To enjoy your frozen cheesecake, simply transfer it from the freezer to the refrigerator and allow it to thaw slowly overnight. For individual slices, a few hours in the fridge should suffice. This slow thawing process helps maintain the creamy texture.
Explore More Delicious No-Bake Desserts
If you loved the ease and deliciousness of this No-Bake Biscoff Cheesecake, you’re in for a treat! There’s a whole world of delightful no-bake desserts waiting to be discovered. These recipes are perfect for satisfying your sweet tooth without ever having to turn on the oven. Here are some other fantastic no-bake creations you might enjoy:
- Brownie Milkshakes
- Monster Cookie Bars
- Banana Split Pie
- Cake Batter Dip
- Strawberry Lush
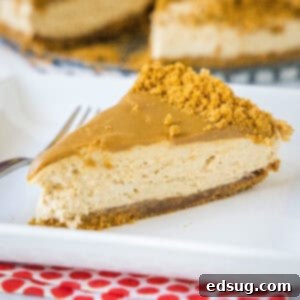
No Bake Biscoff Cheesecake
Ingredients
- 8.3 oz Biscoff cookies, divided
- 5 Tablespoons butter, melted
- 16 oz cream cheese, softened
- 14 oz Biscoff spread, divided
- 1 cup heavy cream
- 1/4 cup powdered sugar
- 1/2 teaspoon vanilla extract
Instructions
- Add biscoff cookies to a food processor or blender. Process until fine crumbs. Reserve 1/4 cup of crumbs for later.8.3 oz Biscoff cookies
- Mix together remaining crumbs and melted butter. Press into a 9-inch spring form pan. Place in the fridge until ready to use.5 Tablespoons butter
- Using and electric mixer, beat cream cheese for 1-2 minutes until it is smooth and creamy. Add 3/4 cup of Biscoff Spread, and mix until well incorporated. Pour into a mixing bowl and set aside.16 oz cream cheese, 14 oz Biscoff spread
- Using an electric mixer, beat heavy cream until soft peaks. Add powdered sugar and vanilla extract and beat until stiff peaks. Scrape down the sides as necessary.1 cup heavy cream, 1/4 cup powdered sugar, 1/2 teaspoon vanilla extract
- Add the whipped cream to the cream cheese mixture and gently fold together until evenly combined. Pour into prepared crust.
- Heat the remaining Biscoff spread for about 30 seconds in the microwave. Stir well until it is thin and pourable. Pour over the cheesecake and gently spread into an even layer.
- Sprinkle the reserved cookie crumbs around the edge of the cheesecake.
- Cover and chill for at least 4 hours before slicing to serve.
Nutrition
Nutrition information is automatically calculated, so should only be used as an approximation.
Additional Info
Join Our Community! I’ve created a fun and engaging group on Facebook, and I’d be absolutely thrilled for you to become a part of it! It’s the perfect place to share YOUR favorite recipes, ask questions, get cooking inspiration, and stay updated on all the new and exciting recipes from Dinners, Dishes and Desserts – so you never miss a delicious creation!
Be sure to follow me on Instagram and remember to tag #dinnersdishes so I can see all the wonderful DINNERS, DISHES, AND DESSERTS recipes YOU make and share in your kitchen!
Don’t miss out on any new recipes or cooking inspiration! Be sure to follow me on my social media channels:
Facebook | Twitter | Pinterest | Instagram
.
