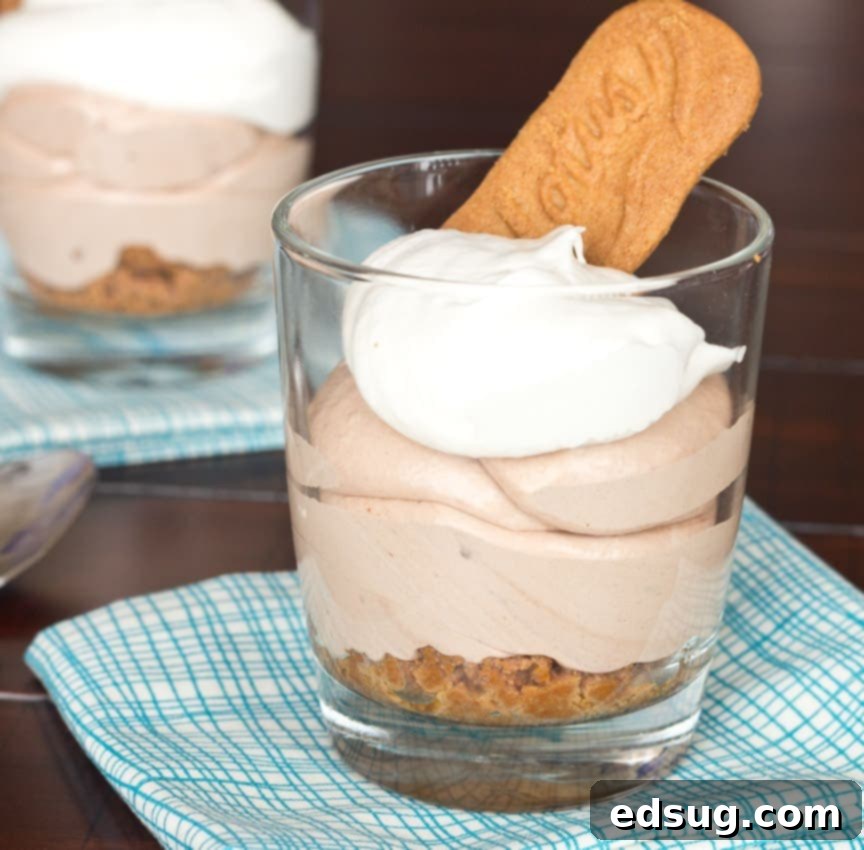
Luscious No-Bake Nutella Mousse Cups with Biscoff Crust: An Easy, Elegant Dessert
Prepare to fall in love with the most enchanting dessert you’ll ever make: our **Nutella Mousse Cups with Biscoff Crust**. This exquisite treat combines the irresistible richness of Nutella with a wonderfully light, airy mousse, all atop a crunchy, spiced Biscoff cookie crust. It’s a dessert that screams elegance and indulgence, yet it’s surprisingly simple to prepare – no baking required! Perfect for special occasions like Valentine’s Day, dinner parties, or simply as a luxurious everyday treat, these individual mousse cups are designed to impress and delight with every spoonful.
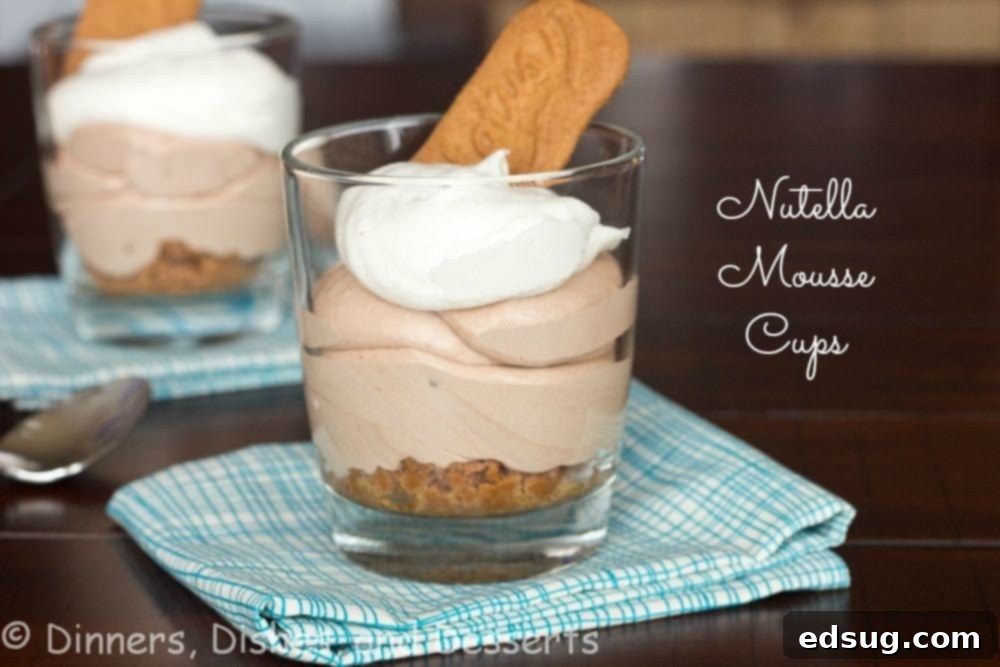
Why These Nutella Mousse Cups Will Be Your New Favorite No-Bake Dessert
Imagine a dessert that offers a symphony of textures and flavors in every bite. These Nutella Mousse Cups deliver just that. They are intensely chocolatey, thanks to the star ingredient, Nutella, yet remain incredibly light and fluffy due to the expertly prepared mousse. The delightful crispness of the Biscoff cookie base provides a perfect contrast, adding a hint of caramel and spice that beautifully complements the hazelnut chocolate. What makes these individual desserts truly stand out is their convenience: they are entirely no-bake, can be prepared ahead of time, and are served in charming individual portions, making them ideal for entertaining and hassle-free enjoyment.
The Inspiration Behind This Irresistible Recipe: A Delicious Biscoff Connection
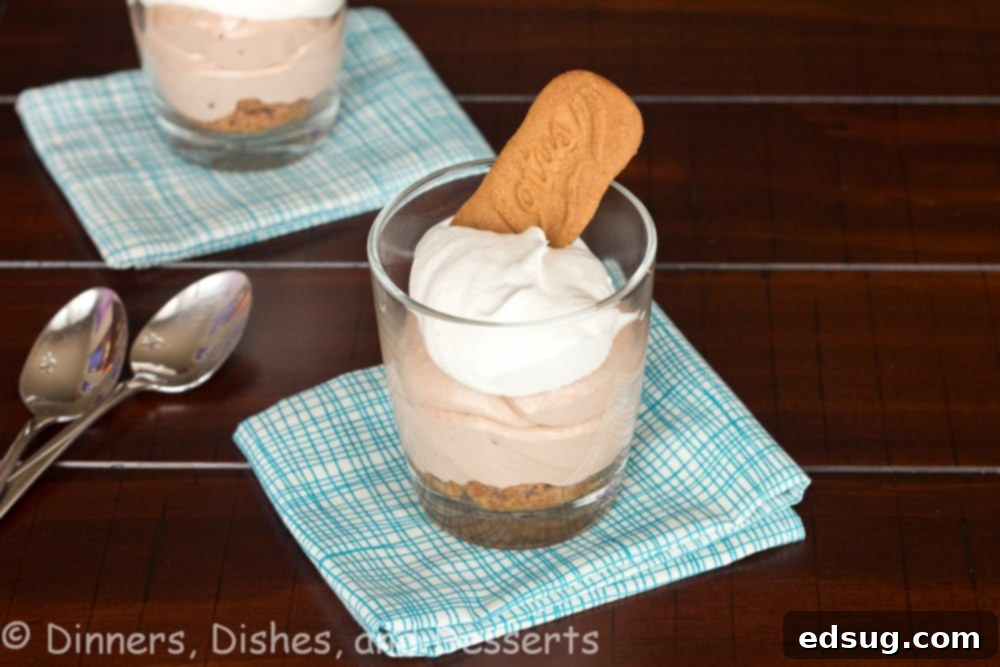
The genesis of these incredible Nutella Mousse Cups traces back to my earlier creation, the Biscoff Mousse Cream Pie from last fall. That recipe was such a resounding success, leaving me pondering what other delightful mousse creations could emerge. My mind quickly gravitated towards Nutella – a universal favorite spread that rarely disappoints. However, I didn’t want to commit to a full-sized pie again. I envisioned something more intimate, more portable, and easier to serve: individual portions that didn’t require a traditional baked crust. That’s when the idea of a crushed Biscoff cookie crust, enhanced with a touch of Biscoff spread, truly came to life.
For those who haven’t yet discovered the magic, Biscoff cookies and Nutella are a match made in culinary heaven. The warm, spiced notes of Biscoff cookies and spread beautifully enhance the rich, nutty chocolate flavor of Nutella. I’ve long been known to dip Biscoff cookies directly into a jar of Nutella – a simple pleasure that speaks volumes about their incredible synergy. It was only natural to combine these two beloved ingredients into a show-stopping dessert that promises both comfort and sophistication.
Crafting the Perfect Mousse: Light, Airy, and Bursting with Nutella Flavor
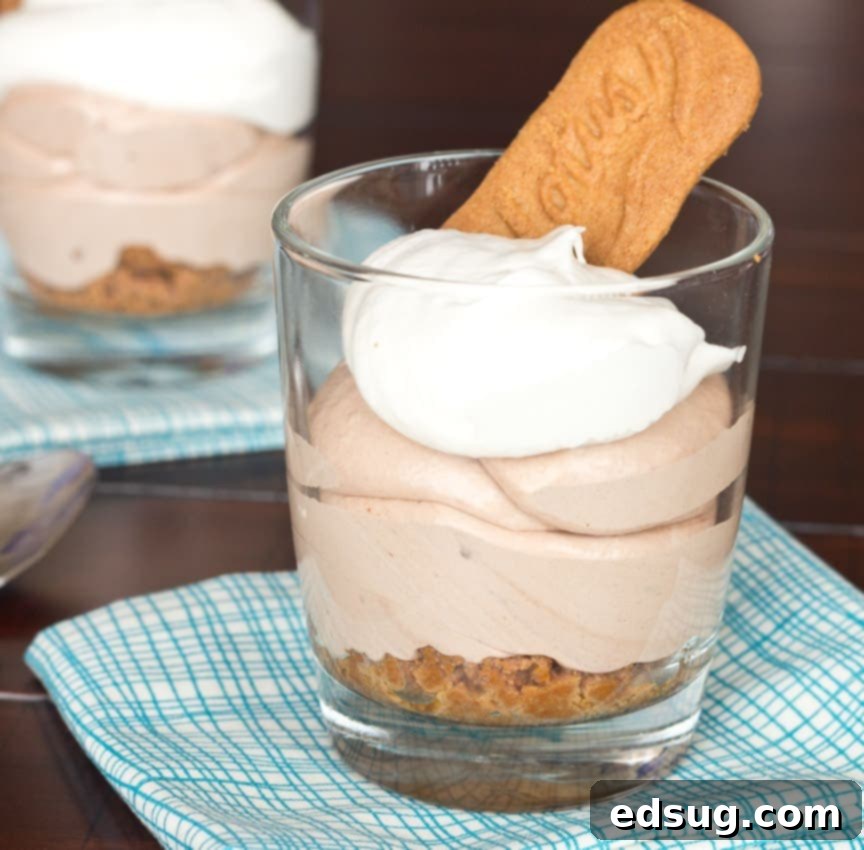
Achieving the ideal mousse consistency was paramount for this recipe. I aimed for a texture that was both light and airy, almost cloud-like, yet still packed with that glorious, unmistakable Nutella flavor. And I’m thrilled to report that the mousse turned out exactly as hoped! Each bite is a delicate dance between creamy indulgence and a whisper-light texture that truly melts in your mouth.
Topped with a generous dollop of freshly whipped cream, these cups truly reach dessert nirvana. I recently brought a batch of these to my cooking club, and they were met with universal acclaim – everyone raved about them! My own 7-year-old, a tough critic in his own right, declared them “the best dessert ever,” a testament to their broad appeal. Leaving a couple at home for “later” often means they don’t last long, a clear sign of their irresistible deliciousness that transcends age.
The Recipe: Nutella Mousse Cups with Biscoff Crust
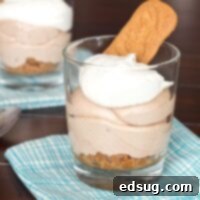
Nutella Mousse Cups
Pin Recipe
Rate Recipe
Print Recipe
Ingredients
Nutella Mousse
- 1/2 package, (4 oz) cream cheese, softened
- 1/2 cup Nutella
- 1 Tablespoon milk
- 1 cup powdered sugar
- 1 container, (8 oz) Cool Whip, thawed
Whipped Cream Topping
- 1 1/2 cups heavy cream, very cold
- 1/2 cup powdered sugar
- 1/2 teaspoon vanilla extract
Biscoff Crust
- 1/2 package Biscoff Cookies (approx. 18-20 cookies)
- 1/3 cup Biscoff Spread, melted slightly if too thick
Instructions
-
Prepare the Biscoff Crust: Using a small food processor, crush the Biscoff cookies until fine crumbs form. Transfer the crumbs into a medium bowl, and mix thoroughly with the Biscoff spread until it comes together like wet sand.
-
Assemble the Bases: Spoon 1-2 Tablespoons of the Biscoff crust mixture into the bottom of 10 small glasses, jars, or dessert cups. Gently press the crumbs down firmly with the back of a spoon to create an even and compact base.
-
Prepare the Nutella Mousse: In the bowl of an electric mixer fitted with a whisk attachment, combine the softened cream cheese, rich Nutella, and a splash of milk. Beat on medium speed until the mixture is smooth and well-combined, ensuring no lumps remain. Slowly add the powdered sugar, mixing until it is fully incorporated and the mousse starts to thicken. Finally, using a spatula, gently fold in the thawed Cool Whip until just combined, being careful not to deflate the airy texture.
-
Fill the Cups: Carefully spoon the luscious Nutella mousse into each of the prepared cups, filling them almost to the top. For a more elegant presentation, you can transfer the mousse to a piping bag with a large round or star tip and pipe it into the cups.
-
Prepare the Whipped Cream Topping: In a clean, chilled bowl of an electric mixer (or with a hand mixer), whip the very cold heavy cream on high speed for 3-4 minutes until beautiful soft peaks begin to form.
-
Flavor the Whipped Cream: Add the powdered sugar and fragrant vanilla extract to the whipping cream mixture.
-
Finish Whipping: Continue to whip for an additional minute, or until stiff peaks are achieved. Be careful not to over-whip, which can turn the cream grainy.
-
Garnish and Chill: Dollop or pipe the freshly whipped cream generously on top of the Nutella mousse in each cup. For an extra touch of flair, garnish with a whole or crushed Biscoff cookie, a sprinkle of chocolate shavings, or a drizzle of Nutella, if desired. Chill for at least 30 minutes before serving for best results.
Nutrition
Nutrition information is automatically calculated and is an estimate based on the ingredients and methods described. It should only be used as an approximation.
Additional Recipe Info
Love this decadent dessert? Leave a comment below and share your experience!
This post is proudly part of the Yahoo Shine Supper Club, bringing delightful recipes to your kitchen.
Expert Tips for Success and Perfectly Layered Mousse Cups Every Time
Even though this is a no-bake recipe, a few key tips can elevate your Nutella Mousse Cups from great to absolutely phenomenal:
- Soften Cream Cheese Properly: Ensure your cream cheese is at room temperature before you start mixing. This crucial step prevents lumps and ensures a silky-smooth, homogenous mousse texture, which is essential for that luxurious mouthfeel. Take it out of the fridge at least 30 minutes to an hour before you plan to start.
- Don’t Overmix the Mousse: Once you fold in the Cool Whip, mix just until it’s combined and no streaks remain. Overmixing can deflate the airiness you worked hard to achieve, leading to a denser, less appealing mousse texture. Gentle folding is key!
- Chilling is Paramount: While you might be tempted to dig in immediately, allowing the Nutella Mousse Cups to chill in the refrigerator for at least 30 minutes, or ideally several hours, before serving is vital. This allows the mousse to set perfectly, firming up to its ideal consistency, and gives the flavors time to meld beautifully. You can even make them the day before for ultimate convenience, which makes them perfect for party prep!
- For Homemade Whipped Cream: If opting for homemade whipped cream instead of Cool Whip for the topping (or even for the mousse if you prefer), ensure your heavy cream is very cold. Additionally, chilling your mixing bowl and whisk attachment for 10-15 minutes beforehand can significantly help the cream whip up faster and achieve those desirable stiff peaks.
- Achieve the Right Biscoff Crust Consistency: The Biscoff cookie and spread mixture should resemble wet sand – moist enough to hold its shape when pressed, but not greasy. If it seems too dry after mixing, add a tiny bit more Biscoff spread (start with half a teaspoon) or a quarter teaspoon of melted unsalted butter until it reaches the perfect consistency.
- Piping Bag for Elegant Presentation: For a clean, professional, and visually appealing look, transfer both the Nutella mousse and the whipped cream to separate piping bags. Use a large round or star tip for the mousse, and any decorative tip for the whipped cream topping. This creates beautiful layers and swirls.
Creative Variations and Flavor Twists for Your Nutella Mousse Cups
While the classic Nutella Mousse Cups with Biscoff Crust are undeniably perfection, don’t hesitate to get creative and personalize these delightful desserts to your taste. Here are some ideas to inspire you:
- Alternative Cookie Crusts: Not a fan of Biscoff or just want to try something different? You can easily substitute the Biscoff cookies. Try crushed Oreo cookies (with or without the cream filling for varying richness), graham crackers for a classic cheesecake-like base, shortbread cookies, or even vanilla wafers. Remember to adjust the binding agent accordingly (melted butter works well for drier cookies, or a complementary spread like chocolate hazelnut butter if not using Biscoff spread).
- Add a Fruity Layer: Fresh berries make a wonderful, vibrant addition that cuts through the richness of the chocolate. Layer sliced strawberries, raspberries, or blueberries between the crust and the mousse, or scatter them generously on top of the whipped cream for a pop of color and freshness.
- Indulge in Chocolate Overload: For the ultimate chocoholic, stir in a handful of mini chocolate chips or finely chopped dark chocolate into the Nutella mousse mixture. Finish by sprinkling chocolate curls, shavings, or cocoa powder on top for an extra layer of cocoa goodness. A drizzle of your favorite chocolate syrup over the whipped cream would also be undeniably divine.
- Boost the Nutty Crunch: To further enhance the hazelnut flavor of Nutella and add more texture, incorporate finely chopped toasted hazelnuts directly into the mousse. Alternatively, sprinkle them liberally over the whipped cream for an appealing crunch and visual appeal.
- Espresso Kick for Coffee Lovers: For those who appreciate the pairing of coffee and chocolate, a small amount (about 1/2 to 1 teaspoon) of instant espresso powder or finely ground coffee can be added to the mousse mixture. This subtle addition deepens the chocolate flavor without making the dessert taste overtly like coffee.
- Adult-Only Boozy Treat: Transform these cups into an elegant adult dessert by folding in a tablespoon of Kahlúa, Baileys Irish Cream, or Frangelico (a hazelnut liqueur) into the Nutella mousse. This adds a sophisticated depth of flavor perfect for grown-up gatherings.
Serving and Storage Suggestions for Optimal Enjoyment
These individual Nutella Mousse Cups are undeniably at their best when served thoroughly chilled. While they can be enjoyed immediately after preparation, a minimum of 30 minutes to an hour in the refrigerator allows the mousse to set beautifully and the flavors to meld, creating an even more harmonious and rich dessert experience. For optimal results, and a perfectly firm mousse, we highly recommend chilling them for at least 2-3 hours, or ideally overnight.
One of the most appealing features of this delicious recipe is its exceptional make-ahead potential. You can completely assemble the entire dessert, including the crunchy Biscoff crust, the velvety Nutella mousse, and the fluffy whipped cream topping, up to 24 hours in advance. Simply cover the cups loosely with plastic wrap to prevent any odors from permeating and to keep the whipped cream fresh, then store them in the refrigerator. This makes them an absolute lifesaver when you’re entertaining, allowing you to focus on your guests and enjoy the occasion rather than fussing in the kitchen at the last minute. The convenience factor for party planning is truly unmatched.
Should you be fortunate enough to have any leftovers – though we doubt there will be many! – they should be stored in an airtight container in the refrigerator for up to 3-4 days. While the Biscoff cookies in the crust might soften slightly over time, the mousse and whipped cream will remain wonderfully delicious. Freezing is generally not recommended for this particular mousse, as the delicate texture can unfortunately change upon thawing, potentially becoming watery or grainy.
Frequently Asked Questions About Our Easy Nutella Mousse Cups
Here are answers to some common questions you might have about making these delightful Nutella Mousse Cups:
Can I use store-bought whipped cream (from a can) instead of Cool Whip or making my own?
For garnishing the cups in a pinch, you can certainly use a can of ready-made whipped cream. However, for the mousse itself, Cool Whip provides a specific stability and lighter texture that is difficult to replicate with canned whipped cream, which tends to be less stable and can deflate more easily. For the best flavor and texture in the topping, fresh homemade whipped cream (as detailed in the recipe) is always recommended over canned options.
Can I make these Nutella Mousse Cups dairy-free or vegan?
Making these mousse cups entirely dairy-free or vegan would require several significant substitutions. You would need to source vegan cream cheese, a dairy-free chocolate hazelnut spread (check labels carefully, or consider making a homemade version), plant-based milk (like almond or oat milk), and a dairy-free whipped topping alternative (such as whipped coconut cream or a specific vegan Cool Whip substitute). The Biscoff cookies and Biscoff spread are generally considered vegan-friendly, but it’s always advisable to double-check the ingredient labels to ensure they meet your dietary requirements.
How many servings does this recipe make? Can I scale it up or down?
This recipe is perfectly designed to make 10 individual Nutella Mousse Cups, making it an ideal quantity for a small gathering, a family dessert, or for enjoying throughout the week. Yes, you can absolutely adjust the ingredient quantities in the recipe card if you need to make more or fewer servings. The built-in serving adjuster in the recipe card (1x, 2x, 3x buttons) can help you quickly calculate the new ingredient amounts.
What kind of glasses or cups should I use for serving?
Small dessert glasses, elegant ramekins, charming mini Mason jars (like the ones shown in the pictures), or any individual serving cups that hold approximately 4 to 6 ounces (about 1/2 to 3/4 cup) are ideal for these mousse cups. Clear glass cups are particularly wonderful as they beautifully showcase the distinct layers of the crunchy Biscoff crust, the luscious Nutella mousse, and the fluffy whipped cream topping, adding to the visual appeal of this exquisite dessert.
Can I make these without the Biscoff crust?
Absolutely! If you prefer a lighter dessert, have dietary restrictions related to cookies, or simply don’t have Biscoff cookies on hand, you can omit the crust entirely. The Nutella mousse itself is incredibly delicious and rich enough to stand alone as a delightful, no-bake dessert. If you still want a base but no Biscoff, you could use a different crumb base, like crushed graham crackers mixed with melted butter, or even a layer of brownie crumble for a different flavor profile.
We truly hope you enjoy making and devouring these incredibly simple yet utterly luxurious Nutella Mousse Cups! They are sure to become a beloved and frequently requested addition to your dessert repertoire. Don’t forget to rate the recipe and leave a comment below with your thoughts and any creative twists you tried – we love hearing from you!
