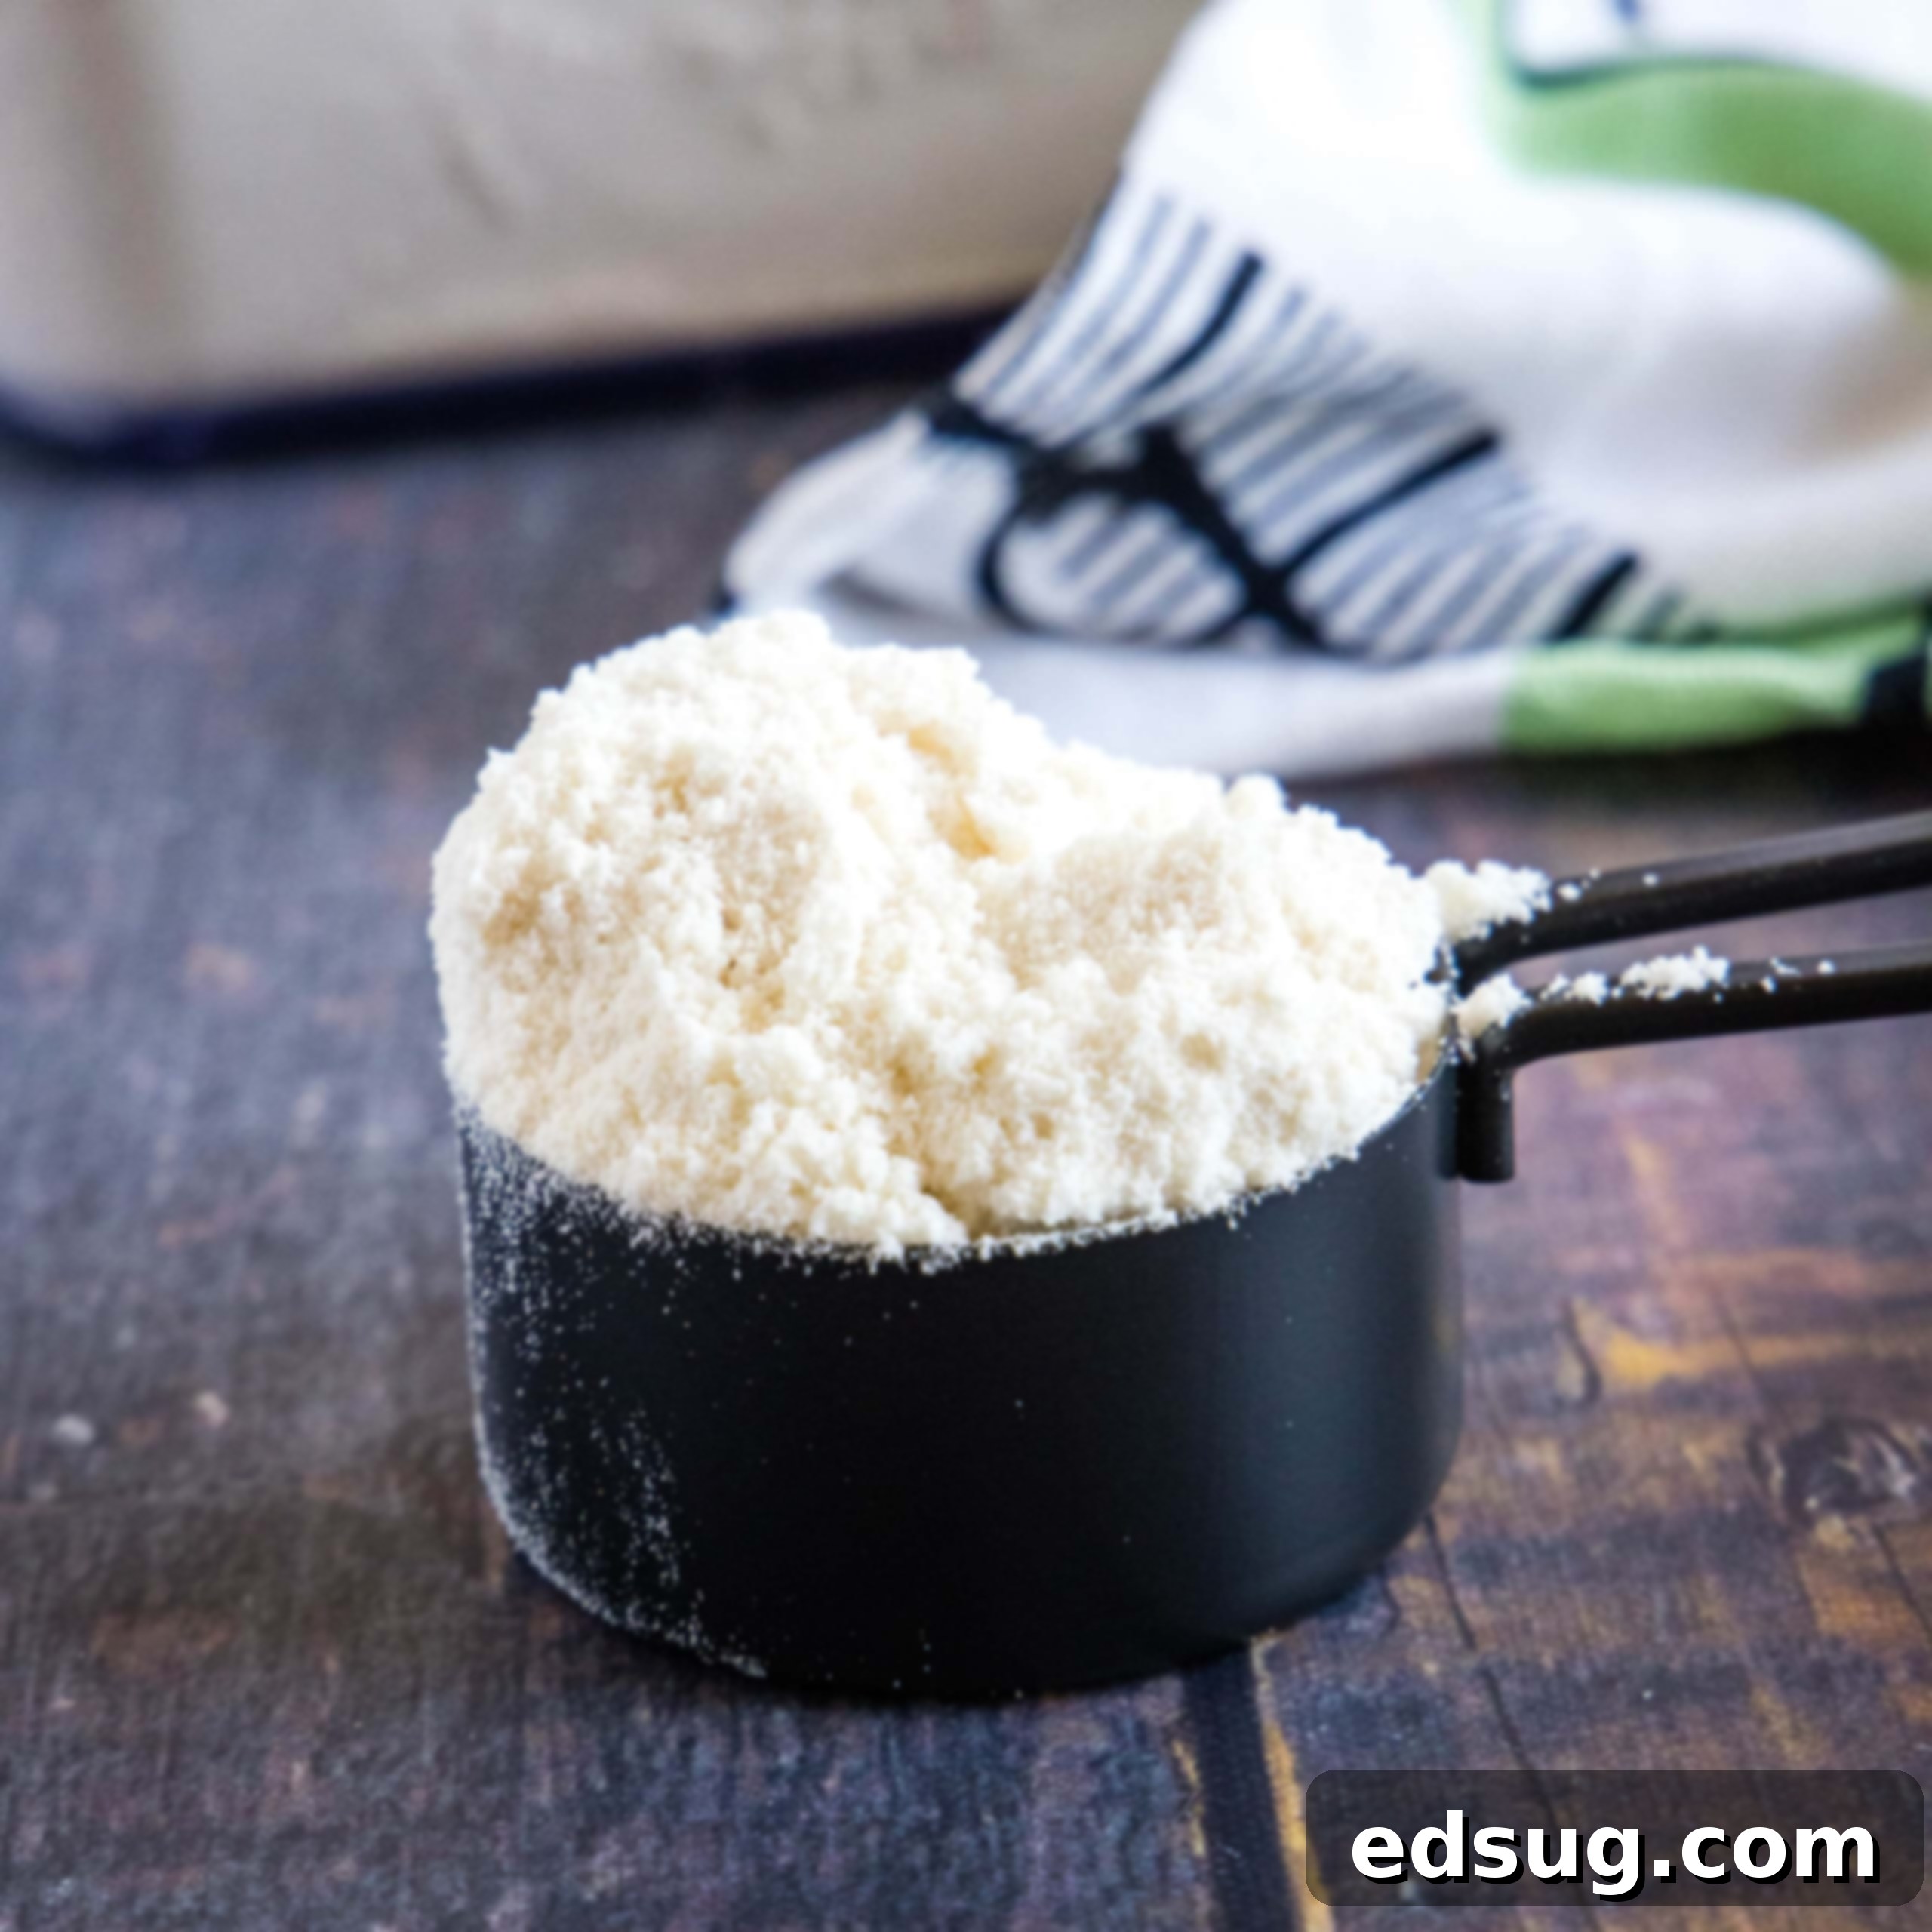
Homemade Bisquick: Your Easy 4-Ingredient Mix for Perfect Pancakes, Biscuits & More
Say goodbye to store-bought mixes and hello to the incredible simplicity of **Homemade Bisquick!** With just four staple ingredients and about five minutes of your time, you can whip up a versatile baking mix that rivals the original. This easy **DIY Bisquick mix** is perfect for those moments when you’ve run out of your favorite shortcut mix, live in an area where it’s not readily available, or simply prefer to use cleaner, more transparent ingredients in your cooking and baking. It’s a game-changer for any home kitchen, ensuring you’re always ready to create delicious treats and meals.
While I generally love the process of baking from scratch, there are definitely times when a convenient shortcut is exactly what you need. That’s where this **homemade Bisquick substitute** truly shines. Imagine having a big batch of this mix prepped and ready in your pantry, waiting to transform into fluffy pancakes, tender biscuits, savory casseroles, or any other recipe that calls for a baking mix. It eliminates the need for last-minute trips to the grocery store and gives you complete control over what goes into your food, all without sacrificing convenience or flavor.
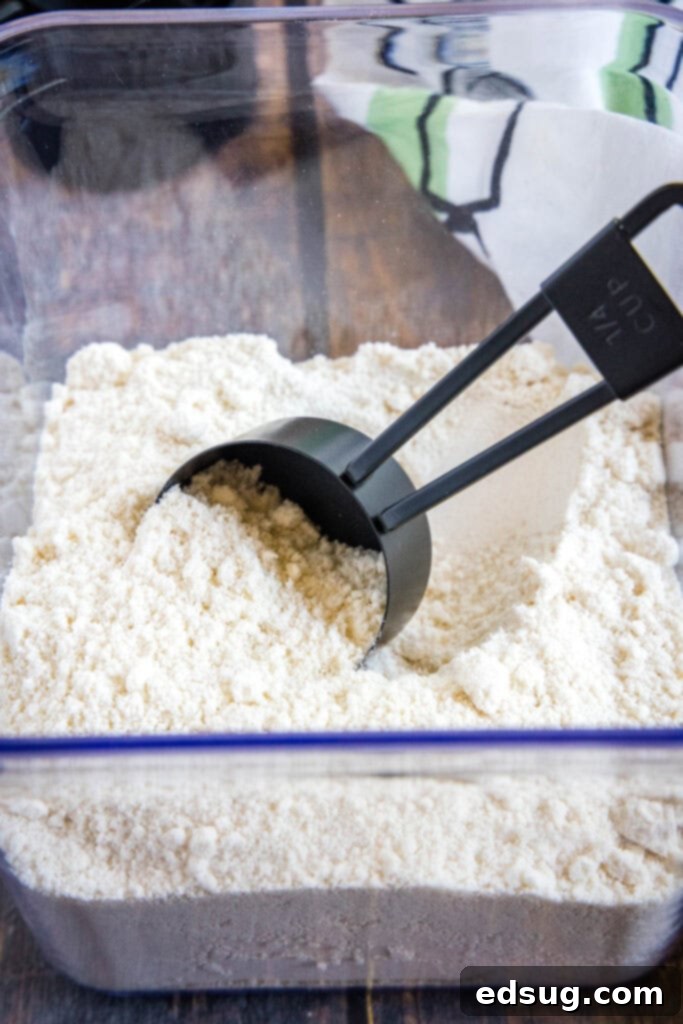
Making your own **easy baking mix** doesn’t just save you time and money; it also opens up a world of possibilities for healthier, customized meals. You can confidently use this versatile mix for everything from light Bisquick Muffins and sweet Bisquick Cookies to quick dinner recipes and breakfast staples. It’s the ultimate kitchen hack for busy families and anyone looking to simplify their baking routine with a wholesome alternative. This recipe ensures you never have to be without your essential baking mix again.
Why You’ll Love This Homemade Bisquick Mix
Discover the many reasons why this **homemade Bisquick recipe** is about to become your new favorite kitchen staple:
- Incredibly Fast – Seriously, it only takes about 5 minutes from start to finish to whip up a batch. Your food processor does most of the heavy lifting, making this a lightning-fast solution for your baking needs. It’s quicker than driving to the store and cheaper too!
- Effortlessly Easy – With just 4 common ingredients that you likely already have in your pantry, there’s no need for special trips to the grocery store. Simply measure, dump into your food processor (or bowl), and pulse (or mix). It’s a beginner-friendly recipe that guarantees success every time.
- Wholesome Ingredients You Trust – Unlike the lengthy and often confusing ingredient list found on a typical box of store-bought Bisquick, this homemade version uses only four simple, recognizable ingredients. You have the flexibility to choose your preferred fat, allowing you to tailor the mix to your specific dietary needs or lifestyle preferences, ensuring a cleaner, more natural product.
- Long-Lasting Shelf Life – Just like its commercial counterpart, this **DIY baking mix** stores beautifully. When kept in an airtight container, it will stay fresh for approximately 6 months. This makes it ideal for preparing large batches, saving you time and effort in the long run and ensuring you always have it on hand for spontaneous baking.
- Cost-Effective Solution – Making your own **Bisquick substitute** is significantly cheaper than repeatedly buying pre-made boxes. The basic ingredients are inexpensive, and buying them in bulk can lead to even greater savings over time, making this a budget-friendly choice for any home cook.
- Customizable for Your Needs – Want to use organic flour? Prefer a different type of fat? This recipe allows for complete customization. You can adjust the salt level or even experiment with adding a touch of sugar for specific recipes, giving you ultimate control over the flavor profile of your finished baked goods.
Essential Ingredients for Your Homemade Bisquick
Be sure to scroll to the bottom of the post for the FULL PRINTABLE recipe card with exact measurements.
Gathering your ingredients for this **4-ingredient Bisquick** is simple. You’ll likely have most, if not all, of these on hand already, making this recipe incredibly accessible.
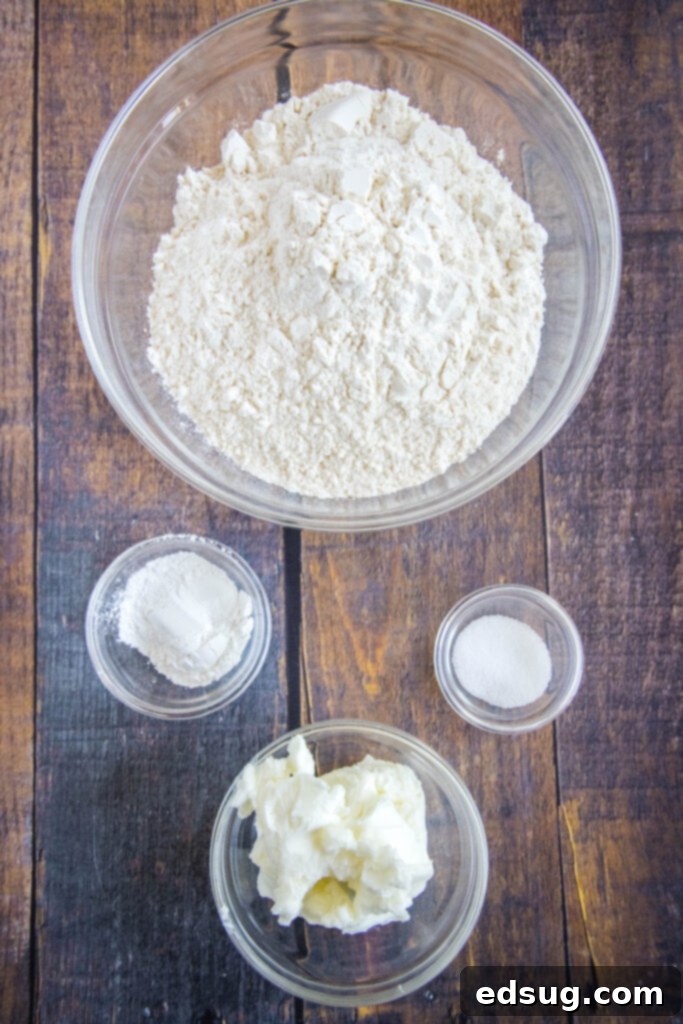
- All-Purpose Flour: This is the base of our mix. Regular unbleached all-purpose flour works perfectly, providing the structure for your baked goods.
- Baking Powder: The leavening agent that gives your pancakes, biscuits, and waffles that wonderful rise and fluffy texture. Ensure your baking powder is fresh for the best results.
- Salt: A crucial ingredient for balancing flavors and enhancing the taste of your baked goods. We recommend fine table salt for even distribution.
- Vegetable Shortening/Butter (or Lard): This is where you have a choice, influencing both flavor and storage. We’ll delve deeper into the pros and cons of each option below.
Step-by-Step: Crafting Your Own Bisquick Mix
Making this **homemade baking mix** is remarkably straightforward, especially with the help of a food processor. Follow these simple steps for a perfect batch every time:
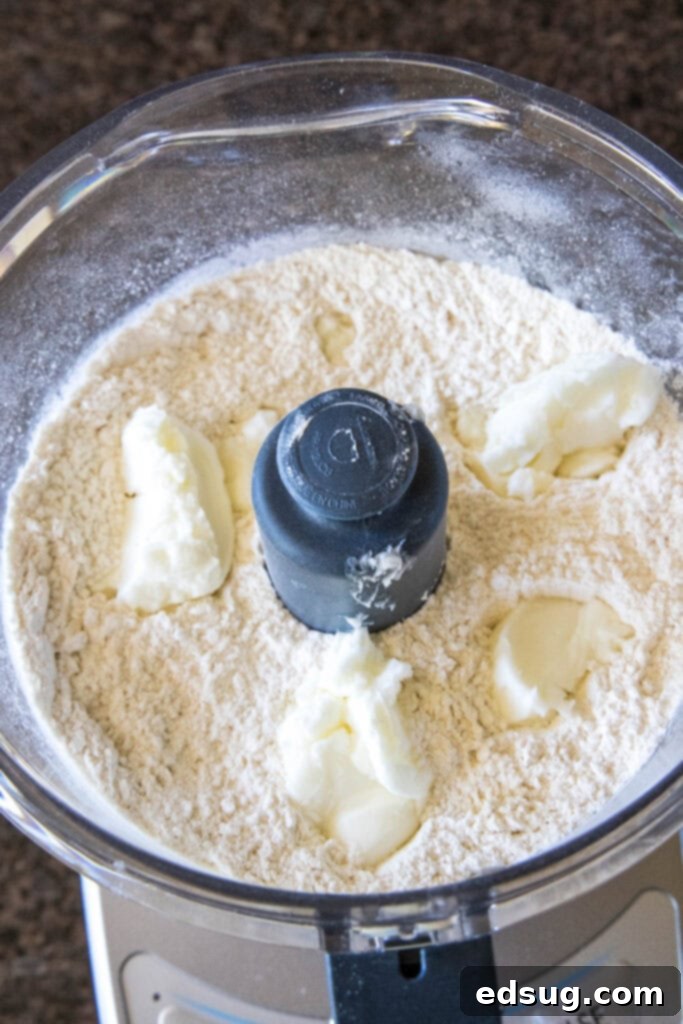
- Prepare Dry Ingredients. Begin by adding the all-purpose flour, baking powder, and salt to the bowl of your food processor. Secure the lid and pulse a few times. This step is important for thoroughly mixing these dry ingredients, ensuring the leavening agent and salt are evenly distributed throughout the flour, which is key for consistent rise and flavor in your future baking projects.
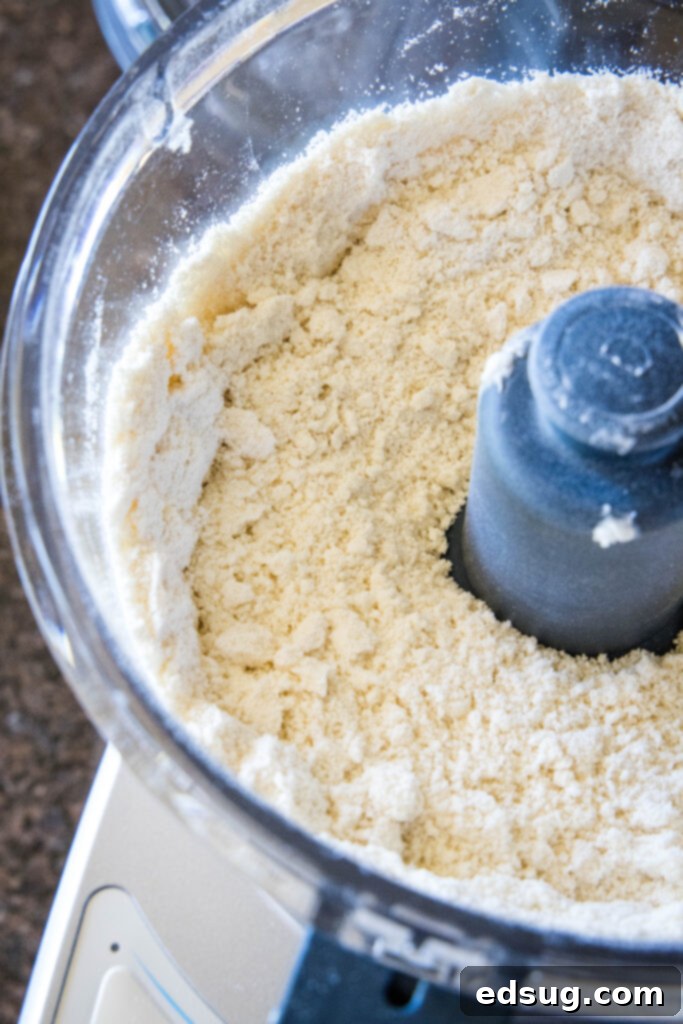
- Incorporate the Fat. Now, it’s time to add your chosen fat source – whether that’s vegetable shortening, cold butter, or lard. Distribute the fat evenly over the dry ingredients. Pulse the food processor again, in short bursts, until the mixture transforms into a texture resembling coarse sand or fine crumbs. This is the signature texture of Bisquick, where the fat is evenly distributed but still in small pieces, ready to create pockets of steam for flaky, tender results when baked. Avoid over-processing, as you don’t want a paste.
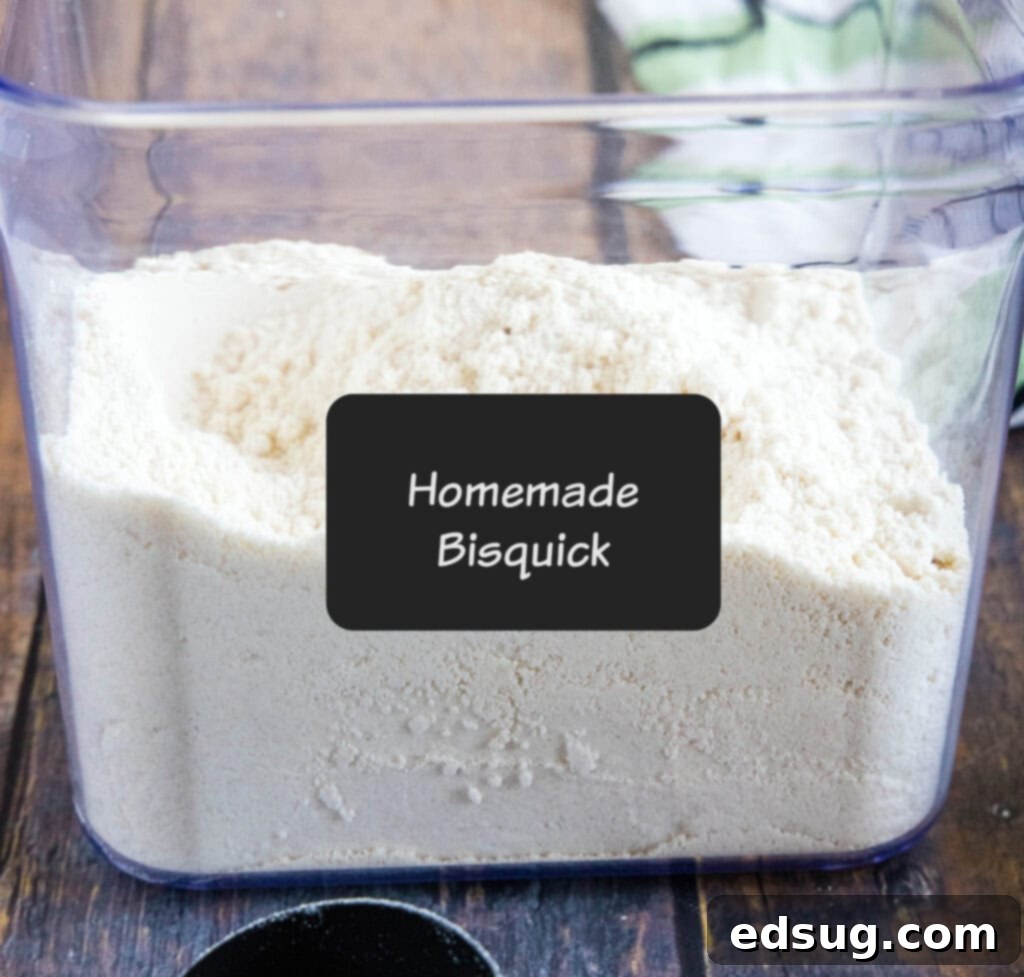
- Proper Storage. Once your **DIY Bisquick mix** has reached the desired consistency, carefully remove it from the food processor. Transfer the mix into an airtight container. It’s a great habit to add a label with the name of the mix (“Homemade Bisquick”) and the date it was made, so you can easily track its freshness. Depending on the fat you chose, store it either in your pantry or the refrigerator (more details on this below).
Choosing Your Fat: Vegetable Shortening, Butter, or Lard?
The choice of fat is a key decision when making your **homemade Bisquick mix**, as it impacts both the flavor profile and the storage requirements. Each option offers unique characteristics:
If your goal is to replicate the classic taste and texture of store-bought Bisquick as closely as possible, then **vegetable shortening** is your best bet. Shortening results in a very tender crumb and neutral flavor, making it incredibly versatile for any recipe. The biggest advantage of using vegetable shortening is that it allows your **DIY baking mix** to be **pantry safe** and does **NOT need to be refrigerated**. This makes it ideal for making large batches that you can store at room temperature for an extended period.
For those who prefer a richer, more buttery flavor in their baked goods, **using cold butter** is an excellent alternative. Butter works wonderfully and imparts a delicious, distinct taste to your pancakes, biscuits, and more. However, the trade-off for that enhanced flavor is that your **homemade Bisquick** will **need to be refrigerated** to prevent the butter from spoiling or going rancid. Ensure the butter is cut into small, cold cubes before adding it to the mix for the best results.
A third, and often under-appreciated, option, especially outside of traditional Southern cooking in the United States, is **lard**. Lard is rendered pork fat and is celebrated for producing incredibly flaky and tender baked goods, particularly biscuits and pie crusts. Historically, it was a common baking fat. Similar to vegetable shortening, **lard does not typically need to be refrigerated** after opening (check the package instructions, as some refined lard may recommend it, but traditional rendered lard is shelf-stable). This makes it a fantastic choice if you want a pantry-stable mix with superior flakiness and a subtle, savory depth of flavor.
No Food Processor? No Problem!
While a food processor certainly makes preparing this **homemade Bisquick mix** incredibly fast and easy, it’s by no means essential. You can absolutely achieve the same great results using other common kitchen tools. The key is to effectively cut the fat into the flour mixture until it resembles coarse crumbs or sand.
Using a Stand Mixer:
If you have a stand mixer, it’s an excellent alternative. Attach the paddle attachment (not the whisk, as that can over-aerate the mixture and warm the fat too much). Add the flour, baking powder, and salt to the mixer bowl and mix on low speed for a few seconds to combine. Then, add your chosen fat (cold butter cubes or small dollops of shortening). Mix on low to medium-low speed until the fat is incorporated and the mixture reaches that sandy, crumbly texture. This method is almost as hands-free as a food processor.
With a Pastry Cutter or Your Fingers:
This is the classic method for cutting fat into flour, just like when you’re making flaky Buttermilk Biscuits or a delicate shortbread crust. Start by combining your dry ingredients in a large bowl. If using butter, make sure it’s very cold and cut into small cubes. Add the butter or small dollops of vegetable shortening to the dry mix. Then, use a pastry cutter (or two knives, or even your fingertips) to cut the fat into the flour. Work quickly to prevent the fat from melting, as warmth can lead to a less tender result. Continue until the mixture resembles coarse meal or small peas, which will then become that familiar sandy texture as you continue to work it. This method might take a few extra minutes but is very effective and satisfying.
Properly Storing Your Homemade Bisquick Mix
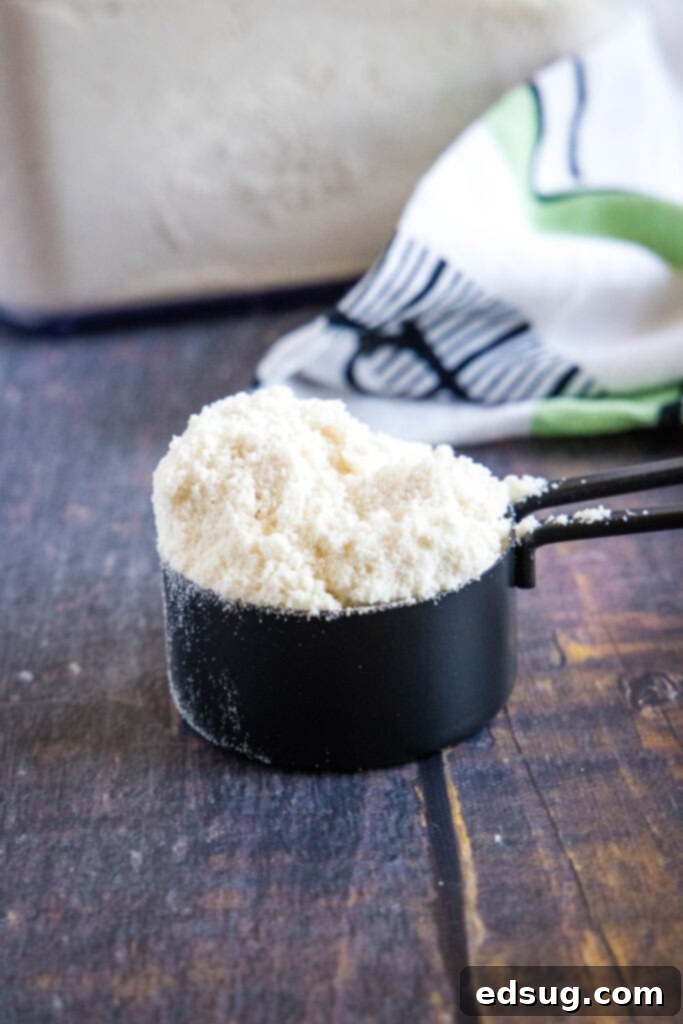
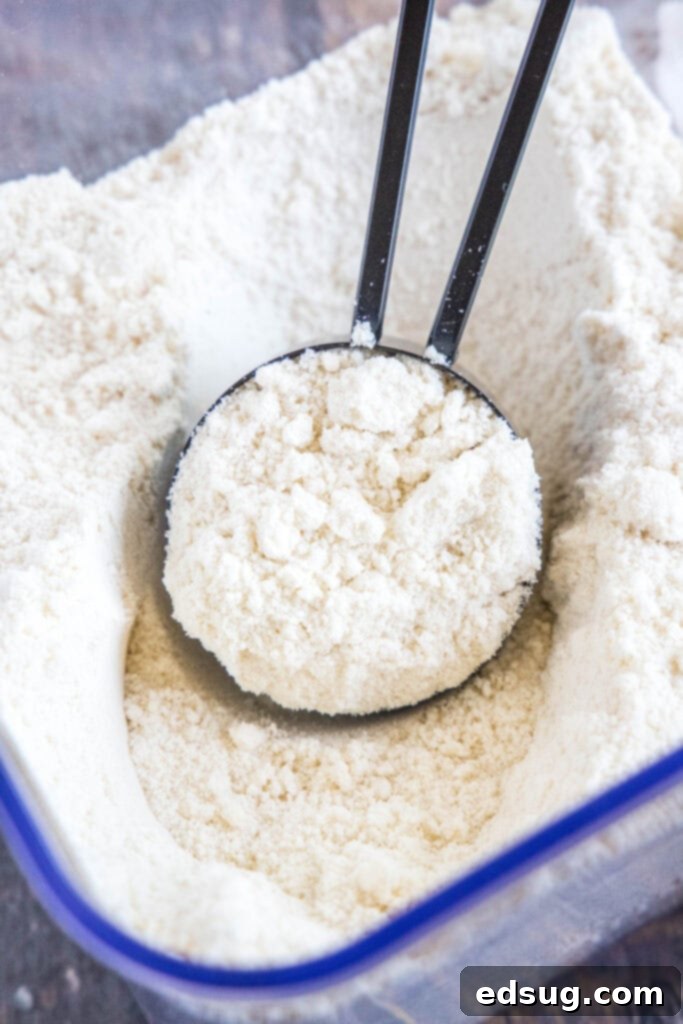
Effective storage is key to maximizing the shelf life and freshness of your **DIY Bisquick mix**. Always store your baking mix in a clean, dry, and **airtight container**. This prevents moisture absorption and keeps unwanted odors out. If you’ve made a double or triple batch (which we highly recommend!), be sure to add a clear label indicating “Homemade Bisquick” and the date it was prepared. This helps you keep track of its freshness.
As discussed, if you used vegetable shortening or lard, your mix can be stored at **room temperature in a cool, dark pantry for up to 6 months**. If you opted for butter, it **must be stored in the refrigerator** to prevent spoilage and maintain quality, also for up to 6 months. Regardless of the fat used, always ensure the container is tightly sealed after each use to prolong its freshness.
Unlock Endless Possibilities: How to Use Your Homemade Bisquick
The beauty of this **homemade Bisquick substitute** lies in its incredible versatility. You can use it as a direct, 1:1 replacement for store-bought Bisquick in any recipe you own or come across. This opens up a world of culinary creations, from breakfast to dinner and dessert. Here are just a few ideas to get you started:
- Breakfast Classics: Whip up the fluffiest **pancakes** and crispiest **waffles** you’ve ever tasted. It’s also perfect for light and airy **biscuits** that pair wonderfully with butter and jam, or gravy.
- Savory Delights: Use it to create comforting dishes like creamy Cream Cheese Sausage Balls, hearty chicken pot pie toppings, or as the base for delicious Ham & Cheese Biscuits. It’s also excellent for quick savory scones or even a makeshift pizza crust.
- Sweet Treats: Beyond the previously mentioned Bisquick Muffins and Bisquick Cookies, this mix is fantastic for seasonal favorites like Strawberry Shortcake every summer. You can also use it for quick coffee cakes, fruit cobblers, or even a simple dumpling recipe for soups and stews.
- Effortless Dinners: Beyond pot pie toppings, consider using this mix for easy cheesy breadsticks, quick chicken and dumpling soup, or as a crunchy topping for casseroles.
With a batch of **homemade Bisquick** ready, you’ll find yourself reaching for it constantly, making meal prep and baking a breeze.
The Added Benefits of Homemade Bisquick
Beyond convenience and cost savings, making your own Bisquick mix offers several valuable advantages for the discerning home cook:
- Control Over Ingredients: This is perhaps the biggest draw. You choose the quality of your flour (unbleached, organic, even a blend with whole wheat), the type of fat, and the specific brand of baking powder and salt. This means no mystery ingredients, preservatives, or artificial flavors often found in commercial mixes.
- Healthier Options: By selecting your own ingredients, you can make healthier choices. For example, using a healthier vegetable shortening or quality butter allows you to avoid trans fats or highly processed oils that may be present in some store-bought alternatives.
- Reduced Sodium: Many commercial baking mixes can be high in sodium. Making your own allows you to control the salt content, tailoring it to your dietary needs without sacrificing flavor.
- Allergy and Dietary Considerations: While this specific recipe isn’t gluten-free, if you have other sensitivities (e.g., to specific fats or preservatives), making your own mix provides the flexibility to substitute ingredients to suit your family’s needs.
- Environmental Impact: Reducing reliance on packaged goods can lead to less waste, as you’ll be refilling your own storage containers rather than continually buying cardboard boxes.
Troubleshooting & Expert Tips for Your Baking Mix
Even with a simple recipe like **homemade Bisquick**, a few tips can ensure your success and help you troubleshoot common issues:
- Ensure Fresh Baking Powder: Baking powder is the key leavening agent. If it’s old or expired, your baked goods won’t rise properly. Test its freshness by adding a teaspoon to half a cup of hot water; it should fizz vigorously.
- Keep Fat Cold (Especially Butter): When using butter, it’s crucial for it to be very cold and firm. This helps it cut into small pieces and prevents it from melting into the flour, which would result in dense, rather than flaky, baked goods. If your kitchen is warm, you can chill your flour briefly before starting.
- Avoid Over-Processing: Whether using a food processor or a stand mixer, pulse or mix just until the desired sandy texture is achieved. Over-processing can warm the fat and develop the gluten in the flour too much, potentially leading to tougher results.
- Humidity Matters: If you live in a very humid environment, you might find your mix clumps slightly more. Storing it in the refrigerator (even if using shortening) can help, or you might add a tablespoon or two of cornstarch to the mix to act as an anti-caking agent.
- How to Tell if Your Mix is Still Good: After a few months, check your mix for any off smells (rancid fat) or discoloration. If it smells sour or looks discolored, it’s best to discard it and make a fresh batch.
- Yield Adjustments: This recipe yields 4 cups of mix. If you have a favorite Bisquick recipe that calls for a different amount, you can easily scale this recipe up or down by adjusting the ingredient quantities proportionately.
More Essential Basic Recipes for Your Kitchen
Mastering basic recipes like this **homemade Bisquick** is a fantastic way to elevate your cooking and ensure you always have key ingredients on hand. Here are more foundational recipes to stock your pantry and expand your culinary skills:
- Homemade Italian Seasoning
- DIY Ranch Dressing Mix
- Simple Homemade Ketchup
- How To Make Buttermilk Substitute
- Foolproof Stabilized Whipped Cream
- Creamy Homemade Ranch Dressing
- Easy Chocolate Frosting
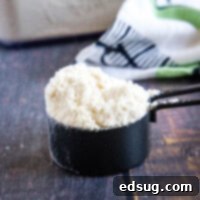
Homemade Bisquick Mix
Pin Recipe
Rate Recipe
Print Recipe
Ingredients
- 3 cups all-purpose flour
- 1 1/2 Tablespoons baking powder
- 1 1/2 teaspoons salt
- 1/2 cup vegetable shortening, or small cubes of butter
Instructions
-
Add flour, baking powder and salt to a food processor. Pulse a few times until blended together.3 cups all-purpose flour, 1 1/2 Tablespoons baking powder, 1 1/2 teaspoons salt
-
Add vegetable shortening in small dollops across the top (or cold butter cubes if using).1/2 cup vegetable shortening
-
Pulse until the fat is fully incorporated and the mixture has the texture of coarse sand.
-
Store in an airtight container for up to 6 months. (Refrigerate if using butter).
Notes
Nutrition
Nutrition information is automatically calculated, so should only be used as an approximation.
Additional Info
Love this simple recipe? We’d be grateful for your review!
I created a fun group on Facebook, and I would love for you to join us! It’s a vibrant community where you can
share YOUR favorite recipes, ask questions, and stay updated on what’s new at Dinners, Dishes and Desserts (so you never miss a delicious new recipe)!
Be sure to follow me on Instagram and
tag #dinnersdishes so I can see all the wonderful DINNERS, DISHES, AND DESSERTS
recipes YOU create!
Stay connected by following me on my social media channels, so you
never miss a post, update, or new recipe!
Facebook | Twitter | Pinterest | Instagram
.
