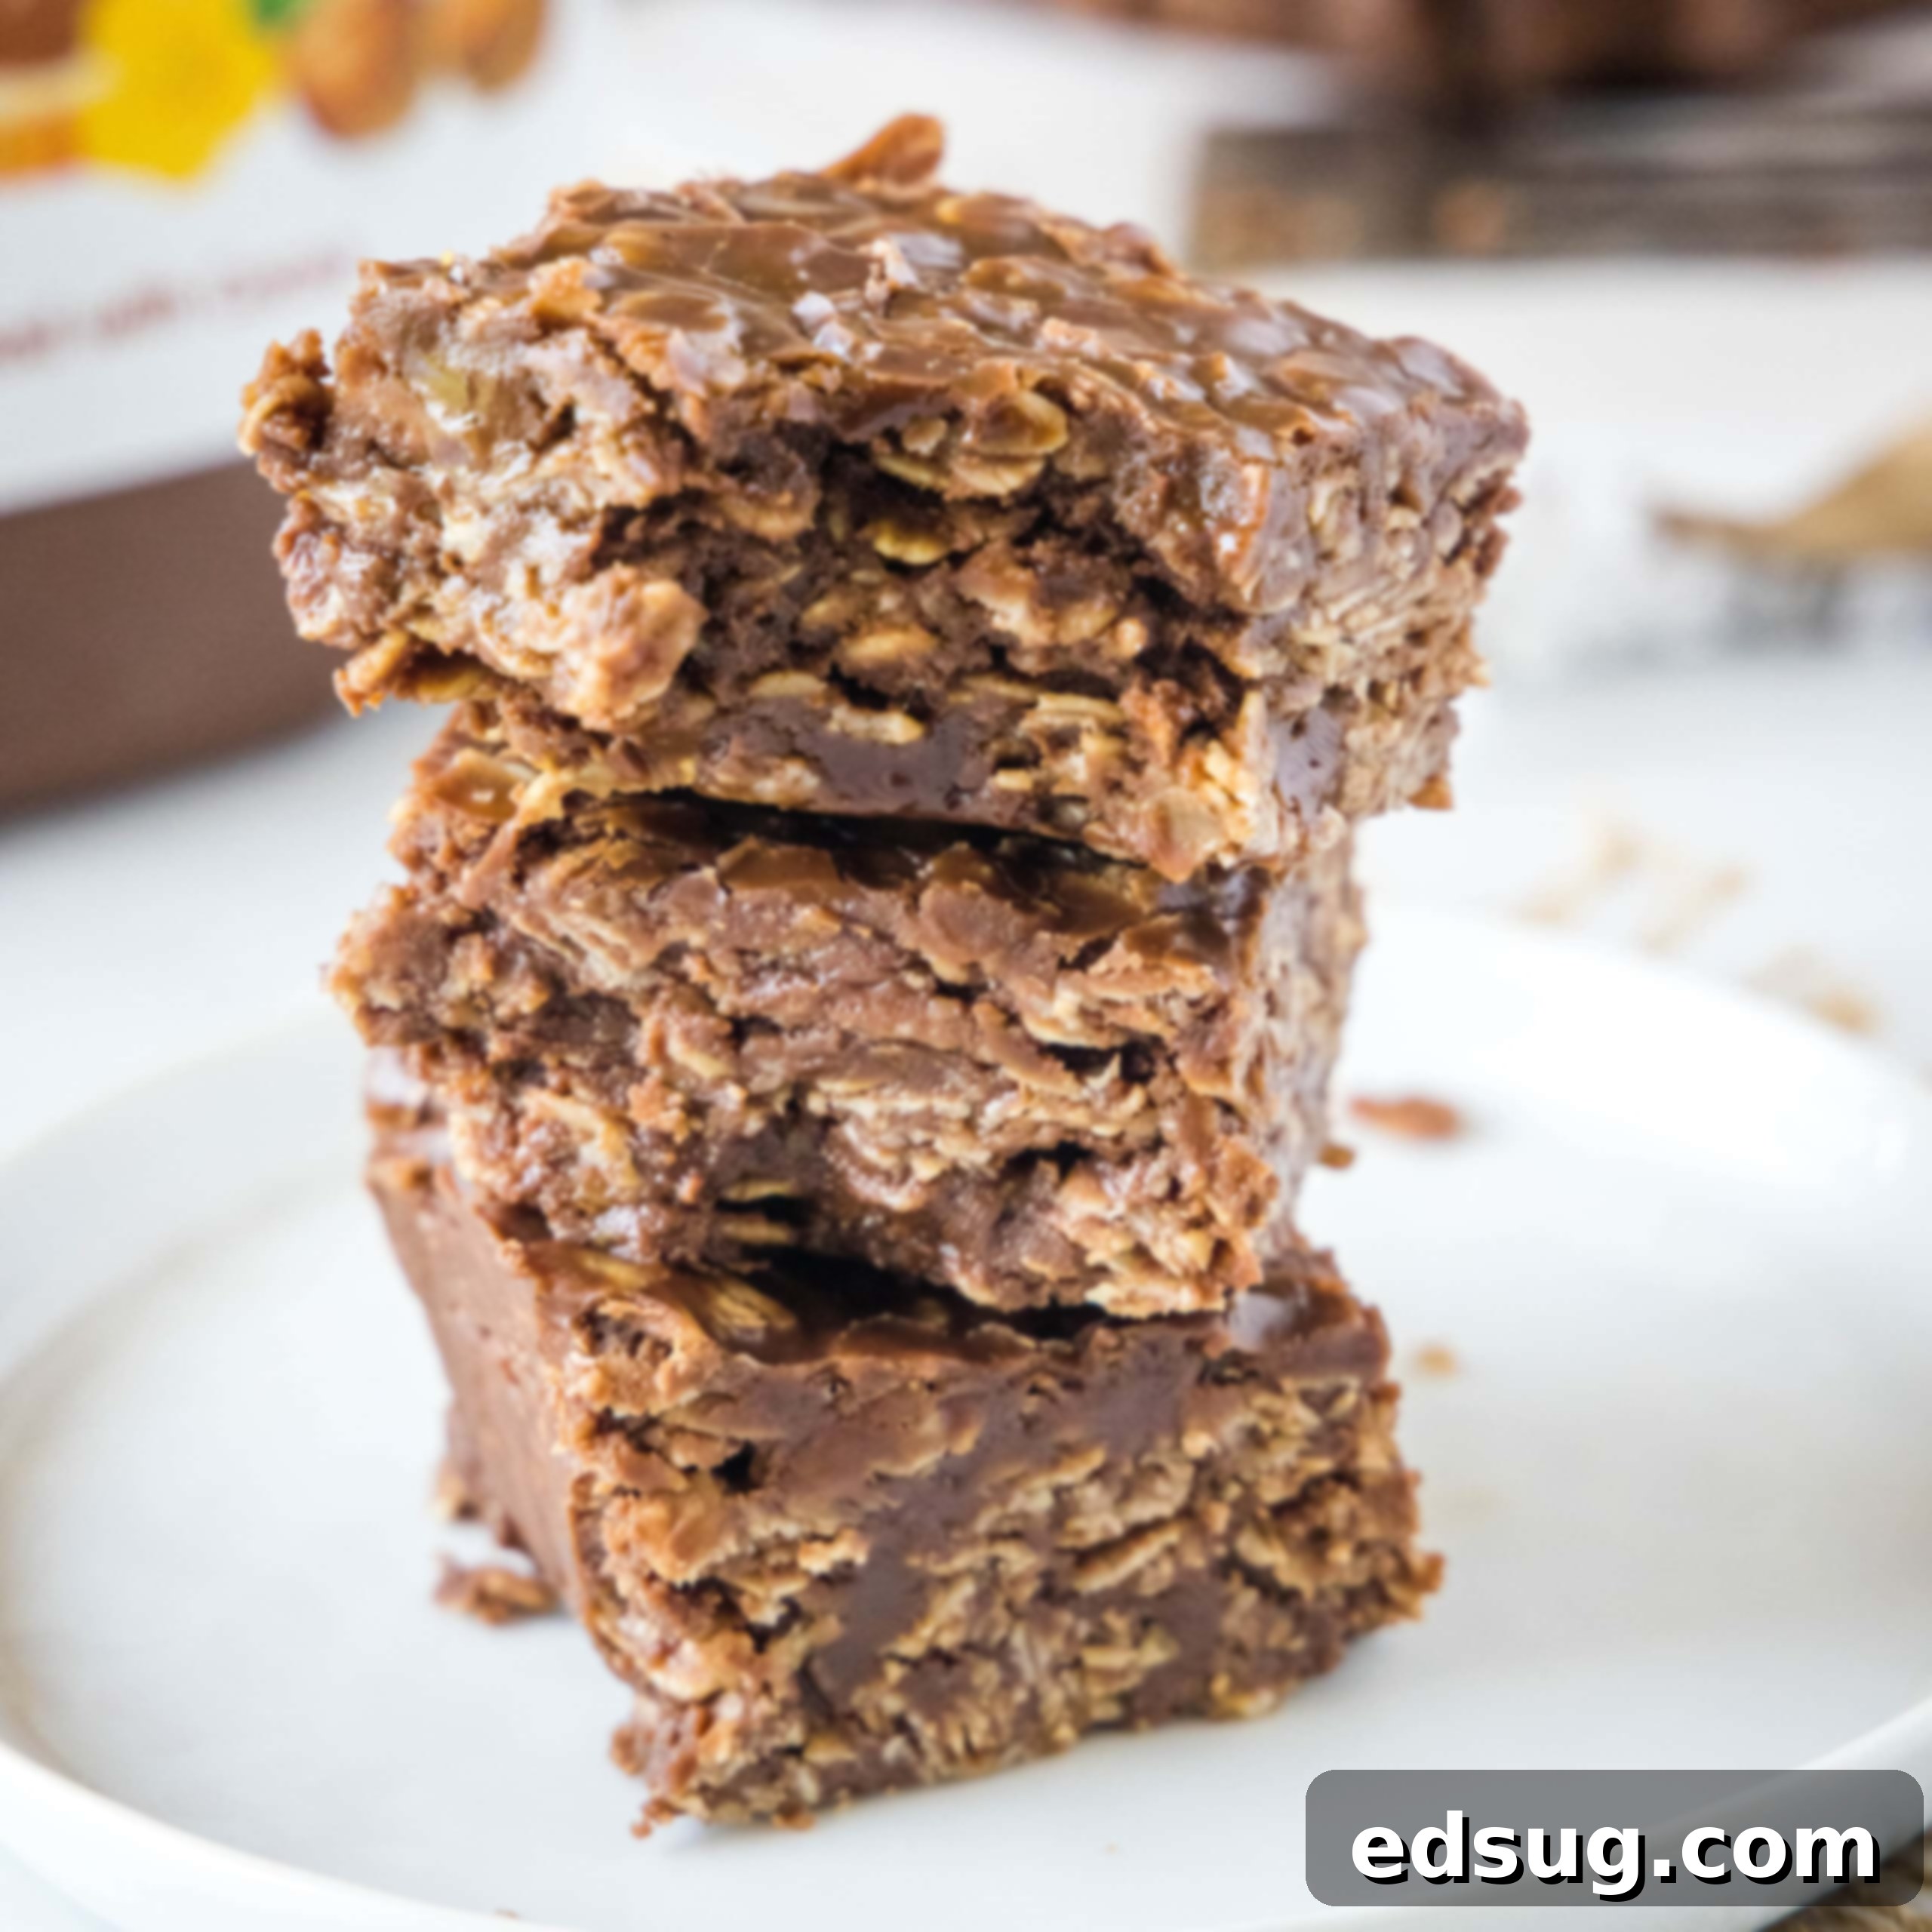
Irresistible No-Bake Nutella Bars: The Ultimate Easy Chocolate Hazelnut Treat
If there’s one thing that truly captures my heart in the world of desserts, it’s a creation that doesn’t demand an oven. This is especially true during the scorching summer months when the last thing you want to do is crank up the heat in your kitchen. Thankfully, the realm of no-bake treats offers an abundance of delightful options. But for those who are ardent fans of rich chocolate and the creamy, dreamy goodness of Nutella, prepare to fall head over heels for these incredibly simple No-Bake Nutella Bars!
These magnificent Nutella bars are a delightful evolution of the beloved classic no-bake cookies. Instead of meticulously scooping individual cookies, this recipe transforms that timeless concept into convenient, shareable bars, generously infused with the decadent flavor of chocolate hazelnut spread. The result? A dessert that’s not only extra delicious but also wonderfully easy to prepare, making it a perfect choice for any occasion, from casual family gatherings to last-minute party contributions.
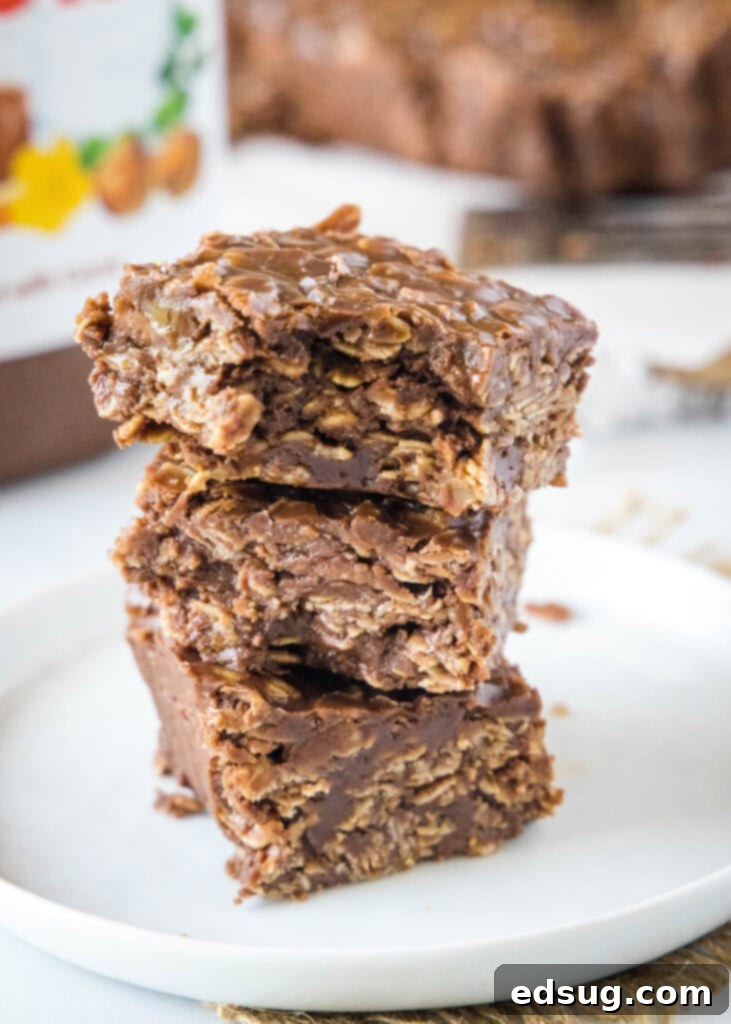
This cherished recipe has graced our blog for quite some time, and it recently received a little refresh to ensure it’s better than ever. We’ve updated the photos to make your mouth water even more and refined the instructions to be even more helpful and foolproof. Rest assured, the core magic of the recipe remains unchanged. So, if you’ve enjoyed these bars before, you can expect the same fantastic taste and texture that you’ve come to love!
Why You’ll Adore These Easy Nutella Bars
Beyond their incredible flavor, there are countless reasons why these No-Bake Nutella Bars are destined to become a staple in your dessert repertoire. First and foremost, the “no-bake” aspect is a game-changer. It means less time in a hot kitchen and more time enjoying the results, especially during warmer seasons or when you simply crave a quick sweet fix. They’re incredibly quick to whip up, requiring minimal active cooking time, making them ideal for busy schedules. The combination of rich chocolate and creamy Nutella creates an addictive flavor profile that appeals to nearly everyone, young and old alike. Furthermore, their bar format makes them perfectly portable and easy to share, whether you’re bringing them to a potluck, packing them in lunchboxes, or simply enjoying them as an afternoon treat. They store beautifully, too, ensuring you can savor them for days.
Essential Ingredients for Your Nutella Bars
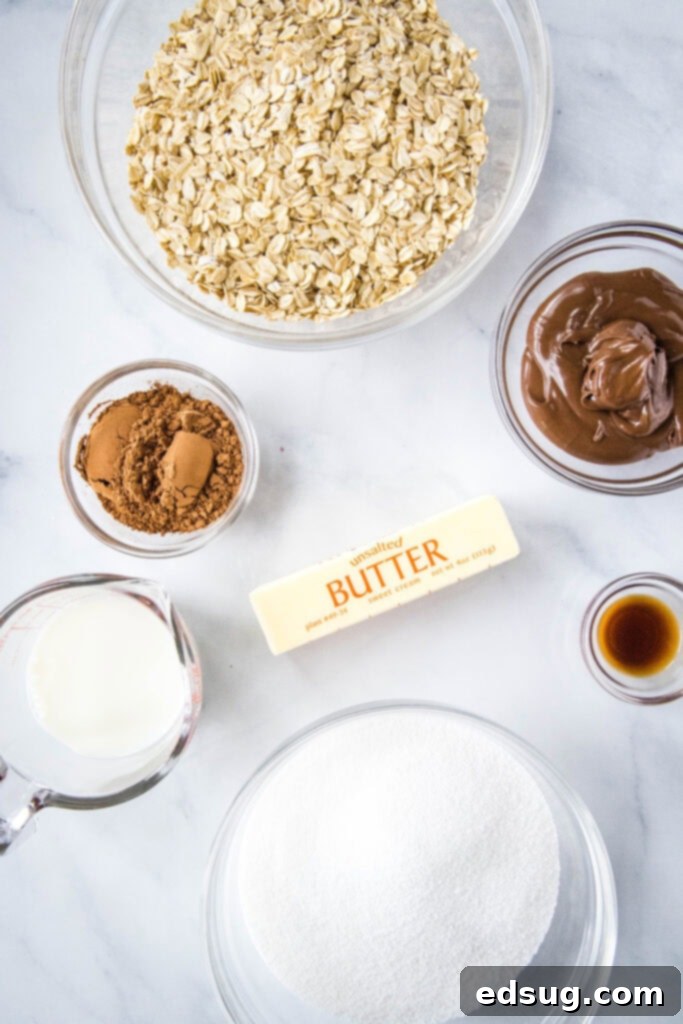
One of the beauties of this recipe is its straightforward ingredient list, featuring items you likely already have in your pantry. Each component plays a vital role in achieving that perfect no-bake texture and irresistible flavor. Here’s what you’ll need to gather:
- Butter: This forms the rich, melt-in-your-mouth base of our bars. Unsalted butter is generally preferred in baking to control the salt content, but salted butter can also work, just be mindful of any additional salt you might add.
- Granulated Sugar: Crucial for sweetness and, more importantly, for the structure of the bars once it boils and sets. Don’t skimp on the boiling time!
- Cocoa Powder: Unsweetened cocoa powder provides the deep chocolatey foundation. The quality of your cocoa can significantly impact the overall chocolate flavor, so choose a good one.
- Milk: Adds moisture and helps to create the liquid base for boiling with the butter and sugar. Any type of milk (whole, 2%, skim) will work, though whole milk will contribute to a slightly richer bar.
- Nutella: The star ingredient! This chocolate hazelnut spread delivers a uniquely creamy texture and its signature irresistible flavor that truly elevates these bars. Ensure it’s at room temperature for easier mixing.
- Vanilla Extract: A touch of vanilla enhances all the other flavors, adding a warm, aromatic note that rounds out the chocolate and hazelnut. Pure vanilla extract is always recommended for the best taste.
- Old Fashioned Oats: These provide the chewy texture and structural integrity for the bars. They are essential for soaking up the liquid mixture and holding everything together. We’ll discuss why these are preferred in more detail below.
How To Make No-Bake Nutella Bars: Step-by-Step Guide
Crafting these delectable Nutella bars is incredibly straightforward, even for novice bakers. The key lies in precise timing during the boiling stage, which ensures your bars set up perfectly. Follow these simple steps for success:
- Combine and Boil: In a sturdy saucepan, combine the butter, granulated sugar, milk, and cocoa powder. Place the pan over medium heat. Stir these ingredients frequently as they heat up to ensure everything melts and combines smoothly and to prevent scorching. Bring the mixture to a full, rolling boil. Once it reaches a full boil, continue to cook and stir for exactly 1 minute. This step is absolutely critical for the bars to set properly.
- Remove from Heat and Stir in Flavor: Immediately after the 1-minute boil, remove the pan from the heat. Stir in the Nutella and vanilla extract. Continue stirring until the Nutella is completely melted and thoroughly incorporated into the chocolate mixture, creating a smooth, glossy base.
- Add the Oats: Now, add the old-fashioned oats to the pan. Stir vigorously until every single oat flake is well coated with the warm Nutella-chocolate mixture. Work quickly but thoroughly to ensure even distribution.
- Press into Pan: Promptly pour the oat mixture into an 8-inch baking dish. For easy removal, line the dish with parchment paper or foil, leaving an overhang on the sides to use as handles. Press the mixture down evenly and firmly into the pan using the back of a spoon or a spatula. This compaction helps the bars hold their shape.
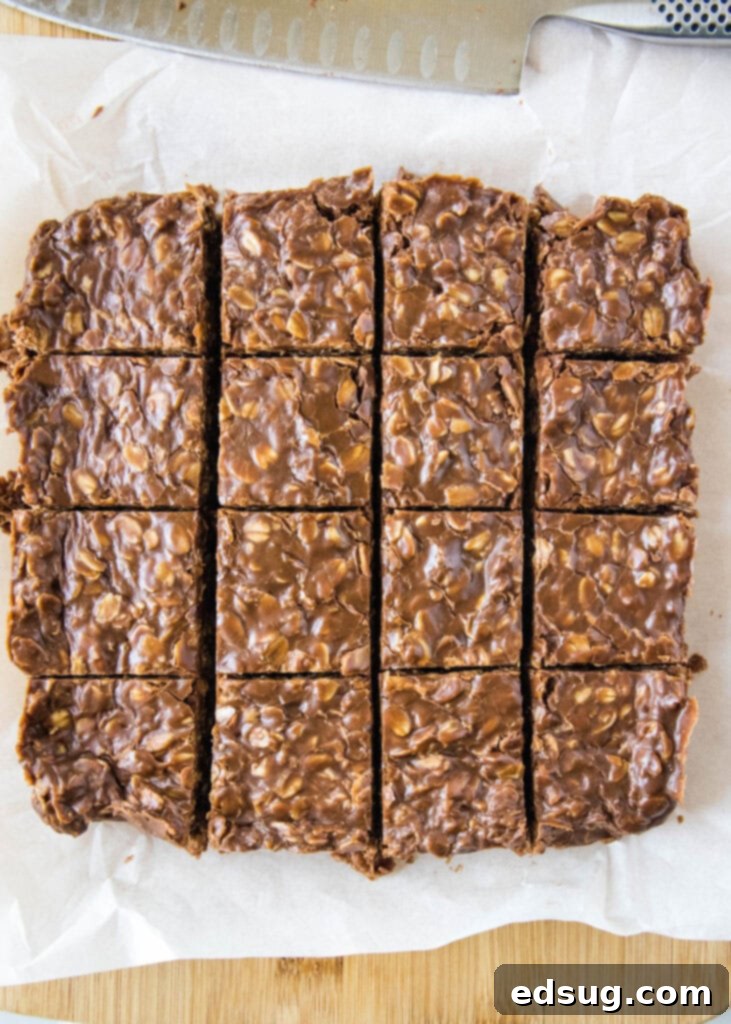
- Cool and Set: Allow the bars to cool and set up completely. This usually takes about 2 hours at room temperature, but placing them in the refrigerator can speed up the process. Resist the urge to slice them too early, as they need to firm up for the best texture. Once firm, use the parchment paper/foil overhang to lift the entire slab out of the pan, then slice into squares or bars of your desired size.
My Bars Didn’t Set Up: Troubleshooting Tips
If you’ve ever made no-bake cookies before, you know that the setting process is key, and these Nutella bars operate on the same principle as Peanut Butter No-Bake Cookies. The most common issue people encounter is bars that don’t firm up properly, remaining too gooey or crumbly. This almost always boils down to one crucial step: ensuring the mixture boils for long enough.
You are essentially creating a simple candy base by melting and combining butter and sugar. For this mixture to crystallize and set once cooled, it needs to reach a specific temperature and cook for a precise duration. The recipe calls for bringing the mixture to a **full, rolling boil and then cooking it for a full minute**. This isn’t just a suggestion; it’s a scientific requirement for the sugar molecules to properly dissolve and then re-form into a stable structure as they cool.
Here’s why it’s so important: If you don’t boil it long enough, the sugar won’t fully dissolve or reach the correct concentration, resulting in a mixture that won’t set. It will remain soft and sticky. I cannot stress this enough: **Use a TIMER!** Set it for exactly 60 seconds once the mixture is at a vigorous, full boil, not just simmering or gently bubbling. This small step makes all the difference between a perfectly firm bar and a delicious, but messy, heap. If your bars don’t set, try refrigerating them for a longer period, sometimes an extra hour or two in a cold fridge can help. In rare cases, if they still don’t set, they can be repurposed as a delicious “crumble” topping for ice cream!
What Kind Of Oats To Use For Best Texture
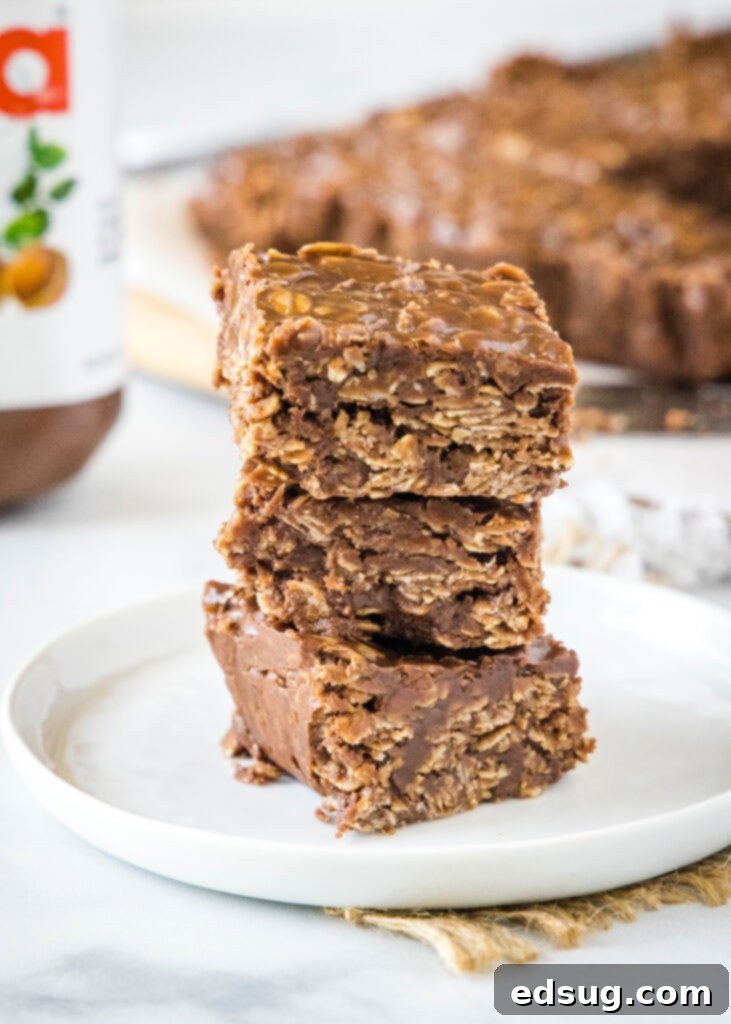
While you can certainly work with whatever oats you have on hand, the type of oats you choose can influence the final texture of your No-Bake Nutella Bars. For this recipe, I highly recommend using Old-Fashioned Rolled Oats. These oats are flatter, larger, and retain more of their shape and chewiness when mixed with the warm liquid ingredients. This gives the bars a satisfyingly hearty bite and provides the best structural integrity, ensuring they hold together well when sliced.
If you only have quick-cooking oats, they can still be used, and your bars will indeed set up and taste delicious. However, quick oats are pre-cooked, steamed, and rolled thinner, which means they absorb liquid more rapidly and become softer. This might result in a slightly less chewy and more “cakey” or crumbly texture compared to bars made with old-fashioned oats. Both options are viable, but for that ideal, robust no-bake bar experience, old-fashioned oats are the clear winner.
Customizing Your Nutella Bars: Fun Variations
While these No-Bake Nutella Bars are perfect as is, they also serve as an excellent canvas for customization! Feel free to get creative and add your favorite mix-ins or toppings to make them uniquely yours. Consider stirring in a handful of mini chocolate chips, chopped nuts (like hazelnuts or pecans for extra crunch), or even shredded coconut flakes along with the oats. For a decorative touch, a sprinkle of sea salt on top before they set can balance the sweetness beautifully. You could also drizzle them with melted white chocolate or more Nutella after they’ve cooled. These simple additions can add new layers of flavor and texture, turning an already fantastic treat into an extraordinary one!
Storage and Shelf Life: Keeping Your Bars Fresh
Once your No-Bake Nutella Bars are completely set and sliced, proper storage will ensure they remain fresh and delicious for as long as possible. You can store them covered in an airtight container at room temperature for about a week. However, do keep in mind that if your house is particularly warm, they might become a bit softer. For optimal firmness and to extend their shelf life, I personally prefer to store them in the refrigerator. Chilling them keeps them perfectly solid and enhances their chewiness, allowing them to last a little bit longer – typically up to 10 days in the fridge.
These Nutella Bars are also fantastic for freezing! To freeze, arrange the cooled and sliced bars in a single layer on a baking sheet and freeze until solid. Once frozen, transfer them to an airtight freezer-safe container or a heavy-duty freezer bag. You can also individually wrap each bar in plastic wrap before storing them in a container; this is great for portion control and easy thawing. They will keep well in the freezer for up to 5 months. When you’re ready to enjoy, simply take out as many as you need and let them thaw at room temperature for about 15-30 minutes, or enjoy them slightly frozen for a different texture.
Serving Suggestions: Enjoying Your Nutella Bars
These No-Bake Nutella Bars are incredibly versatile and can be enjoyed in many ways. They make a fantastic quick snack to satisfy a sweet craving anytime of day. Serve them with a tall glass of cold milk, a warm cup of coffee, or even alongside a scoop of vanilla ice cream for an extra indulgent treat. They’re also perfect for packing in school lunches, bringing to picnics, or serving at parties and potlucks where their convenient bar shape makes them easy to grab and enjoy. No matter how you choose to serve them, their rich chocolate hazelnut flavor is sure to be a crowd-pleaser.
More Tasty No Bake Dessert Recipes
- Avalanche Cookies
- Monster Cookie Bars
- No Bake Blueberry Cheesecake
- Chocolate Avalanche Bars
- No Bake Oreo Cheesecake
- Oreo Cream Squares
- Cornflake Cookies
- Strawberry Cream Squares
No Bake Nutella Bars
Pin Recipe
Rate Recipe
Print Recipe
Ingredients
- 2 cups granulated sugar
- 4 Tablespoons unsweetened cocoa powder
- 1/2 cup butter
- 1/2 cup milk
- 1/2 cup Nutella
- 1 Tablespoon vanilla extract
- 2 1/2 cups old-fashioned oats
Instructions
-
In a heavy saucepan, bring the sugar, cocoa, butter and milk to a full boil. Boil for 1 minute.
-
Remove from the heat and stir in Nutella, vanilla, and oatmeal.
-
Pour mixture into a lined 8×8 inch pan, or drop by the spoonful onto a lined cookie sheet. Put in fridge to harden.
-
I think they are best eaten cold, so I always keep mine in the fridge. Enjoy!
Nutrition
Nutrition information is automatically calculated, so should only be used as an approximation.
Additional Info
Like this recipe? Leave a comment below!
I created a fun group on Facebook, and I would love for you to join us! It’s a place where you can
share YOUR favorite recipes, ask questions, and see what’s new at Dinners, Dishes and Desserts (so that you never miss a new recipe)!
Be sure to follow me on Instagram and
tag #dinnersdishes so I can see all the wonderful DINNERS, DISHES, AND DESSERTS
recipes YOU make!
Be sure to follow me on my social media, so you
never miss a post!
Facebook | Twitter | Pinterest | Instagram
.
