Perfect Homemade Buttermilk Biscuits: Fluffy, Tender, and Easy Recipe
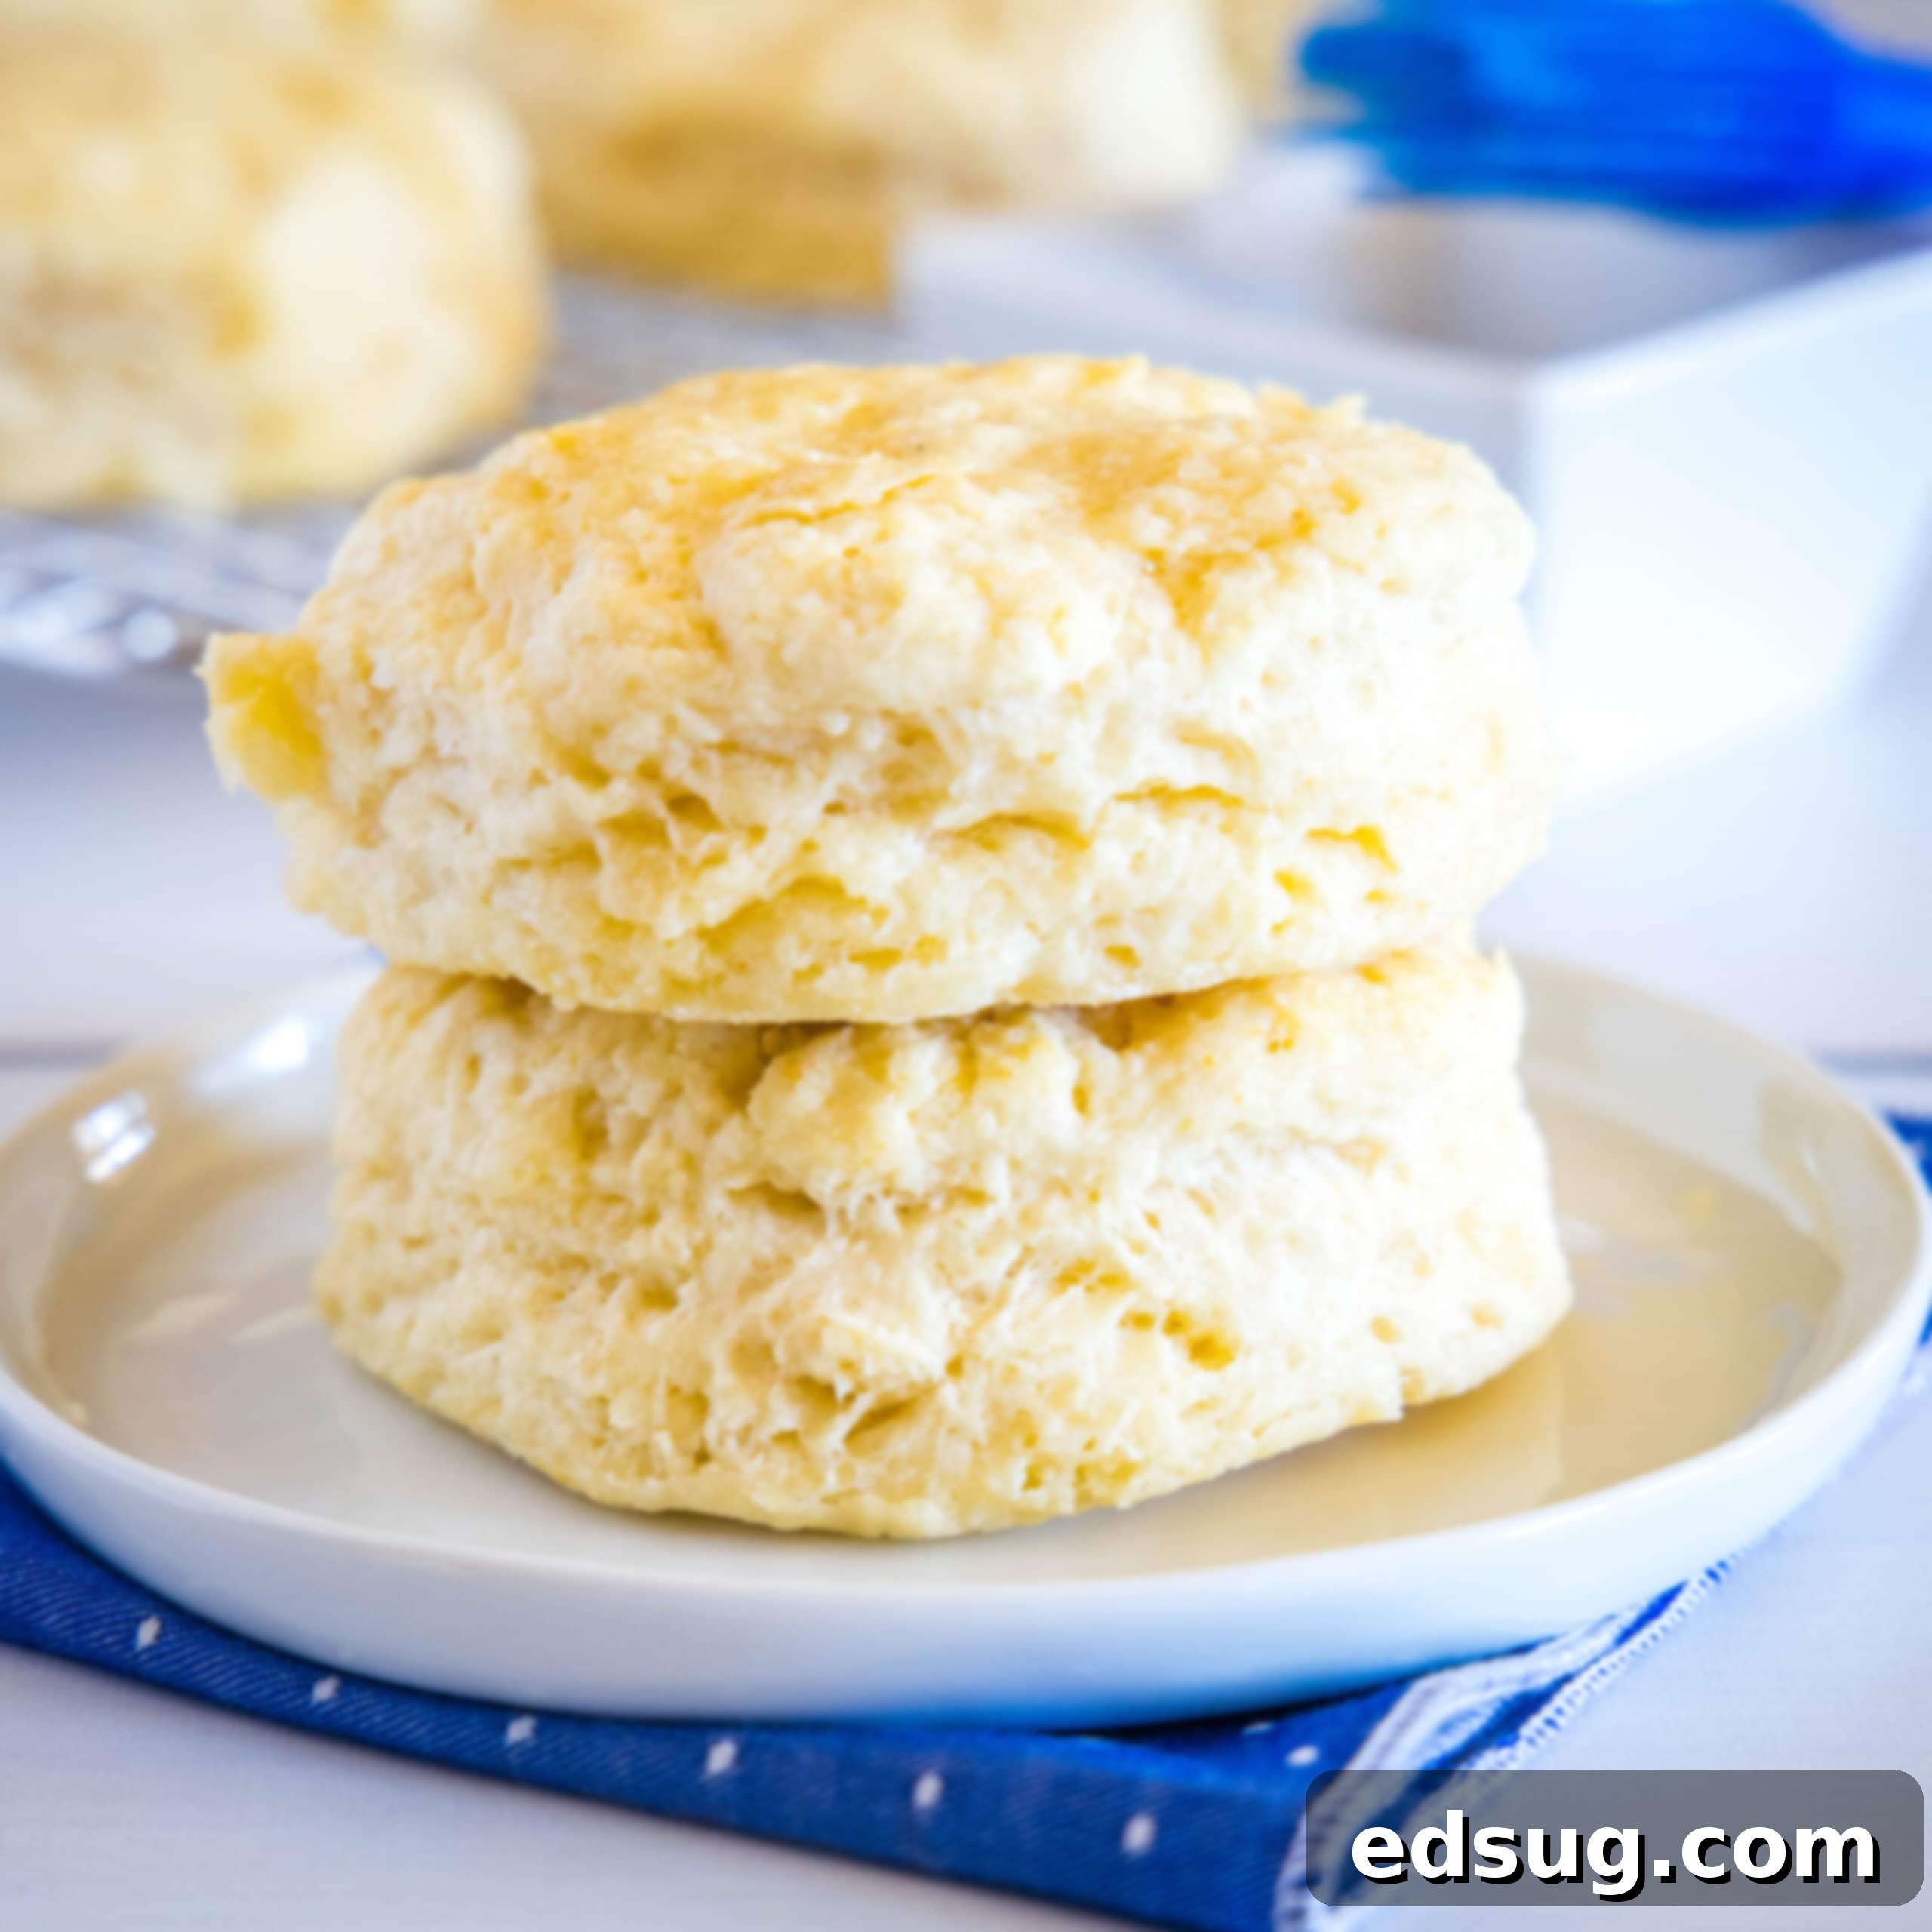
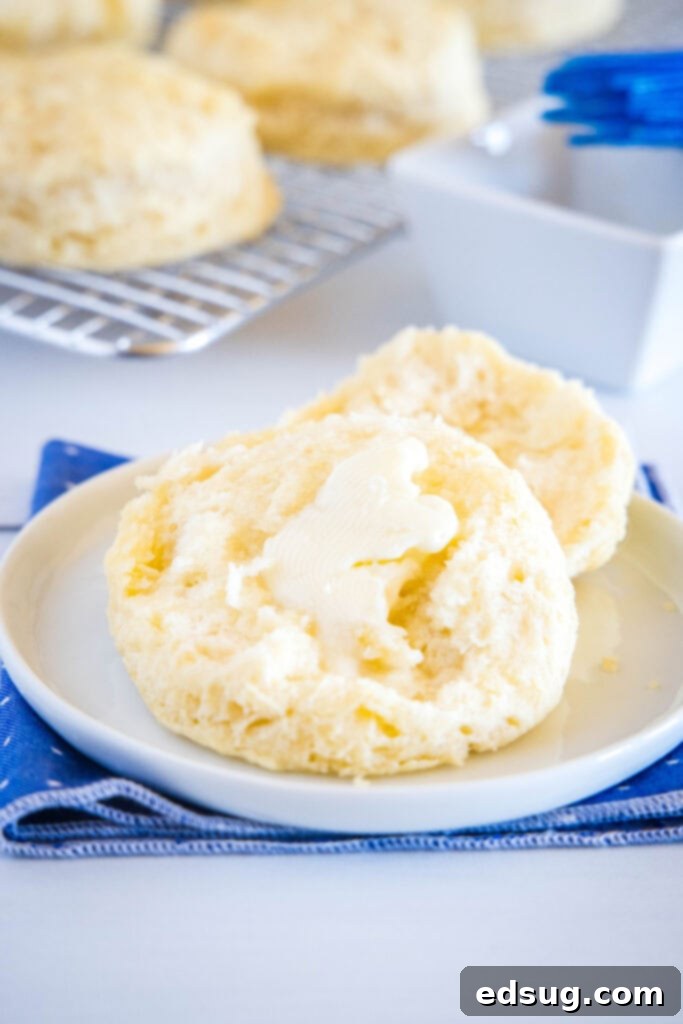
Indulge in the ultimate comfort food with these soft, tender, fluffy, and undeniably buttery homemade buttermilk biscuits. They are absolutely delicious and incredibly versatile – perfect as a hearty breakfast staple, a delightful side dish, or simply a satisfying snack.
There’s an undeniable magic to a warm, freshly baked biscuit. The delicate, flaky layers, the rich buttery aroma, and that melt-in-your-mouth texture create an experience that few other baked goods can match. While many people believe that achieving perfect biscuits from scratch is a daunting task, I’m here to assure you that it’s surprisingly simple with the right technique and a few key tips. This recipe will guide you to create light, airy, and buttery biscuits that will rival any bakery or restaurant.
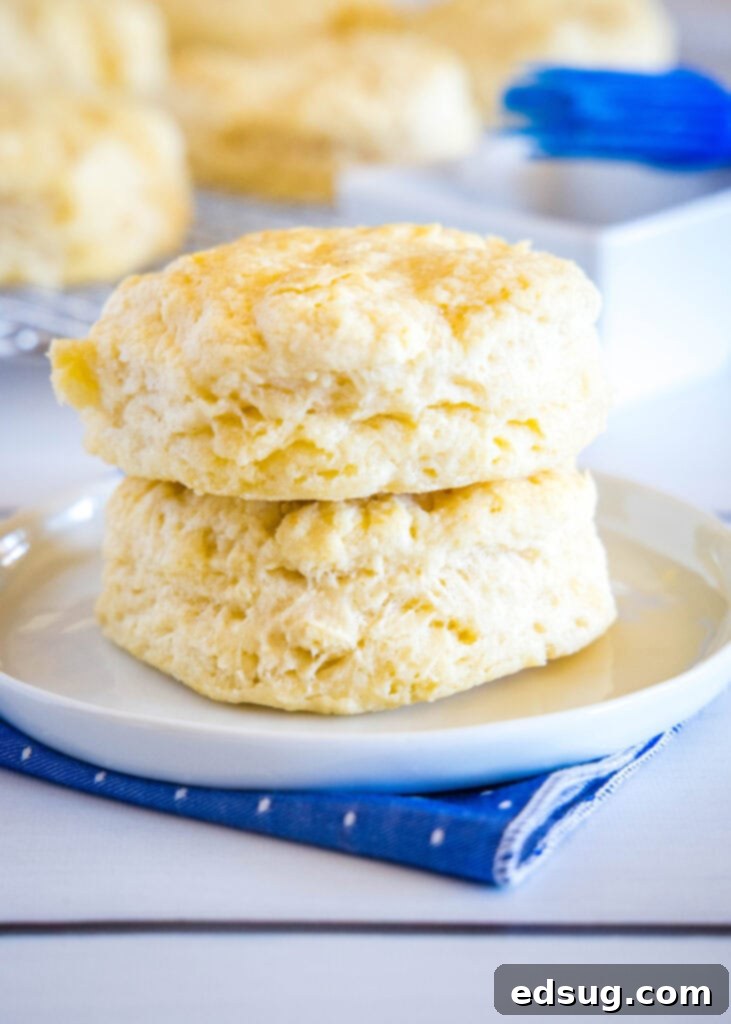
The Quest for Biscuit Perfection: A Personal Culinary Journey
My personal quest for the perfect biscuit has been a long and delicious one. I’m a self-proclaimed biscuit enthusiast, always on the lookout for the ideal balance of crisp exterior and tender interior. If biscuits are on a restaurant menu, you can bet I’ll be ordering them almost every single time! This obsession dates back to my high school days when I worked at Hardee’s. For those who remember, Hardee’s used to make their biscuits fresh from scratch right in the store every morning. Many early weekend shifts were spent in the kitchen, meticulously preparing batches of biscuits. This hands-on experience, learned through countless mornings of mixing, cutting, and baking, instilled in me a deep understanding and appreciation for the craft of biscuit making. That foundational knowledge, combined with years of home baking and experimentation, has led me to what I truly believe is the perfect homemade biscuit recipe.
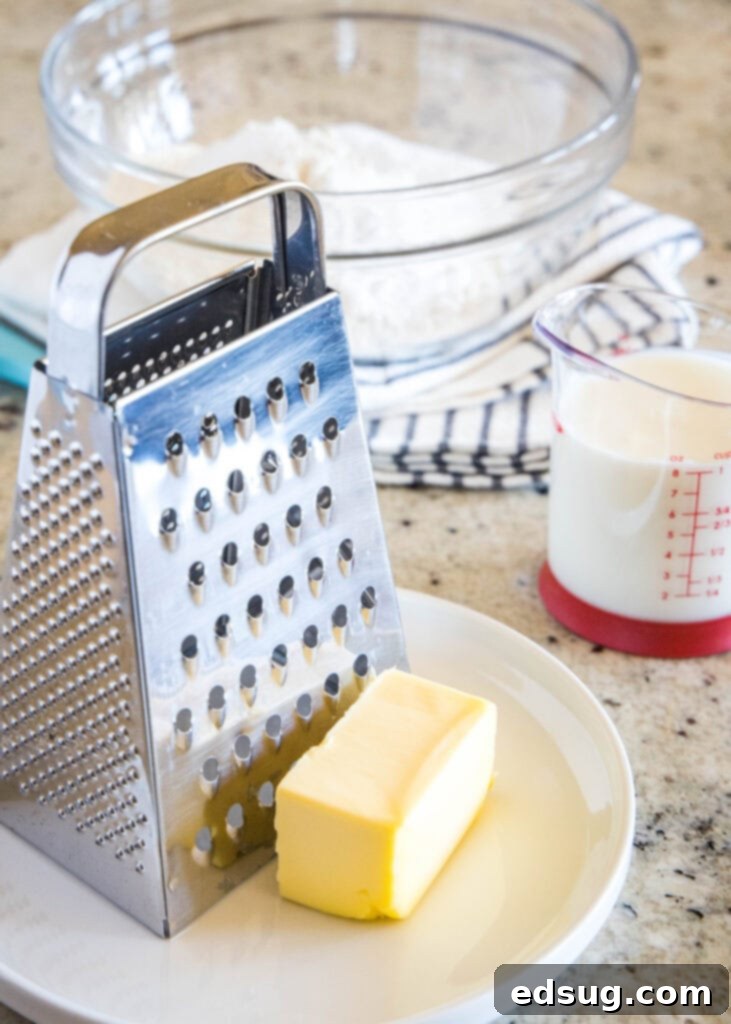
Essential Ingredients for Irresistible Buttermilk Biscuits
Creating truly outstanding buttermilk biscuits begins with selecting the right ingredients and understanding how each contributes to the final masterpiece. Quality matters here, so choose wisely.
- High-Quality Cold Butter: This is arguably the most critical ingredient. For the flakiest, most tender biscuits, you need butter with a higher butterfat content, often referred to as “European-style butter.” Brands like Kerrygold, Plugra, Minerva Dairy, and Danish Creamery are excellent choices, but any good quality unsalted butter will work. The butter must be ice cold. Tiny pieces of cold butter melting in the oven create steam, which separates the dough into delicate, flaky layers.
- Cold Buttermilk: Buttermilk is indispensable for its tangy flavor and its role in leavening. Its acidity reacts with the baking powder, producing carbon dioxide bubbles that lift the biscuits, making them light and fluffy. If you don’t have buttermilk on hand, don’t worry! You can easily make your own substitute: simply mix 1 tablespoon of white vinegar or lemon juice with 1 cup of regular milk (whole milk is best) and let it sit for 5-10 minutes until it slightly curdles. Ensure this substitute is also cold.
- All-Purpose Flour: Unbleached all-purpose flour is my preference for its consistent quality and moderate protein content, which strikes the right balance between structure and tenderness. While some recipes call for self-rising flour, using all-purpose flour allows you to control the leavening precisely, which is crucial for perfect results.
- Fresh Baking Powder: This leavening agent is vital for the biscuit’s rise. Always check the expiration date on your baking powder; an old or inactive powder will result in flat, dense biscuits. Additionally, I highly recommend using aluminum-free baking powder. The aluminum in some conventional baking powders can sometimes react with the acid in buttermilk, leaving an unpleasant metallic or bitter aftertaste.
- Granulated Sugar: A small amount of granulated sugar helps to balance the savory flavors and contributes to a beautiful golden-brown crust, without making the biscuits overly sweet. It’s a subtle touch that makes a big difference in flavor and appearance.
- Fine Sea Salt: Salt is essential for enhancing all the other flavors in the biscuit dough. Use a finely ground salt to ensure even distribution throughout the mixture, preventing pockets of excessive saltiness.
Crafting Perfection: A Step-by-Step Guide to Buttermilk Biscuits
Follow these detailed instructions to bake the lightest, fluffiest, and most buttery buttermilk biscuits from scratch. Remember, the secrets to success are keeping your ingredients cold and handling the dough as little as possible.
- Preheat Oven and Prepare Baking Sheet: Begin by preheating your oven to a hot 425º F (220°C). Line a large baking sheet with parchment paper. This prevents sticking and ensures even browning on the bottom of your biscuits.
- Combine Dry Ingredients: In a spacious mixing bowl, combine the two cups of all-purpose flour, one tablespoon of baking powder, two teaspoons of granulated sugar, and one teaspoon of fine sea salt. Whisk these ingredients together thoroughly to ensure the leavening agents and flavorings are evenly distributed. This step is crucial for consistent rise.
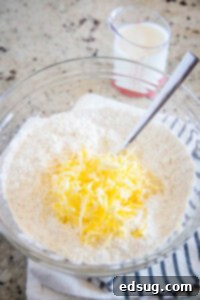
- Incorporate the Cold Butter: Take 5 tablespoons of your very cold butter. Using a box grater, grate the butter directly into the bowl with the dry ingredients. This method ensures you get small, consistent pieces of butter. Once grated, use a fork or your fingertips to gently and quickly work the butter into the flour mixture until it resembles coarse crumbs, with some pea-sized pieces of butter still visible. The key here is speed and minimal handling to keep the butter as cold as possible.
- Add the Buttermilk: Pour in the 1 cup of cold buttermilk. With a fork or rubber spatula, gently stir the mixture until just combined. A rough, shaggy dough will begin to form, and it’s perfectly fine if there are still a few dry patches. Avoid overmixing at all costs, as excessive mixing develops gluten, which leads to tough, chewy biscuits instead of tender ones.
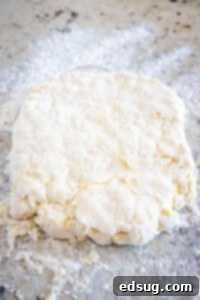
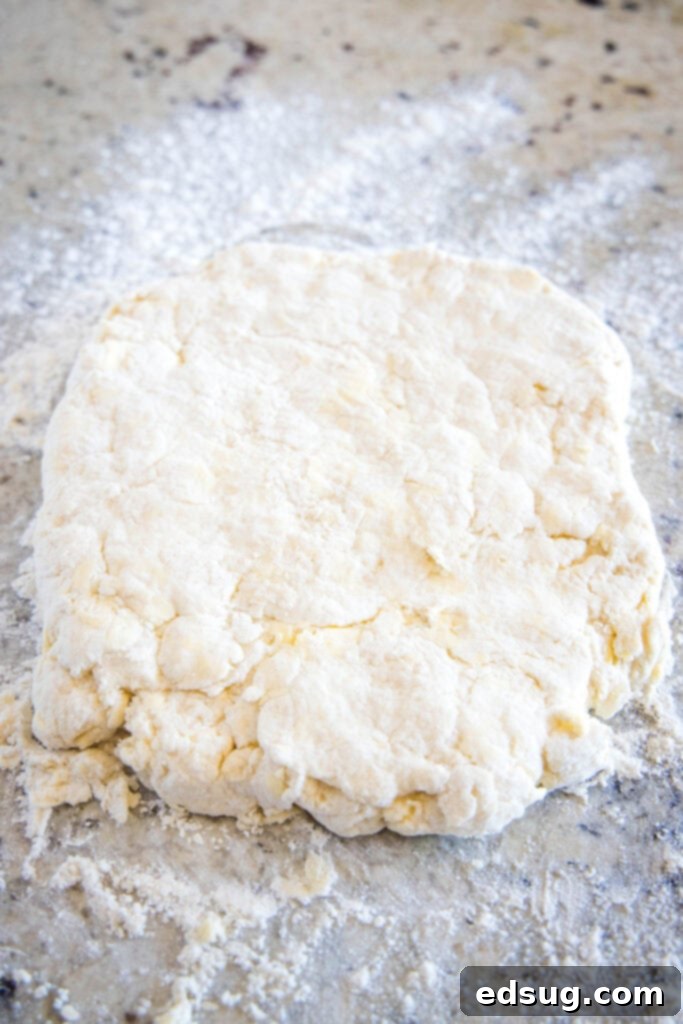
- Shape the Dough: Lightly flour a clean work surface. Turn the shaggy dough out onto this floured surface. Using your hands, gently pat and press the dough into a rectangular shape, roughly 10 x 6 inches in size and about 1/2 to 3/4 inch thick. Resist the temptation to knead or roll the dough vigorously. Gentleness is key to maintaining those butter pockets and preventing gluten development.
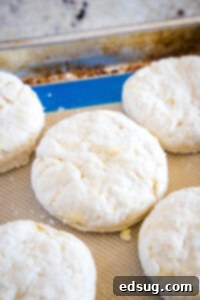
- Cut the Biscuits: Lightly flour your biscuit cutter (a 2-inch or 2.5-inch cutter is ideal, but a drinking glass will work in a pinch). Press the cutter straight down into the dough without twisting. Twisting can seal the edges of the biscuit, hindering its ability to rise fully in the oven. Lift the cutter straight up. Place the cut biscuits on your prepared baking sheet, leaving about an inch of space between them. Gather any dough scraps, gently press them together (do not knead them), and cut out any additional biscuits. Remember to minimize re-working the dough.
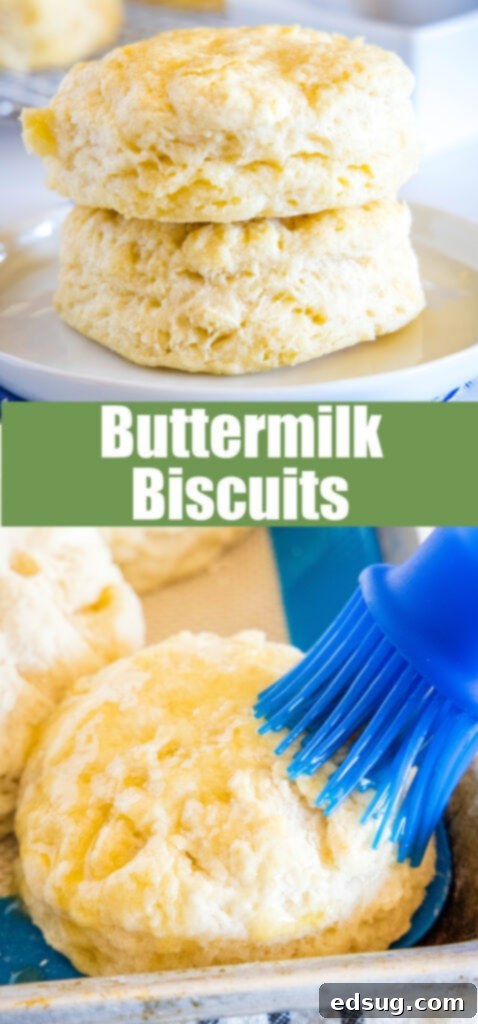
- Bake Until Golden: Transfer the baking sheet to your preheated 425°F (220°C) oven. Bake for approximately 12-15 minutes. The biscuits are ready when they have risen beautifully, are light and fluffy, and their tops are a lovely golden brown.
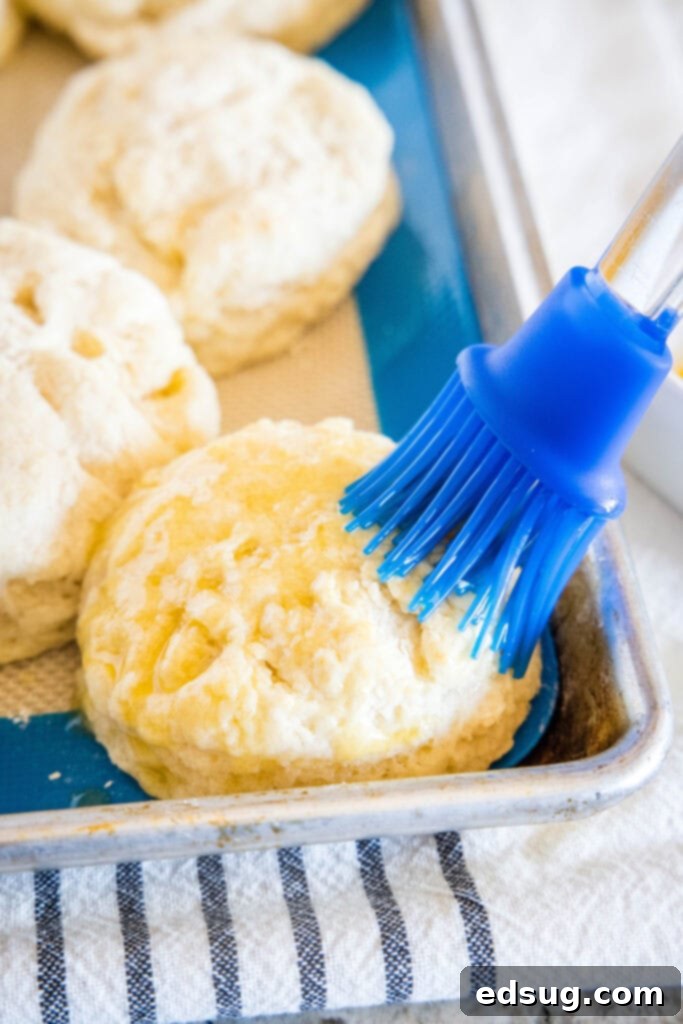
- Finish with Melted Butter: As soon as you remove the hot biscuits from the oven, generously brush their tops with the remaining 2 tablespoons of melted butter. This final touch adds an extra layer of rich flavor and helps to soften the crust, making them even more irresistible. Serve your homemade buttermilk biscuits warm and enjoy!
Expert Tips and Tricks for Biscuit Perfection
While the recipe itself is straightforward, incorporating these expert tips will elevate your buttermilk biscuits from good to absolutely legendary. Pay close attention to these nuances for consistently perfect results.
-
Maintain Extremely Cold Ingredients:
This is arguably the golden rule of biscuit making. The butter and buttermilk must be as cold as possible. When tiny, cold pockets of butter are distributed throughout the dough, they resist fully incorporating into the flour. As the biscuits bake in a hot oven, these butter pockets melt rapidly, releasing steam. This steam then forces apart the layers of dough, creating those distinctive flaky strata and a wonderfully tender crumb. If your butter is too warm, it will melt into the flour before baking, resulting in a denser, more cake-like biscuit rather than a light and airy one.
-
Handle the Dough as Little as Possible:
Unlike bread doughs that require extensive kneading to develop gluten for chewiness, biscuit dough thrives on minimal handling. Overworking biscuit dough is the quickest route to tough, dense biscuits. Mix the dry and wet ingredients only until they are just combined and a shaggy dough forms. When shaping, use gentle pressing and folding motions rather than vigorous kneading. The less you touch the dough, the colder the butter will remain, and the more tender your final biscuits will be.
-
Ensure Your Baking Powder is Fresh and Aluminum-Free:
Baking powder is your primary leavening agent, and its potency diminishes over time. Always check the expiration date; if it’s past its prime, your biscuits simply won’t rise properly. To double-check, you can test a teaspoon of baking powder in a small bowl of hot water – it should fizz vigorously if active. Furthermore, I strongly recommend using aluminum-free baking powder. The aluminum found in some conventional baking powders can react with the acid in buttermilk, which can impart a noticeable metallic or bitter aftertaste to your biscuits. If you’ve ever had biscuits with an odd flavor, this could be the reason.
-
Master the Biscuit Cutting Technique:
When cutting your biscuits with a round cutter, press straight down firmly through the dough. It is crucial *not* to twist the cutter. Twisting seals the edges of the biscuit dough, which can prevent the layers from rising freely and result in shorter, less flaky biscuits. A clean, straight cut allows the dough to expand upwards unimpeded, giving you that beautiful, tall rise. If you prefer, a sharp knife can also be used to cut the dough into square or wedge-shaped biscuits, eliminating the need for a cutter altogether.
-
Preheat Your Oven Adequately:
A hot oven is essential for biscuit success. Baking at 425°F (220°C) ensures that the butter melts quickly and creates steam rapidly, setting the structure of the biscuit before it spreads too much. This high heat contributes to a rapid, high rise and a perfectly golden-brown crust. Don’t rush this step; allow your oven to fully come to temperature before putting in your biscuits.
-
Don’t Forget the Melted Butter Finish:
The final step of brushing hot biscuits with melted butter isn’t just for flavor (though it certainly adds a delicious richness!). It also helps to soften the tops of the biscuits, giving them an even more tender and appealing texture straight out of the oven.
Versatile Serving Suggestions & Delicious Variations
These homemade buttermilk biscuits are incredibly versatile and can be enjoyed in countless ways. Their buttery flavor and tender texture make them suitable for almost any meal of the day.
- The Classic Breakfast: The ultimate way to enjoy these is smothered in a rich, savory sausage gravy for a truly comforting Southern breakfast or brunch.
- Hearty Breakfast Sandwiches: Split them open and fill with fluffy scrambled eggs, melted cheese, and your choice of crispy bacon or a sausage patty for a delicious and filling start to your day.
- Perfect Side Dish: Serve alongside almost any comforting meal. They pair wonderfully with fried chicken, pot roast, chili, soups, or stews. They’re also fantastic with grilled meats or roasted vegetables.
- Sweet Treat: Don’t limit them to savory dishes! Enjoy warm biscuits with a generous dollop of your favorite fruit jam, honey, or fruit preserves. A pat of homemade honey butter takes them to another level of indulgence.
- Dessert Base: Believe it or not, soft, tender biscuits make an exceptional base for fruit desserts, particularly strawberry shortcake during berry season.
Creative Flavor Variations:
Once you master the basic recipe, feel free to experiment with these delicious additions:
- Cheesy Biscuits: Fold in 1/2 to 3/4 cup of shredded sharp cheddar, Monterey Jack, or a blend of cheeses with the dry ingredients for a savory, cheesy kick.
- Herb-Infused Biscuits: Add 1-2 tablespoons of finely chopped fresh herbs such as chives, rosemary, thyme, or parsley to the dry mixture before adding the butter.
- Garlic and Herb: For a savory accompaniment to dinner, mix in a teaspoon of garlic powder along with some fresh herbs.
- Sweet & Spiced Biscuits: Increase the sugar to 1/4 cup and add a teaspoon of cinnamon or a pinch of nutmeg to the dry ingredients for a slightly sweeter biscuit that’s wonderful with fruit toppings or a cup of coffee.
Storage and Reheating for Optimal Freshness
While homemade buttermilk biscuits are truly best fresh from the oven, you can absolutely store and reheat them successfully, allowing you to enjoy their comforting goodness later.
- Storing Leftovers: Once completely cooled, store your baked biscuits in an airtight container at room temperature for up to 2-3 days. For slightly longer storage, you can refrigerate them for up to a week. Be aware that refrigeration can slightly alter their texture.
- Freezing Baked Biscuits: To enjoy biscuits even further down the line, baked biscuits freeze exceptionally well. Allow them to cool completely, then arrange them in a single layer on a baking sheet and freeze until solid (this prevents them from sticking together). Once frozen, transfer the biscuits to a freezer-safe bag or container, pressing out as much air as possible. They will keep well for up to 3 months.
- Reheating Baked Biscuits:
- From Room Temperature: Preheat your oven to 350°F (175°C). Place the biscuits directly on a baking sheet and heat for 5-7 minutes, or until they are warmed through and softened.
- From Frozen: For best results, thaw frozen biscuits in the refrigerator overnight. Then, reheat them as you would room-temperature biscuits. If you’re reheating directly from frozen, place them in a 300°F (150°C) oven for about 15-20 minutes, or until heated through. Avoid using a microwave for reheating, as it tends to make biscuits tough and chewy.
- Freezing Unbaked Biscuits: You can also prepare the dough and cut out the biscuits, then freeze them before baking. Place the unbaked biscuits on a parchment-lined baking sheet and freeze until solid. Once firm, transfer them to a freezer-safe bag. When you’re ready to bake, place the frozen biscuits on a baking sheet and bake at 425°F (220°C) for 18-22 minutes, or until golden brown. You may need to add a few extra minutes to the baking time compared to fresh dough.
Frequently Asked Questions About Buttermilk Biscuits
- What makes buttermilk biscuits so light and fluffy?
- The primary reasons are the cold butter, which creates steam pockets for flakiness, and the reaction between the acidic buttermilk and baking powder. This reaction produces carbon dioxide gas that expands during baking, giving the biscuits their signature lift and airy texture.
- Can I substitute regular milk for buttermilk?
- Yes, you can easily make a buttermilk substitute. For every 1 cup of buttermilk required, pour 1 tablespoon of white vinegar or lemon juice into a liquid measuring cup, then fill it the rest of the way to the 1-cup mark with regular milk (whole milk or 2% works best). Let it sit for 5-10 minutes until it slightly curdles. Use this cold in the recipe.
- Why is my biscuit dough sticky?
- A slightly sticky dough is quite normal, and indicates good hydration. Ensure your work surface is well-floured when you turn the dough out. If it’s excessively sticky and difficult to handle, you might have added too much liquid. You can gently incorporate a tablespoon more flour if necessary, but avoid overdoing it.
- My biscuits turned out tough; what went wrong?
- Tough biscuits are almost always a sign of overworking the dough. Too much handling develops the gluten in the flour, which leads to a chewy rather than tender texture. Be gentle and work quickly when mixing and shaping the dough.
- How can I tell if my baking powder is still fresh?
- To test your baking powder, add a teaspoon of it to a small bowl containing about half a cup of hot water. If it immediately fizzes vigorously, it’s still active and good to use. If there’s little to no fizz, it’s time to replace it.
- Can I add cheese or herbs to this recipe?
- Absolutely! This recipe is very adaptable. For cheesy biscuits, fold in 1/2 to 3/4 cup of shredded cheese (like cheddar or Monterey Jack) with the dry ingredients. For herb biscuits, add 1 to 2 tablespoons of finely chopped fresh herbs (such as chives, rosemary, or thyme) to the dry mixture.
Homemade Buttermilk Biscuits
Erin Sellin
10
15
25
8
Rate Recipe
Print Recipe
Ingredients
- 2 cups all-purpose flour
- 1 Tablespoon baking powder
- 2 teaspoons sugar
- 1 teaspoon salt
- 7 Tablespoons cold butter, divided
- 1 cup buttermilk
Instructions
-
Preheat oven to 425º F (220°C). Line a baking sheet with parchment paper.
-
Mix together the flour, baking powder, salt, and sugar in a large bowl.
-
Grate in 5 Tablespoons of cold butter, and use a fork to incorporate until you get rough crumbs.

-
Add the buttermilk and stir until a rough dough starts to form.
-
Turn the dough onto a floured surface and use your hands to gently press the dough into a rectangle that is about 10 x 6 inches.

-
Gently cut the biscuits using a floured glass or biscuit cutter. Do not twist.

-
Place biscuits on the lined baking sheet and bake for about 15 minutes until they are fluffy and golden brown.
-
Remove them from the oven and immediately brush the tops with 2 Tablespoons of melted butter. Serve warm.
Notes
Nutrition
Calories: 220kcal |
Carbohydrates: 27g |
Protein: 4g |
Fat: 11g |
Saturated Fat: 7g |
Polyunsaturated Fat: 3g |
Cholesterol: 28mg |
Sodium: 612mg |
Fiber: 1g |
Sugar: 3g
Nutrition information is automatically calculated, so should only be used as an approximation.
Additional Info
Like this recipe? Leave a comment below!
Join Our Baking Community! I’ve created a fun and engaging group on Facebook, and I would absolutely love for you to join us! It’s a fantastic place where you can share YOUR favorite recipes, ask questions, get advice, and stay up-to-date with all the new and delicious creations from Dinners, Dishes and Desserts (so you never miss a new recipe)!
Be sure to follow me on Instagram and tag #dinnersdishes so I can see all the wonderful DINNERS, DISHES, AND DESSERTS recipes YOU make and share in our growing community!
Don’t miss a single post or culinary inspiration! Be sure to follow me on all my social media channels:
Facebook | Twitter | Pinterest | Instagram
