How to Make Perfect Homemade Whipped Cream in 5 Minutes: Your Ultimate Dessert Topping
Prepare to elevate your desserts with the simplest, most luxurious treat: Homemade Whipped Cream. With just three basic ingredients and about five minutes of your time, you can create a topping so rich, decadent, and utterly superior, it will completely transform your perception of whipped cream. Forget the bland, airy stuff from a can or the frozen tubs; homemade is a game-changer that will take any sweet creation to an entirely new level!
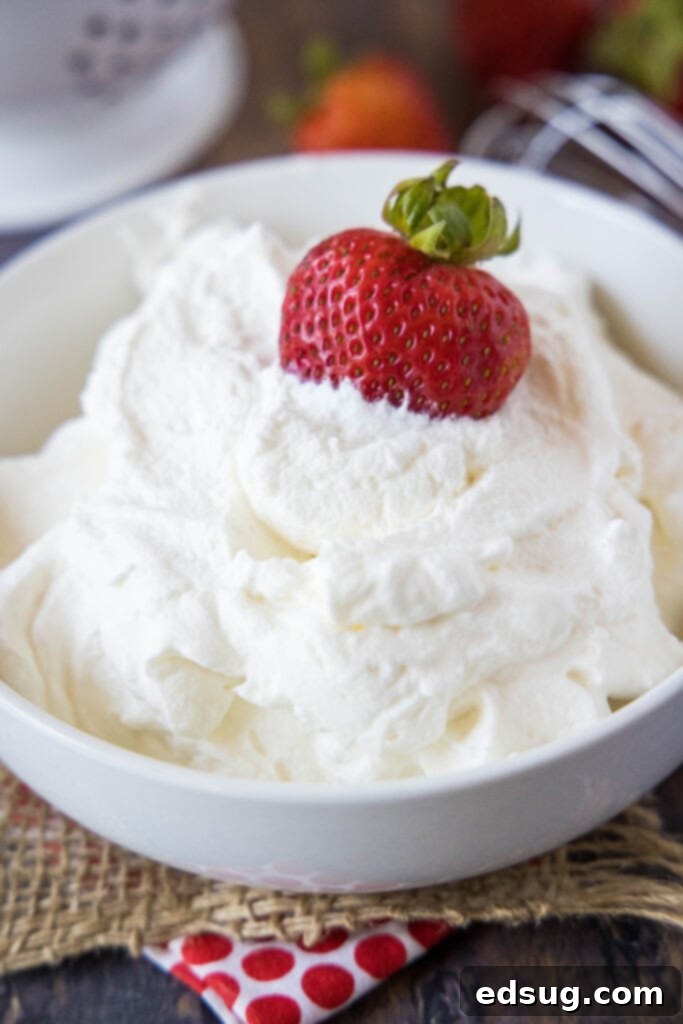
If you’ve never experienced the pure joy of freshly made whipped cream, now is the perfect moment to indulge. It’s incredibly easy, surprisingly fast, and delivers an unmatched depth of flavor and creamy texture that store-bought options simply cannot replicate. Once you try this simple recipe, you’ll wonder why you ever settled for anything less. Get ready for a dessert revolution!
Why You’ll Fall in Love with Homemade Whipped Cream
Making whipped cream from scratch might sound daunting, but it’s truly one of the simplest culinary delights. Here’s why this homemade version will become a staple in your kitchen:
- Unbeatable Simplicity – You only need three common ingredients – heavy cream, powdered sugar, and vanilla extract – all readily available at any grocery store. No obscure items or complex preparations are involved, making it perfect for even beginner bakers.
- Incredibly Fast – From liquid cream to luscious peaks, the entire process takes approximately 5 minutes. This means you can whip up a fresh batch right before serving, ensuring the freshest, most delightful topping for your pies, fresh berries, ice cream, hot chocolate, or any other dessert that calls for a touch of elegance.
- Effortless Preparation – If you can measure and press a button, you can make this. The electric mixer does all the hard work, transforming simple cream into a fluffy cloud of deliciousness with minimal effort on your part. It’s a truly hands-off process once the ingredients are in the bowl.
- Superior Flavor & Texture – This is where homemade truly shines. Compared to the artificial taste and flimsy texture of canned or frozen whipped toppings, homemade whipped cream offers a rich, natural dairy flavor, a luxurious thick consistency, and a melt-in-your-mouth creaminess that is simply divine. It adds a gourmet touch to any dessert, making it taste infinitely better.
Essential Ingredients for Perfect Whipped Cream
For detailed measurements, please scroll to the bottom of the post for the FULL PRINTABLE recipe card.
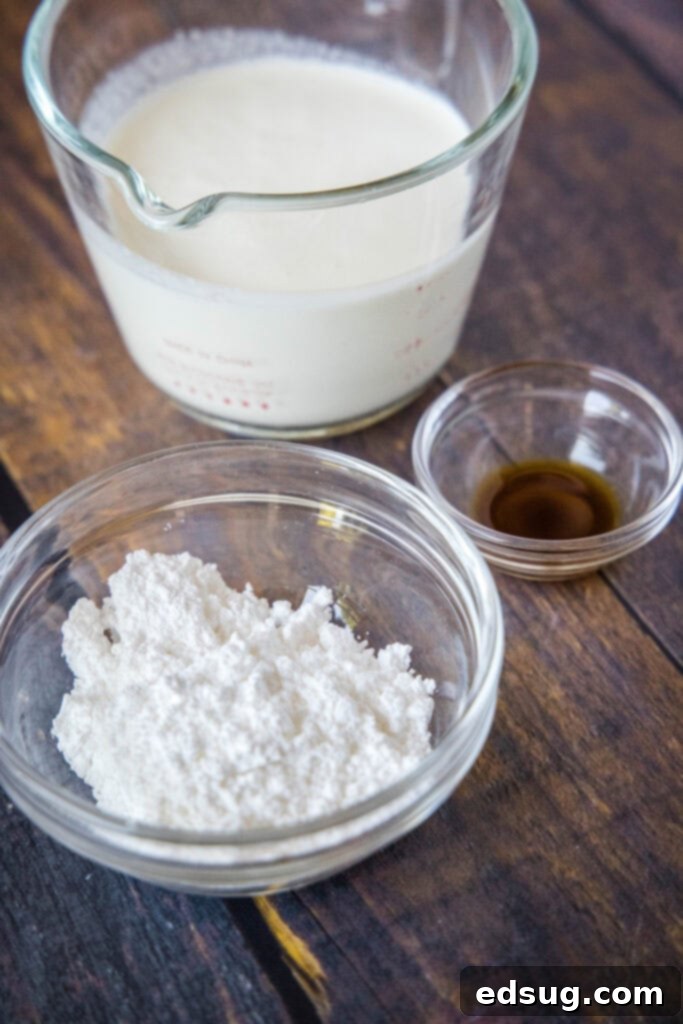
The beauty of this recipe lies in its minimalist approach. You only need a few high-quality ingredients to achieve outstanding results:
- Heavy Cream: This is the star of the show. We’ll delve into the specifics of choosing the best type below. Its high-fat content is crucial for stable, fluffy peaks.
- Powdered Sugar: Also known as confectioners’ sugar, it dissolves beautifully into the cream, ensuring a smooth texture without any grittiness. It adds just the right amount of sweetness.
- Vanilla Extract: A touch of pure vanilla extract enhances the natural cream flavor, adding warmth and depth.
Chantilly Cream: Technically, when you add sugar and vanilla (or other flavorings) to whipped cream, it’s known as Chantilly Cream. This elegant name originates from the 17th century, attributed to a pastry chef at the Château de Chantilly in France. So, while you’re simply making “homemade whipped cream,” you’re actually crafting a historical delicacy!
Choosing the Best Cream for Whipping: Heavy Cream vs. Whipping Cream
Navigating the dairy aisle can sometimes be confusing with various cream options available. Understanding the differences is key to achieving perfect whipped cream every time.
- Heavy Cream and Heavy Whipping Cream: These two terms are often used interchangeably because they are essentially the same product. Both must contain at least 36% milk fat. This high fat content is what makes them ideal for whipping. The fat globules solidify and trap air when beaten, creating a stable, voluminous structure that holds its shape beautifully. If you tried to whip lower-fat alternatives like whole milk, it would remain liquid because there isn’t enough fat to form a stable emulsion. For the stiffest peaks and best stability, always opt for heavy cream or heavy whipping cream.
- Whipping Cream: This is another common label you might encounter. Whipping cream has a slightly lower fat content, typically between 30% and 35%. While it can still be whipped, it won’t produce peaks as stiff or as stable as those made with heavy cream. It’s more prone to softening or “melting” over time, especially when refrigerated. If you plan to serve your whipped cream immediately as a soft topping for fruit or coffee, whipping cream can work perfectly. However, if you need it to hold its structure for an extended period, perhaps as a topping for a delicate French Silk Pie that will sit in the fridge for a couple of days, it’s always best to choose the higher fat content of heavy cream. The higher fat ensures longer-lasting stability and a superior texture.
Step-by-Step: Crafting Your Own Whipped Cream
Making whipped cream is incredibly straightforward. Follow these simple steps for perfect results every time:
- Chill Your Equipment: For optimal results, ensure your heavy cream, mixing bowl (preferably metal or glass), and whisk attachment are thoroughly chilled. Place the bowl and whisk in the refrigerator or freezer for at least 15-30 minutes before you begin. Cold equipment helps the fat in the cream emulsify more efficiently, leading to faster whipping and a more stable structure.
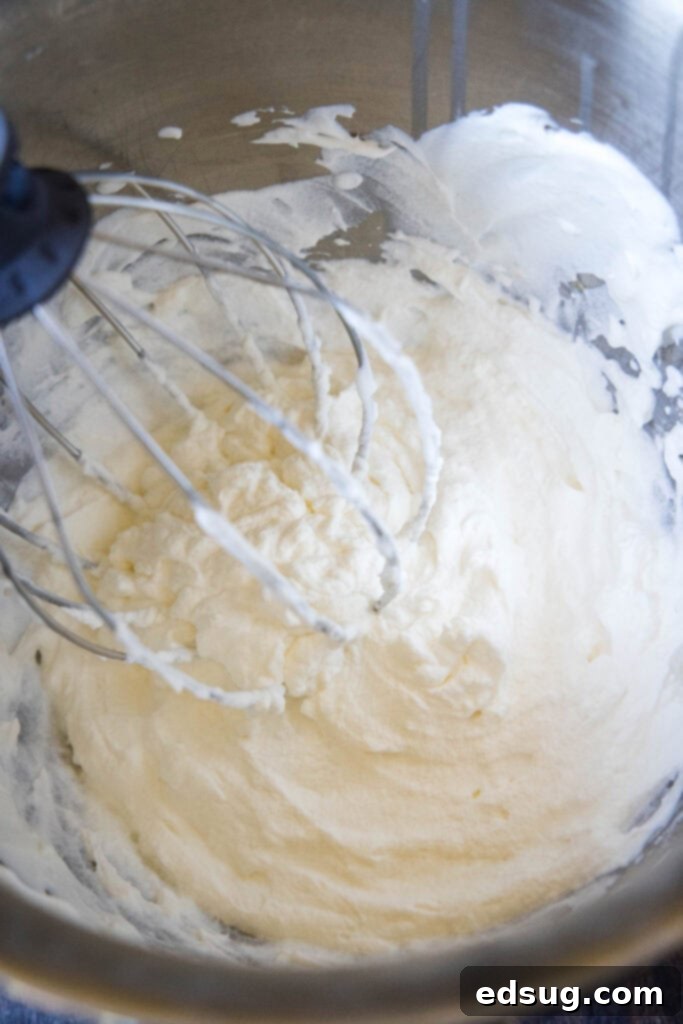
- Whip the Cream to Medium Peaks: Pour the cold heavy cream into your chilled stand mixer bowl, fitted with the whisk attachment. Start the mixer on a medium speed to prevent splattering, then gradually increase to high speed. Beat for approximately 3-4 minutes. Keep an eye on the cream; it will begin to thicken and hold its shape. You’re looking for “medium peaks,” where the cream holds a soft peak when you lift the whisk, but the tip curls slightly.
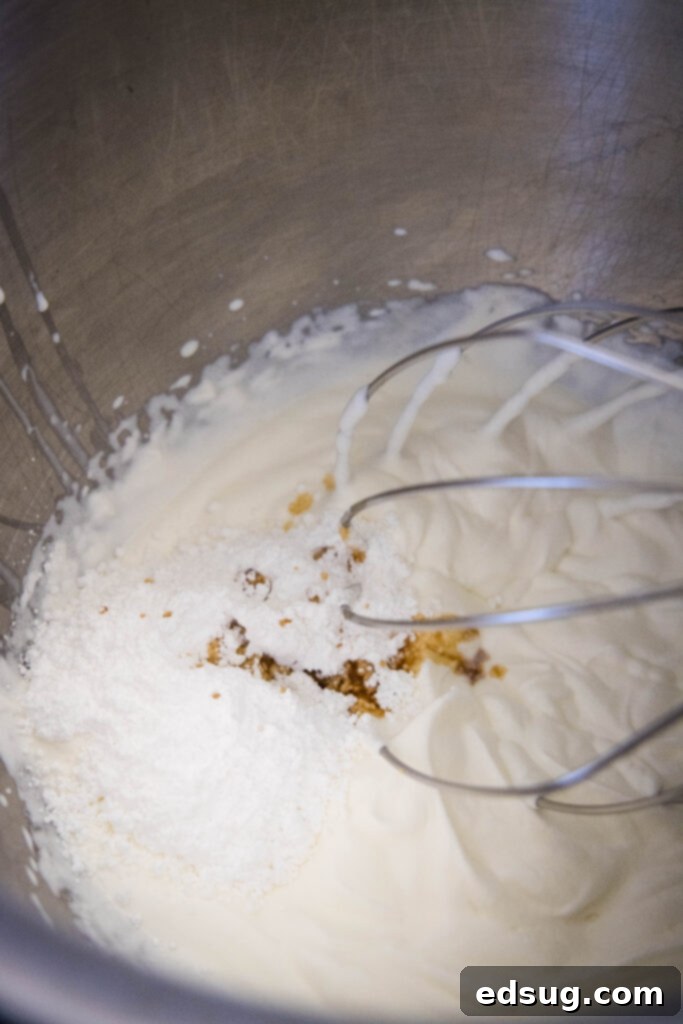
- Add Sweetener and Flavor: Once you’ve reached medium peaks, stop the mixer. Add the powdered sugar and vanilla extract to the cream.
- Beat to Stiff Peaks: Resume beating on high speed for another minute or so, until “stiff peaks” form. As it whips, periodically scrape down the sides of the bowl with a spatula to ensure all the cream is evenly incorporated. Be vigilant at this stage – it can go from perfect stiff peaks to over-mixed (and potentially butter) very quickly!
Understanding Stiff Peaks and How to Avoid Over-Mixing
Achieving “stiff peaks” is the ultimate goal when making whipped cream, indicating that it’s perfectly whipped and ready to serve. But what exactly does it mean?
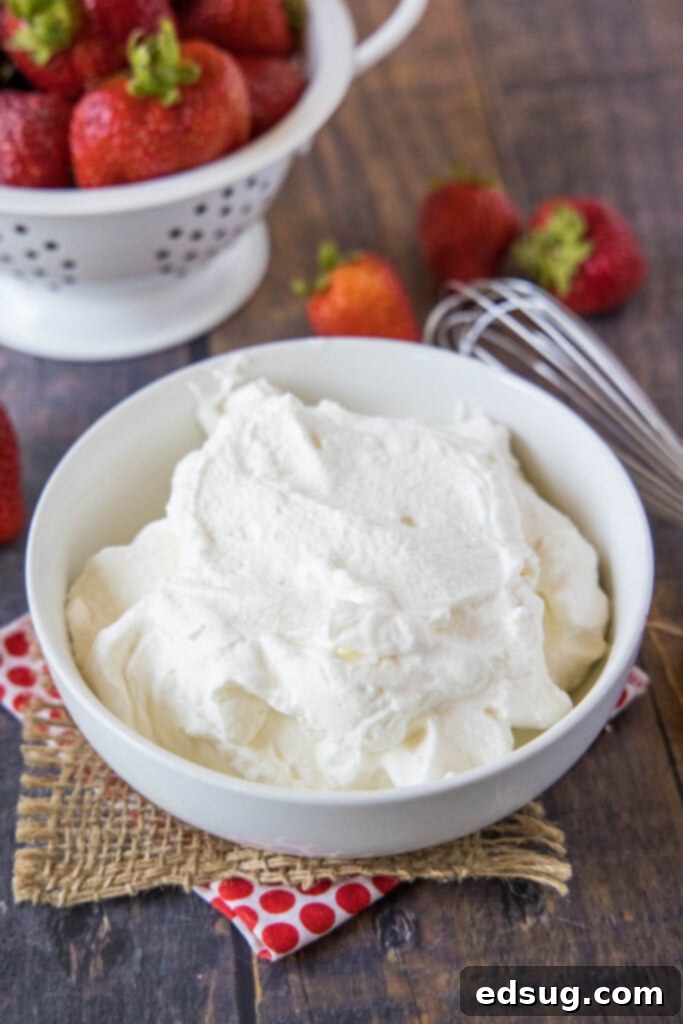
Stiff Peaks Defined: When your whipped cream forms stiff peaks, it means the cream is firm and holds its shape completely. If you lift the whisk attachment straight out of the cream, the peak that forms on the whisk (and in the bowl) will stand upright without flopping over. You can also test this by carefully turning the bowl upside down; the whipped cream should stay firmly in place (though don’t try this until you’re confident!). The texture should be smooth, airy, and creamy, not grainy or curdled.
The Danger of Over-Mixing: This is a crucial warning: whipped cream can go from perfectly stiff peaks to an over-mixed, curdled mess (and eventually butter) in a matter of seconds. As you get close to stiff peaks, watch your mixer constantly. The cream will lose its smooth, velvety texture and start to look lumpy or separated. Stop immediately if you see this happening. Over-mixed whipped cream is still edible but won’t have the desired light and airy texture.
Expert Tips & Creative Variations for Your Whipped Cream
While the basic recipe is foolproof, these tips and suggestions will help you achieve perfection and personalize your whipped cream:
- Everything Should Be Cold: This can’t be stressed enough! The colder your heavy cream, mixing bowl, and whisk attachment are, the faster and more stable your whipped cream will be. Cold temperatures prevent the fat from melting, allowing it to trap air more effectively. For best results, place your metal mixing bowl and whisk in the freezer for 15-30 minutes before you start.
- Experiment with Flavor: While vanilla is a classic, don’t be afraid to get creative! Replace or complement vanilla extract with other flavorings to match your dessert:
- Other Extracts: Almond, peppermint, lemon, orange, maple, or even coffee extract.
- Citrus Zest: Finely grated lemon, orange, or lime zest adds a bright, fresh note.
- Liqueurs: A tablespoon of Grand Marnier, Kahlúa, or a fruit-flavored liqueur can add a sophisticated touch (adjust sugar if using sweet liqueurs).
- Cocoa Powder: Sift in a tablespoon or two of unsweetened cocoa powder along with the powdered sugar for chocolate whipped cream.
- Don’t Over Mix: This is a critical point! Whipped cream can go from perfect to grainy and curdled very quickly. Stay at the mixer and watch closely as it thickens, especially in the last minute. Stop as soon as stiff peaks form.
- Hand Mixer Friendly: No stand mixer? No problem! An electric hand mixer works just as well. You’ll need to move the mixer around the bowl to ensure even whipping, and it might take a minute or two longer, but the results will be just as delightful.
- Adjust Sweetness: The 1/3 cup of powdered sugar is a great starting point for 1.5 cups of heavy cream, offering a balanced sweetness. Feel free to adjust to your preference – add a little more for a sweeter cream or slightly less for a more subdued sweetness.
Troubleshooting: Can You Fix Over-Mixed Whipped Cream?
Yes, often you can! Don’t despair if your beautiful whipped cream starts to look a bit lumpy or curdled. It’s usually salvageable before it turns completely into butter.
To rescue over-mixed whipped cream, simply switch your mixer to a very low setting. While the mixer is running, gradually add 1 tablespoon of fresh, cold heavy cream at a time. Continue mixing until the curds disappear and the cream returns to a smooth, creamy texture. If needed, you can briefly increase the speed for a few seconds to help it thicken back to stiff peaks. This additional cream helps re-emulsify the fat and brings back the desired consistency.
Creative Ways to Serve Your Homemade Whipped Cream
The versatility of homemade whipped cream is endless! It’s the perfect accompaniment to countless desserts and beverages. Here are just a few ideas:
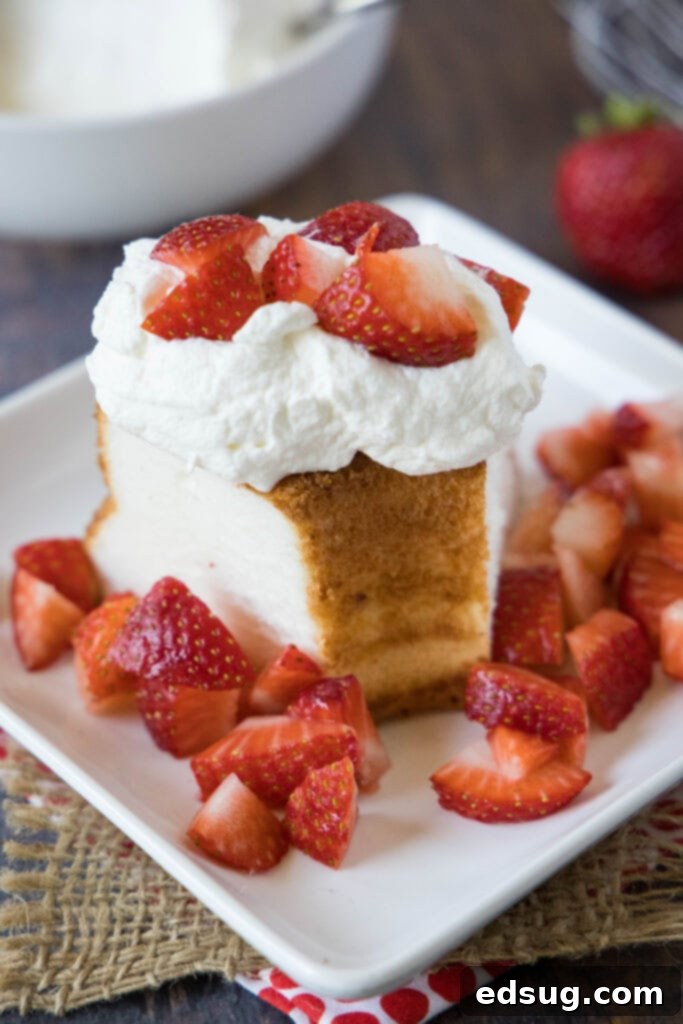
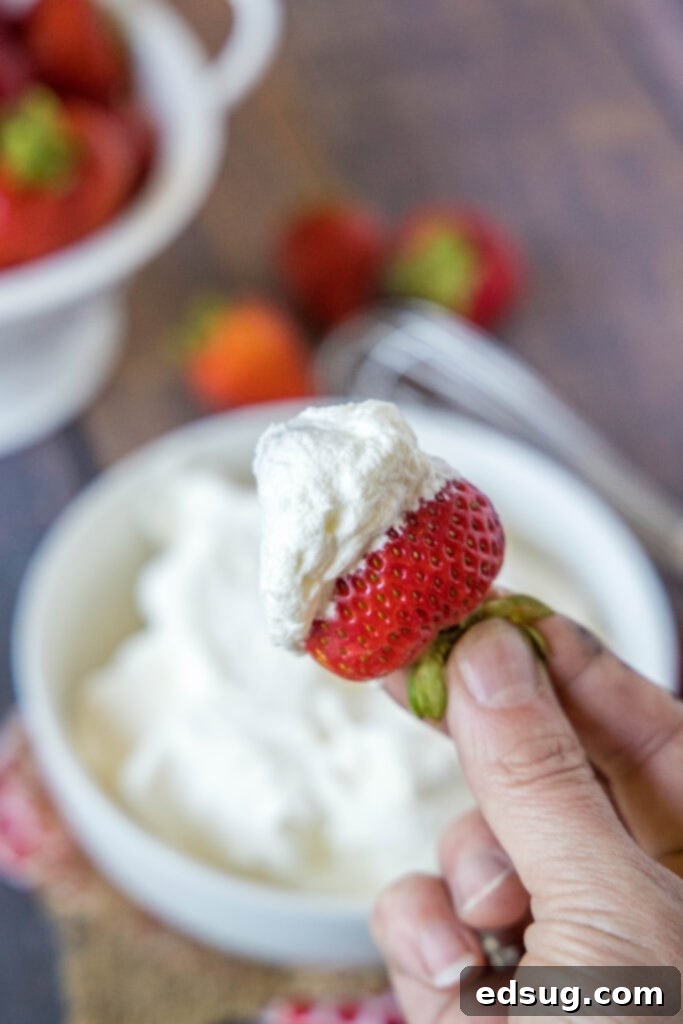
- Classic Topping: Spoon generously over fresh berries (strawberries, blueberries, raspberries), fruit salads, pancakes like Lemon Pancakes, waffles, or any warm pie or crisp.
- Beverage Enhancer: A dollop on top of French Hot Chocolate, coffee, or even a Chocolate Milkshake takes them to a gourmet level.
- Pie & Cake Perfection: The ideal light and creamy finish for rich desserts like Peanut Butter Cream Pie, Strawberry Poke Cake, Chocolate Strawberry Shortcake, or a delicate Chocolate Pavlova.
- Brownie & Cookie Companion: A cloud of whipped cream beautifully complements a warm French Silk Brownie or a stack of cookies.
Important Note on Substitutions: If a recipe specifically calls for Cool Whip or a similar non-dairy whipped topping, regular homemade whipped cream might not be the best substitute. For recipes where the whipped topping needs to hold its shape over time or be incorporated into a mixture without deflating (like in certain no-bake pies or layered desserts), you’ll want to use Stabilized Whipped Cream. Stabilized whipped cream includes an ingredient (like gelatin or cream of tartar) that helps it maintain its structure for longer periods, preventing it from weeping or deflating.
Frequently Asked Questions About Homemade Whipped Cream
As a general rule, heavy cream roughly doubles in volume when whipped. So, if you start with 1 cup of heavy cream, you can expect to yield about 2 cups of whipped cream. This recipe, using 1 1/2 cups of heavy cream, will produce approximately 3 cups of delicious whipped cream. You can easily adjust the ingredient quantities proportionally if you need more or less, but avoid making too small a batch as your mixer might struggle to whip it effectively.
Absolutely! Whipped cream freezes surprisingly well. For best results, place it in an airtight container or pipe dollops onto a parchment-lined baking sheet and freeze until firm, then transfer to a freezer bag. It can be stored in the freezer for up to 2 months. When you’re ready to use it, simply transfer it to the refrigerator and allow it to thaw slowly. While it might lose a tiny bit of its original fluffiness, it will still be delightful.
When stored in an airtight container, homemade whipped cream typically lasts about 2-3 days in the refrigerator. If you’ve used it to top a pie or cake, it might last a few days longer as the dessert provides some protection. Always keep it well-chilled to maintain its freshness and texture.
While you can use granulated sugar, it’s generally not recommended for the smoothest whipped cream. Granulated sugar crystals can be coarser and may not fully dissolve, resulting in a slightly gritty texture. Powdered sugar (confectioners’ sugar) contains a small amount of cornstarch, which also helps stabilize the whipped cream and ensures a perfectly smooth, velvety consistency.
There are a few common reasons:
- Not cold enough: Ensure your cream, bowl, and whisk are all very cold. Warm cream simply won’t whip well.
- Low fat content: Make sure you’re using heavy cream or heavy whipping cream (at least 36% milk fat). Lower fat creams like “whipping cream” (30-35% fat) or half-and-half won’t get as stiff.
- Under-whipping: You might just need to keep beating for a little longer. Be patient, but also watch carefully to avoid over-whipping!
More Easy Dessert Recipes to Try
Now that you’ve mastered homemade whipped cream, explore these other simple and delicious dessert recipes that pair perfectly with it:
- Cake Mix Brownies
- Banana Cream Pie
- Chocolate Cobbler
- Brownie Batter Dip
- Ding Dong Cake
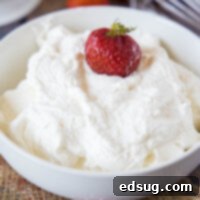
Homemade Whipped Cream
Erin Sellin
5
minutes
5
minutes
3
cups
Pin Recipe
Rate Recipe
Print Recipe
Ingredients
-
1 1/2
cups
heavy whipping cream
-
1/3
cup
powdered sugar
-
3/4
teaspoon
vanilla extract
Instructions
-
About 15-30 minutes before you are going to start, place your stand mixer bowl and whisk attachment in the fridge or freezer to chill thoroughly.
-
Once chilled, pour in the heavy cream. Begin beating on a medium speed, gradually increasing to high speed as it thickens to prevent splattering. Beat for about 3-4 minutes, until you achieve medium peaks. These peaks should hold their shape when the whisk is lifted but will have a soft, slightly curled tip. Scrape down the sides of the bowl as needed.
-
Add the powdered sugar and vanilla extract to the cream. Beat for another minute or so, until firm, stiff peaks form. The cream should stand upright on its own when the whisk is lifted. Keep a very close eye on the cream during this final stage to ensure you do not over-mix, as it can turn quickly.
Notes
Nutrition
Serving:
1
g
|
Calories:
114
kcal
|
Carbohydrates:
4
g
|
Protein:
1
g
|
Fat:
11
g
|
Saturated Fat:
7
g
|
Polyunsaturated Fat:
3
g
|
Cholesterol:
34
mg
|
Sodium:
8
mg
|
Sugar:
4
g
Nutrition information is automatically calculated, so should only be used as an approximation.
Additional Info
Erin Sellin
5
minutes
5
minutes
The Basics
American
3
cups
114
Like this recipe? Leave a comment below!
I created a fun group on Facebook, and I would love for you to join us! It’s a place where you can share YOUR favorite recipes, ask questions, and see what’s new at Dinners, Dishes and Desserts (so that you never miss a new recipe)!
Be sure to follow me on Instagram and tag #dinnersdishes so I can see all the wonderful DINNERS, DISHES, AND DESSERTS recipes YOU make!
Be sure to follow me on my social media, so you never miss a post!
Facebook | Twitter | Pinterest | Instagram
