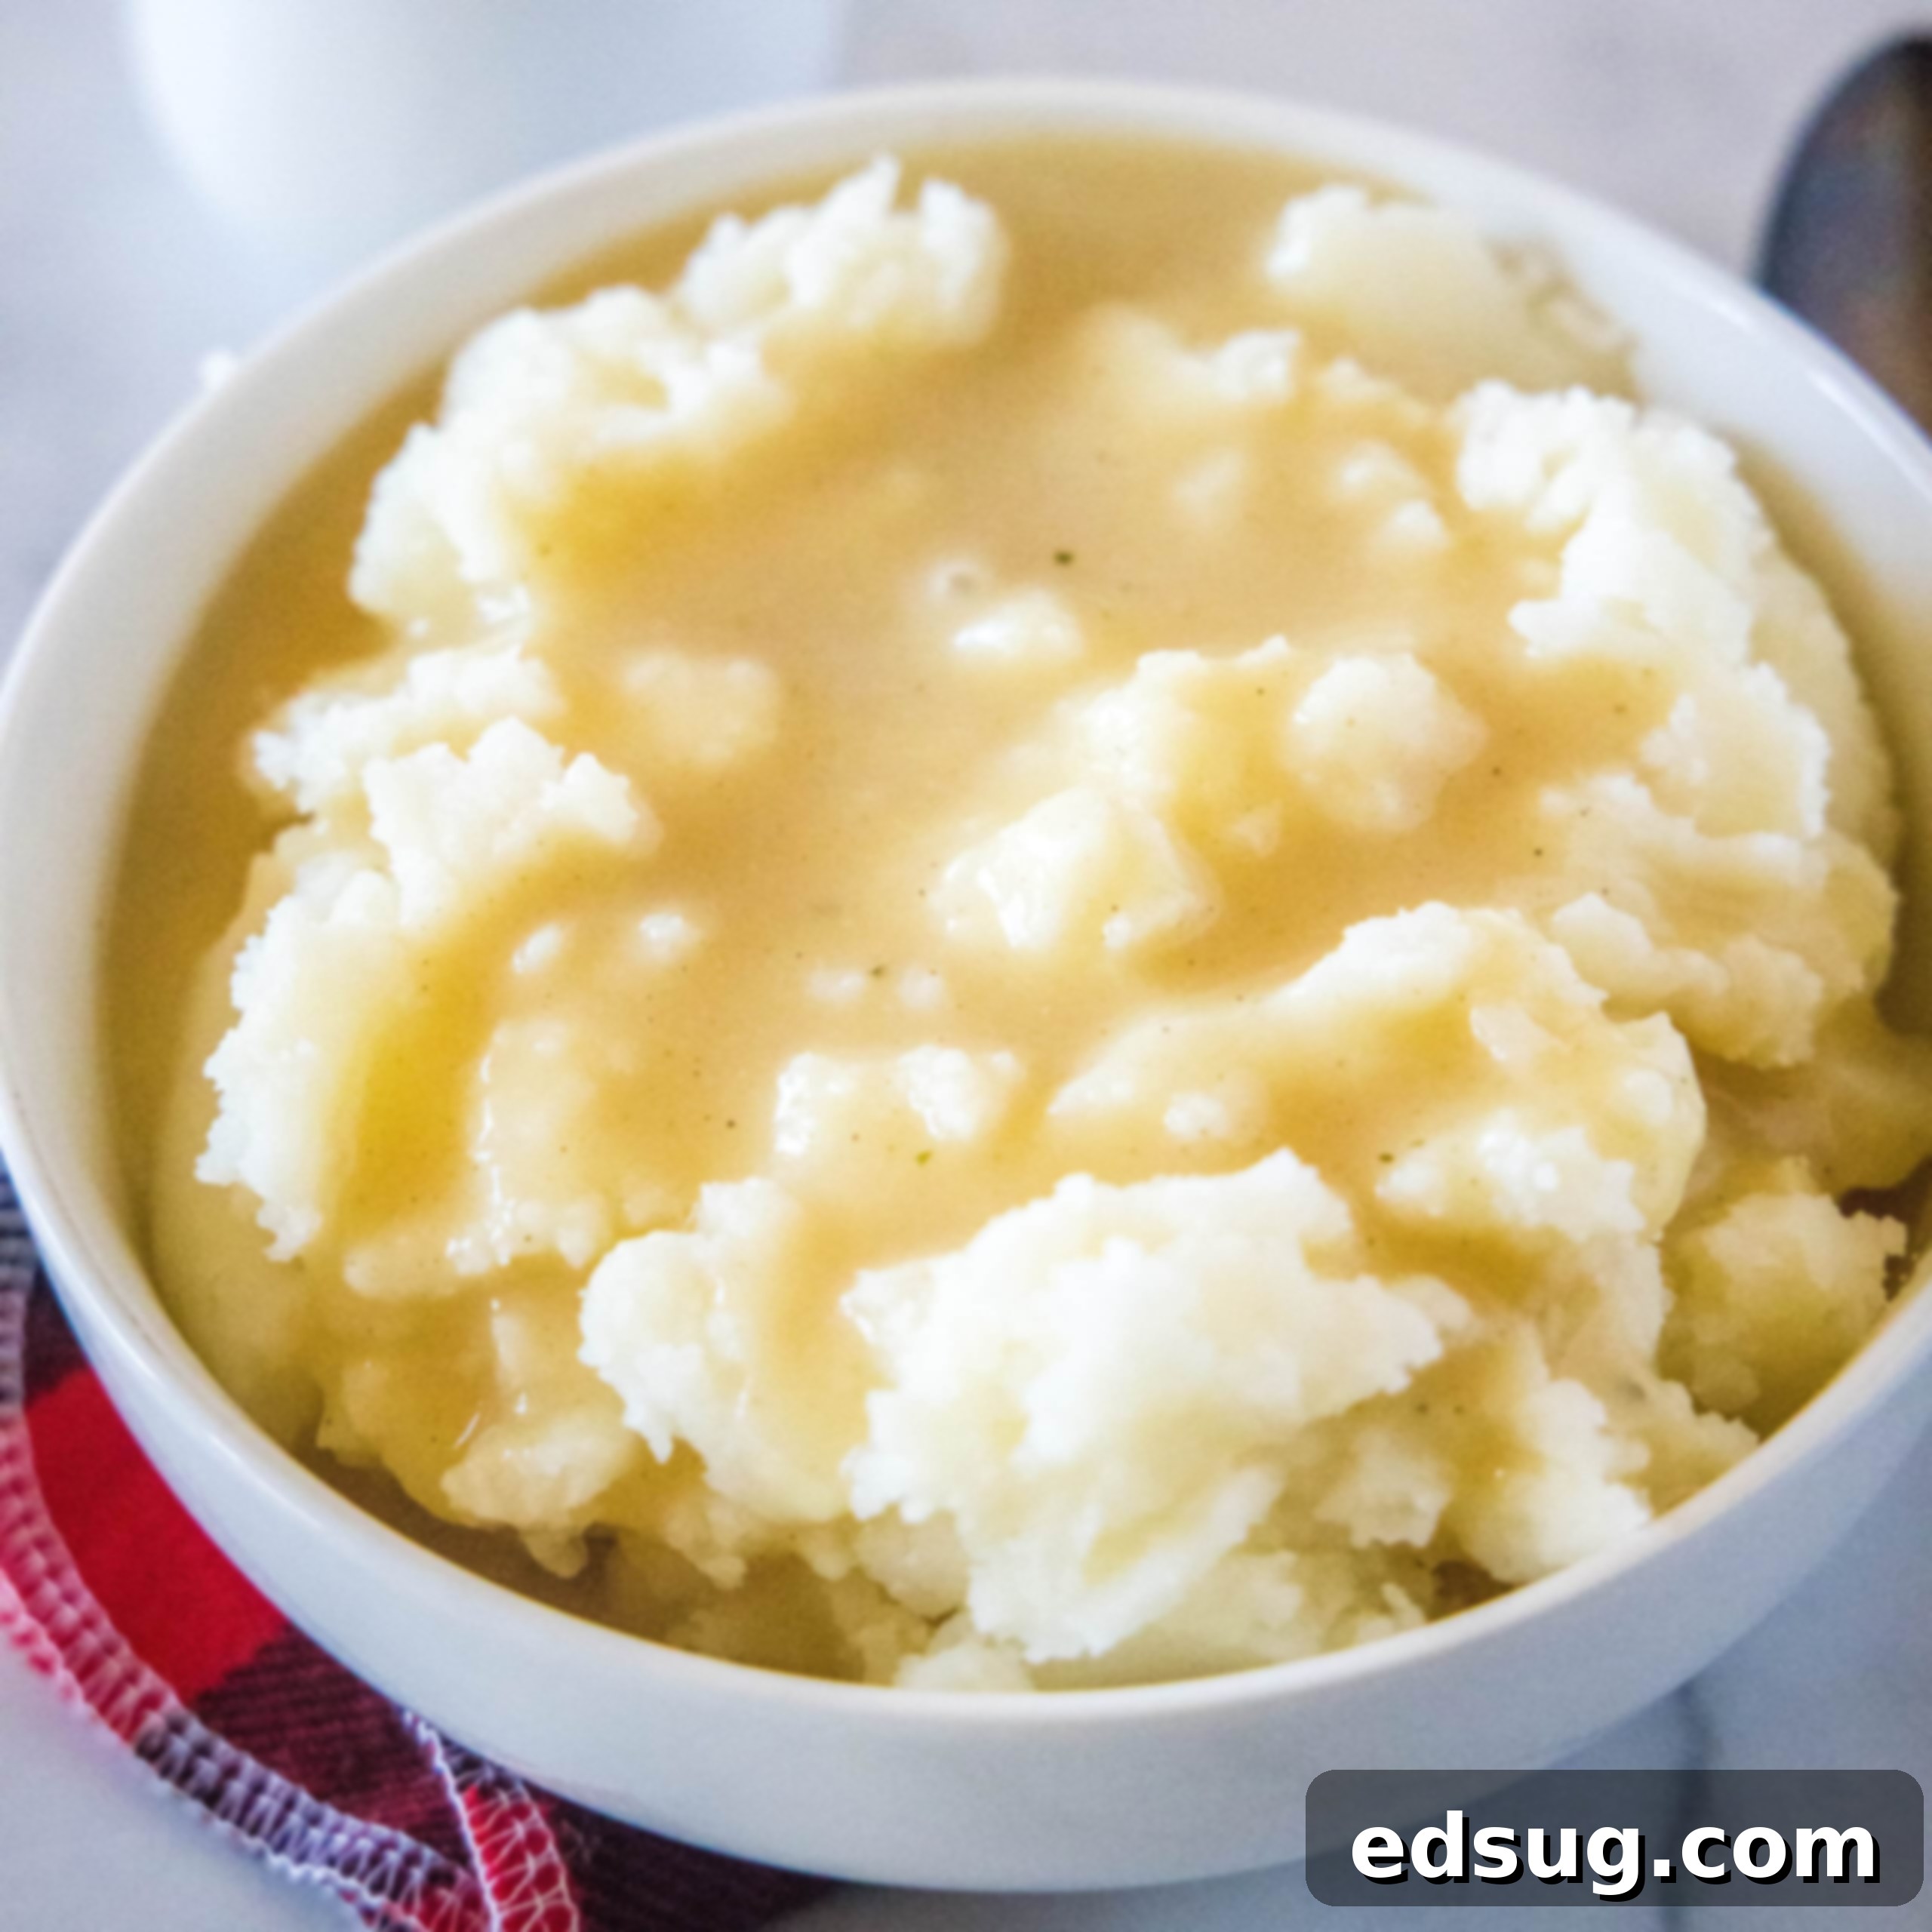
The Ultimate Easy Homemade Gravy: KFC-Style Flavor Without Pan Drippings
Discover how to make the best homemade gravy in under 10 minutes, no pan drippings required! This recipe delivers a rich, savory flavor that rivals your favorite fast-food gravy, like the iconic KFC version, but with a superior homemade touch.
Gravy is often considered the crowning glory of many comforting meals, transforming humble mashed potatoes or roasted meats into an extraordinary culinary experience. While convenience often leads us to store-bought packets or pre-made jars, these options frequently fall short on flavor, texture, and natural ingredients. They’re typically laden with excessive salt, artificial flavors, and preservatives that leave a distinctly “fake” taste. But what if you could whip up a truly delicious, rich, and smooth brown gravy in mere minutes, right in your own kitchen? This recipe promises exactly that – an incredibly easy homemade gravy that captures the nostalgic, savory essence of classic KFC gravy, only elevated by fresh ingredients and your personal touch.
The beauty of this recipe lies in its simplicity and accessibility. You don’t need a holiday roast or elaborate Sunday dinner to enjoy fantastic gravy. No more waiting for pan drippings or scrambling to make gravy at the last minute. This quick method means you can have a luscious, flavorful gravy ready for any meal, any night of the week, making it a staple you’ll want to master. It’s a foundational cooking skill that will pay dividends in deliciousness.
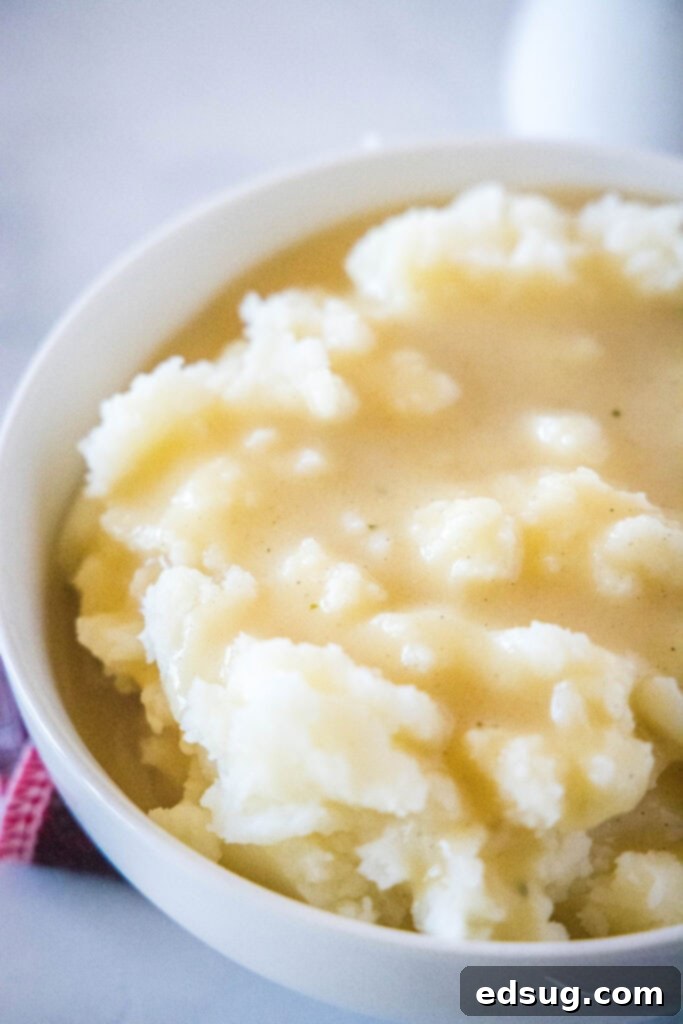
The secret to achieving a profound depth of flavor in this no-drippings gravy is a clever combination of both chicken and beef bouillon. This dual-bouillon approach creates a complex, umami-rich base that is far more versatile than using just one type of bouillon or broth. It’s the perfect blend that complements almost any dish, from poultry to pork to beef, ensuring your gravy is always a perfect match. Say goodbye to the need for specific pan drippings and hello to instant, rich gravy whenever the craving strikes.
Essential Ingredients for Your KFC-Style Gravy
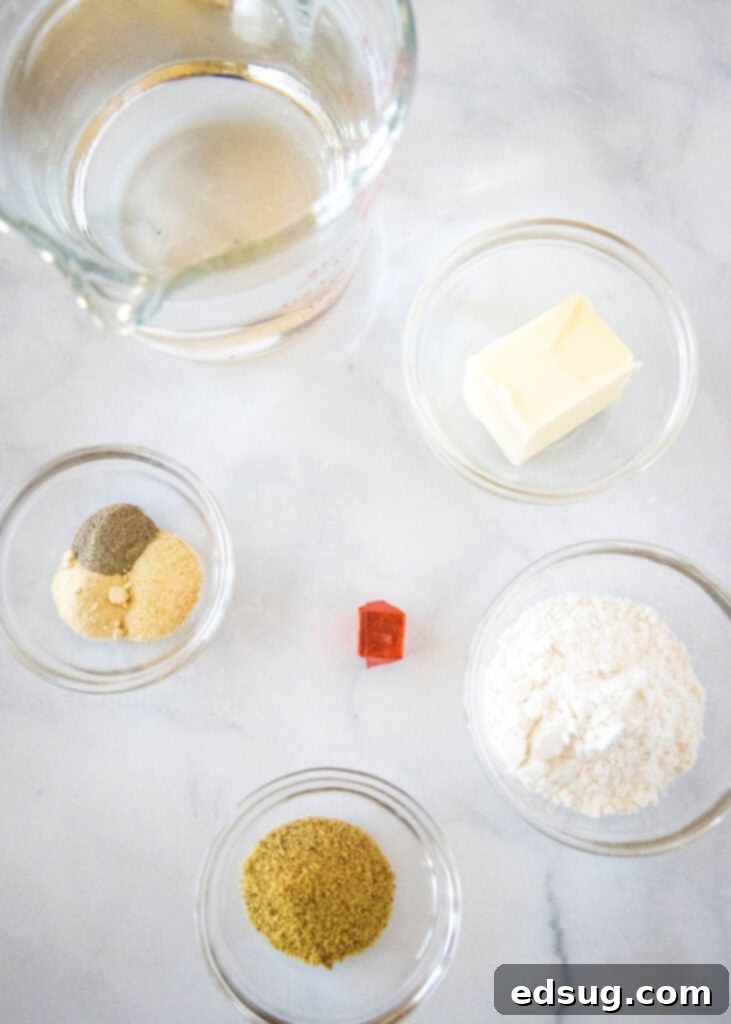
Creating this irresistible homemade gravy requires just a few pantry staples. Each ingredient plays a crucial role in building the gravy’s signature flavor and silky texture. Here’s a detailed look at what you’ll need:
- Chicken Bouillon Cubes or Powder: Provides a foundational savory chicken flavor. Using bouillon ensures a concentrated taste, which is key when you don’t have pan drippings.
- Beef Bouillon Cubes or Powder: Adds a rich, earthy depth that rounds out the flavor profile and makes the gravy incredibly versatile for various meats.
- Water: The liquid base for dissolving the bouillon and creating the gravy consistency.
- All-Purpose Flour: The thickening agent for your roux, which gives gravy its body and smooth texture.
- Unsalted Butter: Forms the other half of the roux, adding richness and a luscious mouthfeel. Using unsalted butter allows you to control the overall sodium content.
- Garlic Powder: Aromatic seasoning that enhances the savory notes without adding moisture.
- Onion Powder: Another aromatic essential, providing a subtle sweetness and depth of flavor.
- Black Pepper: Adds a hint of spice and warmth, balancing the richness of the gravy. Freshly ground black pepper is always recommended for the best flavor.
Bouillon vs. Broth: Why It Matters for Rich Gravy
While broth might seem like a natural substitute for bouillon, this is one recipe where I strongly advocate for sticking with bouillon cubes or powder. The primary reason is flavor concentration. Bouillon is designed to deliver a potent burst of savory essence. When dissolved in water, it creates a much richer, more robust “broth” than simply using pre-made liquid broth. This intensity is crucial for achieving that deep, satisfying flavor profile, especially since we’re skipping the traditional pan drippings. If you were to use liquid broth, you’d need a significantly larger quantity, which would dilute the other flavors and necessitate longer simmering times to reduce and thicken the gravy, ultimately compromising the quick and easy nature of this recipe.
Step-by-Step: How to Make the Perfect Homemade Gravy
Making a flawless gravy from scratch might seem daunting, but with these clear steps and a few crucial tips, you’ll achieve a smooth, flavorful result every time. Follow along to create your ultimate easy brown gravy:
- Prepare the Bouillon Base: In a liquid measuring cup or a microwave-safe bowl, heat the water for about 2 minutes until it’s very hot and nearly boiling. If using bouillon cubes, crush them thoroughly – a fork or the back of a spoon works well – before adding them to the hot water. Stir the crushed cubes or powder into the hot water, whisking vigorously until they are completely dissolved, ensuring no granular bits remain. This concentrated liquid forms the flavorful backbone of your gravy.
- Create the Roux: In a medium saucepan, melt the butter over medium-high heat. Once the butter is fully melted and slightly shimmering, add the all-purpose flour. Stir continuously with a whisk or wooden spoon, cooking the flour and butter mixture (known as a roux) for 1-2 minutes. This step is vital for cooking out the raw flour taste and achieving a richer color and flavor. Make sure no white streaks of raw flour are visible.
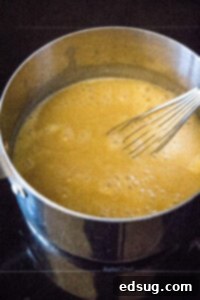
- Incorporate the Broth Gradually: This is a critical step for preventing lumps. Slowly, in a thin stream, whisk the prepared bouillon broth into the butter-flour roux. Whisk constantly as you pour. The mixture will initially be very thick, but as you add more liquid, it will smooth out. Continue whisking until the broth is fully incorporated and the mixture is smooth and free of any lumps.
- Season and Thicken: Add the garlic powder, onion powder, and black pepper to the gravy mixture. Bring the gravy to a gentle simmer over medium heat, continuing to whisk for 2-3 minutes. As it simmers, the gravy will gradually thicken to a beautiful, luscious consistency. If you prefer a thicker gravy, you can simmer it for an extra minute or two, whisking all the while. If it becomes too thick, a splash of hot water or more bouillon broth can help thin it out.
- Serve Immediately: Once your gravy has reached the desired thickness and is smooth and savory, remove it from the heat. Serve this delicious homemade gravy piping hot over your favorite dishes!
The KFC Gravy Mystery Unveiled
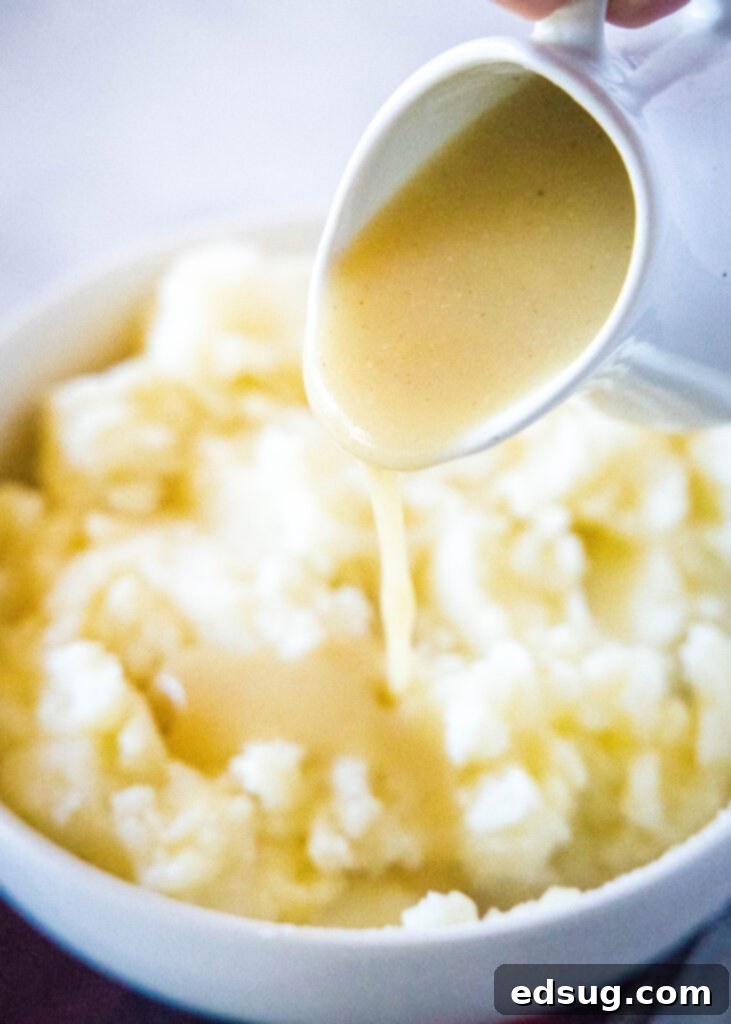
Many wonder about the secret behind KFC’s signature gravy, and while this homemade recipe captures a very similar, comforting flavor, the actual methods are quite different. Historically, KFC’s gravy was indeed made from scratch, utilizing the flavorful cracklings and drippings from their fried chicken, which gave it a truly unique and irresistible taste. However, in modern fast-food operations, efficiency often takes precedence. These days, the gravy you get at KFC is primarily made from a powdered mix reconstituted with water. Our homemade version, with its combination of bouillon and fresh seasonings, aims to replicate that beloved savory profile while allowing you to control the quality of ingredients, resulting in a fresher, more wholesome taste.
Tackling Lumps: Why Gravy Becomes Lumpy and How to Prevent It
Lumpy gravy is a common kitchen frustration, but it’s easily preventable with a little attention to technique. Lumps primarily occur when flour is not properly cooked into the butter to form a smooth roux, or when liquid is added too quickly to the roux. Here’s a breakdown and how to avoid it:
- Uneven Roux: Ensure your butter and flour are thoroughly combined and cooked for at least a minute or two over medium heat, forming a smooth paste (the roux), before adding any liquid. This cooks out the raw flour taste and helps the flour absorb the fat evenly.
- Adding Liquid Too Fast: This is the most common culprit. When you pour the hot bouillon broth into the roux too quickly, the flour particles clump together before they can properly dissolve and hydrate, leading to lumps. The key is to add the liquid slowly and gradually, whisking continuously and vigorously as you pour. This constant motion helps break up any potential clumps and ensures a silky-smooth emulsification.
- Cold Liquid: While hot liquid is generally good for dissolving bouillon, adding cold liquid to a hot roux can sometimes shock the mixture and promote clumping. Ensuring your bouillon broth is hot or at least warm before adding it to the hot roux can help.
If you do end up with a few minor lumps, don’t despair! You can often whisk them out by increasing the heat slightly and whisking vigorously for another minute or two. For more persistent lumps, an immersion blender can work wonders to smooth out the gravy directly in the saucepan. Alternatively, you can strain the gravy through a fine-mesh sieve, pressing any lumps through with a spoon, to achieve that perfect velvety texture.
Pro Tips for the Best Homemade Gravy
Elevate your gravy game with these additional insights and modifications:
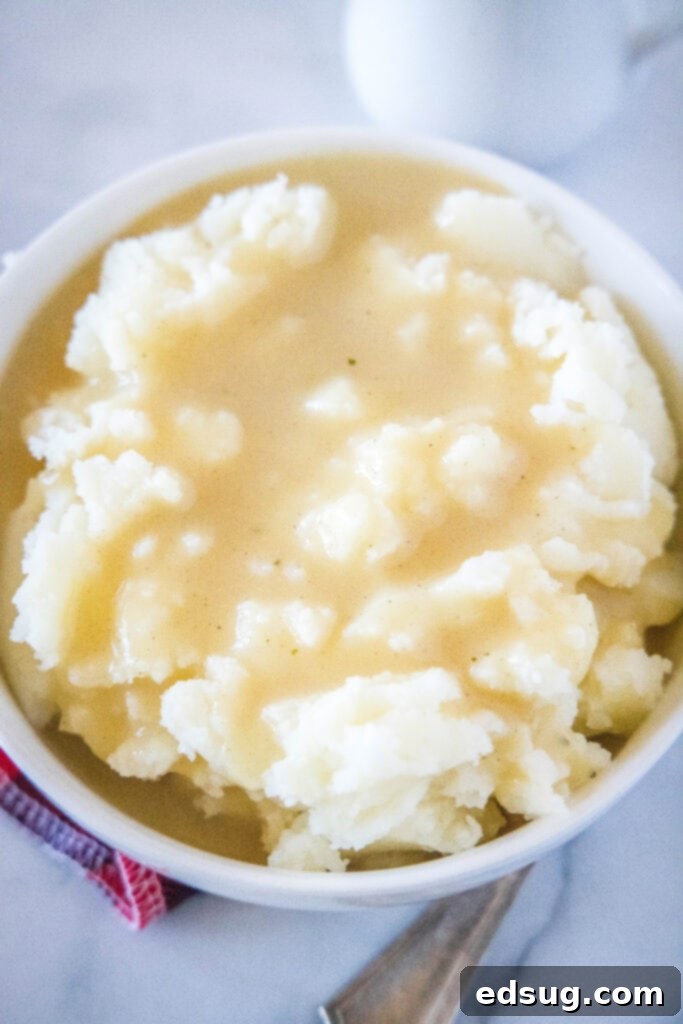
- Enhance with Pan Drippings (Optional, but Recommended!): While this recipe is designed to be delicious without pan drippings, if you happen to have any from a roast chicken, turkey, or beef, they will certainly take your gravy to the next level. For an even more decadent and authentic KFC-like flavor, add any reserved pan drippings to the melted butter *before* you add the flour. Scrape up any browned bits from the bottom of the pan for maximum flavor, then proceed with adding the flour to create your roux. This infuses the gravy with even deeper, more complex savory notes.
- Perfect the Roux for Deeper Flavor: Don’t rush the roux-making process. After adding the flour to the melted butter, make sure to cook it for at least 2 minutes, stirring constantly. The more you cook and lightly brown the flour (without burning it!), the richer and nuttier the flavor of your gravy will be. A darker roux will yield a richer, deeper-colored gravy.
- Dairy-Free Option: To make this gravy dairy-free, simply substitute the butter with a good quality vegan butter alternative or even a neutral oil like olive oil or vegetable oil. The rest of the ingredients and steps remain the same.
- Gluten-Free Option: For a gluten-free version, swap the all-purpose flour for a gluten-free all-purpose flour blend that contains xanthan gum, or use cornstarch. If using cornstarch, create a slurry by mixing 1-2 tablespoons of cornstarch with an equal amount of cold water before whisking it into the simmering gravy. Add it slowly until the desired thickness is achieved.
- Adjust Seasoning to Taste: Always taste your gravy before serving. You might want to add a pinch more salt (especially if your bouillon is low-sodium), extra black pepper, or a dash of your favorite dried herbs like thyme or sage, depending on what you’re serving it with.
Storage and Reheating Tips for Homemade Gravy
While gravy is undeniably at its peak when served fresh and hot, leftovers can absolutely be enjoyed later. Proper storage and reheating will ensure your delicious gravy maintains its quality and flavor:
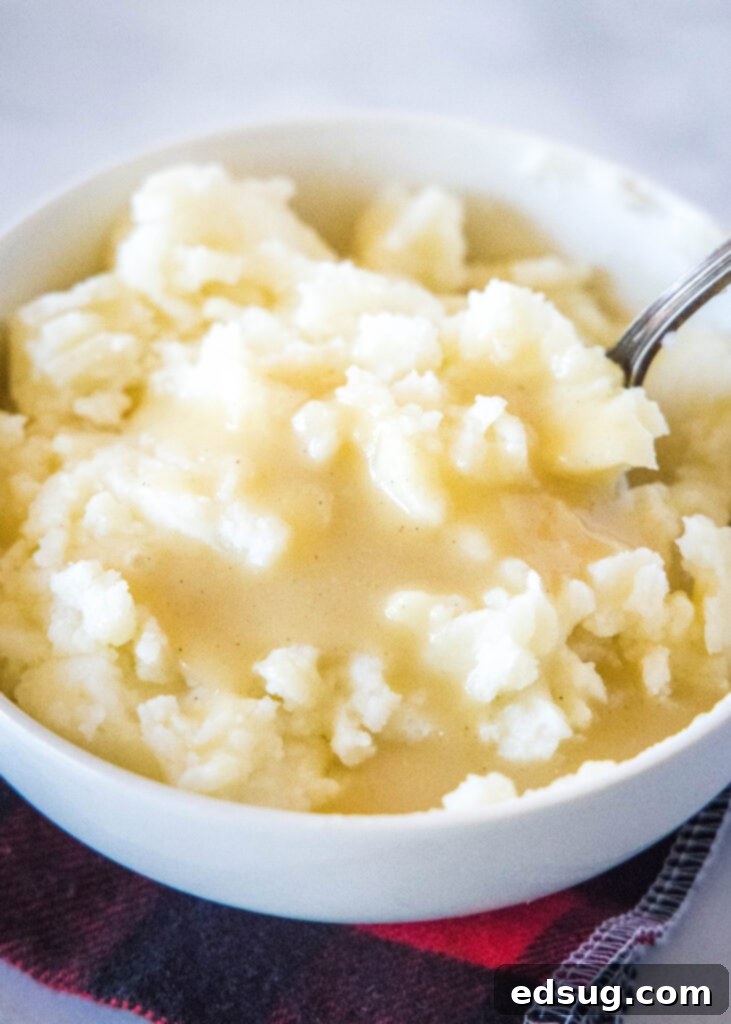
- Storage: Allow the gravy to cool completely to room temperature before transferring it to an airtight container. Refrigerate promptly, and it will keep well for up to 5 days.
- Reheating: To reheat, simply pour the desired amount of gravy into a saucepan. Warm it gently over medium-low heat, stirring frequently, until it is heated through. If the gravy has thickened too much in the refrigerator, you can loosen it with a splash of hot water, milk, or extra bouillon broth until it reaches your preferred consistency. Avoid boiling the gravy vigorously, as this can alter its texture.
What to Serve with Your Versatile Homemade Gravy
This easy homemade gravy is incredibly versatile, thanks to its balanced chicken and beef flavor profile. It’s mild enough to complement delicate poultry but robust enough to stand up to hearty red meats, making it the perfect accompaniment for a wide array of dishes. Here are some of my favorite pairings:
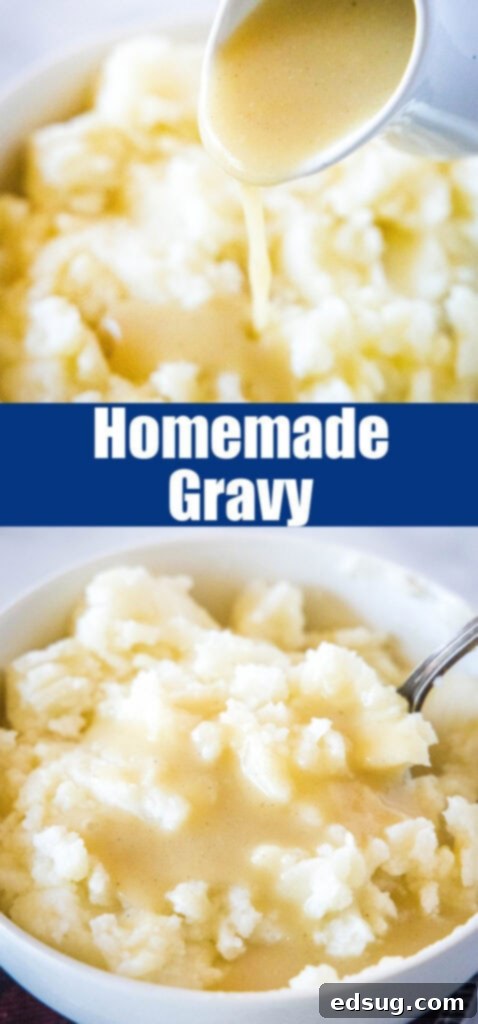
- Mashed Potatoes: This is the classic, quintessential pairing. A generous pour of this rich gravy over creamy mashed potatoes is pure comfort food heaven. Whether it’s classic Garlicky Crock Pot Mashed Potatoes or cheesy variations, gravy is a must.
- Roasted or Fried Chicken: Bring that KFC-style flavor full circle by serving this gravy with roasted chicken, crispy fried chicken, or even simple pan-seared chicken breasts.
- Pork Dishes: Its savory notes beautifully complement pork. Try it with a tender Slow Cooker Pork Roast or a quick Air Fryer Pork Tenderloin.
- Holiday Roasts: This gravy is a perfect match for festive meals. Drizzle it over a succulent Roasted Turkey or an elegant Prime Rib.
- Meatloaf: A hearty slice of meatloaf smothered in this gravy is an instant upgrade to a weeknight dinner.
- Biscuits and Gravy: For a Southern-inspired breakfast or brunch, serve this rich brown gravy over fluffy homemade biscuits.
- Hot Sandwiches: Use it to create delicious open-faced hot sandwiches with leftover roast beef or turkey.
- Vegetables: Don’t underestimate its ability to elevate simple steamed or roasted vegetables, adding a burst of flavor to your greens.
More Tasty Side Dish Recipes
If you love creating delicious accompaniments for your meals, here are more fantastic side dish recipes to explore:
- Sausage Stuffing
- Cheesy Mashed Potatoes
- Ruth Chris Sweet Potato Casserole
- Green Beans with Bacon
- Air Fryer Carrots
- Crispy Smashed Potatoes
- Roasted Brussel Sprouts
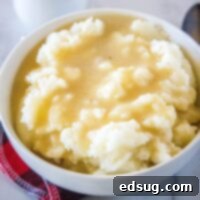
Easy Homemade Gravy
Pin Recipe
Rate Recipe
Print Recipe
Ingredients
- 1 chicken bouillon cube, 2 teaspoons chicken granules
- 1 beef bouillon cube, 2 teaspoons beef granules
- 2 1/4 cup water
- 3 Tablespoons butter
- 3 Tablespoons all-purpose flour
- 1/2 teaspoon onion powder
- 1/2 teaspoon garlic powder
- 1/4 teaspoon black pepper
Instructions
-
In a liquid measuring cup heat the water over 2 minutes until it is almost boiling and very hot. Crush the bouillon cubes as much as you can and stir them or the powder into the hot water. Whisk well until they have dissolved.
-
In a saucepan melt the butter over medium high. Add the flour and stir until the flour is fully incorporated and no white streaks remaining.
-
Slowly whisk in the broth until blended.
-
Add the garlic powder, onion powder, and black pepper. Bring the mixture to a simmer, and whisk for 2-3 minutes, until it thickens.

-
Remove from the heat and serve immediately.
Nutrition
Nutrition information is automatically calculated, so should only be used as an approximation.
Additional Info
Like this recipe? Leave a comment below!
I created a fun group on Facebook, and I would love for you to join us! It’s a place where you can share YOUR favorite recipes, ask questions, and stay updated on what’s new at Dinners, Dishes and Desserts (so that you never miss a new recipe)!
Be sure to follow me on Instagram and tag #dinnersdishes so I can see all the wonderful DINNERS, DISHES, AND DESSERTS recipes YOU make!
Be sure to follow me on my social media, so you never miss a post!
Facebook | Twitter | Pinterest | Instagram
