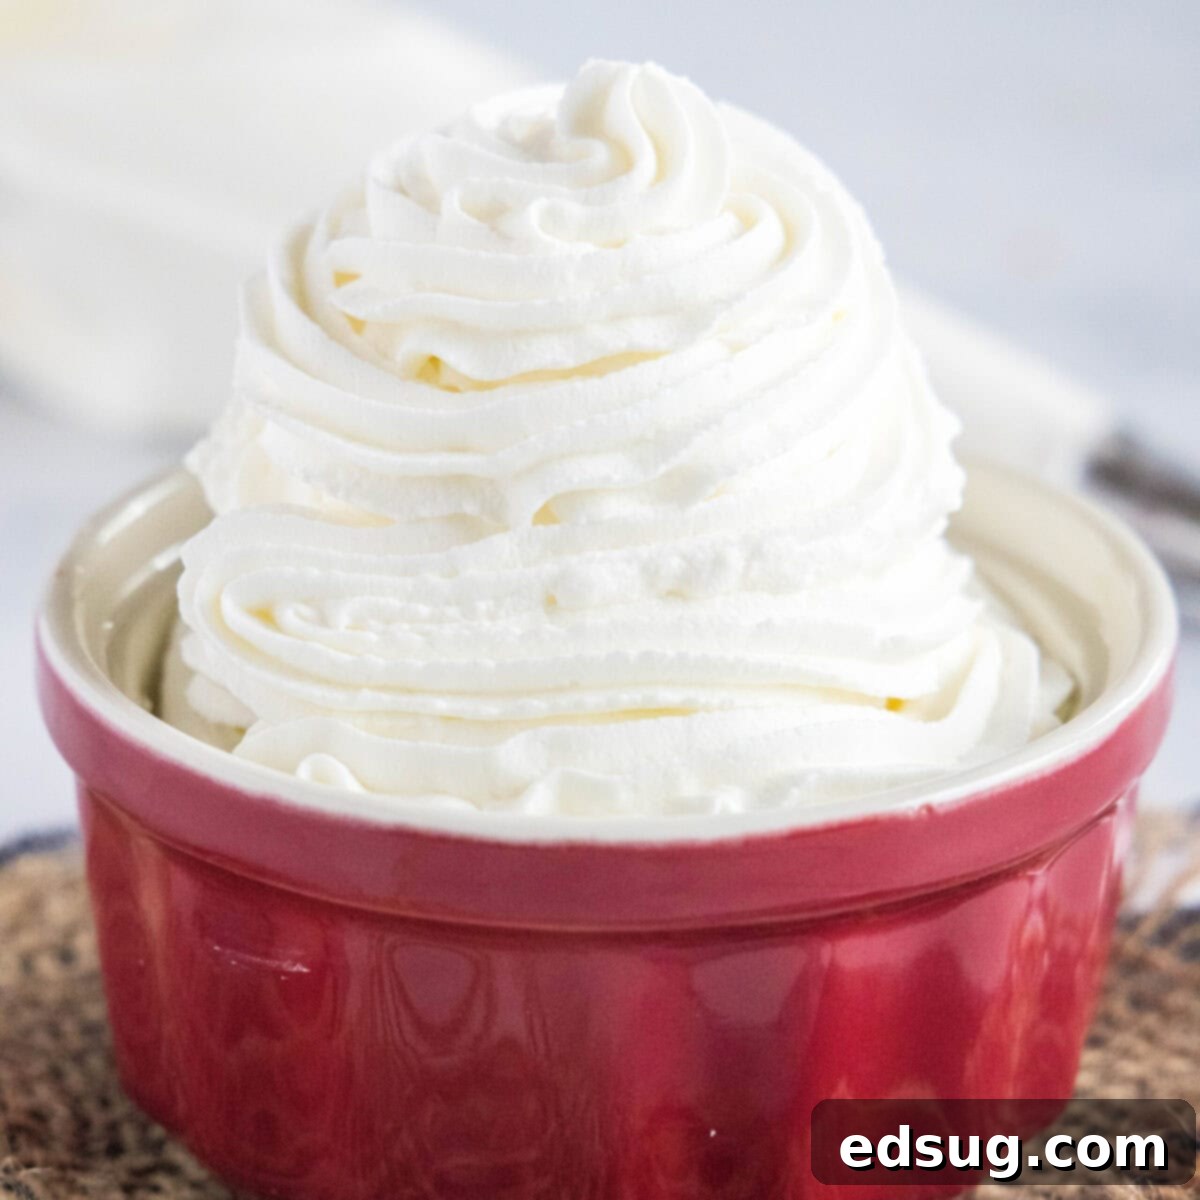
Homemade Stabilized Whipped Cream: The Perfect Cool Whip Alternative for All Your Desserts
Craving that light, airy, and creamy texture of Cool Whip but prefer the rich, fresh taste of homemade whipped cream? Look no further! This incredible stabilized whipped cream recipe is your ultimate guide to creating a superior homemade version of Cool Whip. It’s incredibly creamy, delightfully fluffy, bursting with delicious flavor, and surprisingly simple to whip up right in your own kitchen.
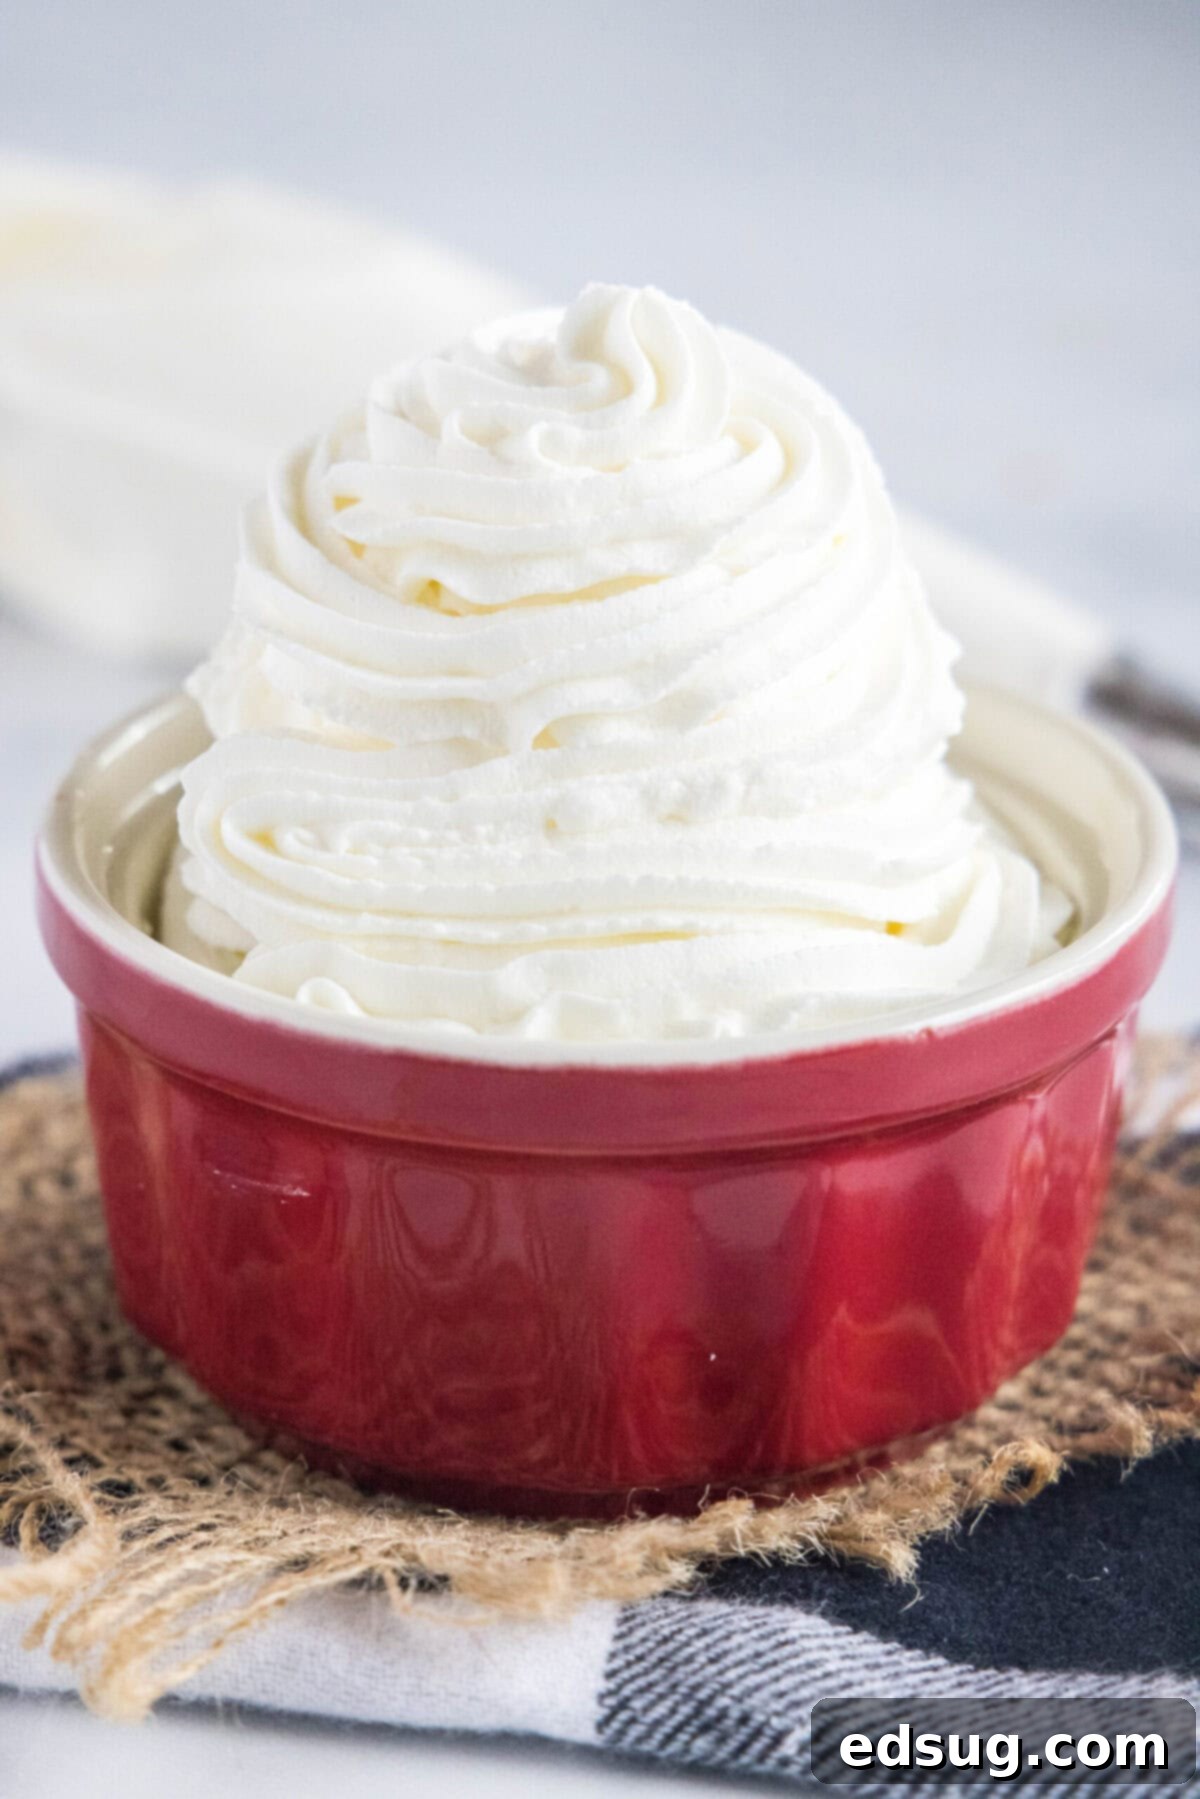
Cool Whip is undeniably a convenient ingredient to have on hand for countless desserts and toppings. But what if we told you that you could easily replicate, and even improve upon, that beloved texture and taste at home? That’s precisely what this stabilized whipped cream recipe offers. It’s a truly do-it-yourself Cool Whip experience, but with all the added benefits and fresh goodness of a homemade treat.
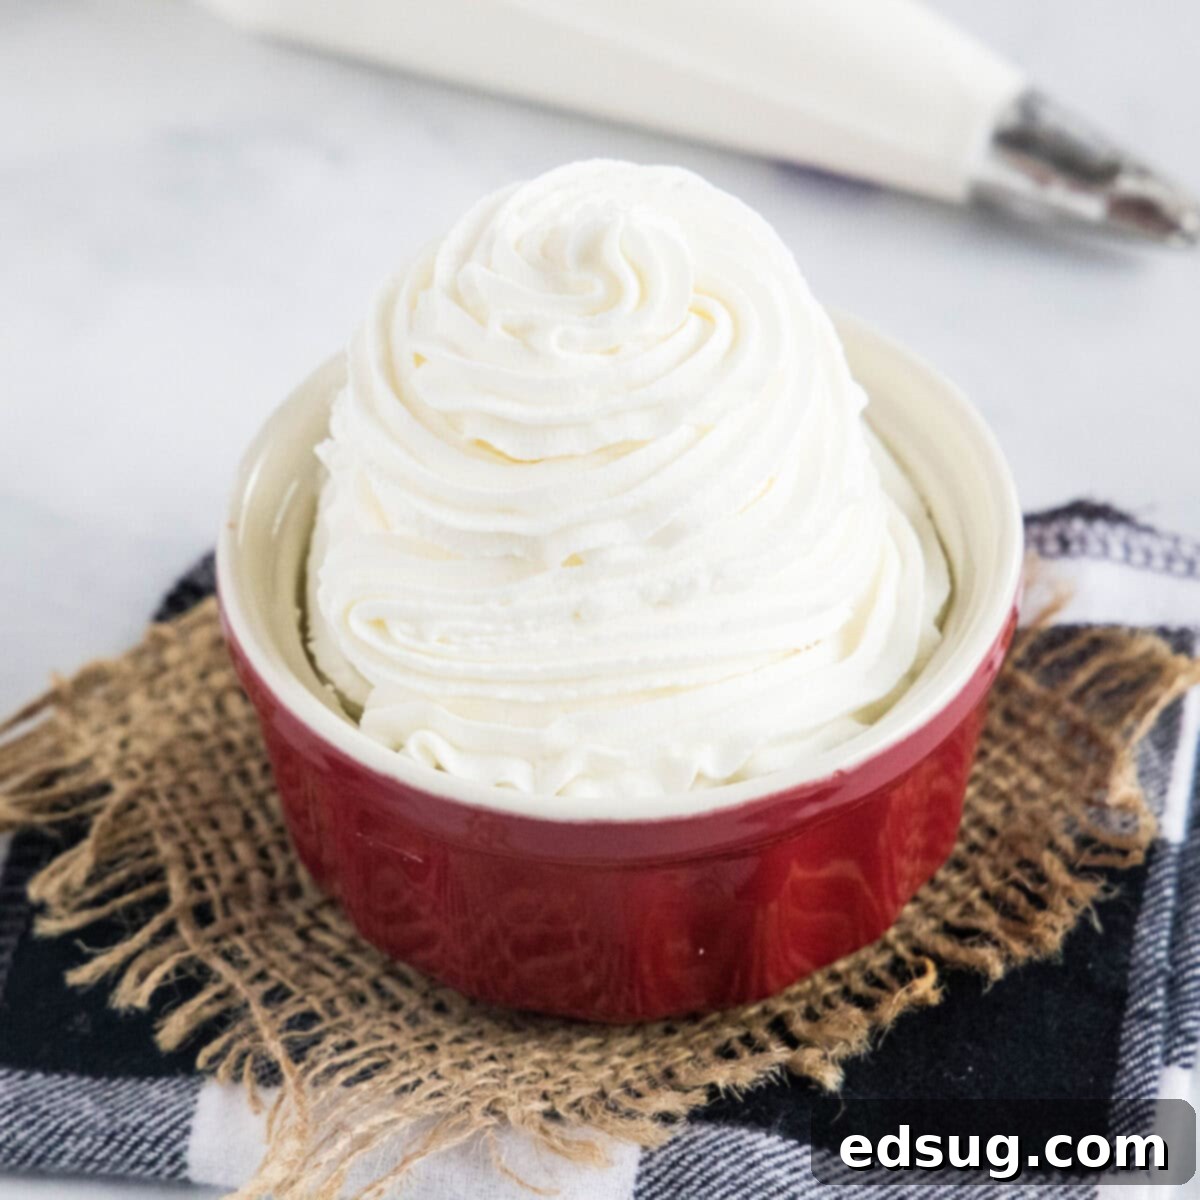
Imagine the richness and fantastic flavor of classic homemade whipped cream, combined with the unmistakable light, airy, and fluffy consistency of Cool Whip. This stabilized version holds its shape beautifully, making it ideal for piping, layering in desserts, or simply topping your favorite treats without worry of it deflating. So, the next time a recipe calls for Cool Whip, or you simply desire a delightful, long-lasting topping, skip the store and make your own!
Why This Is the Best Stabilized Whipped Cream Recipe
I absolutely adore this creamy homemade Cool Whip alternative, and I’m confident that once you try it, you will too! Here are just a few reasons why this recipe stands out as the best:
- Super Fast Prep: You might assume that crafting a stabilized whipped cream from scratch would be a lengthy process, but that couldn’t be further from the truth. This incredible recipe comes together in just about 15 minutes! This means you can effortlessly prepare it whenever a craving strikes or a recipe demands a quick and reliable topping, saving you a trip to the grocery store.
- Remarkably Easy to Make: Not only is this recipe incredibly quick, but it’s also wonderfully straightforward. Requiring only four basic ingredients and minimal effort, you’ll be astonished at how easily you can create luscious, stabilized whipped cream in your own kitchen. No complicated techniques or extensive culinary skills needed!
- Superior to Store-Bought Options: While store-bought Cool Whip has its place, the difference in quality and taste with a homemade version is truly remarkable. This stabilized whipped cream boasts a flavor profile and texture that far surpasses anything you’ll find pre-packaged on a shelf. Enjoy a fresher, richer taste and a wonderfully smooth, airy consistency that elevate any dessert.
- Holds Its Shape Perfectly: Thanks to the stabilizing agent, this whipped cream won’t weep, flatten, or lose its beautiful form, even after hours at room temperature or days in the refrigerator. This makes it perfect for intricate piping, layered desserts, or any application where a reliable, firm whipped topping is essential.
- Customizable Flavor: Unlike its store-bought counterpart, homemade stabilized whipped cream offers endless possibilities for customization. You can easily adjust the sweetness, add various extracts, or even infuse it with fruit purees or spices to perfectly complement your dessert.
Ingredients Needed for Perfect Stabilized Whipped Cream
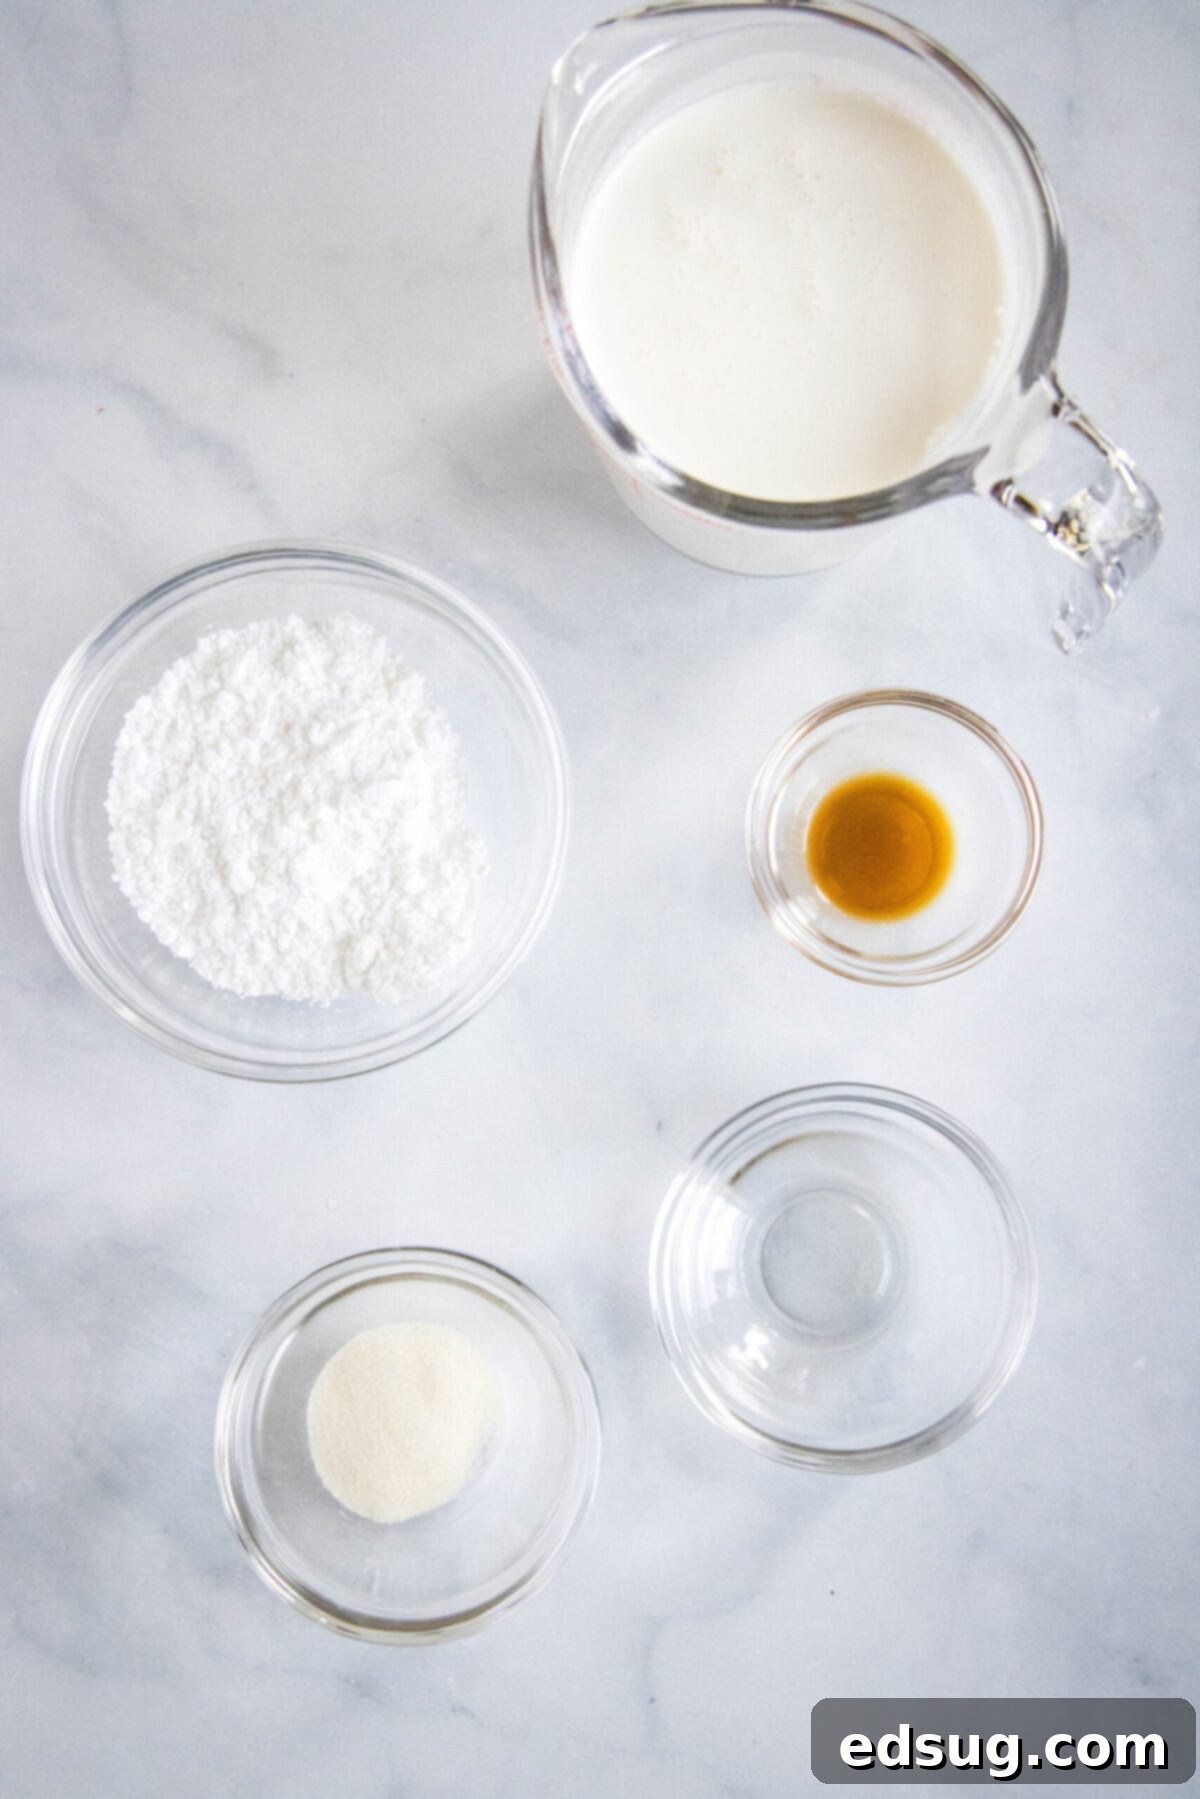
Gathering your ingredients is the first step to creating this rich and fluffy stabilized whipped cream right at home. You’ll be pleased to know that you only need a handful of common pantry staples. For precise measurements, please refer to the detailed recipe card conveniently located at the bottom of this page.
- Unflavored Gelatin: This is the secret ingredient that gives our whipped cream its fantastic stability. Make sure to use unflavored gelatin powder, as flavored varieties would alter the taste of your cream. It helps the whipped cream maintain its volume and prevents it from deflating or becoming watery.
- Cold Water: Essential for blooming the gelatin. Using cold water ensures the gelatin granules absorb liquid evenly before being dissolved, preventing clumps and ensuring a smooth final texture.
- Heavy Cream: The foundation of any great whipped cream. For the best results, use a high-quality heavy cream or heavy whipping cream with a minimum fat content of 36%. The higher fat content is crucial for achieving stiff peaks and a rich, luxurious mouthfeel. Ensure it’s very cold before you start beating.
- Powdered Sugar (Confectioners’ Sugar): This finely milled sugar dissolves instantly into the cream, contributing to the smooth texture of our stabilized whipped cream. It also provides the perfect level of sweetness without any grittiness that granulated sugar might leave behind.
- Pure Vanilla Extract: A touch of pure vanilla extract elevates the flavor, adding a warm, aromatic depth that complements the cream beautifully. Always opt for 100% pure vanilla extract for the best possible taste; artificial vanilla essences often lack the nuanced flavor.
How to Make Stabilized Whipped Cream: A Step-by-Step Guide
Creating this 15-minute homemade Cool Whip recipe is incredibly simple, perfect for enhancing desserts, drinks, fruit salads, and so much more. Follow these easy steps to achieve a perfectly stable and delicious whipped topping:
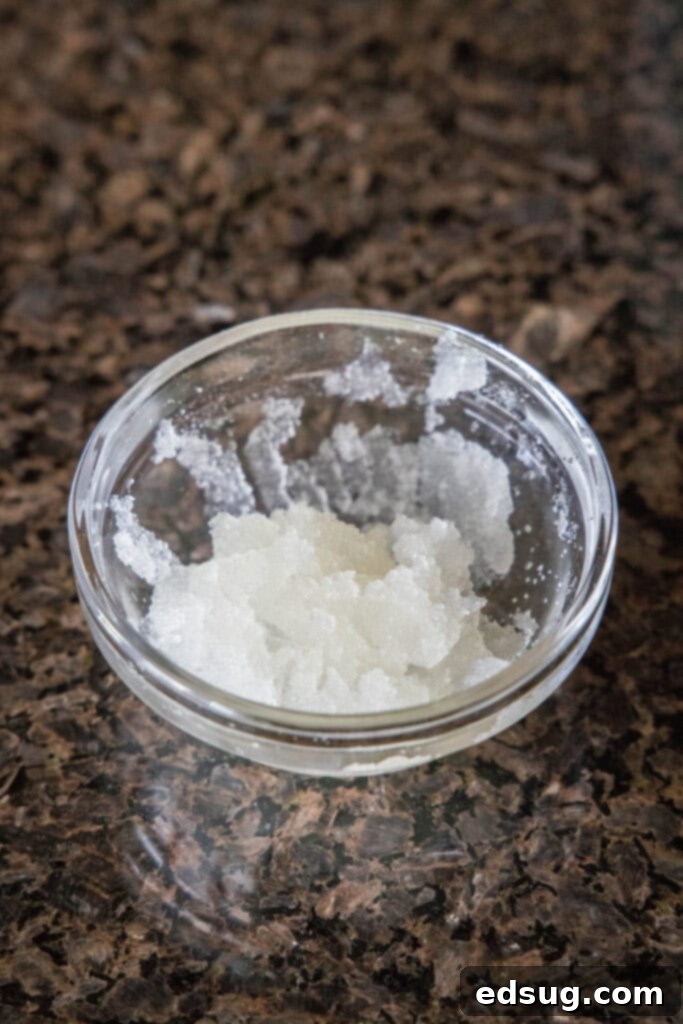
- Step 1: Bloom the Gelatin. Begin by sprinkling the unflavored gelatin powder evenly over the cold water in a small, microwave-safe bowl. Do not stir it immediately. Allow it to sit undisturbed for at least 5 minutes. During this “blooming” phase, the gelatin granules will absorb the water and swell, taking on a spongy, translucent texture. This prepares the gelatin to dissolve smoothly later.
- Step 2: Prepare the Cream Mixture. While your gelatin is blooming, pour the very cold heavy cream into the bowl of an electric mixer or stand mixer fitted with the whisk attachment. Add the powdered sugar and vanilla extract. Begin beating the ingredients together on medium-low speed. Continue mixing until the cream has just started to thicken. It should be noticeably thicker than liquid cream but should not yet form soft peaks. It’s crucial not to overwhip at this stage, as it can affect the final texture once the gelatin is added.
- Step 3: Gently Melt the Gelatin. After the gelatin has bloomed, place the bowl containing the gelatin mixture into the microwave. Heat it for a very short duration, typically 5-10 seconds. The goal is for the gelatin to become liquid and fully dissolved, but it should not be hot to the touch. It should feel lukewarm. If it overheats, let it cool slightly before proceeding.
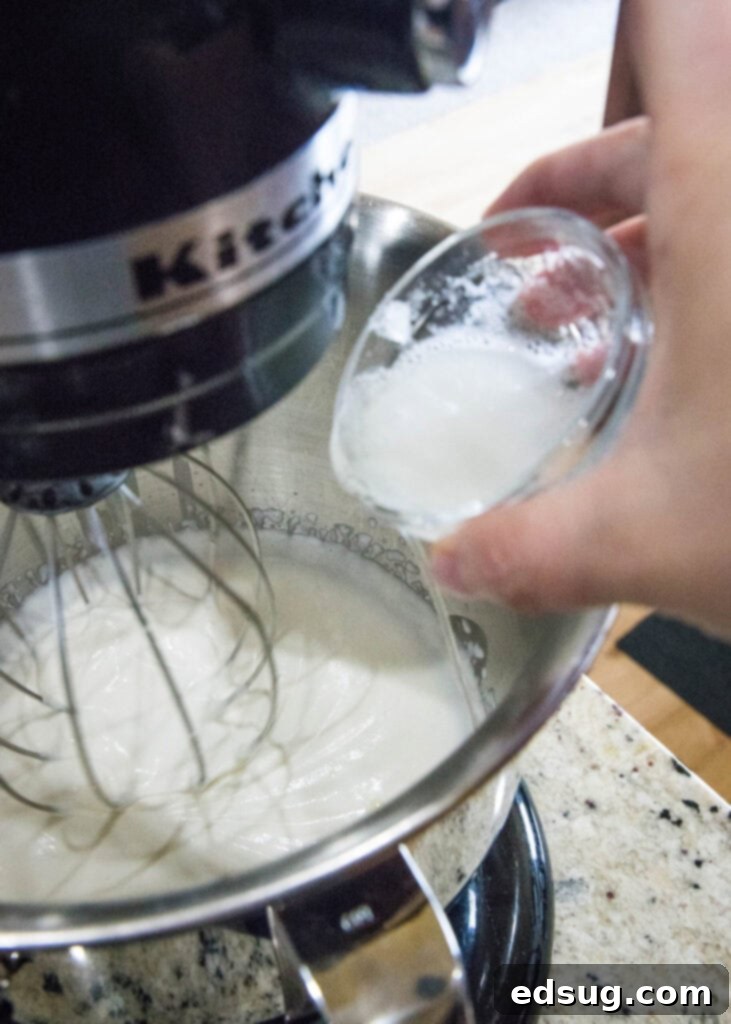
- Step 4: Incorporate the Gelatin. With your mixer running on a low speed, slowly and steadily drizzle the warm, liquid gelatin mixture into the thickening cream. It’s important to add it gradually to ensure it fully disperses throughout the cream without creating lumps. Continue mixing on low until all the gelatin has been incorporated.
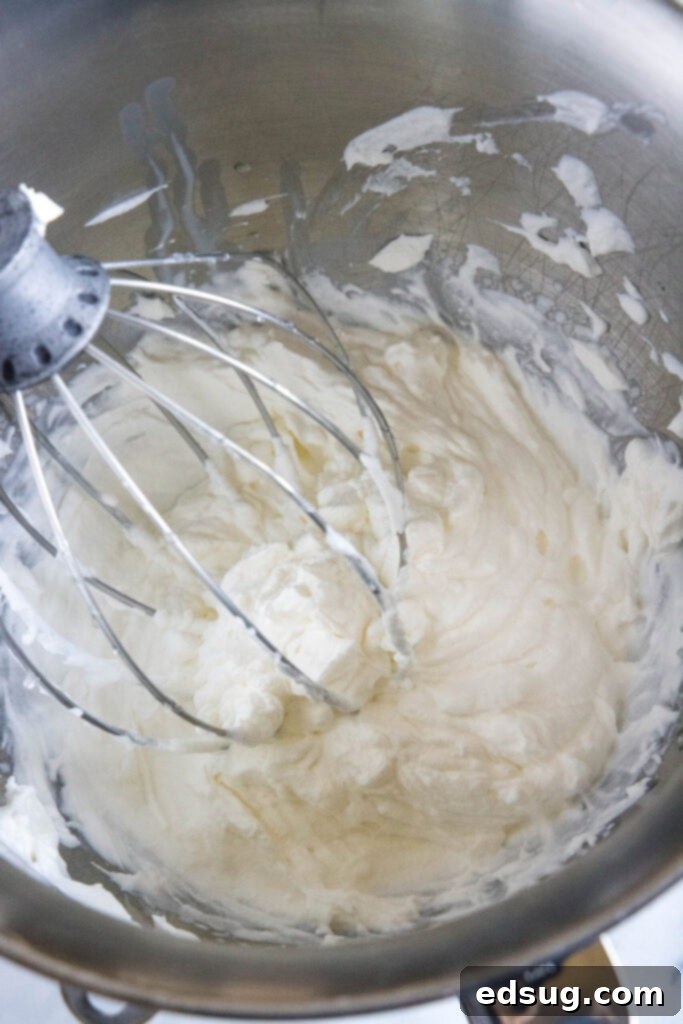
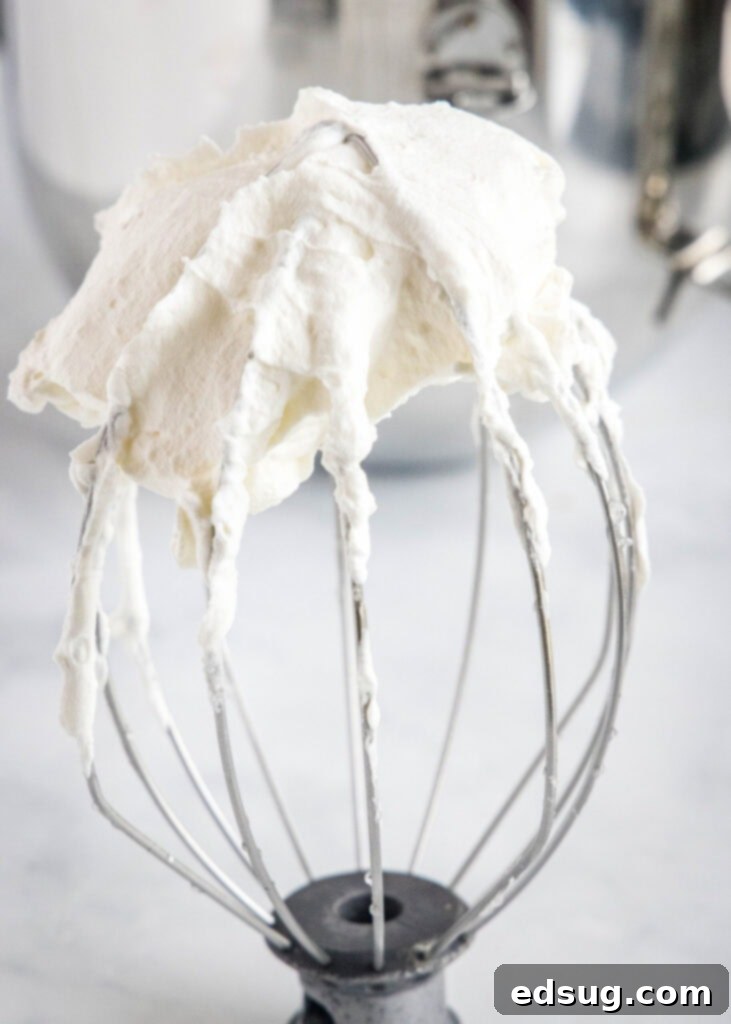
- Step 5: Beat to Stiff Peaks. Once all the gelatin has been thoroughly combined, increase the mixer speed to medium-high. Continue beating for approximately 2-3 minutes, or until the whipped cream forms firm, stiff peaks. You’ll know it’s ready when the cream holds its shape well on the whisk attachment and doesn’t droop. Be careful not to overbeat, as this can result in a grainy texture.
- Step 6: Serve or Store. As soon as your stabilized whipped cream has formed beautiful stiff peaks, it’s ready for immediate use! Enjoy it as a topping, fold it into a dessert, or use it in any recipe that calls for Cool Whip. For later use, transfer it to an airtight container.
Expert Tips, Creative Tricks, and Delicious Variations
Elevate your stabilized whipped cream even further with these handy tips and exciting variations. These suggestions will help you achieve perfect results every time and unleash your creativity in the kitchen.
- Avoid Overwhipping the Cream Initially: This is a critical step! Before you introduce the gelatin, it’s paramount not to overwhip the heavy cream. You want the mixture to begin thickening and show some resistance, but you absolutely do not want it to reach the soft peak stage. If the cream has already formed peaks when you add the gelatin, the gelatin may not distribute evenly, leading to a lumpy or slightly off-texture in the final product. Aim for a consistency resembling a very thick, pourable milkshake.
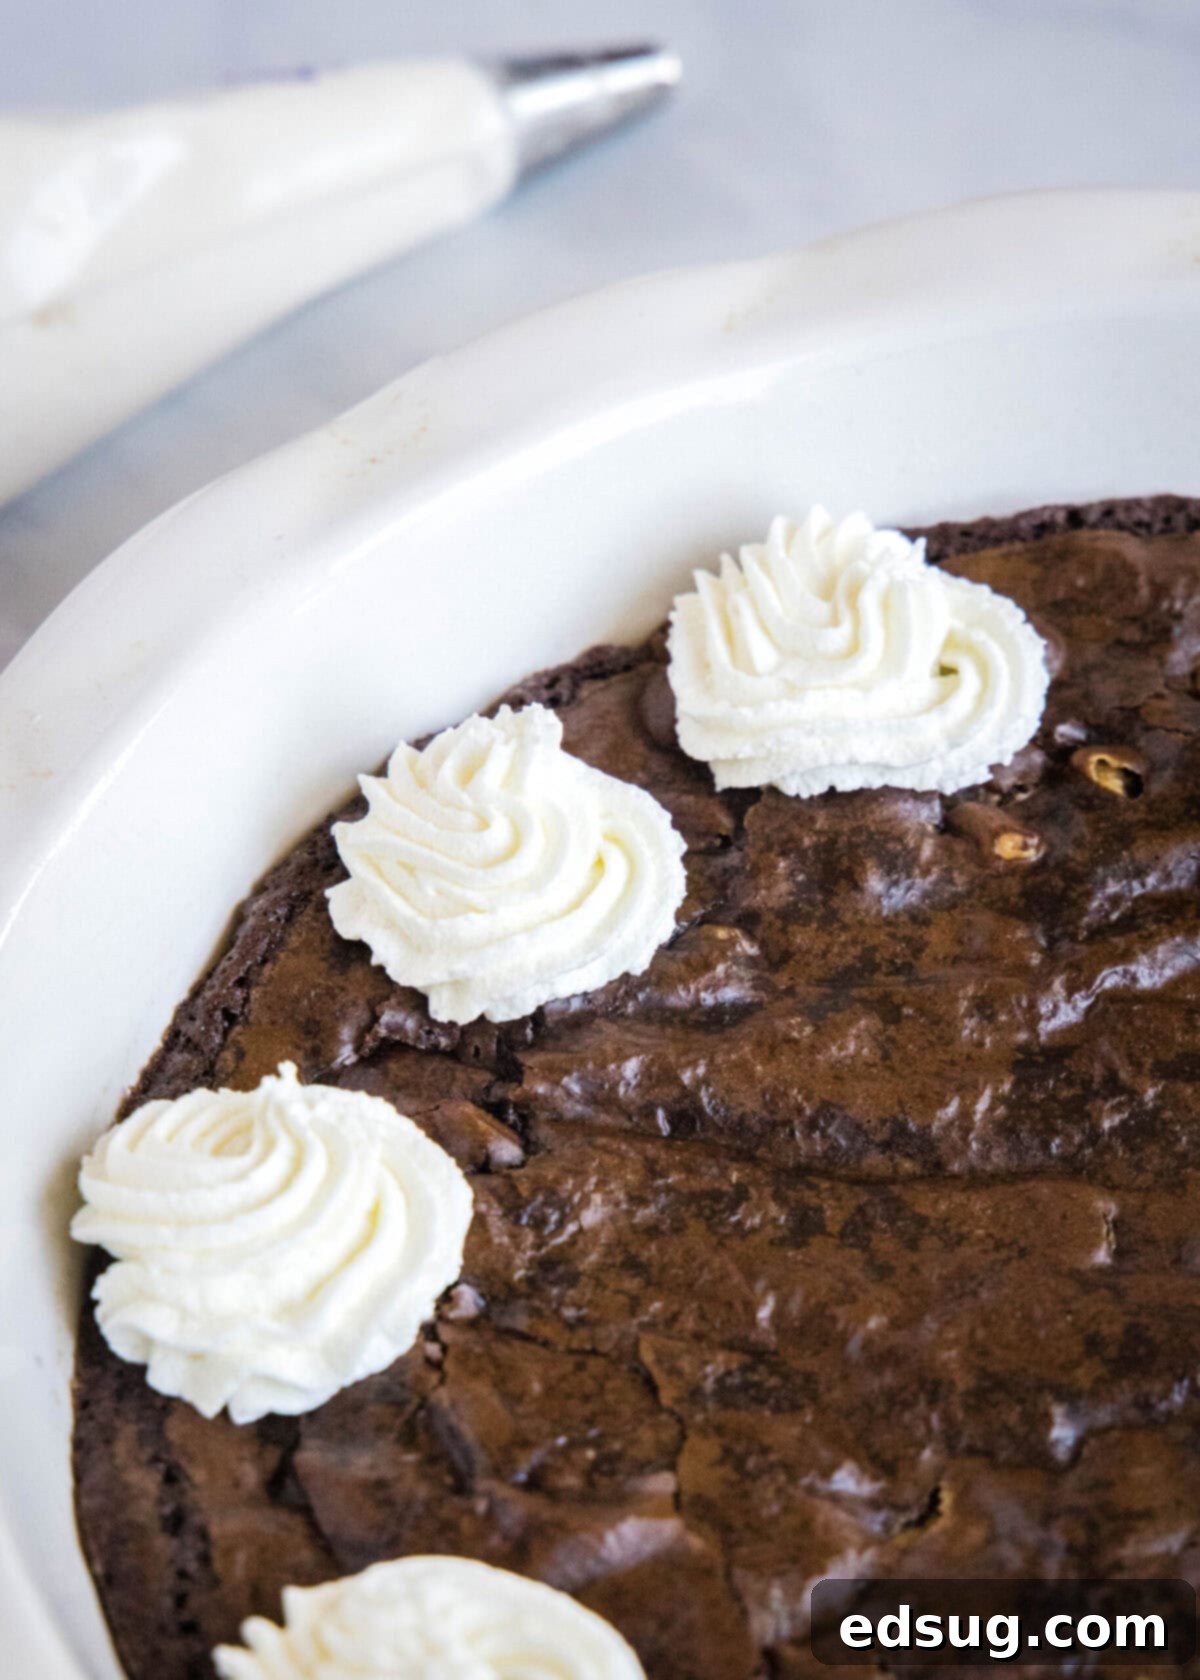
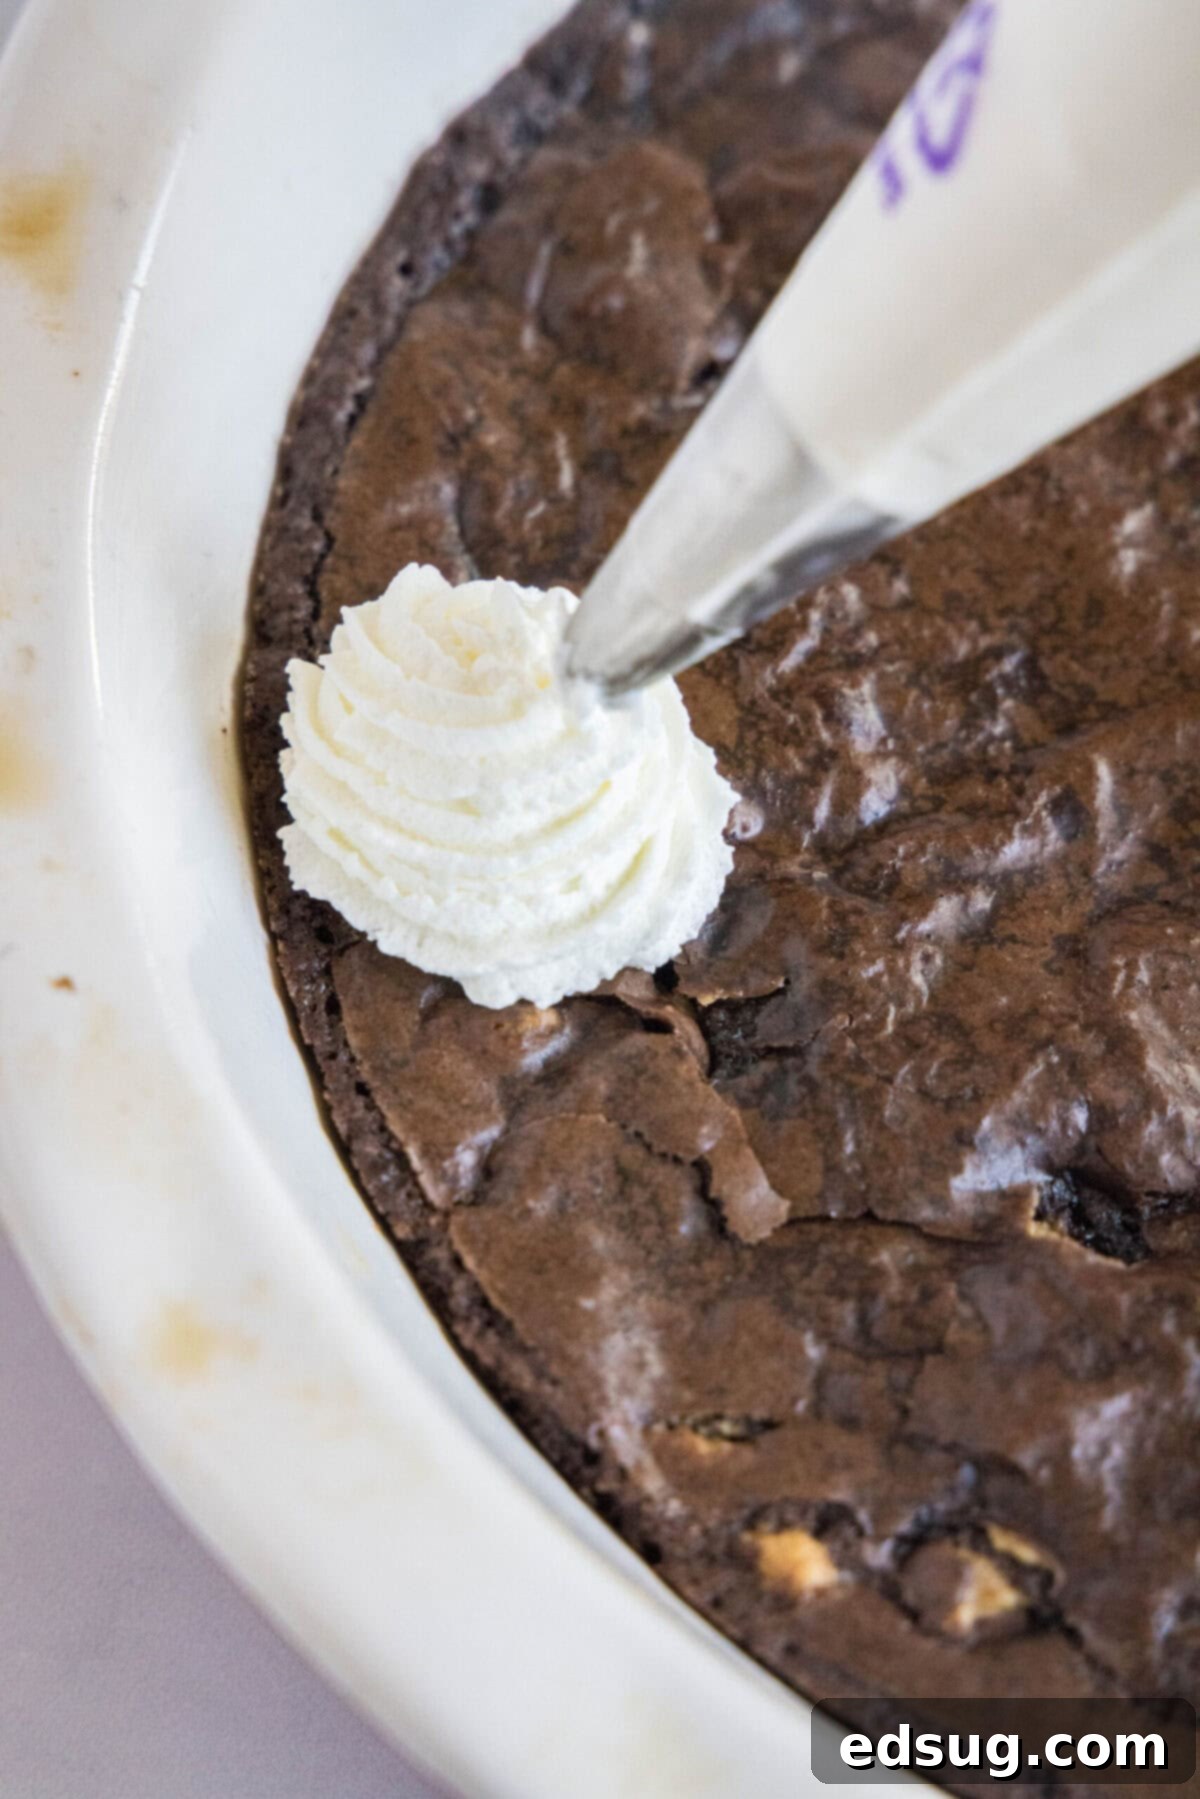
- Master the Art of Piping: If you’re looking to add a professional and visually appealing touch to your homemade Cool Whip, piping is the way to go! Transfer the finished stabilized whipped cream into a frosting piping bag fitted with your favorite decorative tip (a star tip or round tip works beautifully). Because of its stabilizing properties, the whipped cream will hold its intricate piped shape wonderfully, making it an excellent choice for garnishing cakes, cupcakes, tarts, hot beverages, or even creating elegant dollops on plates.
- Choose High-Quality Heavy Cream: The quality of your ingredients significantly impacts the final taste and texture, and heavy cream is the star of this recipe. I highly recommend investing in high-quality whipping cream (often labeled heavy cream or heavy whipping cream). While for some recipes you might opt for the cheapest cream available, this particular recipe truly shines when made with premium cream. The richer fat content contributes to a superior flavor and a more luxurious mouthfeel that is instantly noticeable.
- Unleash Flavor Creativity: Don’t limit yourself to just vanilla! Stabilized whipped cream is a fantastic canvas for various flavors. Get creative and infuse it with different extracts beyond vanilla, such as almond extract for a nutty note, peppermint extract for holiday treats, lemon or orange extract for a bright citrusy twist, or even coffee extract for mocha delights. For an extra textural element and burst of flavor, you can gently fold in finely crushed cookie bits (like Oreos), chocolate shavings, mini chocolate chips, toasted coconut flakes, or even finely diced fresh or dried fruit after the cream has reached stiff peaks.
- Add a Splash of Color: Vibrant, colored stabilized whipped cream can transform any dessert into a festive and eye-catching creation. To add color, simply incorporate a few drops of your preferred food coloring (gel food coloring provides more intense colors without thinning the cream) into the cream mixture when you add the vanilla extract and powdered sugar. Mix until the desired hue is achieved before continuing with the gelatin steps. This is a fantastic way to customize your topping for birthdays, holidays, or themed parties.
- Chill Your Equipment: For optimal whipping success, place your mixing bowl and whisk attachment in the freezer for 10-15 minutes before you begin. Cold equipment helps the heavy cream whip up faster and achieve stiffer peaks, especially beneficial for whipped cream recipes.
What to Serve With Homemade Cool Whip
The culinary possibilities for this versatile dessert topping are truly endless! I personally love to pipe it artfully onto various desserts, dollop it generously into drinks, or even gently fold it with a medley of fresh, seasonal berries for a simple yet elegant treat. However, my go-to application for this incredible whipped cream is to use it as a direct, superior substitute whenever a recipe specifically calls for store-bought Cool Whip. The enhanced flavor and reliable stability of this homemade version will undoubtedly make your favorite dishes even more delightful!
Here are a few of my most beloved recipes that traditionally use Cool Whip – trust me, they’ll be exponentially better with this homemade stabilized whipped cream:
- Oreo Lasagna: This no-bake dessert typically features layers of crushed Oreos, cream cheese filling, and Cool Whip. Swapping in homemade stabilized whipped cream will give it a richer, more luxurious finish that truly melts in your mouth.
- Snicker Salad: A delightful potluck favorite, this “salad” combines Snickers bars, apples, and whipped topping. Our stabilized whipped cream will provide a lighter, fresher counterpoint to the sweetness, enhancing the overall balance.
- Lemonade Pie: Tangy and sweet, this easy no-bake pie gets its airy texture from whipped cream. Using the homemade stabilized version ensures a perfectly set, creamy filling with a bright, clean lemon flavor.
- Peanut Butter Butterfinger Dip: This addictive dessert dip is perfect for fruit or cookies. The stabilized whipped cream will make the dip incredibly smooth and hold its fluffy texture, providing an ideal base for the crunchy candy.
- No Bake Kool-Aid Pie: A fun and colorful dessert, this pie benefits immensely from a stable whipped topping. Our homemade version will ensure your pie is light, holds its shape, and delivers a burst of fruity flavor with a superior texture.
How to Store Leftover Stabilized Whipped Cream
One of the fantastic advantages of stabilized whipped cream is its excellent shelf life, making it perfect for meal prepping or having a delicious topping ready at a moment’s notice. Storing this recipe is wonderfully simple: just transfer any leftover stabilized whipped cream into an airtight container. When properly sealed and refrigerated, it will maintain its fresh taste and firm texture for up to 2 weeks.
Can You Freeze This Recipe?
Absolutely, yes! Freezing is a fantastic option for preserving this delightful whipped cream, and this stabilized recipe is exceptionally well-suited for it. Frozen Cool Whip is a popular treat, and your homemade version will perform just as beautifully, if not better. To freeze, spoon the stabilized whipped cream into an airtight, freezer-safe container. For an extra layer of protection against freezer burn, I highly recommend pressing a layer of plastic wrap directly onto the surface of the whipped cream before securing the lid. This creates a barrier that minimizes air exposure. It will keep perfectly in the freezer for up to 3 months.
When you’re ready to enjoy it, you have a couple of options: you can either eat the stabilized whipped cream directly from the freezer as a refreshing frozen treat (it has a delightful, almost ice-cream-like consistency!), or you can let it thaw gradually in the refrigerator overnight. Once thawed, it will retain its wonderful fluffy texture, ready to be used just as if it were freshly made.
More Easy Dessert Add-Ons to Elevate Your Treats
I genuinely love creating stabilized whipped cream because it’s such a simple yet incredibly effective way to take almost any dessert from ordinary to extraordinary. It’s a fundamental component in building impressive and delicious sweet treats. If you’re passionate about boosting your dessert game and adding those perfect finishing touches, here are a few other easy-to-make dessert add-ons that will truly impress:
- Rich Homemade Hot Fudge Sauce: Drizzle this warm, decadent chocolate sauce over ice cream, brownies, or crepes for an instant upgrade.
- Decadent Cookie Dough Frosting: The ultimate topping for cupcakes, cakes, or even enjoyed by the spoonful! It’s creamy, sweet, and packed with cookie dough goodness.
- Fragrant Homemade Pumpkin Pie Spice: A blend of warm spices that’s perfect for enhancing fall desserts, coffees, or even breakfast oats.
- Creamy Homemade Nutella: A smooth, rich hazelnut chocolate spread that’s far superior to store-bought, ideal for toast, fruit, or dessert fillings.
- Vibrant Easy Raspberry Sauce: A bright and tangy sauce that adds a burst of fruity flavor to cheesecakes, pancakes, or panna cotta.
Stabilized Whipped Cream
Rate Recipe
Print Recipe
Ingredients
- 1 teaspoon unflavored gelatin
- 4 teaspoons cold water
- 1 cup heavy cream
- 1/4 cup powdered sugar
- 1/2 teaspoon vanilla extract
Instructions
-
Sprinkle the gelatin over the cold water, and let it sit for at least 5 minutes while you prepare the rest of the ingredients.
-
Add the heavy cream, powdered sugar, and vanilla to the bowl of stand mixer with the whisk attachment. Beat the mixture on medium-low until it begins to thicken, but stop before there are soft peaks.
-
Put the gelatin mixture in the microwave for 5-10 seconds until it is liquid but not hot.
-
With the mixer on low, slowly drizzle the gelatin into the cream mixture.
-
Once all the gelatin has been added, increase the speed to medium high, and beat until stiff peaks are formed, about 2-3 minutes.
-
Remove the stabilized whipped cream from the bowl, and serve or store. You can use it in place of Cool Whip in any recipe.
Notes
- Store leftovers in an airtight container in the fridge for 2 weeks, or in the freezer for 3 months. If freezing, place a layer of plastic against the top of the whipped cream before putting the lid on, to prevent freezer burn.
- You can add flavors or food coloring to this recipe.
Nutrition
Calories: 116kcal |
Carbohydrates: 4g |
Protein: 1g |
Fat: 11g |
Saturated Fat: 7g |
Polyunsaturated Fat: 3g |
Cholesterol: 34mg |
Sodium: 9mg |
Sugar: 4g
Nutrition information is automatically calculated, so should only be used as an approximation.
Additional Info
Like this recipe? Leave a comment below!
I created a fun group on Facebook, and I would love for you to join us! It’s a place where you can share YOUR favorite recipes, ask questions, and see what’s new at Dinners, Dishes and Desserts (so that you never miss a new recipe)!
Be sure to follow me on Instagram and tag #dinnersdishes so I can see all the wonderful DINNERS, DISHES, AND DESSERTS recipes YOU make!
Be sure to follow me on my social media, so you never miss a post!
Facebook | Twitter | Pinterest | Instagram
