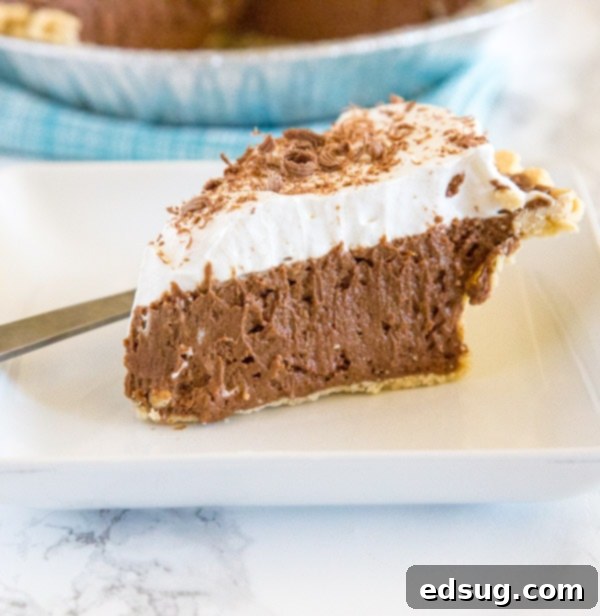
Decadent Homemade French Silk Pie: A Velvety Chocolate Dream
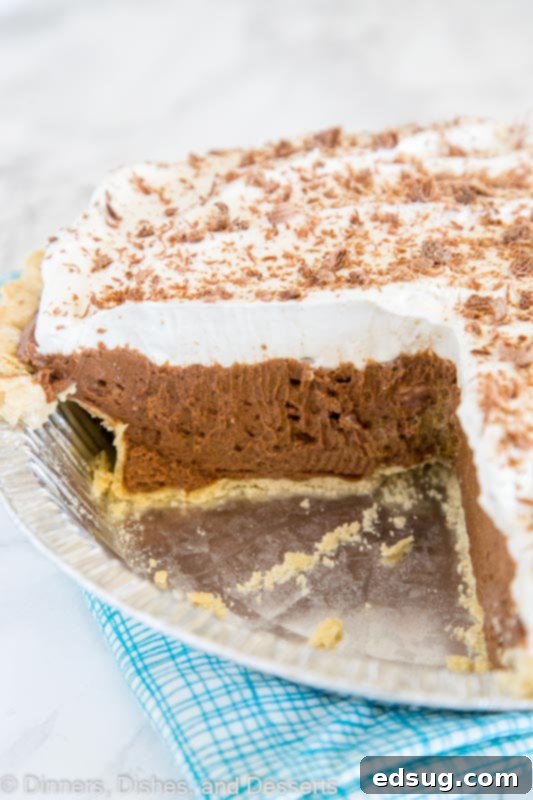
Indulge in a classic! French Silk Pie is a rich, creamy chocolate masterpiece featuring a layer of unbelievably silky chocolate mousse, elegantly topped with fresh whipped cream and delicate chocolate shavings. This guide will walk you through creating the ultimate homemade version.
There are some desserts that evoke a special kind of nostalgia, and for me, French Silk Pie is at the very top of that list. Growing up, this luxurious chocolate pie was a rare treat, often brought home from beloved local bakeries like Baker’s Square or Perkins. I still remember the thrill of seeing that distinctive box in the fridge, signaling a truly special occasion. It stood out as one of the few desserts we enjoyed that wasn’t a batch of brownies – a testament to its unique appeal and decadent flavor profile.
Years later, a delightful realization dawned upon me: I could create this magical pie right in my own kitchen! It’s a truth universally acknowledged in the culinary world that nearly anything you can buy in a store tastes infinitely better when made from scratch, and French Silk Pie is no exception. Crafting it at home elevates it to an entirely new level of richness, creaminess, and that signature silken texture. The secret lies not just in the technique, but also in the quality of your ingredients – especially the chocolate. Furthermore, topping this heavenly creation with freshly made whipped cream transforms it into an absolute dream. For those who crave an even more over-the-top chocolate experience, be sure to check out these French Silk Brownies!
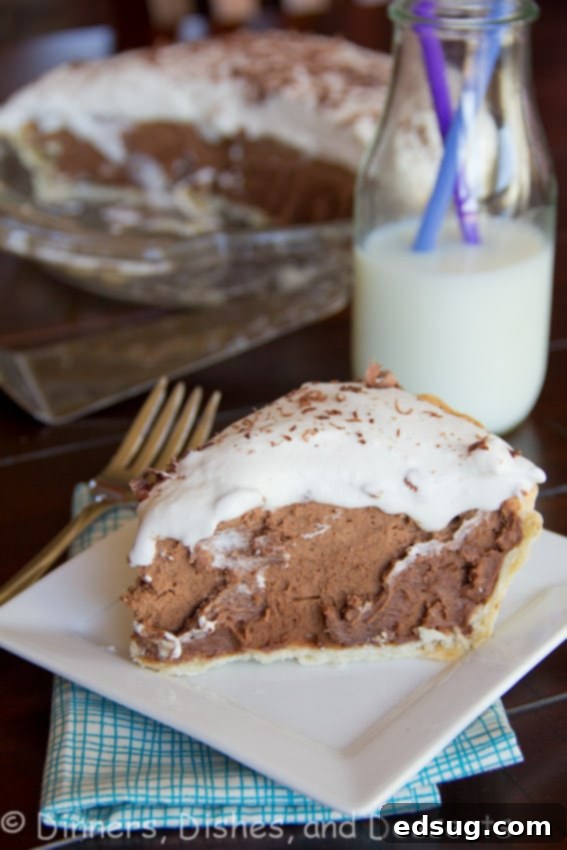
What Makes French Silk Pie Unique?
Let’s address a key characteristic right from the start: authentic French Silk Pie traditionally incorporates raw eggs. This is a distinguishing factor that sets it apart from a simple chocolate cream pie. The eggs are not just an ingredient; they are crucial to achieving that unparalleled thickness, luxurious creaminess, and signature “silky” texture that gives the pie its name. Without them, the filling would lack the distinctive consistency and melt-in-your-mouth quality that devotees of this classic dessert cherish.
The thought of raw eggs can understandably give some people pause. However, modern culinary practices offer a safe and simple solution: pasteurized eggs. When you use pasteurized eggs, they are 100% safe to consume raw, as the pasteurization process eliminates potential harmful bacteria while keeping the egg in its liquid form. This ensures you can enjoy all the traditional richness and texture of French Silk Pie without any concerns. If you can’t readily find pasteurized eggs at your local grocery store, don’t worry – you can easily pasteurize them at home with a few simple steps. This makes it possible for everyone to enjoy this truly special dessert safely.
Pasteurized Eggs: Ensuring Safety Without Compromising Taste
As mentioned, the secret to a truly authentic French Silk Pie lies in its raw egg-enriched filling. To enjoy this decadent pie safely, pasteurized eggs are essential. If store-bought pasteurized eggs aren’t available, you can easily prepare them at home. The process is straightforward and only requires a thermometer to ensure accuracy.
How to Pasteurize Eggs at Home
To pasteurize eggs for your French Silk Pie, carefully place them in a pot and cover them completely with water. Slowly heat the water, monitoring the temperature with a reliable kitchen thermometer. Your goal is to bring the water temperature up to 140 degrees Fahrenheit (60 degrees Celsius). Once it reaches this temperature, maintain it precisely for three minutes. It’s crucial not to let the temperature rise too high, as exceeding 142 degrees Fahrenheit (61 degrees Celsius) can cause the eggs to begin cooking and scramble, which would, unfortunately, render them unusable for this specific recipe. After three minutes, remove the eggs from the hot water, drain them, and allow them to cool completely before incorporating them into your pie filling. Now that we’ve ensured the safety aspect, let’s delve into the delicious details of making French Silk Pie.
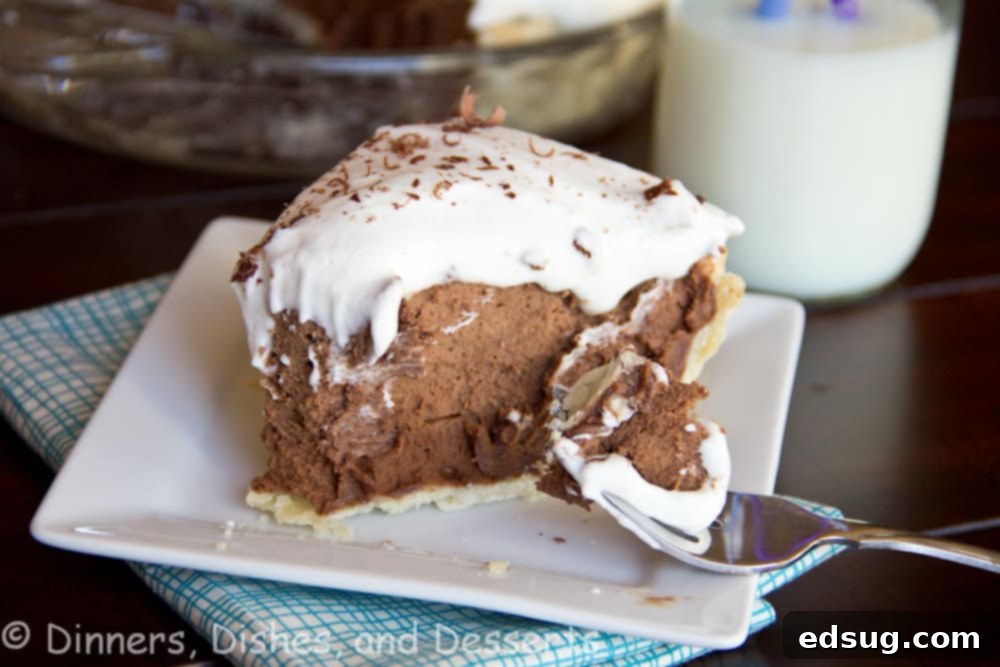
Essential Ingredients for Your Silky Pie
Creating a truly magnificent French Silk Pie begins with a selection of high-quality ingredients. Each component plays a vital role in achieving that perfect balance of flavor and texture:
- Unsweetened Chocolate: Opt for a premium brand. Since chocolate is the dominant flavor, its quality will significantly impact the final taste of your pie.
- Butter: Use unsalted butter, softened to room temperature, for optimal creaming with the sugar.
- Granulated Sugar: Provides sweetness and, when creamed correctly, contributes to the filling’s smooth texture.
- Pasteurized Eggs: As discussed, these are crucial for the pie’s signature texture and for safe consumption.
- Heavy Cream: The base for your decadent, homemade whipped cream topping.
- Powdered Sugar: Sweetens and stabilizes the whipped cream.
- Vanilla Extract: Enhances the chocolate flavor in the filling and adds a lovely aroma to the whipped cream.
- Pie Crust: A pre-baked, cooled pie crust forms the essential foundation.
Mastering the Art of Homemade French Silk Pie
For the FULL PRINTABLE recipe card with exact measurements and detailed steps, be sure to scroll to the very bottom of this post!
Crafting the Silky Chocolate Filling
- Leverage Your Stand Mixer: This is not merely a suggestion, but a crucial step for achieving that signature silky smooth texture. A stand mixer, especially when beating the eggs, incorporates the necessary air and ensures the ingredients are thoroughly combined, resulting in a light and airy yet rich filling. It truly beats the eggs into a state of perfection, a task that is nearly impossible by hand.
- Creaming Butter and Sugar to Perfection: The initial step of creaming butter and sugar together is fundamental. You’ll want to beat them for several minutes until the mixture becomes incredibly light, fluffy, and almost white in color. This process dissolves the sugar crystals and aerates the butter, which is absolutely vital for preventing a gritty or grainy pie texture. If this step is rushed, your pie will lack its characteristic smoothness and creaminess.
- The Power of Quality Chocolate: Since the chocolate flavor is the star of this dessert, investing in good quality unsweetened chocolate makes a noticeable difference. Choose a brand you genuinely enjoy, as its flavor will shine through. Ensure it’s melted and cooled to room temperature before adding it to your creamed butter and sugar mixture to prevent it from seizing or cooking the butter.
- Gradual Egg Incorporation: Add the pasteurized eggs one at a time, beating for a full two minutes after each addition on medium-high speed. This extended beating time is key to developing the filling’s incredibly light and airy yet firm consistency, transforming it into the luxurious “silk” it’s known for. When you’re finished, the mixture should be noticeably light, fluffy, and uniform.
The Perfect Pie Crust Base
Before you even begin with the filling, ensure your pie crust is perfectly prepared. You can use your favorite homemade recipe or a high-quality store-bought crust for convenience. The crucial step is to pre-bake the crust until it’s golden brown and then allow it to cool completely before adding the luscious chocolate filling. A warm crust can cause the filling to melt or become watery, affecting the final set and texture of your French Silk Pie.
Chilling for Perfection and Safe Storage
- Chill Time is Essential: Once assembled, the pie requires a minimum of two hours in the refrigerator to properly set. This ensures the filling firms up to that ideal silky consistency and allows the flavors to meld beautifully.
- Refrigeration is Key: Beyond setting, proper storage in the fridge is imperative. Not only is French Silk Pie best served chilled, but even with pasteurized eggs, keeping it at a cold temperature is essential for food safety and to maintain its delightful texture.
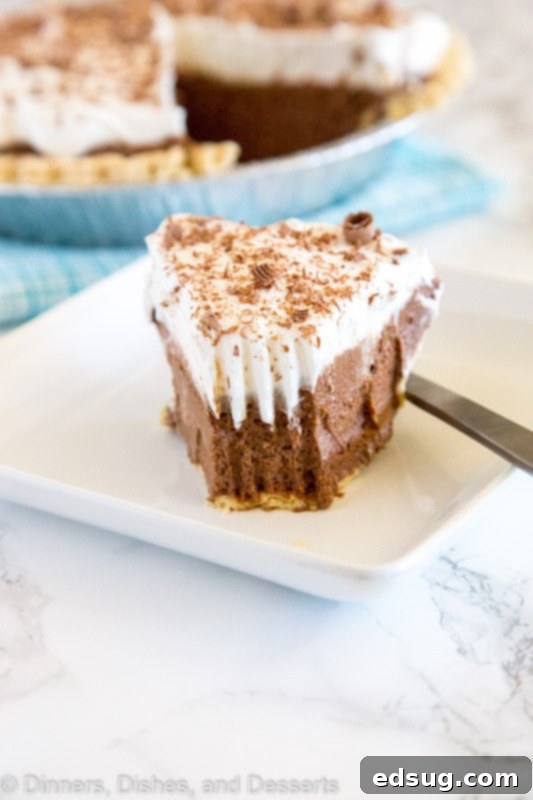
Why Is My French Silk Pie Gritty? Troubleshooting Tips
One common concern I often hear is, “Why is my French Silk Pie gritty?” or “Why does my French Silk Pie taste grainy?” The primary culprit behind a gritty or grainy texture is insufficient mixing, particularly in the initial stages. When you cream the softened butter and granulated sugar together, it’s not enough to just combine them. You need to beat them thoroughly for several minutes – typically at least 2 to 3 minutes on medium-high speed – until the mixture visibly transforms. It should become very light in color, significantly increased in volume, and take on an incredibly fluffy, almost whipped consistency.
This extended creaming process serves two vital purposes: it thoroughly dissolves the sugar crystals into the butter, and it incorporates a significant amount of air, which contributes to the pie’s characteristic light and silken texture. If the sugar isn’t fully dissolved at this stage, those undissolved crystals will remain in the final pie, giving it that unpleasant gritty mouthfeel. Furthermore, when you add the eggs, beating for a full two minutes after each addition ensures they are fully emulsified and aerated, further contributing to the smooth, rich consistency. Patience and proper mixing are truly your best allies in achieving a perfectly smooth and luxurious French Silk Pie.
Storage for Optimal Freshness
To preserve its exquisite taste and texture, French Silk Pie must always be kept refrigerated. After baking and setting, cover the pie loosely with plastic wrap or aluminum foil to prevent it from absorbing refrigerator odors and to keep its whipped cream topping fresh. Stored properly in a cold environment, this delightful chocolate pie will maintain its quality for approximately 3 to 4 days. Beyond this timeframe, you might notice the whipped cream beginning to soften or the filling slightly losing its perfect emulsification and separating, although it would likely still be safe to eat. For the best experience, enjoy your homemade French Silk Pie within the first few days of preparation.
More Decadent Dessert Recipes to Explore
If you have a sweet tooth and a passion for indulgent desserts, here are some other fantastic recipes from Dinners, Dishes, and Desserts that you might enjoy after mastering your French Silk Pie:
- Chocolate Pavlova
- Red Velvet Brownies
- Double Chocolate Cupcakes
- Reese’s Peanut Butter Cookies
- Flourless Chocolate Cake
- Ding Dong Cake
- Chocolate Hazelnut Cake
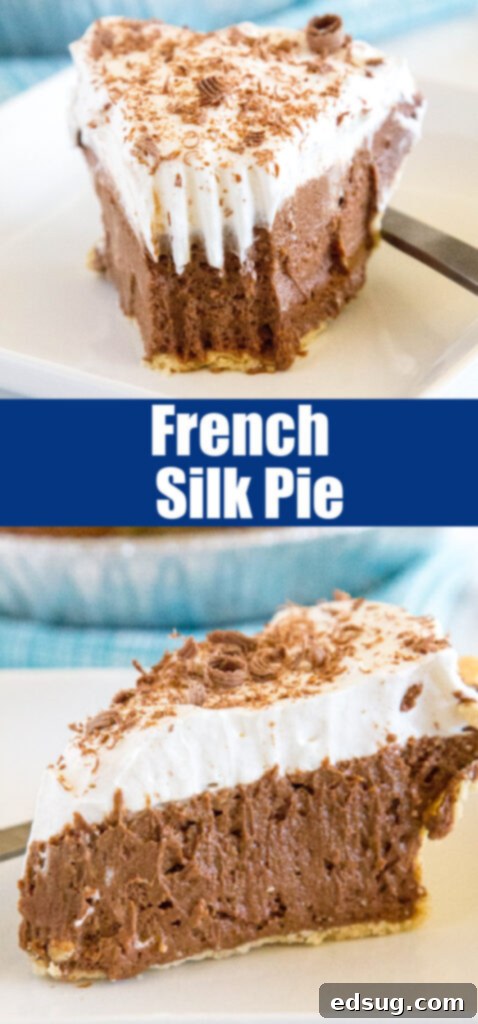

French Silk Pie
Video
Equipment
- Kitchen Aid Stand Mixer
- GIR Spatula
- Pie Plate
Ingredients
- 1 9- inch pie crust
Pie Filling
- 3 oz unsweetened chocolate, melted and cooled
- 1 cup butter, softened
- 1 cup granulated sugar
- 1 teaspoon vanilla extract
- 4 large pasteurized eggs, see notes
Whipped Cream
- 1 cup heavy cream
- 1/3 cup powdered sugar
- 1/2 teaspoon vanilla extract
Instructions
- Preheat oven to 450º F. Press pie crust into a 9 inch pie plate. Prick the bottom and sides with a fork. Bake for 9-11 minutes, until golden brown. Let cool completely.
- In a stand mixer beat butter for 2 minutes, until fluffy. Gradually add the sugar, continuing to beat until light and fluffy. Mix in cooled chocolate and vanilla.
- Add the eggs 1 at a time. Beat on medium-high for 2 minutes after each addition. It should be light and fluffy when you are done.
- Pour chocolate mixture into cooled pie shell. Place in fridge while you prepare the whipped cream.
- In a large bowl beat heavy cream until soft peaks begin to form. Add powdered sugar and vanilla. Beat until stiff peaks. Spread whipped cream over chocolate layer. Garnish with shaved chocolate.
- Let sit in the fridge for 2 hours before serving.
Notes
Nutrition
Nutrition information is automatically calculated, so should only be used as an approximation.
Additional Info
I’ve created a fantastic community group on Facebook, and I’d be absolutely thrilled for you to join us! It’s a wonderful space where you can share YOUR favorite recipes, ask questions, and stay up-to-date with all the new happenings at Dinners, Dishes and Desserts (so you’ll never miss a delicious new recipe!).
Be sure to follow me on Instagram and tag #dinnersdishes so I can see all the wonderful DINNERS, DISHES, AND DESSERTS recipes YOU create and enjoy!
Make sure to connect with me on my social media channels, so you never miss a post or a new recipe!
Facebook | Twitter | Pinterest | Instagram
.
