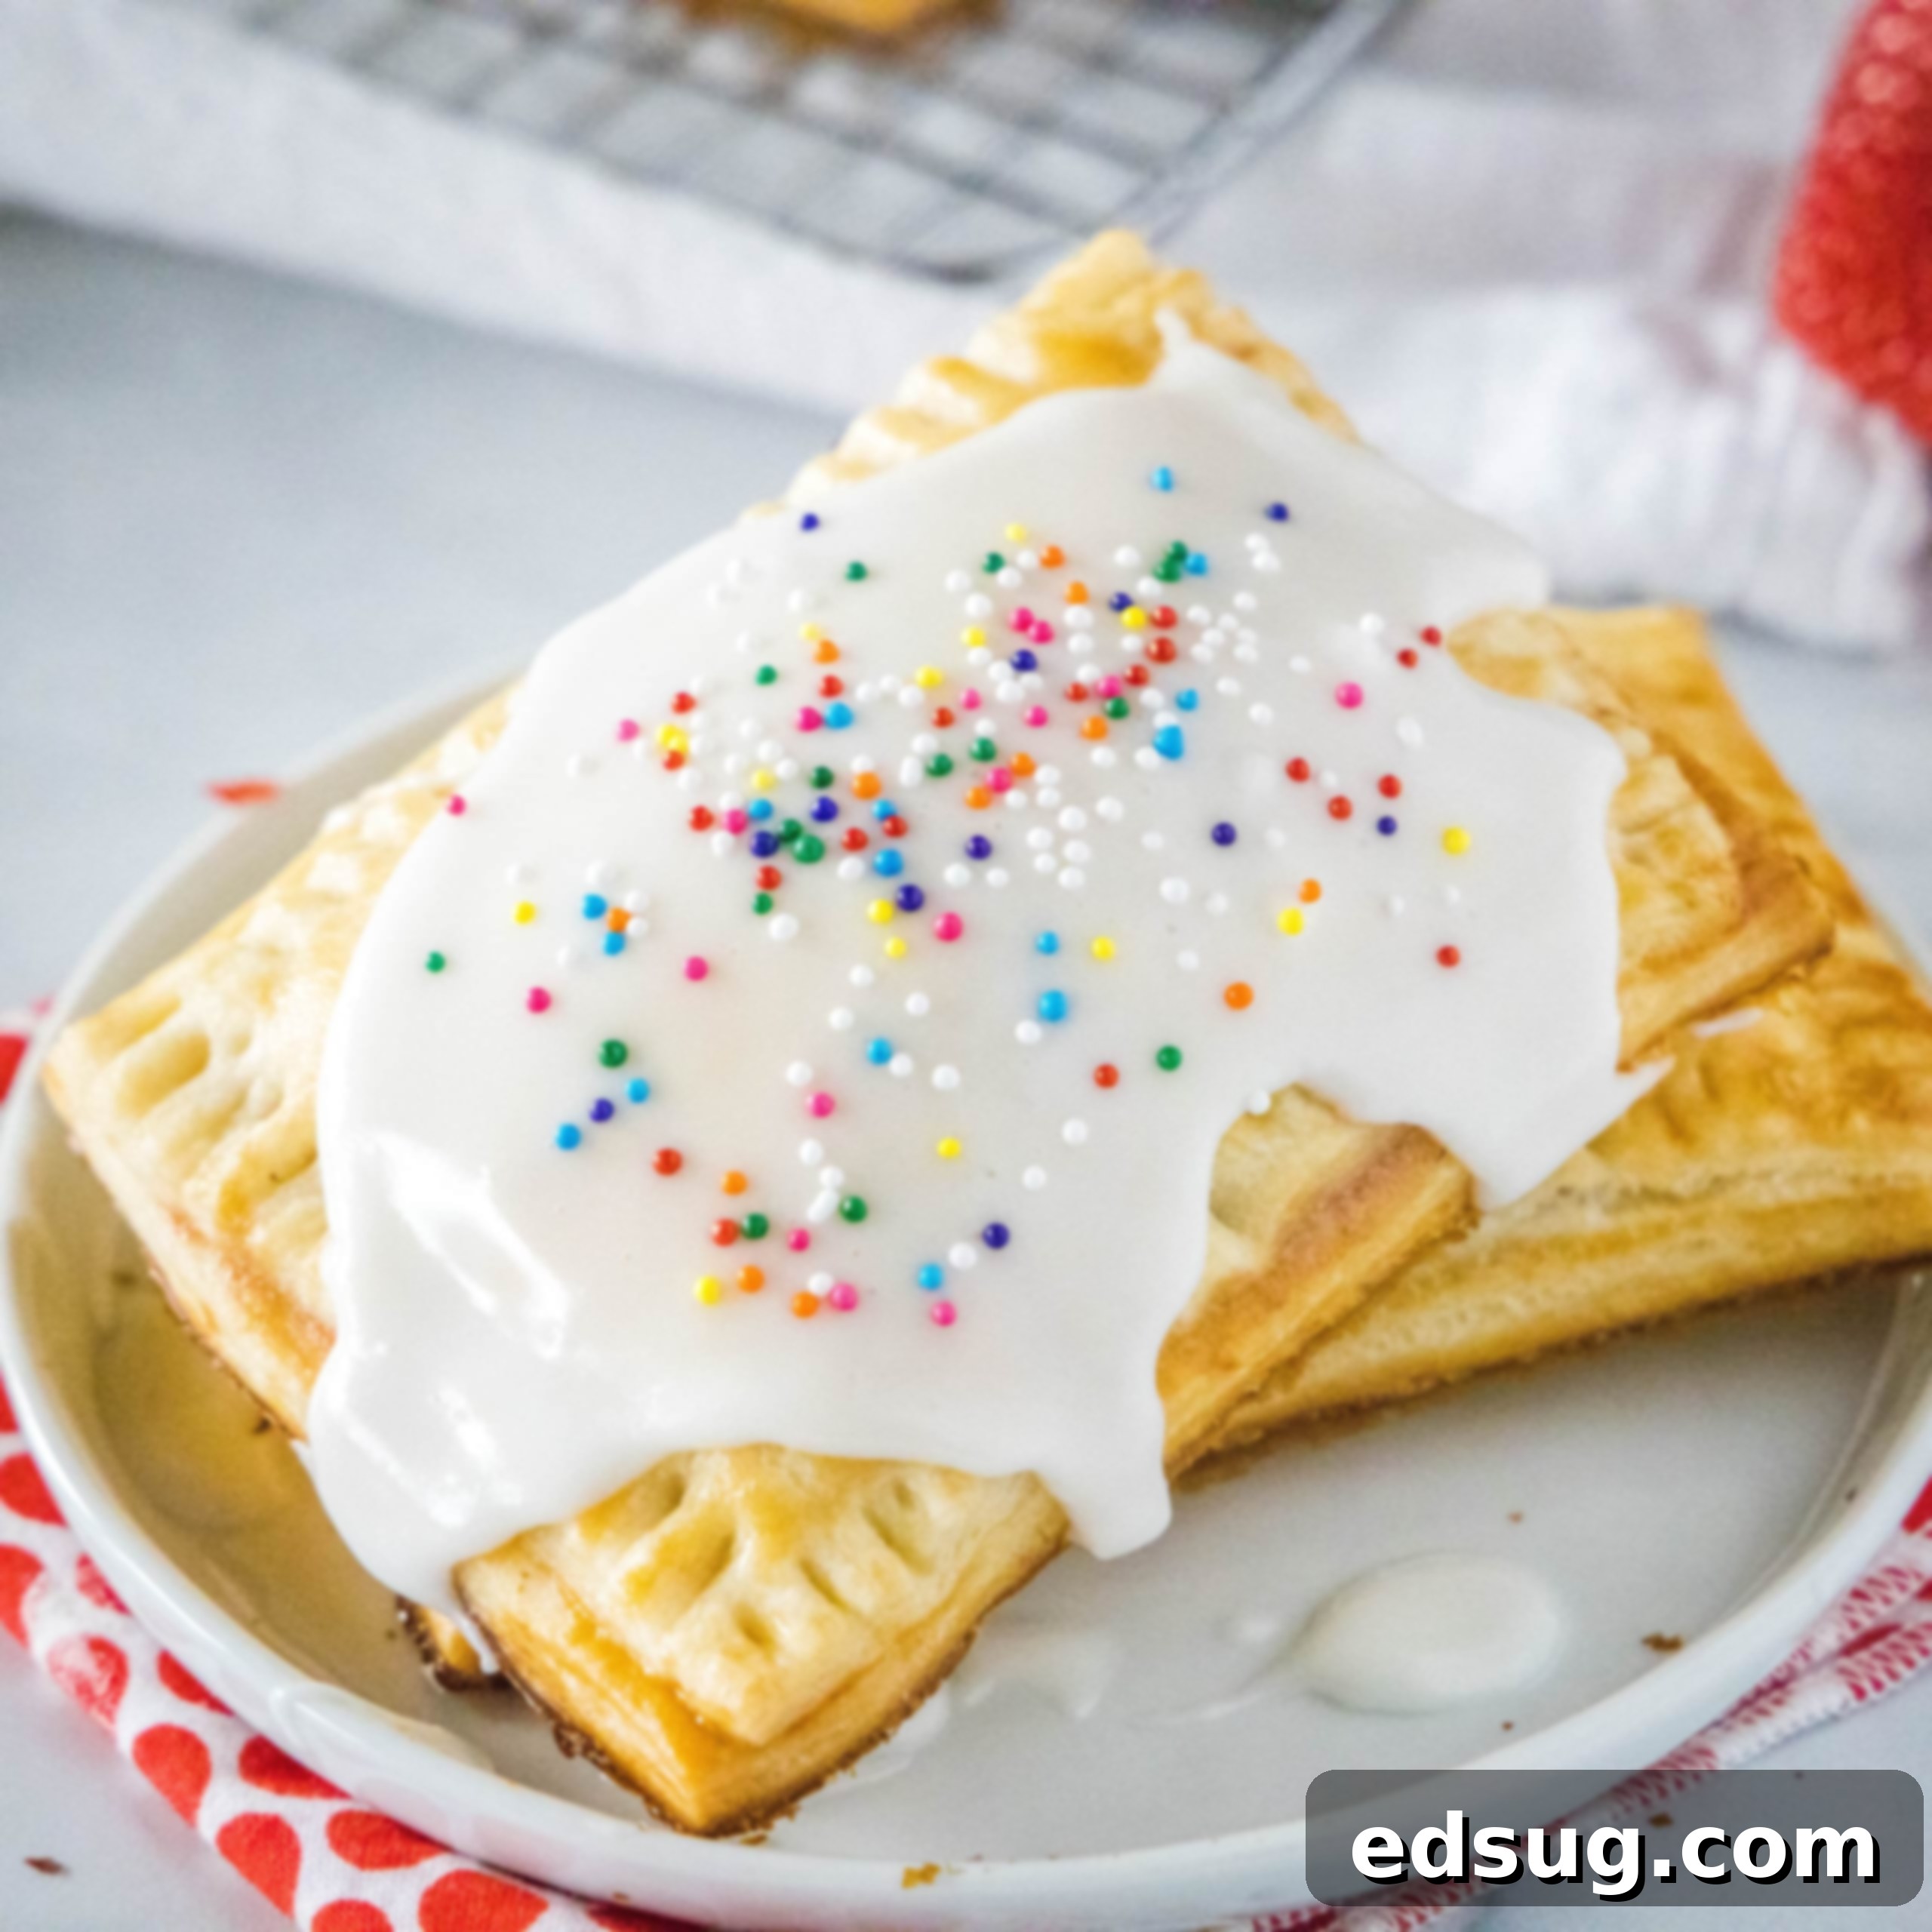
The Best Homemade Strawberry Pop Tarts: Flaky Crust, Sweet Filling, and Irresistible Glaze
Indulge in these flakey and utterly delicious homemade pop tarts, generously filled with a vibrant strawberry jam and topped with a sweet glaze. Far superior to any store-bought alternative, these treats are a nostalgic delight made fresh in your kitchen.
For many of us, Pop-Tarts were a cornerstone of childhood breakfasts. Whether you gravitated towards the classic cinnamon and brown sugar or the ever-popular strawberry variety, these toaster pastries held a special place in our hearts. However, as our palates matured, the store-bought versions often lost their charm, sometimes tasting more like cardboard than a delightful pastry.
But what if you could recapture that nostalgic joy, elevating it with fresh ingredients and a homemade touch? This recipe for homemade strawberry pop tarts promises to do just that, transforming a childhood staple into a gourmet treat that’s bursting with flavor and far exceeds anything you’ll find on a grocery store shelf. Get ready to experience one of the most fun and delicious sweet treats you can create right in your own kitchen.
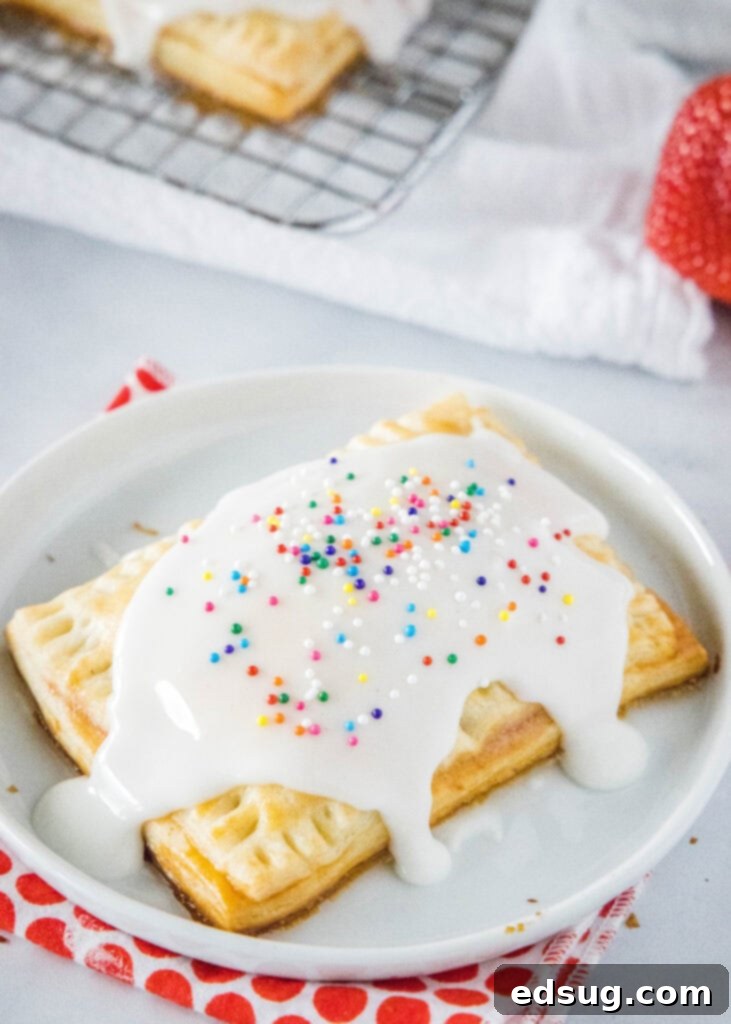
Understanding Homemade Strawberry Pop Tarts
At its heart, a pop tart is a simple yet satisfying pastry: a delicate, flaky crust encasing a sweet fruit or other flavorful filling, often finished with a delectable glaze. While the commercial versions are designed for a quick warm-up in the toaster, our homemade rendition brings an unparalleled level of freshness and quality. You’ll have complete control over every ingredient, ensuring a wholesome and incredibly tasty outcome that’s surprisingly approachable to make.
Admittedly, creating these pastries is a multi-step process, but don’t let that deter you! A significant portion of the preparation time is hands-off, involving chilling and cooling. Plus, the beauty of this recipe is its flexibility: you can easily break the process into stages over a day or two, making it perfectly manageable even for busy schedules. The end result is a truly rewarding baking experience, yielding a batch of pastries that are a testament to homemade goodness.
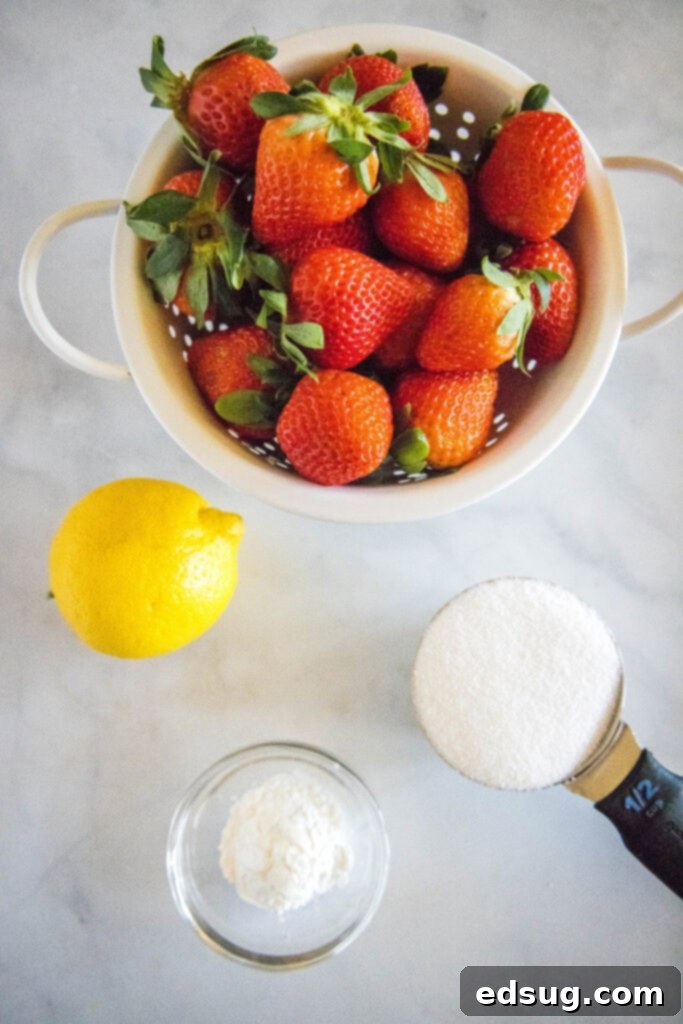
Essential Ingredients for Your Pop Tarts
For the complete measurements and detailed instructions, scroll down to the bottom of the post for the FULL PRINTABLE recipe card.
- All-Purpose Flour: The fundamental building block for our wonderfully flaky pastry crust.
- Granulated Sugar: Sweetens both the delicate pastry dough and the luscious strawberry filling, balancing the flavors.
- Salt: A crucial ingredient that enhances and balances all the other flavors in the crust.
- Unsalted Butter: Using unsalted butter in baking allows you precise control over the overall salt content of your recipe. Keeping it very cold is paramount for achieving that signature flaky texture in the pastry.
- Cold Water: The secret ingredient for a truly tender and flaky crust, as it helps prevent the butter from melting prematurely when mixed with the flour.
- Fresh Strawberries: The star of our filling! Choose ripe, vibrant strawberries for the best flavor and natural sweetness.
- Cornstarch: This acts as a thickening agent for the strawberry filling, ensuring it’s firm enough to stay inside the pastry without making it soggy.
- Lemon Juice: A splash of fresh lemon juice brightens the strawberry flavor and adds a delightful, subtle tang to the filling.
- Powdered Sugar: The base for our smooth, sweet, and quickly setting glaze that adds the perfect finish to these homemade treats.
- Milk: Used in two key components: the egg wash to create a golden-brown crust, and in the glaze to achieve a smooth, spreadable consistency.
- Egg: Beaten with milk, the egg wash gives the pop tarts a beautiful golden hue during baking and helps to seal the pastry edges effectively.
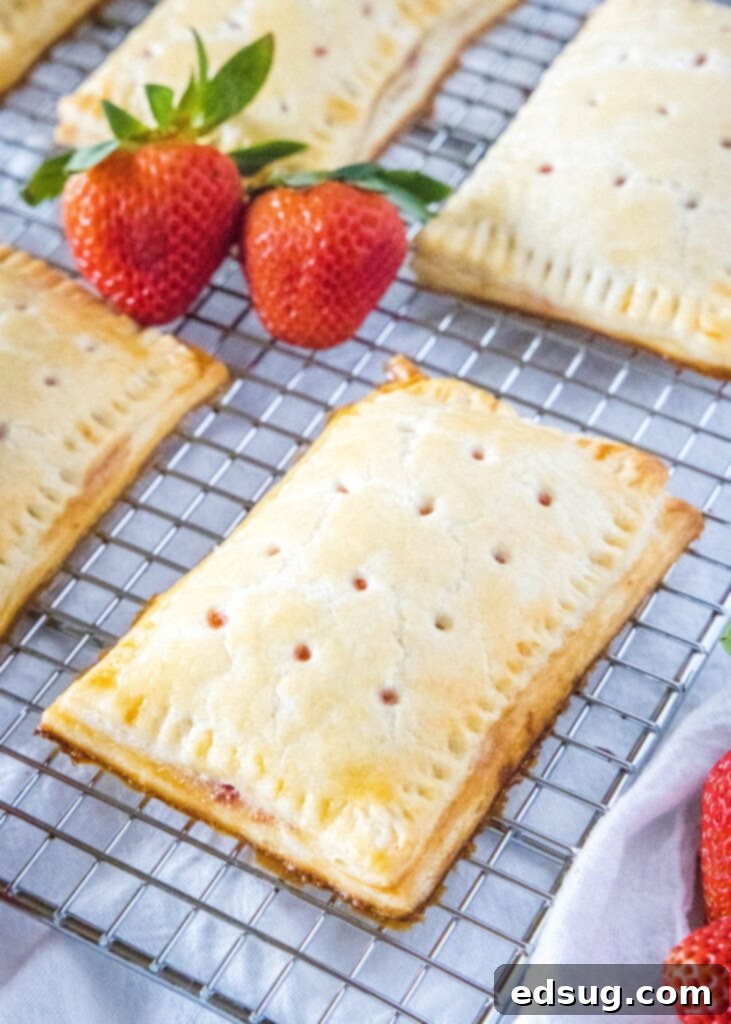
Crafting Homemade Strawberry Pop Tarts: A Step-by-Step Guide
Step 1: Preparing Your Sweet Strawberry Filling
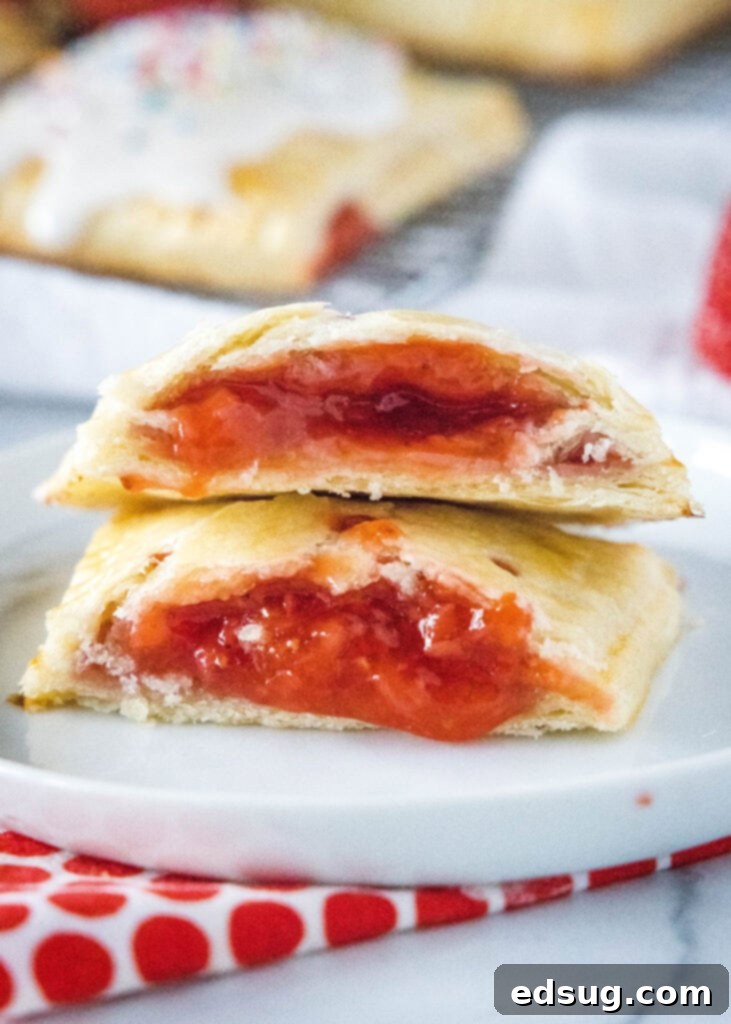
You’ll begin by creating the heart of your pop tarts: a luscious, homemade strawberry filling. Think of it as a quick and easy fruit jam that offers a burst of fresh flavor. A wonderful advantage here is that this component can be made a day or two in advance and stored in the refrigerator, streamlining your baking process.
- First, prepare your fresh strawberries. Wash them thoroughly, remove the green stems, and then chop them into small, manageable pieces. Transfer these chopped berries to a medium saucepan. Add the granulated sugar, cornstarch (which will help thicken the filling), and the fresh lemon juice (to brighten the flavor).
- Place the saucepan over medium heat and bring the mixture to a gentle simmer. Cook for approximately 10 minutes, stirring occasionally, until the strawberries have become wonderfully soft and have released their juices. At this stage, use a potato masher or a fork to mash the berries to your desired consistency – whether you prefer some chunky bits of fruit or a smoother, jam-like texture. For an exceptionally smooth filling, an immersion blender can quickly achieve this.
- Continue cooking the mashed berry mixture for about 10 additional minutes, or until it has noticeably thickened and coats the back of a spoon. This ensures your filling will hold its shape within the pastry. Once thick, remove the saucepan from the heat and allow the filling to cool completely. Cooling is a crucial step; a hot filling could melt your pastry dough, leading to a soggy, undesirable crust.
Step 2: Creating the Flaky Pastry Crust
The crust is what makes these homemade pop tarts truly exceptional. Its flakiness and buttery richness are a stark contrast to their store-bought counterparts. Using a food processor makes this step incredibly quick and easy, ensuring perfect results every time.
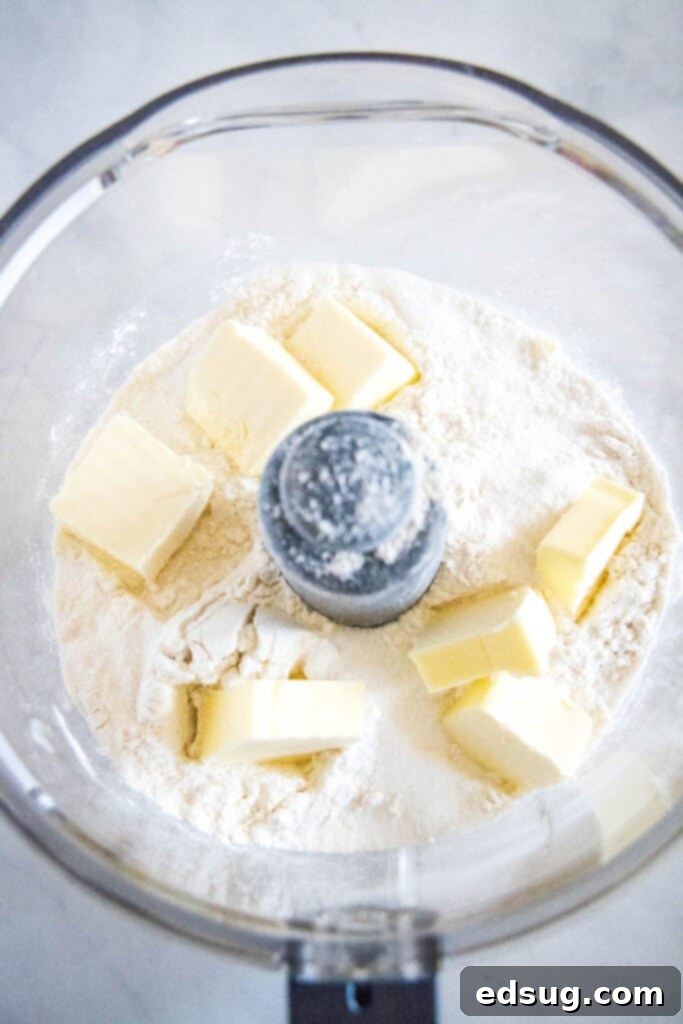
- In the bowl of your food processor, combine the all-purpose flour, granulated sugar, and salt. Pulse these dry ingredients a couple of times to ensure they are well blended. This initial step helps distribute the salt and sugar evenly throughout the flour.
- Next, add the cold, cubed unsalted butter to the food processor. Process the mixture in short pulses until the butter is incorporated into the flour and resembles coarse crumbs, with some pea-sized pieces remaining. It’s vital that the butter remains cold to achieve the signature flaky layers.
- With the food processor running, slowly pour in the ice-cold water, a tablespoon at a time, until the mixture just begins to come together and form a cohesive dough. Be careful not to over-process; stop as soon as a dough ball forms. Overworking the dough can lead to a tough crust.
- Carefully remove the dough from the food processor. Use your hands to gently shape it into a smooth ball. Flatten the ball slightly into a disc, then wrap it tightly in plastic wrap. Place the dough in the refrigerator to chill for at least 30 minutes. This chilling period is essential; it allows the gluten to relax, making the dough easier to roll out, and ensures the butter remains solid, contributing to a wonderfully flaky texture.
Step 3: Assembling and Baking Your Pop Tarts
Now comes the exciting part: bringing all the elements together to create your delicious homemade strawberry pop tarts. This step requires a little precision but is incredibly satisfying.
- Once your dough has thoroughly chilled, remove it from the refrigerator. On a lightly floured surface, cut the dough in half so you have two pieces of roughly equal size.
- Take one half of the dough and roll it out with a rolling pin until it forms a rectangle approximately 12×9 inches in size and about 1/8-inch thick. Ensure your surface is well-floured to prevent sticking. Repeat this process with the second piece of dough.
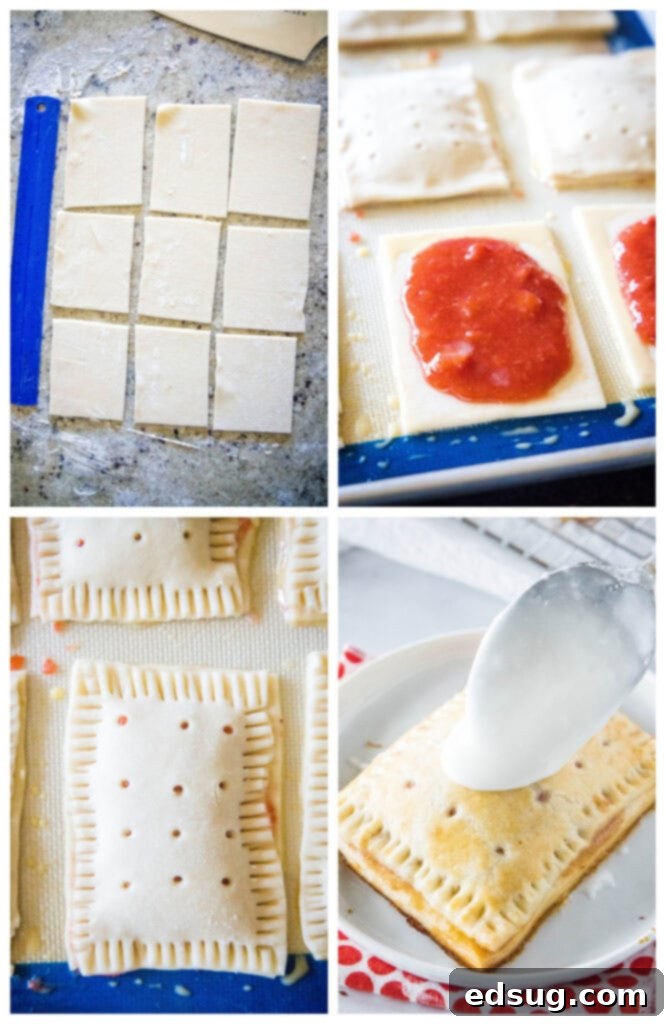
- Using a sharp knife or a pizza cutter, carefully cut each rolled-out rectangle into smaller rectangles, approximately 3×4 inches in size. You should aim for 24 pieces of dough in total (12 bottoms, 12 tops). Any scraps can be gently re-combined and rolled out one more time to yield a few extra pop tarts, though excessive re-rolling can make the dough tough.
- Take half of your 3×4-inch rectangles (12 pieces) and, using a toothpick or a bamboo skewer, gently poke several holes across their surface. These perforations on the top crust are vital, as they allow steam to escape during baking, preventing the pop tarts from puffing up excessively and bursting.
- Arrange the other half of your dough rectangles (the un-poked ones) on a baking sheet lined with parchment paper. Spoon about 2 tablespoons of your cooled strawberry filling onto the center of each dough rectangle, leaving a small border around the edges.
- In a small bowl, whisk together the egg and milk to create an egg wash. Lightly brush the edges of the dough rectangles on the baking sheet that have the filling. This egg wash acts as a glue, helping to seal the top and bottom crusts together.
- Carefully place the poked dough rectangles (the tops) over the filled bottoms. Gently press down on the edges to seal them firmly. Then, using the tines of a fork, crimp all around the edges of each pop tart. This not only creates a beautiful, classic pop tart edge but also reinforces the seal, ensuring no filling escapes during baking.
- Brush the tops of all the assembled pop tarts with the remaining egg wash. This will give them a gorgeous golden-brown shine once baked. Bake in a preheated oven at 375ºF (190ºC) for 18-22 minutes, or until the pastry is golden brown and appears slightly puffy.
- Once baked, remove the pop tarts from the oven and transfer them to a wire rack to cool completely. Allowing them to cool fully is important before glazing.
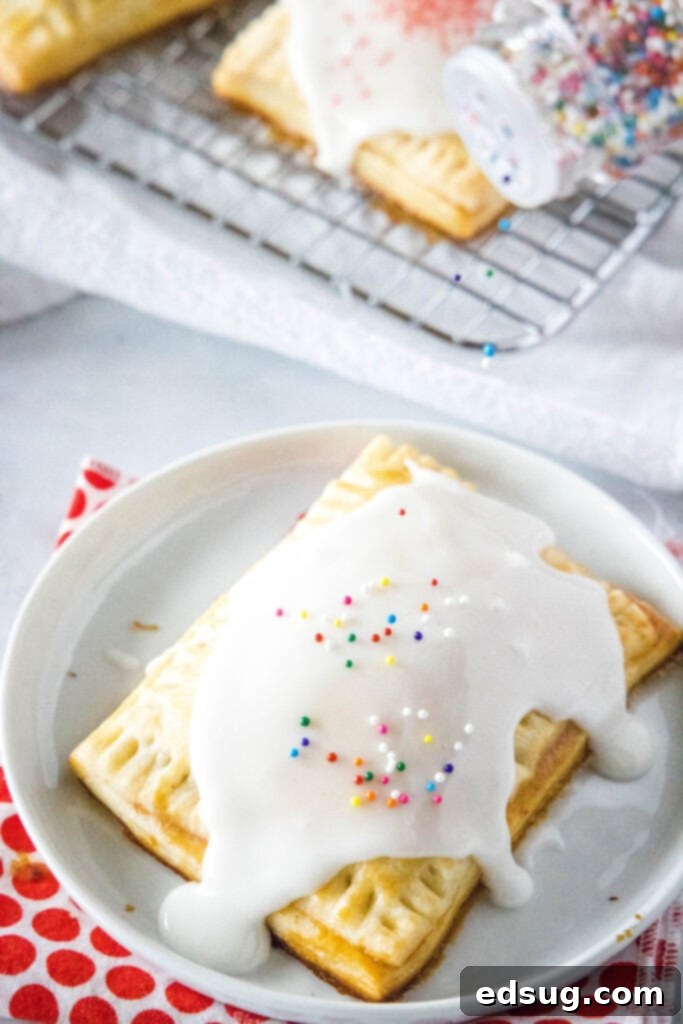
- The glaze is an optional but highly recommended finishing touch. To make it, simply mix together powdered sugar and milk until you achieve a smooth, spreadable consistency. Once the pop tarts are completely cool, spread the glaze evenly over the tops if desired.
Storing Your Homemade Pop Tarts for Freshness
To keep your homemade strawberry pop tarts fresh and delicious, proper storage is key. It is best to store them in an airtight container at room temperature, where they will remain fresh for 2-3 days. While they are undoubtedly best enjoyed the day they are made, they still make for a delightful treat in the following days.
If you wish to reheat them, a quick minute or two in a toaster or toaster oven can bring back some of their warmth and crispness. However, a crucial tip: only reheat pop tarts that do not have glaze on them. The glaze will melt and create a sticky, sugary mess if subjected to direct heat. If you plan to reheat, consider glazing them individually after warming.
You can also FREEZE Pop Tarts! This is an excellent option for meal prepping or enjoying these treats later. For optimal results, freeze them before you apply the glaze. Once you’re ready for a delightful snack, simply take one out of the freezer, allow it to thaw at room temperature for a short while, then pop it into your toaster or toaster oven to warm up and crisp slightly. After reheating, you can then mix and add your fresh glaze for a perfect, warm pop tart.
Can I Use Store-Bought Pie Crust?
Absolutely, for a quicker shortcut, you can certainly use a premade pie crust that comes in a roll. This can significantly reduce your preparation time. Simply unroll the crust onto a lightly floured surface and roll it out slightly to thin it out a bit more. The assembly process will remain the same. Keep in mind, however, that using a store-bought crust might yield a slightly different texture than a homemade one, and you may not get as many pop tarts from the recipe, as the amount of dough will likely be less than what our homemade recipe provides.
Can I Make The Strawberry Jam Ahead Of Time?
Yes, you absolutely can and it’s a fantastic time-saving strategy! As mentioned earlier, the homemade strawberry filling can be prepared a day or two in advance and stored in the refrigerator until you’re ready to assemble your pop tarts. This breaks up the overall preparation time, making the baking day much more relaxed.
Furthermore, if you happen to have canned or frozen homemade jam from strawberry season, feel free to use that as your filling. This is a brilliant way to utilize your pantry staples. You can even opt for a good quality store-bought jam if you’re looking for the ultimate shortcut. Don’t be afraid to experiment with flavors either; this versatile recipe works wonderfully with various fruit fillings. For example, you could try a delightful Mixed Berry Jam for a different twist on this classic treat.
Expert Tips for Perfect Homemade Pop Tarts
- Break Down the Process: Homemade Pop Tarts can be time-consuming if done all at once. To make it more manageable, consider breaking the process into parts. For instance, make the strawberry jam filling one day and keep it chilled in the fridge. The next morning, prepare the pie crust dough and let it chill. This way, the assembly and baking in the afternoon become a relaxed and enjoyable activity.
- Freezing Leftovers: While these treats are best enjoyed fresh, freezing leftovers works remarkably well. Remember to leave the glaze off before freezing. Once thawed, crisp them up in a toaster or oven, then add a fresh glaze for an absolutely delicious experience that rivals freshly baked.
- Mix Up the Fruit Filling: Don’t limit yourself to strawberries! The same pastry and method will work beautifully with all sorts of berries or other fruit fillings. If you have an abundance of raspberries, blueberries, or even peaches, feel free to get creative and use them for your filling.
- The Glaze is Optional: Just like their store-bought counterparts, you can enjoy these pop tarts with or without a glaze. If you prefer a less sweet option or plan to toast them later, you can skip the glaze entirely.
- Utilize Your Food Processor: The food processor is a game-changer for pie dough, bringing it together in about 5 minutes. It ensures the butter is perfectly distributed, leading to an incredibly flaky crust.
- Don’t Skip Chill Time: This cannot be stressed enough. Skipping the dough’s chill time will make it incredibly difficult, messy, and frustrating to roll out. Cold dough is pliable and prevents the butter from melting, which is crucial for flakiness.
- Limit Re-rolling Scraps: While it’s tempting to combine all dough scraps to make extra pop tarts, try to limit re-rolling to just one time. Each time the dough is re-rolled, it absorbs more flour and gets overworked, which can result in a tougher, less flaky final pastry.
More Delicious Strawberry Dessert Recipes to Try
If you’re a fan of the sweet and juicy flavor of strawberries, you’re in for a treat! Here are some other fantastic strawberry dessert recipes that are sure to delight your taste buds:
- Creamy Strawberry Milkshakes: A classic, refreshing treat perfect for summer.
- Classic Strawberry Shortcake: A timeless dessert featuring fresh berries and fluffy biscuits.
- Strawberry Cheesecake Lasagna: Layers of creamy cheesecake, fresh strawberries, and a delightful crust.
- Strawberry Lemonade Bars: A zesty and sweet bar that’s perfect for a crowd.
- Homemade Strawberry Popsicles: A healthy and delicious frozen treat, easy to make.
- Strawberry Poke Cake: A moist cake infused with strawberry flavor and topped with whipped cream.
- Decadent Strawberry Brownies: A fruity twist on a beloved chocolate classic.
- Strawberry Shortcake Pancakes: Combine breakfast and dessert with these amazing pancakes.
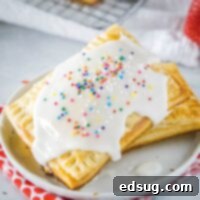
Strawberry Pop Tarts
Ingredients
Homemade Crust
- 2 1/2 cups all-purpose flour
- 1 tablespoon granulated sugar
- 1/2 teaspoon salt
- 1 cup unsalted butter, cut into cubes
- 1/2 cup cold water
Strawberry Filling
- 8 ounces strawberries
- 1/2 cups granulated sugar
- 2 teaspoons cornstarch
- 1 teaspoon lemon juice
Egg Wash
- 1 whole large egg
- 2 tablespoons milk
Glaze
- 1 cup powdered sugar
- 1-2 tablespoons milk
Instructions
Prepare Filling
- Remove stems and chop your strawberries. Add to a saucepan with sugar, cornstarch, and lemon juice.
- Bring mixture to a simmer, and cook for about 10 minutes, until berries are nice and soft. Use a potato masher or a fork to mash until mostly smooth. You could also use an immersion blender if you want it completely smooth.
- Cook for about 10 more minutes until mixture is nice and thick. Remove from heat and let it cool.
- Place in the fridge for at least 60 minutes or until cold..
Prepare Crust
- Add flour, sugar, and salt to a food processor. Pulse a couple of times just to get the ingredients blended.
- Add cubes of butter and process until it is crumbly.
- Slowly pour in the cold water and process until it forms a nice dough.
- Remove dough from the food processor and use your hands to just shape it into a smooth ball. Flatten slightly into a dish, cover with plastic wrap, and place in the fridge for at least 30 minutes.
Assemble Pop Tarts
- Preheat oven to 375º F.
- Once dough is chilled, remove it from the fridge and cut it in half, so you have 2 pieces about the same size.
- On a well-floured surface roll each ball until about a 12×9-inch rectangle.
- Cut rectangles that are about 3×4 inches in size using a sharp knife or pizza cutter. Repeat with next pieces of dough. You can combine scraps to roll dough out one more time. In total, you should have 24 3×4 pieces of dough.
- Using a toothpick or bamboo skewers poke holes in top of half of rectangles. This will allow steam to escape while cooking.
- Place another half of the rectangles on a lined baking sheet, and fill with strawberry jelly. You will use about two tablespoons of filling per pop tart.
- Beat together egg and milk for egg wash and gently brush edges of dough.
- Top each pop tart with remaining rectangles, and gently press down on edges to seal. Use a fork to crimp edges.
- Brush top with remaining egg wash and bake for 18-22 minutes until they are nice and golden brown.
- Remove and let cool completely.
- Adding glaze is optional. Just mix together powdered sugar and milk to get a spreadable consistency. Spread on a cooled pop tart if desired.
Nutrition
Nutrition information is automatically calculated, so should only be used as an approximation.
Additional Info
I’ve created a fantastic community group on Facebook, and I’d be absolutely delighted for you to join us! It’s the perfect place to share YOUR favorite recipes, ask questions, exchange cooking tips, and stay updated on what’s new at Dinners, Dishes and Desserts, ensuring you never miss a new and exciting recipe!
Be sure to follow me on Instagram and tag #dinnersdishes so I can see all the wonderful DINNERS, DISHES, AND DESSERTS recipes YOU make in your kitchen!
Don’t forget to follow me on my social media channels, so you never miss a delicious post or a new culinary inspiration!
Facebook | Twitter | Pinterest | Instagram
.
