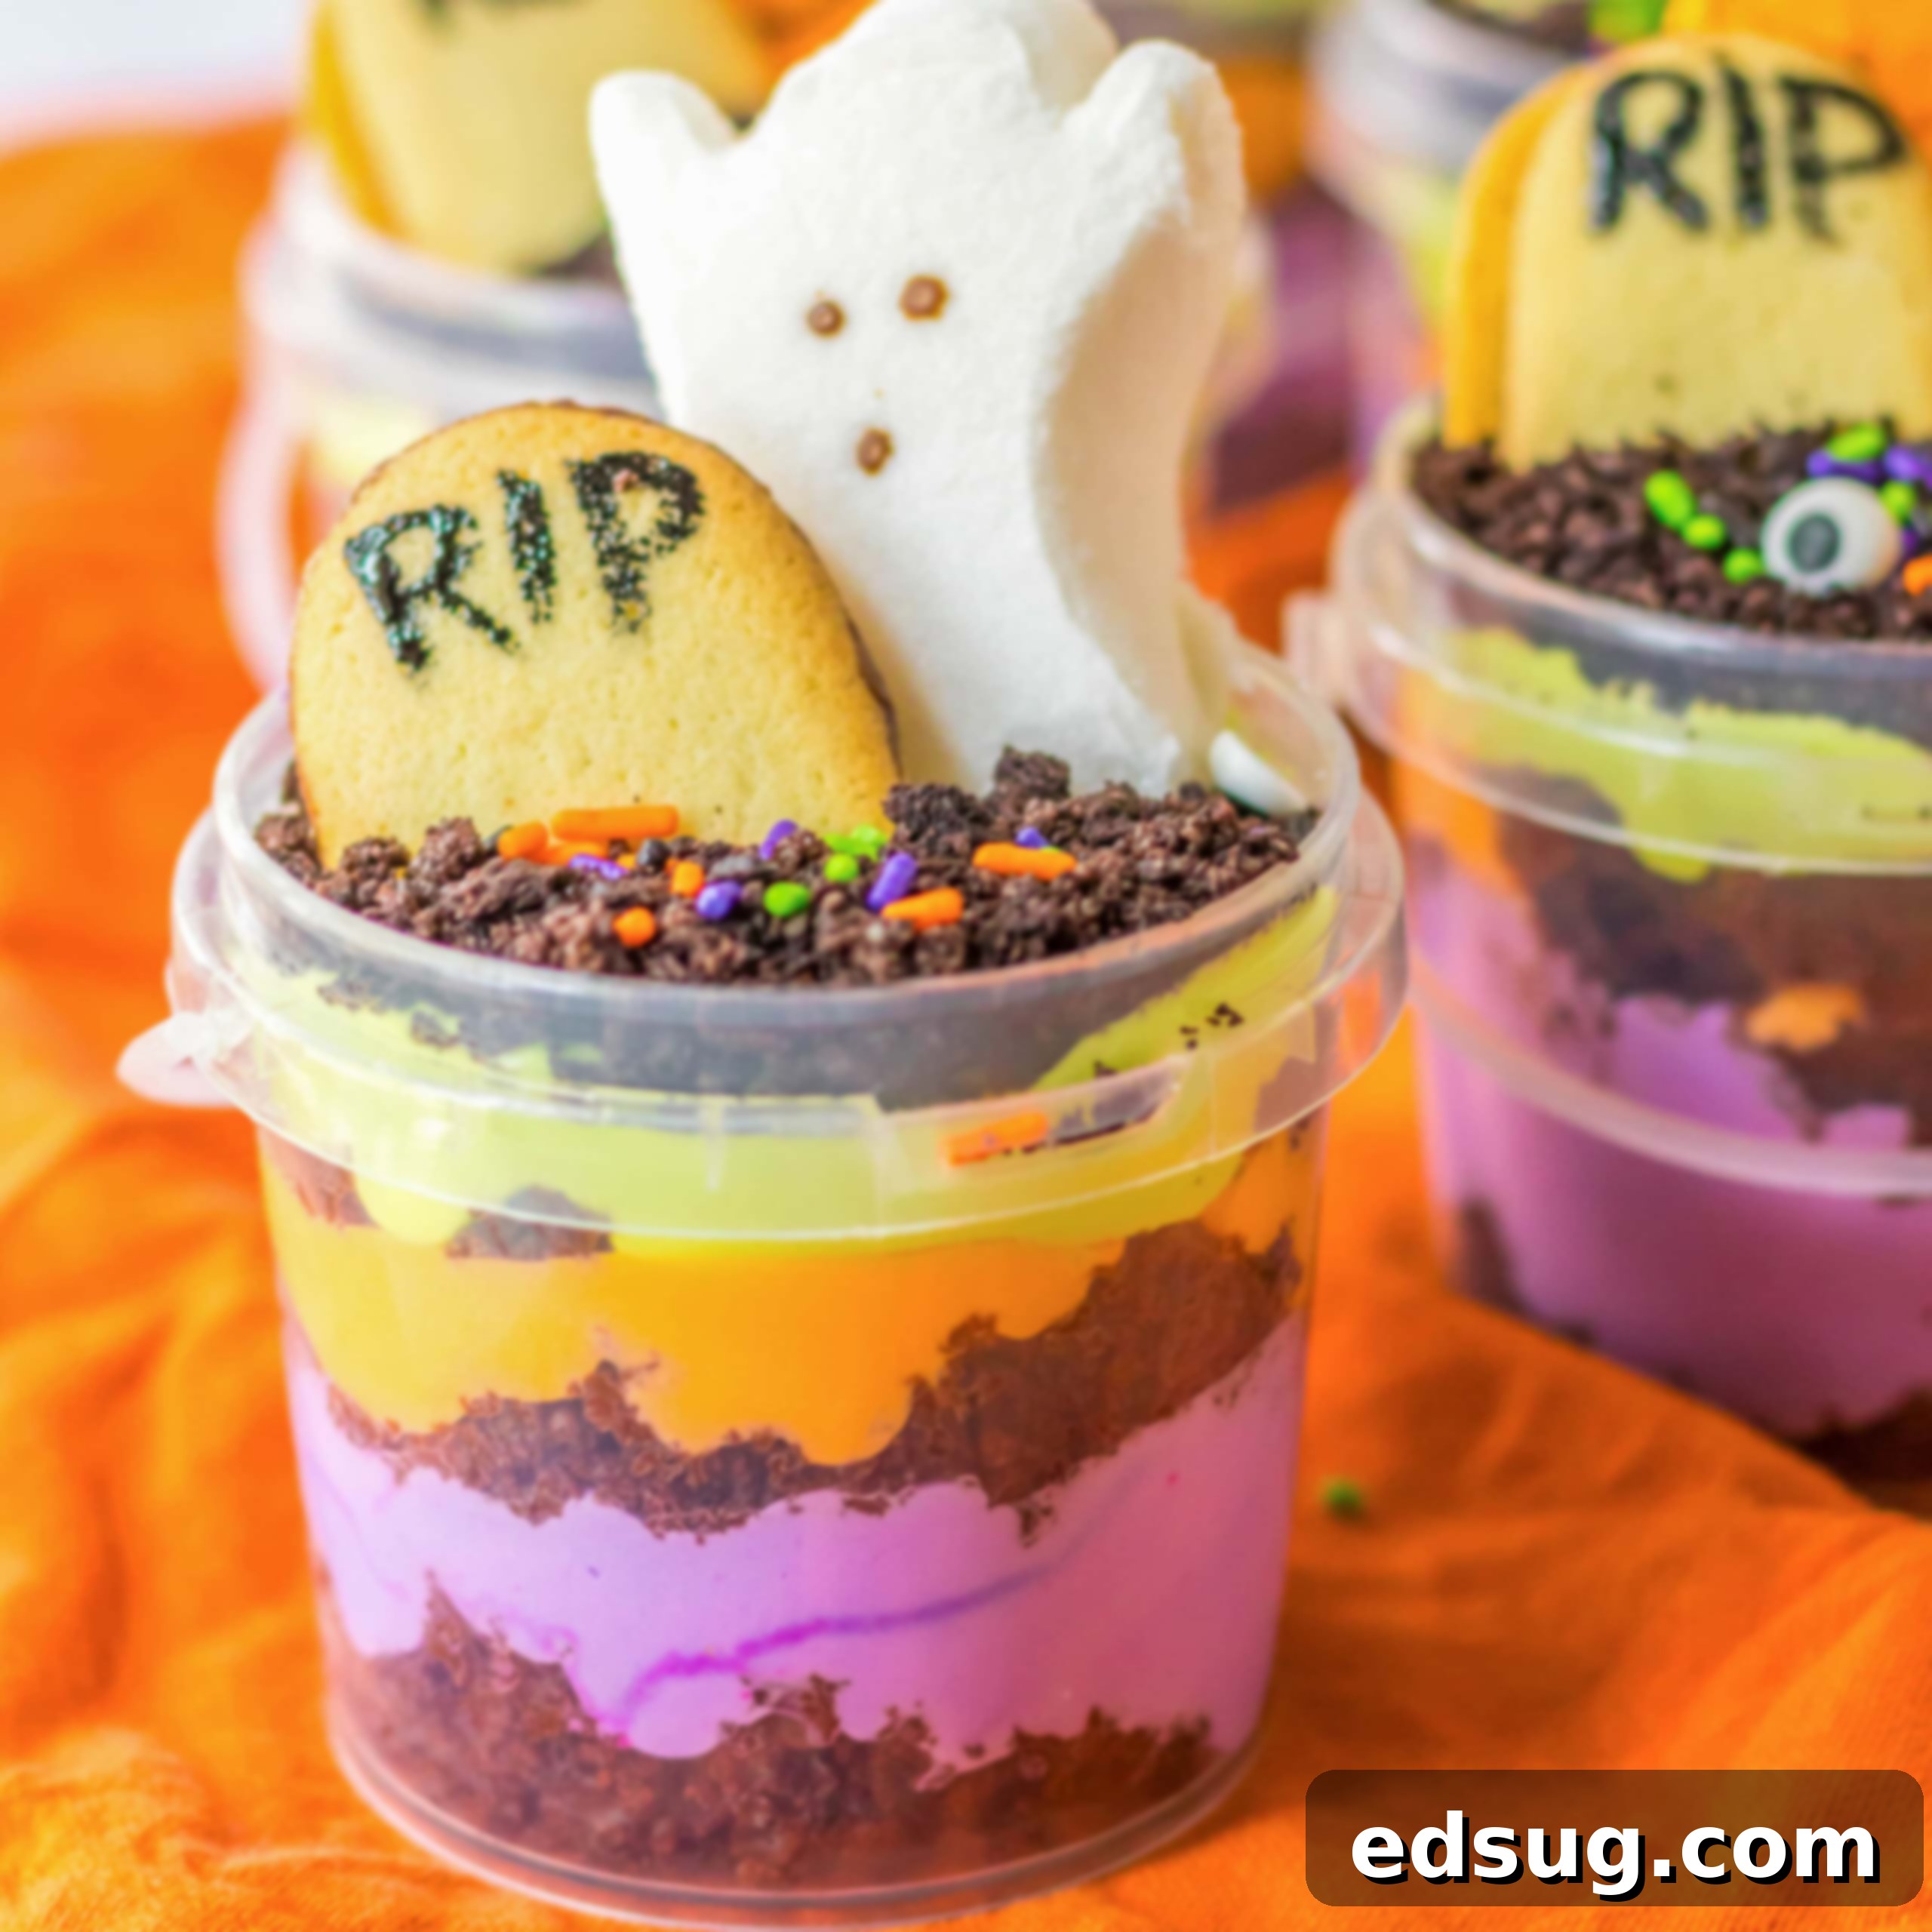
Easy Graveyard Halloween Pudding Cups: The Ultimate Spooky Dessert for Your Party!
Get ready to dig into some seriously spooky fun this Halloween with these delightful Graveyard Halloween Pudding Cups! These treats are not only incredibly easy to assemble but also offer a fantastic canvas for creativity. Whether you serve them in cute little dirt-bucket-style containers or elegant clear plastic cups, they’re guaranteed to be a hit with both kids and adults, adding a touch of ghoulish charm to any Halloween celebration.
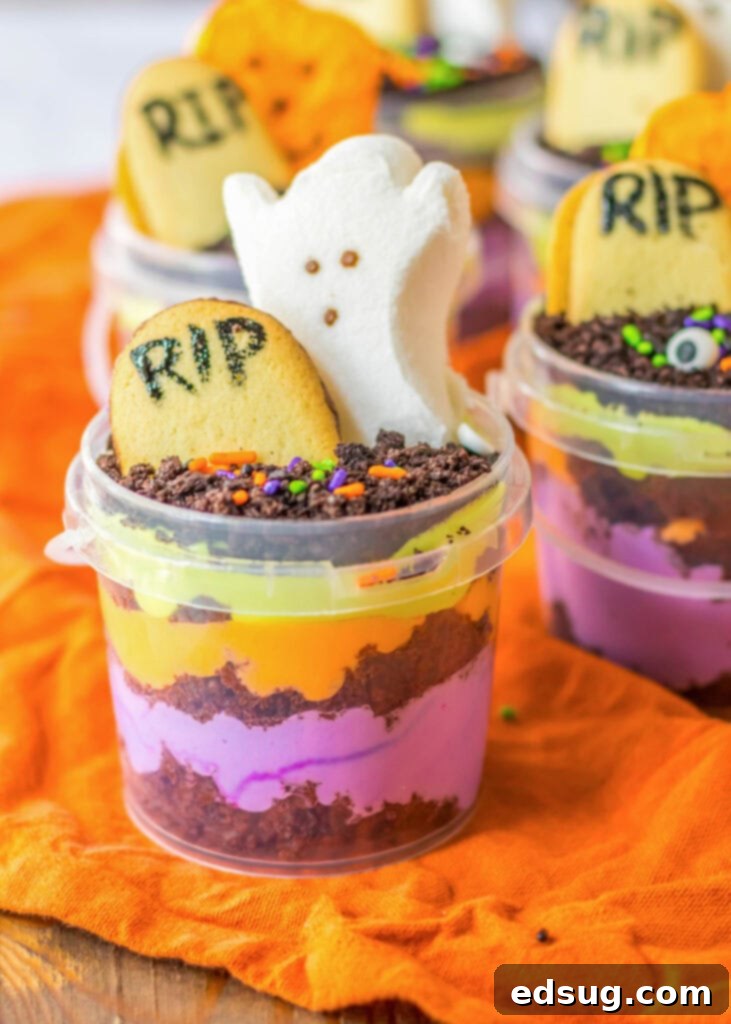
Halloween is undeniably one of the most exciting holidays for crafting unique and imaginative treats. The season’s vibrant palette of green, yellow, purple, and orange naturally lends itself to edible masterpieces. Simply add some playful candy eyes, and you’re halfway to a magically macabre creation! If you’re looking for other quick and simple Halloween ideas, consider whimsical Mummy Pretzel Rods for a sweet snack or savory Witch Hat Breadsticks for a fun appetizer. My philosophy is all about making things easy, yet incredibly fun and festive. These Graveyard Pudding Cups perfectly embody that spirit, offering a stress-free path to a show-stopping Halloween dessert.
Why These Spooky Pudding Cups are a Must-Make
Prepare to fall in love with these Graveyard Halloween Pudding Cups. They check all the boxes for a perfect holiday treat:
- Effortless Preparation: Say goodbye to complicated recipes! This dessert leverages convenient store-bought ingredients like a boxed cake mix, instant pudding, and whipped topping. The assembly is as simple as layering these delicious components into cups, making it an ideal choice for busy schedules or when you need a last-minute festive treat. It’s all about maximum impact with minimal effort!
- Endless Fun & Creative Customization: These pudding cups are a blank canvas for your Halloween imagination. While we’ve gone with a classic graveyard theme, feel free to let your creativity run wild! Experiment with different colored puddings, candy toppers, or even create mini haunted house scenes. They’re perfect for involving kids in the decorating process, turning dessert-making into a delightful activity.
- Spooktacularly Delicious: What’s scarier than a ghost? A dessert that disappears too quickly because it’s so tasty! These cups combine rich chocolate cake with creamy, vibrant pudding and a delightful crunch from crushed Oreo “dirt.” You can even choose your favorite cake and pudding flavors to tailor them exactly to your taste preferences, ensuring every bite is a delicious surprise.
- Perfect for All Ages: With their charmingly spooky appearance and universally loved flavors, these pudding cups are a surefire hit at any Halloween gathering. Kids will adore the playful decorations and the “dirt cup” concept, while adults will appreciate the nostalgic flavors and the festive presentation. They strike the perfect balance between cute and creepy!
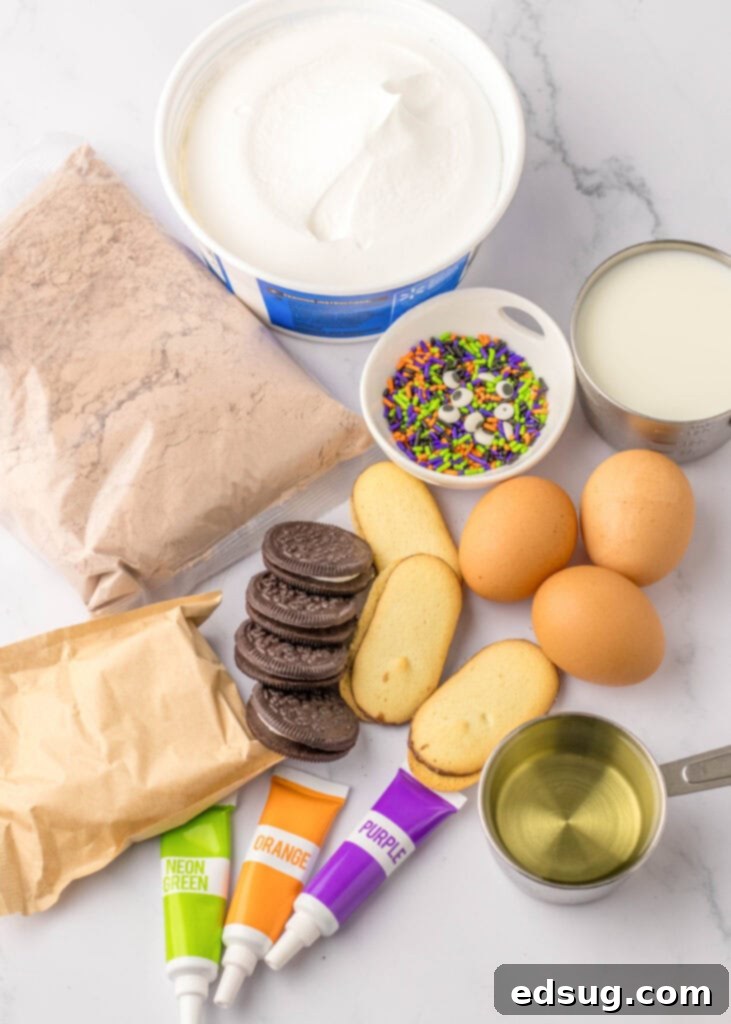
Gather Your Ingredients (What You’ll Need)
For the exact measurements and full instructions, make sure to scroll to the bottom of the post for the COMPLETE PRINTABLE recipe card.
- Chocolate Cake Mix: A standard 15.25-ounce box will do. This is your foundation for the rich “earthy” layer. Feel free to use your favorite brand! For a homemade touch, you could also bake your preferred chocolate cake from scratch.
- Water, Oil, Eggs: As specified on your chosen cake mix box. These are essential for baking your cake to perfection.
- Vanilla Pudding: You’ll need two 3.4 oz boxes of instant vanilla pudding. The key here is “white” pudding, as it takes food coloring beautifully. French Vanilla or even Cheesecake flavored instant pudding would also work wonderfully and add a slightly different flavor profile.
- Milk: Cold milk is crucial for whisking your instant pudding to a thick, creamy consistency.
- Cool Whip: An 8-ounce tub, thawed, for folding into the pudding. If you prefer a homemade option, our Stabilized Whipped Cream recipe is an excellent alternative, offering a richer flavor and holding its shape longer.
- Green, Orange, and Purple Food Coloring: Liquid or gel food coloring will work to create those vibrant, spooky layers. Gel food coloring often provides more intense colors with less liquid.
- Crushed Oreo Cookies: About 1 ½ cups of finely crushed Oreo cookies (cream filling included or removed, depending on preference) will create the perfect “dirt” topping. You can crush them in a food processor or by placing them in a Ziploc bag and smashing with a rolling pin.
- Milano Cookies: Approximately 10 Milano cookies are ideal for crafting our iconic “RIP” gravestones due to their flat, oblong shape.
- Candy Eyes: These small, edible eyes instantly bring any Halloween treat to life! You can easily find them in the baking aisle at major grocery stores, Walmart, Hobby Lobby, or Michael’s, especially during the Halloween season.
- Festive Sprinkles: Choose Halloween-themed sprinkles (bats, pumpkins, ghosts, black and orange mixes) to add extra sparkle and fun to your graveyard scene.
- Clear Buckets or Cups: Ten 8-ounce clear plastic buckets (often found on Amazon or party supply stores) are perfect for the “dirt cup” aesthetic. Alternatively, any clear plastic cups of similar size will work just as well, allowing the colorful layers to shine through.
Step-by-Step Guide: Crafting Your Graveyard Pudding Cups
Creating these festive Graveyard Halloween Pudding Cups is a fun and straightforward process. Follow these steps to bring your spooky vision to life:
- Bake the Cake: Begin by preheating your oven to 350°F (175°C). Prepare your chocolate cake mix according to the package instructions, baking it in a 13×9 inch pan. If you have a cherished homemade cake recipe or prefer to use a pre-made cake from the bakery, feel free to substitute it here! Once baked, allow the cake to cool completely on a wire rack. This is crucial for easy handling and to prevent the pudding from melting. Once cooled, cut the cake into small 1-inch squares. You can even crumble some of it for a more “freshly dug” dirt effect!
- Prepare the Pudding: In a large mixing bowl, vigorously whisk together the two boxes of instant white pudding mix with the cold milk. Continue whisking until the mixture begins to thicken. Gently fold in the thawed whipped topping until well combined and smooth. Transfer the pudding mixture to the refrigerator and let it set for about an hour, allowing it to become thick and creamy, which is perfect for layering.
- Color the Pudding: Once the pudding has sufficiently thickened, divide it evenly into three separate bowls. Add green food coloring to one bowl, orange to another, and purple to the last. Stir each bowl thoroughly until you achieve vibrant, consistent colors. These distinct colors will create visually appealing layers in your cups.
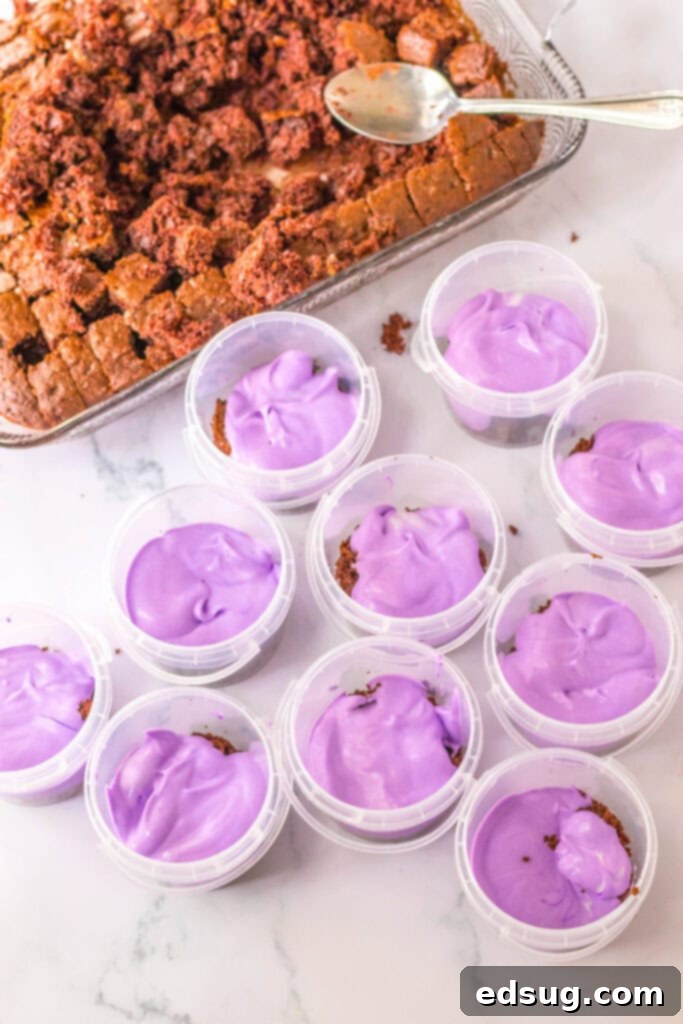
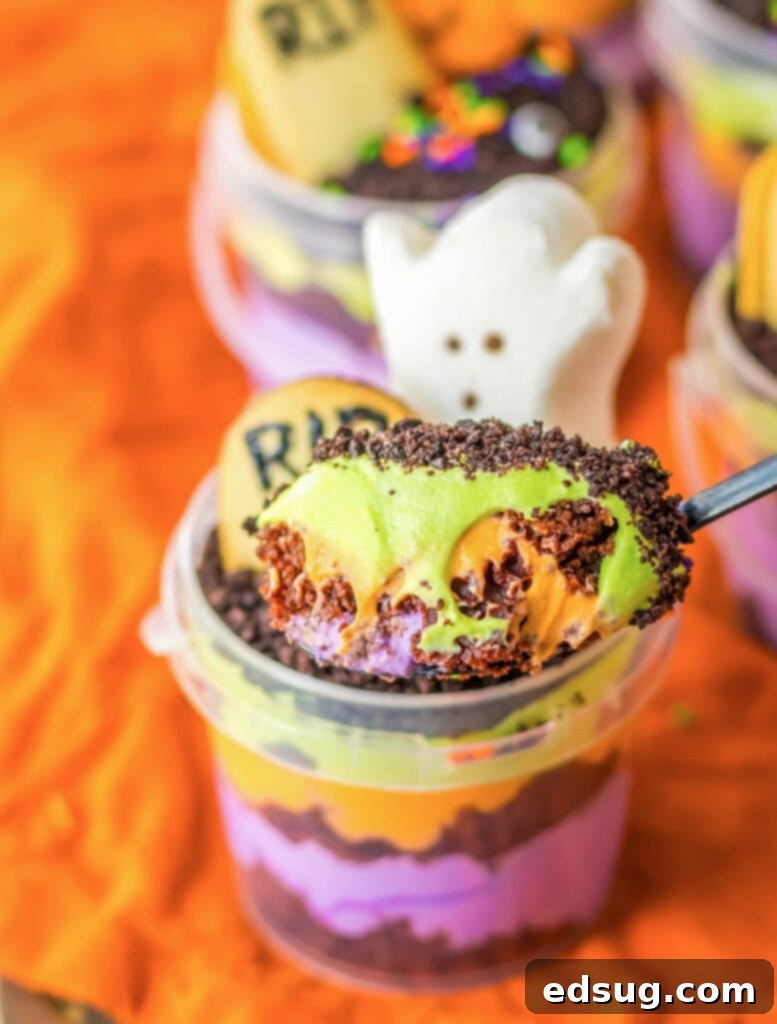
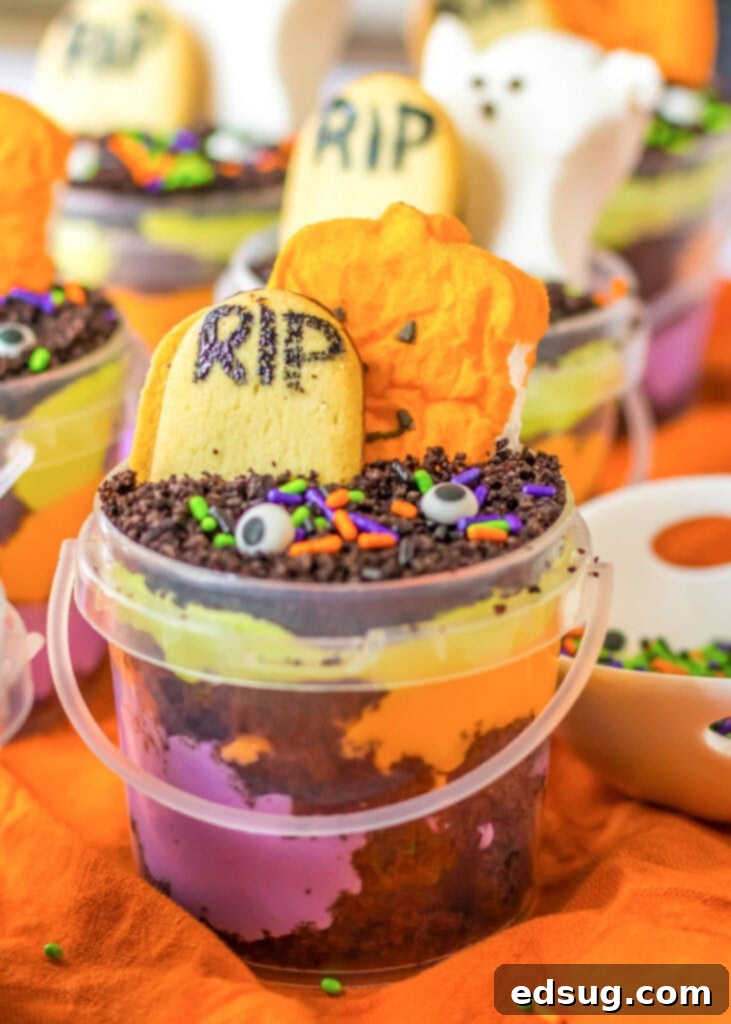
- Assemble Your Graveyards: Now for the fun part – assembly! Once your pudding is thick and beautifully colored, and your cake is cool and cubed, it’s time to layer. Place an even layer of chocolate cake squares at the bottom of each clear cup or bucket. Next, spoon one color of pudding over the cake layer. Repeat this process, adding another layer of cake, then a different colored pudding, and so on, until you have all three colors of pudding visibly layered in each cup. Aim for appealing color combinations!
- Decorate with Spooky Flair: The final touch! Top the last layer of pudding with a generous sprinkle of crushed Oreo cookies. This will perfectly mimic fresh “dirt” for your graveyard. Now, get creative with your decorations! I added custom “RIP” Milano cookies (instructions below), festive Peeps Halloween pumpkins and ghosts, playful candy eyes, and a scattering of colorful sprinkles. Don’t hesitate to add gummy worms, plastic spiders, or mini candy corn pumpkins for extra spooky charm. Simple yet incredibly cute!
- Refrigerate to Set: For the best results and to ensure all layers are firm and flavors have melded, place your assembled pudding cups in the refrigerator for at least one hour before serving. This chill time helps everything set beautifully.
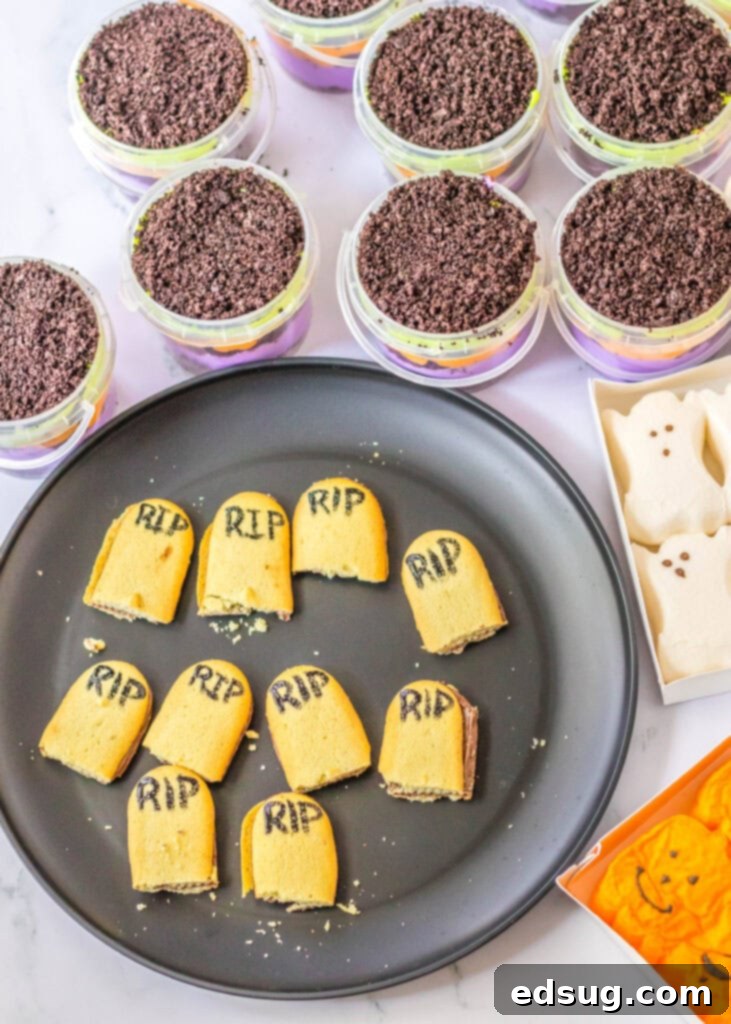
DIY RIP Tombstone Cookies
These “RIP” gravestone cookies are incredibly simple to make and add an authentic, spooky touch to your graveyard pudding cups. Here are a couple of easy methods:
- Shape Your Tombstone: First, you’ll want to either gently cut or carefully break each Milano cookie almost in half. This creates a slightly uneven edge that resembles a classic gravestone. Alternatively, you can leave the cookies whole and simply push them down further into the pudding to achieve the desired height and visual effect.
- Paint with Food Coloring: Squeeze a tiny drop of black or grey food coloring onto a small plate. Using a very small, clean paint brush (ensure it’s food-safe and only used for baking), delicately paint the letters “R-I-P” onto the surface of each cookie. Allow them a few minutes to dry before handling.
- Decorating Gel Method: If you have or prefer to use black decorating gel (brands like Wilton often sell this in the baking aisle), you can easily pipe the letters “RIP” onto your cookies. Decorating gel offers a bit more precision and a raised effect. Just be sure to give the gel enough time to set and harden before placing the cookies into your pudding cups to prevent smudging.
Recipe Tips, Tricks & Spooky Variations
Make these Graveyard Halloween Pudding Cups truly your own with these helpful tips and creative variations:
- Cup Alternatives: No special buckets? No problem! Regular clear plastic cups work perfectly and still allow the vibrant layers to show through beautifully. Small mason jars are another charming option for a slightly more rustic look.
- Cake Base Options: While chocolate cake is classic, consider swapping it out for crumbled brownies for an even richer, denser base. You could also use crushed chocolate wafers or even a different flavor of cake, like red velvet, for a dramatic contrast.
- Pudding Flavor Exploration: I opted for vanilla pudding for its neutral color, perfect for tinting. However, don’t be afraid to experiment! French Vanilla or Cheesecake instant pudding offer similar white bases for coloring. For a darker, richer “dirt” effect, use chocolate pudding. Butterscotch or even banana pudding could also provide interesting flavor twists.
- Creative Decorating Ideas: Go beyond the basics!
- Gummy Worms: Have them “crawling” out of the “dirt.”
- Candy Corn: Arrange pieces around the “tombstones.”
- Plastic Spiders: Add small, food-safe plastic spiders for extra fright.
- Pretzel Stick Fences: Break pretzel sticks and arrange them around the cup’s rim to create a miniature fence.
- Marshmallow Ghosts: Use large marshmallows with small chocolate chip eyes as cute floating ghosts.
- Green Frosting Grass: Pipe green frosting around the edges of the “dirt” for a grassy effect.
- Chocolate Syrup “Blood”: Drizzle a tiny bit of chocolate syrup or red food gel for a truly gruesome touch.
- Food Coloring Alternatives: If you prefer to avoid artificial food coloring, you have a couple of options. You can use chocolate pudding for all layers, creating an “all dirt” look, or explore natural food coloring options, which are becoming increasingly available in many grocery stores and online.
- Dietary Adjustments:
- Gluten-Free: Use a certified gluten-free chocolate cake mix and gluten-free Oreo-style cookies. Ensure your pudding mix and whipped topping are also GF.
- Dairy-Free: Opt for a dairy-free cake mix prepared with plant-based milk and oil, use dairy-free instant pudding (prepared with plant-based milk), and a plant-based whipped topping.
- Batch Size: This recipe makes 10 servings. Easily adjust the quantities of cake mix, pudding, milk, and toppings to scale up for a larger party or down for a smaller gathering.
More Spooktacular Halloween Recipes to Try
Looking for more ways to make your Halloween celebrations deliciously memorable? Check out these other fantastic and fun recipes:
- Halloween Candy Bark: A colorful and crunchy treat perfect for using up leftover Halloween candy.
- Halloween Jello Shots: For the adults, these festive shots add a playful kick to any party.
- Witches Brew: A mysterious and delicious punch that’s sure to cast a spell on your guests.
- Spooky Spider Brownies: Rich brownies topped with eight-legged friends for a creepy-crawly delight.
- Ghost Cupcakes: Adorable and delicious cupcakes topped with friendly marshmallow ghosts.
- Mummy Granola Bars: A healthier, yet equally fun, Halloween snack for kids and adults alike.

Graveyard Halloween Pudding Cups
Erin Sellin
These Graveyard Halloween Pudding Cups are such a fun treat for Halloween! You can put them in little dirt cups like these or use clear plastic cups to make them fun for the kids and adults!
30 mins
30 mins
2 hrs
3 hrs
10
Rate Recipe
Print Recipe
Ingredients
- 1 15.25 ounce box chocolate cake mix
- Water, oil and eggs called for on the box
- 2 3.4 oz boxes instant vanilla pudding
- 4 cups cold milk
- 8 ounces whipped topping, thawed
- Green, Orange, Purple Food Coloring
- 1 1/2 cups crushed Oreo cookie crumbs
- 10 Milano cookies
- Candy Eyes
- Festive Sprinkles
- 10 8 oz clear plastic buckets or cups
Instructions
- Preheat oven to 350º F (175°C).
- Prepare cake according to the package instructions, baking in a 13×9 inch pan. Once baked, remove from the oven and cool completely. Cut into small 1-inch cubes.
- Meanwhile, in a large bowl whisk together pudding and milk until it starts to thicken. Fold in whipped topping. Place in the fridge for about an hour for it to thicken.
- Once the pudding is set, divide into 3 bowls and color each one (orange, purple and green).
- In the bottom of your bucket or cup place a layer of cake, top with one color of pudding. Repeat until you have all 3 colors of pudding in the cups.
- Top each bucket with crushed Oreos.
- Cut or break off the bottom of each Milano cookie (or leave whole and insert further into the pudding so it is the right height). Put a tiny bit of food coloring onto a plate, and use a small paint brush to paint on the RIP. Or use Decorating Gel to write it on if you have it. Insert each cookie into the cup.
- Decorate each cup by adding candy eyes, festive sprinkles, Peep ghosts or pumpkins, candy corn etc.
- Place in the fridge for 1 hour to let them set up before serving.
Notes
Use Homemade Stabilized Whipped Cream in place of whipped topping if desired.
Nutrition
Serving: 1g | Calories: 233kcal | Carbohydrates: 26g | Protein: 5g | Fat: 13g | Saturated Fat: 7g | Polyunsaturated Fat: 5g | Cholesterol: 27mg | Sodium: 147mg | Fiber: 1g | Sugar: 20g
Nutrition information is automatically calculated, so should only be used as an approximation.
Additional Info
Erin Sellin
30 minutes
30 minutes
2 hours
3 hours
Dessert Recipes
American
10
233
Like this recipe? Leave a comment below!
I’ve created a fun and vibrant community on Facebook, and I would absolutely love for you to join us! It’s the perfect place to share your favorite recipes, ask questions, get inspired by fellow food lovers, and stay up-to-date with all the new delicious creations from Dinners, Dishes and Desserts, ensuring you never miss a new recipe or tip!
Be sure to follow me on Instagram and tag #dinnersdishes so I can see all the wonderful DINNERS, DISHES, AND DESSERTS recipes YOU create! I love seeing your culinary masterpieces!
Don’t want to miss out on any deliciousness? Be sure to follow me on my social media channels to stay connected and get all the latest updates, recipes, and inspiration!
Facebook | Twitter | Pinterest | Instagram
