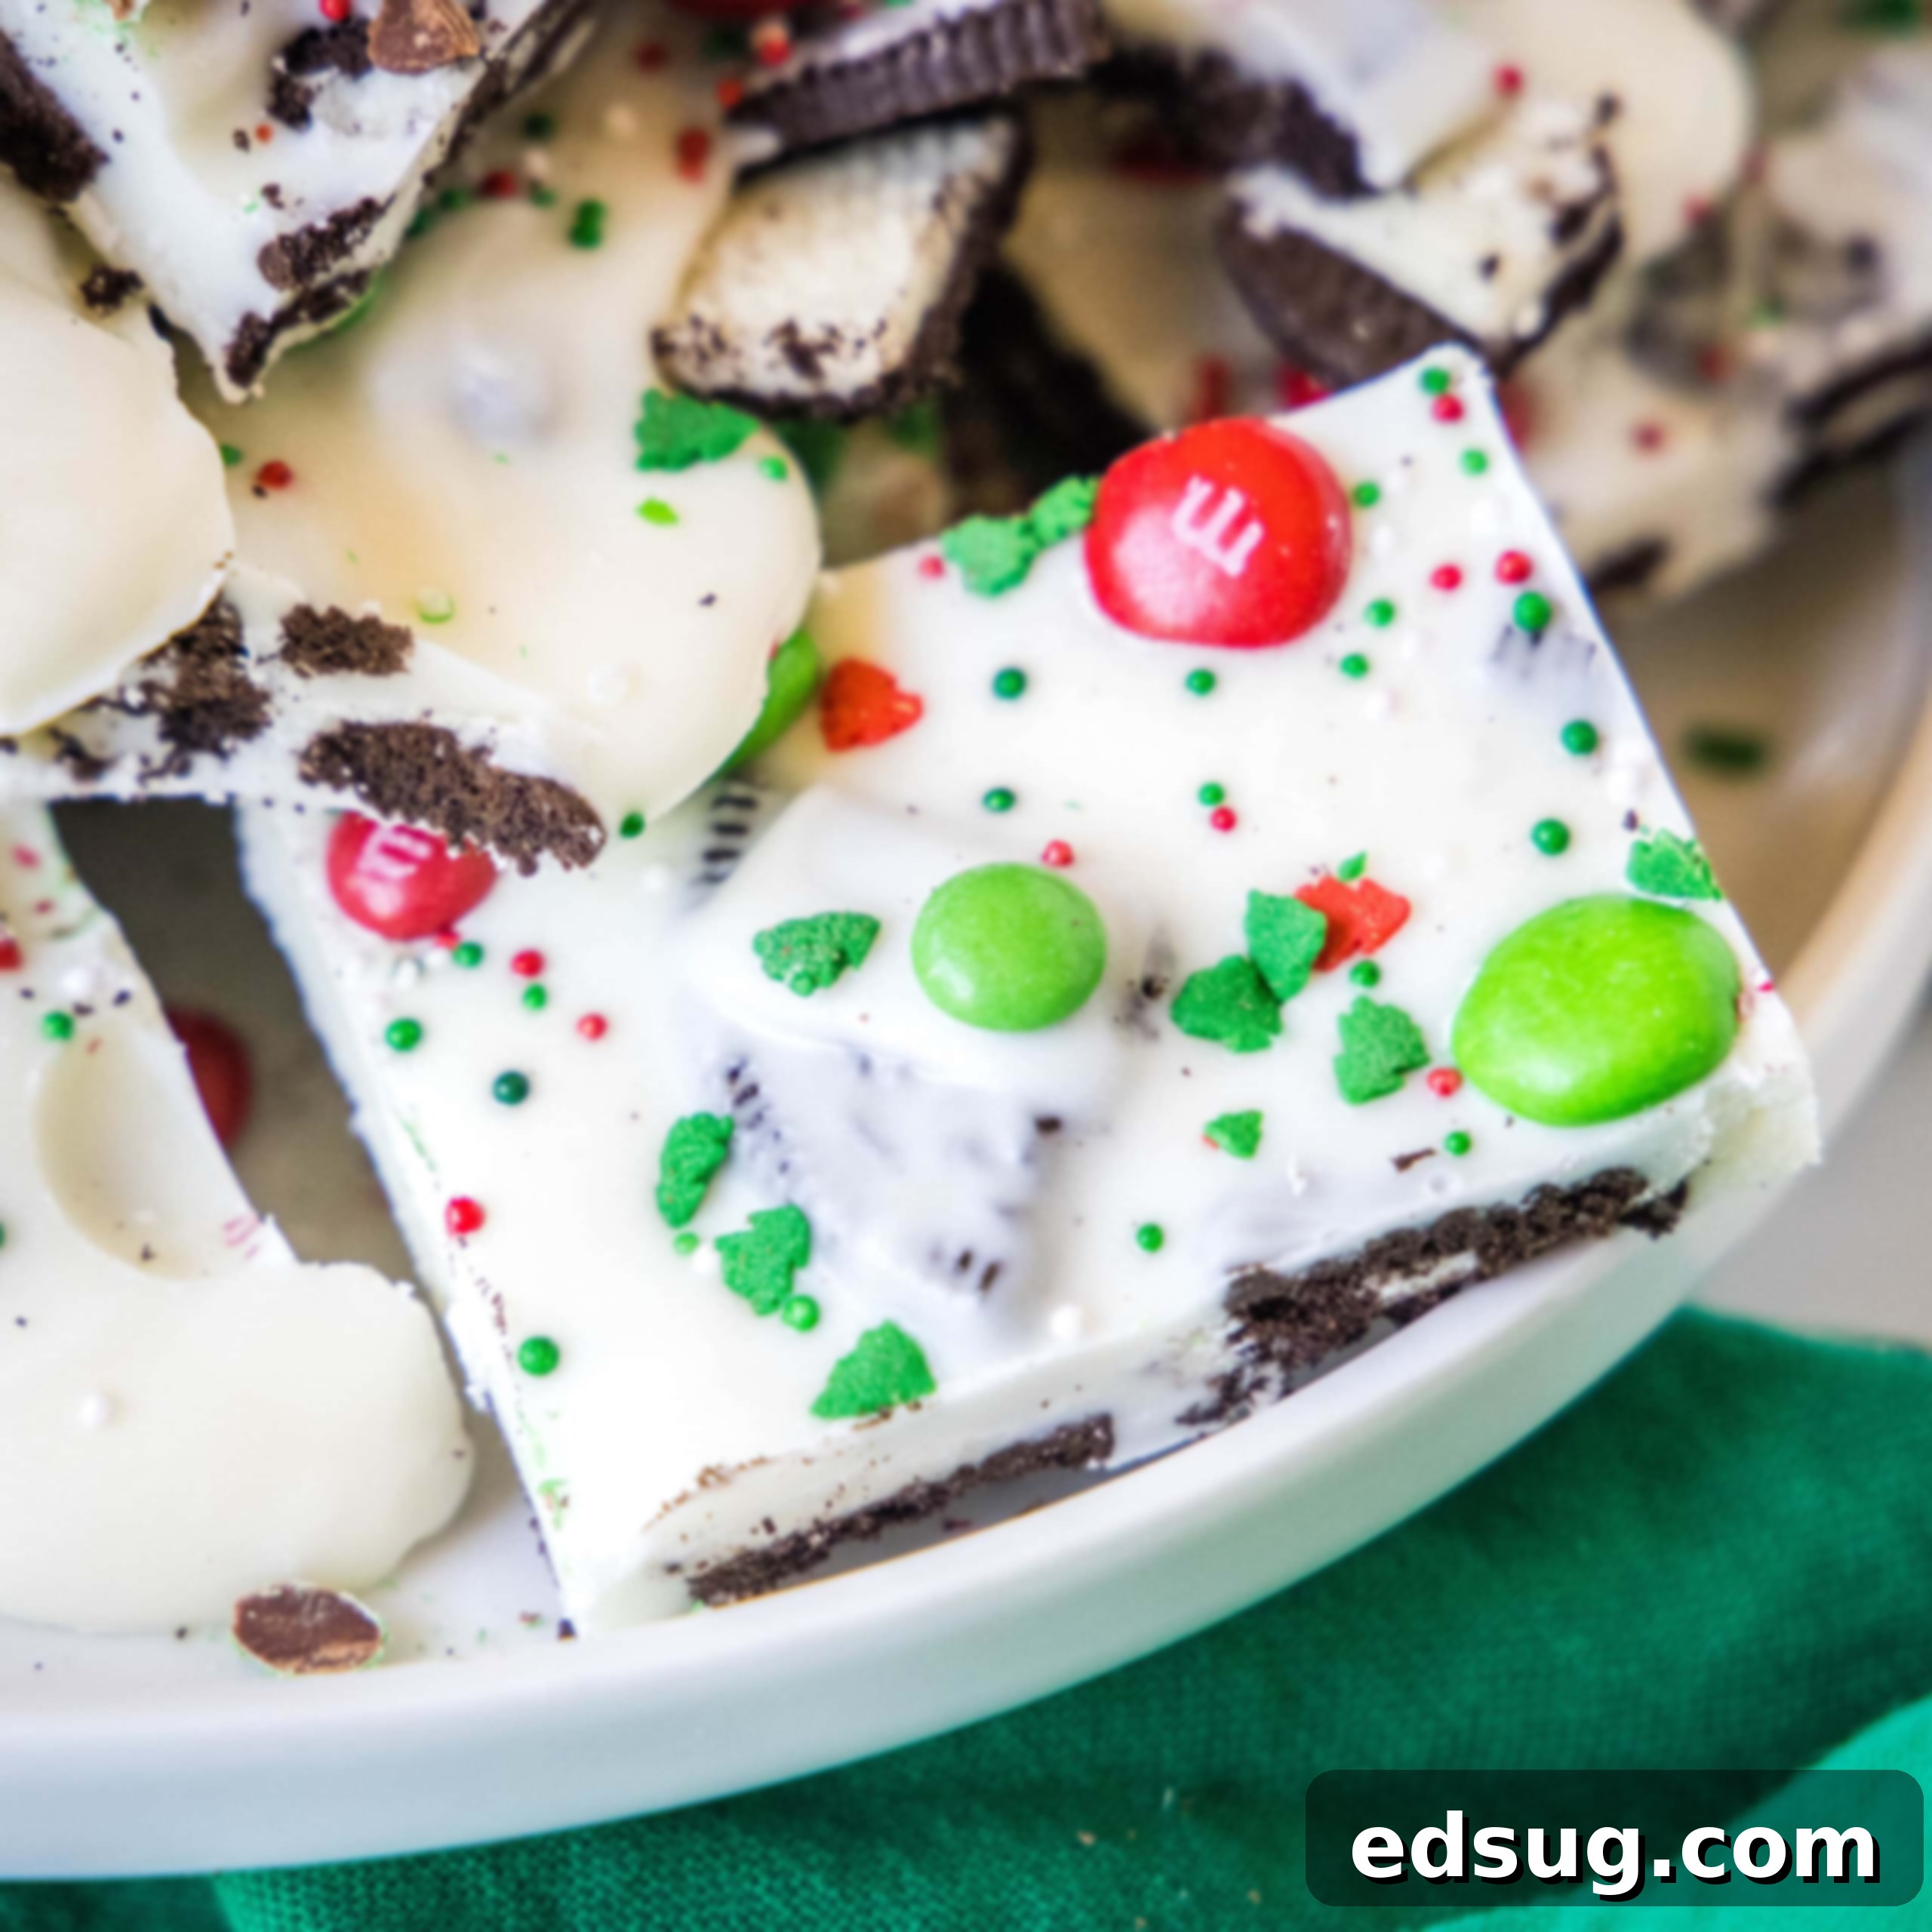
Easy White Chocolate Christmas Bark: Your Go-To Oreo, M&M, & Sprinkles Holiday Treat
The holiday season is synonymous with festive treats, and this White Chocolate Christmas Bark stands out as a true delight. Loaded with crunchy crushed Oreo cookies, colorful M&M’s, and sparkling festive sprinkles, it’s not just a dessert—it’s an instant burst of holiday cheer! This incredibly quick and easy recipe requires no baking and minimal effort, making it the perfect choice for busy bakers and last-minute gift-givers. Whether you’re filling out a cookie tray for a party, looking for a simple edible gift, or simply craving a sweet and festive snack, this Christmas bark delivers on all fronts, captivating both young and old with its vibrant appearance and irresistible taste.
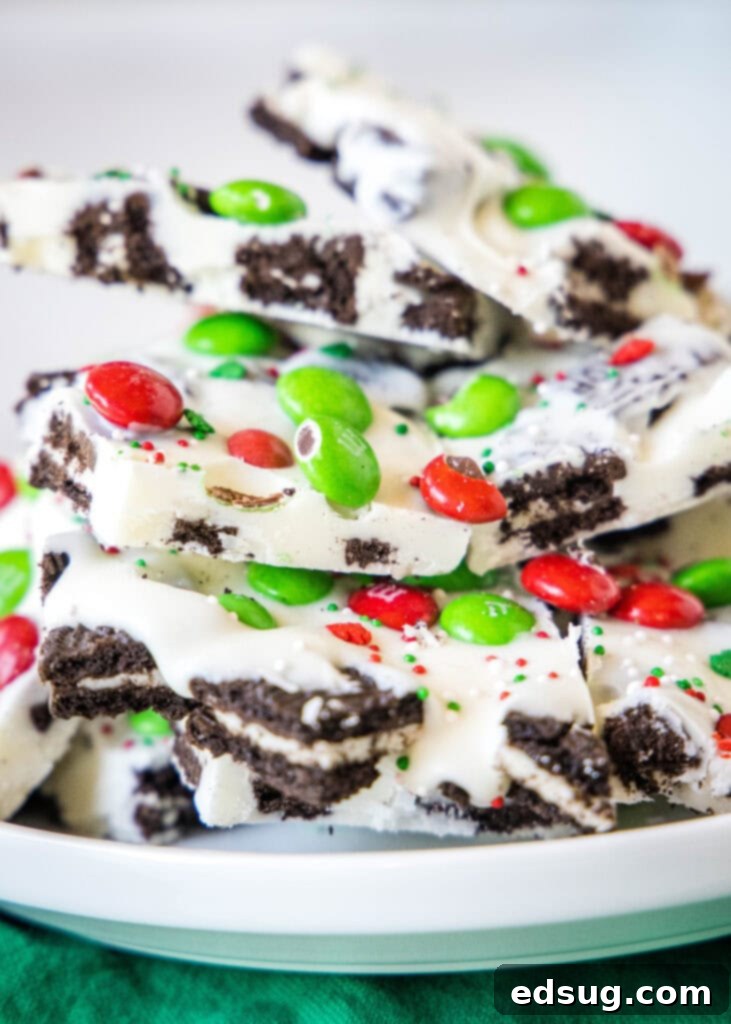
Around the holidays, Christmas bark in countless flavors, shapes, and varieties becomes a staple in many homes. The immense popularity stems from its sheer simplicity and versatility. Imagine creating a dazzling batch of delicious candy in about 10 minutes of active preparation time, then simply allowing it to set. This process makes it an ideal option for anyone, regardless of their baking experience. You can customize it to be as pretty, as festive, and whatever flavor combination you desire, ensuring it’s always a perfect fit for holiday parties, thoughtful gifts for friends and neighbors, or to elegantly complete your overflowing holiday cookie tray.
Why You’ll Absolutely Love This Easy Christmas Bark Recipe
There are countless reasons why this White Chocolate Christmas Bark will become a beloved tradition in your household. Its unique blend of ease, customization, and festive charm makes it a standout treat during the busiest time of the year.
- Unbelievably Easy & No-Bake – Forget the oven and complicated steps! This recipe truly lives up to its “easy” promise, requiring only about 10 minutes of hands-on time. The most challenging part is simply melting chocolate, which is a breeze with a microwave or double boiler. It’s the perfect project for kids or anyone looking for a stress-free dessert.
- Bursting with Festive Fun – The vibrant red and green M&M’s, combined with a scattering of colorful Christmas sprinkles, instantly elevate this bark into a joyous holiday confection. Its cheerful appearance makes it a fantastic centerpiece on any dessert table and a delightful conversation starter. The visual appeal alone makes it perfect for spreading holiday cheer!
- Infinitely Customizable – This recipe is a blank canvas for your creativity! While we love the classic Oreo and M&M combination, you’re encouraged to experiment. Use any type of chocolate you prefer – dark, milk, or even flavored melts. Get creative with an array of toppings, from crushed candy canes and nuts to dried fruits or even a drizzle of caramel. You can also infuse the chocolate with extracts like peppermint or almond for an extra flavor kick. It’s truly a recipe you can adapt to use whatever ingredients you have on hand and enjoy!
- Perfect for Holiday Gifting – Hand-packaging this homemade Christmas bark in decorative bags or small boxes makes for a thoughtful and delicious gift. It’s a wonderful way to show appreciation to teachers, coworkers, neighbors, and friends. A homemade treat always carries a special touch, and this bark is both impressive and easy to prepare in batches.
Gather Your Simple Ingredients for Festive Bark
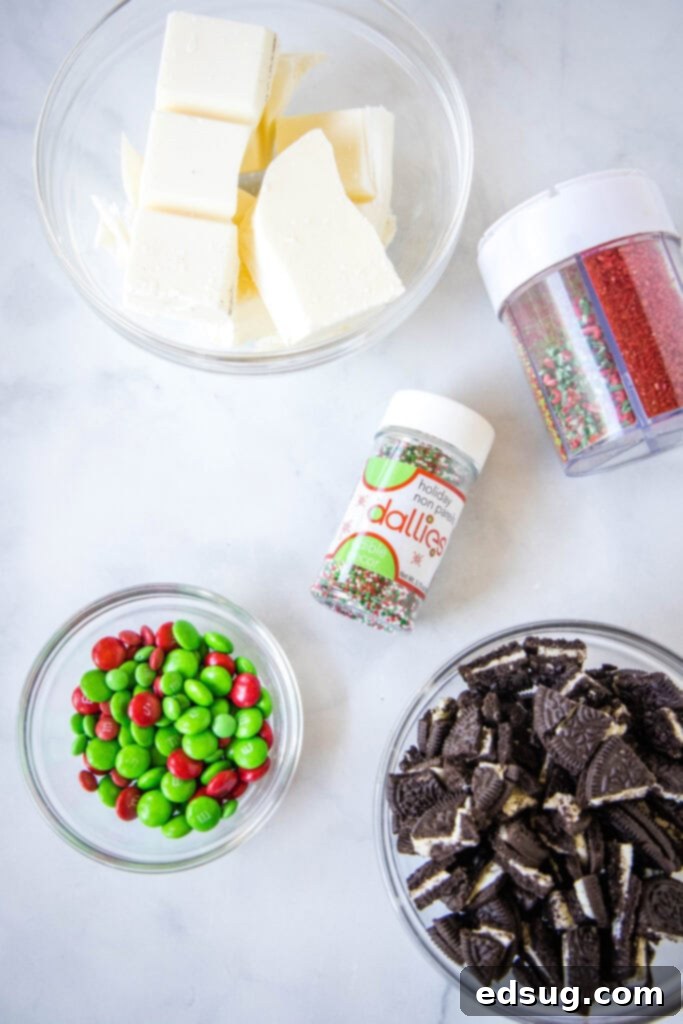
Before you begin, make sure you have these key ingredients on hand. For the FULL PRINTABLE recipe card with exact measurements, be sure to scroll to the bottom of the post.
- White Chocolate – The foundation of our delicious bark! For the smoothest melt and best consistency, I highly recommend using white almond bark or high-quality white chocolate melting wafers. These tend to melt more easily and set firmer than standard white chocolate chips, which can sometimes be a bit finicky due to stabilizers.
- Oreo Cookies – These classic chocolate sandwich cookies add a fantastic crunch and a familiar, beloved flavor contrast to the sweet white chocolate. Roughly crushed, they provide the perfect texture and a beautiful dark base against the white. Feel free to use double-stuffed for extra creaminess or flavored Oreos for a twist!
- Red & Green M&M’s – These iconic candies are essential for that quintessential Christmas look! Their vibrant colors and candy shell provide a satisfying crunch and a pop of chocolate flavor. You can also use other holiday-themed candies if M&M’s aren’t available.
- Festive Sprinkles – A mix of red, green, and white sprinkles, or any holiday-themed sprinkle blend, will add a wonderful textural element and an extra touch of sparkle and festivity. Nonpareils, jimmies, or even edible glitter can be used to achieve a magical holiday aesthetic.
- Optional Add-ins – Consider adding a few drops of peppermint extract to your melted chocolate for a minty kick, or a pinch of sea salt for a delightful sweet and salty combination.
Essential Equipment for Your Bark Making
You won’t need much in terms of specialized tools for this no-bake recipe, but having these basics will ensure a smooth and enjoyable process:
- Baking Sheet: A standard large baking sheet (approximately 13×18 inches) is perfect for spreading out your bark.
- Parchment Paper or Silicone Mat: Absolutely crucial! This prevents the chocolate from sticking and makes for easy removal and cleanup.
- Microwave-Safe Bowl: For melting your white chocolate quickly and efficiently.
- Rubber Spatula or Spoon: For stirring the chocolate and spreading it evenly.
- Sharp Knife: Once the bark is set, a good sharp knife will help you cut it into clean, beautiful pieces.
- Optional: Double Boiler: If you prefer not to use a microwave, a double boiler is an excellent alternative for melting chocolate gently.
Simple Steps to Craft Your Own White Chocolate Christmas Bark
Making this festive Christmas bark is incredibly straightforward. Follow these easy steps for a perfect batch every time!
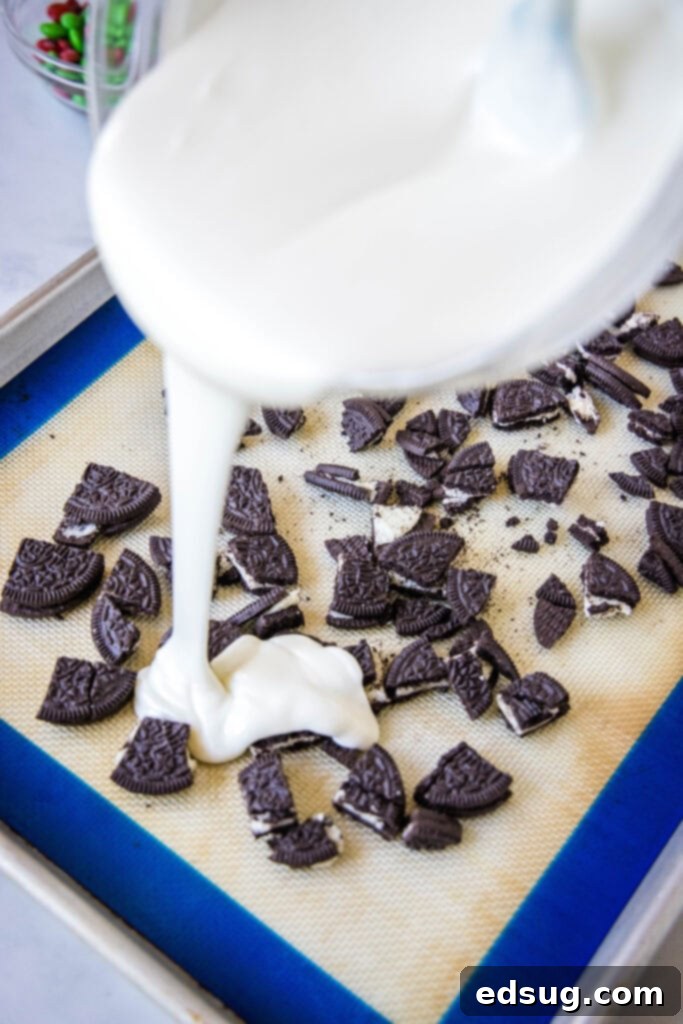
- Prepare Your Base with Crushed Oreos – Begin by taking about 1 row (roughly 12-14) of Oreo cookies. Place them in a Ziploc bag and crush them coarsely with a rolling pin, or pulse them briefly in a food processor until you have small, varied pieces – a mix of crumbs and larger chunks adds great texture. Spread these crushed Oreos evenly over a baking sheet lined with parchment paper. This creates a delicious foundation for your bark. If you’re making a larger batch, simply increase the amount of Oreos and chocolate accordingly.
- Master the Melted Chocolate – Break your white chocolate (almond bark or melting wafers work best) into small, manageable chunks and place them in a microwave-safe bowl. Microwave on high for 1 minute. Remove and stir thoroughly with a rubber spatula – even if it doesn’t look fully melted, stirring helps distribute the heat. Continue heating in 15-20 second intervals, stirring well after each, until the chocolate is completely melted and beautifully smooth. Be careful not to overheat, as white chocolate can scorch easily.
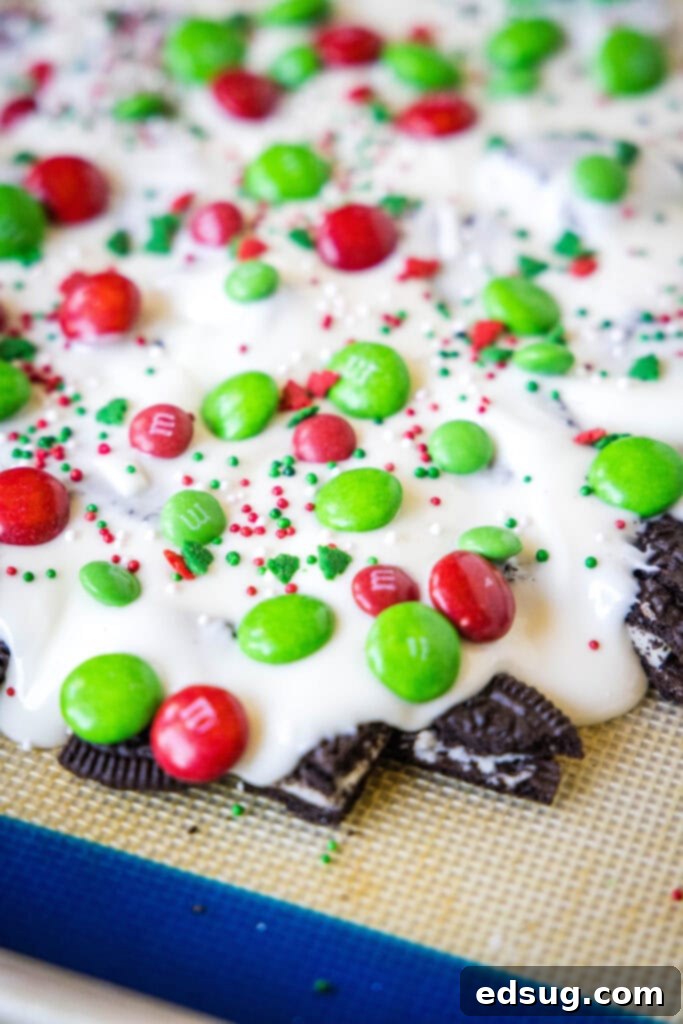
- Assemble and Decorate with Holiday Cheer – Once your white chocolate is perfectly melted, carefully pour it over the crushed Oreo base on your lined baking sheet. Use your spatula to gently spread the chocolate into an even, thin layer, ensuring it covers the Oreos from edge to edge. Immediately, while the chocolate is still wet, generously sprinkle your red and green M&M’s and festive sprinkles over the top. Don’t be shy – the more color, the merrier! This is where you can get creative with any additional toppings you desire.
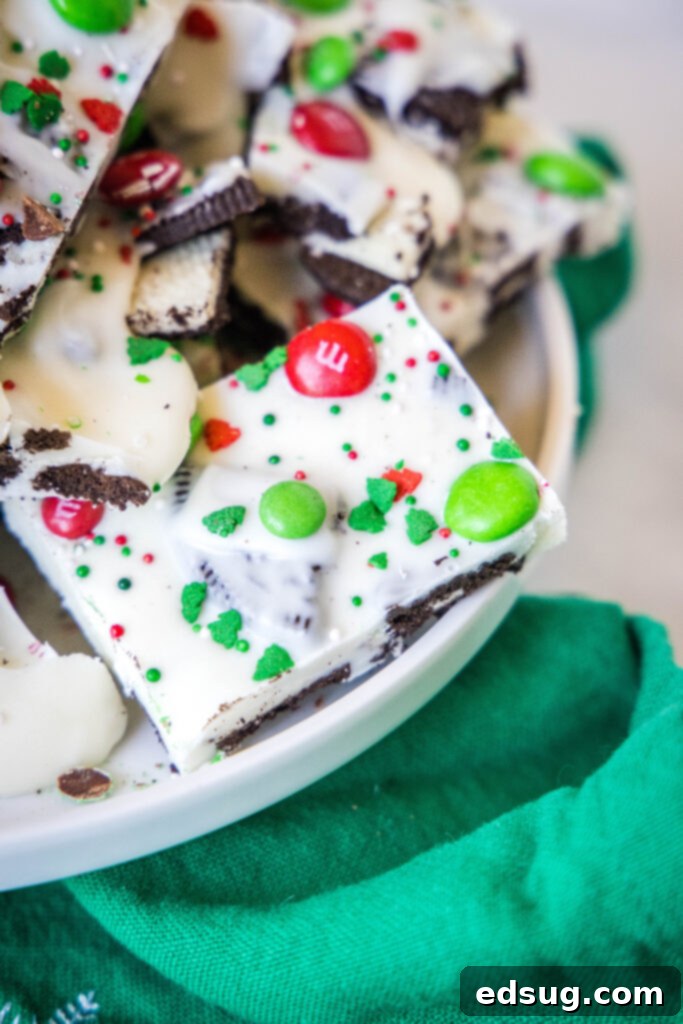
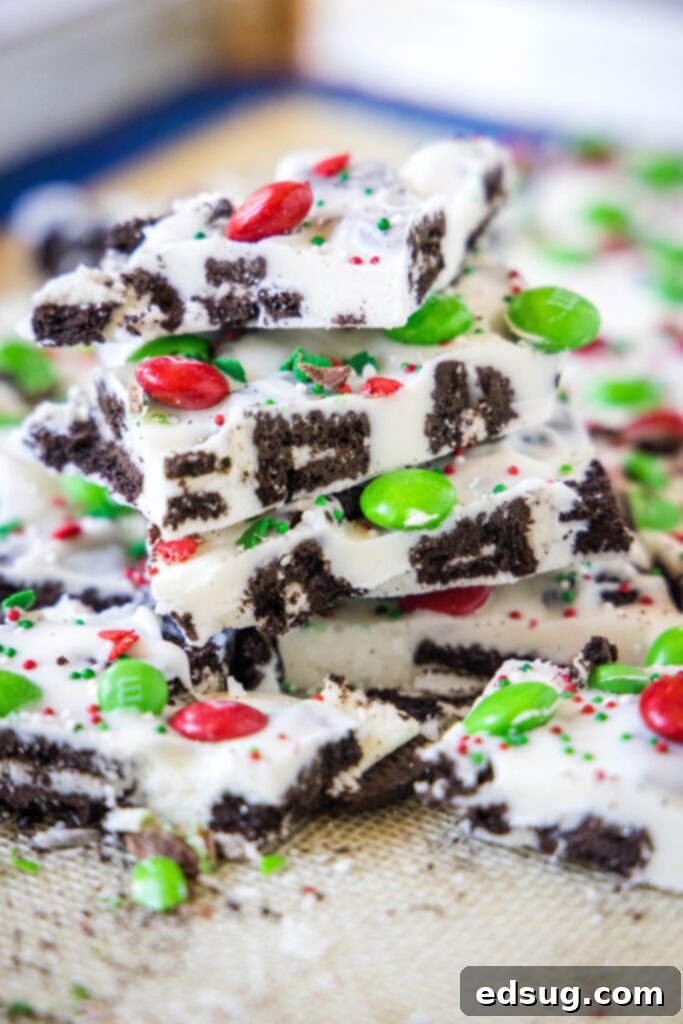
- Allow to Set and Slice – Now comes the hardest part: patience! Let the chocolate bark set up completely. This typically takes a couple of hours at room temperature, or you can speed up the process by placing the baking sheet in the refrigerator for about 30-60 minutes. Once the chocolate is fully solid and firm to the touch, carefully lift the parchment paper off the baking sheet. Use a sharp knife to cut the bark into irregular, bite-sized pieces. Break it into shards for a rustic look, or cut it into more uniform squares. Serve and enjoy!
Pro Tips & Creative Suggestions for Your Christmas Bark
Elevate your Christmas bark to new heights with these handy tips and creative ideas, ensuring every batch is a masterpiece!
- Unleash Your Creativity! While our recipe focuses on a classic red and green M&M and sprinkle combination, the possibilities for customization are endless. Feel free to swap out or add any of your favorite holiday candies or toppings. Consider crushed candy canes for a minty crunch, mini chocolate chips for extra chocolatey goodness, chopped nuts (like pecans or almonds) for texture, or even a swirl of colored chocolate melts to create a marbled effect. Andes’ mints, pretzels, dried cranberries, or toasted coconut flakes are also fantastic additions!
- Embrace Sweet & Salty Harmony. Our recipe uses sweet Oreo cookies, creating a delightful sweet-on-sweet experience. However, if you’re a fan of that irresistible sweet and salty contrast, try replacing or complementing the Oreos with crushed pretzel pieces. The salty crunch of pretzels against the sweet white chocolate and candies is a phenomenal taste sensation that keeps everyone coming back for more.
- In a Hurry? Speed Up Setting Time. If you’re short on time and need your bark to set quickly, simply place the baking sheet with the freshly decorated bark into the refrigerator. It will typically firm up and be ready to cut in 30-60 minutes, compared to a couple of hours at room temperature. Just ensure it’s fully solid before attempting to cut.
- Perfect Your Presentation for Gifting. Christmas bark makes an incredibly thoughtful and appreciated homemade holiday gift. Once it’s cut into pieces, arrange them artfully in clear plastic bags, decorative tins, or small gift boxes. Tie with a festive ribbon, add a personalized tag, and you’ve got a beautiful, delicious present that friends, family, and neighbors will adore. It’s perfect for hostess gifts, teacher gifts, or as part of a holiday cookie exchange.
- Experiment with Chocolate Types: Don’t limit yourself to white chocolate! While it offers a beautiful snowy canvas for colorful toppings, you can easily use milk chocolate, dark chocolate, or even a combination of chocolates for different layers or swirls.
- Flavor Infusion: Add a few drops of food-grade extracts like peppermint, almond, or orange to your melted chocolate before spreading for an extra layer of flavor.
Mastering the Art of Melting White Chocolate
Melting chocolate might seem simple, but achieving a smooth, unblemished consistency for your bark is key. Here’s how to do it perfectly:
For this recipe, I highly recommend using bars of White Almond Bark or high-quality white melting wafers. These products are specifically designed to melt quickly and smoothly, resulting in a beautiful, glossy finish without the need for tempering. While white chocolate chips can work, they sometimes contain stabilizers that can make them less fluid when melted.
- Preparation is Key: Break or finely chop your white chocolate into small, uniform chunks. Smaller pieces melt more evenly and quickly, reducing the risk of scorching. Place them in a clean, dry, microwave-safe bowl.
- Microwave Method (Recommended for Speed):
- Place the bowl in the microwave and heat on high for 1 minute.
- Remove the bowl and, using a rubber spatula, stir the chocolate thoroughly. It will likely still be mostly solid, but stirring helps to distribute the heat evenly and prevents the edges from burning.
- Continue heating the chocolate in short 15-20 second intervals, stirring well after each interval. White chocolate can go from melted to scorched very quickly, so patience and frequent stirring are crucial. Stop heating as soon as the chocolate is mostly melted and smooth, with just a few tiny lumps remaining which will melt with residual heat as you continue to stir.
- Double Boiler Method (For Gentle Melting): If you prefer a stovetop method or want more control, a double boiler is an excellent choice.
- Place a heat-safe bowl over a saucepan filled with about an inch or two of simmering water. Ensure the bottom of the bowl does not touch the water.
- Add your chopped white chocolate to the bowl.
- Stir constantly as the steam from the simmering water gently melts the chocolate. This method is slower but provides more consistent, gentle heat, minimizing the risk of scorching. Remove from heat as soon as it’s smooth and melted.
- Important Tip: Avoid Water! Any contact with water can cause white chocolate to “seize,” turning it into a grainy, unworkable mess. Ensure your bowls and utensils are completely dry.
Storing Your Christmas Bark for Lasting Freshness
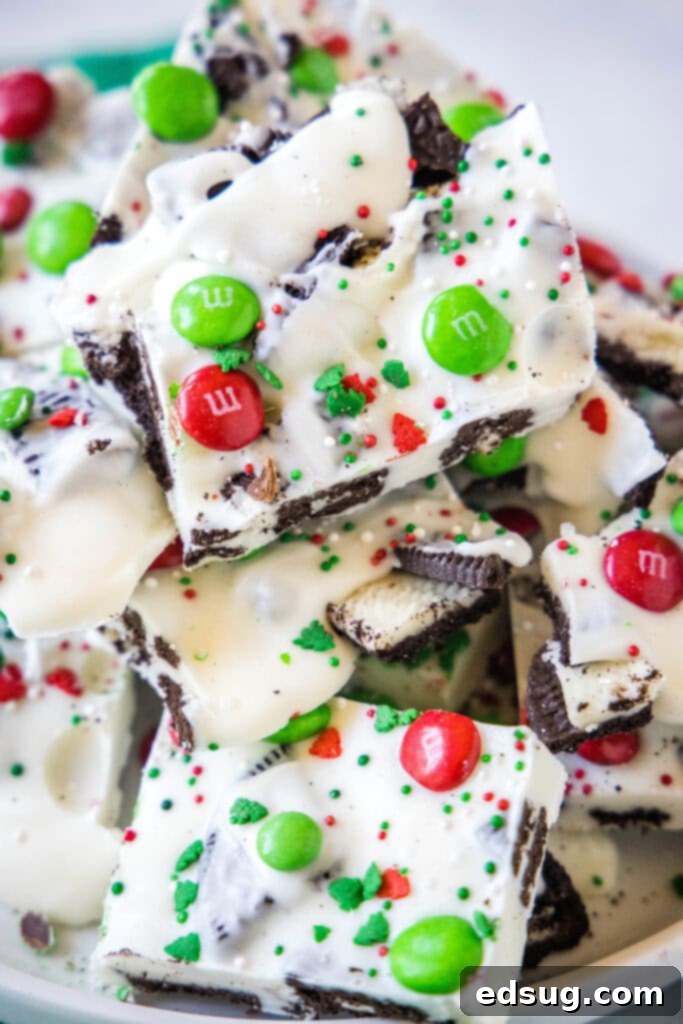
Once your White Chocolate Christmas Bark is fully set and cut into pieces, store it in an airtight container at room temperature. Kept properly, it will retain its freshness, flavor, and texture for about 2 weeks. For best results, keep it away from direct sunlight and heat, which can cause the chocolate to melt or bloom.
Absolutely! Christmas bark freezes beautifully, making it an excellent make-ahead treat for the busy holiday season. Once the bark is completely set and you’ve cut it into pieces, layer the pieces in an airtight, freezer-safe container, separating layers with parchment paper to prevent sticking. It will last for 2-3 months in the freezer. When you’re ready to enjoy, simply let it thaw on the counter at room temperature for about 30 minutes to an hour before serving. This is perfect for ensuring you always have a festive treat on hand!
Discover More Easy Christmas Recipes
If you loved making this simple Christmas bark, you’ll definitely want to explore these other delightful and easy-to-make holiday treats. Perfect for sharing, gifting, or simply enjoying with your loved ones!
- Grinch Truffles – A fun, vibrant, and delicious no-bake treat inspired by everyone’s favorite green holiday character.
- Sugar Cookie Fudge – All the sweet, buttery flavor of a sugar cookie in a rich, melt-in-your-mouth fudge form.
- Coconut Balls – Simple, elegant, and perfectly sweet, these coconut treats are a delightful addition to any holiday platter.
- Santa Hat Brownies – Adorable and festive, these brownies are topped to look like Santa’s hats, making them a hit with kids and adults alike.
- Mint Chocolate Pudding Cookies – Soft, chewy, and bursting with refreshing mint and rich chocolate flavor.
- Hot Chocolate Dip – A creamy, dreamy, and utterly decadent dip that tastes just like your favorite hot chocolate.
- Hot Chocolate Muddy Buddies – A fun, crunchy, and chocolatey snack mix perfect for holiday gatherings or cozy nights.
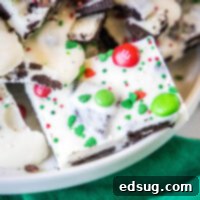
Christmas Bark
Erin Sellin
10 minutes
2 hours
2 hours
10 minutes
20
Pin Recipe
Rate Recipe
Print Recipe
Video
Ingredients
- 1 pound white chocolate, white almond bark
- 12 Oreo cookies
- 1/2 cup red & green M&M’s
- sprinkles
Instructions
-
Coarsely chop Oreo cookies and place in the center of a large baking sheet lined with parchment paper.
-
Chop white chocolate into large chunks, and place in a microwave safe bowl. Heat for 1 minute and stir. Continue with 15-20 second intervals until the chocolate is completely melted and smooth, stirring well after each.
-
Pour melted chocolate over the crushed Oreo cookies, and carefully spread into an even thin layer using a spatula.
-
Sprinkle M&M’s evenly over the top of the wet chocolate, and decorate generously with festive sprinkles.
-
Let the chocolate completely set up (either at room temperature for a couple of hours or in the fridge for 30-60 minutes) before slicing into irregular pieces to serve.
Nutrition
Serving:
1
g
|
Calories:
208
kcal
|
Carbohydrates:
26
g
|
Protein:
2
g
|
Fat:
11
g
|
Saturated Fat:
6
g
|
Polyunsaturated Fat:
4
g
|
Cholesterol:
6
mg
|
Sodium:
55
mg
|
Fiber:
1
g
|
Sugar:
23
g
Nutrition information is automatically calculated, so should only be used as an approximation.
Additional Info
Erin Sellin
10 minutes
2 hours
2 hours
10 minutes
Dessert Recipes
American
20
208
Like this recipe? Leave a comment below!
I created a fun group on Facebook, and I would love for you to join us! It’s a fantastic place where you can share YOUR favorite recipes, ask questions, and stay updated on what’s new at Dinners, Dishes and Desserts (so you never miss a delicious new recipe or exciting update)!
Be sure to follow me on Instagram and tag #dinnersdishes so I can see all the wonderful DINNERS, DISHES, AND DESSERTS recipes YOU make! I love seeing your culinary creations!
Don’t miss out on any deliciousness! Be sure to follow me on my social media channels:
Facebook | Twitter | Pinterest | Instagram
