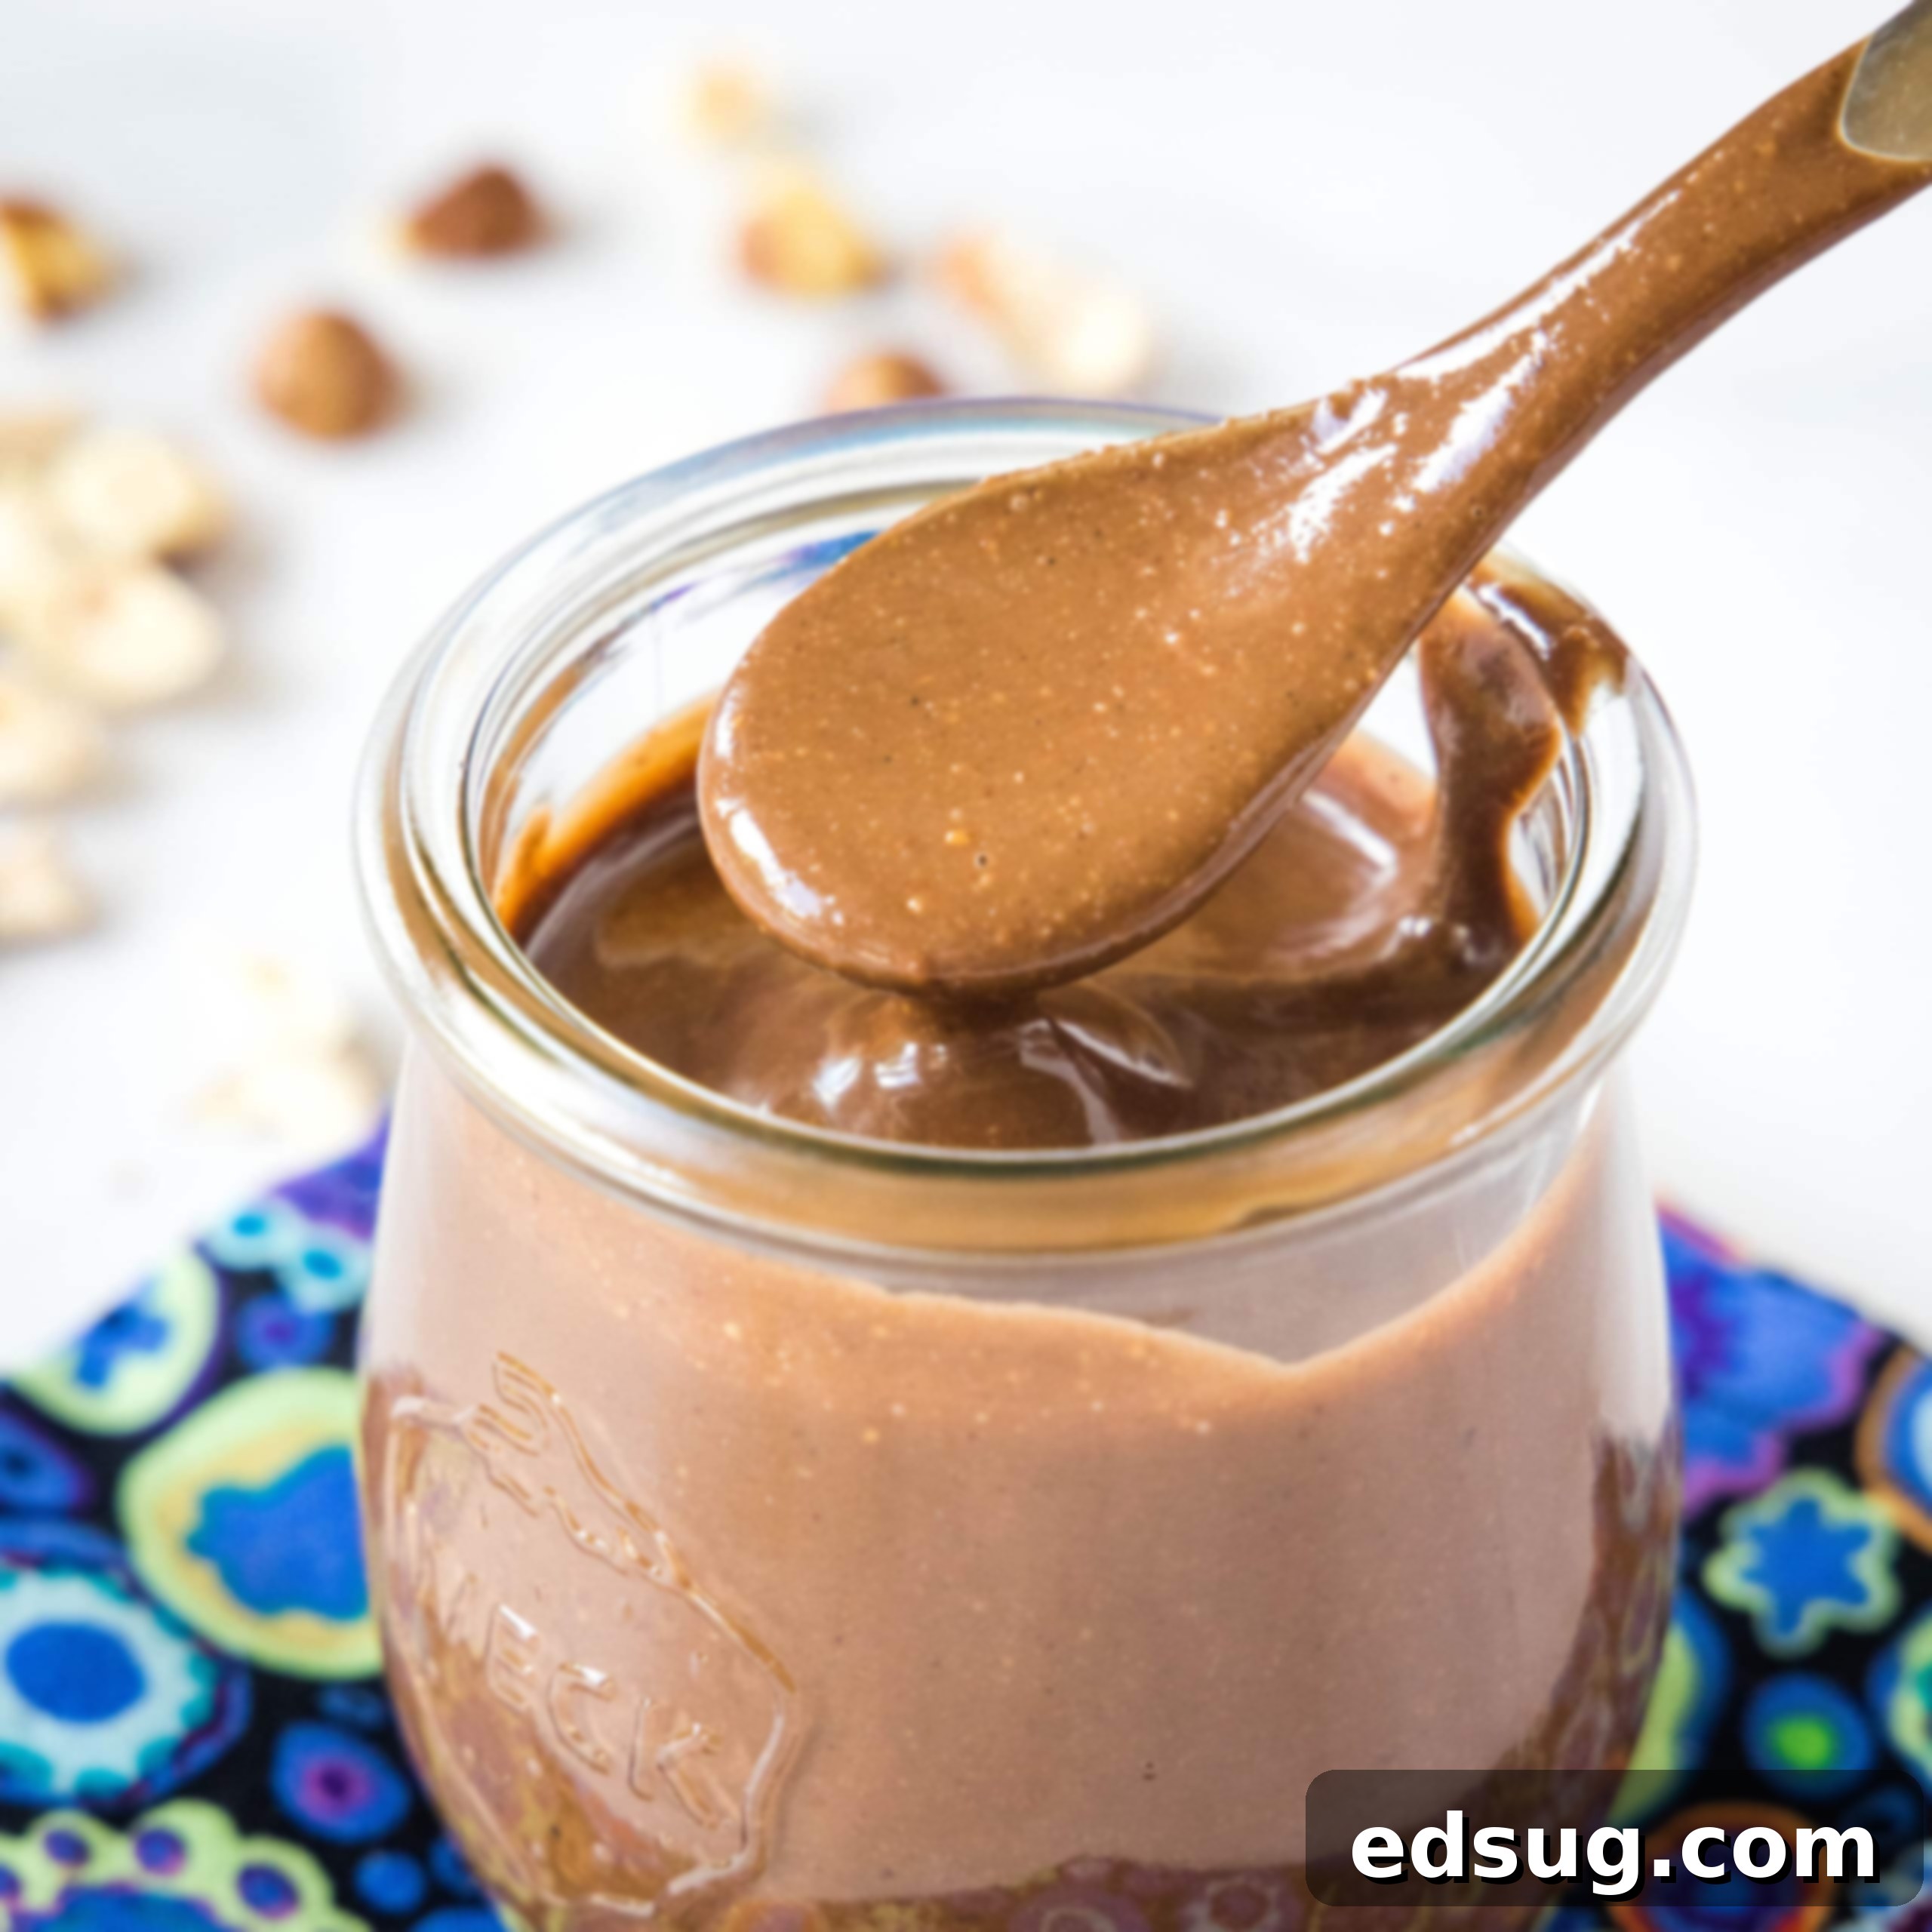
The Ultimate Guide to Homemade Nutella: Rich, Creamy, and Better Than Store-Bought Chocolate Hazelnut Spread
Tired of store-bought chocolate hazelnut spreads laden with questionable ingredients? This homemade Nutella recipe allows you to skip the additives and create a luxurious, better-for-you chocolate hazelnut spread right in your own kitchen. It’s incredibly flavorful, surprisingly easy to make, and guarantees an absolutely amazing taste that rivals (and often surpasses) its commercial counterpart!
My lifelong love affair with chocolate hazelnut spread began in middle school during French class when we whipped up delicate crepes. Since then, my affection for this rich, sweet delight has only grown. While this site boasts a plethora of recipes featuring this iconic spread – from Nutella Cupcakes to Nutella Brownies – my absolute favorite way to experience it is when it’s made from scratch.
The first time I ventured into making homemade Nutella was specifically for those delightful Nutella Cupcakes. Having tried both the commercial product and my homemade version in various recipes, I can confidently say that homemade wins every single time. The freshness, the control over ingredients, and the superior flavor profile are simply unmatched.
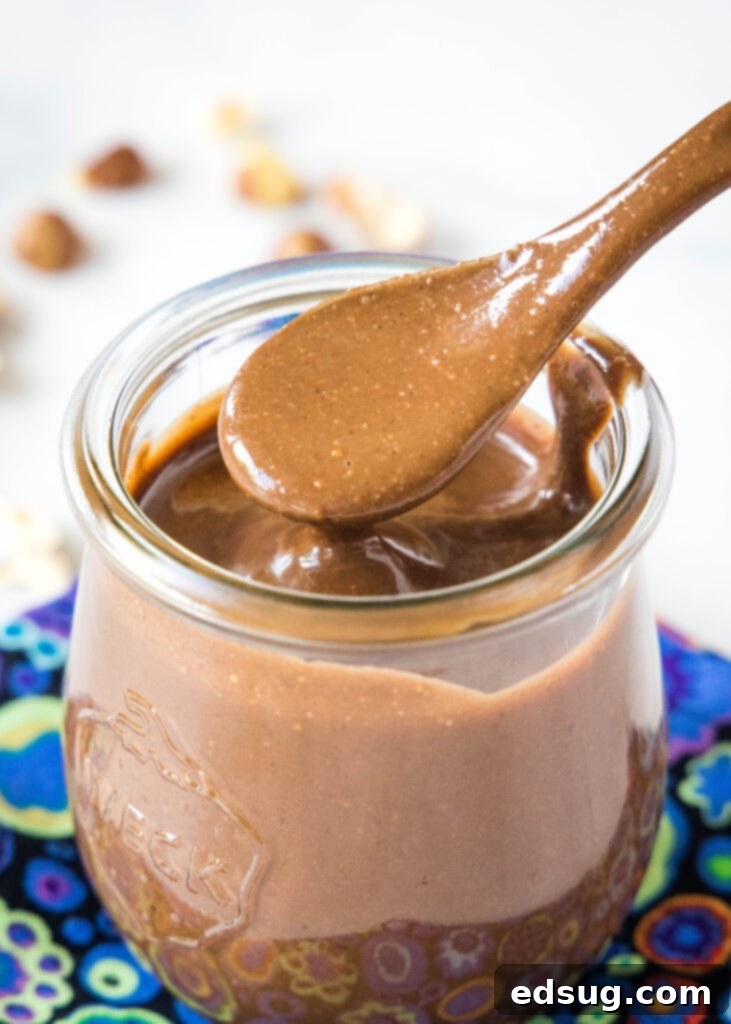
If you’ve ever experimented with making your own Peanut Butter, you’ll find the process for homemade chocolate hazelnut spread remarkably similar. The key to achieving that velvety smooth consistency lies in having a high-powered blender. I personally rely on my Blendtec, which I’ve cherished for over seven years. While these blenders can be a significant investment, their durability and performance make them well worth it for frequent use in the kitchen.
However, don’t despair if you don’t own a professional-grade blender. I’ve successfully made this recipe using both a traditional blender and a standard food processor. The end result might have a slightly grainier texture compared to what a high-powered machine can achieve, but rest assured, it still tastes absolutely incredible and works beautifully in all your favorite recipes. Patience is your best friend when using less powerful equipment; simply blend for longer periods, scraping down the sides as needed, and you’ll get there.
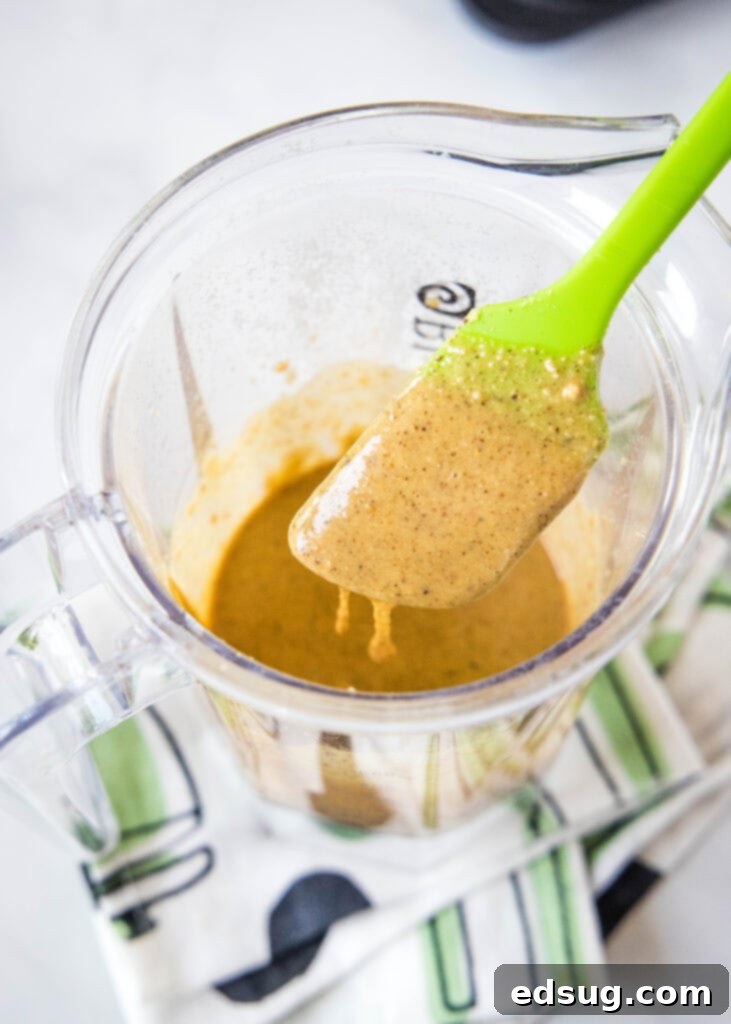
Essential Ingredients for Your Homemade Chocolate Hazelnut Spread
Crafting your own delicious chocolate hazelnut spread requires only a handful of readily available ingredients. Here’s what you’ll need to gather:
- Hazelnuts: The star of our show, providing that distinct nutty flavor.
- Powdered Sugar: For sweetness and to ensure a smooth, melt-in-your-mouth texture.
- Milk Chocolate: The foundation for that classic, sweet chocolate taste.
- Unsweetened Cocoa Powder: To deepen the chocolate flavor and color.
- Avocado Oil: A neutral oil that contributes to the spread’s creaminess without altering its taste.
- Vanilla Extract: To enhance the overall flavor profile.
When it comes to oil, I opt for avocado oil due to its neutral flavor and slightly better nutritional profile compared to other common oils. It’s important to choose an oil that won’t impart its own strong flavor into your delicate chocolate hazelnut spread. Canola oil or vegetable oil are excellent substitutes if avocado oil isn’t on hand. However, I strongly advise against using olive oil or coconut oil. While delicious in other contexts, their distinct flavors are too potent and will significantly alter the wonderful taste of your homemade Nutella, potentially overshadowing the hazelnut and chocolate notes we’re aiming for.
Step-by-Step: Crafting Your Own Delicious Nutella at Home
Making your own chocolate hazelnut spread is a rewarding process that yields a superior product. Follow these simple steps for a perfect batch:
- Roast the Hazelnuts: If you’re starting with raw hazelnuts, preheat your oven to 350º F (175º C). Spread the hazelnuts in a single layer on a baking sheet. Roast them for approximately 10-12 minutes, or until they are fragrant and their skins appear slightly cracked. Roasting is crucial as it intensifies their nutty flavor and makes the skins easier to remove.
- Process Hazelnuts to Butter: Once roasted and slightly cooled (see tips below for skin removal), add the hazelnuts to your high-powered blender or food processor. Process them until they transform into a smooth, liquidy butter. This stage requires patience; it can take up to 3 minutes, or even longer for less powerful machines. The hazelnuts will go through several stages: from a crumbly meal, to a sticky paste, and finally, a smooth, glossy liquid as their natural oils release.
- Melt the Milk Chocolate: While the hazelnuts are processing, gently melt your milk chocolate. You can do this using a double boiler on the stovetop, stirring until smooth. Alternatively, melt it in the microwave in 30-second intervals, stirring well after each interval to prevent burning, until completely melted and glossy.
- Combine and Blend: Add the melted milk chocolate, powdered sugar, unsweetened cocoa powder, avocado oil, and vanilla extract to the blender or food processor with your hazelnut butter. Blend everything together until the mixture is perfectly smooth, uniform, and beautifully combined. Scrape down the sides of the blender as needed to ensure all ingredients are incorporated.
- Cook Briefly (Optional but Recommended): For a more emulsified, stable, and truly silky-smooth spread, pour the mixture into a small saucepan and cook it over low heat for about 5 minutes, stirring continuously. This step helps to further meld the flavors and create an even richer consistency.
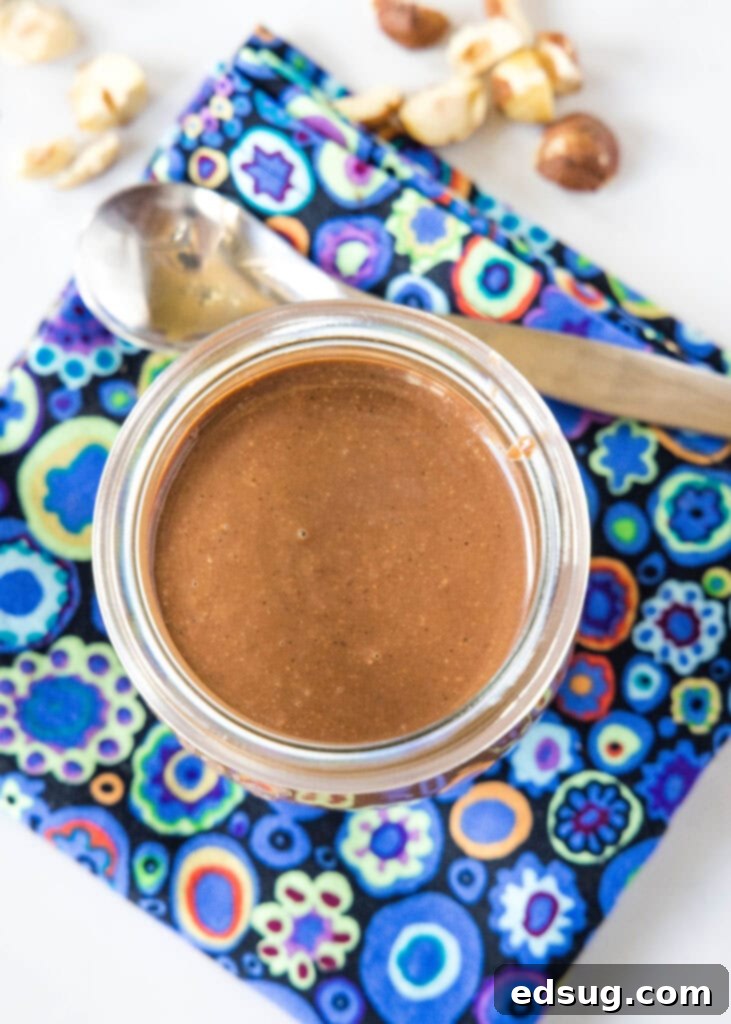
- Store Your Creation: Once your chocolate hazelnut spread is done and has cooled slightly, transfer it to a clean, airtight container. Allow it to cool completely before sealing.
Storing Your Homemade Chocolate Hazelnut Spread
Proper storage is key to enjoying your homemade Nutella for as long as possible while maintaining its perfect spreadable texture.
Store your chocolate hazelnut spread in a clean, airtight container. It can be safely stored at **room temperature for up to 2 weeks**. I generally prefer not to store it in the refrigerator, as the cold temperature tends to make the spread harden significantly, which can make it quite tough to use. Before each use, especially if it has settled, give it a good stir to restore its creamy consistency.
If you absolutely need to store it for a longer period, it can be kept in the fridge for up to a month. However, be aware that it will firm up considerably. When you’re ready to use it, you’ll need to take it out of the refrigerator and let it come closer to room temperature for at least 30-60 minutes to ensure it softens enough to be easily spreadable.
Expert Tips for the Best Homemade Nutella
Achieving the perfect homemade chocolate hazelnut spread is simple with a few key techniques:
- Remove the Skins (Mostly): After roasting your hazelnuts, it’s beneficial to remove as much of their papery skins as possible. The skins can impart a slightly bitter taste and affect the smoothness of your spread. Once the hazelnuts have cooled enough to handle, place them in a clean kitchen towel. Fold the towel over them and rub vigorously for several minutes. This friction will loosen a significant amount of the skins. Don’t stress about removing every single bit; it’s perfectly fine if some stubborn pieces remain – they won’t ruin your spread.
- Choose the Right Oil: The type of oil you use makes a difference in both taste and health benefits. While commercially produced Nutella traditionally uses palm oil, many homemade recipes, including my original one from years ago, call for vegetable or canola oil. Today, I prefer using avocado oil. It’s fantastic because it’s virtually flavorless (neutral tasting), ensuring the pure chocolate and hazelnut flavors shine through. Additionally, it offers a slightly healthier fat profile. As mentioned earlier, avoid strong-flavored oils like coconut oil or olive oil, as their distinct tastes will overpower and negatively impact the delicate balance of your spread.
- Dealing with Graininess: If you’re using a standard blender or food processor that isn’t particularly high-powered, your homemade Nutella might end up a little grainier than desired. Don’t worry! You can achieve a smoother result by pressing the finished spread through a fine-mesh strainer. This extra step will help remove any remaining tiny pieces of nuts that didn’t fully break down, yielding a more professional and silky-smooth texture. Remember, patience in blending is also key – sometimes a few more minutes of processing is all it takes to reach that ideal consistency.
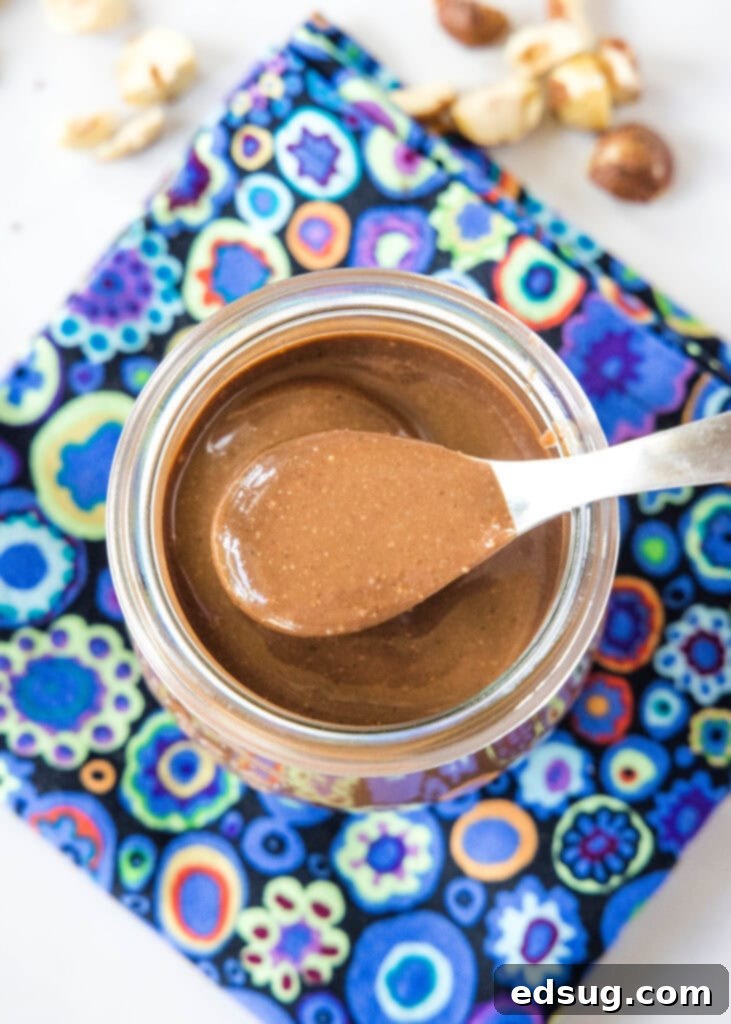
Creative Ways to Enjoy Your Homemade Chocolate Hazelnut Spread
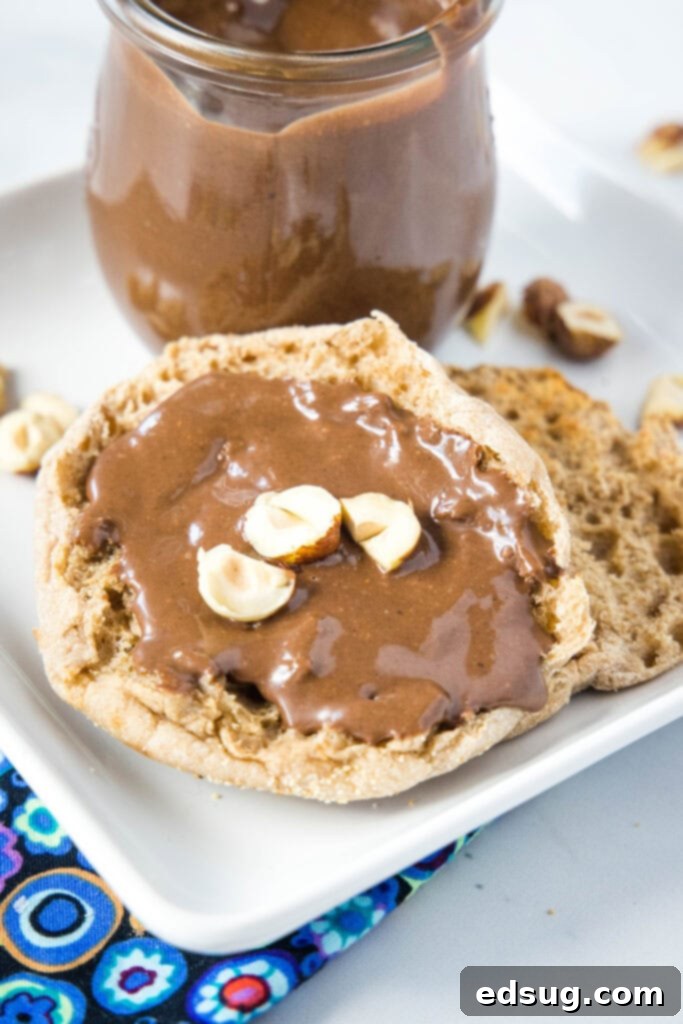
Beyond simply spreading it generously on toast or a warm English Muffin, there are countless delightful ways to incorporate your homemade Nutella into your meals and desserts. Its rich, versatile flavor makes it a fantastic addition to both sweet treats and breakfast staples. Here are some of our favorite ideas:
- Nutella Crepes: A classic combination that’s perfect for breakfast or dessert.
- Nutella Ice Cream: Swirl it into your homemade ice cream base for a luxurious frozen treat.
- Nutella Muffins: Add a dollop to the center of muffins for a delightful surprise.
- Nutella Brownies: Incorporate it into your brownie batter for an extra fudgy, hazelnut-infused experience.
- Nutella Donuts: Fill homemade donuts with this luscious spread or drizzle it on top.
- Nutella Oreo Truffles: A simple no-bake treat that’s rich and irresistible.
- Nutella No Bake Bars: A quick and easy dessert for any occasion.
- Nutella Cookies: Bake it into your favorite cookie recipe for a nutty chocolate twist.
- Fruit Dip: Serve it alongside sliced apples, bananas, or strawberries for a healthier treat.
- Milkshakes: Blend a spoonful into your favorite milkshake recipe for added richness.
- Pancakes & Waffles: Drizzle over a stack of warm pancakes or waffles for an indulgent breakfast.
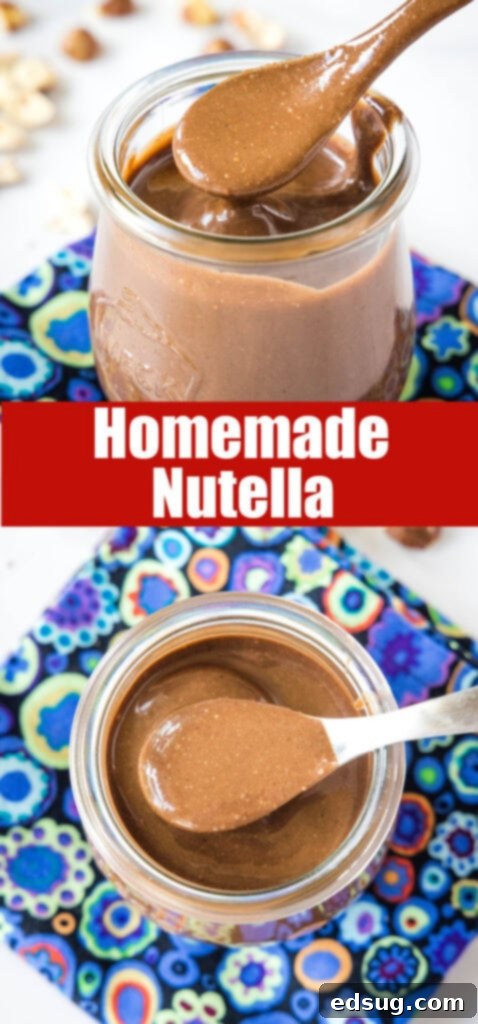
Homemade Nutella
Erin Sellin
15 minutes
5 minutes
20 minutes
15
Rate Recipe
Print Recipe
Ingredients
-
1 cup hazelnuts, roasted -
4 Tablespoons powdered sugar -
200 grams milk chocolate -
1 Tablespoon unsweetened cocoa powder -
3 Tablespoons avocado oil -
1/2 teaspoon vanilla extract
Instructions
-
Add the roasted hazelnuts to a high powdered blender or food processor and process until they are smooth. This can take up to 3 minutes, transforming from crumbles to a smooth butter.
-
Melt milk chocolate over a double boiler, or in the microwave at 30-second intervals, stirring thoroughly after each to prevent burning.
-
Add the melted chocolate, powdered sugar, cocoa powder, oil, and vanilla to the blender with the hazelnut butter and blend until the mixture is completely smooth and well combined.
-
Pour the blended mixture into a small saucepan and cook over low heat for 5 minutes, stirring constantly, to further emulsify and enhance the texture.
-
Once finished, transfer the warm chocolate hazelnut spread into an airtight container. Let it cool completely before sealing and storing.
Notes
Nutrition
Calories: 159kcal |
Carbohydrates: 12g |
Protein: 2g |
Fat: 12g |
Saturated Fat: 3g |
Polyunsaturated Fat: 8g |
Cholesterol: 3mg |
Sodium: 11mg |
Fiber: 1g |
Sugar: 9g
Nutrition information is automatically calculated, so should only be used as an approximation.
Additional Info
Erin Sellin
15 minutes
5 minutes
20 minutes
Dessert Recipes
American
15
159
Like this recipe? Leave a comment below!
I created a fun group on Facebook, and I would love for you to join us! It’s a place where you can share YOUR favorite recipes, ask questions, and see what’s new at Dinners, Dishes and Desserts (so that you never miss a new recipe)!
Be sure to follow me on Instagram and tag #dinnersdishes so I can see all the wonderful DINNERS, DISHES, AND DESSERTS recipes YOU make!
Be sure to follow me on my social media, so you never miss a post!
Facebook | Twitter | Pinterest | Instagram
