Easy No-Bake Bunny Pretzels: The Ultimate Kid-Friendly Easter Treat
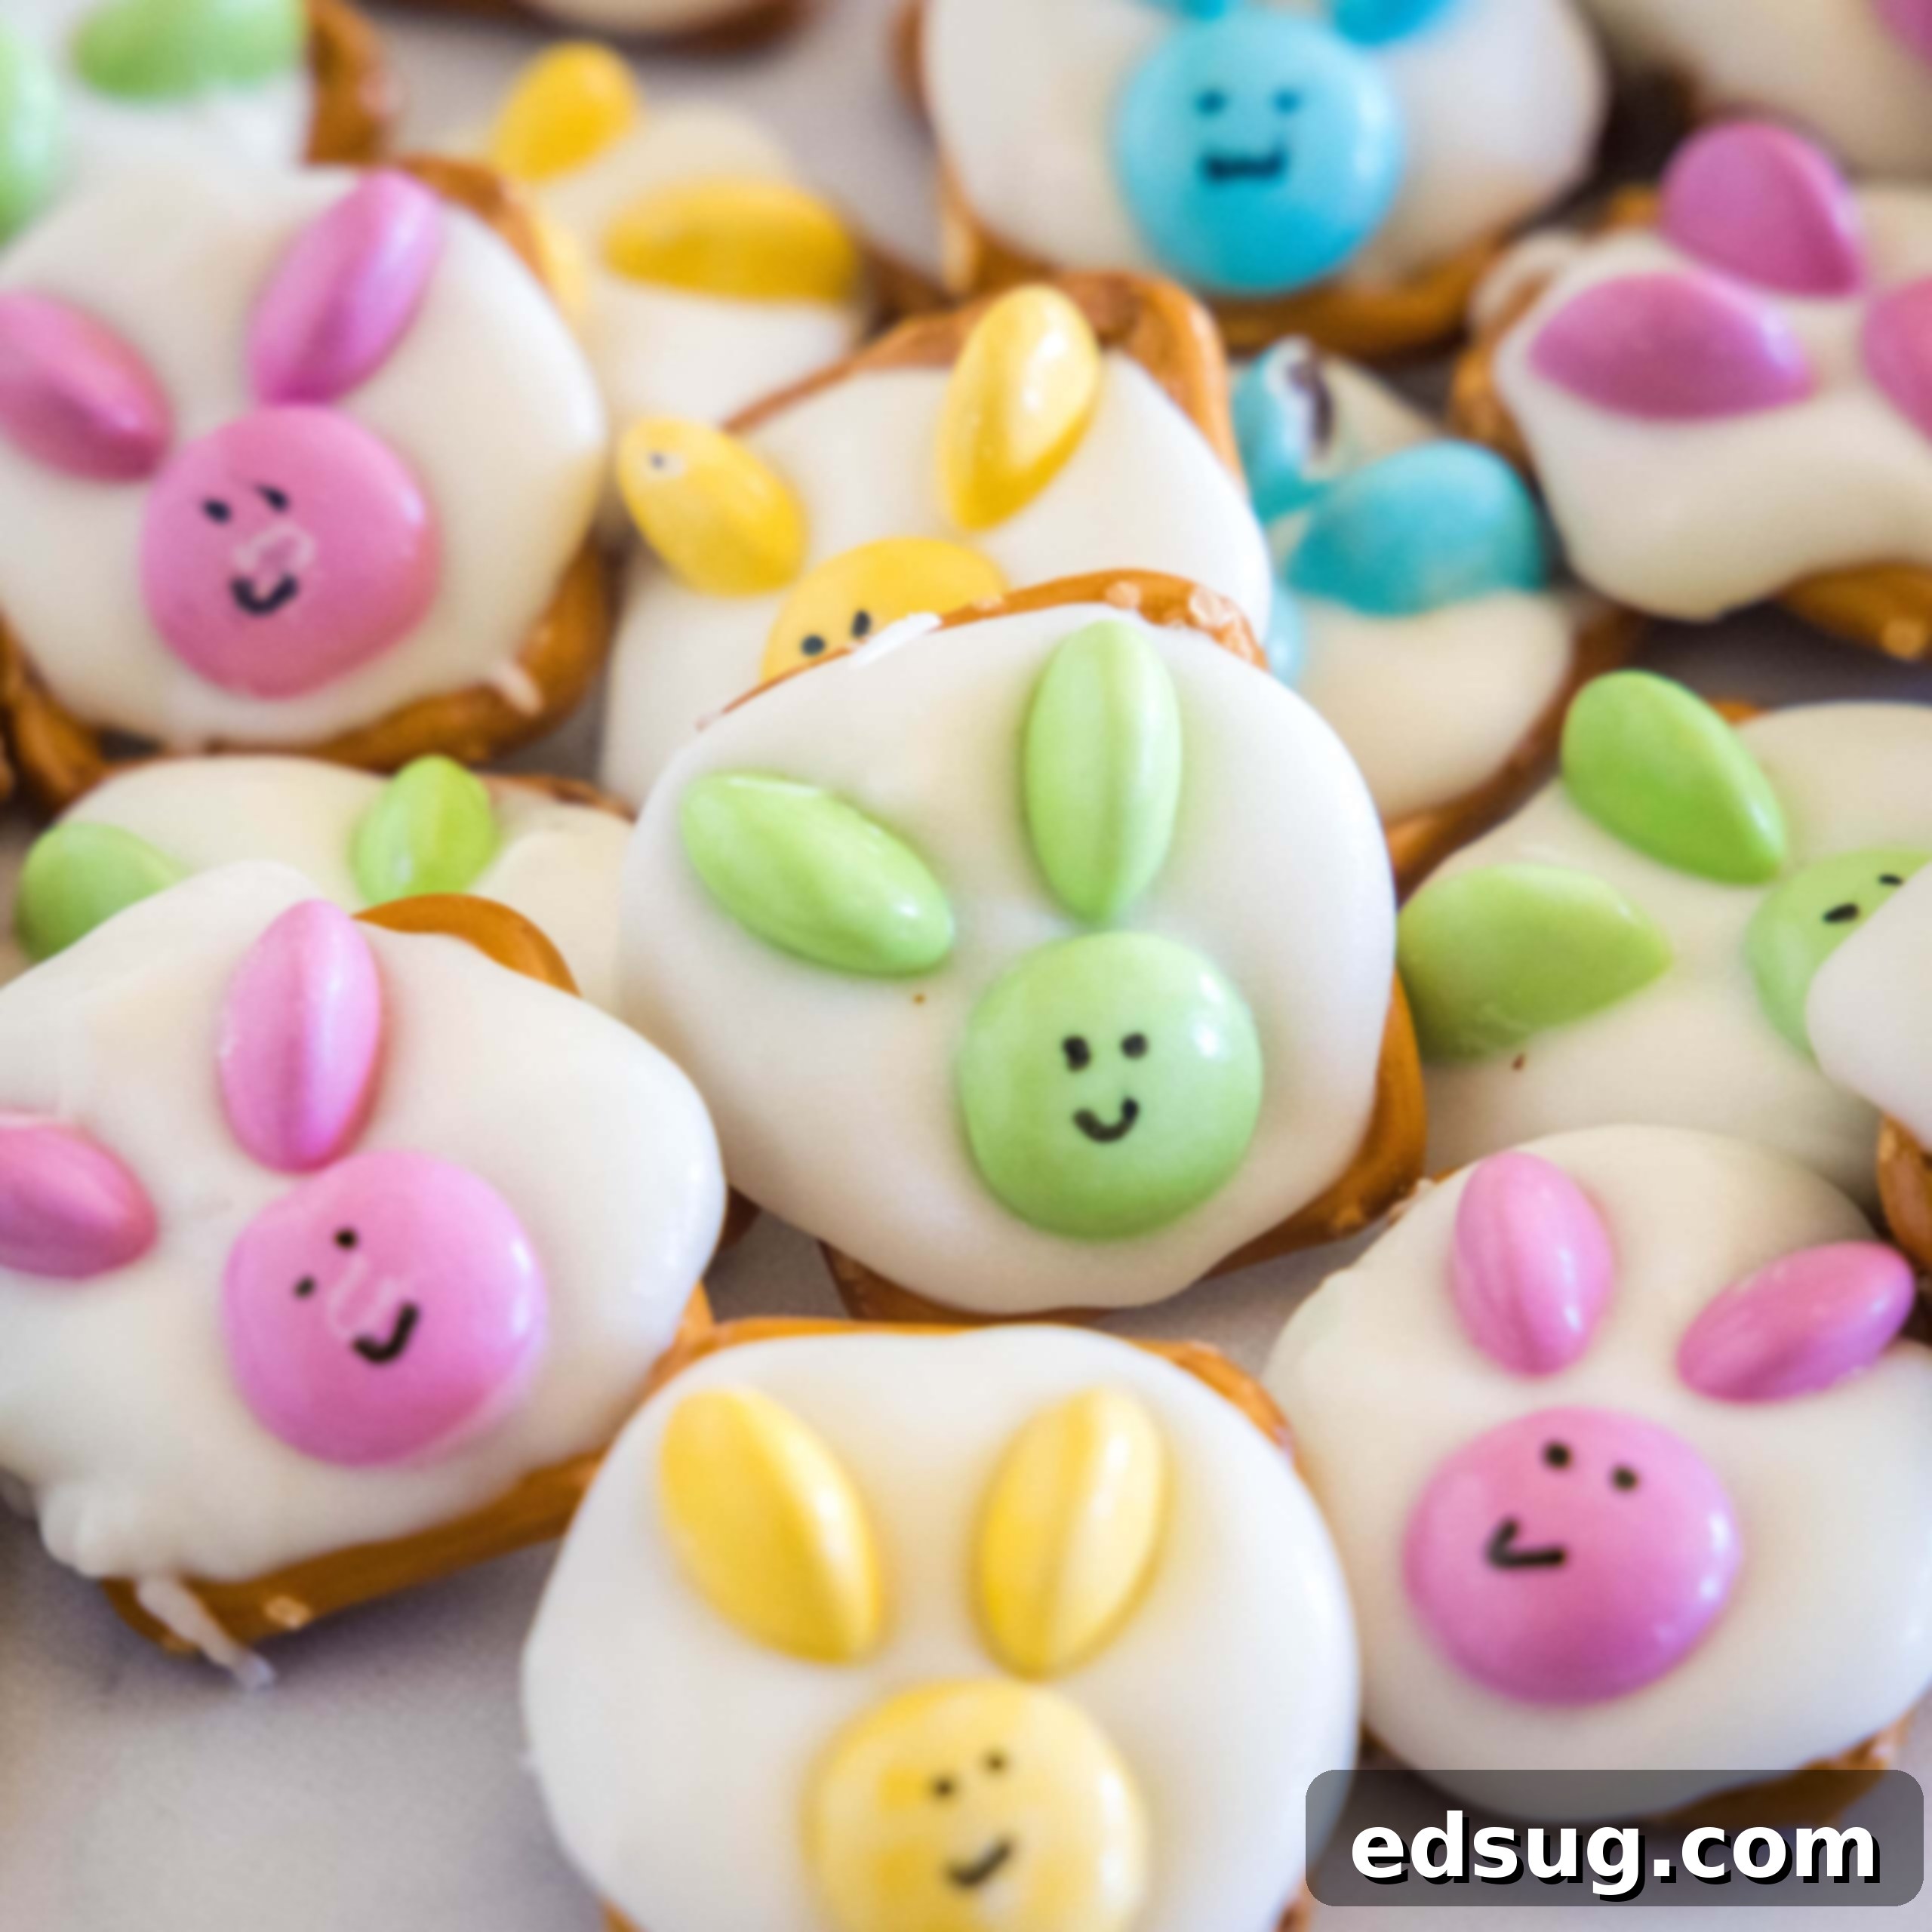
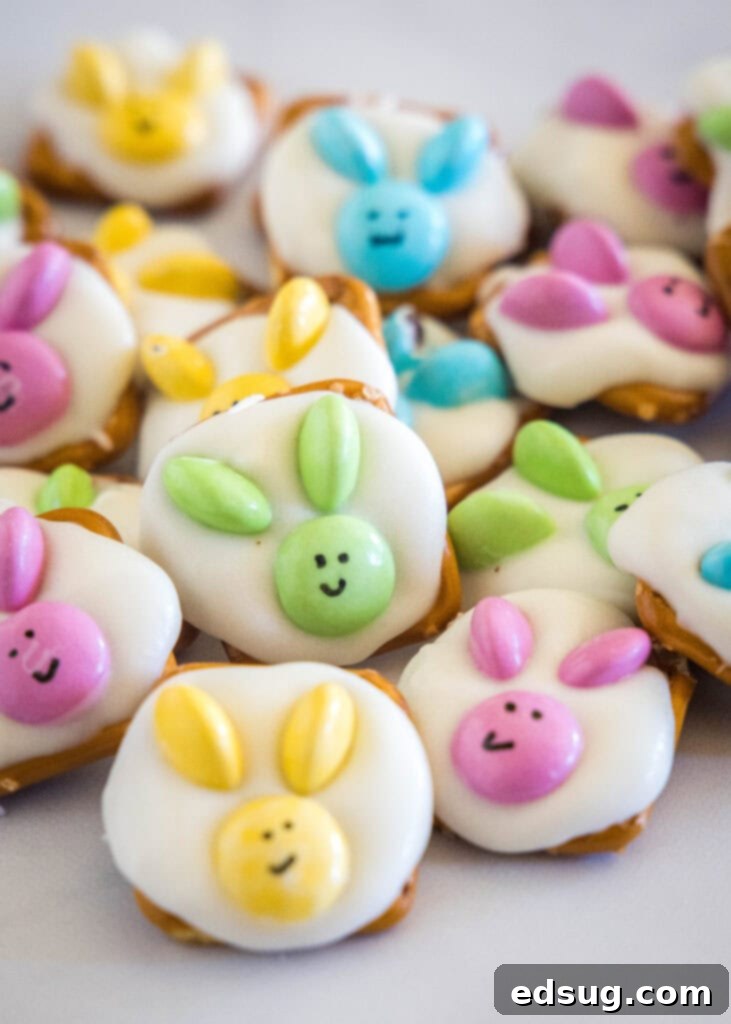
Get ready for an adorable and unbelievably simple Easter project! These super easy Bunny Pretzels come together in just a few minutes, requiring absolutely no baking. They are the perfect festive treat for celebrating Easter, delightful for both kids and adults, and guaranteed to bring smiles all around. Imagine transforming ordinary pretzels into charming little bunnies with just a handful of ingredients and a touch of creativity. This recipe is your go-to for a fun, stress-free, and irresistibly cute holiday snack.
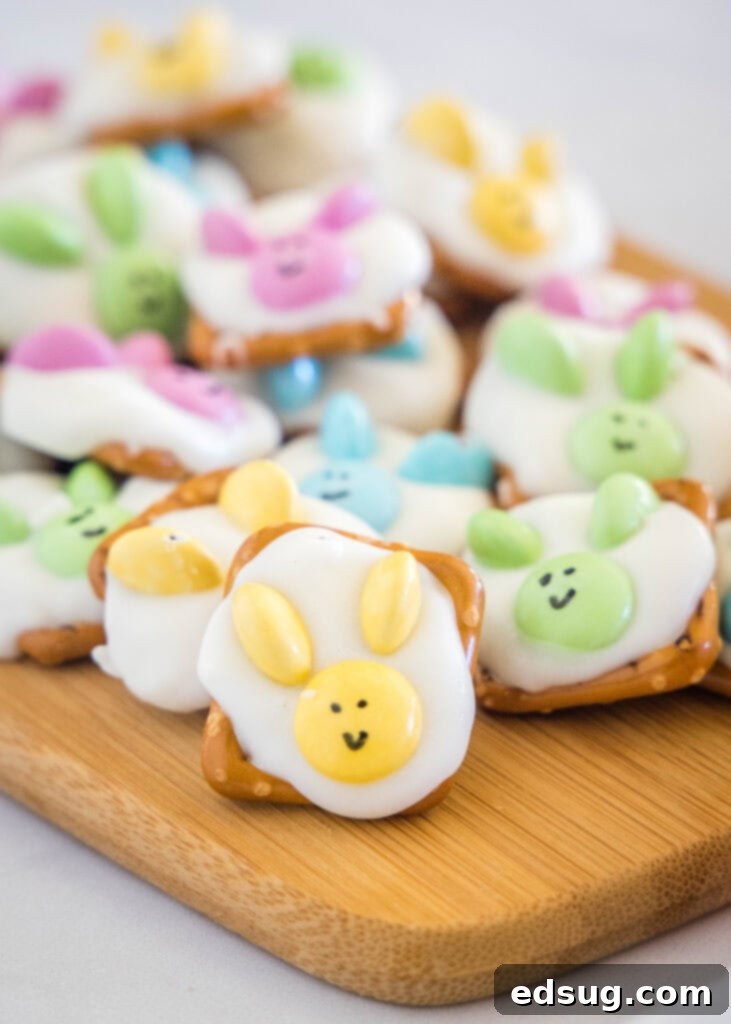
Easter is a time for bright colors, joyous celebrations, and, of course, delightful treats! There are countless cute things you can create for this holiday, effortlessly turning almost any snack into an adorable bunny or a chirpy baby chick. Today, we’re diving into one of the simplest and most charming confections you can make: Bunny Pretzels. This recipe uses just a handful of easy-to-find ingredients and doesn’t even require you to turn on your oven. Plus, the end result is so undeniably adorable, it’s hard to resist!
Why These Bunny Pretzels Will Become Your Easter Favorite
There’s a reason these little pretzel bunnies are a consistent hit every Easter. Beyond their undeniable cuteness, they offer several benefits that make them the ideal holiday craft and treat.
- Effortlessly Easy: Seriously, these are incredibly simple to make. The main “cooking” involves melting some chocolate and carefully cutting M&M’s in half. These are tasks that virtually anyone can do, making it a fantastic activity for beginner bakers or families with young children eager to help in the kitchen. No complex techniques or fancy equipment needed!
- Incredibly Fast: While you do need to allow some time for the chocolate to set and firm up, the actual hands-on preparation time for these Bunny Pretzels is minimal. Since there’s no baking involved, you can whip up a large batch in under 20 minutes. This makes them perfect for last-minute party favors, a quick school snack contribution, or when you need a festive treat in a hurry.
- Simply Adorable: Let’s be honest, holidays are always more enjoyable when you have cute, themed treats that perfectly match the festive spirit. These pretzel bunnies, with their sweet little M&M faces and ears, are incredibly charming and instantly elevate any Easter spread. They’re sure to be a conversation starter and a favorite among guests of all ages.
- Perfect for Making Ahead: One of the best features of these Bunny Pretzels is their excellent shelf life. They can last for a couple of weeks when stored properly, meaning you can prepare them days, or even a week, before your Easter festivities. This allows you to get a head start on your holiday preparations, freeing up precious time on the actual day for family and fun.
Gather Your Simple Ingredients
For the exact measurements and full instructions, be sure to scroll to the bottom of the post for the COMPLETE PRINTABLE recipe card.
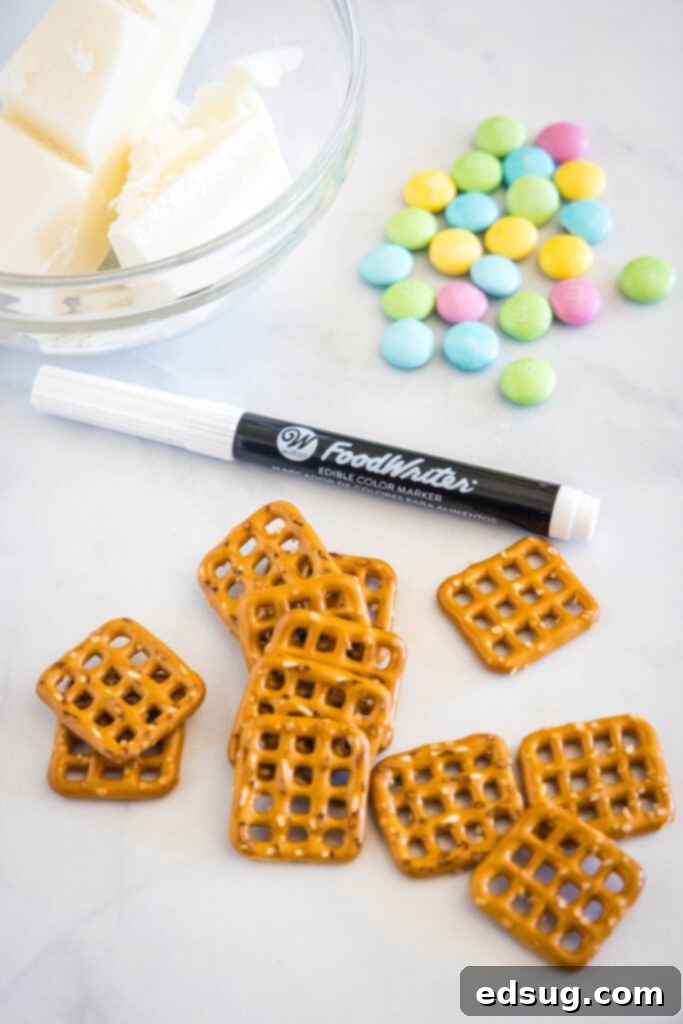
The beauty of these Bunny Pretzels lies in their simplicity, requiring only a few readily available ingredients. Here’s a closer look at what you’ll need to create these charming Easter treats:
- Pretzels: We recommend using mini square pretzel snaps for their flat surface, which provides an excellent base for the chocolate and decorations. However, the traditional mini pretzel twists work just as well and offer a slightly different look. Choose a brand you love, ensuring they are fresh and crisp. The salty crunch of the pretzel perfectly complements the sweet chocolate and candy.
- White Almond Bark: This is a key ingredient for its smooth melting properties and quick setting time. Almond bark, often found in the baking aisle, is technically a confectionery coating made with vegetable fats rather than cocoa butter, which means it melts easily and sets quickly without needing tempering. If you can’t find almond bark, white candy melts or white chocolate chips (with a teaspoon of coconut oil added for smoother melting) can be suitable alternatives.
- Easter M&M’s: The vibrant colors of Easter-themed M&M’s are essential for creating those adorable bunny faces and ears. Look for pastel-colored M&M’s in shades of pink, blue, green, and yellow to capture that perfect springtime vibe. You’ll need two M&M’s for each bunny, ideally of the same color to make a cohesive face and ears.
- Edible Marker: A fine-tipped edible food marker is crucial for drawing the cute bunny faces. Wilton is a popular brand that makes these markers, and they are widely available in most craft stores, major retailers like Walmart, or conveniently online through Amazon. Choose a black marker for the best contrast, but feel free to experiment with other colors if you’re feeling adventurous!
Step-by-Step Guide: Crafting Your Bunny Pretzels
Creating these delightful Bunny Pretzels is a straightforward and enjoyable process. Follow these simple steps to bring your edible bunnies to life:
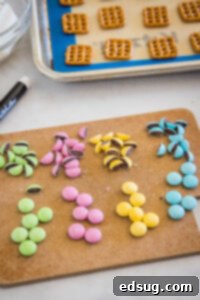
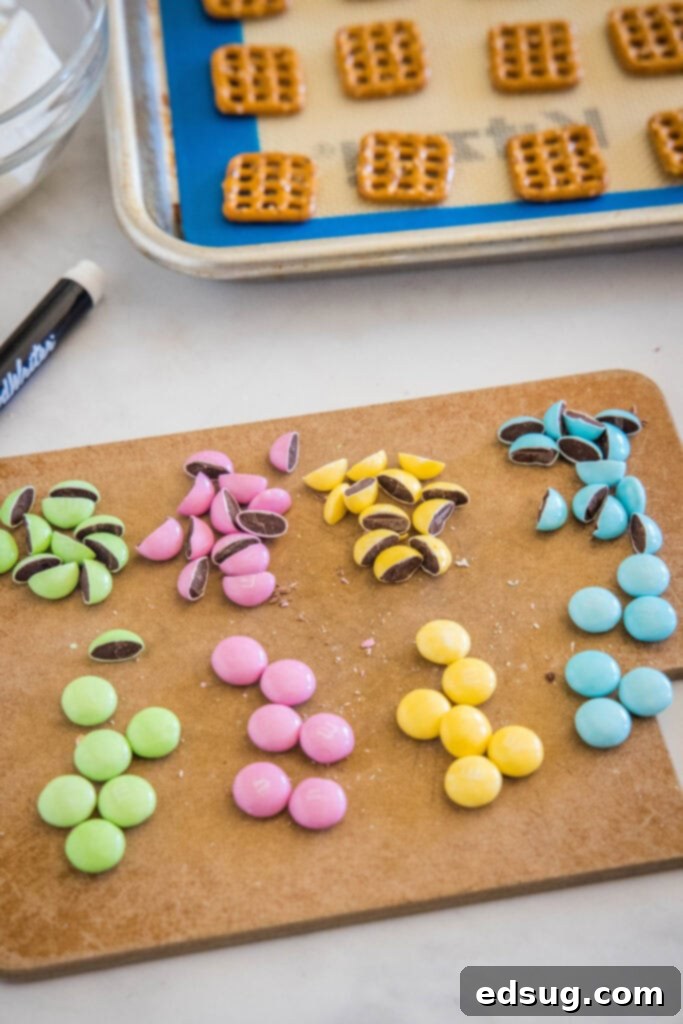
- Prepare Your M&M’s: This is the first crucial step. For each bunny you plan to make, you will need two M&M’s of the same color. Take one of these M&M’s and, using a very sharp knife, carefully cut it in half lengthwise. These halves will form your bunny’s ears. The remaining whole M&M will be the bunny’s head. Continue this process until you have enough M&M halves for all the bunny ears you intend to create. Patience here ensures clean cuts!
- Arrange the Pretzels: Line a baking sheet with parchment paper or a silicone baking mat. This will prevent the chocolate-coated pretzels from sticking and make for easy cleanup. Arrange your pretzels on the lined sheet, leaving a small space between each one to prevent them from fusing together as the chocolate sets.
- Melt the Almond Bark: Break the almond bark into smaller pieces if necessary and place it in a microwave-safe bowl. Heat in the microwave in 30-second intervals, stirring well after each interval, until the almond bark is completely melted and smooth. Alternatively, you can melt it using a double boiler on the stovetop for a more controlled process. Ensure there are no lumps for a silky smooth coating.
- Create the Bunny Base: Spoon about 1-2 teaspoons of the melted white chocolate over the top of each pretzel. Use the back of the spoon to gently spread the chocolate evenly across the pretzel’s surface, filling in the holes if using square snaps. You want a thick enough layer to hold the M&M’s.
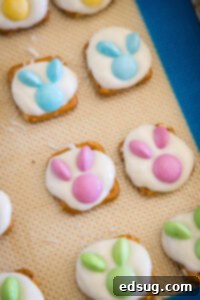
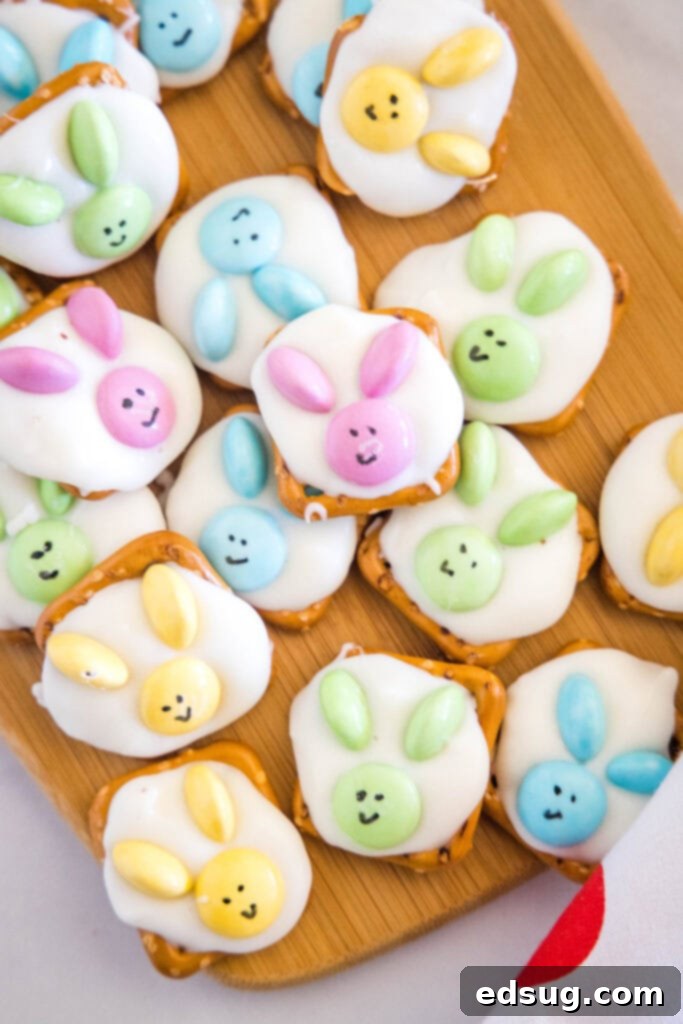
- Assemble the Bunnies: While the chocolate is still wet, immediately place one full M&M in the bottom center of the white chocolate on each pretzel. This will be the bunny’s head. Then, take two of your M&M halves and carefully position them above the full M&M, creating the bunny ears. Gently press them into the melted chocolate to ensure they adhere well.
- Allow to Set: Let the chocolate set up completely. This typically takes 1-2 hours at room temperature, or you can speed up the process by placing the baking sheet in the refrigerator for about 30 minutes. The chocolate must be firm to the touch before proceeding to the next step.
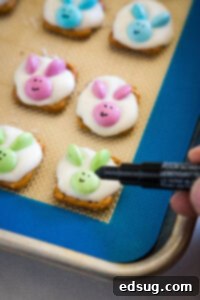
- Draw the Faces: Once the chocolate is fully set, it’s time for the fun part! Use your edible food marker to carefully draw little bunny faces on each whole M&M. You can create simple dots for eyes and a small ‘X’ or a tiny triangle for the nose and mouth. Let your creativity shine!
- Dry and Store: Allow the edible marker ink to dry for a few minutes before handling or storing the pretzels. This prevents smudging. Once dry, your adorable Bunny Pretzels are ready to be enjoyed or stored.
Tips for Success
To ensure your Bunny Pretzels turn out perfectly every time, keep these handy tips in mind:
- Sharp Knife for M&M’s: Using a very sharp knife (a small paring knife works well) is key to getting clean, straight cuts on your M&M’s. A dull knife might crush or shatter the candy.
- Working Quickly with Chocolate: Melted almond bark or candy melts set relatively quickly. Work efficiently when spooning the chocolate onto the pretzels and placing the M&M’s to ensure they adhere before the chocolate hardens. If your chocolate starts to thicken, a quick reheat in the microwave for 10-15 seconds should make it smooth again.
- Even Chocolate Layer: Aim for an even, but not too thick, layer of white chocolate on each pretzel. Too thin, and it might not hold the M&M’s securely; too thick, and it can become messy and overpower the pretzel.
- Parchment Paper is Your Friend: Always use parchment paper or a silicone mat. This prevents sticking and makes lifting the finished pretzels off the tray incredibly easy, ensuring none of your hard work goes to waste.
- Practice Makes Perfect with Edible Markers: If you’re new to edible markers, try drawing a few practice faces on a piece of paper or a spare M&M before going directly onto your finished bunnies. This helps get a feel for the flow of the ink.
Creative Variations & Customizations
While the classic Bunny Pretzel is adorable, there’s plenty of room to get creative and customize them to your liking:
- Chocolate Choices: Instead of white almond bark, you could use milk chocolate or dark chocolate for a different flavor profile. The M&M’s might not stand out as much, but the taste will still be fantastic. For a colorful twist, use dyed white chocolate (using oil-based food coloring, not water-based).
- Sprinkle Fun: Before the white chocolate sets, sprinkle a touch of pastel-colored nonpareils or sanding sugar around the M&M face for extra sparkle and texture.
- Different Pretzel Shapes: Experiment with mini pretzel twists or even pretzel rods for a different canvas. You might need to adjust the M&M placement for rods.
- Other Candy Decorations: Instead of M&M’s, you could use small jelly beans or other round candies for the head, then cut larger candies for ears. Mini chocolate chips can also make great eyes!
- Coconut “Tail”: For an extra touch, once the chocolate is set, apply a tiny dot of melted chocolate to the back of the bunny and attach a mini marshmallow or a pinch of shredded coconut for a fluffy tail.
Serving & Gifting Ideas
These Bunny Pretzels are versatile and can be presented in many delightful ways:
- Easter Dessert Platter: Arrange them alongside other Easter treats like cupcakes, cookies, and candies for a vibrant and festive display.
- Party Favors: Individually bag them in small cellophane bags tied with a ribbon for charming take-home party favors for guests.
- Classroom Treats: They make excellent treats for school parties, as they are nut-free (if using specific brands of pretzels and almond bark) and easy for kids to handle.
- Edible Gifts: Box a collection of them in a decorative gift box for a thoughtful homemade Easter present.
- Brunch Decoration: Use them to adorn the edges of a cake, cupcakes, or even as a playful garnish on a fruit platter.
Storage & Shelf Life
Proper storage is key to keeping your Bunny Pretzels fresh and delicious. These delightful treats will last for up to 2 weeks when stored in an airtight container at room temperature. Ensure they are completely cool and the chocolate is fully solidified before stacking them, ideally with layers of parchment paper between them to prevent sticking. For longer storage, you can even freeze them for up to 3 months. When freezing, place them in a single layer on a baking sheet until fully frozen, then transfer them to a freezer-safe airtight container or bag. Thaw at room temperature before serving for the best texture.
Frequently Asked Questions (FAQs)
Here are some common questions about making Bunny Pretzels:
- Can I use regular white chocolate chips instead of almond bark?
- Yes, you can. However, white chocolate chips can be thicker and sometimes seize or become grainy when melted. To achieve a smoother consistency similar to almond bark, add a teaspoon of coconut oil or vegetable shortening per cup of chocolate chips before melting. This will help with the flow and setting.
- What if I don’t have an edible marker?
- If you don’t have an edible marker, you can get creative! You could use a toothpick dipped in melted dark chocolate or black icing gel to draw the faces. It might be a little trickier, but still achievable for those who are patient.
- Can I make these dairy-free or gluten-free?
- For dairy-free, ensure your pretzels, almond bark/candy melts, and M&M’s are certified dairy-free. There are many brands of gluten-free pretzels available, and you can find gluten-free candy melts and M&M alternatives. Always check labels carefully for dietary restrictions.
- How do I prevent the chocolate from cracking?
- Cracked chocolate can sometimes occur if there’s a drastic temperature change. Ensure the pretzels and M&M’s are at room temperature before dipping/coating. Also, allow the chocolate to set up gradually at room temperature or in the refrigerator, rather than trying to freeze them too quickly from a warm state.
- Can I prepare the M&M ears ahead of time?
- Absolutely! You can cut all your M&M’s in half a day or two in advance and store them in an airtight container at room temperature. This can save time on the day you assemble the pretzels.
More Tasty Easter Recipes to Explore
If you loved these Bunny Pretzels, you might be interested in trying out some of these other delightful Easter-themed recipes:
- Easter Magic Bars
- Easter Muddy Buddies
- Brownie Easter Eggs
- Creme Egg Fudge
- Mini Chocolate Egg Blossom Cookies

Bunny Pretzels
Erin Sellin
20 minutes
1 hour
1 hour
20 minutes
36
Pin Recipe
Rate Recipe
Print Recipe
Ingredients
-
36
mini pretzels -
6
oz
white almond bark -
54
M&M’s -
Edible marker
Instructions
-
Start by prepping your M&M’s. You will need 2 M&M’s (of the same color) for each bunny you are making. Using a sharp knife cut 1 of them in half so you have the ears. Continue for as many pretzel bunnies as you are going to make.54 M&M’s

-
Arrange the pretzels on a lined baking sheet.36 mini pretzels
-
Melt the almond bark until it is nice and smooth. Spoon about 1-2 teaspoon over each pretzel.6 oz white almond bark
-
Place the full M&M in the bottom center of the white chocolate, Then add the half pieces to make bunny ears.

-
Let the chocolate set up completely for 1-2 hours. Then use your marker to draw a face on each M&M’s.Edible marker

-
Let the marker dry for a couple of minutes before storing in an airtight container.
Notes
Nutrition
Calories:
144
kcal
|
Carbohydrates:
25
g
|
Protein:
4
g
|
Fat:
4
g
|
Polyunsaturated Fat:
3
g
|
Sodium:
376
mg
|
Fiber:
2
g
|
Sugar:
2
g
Nutrition information is automatically calculated, so should only be used as an approximation.
Additional Info
Erin Sellin
20 minutes
1 hour
1 hour
20 minutes
Dessert Recipes
American
36
144
Like this recipe? Leave a comment below!
I’ve created a fun and engaging community group on Facebook, and I would absolutely love for you to join us! It’s a vibrant place where you can share YOUR favorite recipes, ask questions, get inspiration, and stay updated on all the exciting new content and recipes from Dinners, Dishes and Desserts (so you never miss out on a delicious creation)! Come connect with fellow food lovers!
Be sure to follow me on Instagram and tag #dinnersdishes so I can see all the wonderful DINNERS, DISHES, AND DESSERTS recipes YOU make! I love seeing your culinary creations!
Don’t miss out on any of my latest posts or exciting updates! Be sure to follow me on my social media channels:
Facebook | Twitter | Pinterest | Instagram
