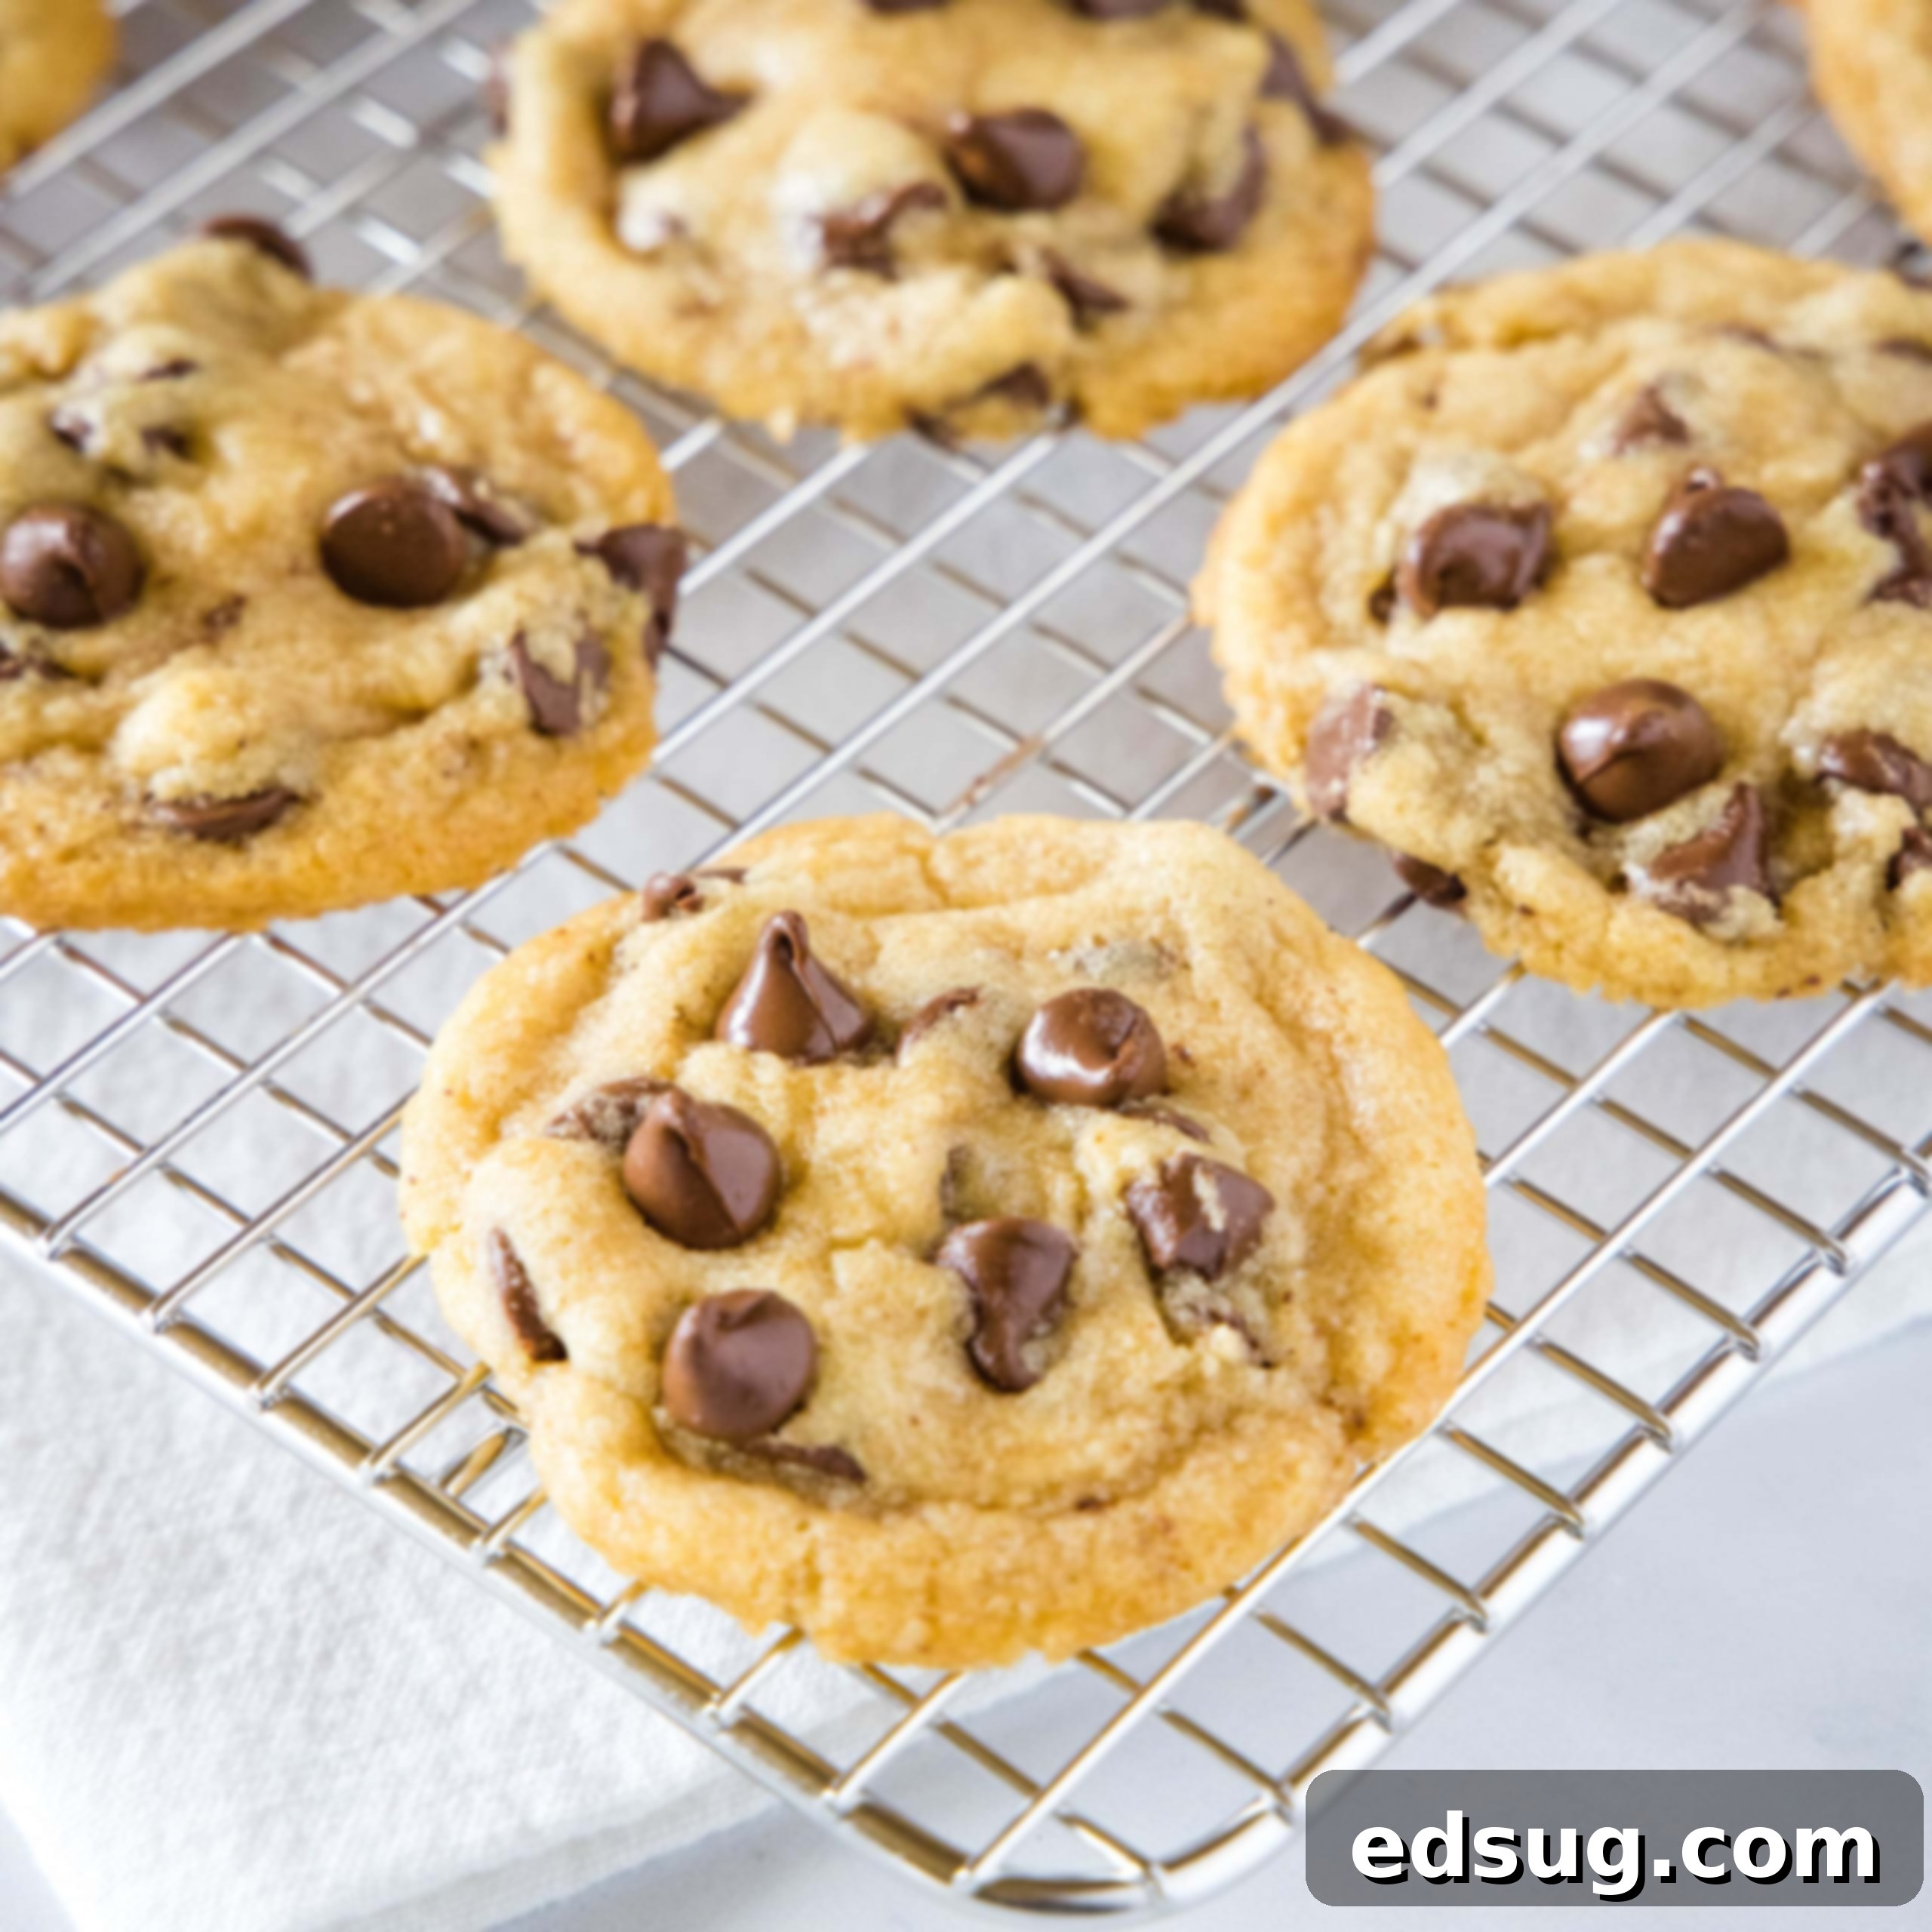
Irresistible Brown Butter Chocolate Chip Cookies: Unlock Deep, Nutty Flavor in Every Bite
Brown Butter Chocolate Chip Cookies elevate your favorite classic to an entirely new level of deliciousness! Infusing your butter with a rich, nutty, and subtly caramelized flavor transforms ordinary cookies into an extraordinary treat that will leave everyone craving more.
Have you ever experienced the magic of brown butter? If not, prepare for a culinary revelation that will forever change your baking game. This simple technique, detailed in the recipe card below, takes virtually any dish from good to gourmet. Brown butter, also known as “beurre noisette,” is a culinary secret weapon that introduces a depth of flavor unmatched by regular butter.
While incredible in these chocolate chip cookies, brown butter’s versatility extends far beyond. Imagine it drizzled over roasted vegetables for an added layer of richness, tossed with pasta for a quick and elegant sauce, or even incorporated into breakfast staples like pancakes and waffles for a sophisticated twist. Seriously, once you taste the difference, your kitchen repertoire will never be the same again. It’s an ingredient that adds warmth, complexity, and a certain je ne sais quoi to everything it touches.
What Exactly Is Brown Butter?
At its core, brown butter is a simple yet transformative technique applied to regular butter that profoundly alters its flavor profile. The process involves gently melting and heating butter past its liquid state. As the butter warms, its milk solids begin to separate and then toast. This toasting, driven by the Maillard reaction, is what develops the characteristic nutty, caramel-like aroma and deep, golden-brown color. It’s a delicate balance of heat and observation that unlocks a truly amazing depth of flavor.
The key to achieving the best brown butter, and subsequently the most delicious cookies, lies in using high-quality butter. I always recommend using unsalted butter in baking. This allows you complete control over the salt content in your final product. Different brands of salted butter can vary significantly in their sodium levels, which can throw off the balance of your recipe. Opting for unsalted butter ensures consistent results and allows the rich, nuanced flavor of the brown butter to shine through without interference.
How To Master the Art of Making Brown Butter
Don’t be intimidated by the idea of making brown butter; it’s a very straightforward process that relies heavily on your senses. Your nose will be your best guide, signaling that it’s done just as the color reaches perfection. Here’s a detailed breakdown to ensure your success:
- Prepare Your Butter: Begin by cutting your cold butter into uniform pieces. This simple step is crucial as it helps the butter melt more evenly, preventing some parts from burning while others are still melting.
- Choose Your Pan Wisely: Place the butter pieces into a skillet or pot. For optimal visibility of the color change, select a pan with a light-colored bottom – stainless steel or a white enamel pan works best. Avoid dark-bottomed pans as they can obscure the crucial browning process.
- Gentle Heat and Constant Agitation: Set your pan over medium heat. As the butter melts, use a whisk to stir it frequently. This ensures even melting and helps to prevent the milk solids from sticking and burning at the bottom of the pan.
- Observe the Transformation: Once fully melted, continue to cook the butter. You’ll notice it begins to foam and splatter slightly as the water content evaporates and the milk solids start to separate and sink to the bottom. This is a normal and necessary part of the process.
- Look, Smell, and Act: Pay close attention to both the visual cues and the aroma. The butter is done when it develops a distinct, warm, and nutty fragrance, reminiscent of toasted hazelnuts or caramel. Visually, the milk solids at the bottom of the pan will turn a beautiful golden-brown, similar to the color of graham crackers. This stage happens quickly, so stay vigilant!
- Stop the Cooking: Immediately remove the pan from the heat once you reach the desired color and aroma. Pour the brown butter, including all those flavorful browned bits at the bottom, into a separate, heat-proof bowl. This stops the cooking process and prevents the butter from burning. Allow it to cool completely before using it in your cookie dough. Cooling might take a while, so plan ahead or even make it the day before!
Crafting the Best Brown Butter Chocolate Chip Cookies
For the detailed ingredient list and complete instructions, be sure to scroll to the bottom of the post for the FULL PRINTABLE recipe card.
Once you’ve mastered the brown butter, assembling these incredible chocolate chip cookies is a breeze. The process largely mirrors traditional cookie making, with that one crucial, flavor-packed distinction:
- Creaming the Foundation: After your carefully prepared brown butter has cooled completely and solidified slightly (it should still be soft enough to cream), combine it in a stand mixer with both granulated white sugar and light brown sugar. Cream these ingredients together until the mixture is light, fluffy, and well combined. The brown sugar adds moisture and a lovely chewiness, complementing the nutty notes of the butter.
- Adding Wet Ingredients: Incorporate the eggs one at a time, mixing well after each addition. Then, stir in the vanilla extract. Ensure everything is thoroughly combined, scraping down the sides of the bowl as needed to guarantee an even mixture.
- Introducing Dry Ingredients: In a separate bowl, whisk together your all-purpose flour, baking soda, and salt. Gradually add this dry mixture to the wet ingredients, mixing on low speed until the flour is *just* incorporated. Be careful not to overmix, as this can lead to tough cookies. A few streaks of flour are perfectly fine.
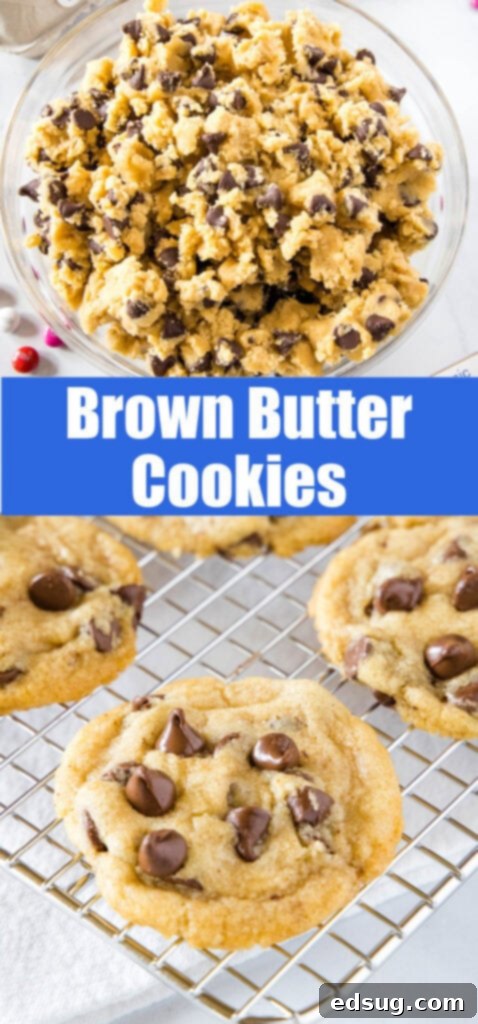
- Folding in the Stars: Gently fold in your favorite chocolate chips. While semi-sweet is a classic choice, feel free to experiment with milk chocolate, dark chocolate, or even a mix of different varieties. Once the chocolate chips are evenly distributed, cover the dough and let it chill in the refrigerator for at least 30 minutes. This chilling period is vital for the flavors to meld and for the cookies to maintain their shape during baking, preventing excessive spreading.
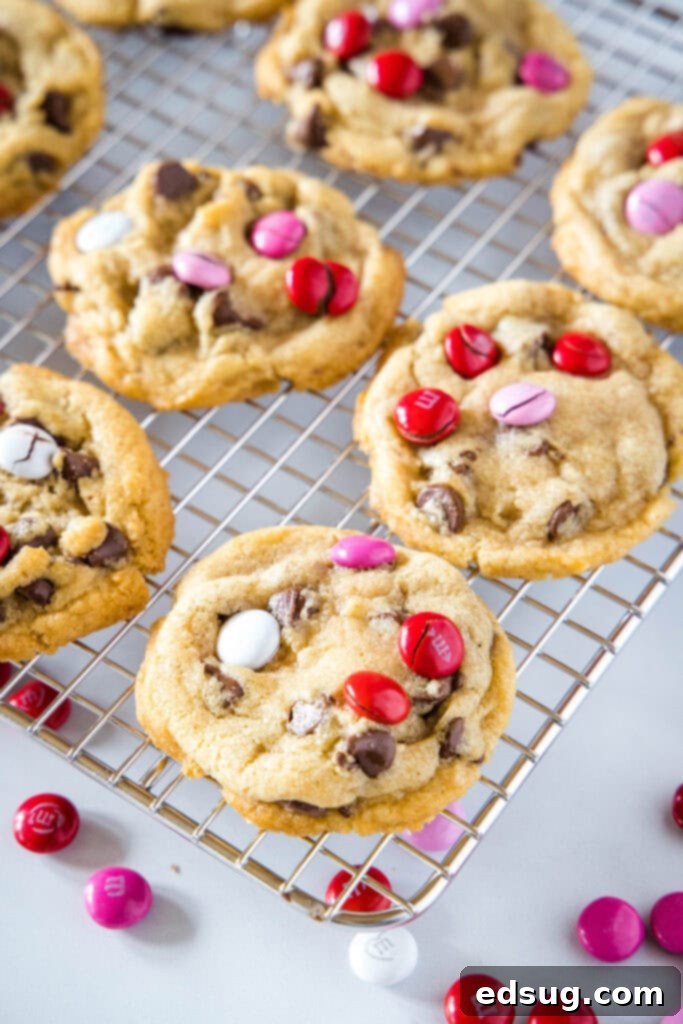
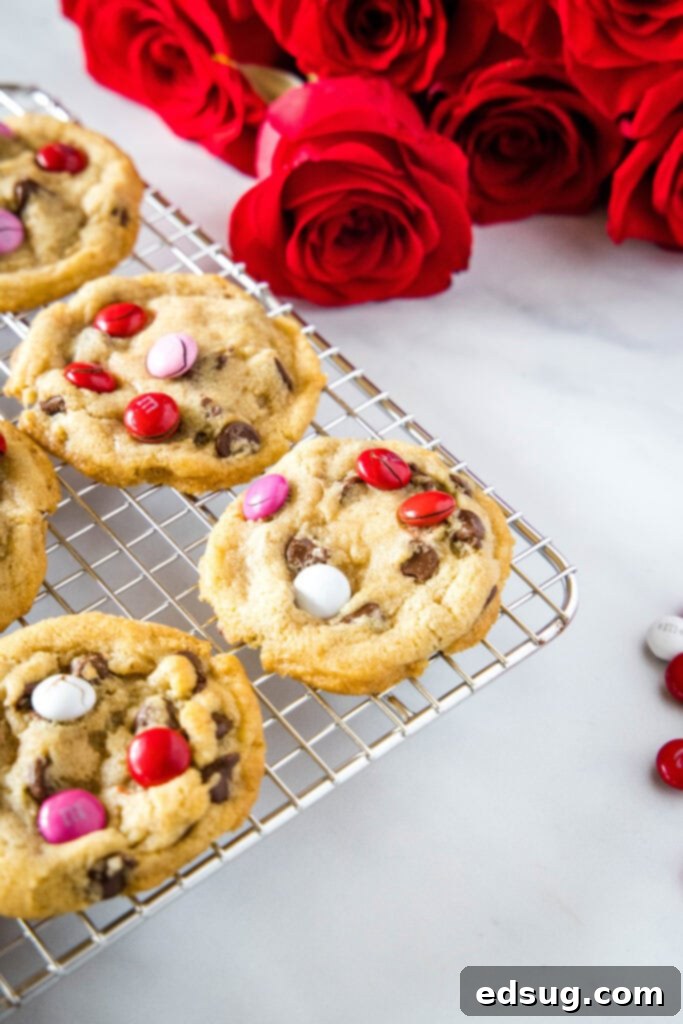
- Bake to Perfection: Preheat your oven to 350°F (175°C). Scoop golf-ball sized portions of the chilled dough onto a baking sheet lined with parchment paper. If you’re using M&M’s or other candies, gently press a few onto the top of each cookie dough ball for a visually appealing finish. Bake for approximately 10-12 minutes, or until the edges are golden brown and the centers still look slightly soft.
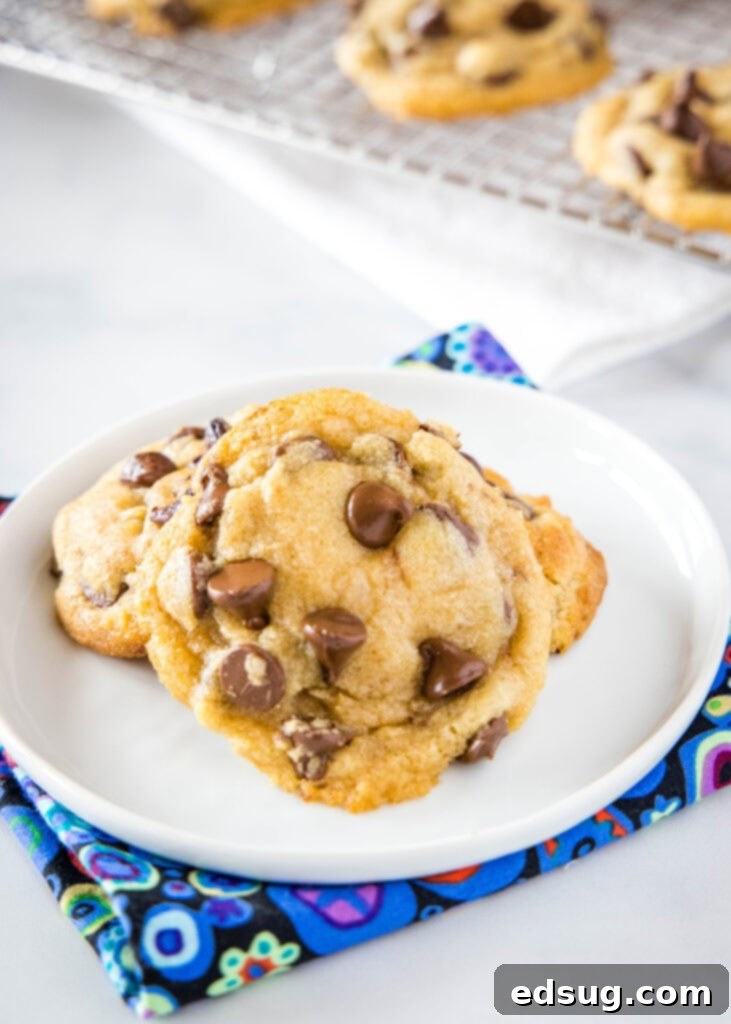
- Cooling for Optimal Texture: Once baked, remove the cookies from the oven but allow them to rest on the hot baking sheet for at least 5 minutes. This crucial resting period allows the cookies to finish setting and prevents them from breaking apart when transferred. Afterward, carefully move them to a wire rack to cool completely. The wait is the hardest part, but it’s worth it for that perfect chewy texture!
Tips for Baking Flawless Brown Butter Chocolate Chip Cookies
- Don’t Rush the Brown Butter: Patience is key. Medium heat, constant stirring, and careful observation will yield the best nutty flavor without burning. Burnt butter will taste bitter.
- Chill Your Dough: This step is non-negotiable for perfectly thick, chewy cookies. Chilling prevents spreading, deepens flavor, and helps integrate the brown butter’s unique taste. A minimum of 30 minutes, or even overnight, makes a huge difference.
- Quality Ingredients Matter: Especially with butter and chocolate. Good quality butter ensures a richer brown butter, and high-quality chocolate chips melt beautifully, contributing to a superior cookie.
- Proper Measurement: Especially with flour. Too much flour can make your cookies dry and crumbly. Use a kitchen scale for accuracy or the “spoon and level” method rather than scooping directly from the bag.
- Don’t Overmix: Once you add the dry ingredients, mix just until combined. Overmixing develops gluten, leading to tough cookies.
- Customize Your Chocolate: While semi-sweet is classic, feel free to use milk chocolate, dark chocolate, white chocolate, or a combination. Chocolate chunks can also add a delightful texture.
Freezing Your Brown Butter Chocolate Chip Cookies (Baked or Dough!)
These brown butter cookies are exceptionally well-suited for making ahead, offering ultimate convenience. You can prepare the brown butter the day before, letting it cool completely overnight. Furthermore, the cookie dough itself can be made in advance and chilled in the refrigerator for up to 2-3 days, allowing the flavors to deepen even further before baking.
For even longer-term storage, freezing is an excellent option for both baked cookies and raw dough. To freeze baked cookies, simply allow them to cool completely, then place them in an airtight freezer-safe container or bag. They will stay fresh for up to 2-3 months. Thaw at room temperature or gently reheat for a “fresh-out-of-the-oven” experience.
Freezing the cookie dough is also incredibly convenient. I recommend scooping individual balls of dough onto a baking sheet and flash-freezing them until solid. Once frozen, transfer the dough balls to a freezer-safe plastic bag. This method allows you to pull out just a few cookies at a time, perfect for a spontaneous treat for yourself or a loved one, or to bake a full batch for the entire family whenever the craving strikes. Baked from frozen, they might need an extra minute or two in the oven.
More Delicious Cookie Recipes to Try
- Quick & Easy Air Fryer Cookies
- Classic Peanut Butter Chocolate Chip Cookies
- Chewy Soft Monster Cookies
- Festive Red Velvet M&M Cookies
- Easy Andes Mint Cake Mix Cookies
- The Quintessential Perfect Chocolate Chip Cookies
- Hearty Oatmeal Chocolate Chip Cookies
- Decadent Chocolate Peanut Butter Cup Cookies
Brown Butter Chocolate Chip Cookies
Pin Recipe
Rate Recipe
Print Recipe
Ingredients
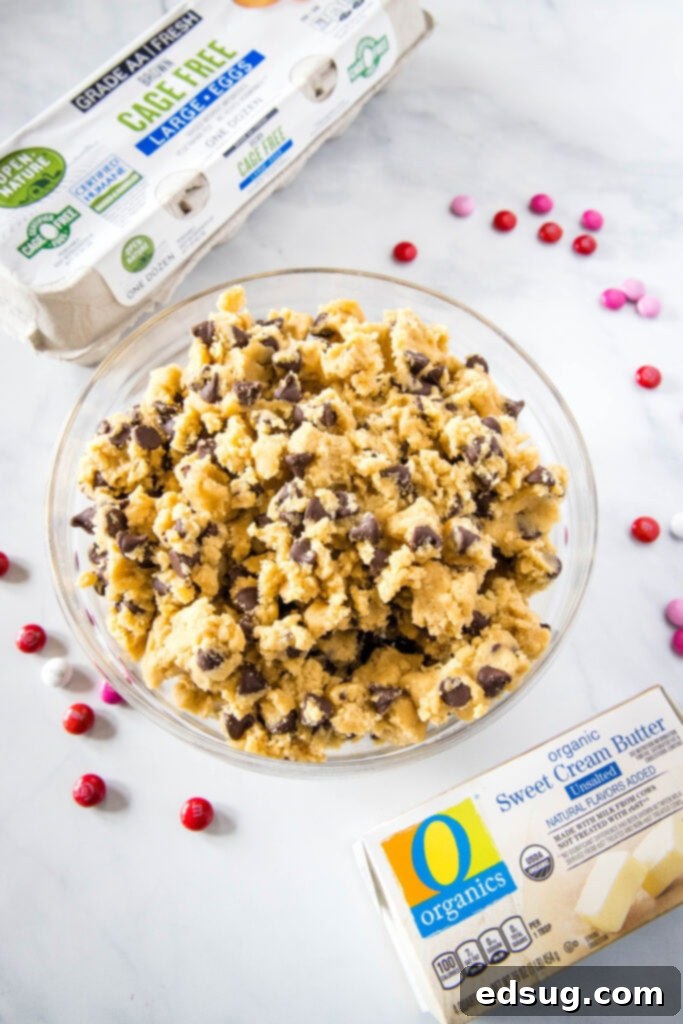
- 1 cup unsalted butter
- 3/4 cup granulated sugar
- 3/4 cup light brown sugar
- 1 tsp vanilla extract
- 2 whole large eggs
- 2 1/4 cup all-purpose flour
- 1 teaspoon salt
- 1 teaspoon baking soda
- 1 12 oz package semi-sweet chocolate chips
- 3/4 cup M&M’s, optional
Instructions
-
Cut butter into cubes. Add to a light-colored skillet and heat over medium heat, whisk frequently to help melt the butter evenly.
-
Allow the butter to cook for several minutes. It will foam up on the top, and gradually, little brown flecks (toasted milk solids) will form on the bottom of the pan. Once you detect a rich, nutty aroma and the butter turns a golden-brown color, similar to graham crackers, remove it immediately from the heat and pour into a separate heat-proof bowl to cool completely.
-
Preheat your oven to 350 degrees F (175 C).
-
In a stand mixer or with a hand mixer, cream together the completely cooled brown butter, granulated sugar, and light brown sugar until the mixture is light and fluffy.
-
Add the vanilla extract and then beat in the 2 large eggs, one at a time, mixing until everything is fully incorporated.
-
In a separate bowl, whisk together the all-purpose flour, salt, and baking soda. Gradually add this dry mixture to the wet ingredients, mixing on low speed until everything is just combined. Be careful not to overmix.
-
Gently fold in the semi-sweet chocolate chips until they are evenly distributed throughout the dough.
-
Scoop golf ball-sized portions of dough onto a baking sheet lined with parchment paper. If desired, press a few M&M’s onto the top of each dough ball for added color and chocolatey crunch.
-
Bake for approximately 10-12 minutes, or until the edges are golden brown and the centers are still slightly soft. Remove from the oven and allow them to rest on the baking sheet for at least 5 minutes to finish setting before transferring to a wire rack to cool completely.
Nutrition
Nutrition information is automatically calculated, so should only be used as an approximation.
Additional Info
Like this recipe? Leave a comment below!
I’ve created a fun and engaging group on Facebook, and I’d absolutely love for you to join us! It’s a vibrant community where you can share YOUR favorite recipes, ask questions, get inspiration, and stay updated on all the exciting new recipes from Dinners, Dishes and Desserts (ensuring you never miss out on a delicious creation)!
Be sure to follow me on Instagram and tag #dinnersdishes so I can see all the wonderful DINNERS, DISHES, AND DESSERTS recipes YOU create and share!
Don’t miss out on any delicious updates! Be sure to follow me on my social media channels:
Facebook | Twitter | Pinterest | Instagram
