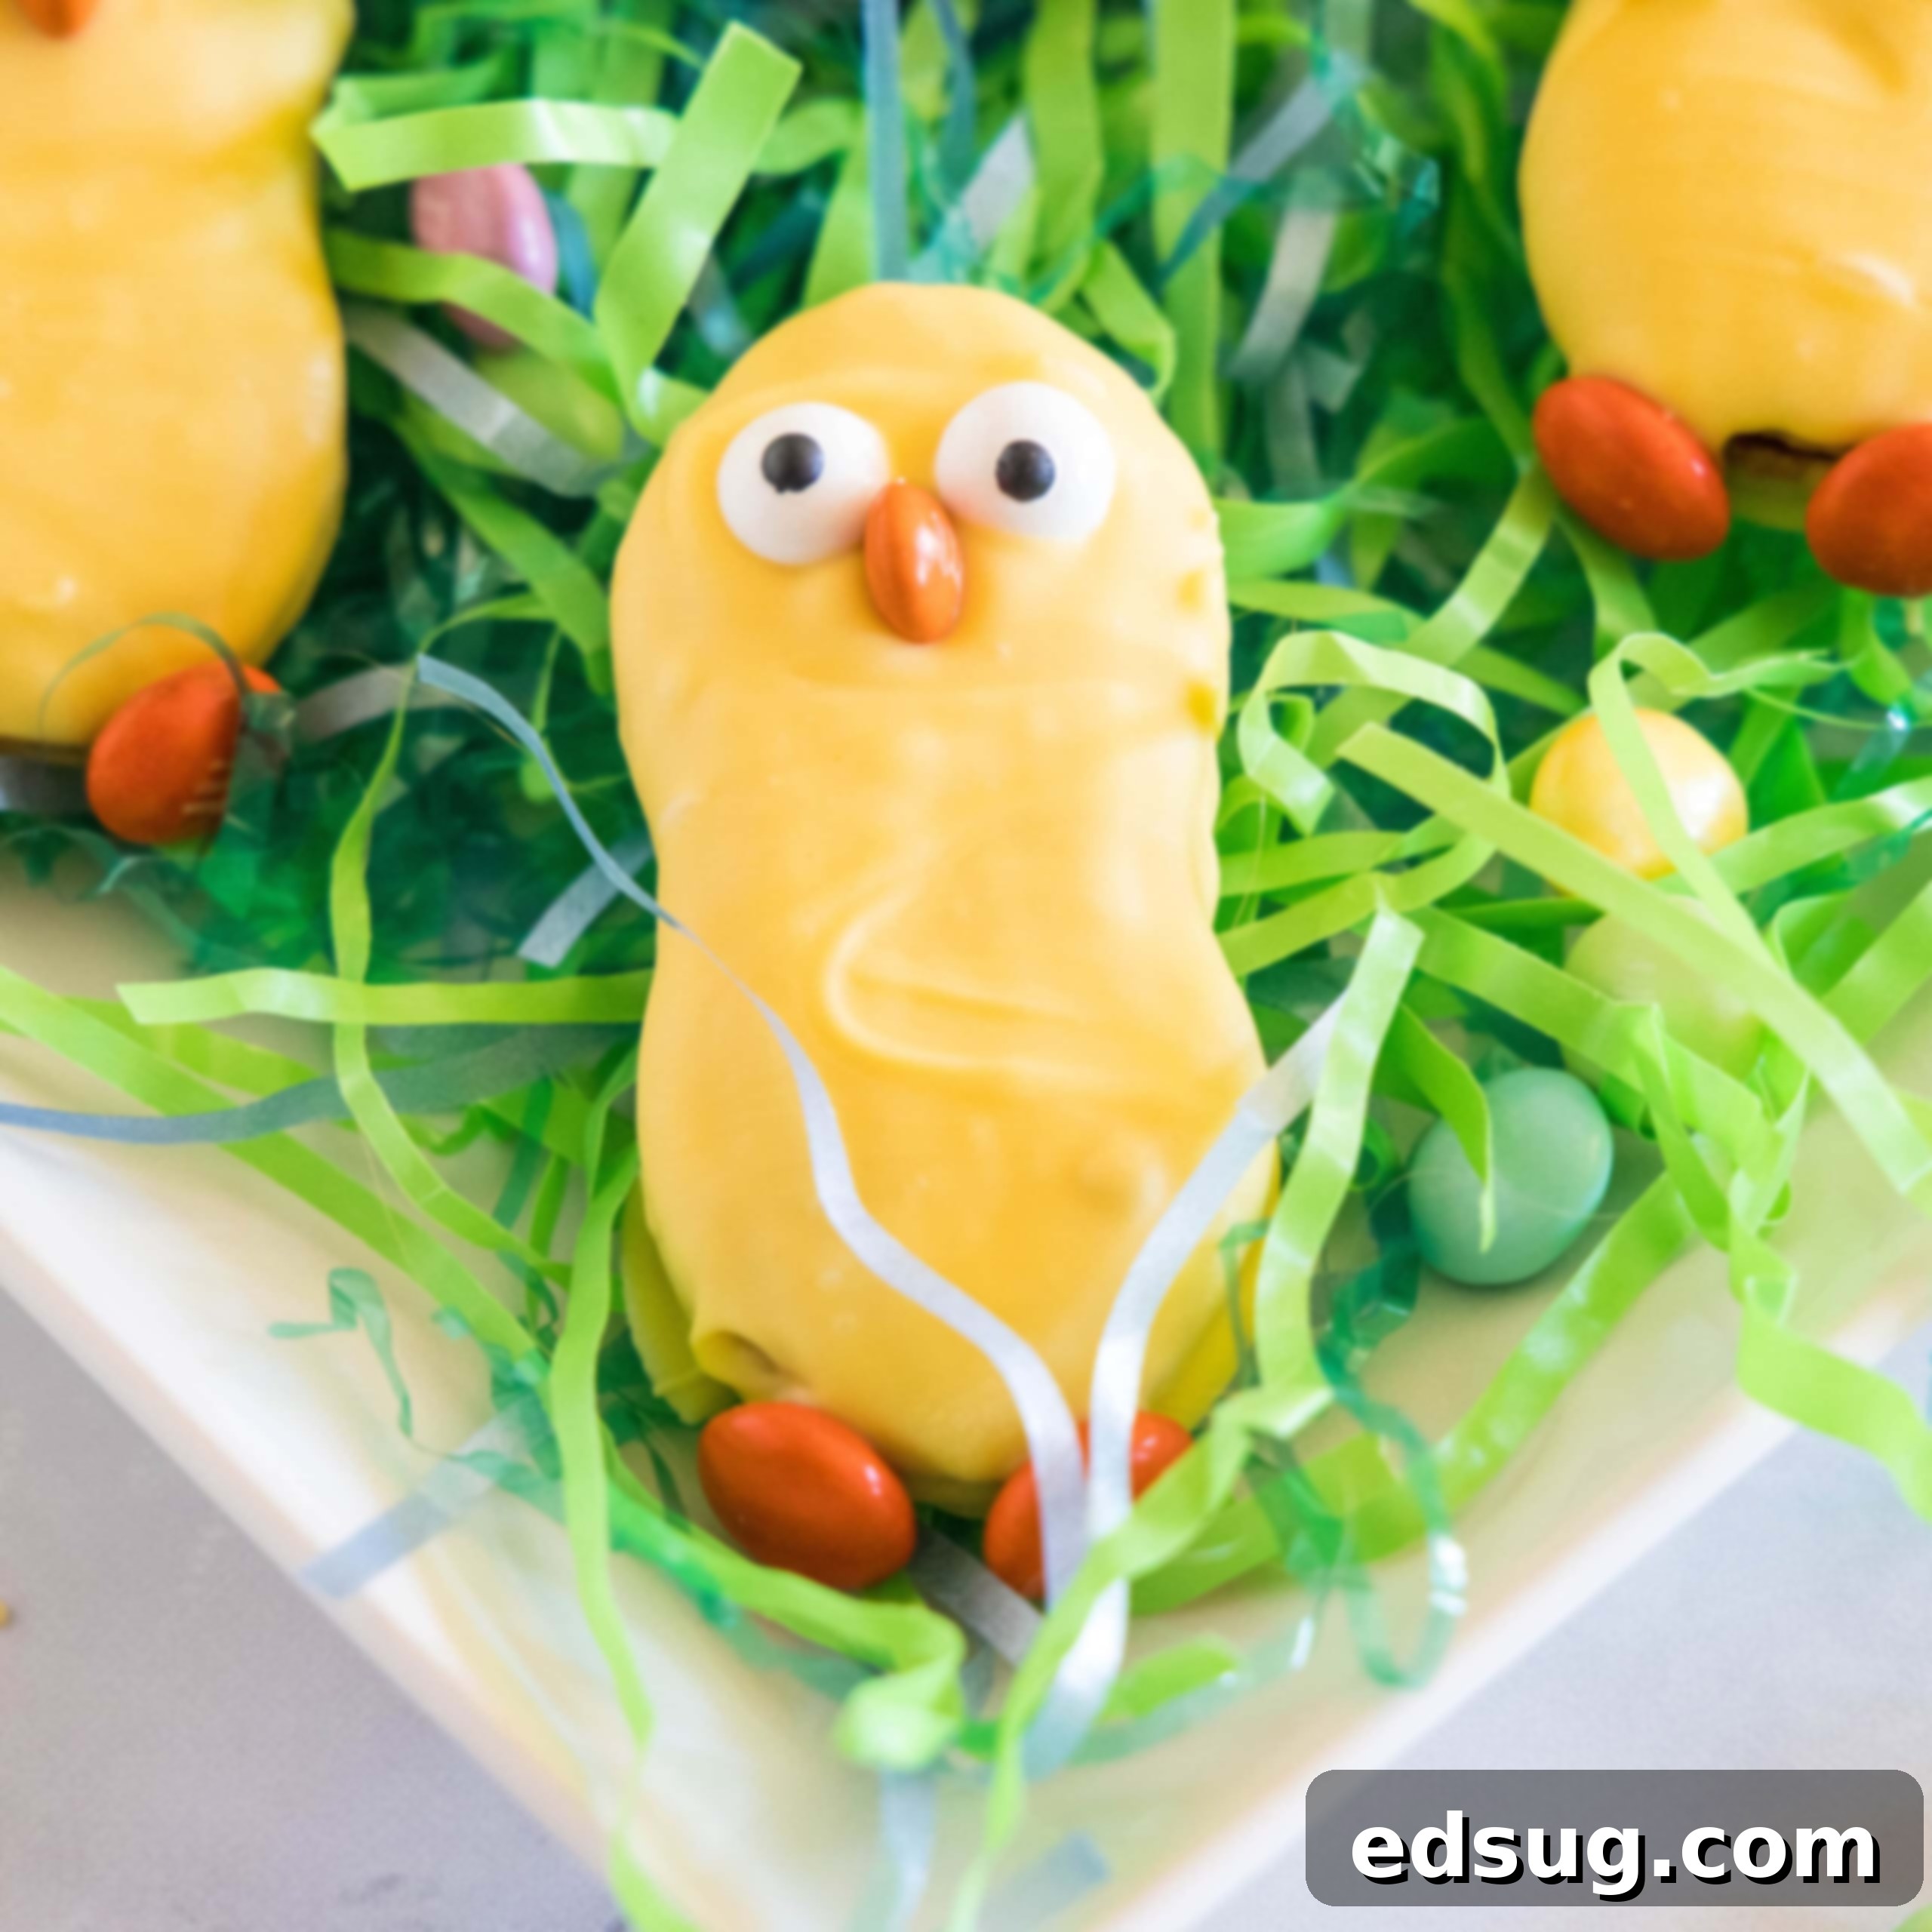
Easy No-Bake Nutter Butter Chicks: The Cutest Easter Treat!
Easter, a time of renewal and joy, often brings with it the delightful tradition of sharing festive treats. While elaborate baking can be a wonderful part of the holiday, sometimes the simplest creations can bring the most smiles. Imagine an adorable, bright yellow chick that’s not only incredibly cute but also requires absolutely no baking whatsoever. That’s precisely what our Easy No-Bake Nutter Butter Chicks offer – a charming, fuss-free dessert that captures the spirit of Easter with minimal effort and maximum impact. Perfect for busy parents, budding young chefs, or anyone looking for a quick yet impressive holiday treat, these Nutter Butter Chicks are destined to become an instant Easter favorite. In just a few minutes, with a handful of common ingredients, you can transform a classic cookie into a delightful, edible masterpiece that will undoubtedly be the star of your Easter celebration, whether for a dessert platter, an Easter basket filler, or a sweet gift for friends and family.
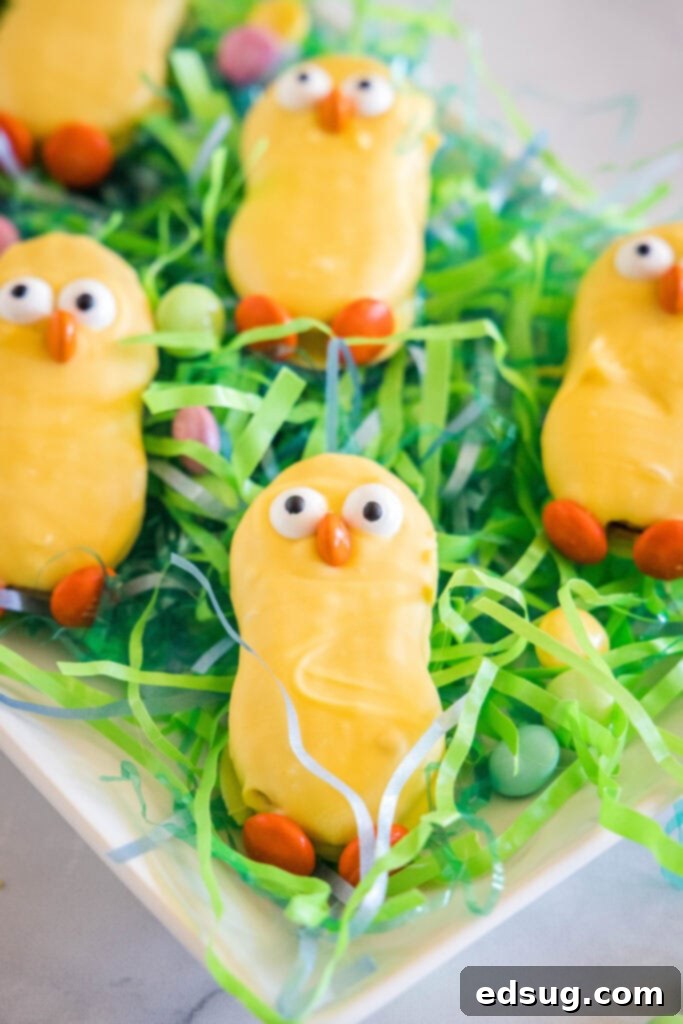
Festive treats truly make the holidays more special and memorable. It doesn’t matter if it is Easter, Valentine’s Day, or Christmas; having something colorful and uniquely themed for the occasion is always a good idea! These Nutter Butter Chicks are an excellent example of such a treat – they are one of the easiest and most adorable things you can create. The entire active preparation takes about 10-15 minutes, you only need five readily available ingredients, and the result is just super cute! Kids and adults alike will absolutely be thrilled by these charming little creatures.
If you have little ones at home, this recipe makes for a fantastic activity they can help with. The process is forgiving, and the goal isn’t perfection, so let them have fun, get involved, and express their creativity! It’s a wonderful way to create lasting holiday memories together.
Why These Nutter Butter Chicks Are a Must-Make
- Quick and Effortless – One of the standout features of these Nutter Butter Chicks is their incredible speed and simplicity. Forget preheating ovens, complicated measurements, or lengthy cooling times. From start to finish, you’re looking at about 10-15 minutes of active preparation time, followed by a brief period for the chocolate to set. This makes them an absolute lifesaver for last-minute gatherings, school parties, or simply when you’re craving something sweet and festive without the usual baking commitment. The process is so straightforward that even culinary novices can achieve picture-perfect results, making it a truly stress-free holiday activity.
- Simple, Accessible Ingredients – You won’t need to hunt down obscure specialty items for this recipe. All it takes is five readily available ingredients found at any major grocery store. This simplicity not only saves time but also keeps your budget happy. The magic truly lies in transforming these common components into something extraordinary and eye-catching, proving that you don’t need a gourmet pantry to create memorable holiday confections.
- Unbearably Cute Appeal – Let’s be honest, the cuteness factor here is off the charts! These Nutter Butter Chicks are undeniably adorable, bringing a burst of sunshine and whimsy to any Easter spread. Their vibrant yellow color, playful candy eyes, and tiny orange beaks and feet make them utterly charming. They are fantastic for adding a pop of color to a dessert tray, tucking into Easter baskets for a personalized touch, or even wrapping individually in cellophane bags with a ribbon to give as thoughtful, homemade gifts. Watching the faces of kids (and adults!) light up when they see these little treats is truly a highlight of the holiday.
- Perfect for Little Helpers – If you have young children at home, this recipe doubles as a fantastic, hands-on activity. The dipping and decorating process is simple enough for little hands to help with, fostering creativity and providing a sense of accomplishment. There’s no need for perfection; the charm of homemade treats often lies in their unique, slightly imperfect character. Let them choose where the eyes go, help place the beaks and feet, and enjoy the joyful mess. It’s a wonderful way to create lasting holiday memories together in the kitchen, without the complexities that often accompany traditional baking.
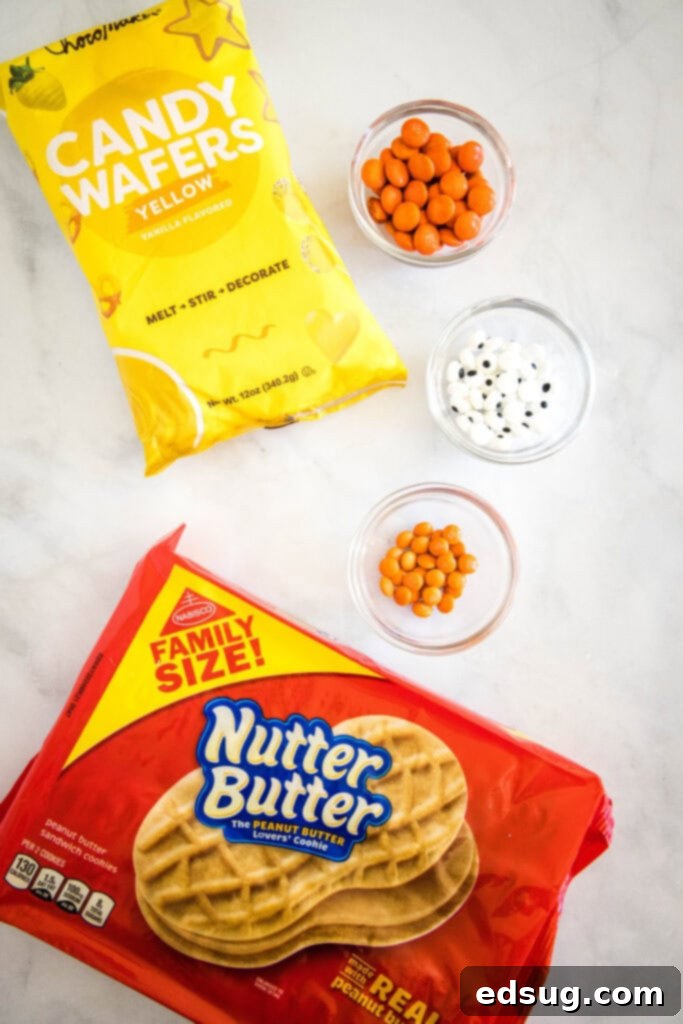
Gather Your Simple Supplies: What You’ll Need
- Nutter Butter Cookies: The foundation of our adorable chicks, Nutter Butter cookies are perfectly shaped for this transformation. Their classic peanut butter flavor pairs wonderfully with the sweet candy coating, offering a delightful contrast of textures and tastes in every bite. The oblong shape also naturally lends itself to becoming a little chick body, simplifying the decorating process.
- Yellow Melting Disks (Candy Melts): These specialized confectionery wafers are key to achieving that smooth, vibrant yellow coating. Unlike regular chocolate chips, melting disks are formulated to melt evenly and set quickly, creating a glossy, non-sticky finish that’s ideal for dipping and decorating. Brands like Wilton are widely available, but various other candy melt brands will work just as well. See the notes below for more details on choosing the right type of coating.
- Candy Eyes: These edible googly eyes are what truly bring your Nutter Butter Chicks to life! They’re simple to attach and instantly give each chick personality and charm. You can find them in the baking aisle of most grocery stores, craft stores like Michaels or Hobby Lobby, or easily online through retailers like Amazon.
- Mini M&M’s (Orange): For the adorable little beaks, you’ll want to sort out the orange mini M&M’s. Their small size is perfect for creating a proportional and cute beak that stands up between the candy eyes.
- Regular M&M’s (Orange): To complete the chick’s look, regular-sized orange M&M’s are used for the feet. Their slightly larger size provides a stable base and adds another playful touch to these sweet characters.
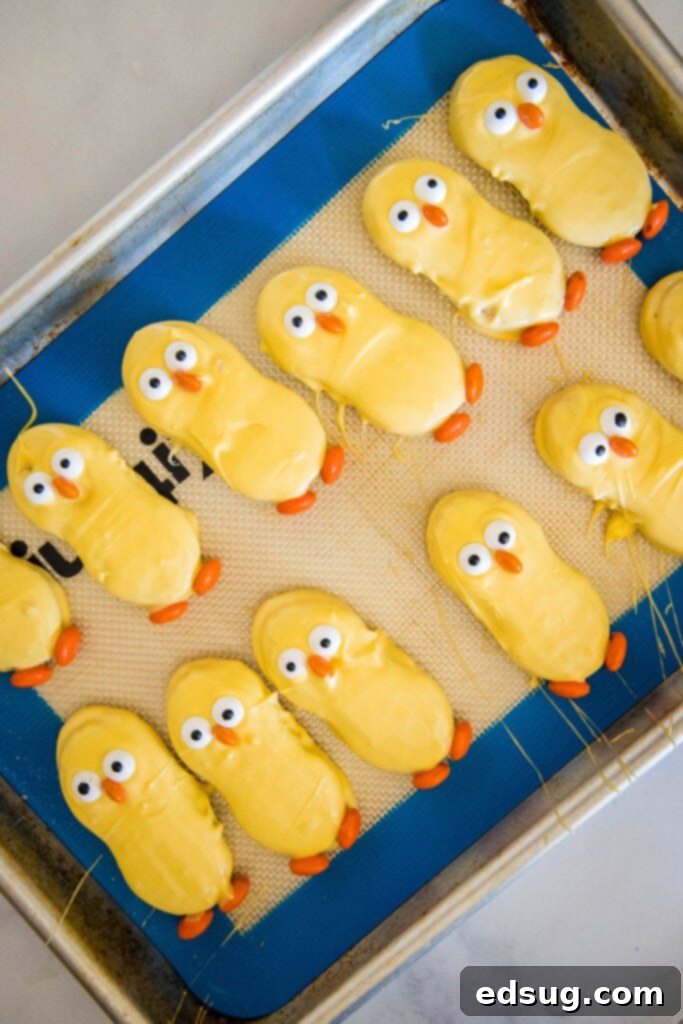
Choosing the Right Coating: Melting Wafers vs. Alternatives
When embarking on no-bake projects that involve dipping, my go-to choice is always Wilton Melting Chocolate Disks or similar candy melts. These products are specifically engineered for ease of use, melting into a beautifully smooth, thin consistency that makes dipping a breeze. This ensures your Nutter Butter cookies are evenly coated without excess drip, resulting in a professional-looking finish. You can typically find them at major retailers like Walmart, craft stores like Hobby Lobby or Joann Fabrics, and, of course, a wide selection is available on Amazon.
If yellow melting disks aren’t available or if you prefer to work with almond bark, you certainly can. However, there’s a crucial tip to remember: *always use an oil-based food coloring*. Traditional liquid food colorings, often found in small bottles, contain water, which is the enemy of melted chocolate. Introducing water to melted chocolate will cause it to seize up – meaning it will become thick, grainy, and unusable for dipping. Oil-based colorings, typically gel-based and found in squeeze tubes or small pots, blend seamlessly into chocolate and almond bark, allowing you to achieve a vibrant yellow hue without compromising the smooth texture. A little bit of oil-based gel goes a long way, so start with a small amount and add more until you reach your desired shade of chick yellow.
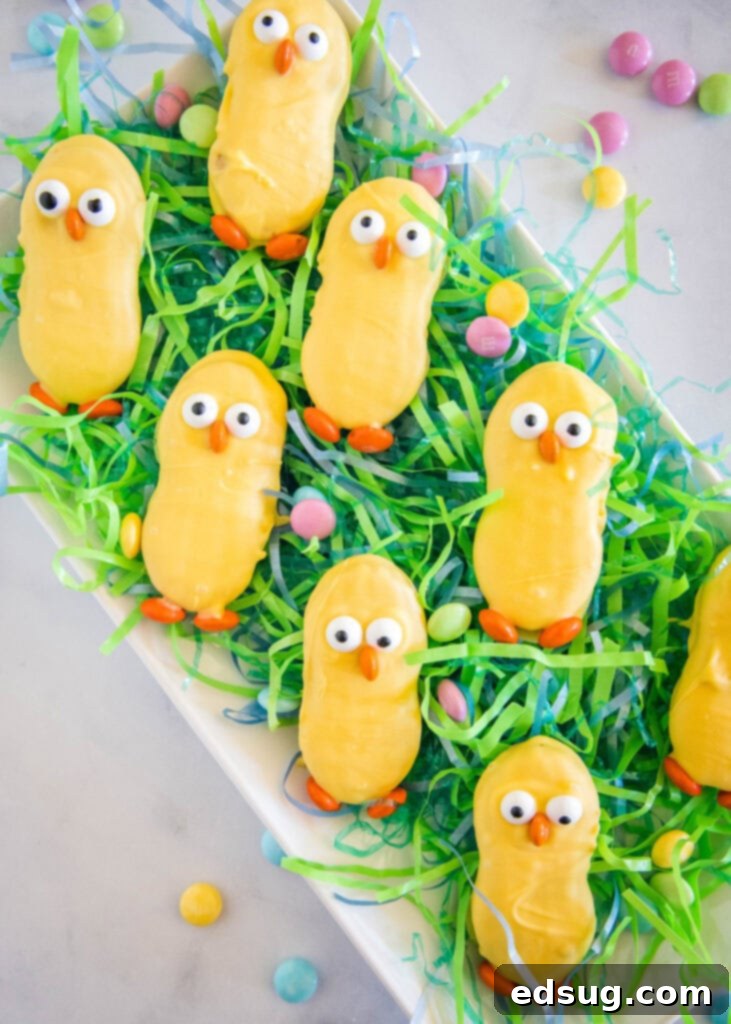
Step-by-Step Guide: How to Craft Your Nutter Butter Chicks
- Step 1: Melt the Chocolate with Care – Begin by placing your yellow melting chocolate disks into a microwave-safe bowl. Melting chocolate correctly is key to a smooth finish. The Wilton brand, for instance, recommends microwaving at 50% power for 30-second intervals. After each interval, stir the chocolate thoroughly, even if it doesn’t appear fully melted. This helps distribute heat and prevents scorching. Continue this process until the chocolate is completely smooth and free of lumps, reaching a perfectly dippable consistency. Alternatively, you can use a double boiler method for more controlled melting, stirring frequently until smooth.
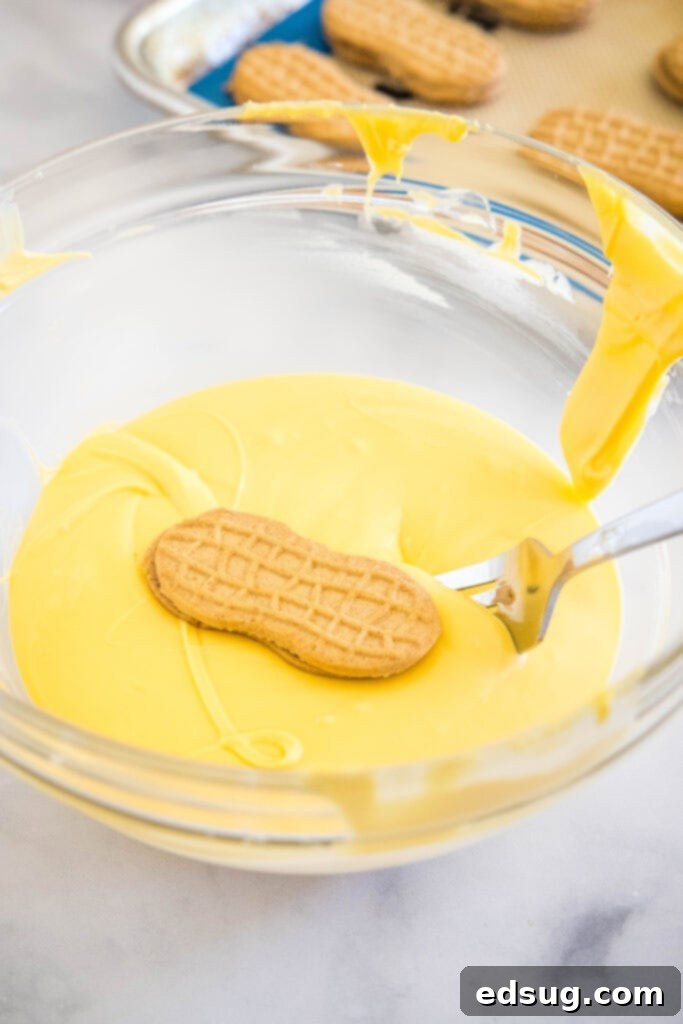
- Step 2: Dip and Drain – Once your chocolate is flawlessly smooth, it’s time to transform those Nutter Butter cookies. Using two forks – one to dip and one to gently tap off excess – submerge each cookie fully into the melted yellow chocolate. Ensure it’s entirely coated, then lift it out and gently tap the fork against the edge of the bowl. This allows any excess chocolate to drip away, preventing thick puddles and ensuring a cleaner, more refined chick. Carefully place the dipped cookie onto a baking sheet lined with parchment paper or a silicone mat. Work in batches of about 10-12 cookies at a time to prevent the chocolate from setting too quickly before you can decorate.
- Step 3: Decorate with Lively Details – Immediately after dipping each batch of cookies, begin decorating. The warm, unset chocolate acts as your ‘glue.’ Place two candy eyes on the upper portion of the cookie. Then, carefully insert an orange mini M&M vertically between the eyes; the chocolate will hold it in place to form the beak. Finally, at the base of the cookie, add two regular orange M&M’s for the chick’s feet. Make sure there’s enough wet chocolate underneath to secure them firmly. Speed is your friend here, as the chocolate will start to harden fairly quickly, especially in a cool environment.
- Step 4: Allow to Set Properly – After all your Nutter Butter Chicks are dipped and decorated, allow them ample time to set. The best results come from letting them set at room temperature for 1 to 2 hours. This gradual setting allows the chocolate to harden completely, giving your chicks a beautiful, glossy finish and ensuring all their features are firmly in place. While you *can* refrigerate them to speed up the process, setting at room temperature often yields a shinier coating and prevents condensation from forming when brought back to room temperature.
Storage & Make-Ahead Tips
One of the many benefits of these Nutter Butter Chicks is their excellent shelf life, making them a perfect make-ahead treat. Once fully set, store them in an airtight container at room temperature. They will remain fresh and delicious for 1 to 2 weeks, meaning you can prepare them well in advance of your Easter festivities. If you wish to extend their freshness even further, these chicks can be frozen for up to 3 to 4 months. To serve after freezing, simply transfer them from the freezer to the counter and allow them to thaw completely at room temperature for a few hours. They’ll be just as delightful as the day you made them, ready to bring smiles to your holiday table.
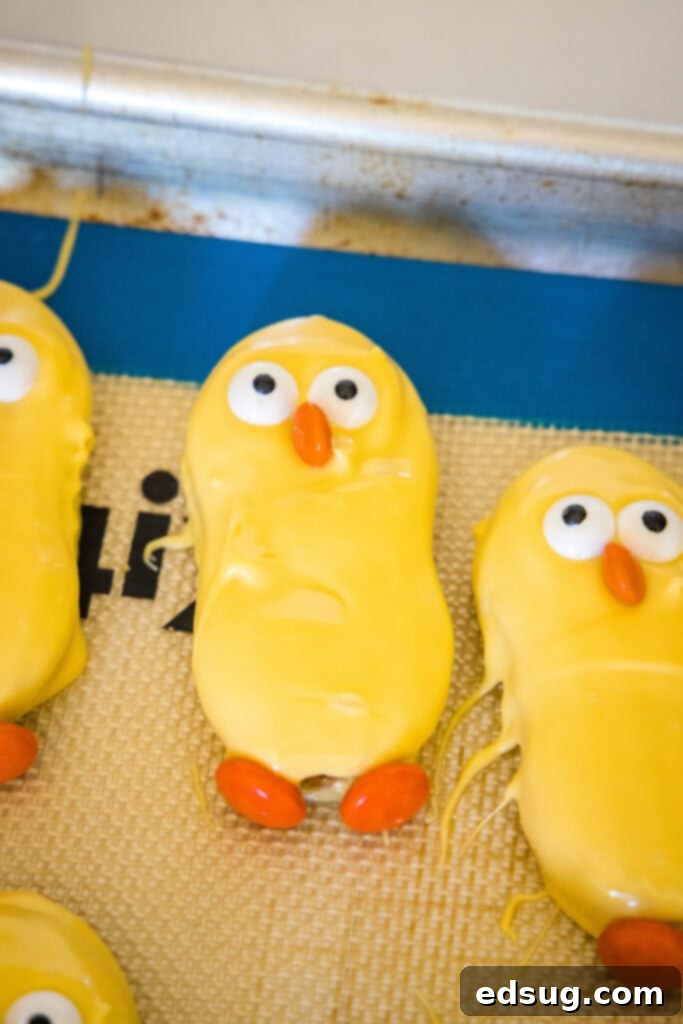
Tips for Success and Creative Variations
To ensure your Nutter Butter Chicks turn out perfectly every time, and to inspire some creative flair, here are a few extra tips and variation ideas:
- Keep Your Chocolate Warm: If your chocolate starts to thicken during the dipping process, reheat it briefly in the microwave (10-15 seconds at 50% power) or over your double boiler. A smoothly flowing chocolate is crucial for a clean coating.
- Parchment Paper is Your Friend: Always use parchment paper or a silicone baking mat to line your baking sheet. This prevents the dipped cookies from sticking and makes cleanup a breeze once the chocolate has set.
- Get Creative with Colors: While yellow is the quintessential color for chicks, feel free to experiment with other candy melt colors for different themes. Pink or blue chicks could be adorable for baby shower treats, or a mix of pastels for a general spring celebration beyond Easter!
- Add More Details: A small dot of black icing gel can be used to add pupils to plain candy eyes, or a tiny orange icing dot can be piped as an alternative beak if M&M’s are unavailable. You can also use a food-safe marker for delicate details.
- Sprinkle Some Joy: Before the chocolate fully sets, sprinkle some edible glitter or tiny spring-themed sprinkles over your chicks for extra sparkle and fun. This adds another layer of festivity and texture.
- Cookie Alternatives: While Nutter Butters are perfect due to their shape and flavor, this no-bake dipping and decorating method can also work with other oblong sandwich cookies, though the ‘chick’ shape might vary slightly.
More Fun Easter Recipes You’ll Love
If you’re looking for more delightful treats to complete your Easter spread or other festive occasions, be sure to check out these other easy and delicious recipes:
- Easter Magic Bars
- Bunny Pretzels
- Easter Muddy Buddies
- Creme Egg Fudge
- Mini Chocolate Egg Blossom Cookies
- Brownie Easter Eggs
Nutter Butter Chicks
Ingredients
- 24 Nutter Butter Cookies
- 12 oz yellow melting chocolate disks
- 48 candy eyes
- 48 orange M&M’s (regular size)
- 24 orange mini M&M’s
Instructions
- Using a microwave safe bowl, melt the chocolate according to the instructions on the bag. The Wilton brand suggests microwaving at 50% power for 30 seconds at a time, stirring thoroughly after each interval until the chocolate is smooth and perfectly dippable.12 oz yellow melting chocolate disks
- Once the chocolate is smooth, use two forks to carefully dip each Nutter Butter cookie into the melted chocolate. Ensure the cookie is fully coated, then gently tap off any excess chocolate on the side of the bowl. Place the dipped cookie onto a baking sheet lined with parchment paper or a silicone mat. Work in batches of about 10-12 cookies at a time, so the chocolate doesn’t set too quickly before you can decorate them.24 Nutter Butter Cookies
- While the chocolate is still wet on the cookie, add two candy eyes on the upper portion. Then, carefully place an orange mini M&M vertically between the eyes to create the beak; the wet chocolate will hold it in place. At the base of the cookie, add two regular orange M&M’s for the chick’s feet, making sure there is still enough chocolate to act as “glue.” Repeat this process with the remaining cookies, decorating each batch immediately after dipping.48 candy eyes, 48 orange M&M’s, 24 orange mini M&M’s
- Let the decorated cookies set up completely at room temperature for 1-2 hours, or until the chocolate is firm to the touch. Once set, store them in an airtight container.
Nutrition
Nutrition information is automatically calculated, so should only be used as an approximation.
Additional Info
I love connecting with my readers and fellow food enthusiasts! I’ve created a fun group on Facebook, and I would absolutely love for you to join us! It’s a vibrant place where you can share YOUR favorite recipes, ask questions, get cooking inspiration, and stay up-to-date on what’s new at Dinners, Dishes and Desserts (so that you never miss a delicious new recipe or helpful tip)!
Be sure to follow me on Instagram and don’t forget to tag #dinnersdishes when you post your creations! I genuinely love seeing all the wonderful DINNERS, DISHES, AND DESSERTS recipes YOU make and share with your loved ones.
To ensure you never miss a post, a new recipe, or an exciting update, be sure to follow me on all my social media channels! Let’s stay connected and keep the culinary inspiration flowing!
Facebook | Twitter | Pinterest | Instagram
.
