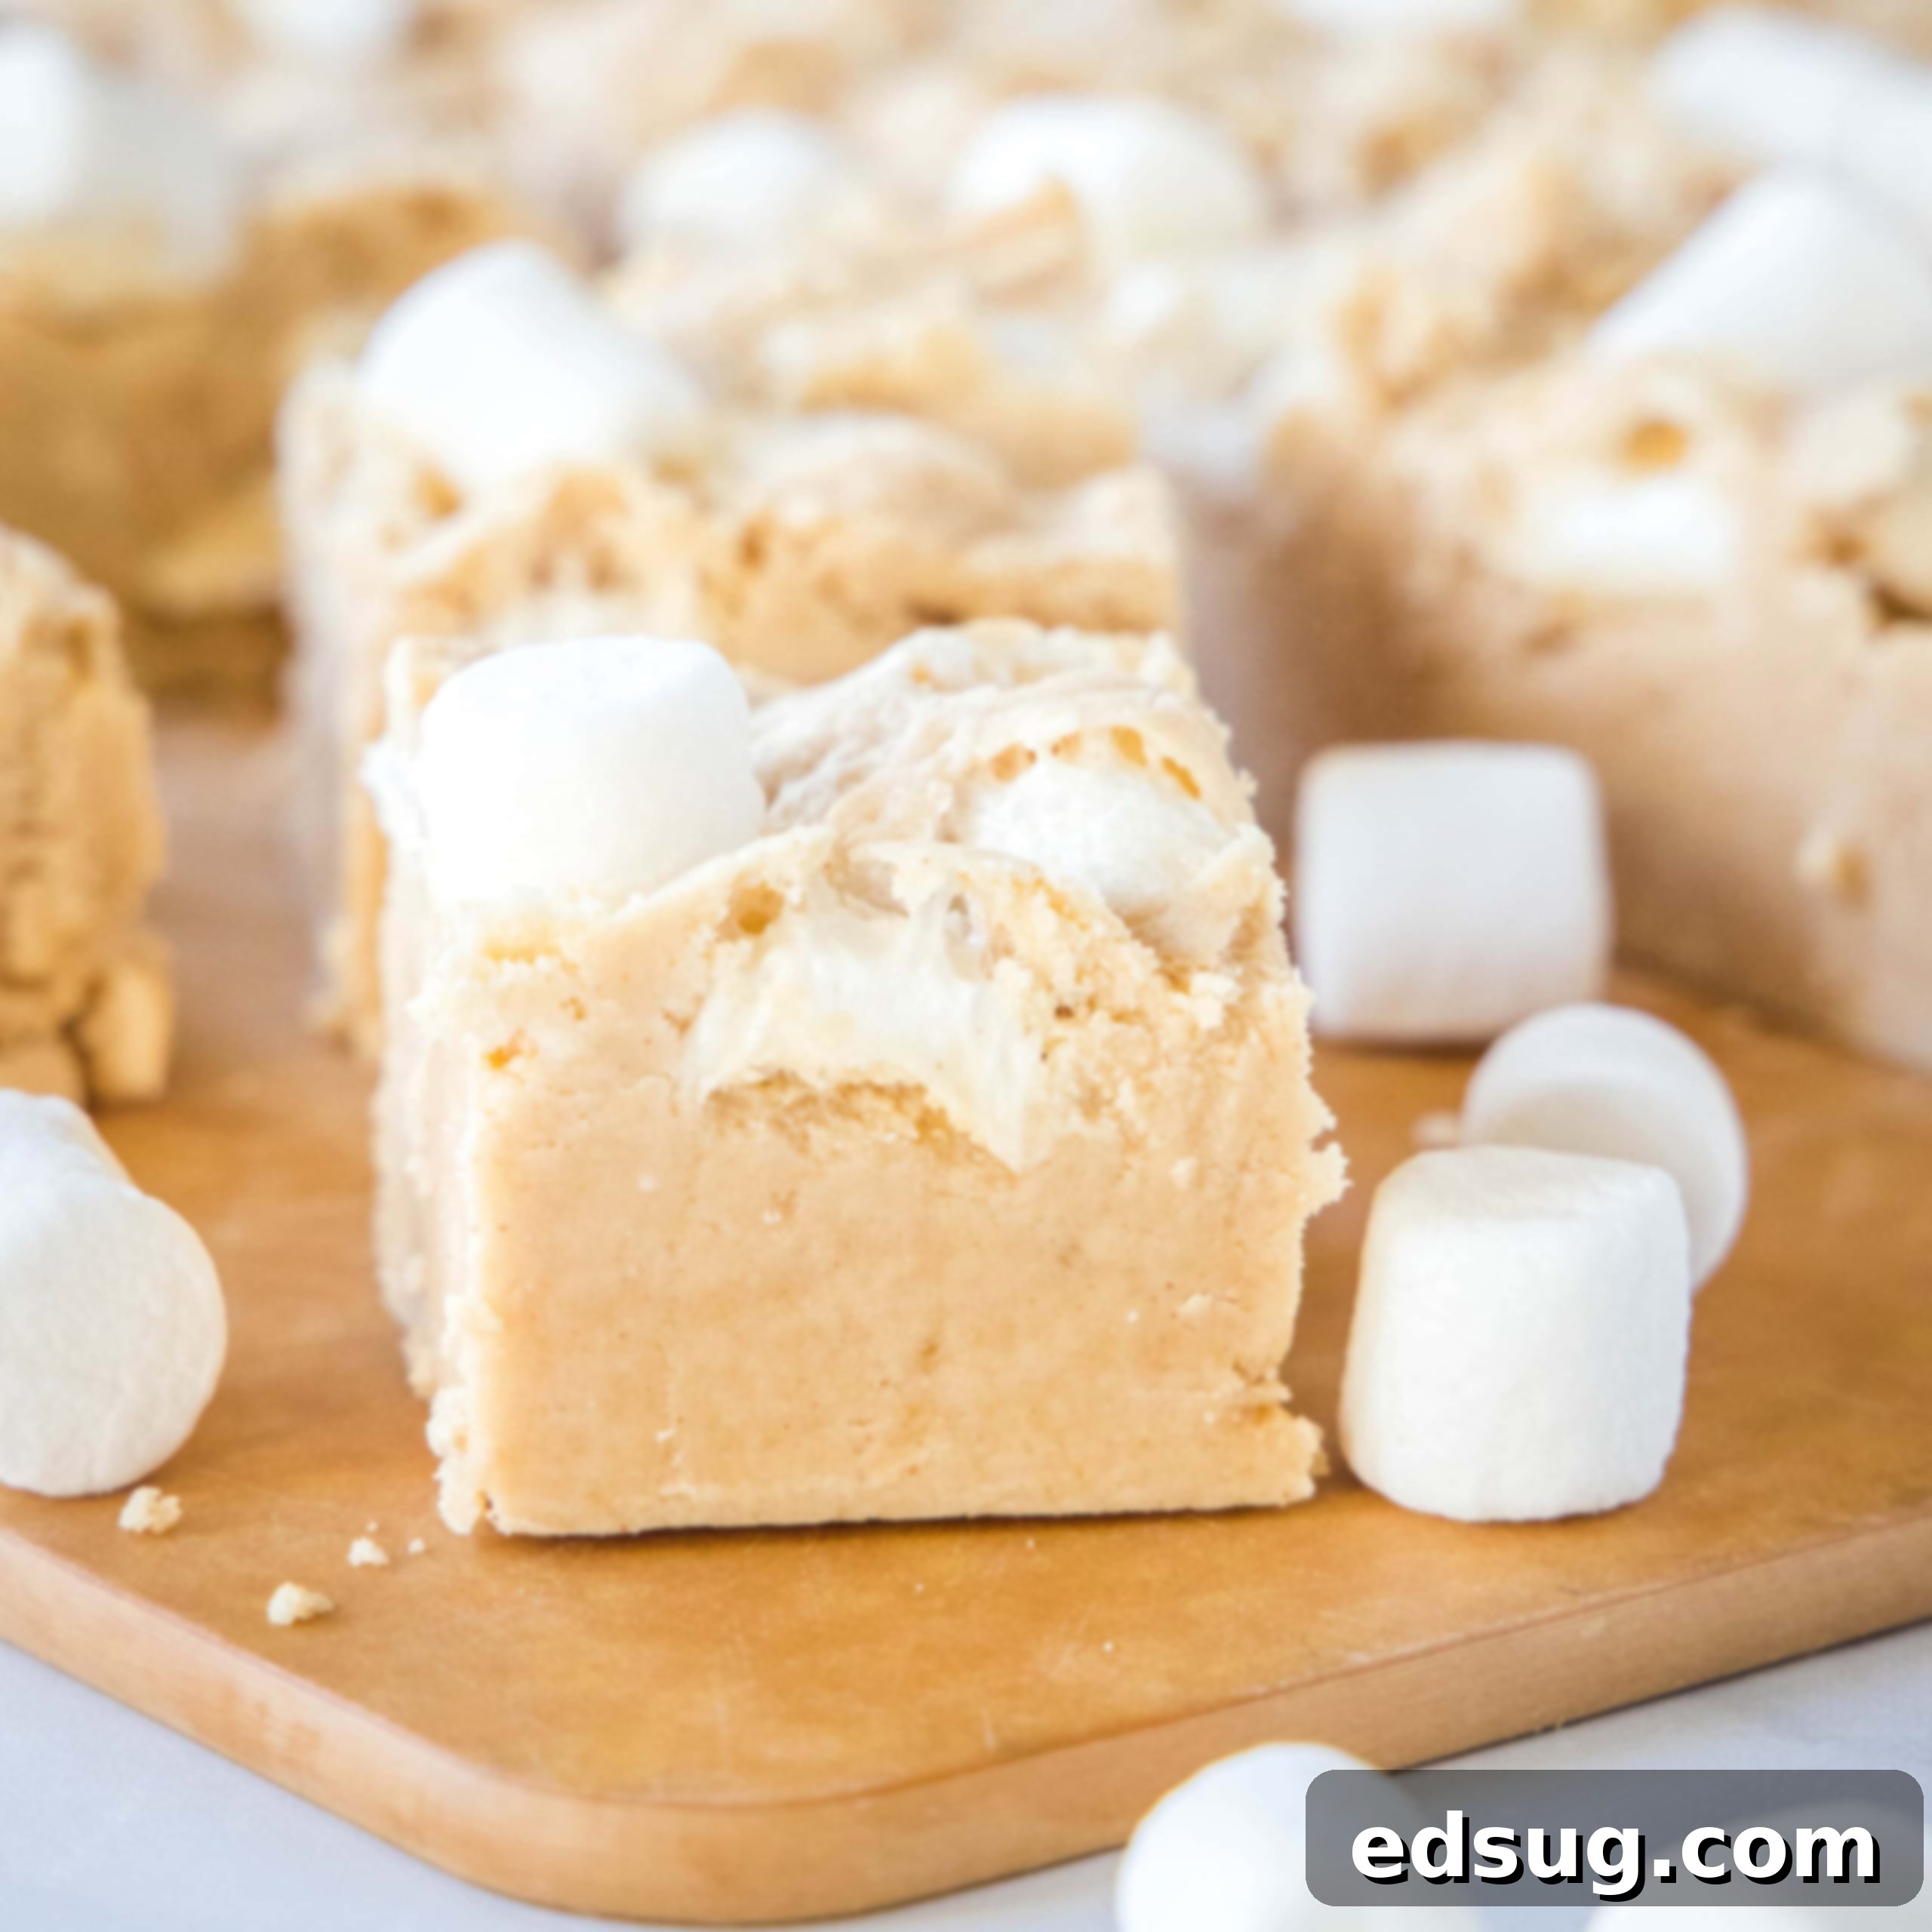
Irresistible Peanut Butter Marshmallow Fudge: Your Ultimate Creamy Treat
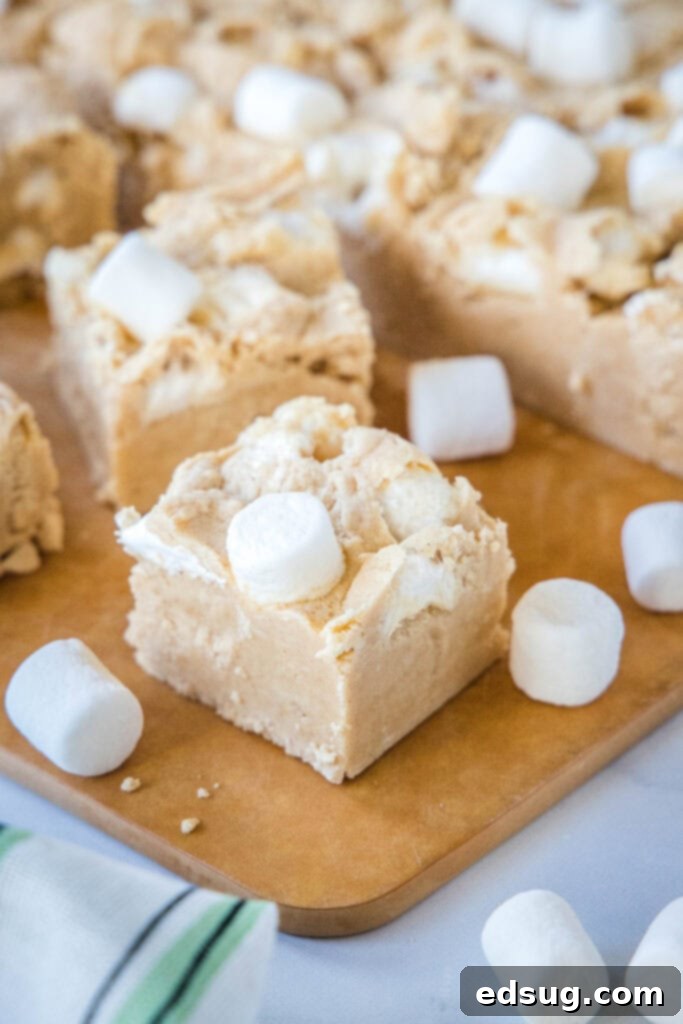
Indulge in the heavenly delight of this Peanut Butter Marshmallow Fudge. It’s incredibly creamy, richly decadent, and absolutely bursting with that unmistakable peanut butter flavor you cherish, perfectly complemented by pockets of soft marshmallow. This easy-to-make confectionery is destined to become a new family favorite!
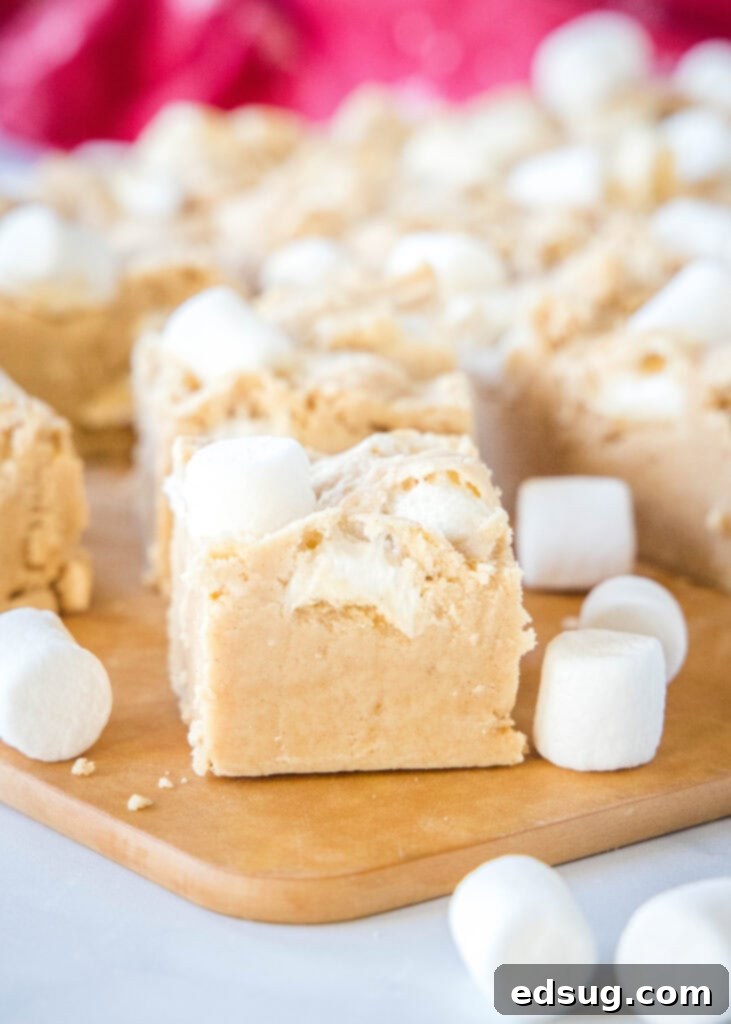
For years, my heart belonged to a classic Chocolate Fudge, a cherished recipe we meticulously prepared every Christmas Eve. Then, along came the tempting Reese’s Fudge, presenting a delightful dilemma: how could one possibly choose between two such irresistible treats? Today, however, I’m thrilled to introduce a creation that marries the best of both worlds – transforming a beloved classic into a rich peanut butter fudge, generously studded with luscious marshmallows. This delightful combination offers an unparalleled texture and flavor profile, poised to become a cherished yearly tradition in your home.
This recipe brings together the deep, nutty notes of peanut butter with the sweet, airy melt of marshmallows, all encased in a smooth, velvety fudge base. It’s more than just a dessert; it’s a celebration of flavors that evokes warmth and nostalgia, perfect for any occasion, from festive gatherings to a simple craving for something sweet and comforting.
Why This Peanut Butter Marshmallow Fudge Will Become Your New Go-To Dessert
If you’re searching for a dessert that’s both impressive and effortlessly enjoyable, look no further. This peanut butter marshmallow fudge checks all the boxes, offering a harmonious blend of taste, convenience, and versatility. Here’s why you’ll fall head over heels for this recipe:
- Unmatched Richness and Creaminess: There’s a certain magic to classic cooked fudge, and this recipe captures it perfectly. Each bite delivers a smooth, melt-in-your-mouth texture that is incredibly rich, wonderfully creamy, and utterly decadent. The combination of ingredients creates a luxurious mouthfeel that truly satisfies, making it a standout treat among homemade confections.
- Excellent for Make-Ahead Preparations: Fudge is a fantastic dessert for planning ahead. It boasts an impressive shelf life, allowing you to prepare it days, or even weeks, in advance. You can store it covered at room temperature for about a week, or extend its freshness by refrigerating or freezing it. This makes it an ideal candidate for holiday cookie trays, potlucks, party favors, or any gathering where you want to minimize last-minute stress.
- Surprisingly Easy to Make: The idea of boiling sugar might seem daunting, leading many to believe that fudge is a complicated endeavor. However, with clear instructions and the right tools, this recipe is incredibly straightforward. The key lies in carefully following the steps and cooking the mixture to the precise temperature. Utilizing a candy thermometer truly takes the guesswork out of the process, ensuring perfect results every single time, even for novice bakers.
- Versatile and Customizable: While the recipe is perfect as is, it also offers flexibility for customization. Want a pure peanut butter fudge experience? Simply omit the mini marshmallows. Feeling adventurous? You can easily incorporate other add-ins like chocolate chips, chopped nuts, or even a swirl of chocolate fudge for a marbled effect.
- A Crowd-Pleasing Favorite: Peanut butter and marshmallows are universally loved flavors, making this fudge an instant hit with both children and adults. Its comforting taste and satisfying texture guarantee smiles all around, solidifying its place as a go-to dessert for any occasion.
Gather Your Ingredients for This Dreamy Fudge
To ensure you have everything ready for this delightful treat, be sure to scroll to the bottom of the post for the FULL PRINTABLE recipe card with exact measurements.
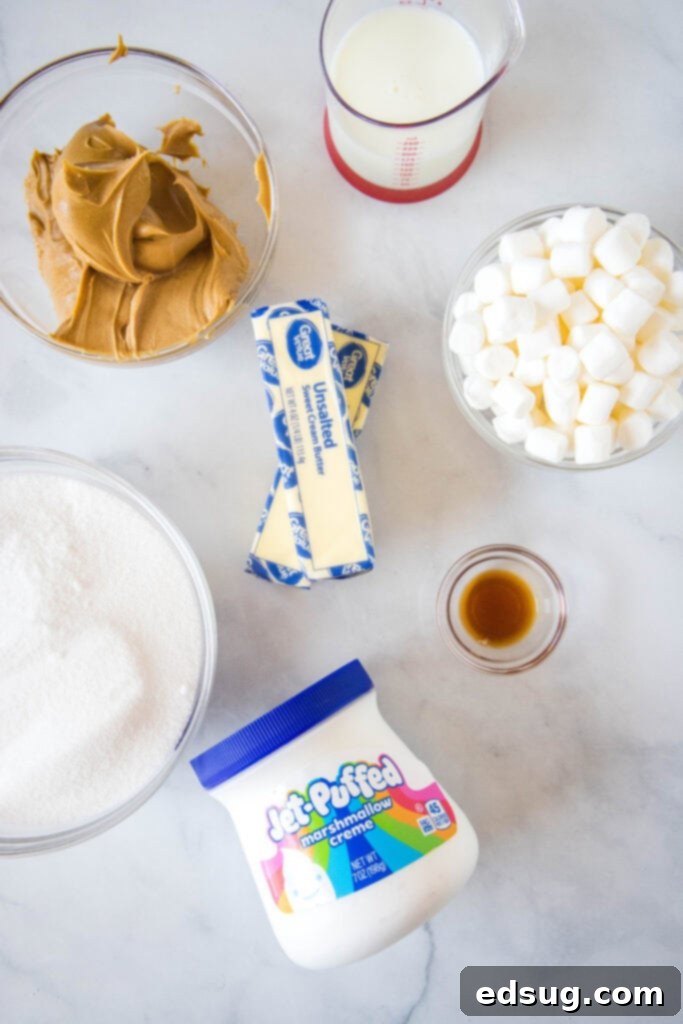
Making incredible fudge starts with quality ingredients. Here’s what you’ll need to create this rich and creamy peanut butter marshmallow masterpiece:
- Unsalted Butter: I always opt for unsalted butter in baking. This allows you to control the overall saltiness of your fudge, ensuring it’s perfectly balanced.
- Granulated Sugar: The foundation of any good fudge, granulated sugar provides the necessary sweetness and structure.
- Evaporated Milk: This key ingredient contributes to the fudge’s signature creaminess and rich texture. Unlike regular milk, evaporated milk has less water content, resulting in a denser, more luscious fudge.
- Marshmallow Fluff: Essential for that wonderfully smooth and airy texture, marshmallow fluff (also known as marshmallow creme) is what gives this fudge its distinctive melt-in-your-mouth quality.
- Creamy Peanut Butter: The star of the show! Use your favorite creamy peanut butter for the best flavor. Avoid natural peanut butter that separates, as it can affect the fudge’s consistency.
- Vanilla Extract: A touch of vanilla enhances all the other flavors, adding depth and warmth to the fudge. Use pure vanilla extract for the best results.
- Mini Marshmallows: These are folded in at the end to add delightful pockets of soft, chewy sweetness throughout the fudge. While highly recommended for that “marshmallow fudge” experience, you could easily leave these out if you prefer a classic, smooth peanut butter fudge.
Step-by-Step Guide: Crafting Your Own Peanut Butter Marshmallow Fudge
Making fudge from scratch might seem intimidating, but by following these detailed steps, you’ll achieve perfect, creamy results every time. The key is patience and a good candy thermometer!
- Prepare Your Pan: Before you begin cooking, make sure to grease a 9-inch square baking dish thoroughly or line it with parchment paper, leaving an overhang on the sides. This will make removing and slicing the fudge much easier once it has set. Set this prepared pan aside.
- Initiate the Boil: In a sturdy, heavy-bottomed saucepan (this is crucial for even heat distribution and preventing scorching), combine the butter, granulated sugar, and evaporated milk. Place the saucepan over medium heat. It’s important to stir this mixture frequently as it heats up. Allow it to come to a boil slowly and gradually. Rushing this initial phase can lead to sugar crystals forming, resulting in a grainy, rather than smooth, fudge texture. Continue to stir gently until the mixture reaches a full, rolling boil.
- Cook to Perfection: Once the mixture is actively boiling, reduce the heat slightly if needed to maintain a steady, gentle boil, and stir constantly. Continue cooking until the mixture reaches a precise temperature of 234ºF (112ºC) on a candy thermometer. This critical stage, often referred to as the “soft-ball stage,” typically takes between 4 to 6 minutes, but timing can vary based on your stovetop and saucepan. Consistent stirring prevents sticking and ensures uniform heating. If you don’t have a thermometer, you can use the traditional “soft ball test” (detailed in the next section) to determine doneness.
- Incorporate the Flavors: Immediately remove the saucepan from the heat once it reaches the target temperature. Promptly add the marshmallow fluff, creamy peanut butter, and vanilla extract. Stir vigorously and continuously until all these ingredients are fully combined and the mixture is perfectly smooth and glossy. The residual heat from the fudge will melt the fluff and peanut butter, integrating them seamlessly.
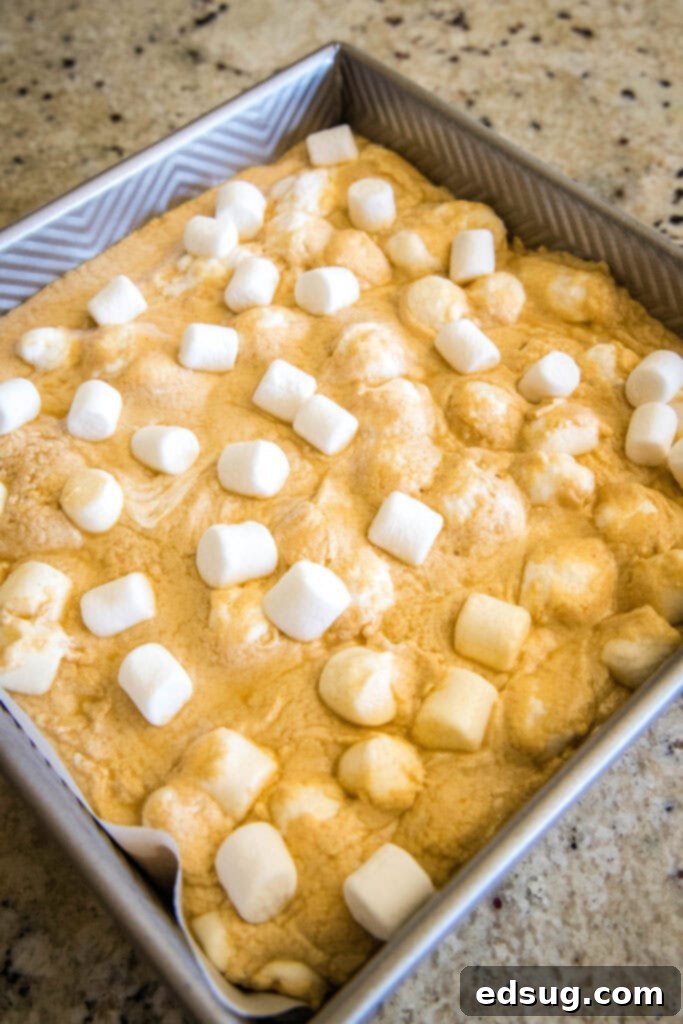
- Add the Mini Marshmallows (Optional but Recommended): Once the fudge base is smooth, quickly fold in the mini marshmallows. Work swiftly here, as the hot fudge will cause the marshmallows to begin melting. The goal is to incorporate them evenly while allowing most to retain some of their shape, creating those delightful pockets of chewiness. Don’t overmix, just enough to distribute them.
- Allow to Set: Pour the hot fudge mixture into your prepared 9-inch square baking dish. Use a spatula to spread it evenly into the pan. Resist the urge to poke or smooth it too much, as this can introduce air bubbles or affect the texture. Let the fudge sit undisturbed at room temperature for approximately 2 to 3 hours, or until it has completely set and is firm to the touch. Once fully set, you can easily lift the fudge out using the parchment paper overhang and slice it into desired pieces for serving.
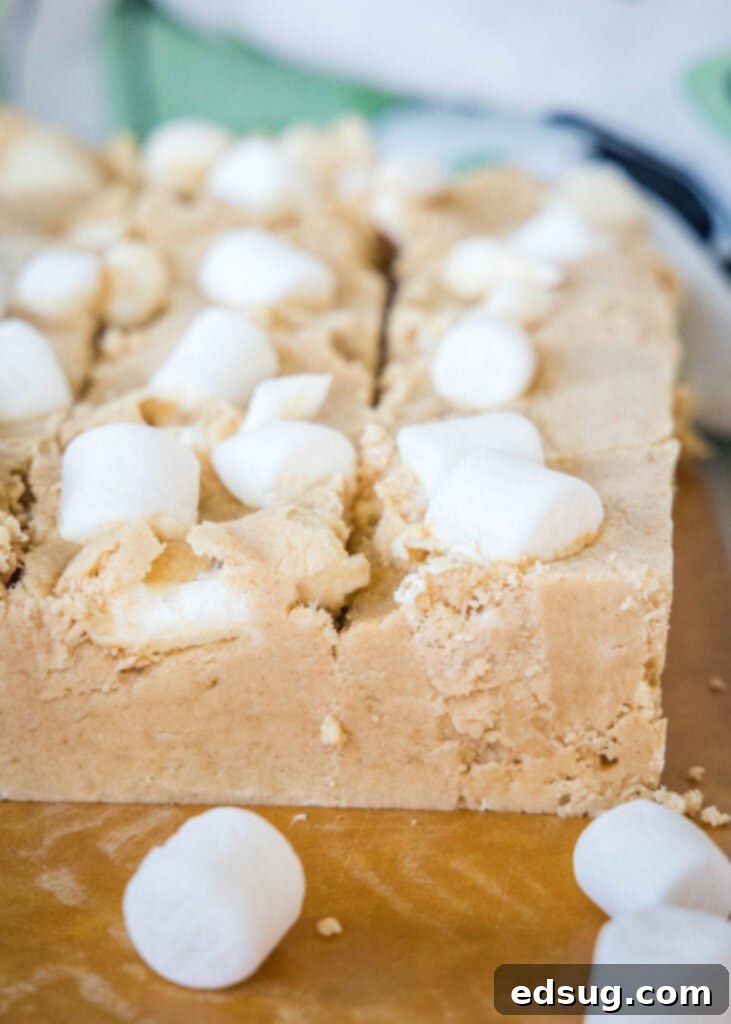
Ensuring Perfect Consistency: How to Tell When Your Fudge is Ready
Achieving the ideal fudge consistency—creamy, firm, yet delightfully soft—hinges on cooking it to the correct temperature. While the cooking process typically takes around 5 minutes after reaching a boil, several factors can influence the exact timing, such as the specific brand of butter, the water content in your ingredients, and the intensity of your stove’s heat. Therefore, relying on precise methods to check for doneness is crucial to prevent gritty or overly soft fudge.
There are two primary methods to ascertain when your fudge mixture has reached the perfect stage:
1. Using a Candy Thermometer: The Most Accurate Method
This is by far the most reliable way to ensure your fudge sets up correctly every single time. You need to monitor the temperature and be certain it consistently reaches 234ºF (112ºC). This specific temperature corresponds to the “soft-ball stage” in candy making. At this stage, the sugar solution is concentrated enough that when cooled, it will form a firm, yet still pliable, soft ball. This results in a fudge that is perfectly set—not too hard, not too soft—offering that characteristic decadent bite. Insert the thermometer into the boiling mixture, making sure it doesn’t touch the bottom of the saucepan, and keep a close eye on it until it hits the target temperature. A good quality digital candy thermometer will give you the most accurate and quick readings.
2. The Cold Water “Soft Ball Test”: A Traditional Alternative
If you don’t own a candy thermometer, or simply prefer a traditional approach, the cold water test is an effective alternative. To perform this test, you’ll need to have a very cold bowl of water (ideally with some ice cubes) placed conveniently next to your stove.
- Timing: Begin performing this test once the fudge mixture has been boiling for approximately 4 minutes.
- Execution: Carefully drop a small amount (about 1/2 teaspoon) of the hot sugar mixture into the bowl of cold water.
- Forming the Ball: Allow the mixture to cool for a few seconds in the water. Then, using your fingers (be cautious, as the mixture can still be warm), attempt to gather and form it into a soft ball.
- Determining Doneness: The fudge is ready when the dropped mixture can be easily formed into a soft, pliable ball that holds its shape when removed from the water, but is still very soft and easily flattened when pressed between your fingers. It shouldn’t be sticky or dissolve, nor should it be too hard or brittle.
- Repeat if Necessary: If the mixture doesn’t form a soft ball, or dissolves in the water, continue boiling the fudge for another minute or so, then repeat the test with a fresh spoonful of the sugar mixture and fresh cold water. It’s important to use fresh cold water for each test to ensure accurate results.
Once either of these tests confirms your fudge has reached the soft-ball stage, remove it immediately from the heat to prevent overcooking, which can lead to a crumbly or overly hard fudge.
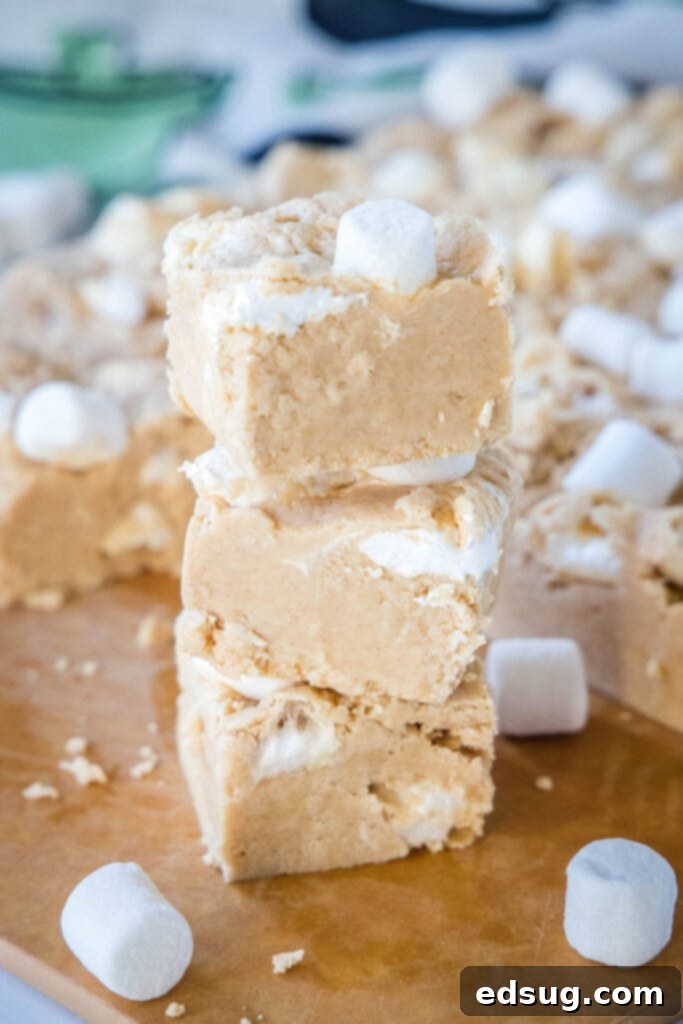
Storing Your Delicious Peanut Butter Marshmallow Fudge
One of the many benefits of homemade fudge is its excellent shelf life, making it a fantastic treat to prepare in advance for gifts or gatherings. Proper storage is key to maintaining its fresh taste and delightful texture.
At Room Temperature: Once your fudge has completely cooled and set, and you’ve sliced it into individual pieces, it can be stored at room temperature. Place the fudge in an airtight container to prevent it from drying out or absorbing unwanted odors. Stored this way, it will remain fresh and delicious for about a week. Keep it away from direct sunlight or heat sources, which could cause it to soften.
Refrigerating Fudge: For slightly longer storage, or if your kitchen is particularly warm, you can store fudge in the refrigerator. Again, an airtight container is essential. Refrigerated fudge will keep well for up to 2-3 weeks. Be aware that chilling can sometimes alter the texture slightly, making it firmer. For the best eating experience, allow refrigerated fudge to come to room temperature for about 15-30 minutes before serving.
Freezing Fudge: The Long-Term Solution: Fudge freezes exceptionally well, allowing you to enjoy this treat for months! To freeze, ensure the fudge is completely cooled and sliced. Wrap individual pieces tightly in plastic wrap, then place them in an airtight, freezer-safe container or a heavy-duty freezer bag. This double-layer protection helps prevent freezer burn. Store in the freezer for 3-4 months. When you’re ready to enjoy, simply remove the desired amount of fudge from the freezer and let it thaw on the counter at room temperature for an hour or two until soft. Freezing is an excellent option for making large batches for holidays or unexpected guests.
No matter how you choose to store it, this peanut butter marshmallow fudge will be a delightful treat whenever a craving strikes!
Expert Tips for Fudge Perfection
Achieving perfectly creamy, smooth fudge isn’t just about the ingredients; it’s also about technique. These tips will help you avoid common pitfalls and ensure your Peanut Butter Marshmallow Fudge turns out flawlessly every time.
- Invest in a Good Thermometer: Seriously, this is the most important tip. A reliable candy thermometer is your best friend when making fudge. It eliminates guesswork and ensures the sugar mixture reaches the precise temperature (234°F or 112°C) needed for the perfect soft-ball stage. Without it, you risk grainy, crumbly, or overly soft fudge. Calibrate your thermometer occasionally by checking it in boiling water (it should read 212°F/100°C).
- Work Quickly with Marshmallows: When you add the mini marshmallows to the hot fudge mixture, they will begin to melt almost instantly. To ensure they retain some of their shape and create delightful pockets of chewiness, stir them in quickly and efficiently, then immediately spread the fudge into your prepared pan. The quicker you work, the more defined the marshmallow pieces will remain as the fudge cools and sets.
- For a Super Creamy, Marshmallow-Fluff-Only Fudge: If your preference leans towards a purely smooth and creamy peanut butter fudge without the textural variation of mini marshmallows, simply skip the step of mixing in the extra marshmallows. The marshmallow fluff already provides an incredible creaminess and flavor without needing additional whole marshmallows.
- Consider Homemade Marshmallow Fluff: While store-bought marshmallow fluff works perfectly, if you’re looking to elevate your fudge even further, consider making your own Homemade Marshmallow Fluff. It offers a fresh, vibrant flavor and a superior texture that can truly take your fudge to the next level.
- Do Not Scrape the Sides: After the fudge mixture has boiled and you’ve removed it from the heat, resist the urge to scrape down the sides of the saucepan with a spoon or spatula. Sugar crystals can form on the sides of the pan during boiling, and introducing these into the main mixture can cause the entire batch of fudge to become grainy.
- Ensure a Heavy-Bottomed Pan: Using a heavy-bottomed saucepan is crucial. It distributes heat more evenly, preventing scorching at the bottom and promoting a slow, steady boil, which is essential for smooth fudge.
- Don’t Rush the Boil: Allow the butter, sugar, and evaporated milk to come to a boil slowly over medium heat. Stir frequently during this stage. A gradual heating process helps the sugar dissolve properly, reducing the risk of a grainy texture.
- Patience is a Virtue for Setting: It might be tempting to cut into your fudge as soon as it looks solid, but allow it the full 2-3 hours (or even longer if your kitchen is warm) to set completely. This ensures firm, clean slices and the best texture. You can even refrigerate it for a shorter set time, but room temperature is ideal for flavor.
- Experiment with Add-ins: Once you master the basic recipe, feel free to get creative! Stir in a handful of miniature chocolate chips, chopped salted peanuts for extra crunch, or even a drizzle of melted chocolate on top before it sets for an extra layer of decadence.
Explore More Delightful Dessert Recipes
If you have a sweet tooth like us, you’ll love diving into these other fantastic dessert recipes. From rich cakes to delightful cookies, there’s something here to satisfy every craving:
- Death By Chocolate Drip Cake: An ultimate indulgence for chocolate lovers, featuring layers of rich chocolate and decadent ganache.
- Bailey’s Chocolate Cheesecake: A sophisticated dessert combining creamy cheesecake with the delightful flavor of Bailey’s Irish Cream.
- Frosted Churro Cookies: The crispy, cinnamon-sugar goodness of churros transformed into a soft, frosted cookie.
- Chocolate Covered Pretzels: A perfect sweet and salty snack, easy to make and impossible to resist.
- Peanut Butter Balls: A classic no-bake treat, combining peanut butter and chocolate for an irresistible bite-sized dessert.
- Sour Cream Cookies: Wonderfully soft and tender cookies with a delicate flavor, often topped with a sweet glaze.
- White Chocolate Gingerbread Cookies: A festive treat that marries the warm spices of gingerbread with the sweet creaminess of white chocolate.
We hope you enjoy expanding your baking repertoire with these delicious ideas!
Peanut Butter Marshmallow Fudge
Pin Recipe
Rate Recipe
Print Recipe
Ingredients
- 1 cup unsalted butter
- 3 cups granulated sugar
- 2/3 cup evaporated milk
- 12 oz creamy peanut butter
- 7 oz marshmallow fluff
- 1/2 teaspoon vanilla extract
- 1 cup mini marshmallows
Instructions
-
Grease a 9-inch square baking pan or line with parchment paper. Set aside1
-
In a heavy bottom saucepan bring butter, sugar, and evaporated milk to a boil over medium heat. You want to stir frequently and let it come to a boil slowly so fudge doesn’t end up gritty.1 cup unsalted butter, 3 cups granulated sugar, 2/3 cup evaporated milk
-
Once mixture is boiling, stir constantly and heat to 234º F. This can take 4-6 minutes.
-
Remove pan from heat and stir in marshmallow fluff, peanut butter, and vanilla extract until well combined and smooth.12 oz creamy peanut butter, 7 oz marshmallow fluff, 1/2 teaspoon vanilla extract
-
Add mini marshmallows and work quickly to stir to combine. They will start to melt, so try to work quickly so they can hold their shape.1 cup mini marshmallows
-
Spread into a 9-inch square baking dish and let set up for 2-3 hours before slicing to serve.
Nutrition
Nutrition information is automatically calculated, so should only be used as an approximation.
Additional Info
Like this recipe? Leave a comment below!
I created a fun group on Facebook, and I would love for you to join us! It’s a place where you can share YOUR favorite recipes, ask questions, and see what’s new at Dinners, Dishes and Desserts (so that you never miss a new recipe)!
Be sure to follow me on Instagram and tag #dinnersdishes so I can see all the wonderful DINNERS, DISHES, AND DESSERTS recipes YOU make!
Be sure to follow me on my social media, so you never miss a post!
Facebook | Twitter | Pinterest | Instagram
.
