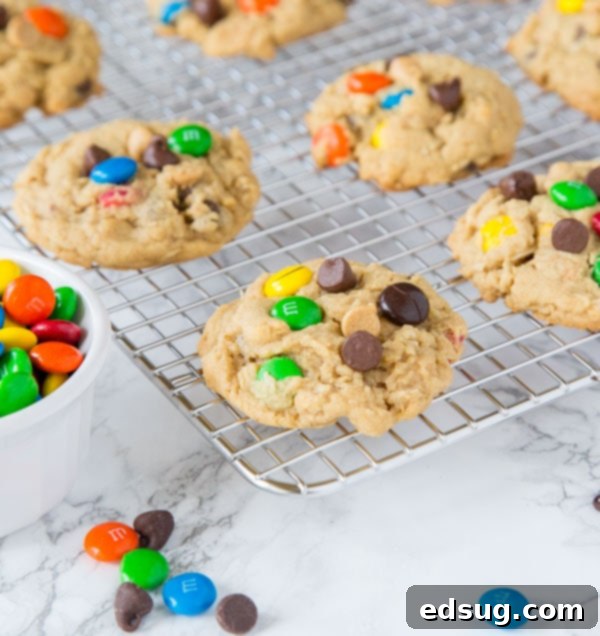
Irresistibly Soft & Chewy Monster Cookies: The Ultimate Recipe for a Sweet Treat
Indulge in the ultimate cookie experience with these Soft Monster Cookies. They are a delightful hybrid, blending the rich flavors of a classic peanut butter cookie, the wholesome chewiness of an oatmeal cookie, and the irresistible sweetness of a chocolate chip cookie. Packed with an abundance of delicious mix-ins, these cookies are a guaranteed crowd-pleaser that everyone will adore!
Imagine a cookie dough brimming with creamy peanut butter, hearty oats, sweet peanut butter chips, decadent chocolate chips, and colorful M&M’s. This sounds like a dream come true for any dessert lover, and that’s precisely what these Monster Cookies deliver. Each bite is a symphony of textures and flavors, making them as decadent and delicious as they sound.
For those who love the convenience of no-bake treats, you might recall my popular No Bake Monster Cookie Bars, which have been a hit for years. They offer all the beloved flavors of a classic monster cookie, ready in just minutes. While those are fantastic for a quick fix, this recipe focuses on creating a truly soft, chewy, and deeply satisfying baked cookie experience.
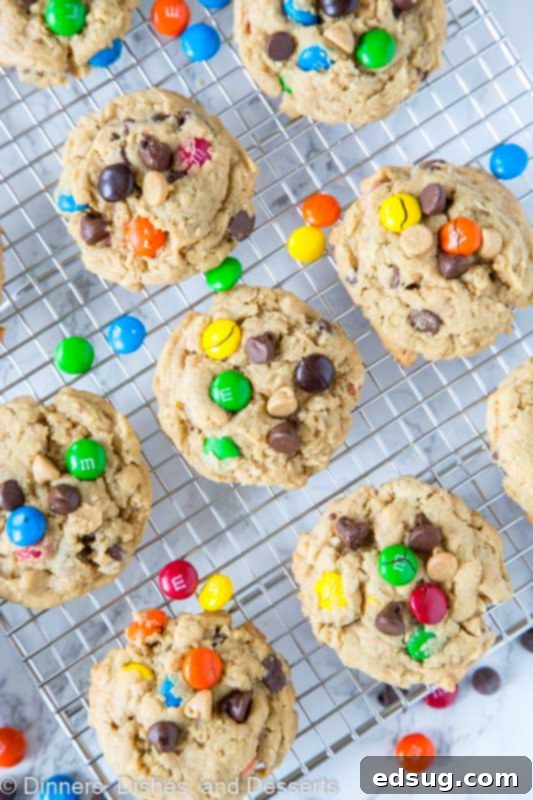
At our house, we’re undeniable fans of the classic chocolate and peanut butter combination. Treats like Reese’s Fudge are a staple, enjoyed year-round, not just during the holidays. Given our deep appreciation for this flavor duo, it’s no surprise that Monster Cookies are perfectly aligned with our sweet cravings. They embody everything we love about a hearty, indulgent cookie.
Monster cookies hold a special place as one of those timeless classics that resonate with nearly everyone. What makes them truly special is their versatility; you can adapt them in countless ways to suit your preferences. My particular recipe emphasizes a soft and chewy texture, which I believe is paramount for the ultimate cookie experience. However, the choice of mix-ins is entirely yours! Feel free to experiment with different nuts, butterscotch chips, various types of candies, or even pretzels for an extra salty crunch. The possibilities are endless, allowing you to personalize your batch of Monster Cookies.
The Irresistible Appeal of Homemade Monster Cookies
Why choose these homemade Monster Cookies? Beyond their incredible taste, there’s a unique satisfaction in baking a batch from scratch. They’re not just cookies; they’re a comforting trip down memory lane, reminding many of childhood treats. The combination of familiar flavors and textures makes them an instant favorite for family gatherings, parties, or simply a cozy night in. The aroma alone is enough to bring a smile to anyone’s face!
This recipe is designed to be straightforward, ensuring even novice bakers can achieve perfect results. With a few simple ingredients and clear instructions, you’ll be enjoying warm, soft, and chewy Monster Cookies in no time. Plus, the ability to customize the mix-ins means every batch can be a new adventure.
Key Ingredients for the Perfect Monster Cookie
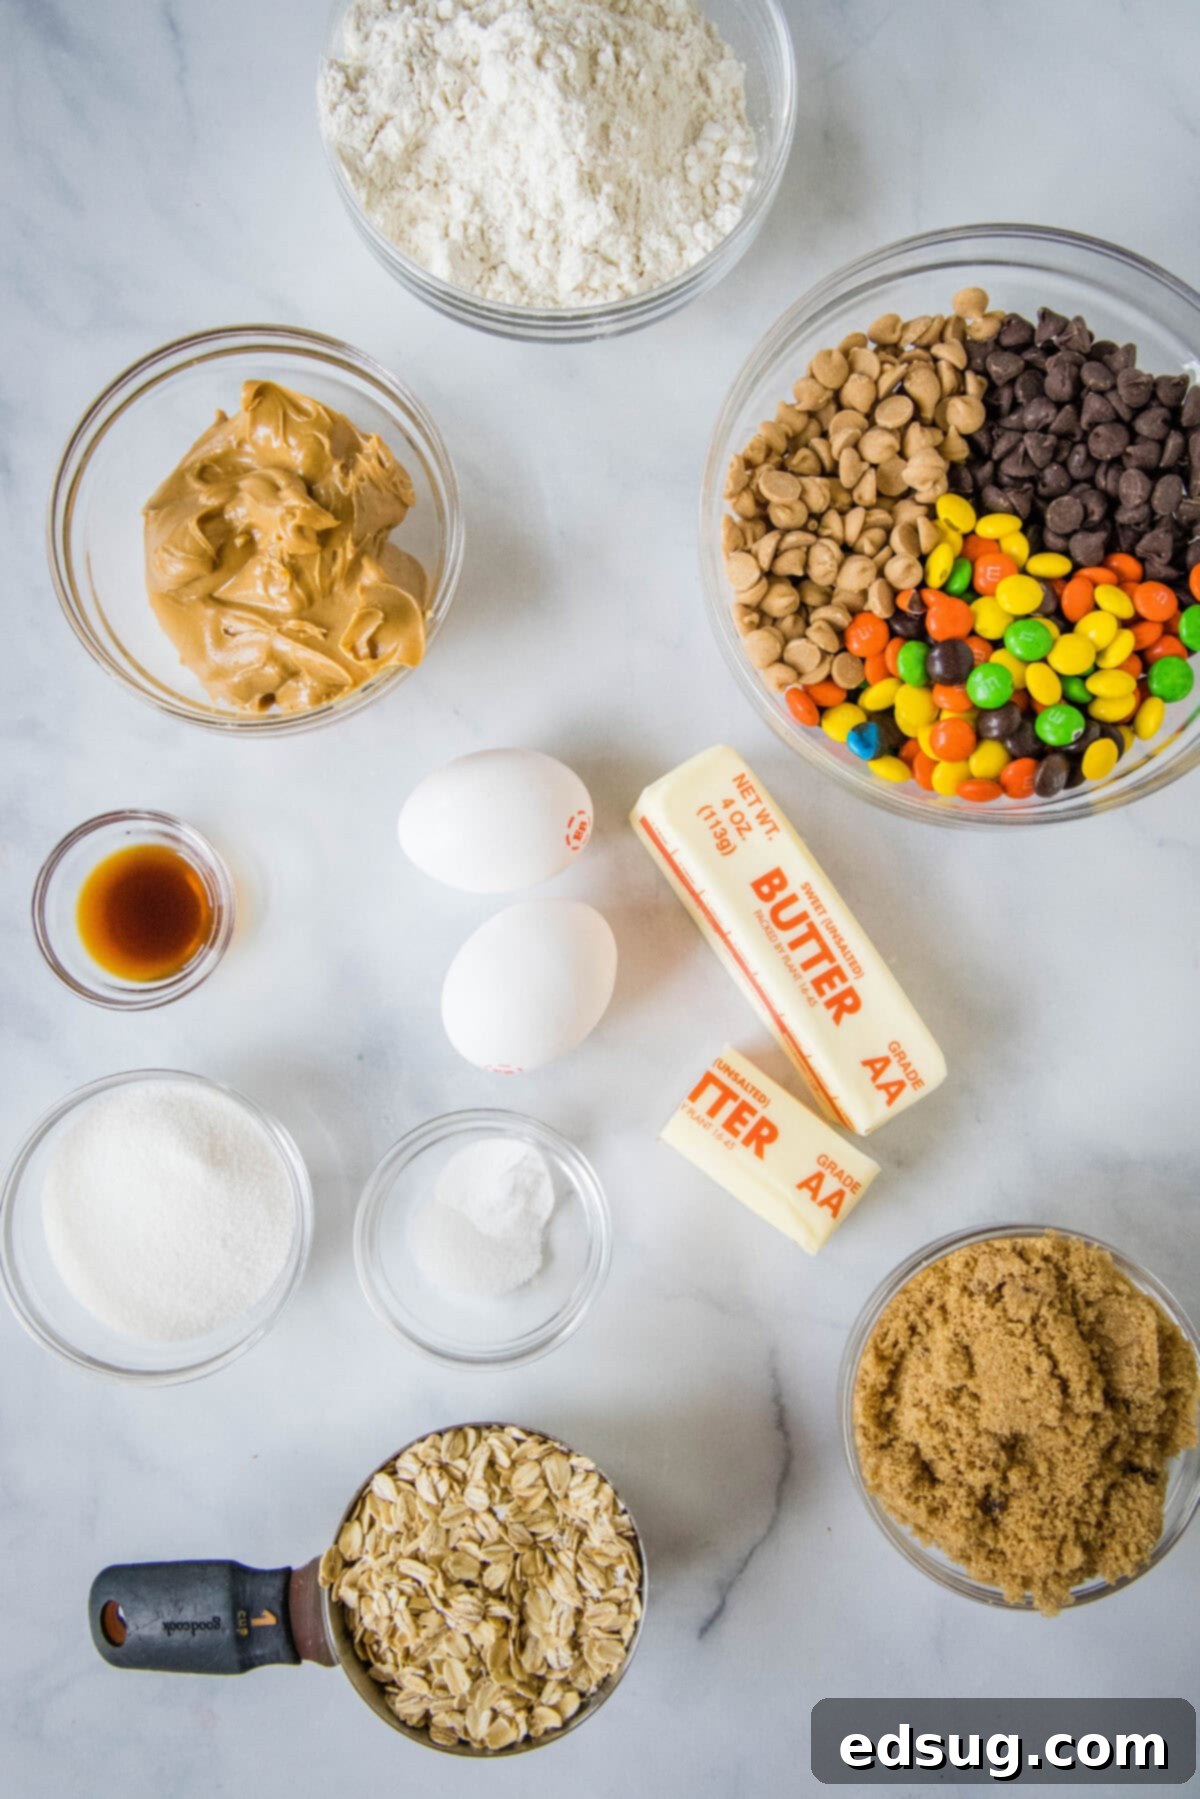
For the exact measurements and full instructions, make sure to scroll to the bottom of the post for the FULL PRINTABLE recipe card.
Crafting the perfect Monster Cookie starts with selecting quality ingredients that contribute to its distinctive taste and texture. Here’s a detailed look at what you’ll need:
- Unsalted Butter: Always opt for unsalted butter in baking. This gives you complete control over the salt content in your cookies, preventing them from becoming overly salty. Ensure it’s softened to room temperature for optimal creaming.
- Peanut Butter: For the best results in this recipe, commercial brands like Skippy or Jif are recommended. Their consistent texture and oil content work wonderfully. While creamy is my preference, crunchy peanut butter can also be used for an added textural element.
- Brown Sugar: Light brown sugar is crucial for that soft, moist, and chewy texture that defines these cookies. Its molasses content adds depth of flavor and contributes to the cookie’s tenderness.
- White Granulated Sugar: A smaller amount of white sugar balances the sweetness and helps with the cookie’s spread and crispness around the edges, without compromising the overall softness.
- Egg: Eggs act as a binder, providing structure and moisture. Using a whole egg ensures the dough comes together beautifully.
- Egg Yolk (Extra): The addition of an extra egg yolk is a secret weapon for achieving an even chewier texture and a richer flavor profile. It increases fat content without adding too much liquid.
- Vanilla Extract: A touch of pure vanilla extract enhances all the other flavors, adding a warm, aromatic note that elevates the entire cookie.
- Old Fashioned Oats: These provide the signature hearty texture of a monster cookie. Old-fashioned oats hold their shape better during baking, contributing to that satisfying chew. Avoid instant oats if possible, as they can result in a flatter, less textured cookie.
- All-Purpose Flour: The foundation of most baked goods, all-purpose flour provides the necessary structure for the cookies.
- Baking Soda: This leavening agent helps the cookies rise and spread slightly, contributing to their soft interior.
- Salt: A pinch of salt is essential to balance the sweetness and enhance the overall flavors of the cookies, especially the chocolate and peanut butter.
- M&M’s: These colorful candies are a hallmark of Monster Cookies, adding a delightful crunch, bursts of chocolate, and a playful visual appeal.
- Peanut Butter Chips: To amplify the peanut butter flavor, these chips are a must-have, melting into creamy pockets of goodness.
- Chocolate Chips: Semi-sweet chocolate chips are a classic addition, offering rich pockets of melting chocolate that perfectly complement the other ingredients.
Beyond these core ingredients, you can always personalize your Monster Cookies. Common and delicious additions include chopped peanuts for an extra nutty crunch or butterscotch chips for another layer of sweet, buttery flavor.
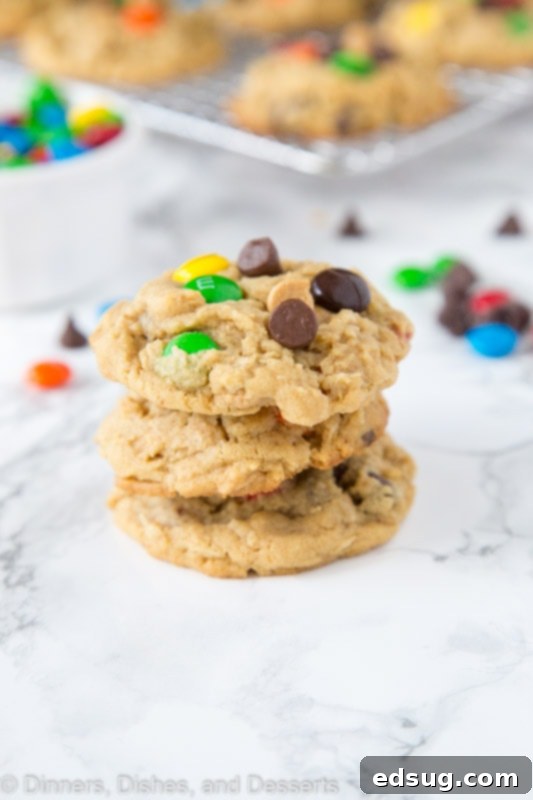
Crafting Your Own Soft Monster Cookies: A Step-by-Step Guide
Making these delightful Monster Cookies is a fun and rewarding process. Follow these steps carefully to achieve perfectly soft and chewy results:
- Creaming the Fats and Sugars: Begin by combining the softened butter, creamy peanut butter, light brown sugar, and granulated white sugar in the bowl of an electric stand mixer. Cream these ingredients together on medium speed until the mixture becomes light, fluffy, and noticeably paler in color. This typically takes about 2 minutes. Proper creaming incorporates air, which is vital for a soft cookie texture.
- Adding Wet Ingredients: Next, crack in the full egg, add the extra egg yolk (which contributes to chewiness!), and pour in the vanilla extract. Mix on medium speed until all these wet ingredients are fully incorporated into the butter and sugar mixture, ensuring a smooth and homogenous batter. Scrape down the sides of the bowl as needed.
- Incorporating Dry Ingredients: Gradually add the old-fashioned oats, all-purpose flour, baking soda, and salt to the wet mixture. Mix on low speed until the dough just comes together. Be careful not to overmix, as this can lead to tough cookies. Stop mixing as soon as no streaks of flour are visible.
- Folding in the Mix-Ins: Now for the fun part! Gently fold in your chosen mix-ins: the peanut butter chips, chocolate chips, and M&M’s. For a visually appealing finish, reserve a small handful of the candies to press onto the top of the dough balls just before baking. This ensures a beautiful, colorful cookie top.
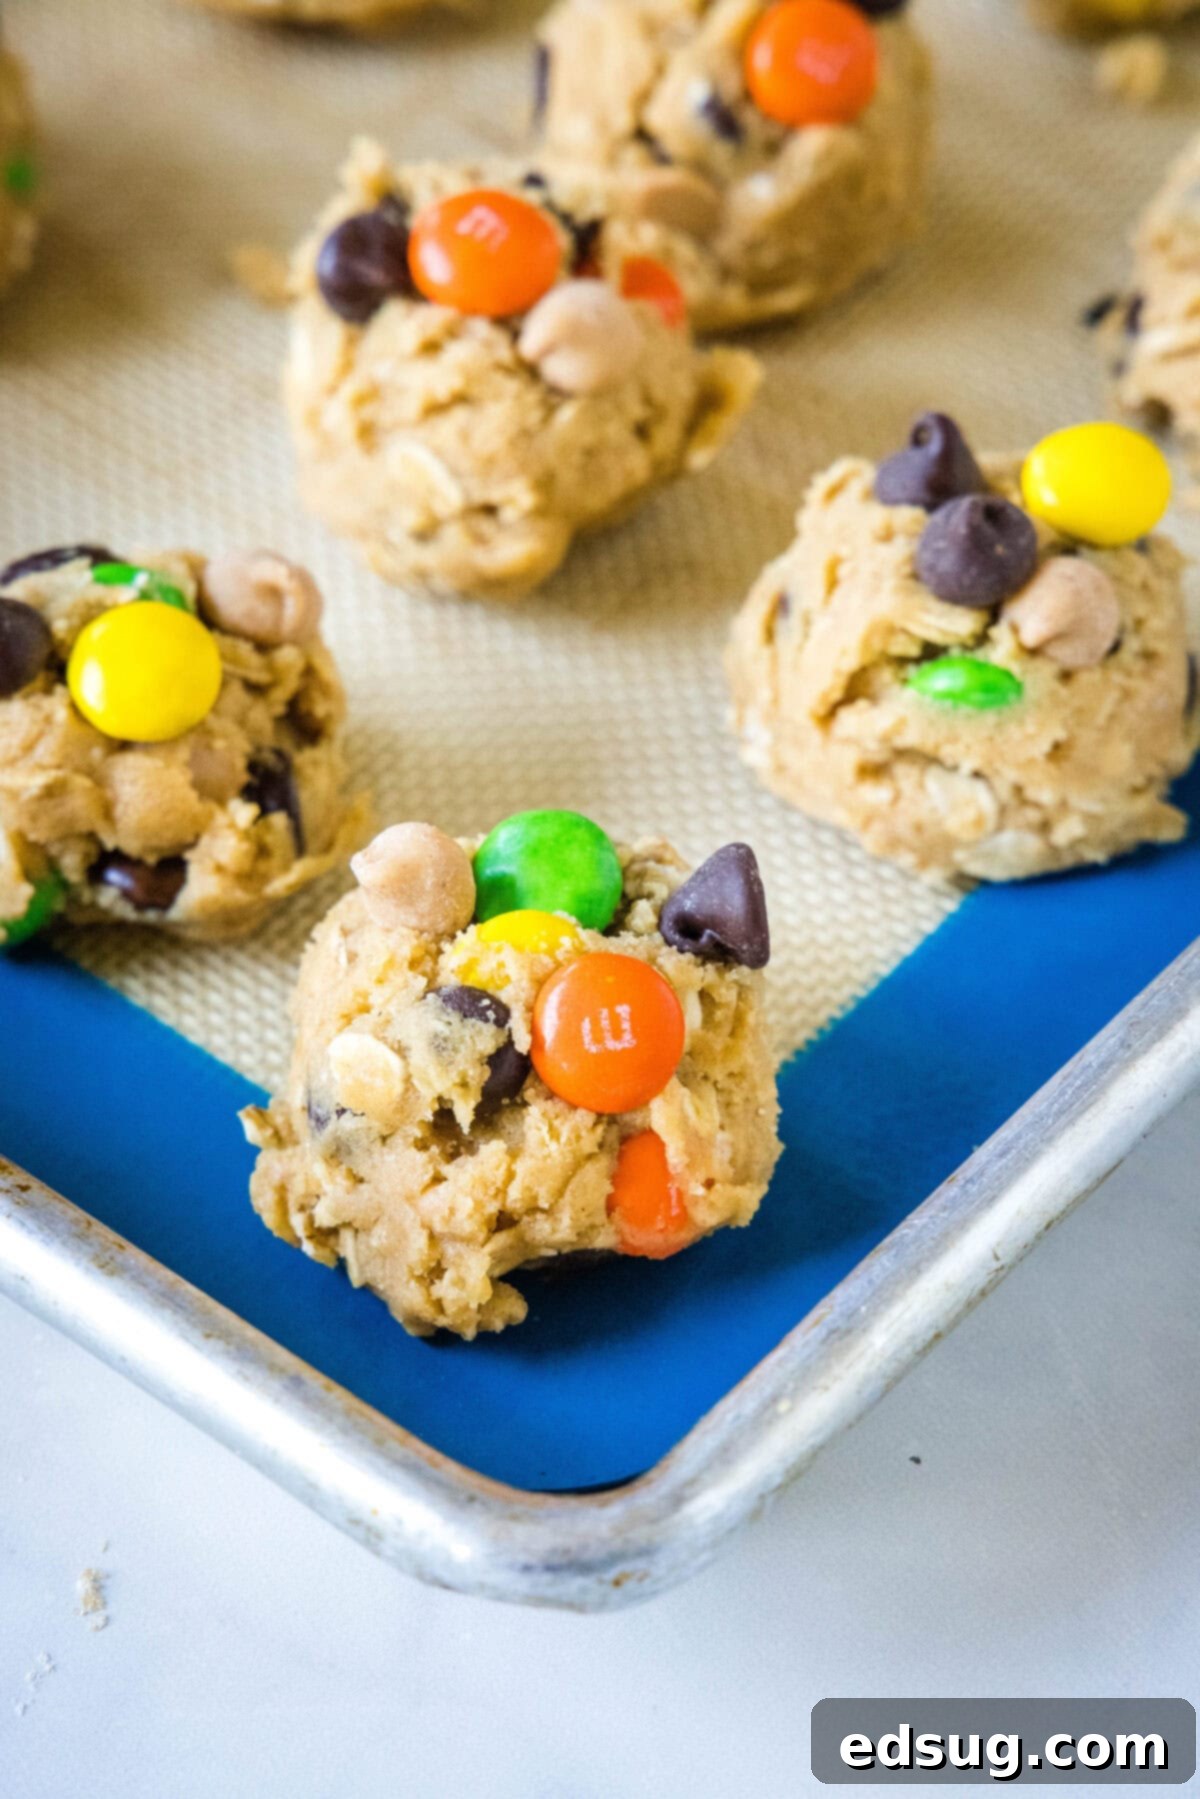
- Chilling and Scooping the Dough: Once the dough is mixed, it’s time to chill it. This crucial step helps the flavors meld, prevents the cookies from spreading too much, and contributes to a thicker, chewier final product. Cover the dough and refrigerate it for at least 30 minutes. After chilling, scoop uniform balls of dough onto a baking sheet lined with parchment paper. If you reserved some candies, gently press them onto the top of each dough ball.
- Baking to Perfection: Preheat your oven to 350ºF (175ºC). Bake the scooped cookies for 9-10 minutes, or until the edges are just set and lightly golden, but the centers still look slightly soft and underbaked. This is key for a soft and chewy cookie.
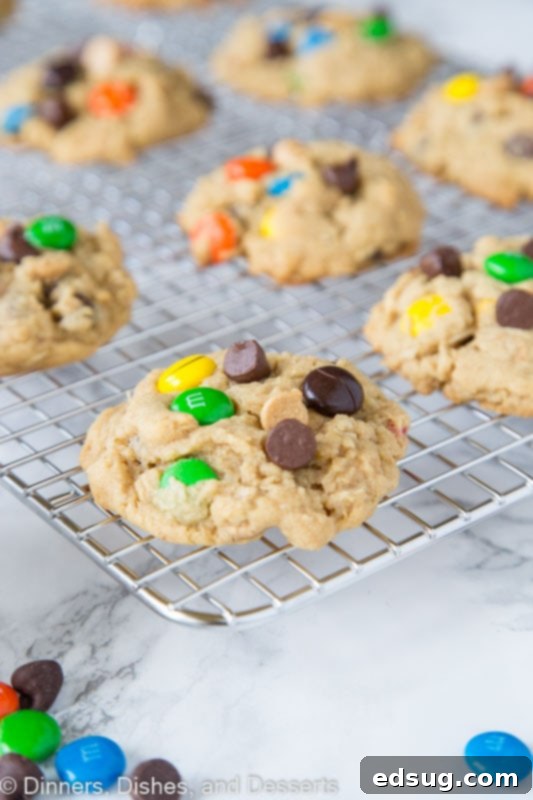
- Cooling Process: Immediately upon removing them from the oven, let the cookies cool on the baking sheet for about 5 minutes. They will continue to set during this time. After 5 minutes, carefully transfer them to a wire rack to cool completely. This prevents the bottoms from becoming soggy and ensures a consistent texture.
Essential Baking Tips & Tricks for Monster Cookies
Achieving bakery-quality Monster Cookies is easier than you think with these expert tips:
- Start with Room Temperature Ingredients: Ensure your butter and eggs are at room temperature. This is a foundational rule in baking as it allows them to emulsify and blend much more smoothly with the other ingredients, creating a more consistent and better-textured dough.
- The Brown Sugar Advantage: Cookies with a higher ratio of brown sugar to white sugar tend to be softer and chewier. The molasses in brown sugar provides moisture and contributes to this desirable texture. This recipe leverages that principle for ultimate softness.
- Don’t Skip Chilling the Dough: While not every cookie recipe requires it, chilling the dough is highly recommended for these Monster Cookies. It allows the butter to firm up, preventing the cookies from spreading too thin during baking, and results in a thicker, chewier cookie. More importantly, it gives the flavors a chance to meld and deepen, enhancing the overall taste. Even a quick 30-minute chill makes a big difference.
- Avoid Overbaking for Softness: If your goal is truly soft cookies, resist the urge to bake them until they look completely done in the oven. Pull them out when the edges are set but the centers still appear slightly soft and perhaps a bit underbaked. The cookies will continue to cook and set on the hot baking sheet even after they’re removed from the oven, reaching that perfect soft and chewy texture as they cool.
- Achieve Picture-Perfect Cookies: For those Instagram-worthy cookies, here’s a simple trick. After scooping your dough balls, gently press a few extra chocolate chips, M&M’s, or any other mix-in you’re using onto the top of each ball before baking. As the cookies bake and spread, these reserved toppings will remain visible on the surface, giving your cookies that professionally decorated, irresistible appearance.
Choosing the Right Oats for Your Monster Cookies
The type of oats you use can significantly impact the texture of your Monster Cookies. I strongly recommend using **old fashioned oats** (also known as rolled oats) for this recipe. These oats are flatter and thicker, retaining their texture beautifully during baking and contributing to the hearty, chewy bite that is characteristic of a great monster cookie. They give the cookie a robust structure without making it too dense.
While you can use quick-cooking oats if that’s all you have on hand, be aware that the final result will be different. Quick-cooking oats are processed to be thinner and cook faster, which means they will absorb more liquid and break down more during baking. This can lead to a cookie that is a little bit flatter and has a less pronounced chewy texture. For that authentic, satisfying monster cookie chew, stick with old fashioned oats whenever possible.
Freezing Cookie Dough for Future Treats
One of my favorite baking hacks is freezing cookie dough. It’s incredibly convenient, especially if you don’t need a full batch of cookies all at once, or if you simply want to have fresh-baked cookies ready in minutes. Here’s how to do it effectively:
After preparing your cookie dough, scoop it into individual balls, just as you would for baking. Place these dough balls onto a baking tray lined with parchment paper, ensuring they don’t touch each other. Then, transfer the entire tray to the freezer and let the dough balls freeze solid. This process prevents them from sticking together when stored.
Once the dough balls are completely frozen, transfer them into a freezer-safe plastic bag or an airtight container. Label the bag with the date and baking instructions (e.g., “Bake from frozen at 350°F for 12-15 minutes”).
Now, whenever a cookie craving strikes, you can simply grab however many frozen dough balls you desire from the freezer, place them on a baking sheet, and bake! You’ll always have access to warm, fresh-baked cookies with minimal effort. It’s a fantastic way to enjoy homemade treats without the commitment of baking a whole batch.
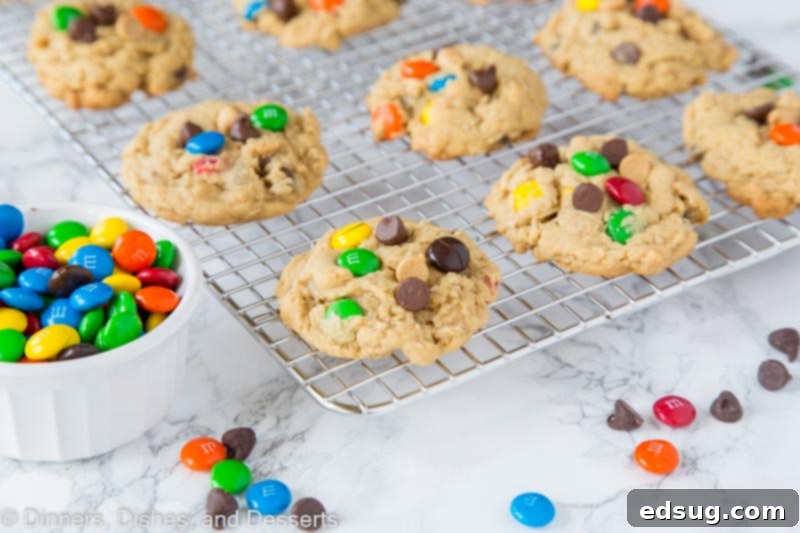
There’s something truly special about the nostalgic flavor of a homemade Monster Cookie. Bake up a batch today and rediscover the joy of these classic treats! These cookies bring back so many wonderful memories from my childhood, enjoying them at friends’ houses. Now, you can create those same cherished memories in your own home.
Frequently Asked Questions (FAQ) About Monster Cookies
Q: Can I use natural peanut butter in this recipe?
A: It’s generally recommended to use commercial, no-stir creamy peanut butter (like Jif or Skippy) for consistent results in baking, especially for cookies. Natural peanut butter, with its tendency to separate oils, can sometimes lead to a different texture in the cookies, making them spread more or be drier. If you do use natural peanut butter, ensure it’s well-stirred and try to compensate by reducing butter slightly or chilling the dough for longer.
Q: How long do Monster Cookies stay fresh?
A: When stored in an airtight container at room temperature, these Soft Monster Cookies will stay fresh and delicious for 3-5 days. For longer storage, you can freeze the baked cookies (see freezing tips above).
Q: Can I double or halve this recipe?
A: Yes, this recipe can easily be doubled if you’re baking for a crowd, or halved if you only need a smaller batch. Just ensure you adjust all ingredient quantities proportionally.
Q: What other mix-ins can I add?
A: The beauty of Monster Cookies is their adaptability! Besides the standard M&Ms, chocolate chips, and peanut butter chips, consider adding: chopped nuts (peanuts, walnuts, pecans), butterscotch chips, white chocolate chips, shredded coconut, dried cranberries or raisins, or even crushed pretzels for a salty-sweet crunch.
Explore More Delicious Cookie Recipes
If you loved these Monster Cookies, you’re in for a treat! Here are more fantastic cookie recipes to try from Dinners, Dishes and Desserts:
- Brownie Cookies: Rich, fudgy, and intensely chocolatey, like a brownie in cookie form.
- Oatmeal Chocolate Chip Cookies: A wholesome twist on a classic, offering a delightful chewiness.
- Peanut Butter Chocolate Chip Cookies: The beloved duo in a simpler, yet equally satisfying, cookie.
- Lemon Crinkle Cookies: Bright, zesty, and beautiful cookies with a lovely crackled finish.
- Andes Mint Cake Mix Cookies: Easy to make with a cake mix, featuring the refreshing flavor of Andes mints.
- Butterscotch Pudding Cookies: Incredibly soft and chewy cookies enhanced with the magic of pudding mix.
- S’mores Cookie Bars: All the campfire deliciousness of s’mores in a convenient bar form.
- Bisquick Cookies: A super simple recipe using Bisquick for quick and easy baking.
Soft Monster Cookies
Pin Recipe
Rate Recipe
Print Recipe
Equipment
-
Kitchen Aid Stand Mixer
-
Full Sheet Pan
-
Cookie Scoop
Ingredients
- 3/4 cup unsalted butter, softened to room temperature
- 3/4 cup creamy peanut butter (commercial brand like Jif or Skippy)
- 1 cup light brown sugar, packed
- 1/4 cup granulated sugar
- 1 large egg, room temperature
- 1 egg yolk, from a large egg
- 2 teaspoons pure vanilla extract
- 1 cup old fashioned rolled oats
- 1 3/4 cup all-purpose flour
- 1 teaspoon baking soda
- 1/2 teaspoon salt
- 1 cup peanut butter chips
- 3/4 cup semi-sweet chocolate chips
- 3/4 cup M&M’s, plus extra for topping if desired
Instructions
-
In the bowl of an electric mixer, cream together the softened butter, creamy peanut butter, light brown sugar, and granulated white sugar. Beat on medium speed for about 2 minutes until the mixture is light, fluffy, and well combined.
-
Add the large egg, the extra egg yolk, and the vanilla extract to the creamed mixture. Mix until well blended and fully incorporated, scraping down the sides of the bowl as needed.
-
Gradually mix in the old-fashioned oats, all-purpose flour, baking soda, and salt. Continue mixing on low speed until the dough comes together and there are no visible streaks of flour. Be careful not to overmix.
-
Gently fold in the peanut butter chips, chocolate chips, and M&M’s. If you wish to have picture-perfect cookies, reserve a small portion of the candies to use as topping later.
-
Scoop uniform balls of dough onto a baking sheet lined with parchment paper. If you reserved candies, gently press a few onto the top of each dough ball. Place the baking sheet with the scooped dough in the refrigerator to chill for at least 30 minutes. This helps prevent spreading and enhances chewiness.
-
While the dough is chilling, preheat your oven to 350º F (175º C).
-
Bake the chilled cookies for 9-10 minutes, or until the edges are just set and lightly golden, but the centers still appear slightly soft. Remove from the oven and let the cookies set on the baking pan for 5 minutes before carefully transferring them to a wire rack to cool completely.
Notes
Nutrition
Nutrition information is automatically calculated, so should only be used as an approximation.
Additional Info
Love this recipe? Don’t forget to leave a comment and rate it below!Your feedback helps us continue sharing amazing recipes!
Join Our Community! I’ve created a vibrant group on Facebook, and I would absolutely love for you to become a part of it! It’s a fantastic space where you can share your favorite recipes, ask baking questions, and stay updated on all the new delicious content from Dinners, Dishes and Desserts (so you never miss out on a recipe!). If you’re eager to connect with fellow food enthusiasts, you can request to join HERE.
Share Your Creations! Be sure to follow me on Instagram and tag your amazing creations with #dinnersdishes. I love seeing all the wonderful Dinners, Dishes, and Desserts recipes YOU make! It truly makes my day to see how you bring these recipes to life in your kitchens.
Connect with Dinners, Dishes, and Desserts on Social Media!
Stay connected and never miss a post from us by following on all our social media channels:
Facebook | Twitter | Pinterest | Instagram
