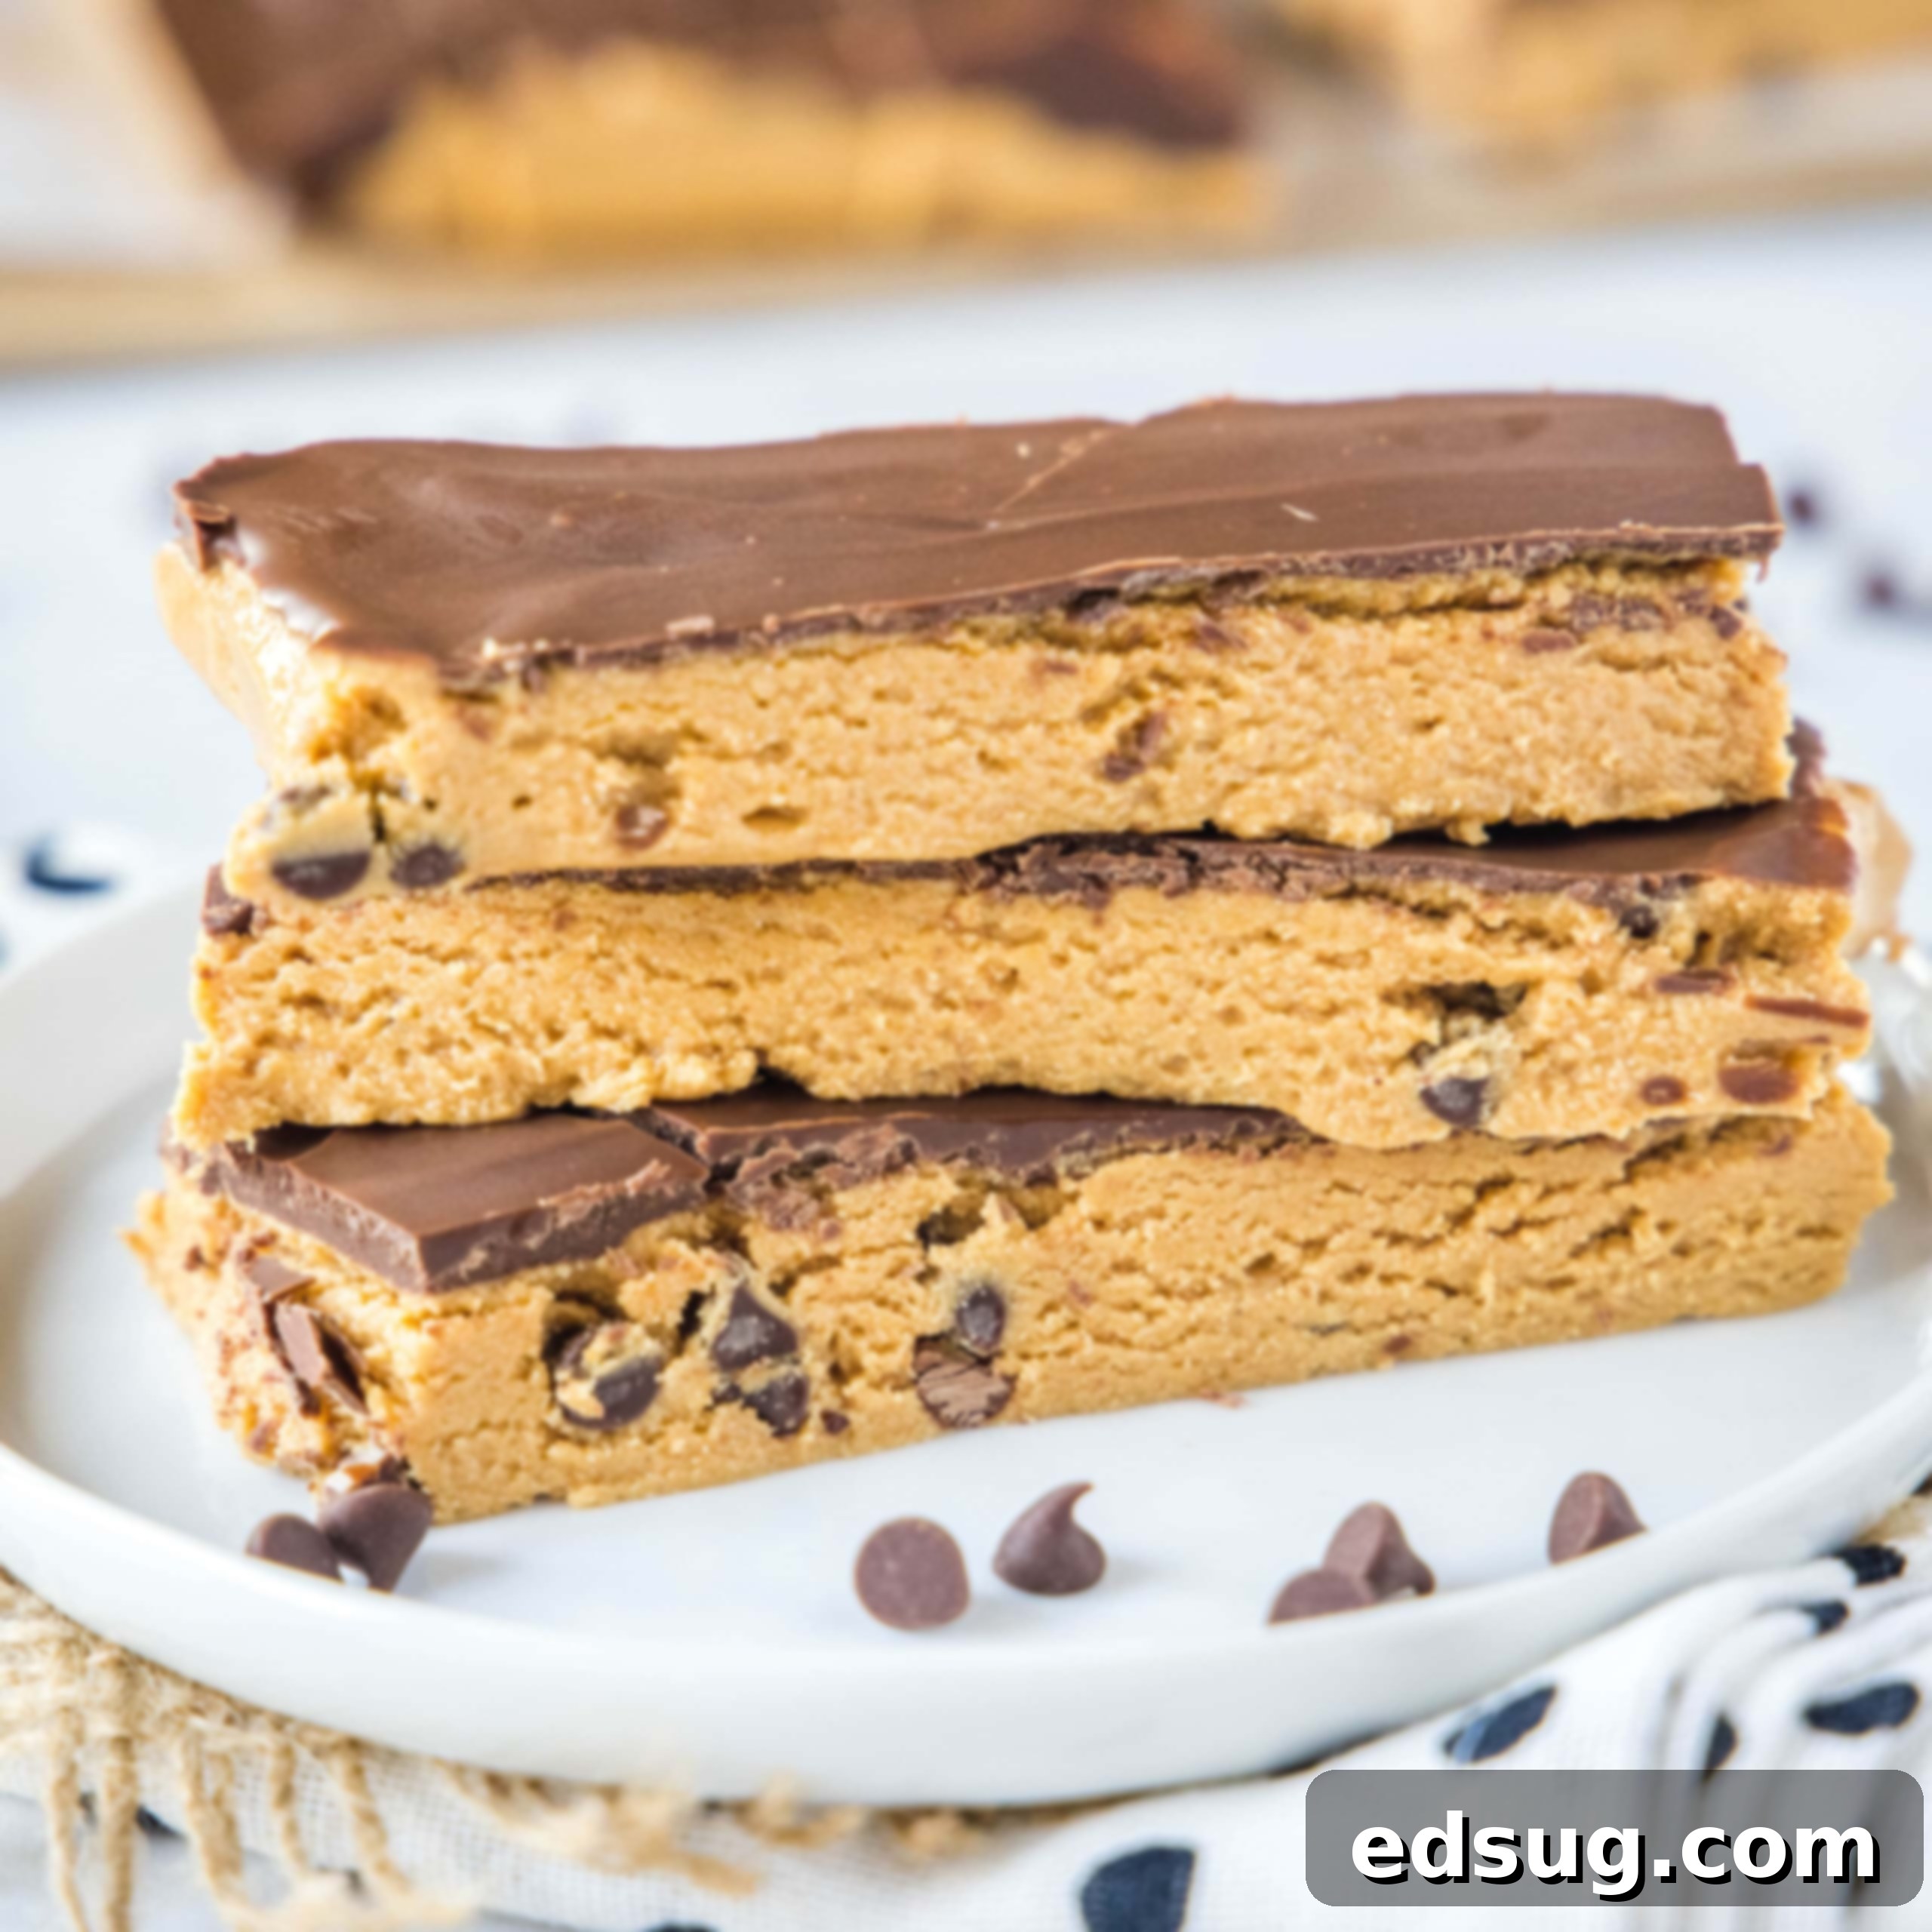
Homemade Peanut Butter Protein Bars: Easy No-Bake Recipe for a Healthy Snack
Say goodbye to expensive store-bought options! These homemade Peanut Butter Protein Bars are incredibly soft, packed with wholesome protein, and boast a delightful cookie dough-like flavor. Requiring absolutely no baking, they’re super easy to prepare and ready to fuel your day in no time.
For many of us, breakfast can feel like a rush, and finding a meal that’s both quick and nutritious is a constant challenge. I often struggle with dedicating time to prepare a substantial morning meal, yet I crave something that’s rich in protein, satisfying, and convenient. Let’s be honest, while a warm Chocolate Chip Muffin might be tempting, it’s rarely the best choice for a healthy start to the day. This dilemma led me on a quest to find the perfect solution for busy mornings and on-the-go snacking.
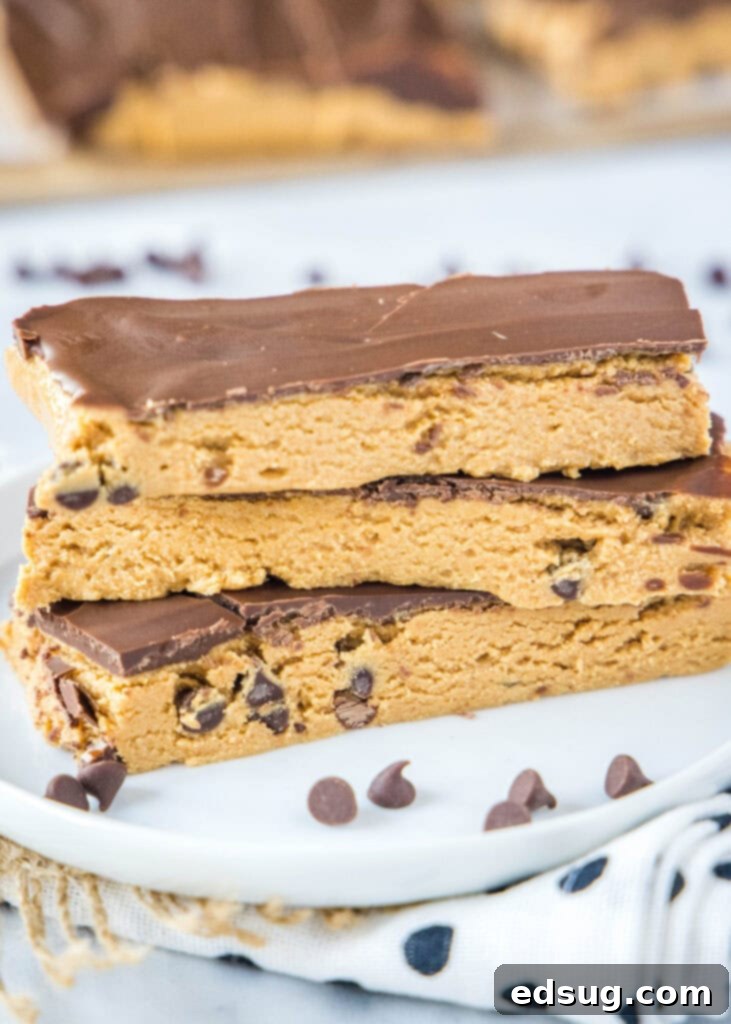
Over time, I’ve sampled countless protein bars available on the market, searching for one that truly hit all the right notes. While I’ve grown quite fond of certain brands, particularly the “Perfect Bar” for its texture and taste, their price tag often makes them an unsustainable daily habit. This realization sparked my motivation to develop my own homemade version – one that would offer the same great qualities without breaking the bank.
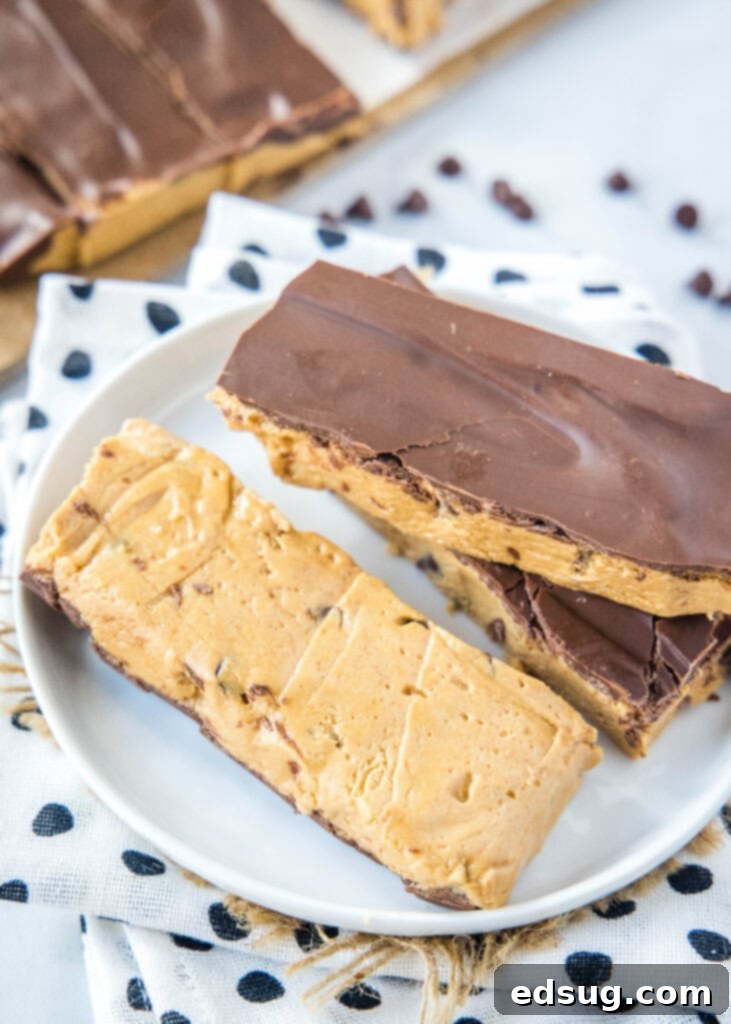
My goal was to create a bar that wasn’t just packed with protein but also offered fantastic flavor and customizable ingredients. These peanut butter protein bars deliver exactly that. They’re loaded with quality protein, feature just enough chocolate to make them feel like a treat, and can easily be enhanced with flax meal for an extra boost of beneficial fiber. Imagine biting into a soft, chewy bar that tastes like delicious cookie dough, all while knowing it’s fueling your body with essential nutrients.
Why Homemade is Best: The Benefits of DIY Protein Bars
Opting for homemade protein bars offers a multitude of advantages over their store-bought counterparts. First and foremost, you gain complete control over the ingredients. This means no hidden sugars, artificial flavors, or preservatives that often lurk in commercial products. You can tailor the recipe to your specific dietary needs, whether you’re avoiding certain allergens, managing sugar intake, or increasing fiber content. Furthermore, the cost savings are significant. Regularly purchasing protein bars can quickly add up, whereas making them at home is a much more economical way to maintain a healthy snacking routine.
Beyond health and cost, there’s the undeniable freshness and superior taste. Homemade bars don’t sit on a shelf for weeks; they’re made with fresh ingredients and can be enjoyed at their peak. The texture, as you’ll discover with these peanut butter protein bars, is often softer, creamier, and far more appealing than the sometimes dense or chalky consistency of mass-produced bars. Plus, the satisfaction of creating your own healthy snacks is an added bonus!
Essential Ingredients for Your Protein Bars
Below is a list of key ingredients. For precise measurements, please refer to the FULL PRINTABLE recipe card at the bottom of this post.
- Natural Peanut Butter: The foundation of these bars! It’s crucial to use a natural peanut butter where the only ingredient listed on the jar is peanuts. Avoid brands with added sugars, hydrogenated oils, or excessive sodium, as these significantly alter the nutritional profile and can affect the bar’s texture. Natural peanut butter provides healthy fats and a rich flavor. If you have a peanut allergy or prefer a different flavor, feel free to substitute with almond butter, cashew butter, or even sunflower seed butter (like SunButter or WowButter) for an allergy-friendly option.
- Protein Powder: This is where the “protein” in protein bar comes in! I typically opt for vanilla protein powder because of its versatility and ability to complement the peanut butter flavor without overpowering it. However, if you’re aiming for a chocolatey bar, a chocolate-flavored protein powder would be an excellent choice. The market offers a vast array of protein sources—whey, casein, soy, pea, rice, hemp—so choose one that you enjoy and that agrees with your digestive system. Different protein powders can absorb liquid differently, so you might need to slightly adjust the amount of liquid sweetener if your protein powder is particularly absorbent. For a blend that offers sustained fullness, I personally like Quest Vanilla Milkshake protein powder, which combines both whey and casein.
- Agave Nectar (or Alternative Sweetener): Agave is my preferred sweetener for this recipe because it provides sweetness without imparting a strong flavor, allowing the peanut butter and vanilla to shine. I usually use about 1/4 cup, sometimes a little less, depending on whether I’m adding a chocolate topping. If you’re using a chocolate topping, you might reduce the agave closer to 2 tablespoons. Taste the dough after mixing before pressing it into the pan to determine if you’d like it sweeter. Honey or maple syrup are excellent alternatives, though they will introduce their own distinct flavors. For a lower-sugar option, you could experiment with sugar-free liquid sweeteners, adjusting to taste.
- Vanilla Extract: A small amount of vanilla extract goes a long way in enhancing the overall flavor profile, adding a warm and comforting note that makes these bars taste even more like cookie dough.
- Mini Chocolate Chips (Optional Mix-in): These add little bursts of chocolatey goodness throughout the bar. If you’re a chocolate lover, don’t skip them! You can also use regular-sized chocolate chips, but mini chips tend to distribute more evenly and melt subtly into the mixture, providing a more consistent chocolate experience in every bite.
- Semi-Sweet Chocolate & Avocado Oil (Optional Topping): While the original “Perfect Bars” typically aren’t coated in chocolate, I love adding a melted chocolate layer to these homemade versions. It makes them a bit more indulgent and visually appealing. The avocado oil is key here; it helps the chocolate melt smoothly and, more importantly, prevents the topping from becoming too hard and cracking when you slice the bars. You can certainly omit the chocolate topping entirely if you prefer, or if you’re looking to reduce the fat and sugar content. Coconut oil can also be used in place of avocado oil for the chocolate coating.
A Homemade Take on Your Favorite “Perfect Bars”
I must admit, the store-bought “Perfect Bars” have long been a favorite of mine. They strike a great balance of sweetness without tasting overly like a dessert (though you can always reduce the agave in this recipe for an even less sweet version). However, a common critique of the commercial bars is their dense, sometimes almost chalky texture. This is precisely where these homemade peanut butter protein bars truly shine.
My recipe aims for a smoother, creamier, and more delightful texture that I believe surpasses the original. You’ll find these bars to be wonderfully soft and pliable, mimicking that irresistible cookie dough consistency. The added chocolate layer on top is a personal touch that makes them even more enjoyable, though it’s completely optional. It transforms a simple protein bar into a more fun and satisfying treat. When considering the nutritional information provided in the recipe card, remember that these figures *include* the optional chocolate topping. If you choose to make your bars without it, you’ll want to re-calculate the macros accordingly to fit your dietary goals.
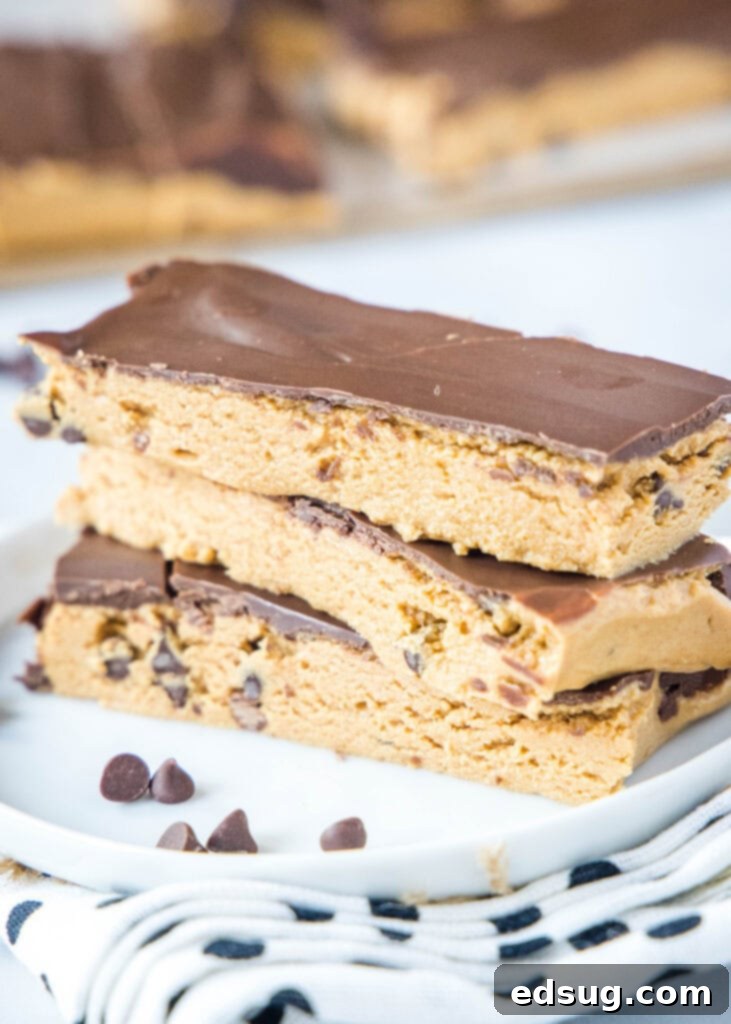
Step-by-Step: Crafting Your No-Bake Protein Bars
Creating these protein-packed snacks is incredibly simple. For a detailed, printable recipe, scroll down to the bottom of the page.
- Combine the Base Ingredients: In a large mixing bowl, combine your natural peanut butter, vanilla protein powder, agave nectar, vanilla extract, and optional mini chocolate chips. Stir thoroughly until all ingredients are well incorporated and form a thick, cohesive dough. You might need to use your hands to really get everything mixed, especially if your peanut butter is very thick. This is a good time to taste the mixture and adjust the sweetness if desired.
- Press into Pan: Line an 8-inch baking pan (a square pan works best) with parchment paper, leaving an overhang on the sides. This will make it much easier to lift the set bars out later. Transfer the mixture to the prepared pan and press it down firmly and evenly using the back of a spoon or your hands. Ensure the surface is as smooth and level as possible for uniform bars.
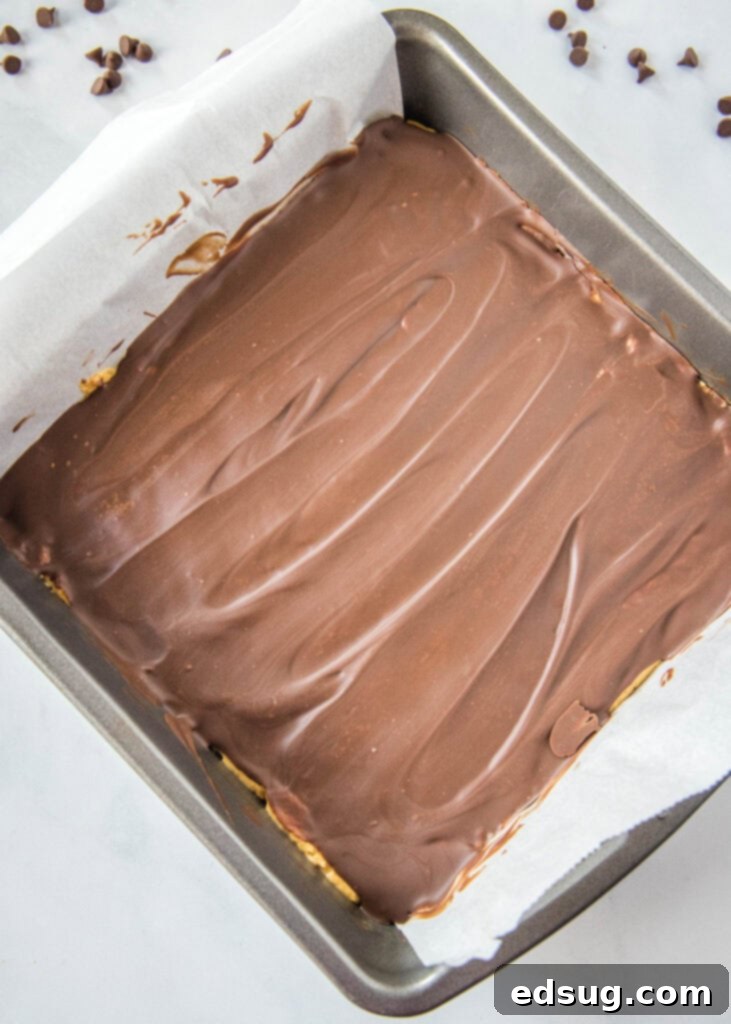
- Add Optional Chocolate Topping: If you’re adding the chocolate layer, melt the semi-sweet chocolate and avocado oil together in a small, microwave-safe bowl (in 30-second intervals, stirring in between) or over a double boiler until completely smooth and glossy. Pour this melted chocolate mixture over the pressed peanut butter base in the pan and spread it quickly into an even layer using a spatula.
- Chill to Set: Place the pan into the refrigerator for a minimum of 2-3 hours. This crucial step allows the bars to firm up completely, ensuring they hold their shape perfectly when sliced. Resist the urge to cut them too soon! For best results, allow the full chilling time.
- Slice and Store: Once thoroughly chilled and firm, use the parchment paper overhangs to lift the entire slab of bars out of the pan. Place it on a cutting board and slice into 10 evenly sized bars. Store the finished peanut butter protein bars in an airtight container in the refrigerator. Layer them with small pieces of parchment or wax paper between each bar to prevent sticking.
Recipe Tips & Creative Customization Ideas
These peanut butter protein bars are incredibly versatile, allowing for numerous adjustments to suit your taste and dietary preferences. Here are some pro tips and ideas to make them uniquely yours:
- Sweetener Alternatives: As mentioned, I prefer agave for its neutral flavor profile. However, feel free to use your favorite liquid sweetener. Honey will lend a slightly floral note, while maple syrup provides a distinct, rich sweetness. For those watching their sugar intake, sugar-free syrup options can also work; just adjust the quantity to achieve your desired sweetness and note that it may slightly affect the final texture.
- Nut Butter & Allergy-Friendly Options: Don’t limit yourself to peanut butter! Almond butter, cashew butter, or even a mixed nut butter blend can create delicious variations. For individuals with nut allergies, sunflower seed butter (like SunButter or WowButter) is an excellent and safe alternative that maintains a similar creamy texture and rich flavor.
- Boost That Fiber: To significantly increase the fiber content and add a nutty, wholesome texture, incorporate 1/4 to 1/3 cup of ground flaxseed meal into your dough. This can boost the fiber to approximately 4 grams per bar, aiding in digestion and satiety. Chia seeds or hemp seeds can also be added for a similar effect.
- Maximize Your Protein Intake: If you’re looking for an extra protein punch, you can often increase the protein powder. I frequently add 4 scoops (or about 1 cup) of protein powder instead of the 3/4 cup called for in the recipe. Be mindful that adding more dry ingredients might require a tiny bit more liquid sweetener or a splash of milk (dairy or non-dairy) to maintain the desired dough consistency.
- Perfecting the Chocolate Topping: The avocado oil in the chocolate topping isn’t just for shine; it helps keep the chocolate layer slightly softer, preventing it from cracking harshly when you cut into the chilled bars. This makes for cleaner cuts and a more pleasant eating experience. If you’re conscious about fat content, you can omit the oil, but be aware that the chocolate will be firmer and more prone to cracking. Coconut oil is another excellent choice for this purpose.
- Flavor Enhancements: Get creative with extracts! A hint of almond extract alongside vanilla, or a touch of coffee extract can add depth. For a spice kick, a pinch of cinnamon or nutmeg would be delicious.
- Textural Additions: Beyond mini chocolate chips, consider mixing in shredded coconut, finely chopped nuts (if not using an allergy-friendly butter), or even dried fruit (cranberries, finely diced apricots) for added texture and flavor.
- Serving Suggestions: These bars are ideal for a quick breakfast, a post-workout recovery snack, a midday energy boost, or even a healthier dessert alternative. Their portability makes them perfect for lunchboxes, hikes, or busy commutes.
Storage Solutions for Freshness
Proper storage is key to maintaining the freshness, texture, and longevity of your homemade protein bars. These bars will remain delicious and perfectly textured for about 1 to 2 weeks when stored correctly in the refrigerator. To prevent them from sticking together, which can happen due to the soft nature of the peanut butter and protein powder mixture, I highly recommend layering them in an airtight container with pieces of parchment paper or wax paper between each bar. This simple step ensures they are easy to grab and enjoy without any fuss.
For longer-term storage, these protein bars also freeze beautifully. Wrap individual bars tightly in plastic wrap, then place them in a freezer-safe bag or container. They can be stored in the freezer for up to 2-3 months. When you’re ready to enjoy one, simply pull it out of the freezer and let it thaw in the refrigerator for a few hours, or on the counter for about 30 minutes, until it reaches your desired texture. This makes them an excellent meal prep option, ensuring you always have a healthy, convenient snack on hand.
More Healthy Breakfast Recipes to Fuel Your Day
- Chocolate Peanut Butter Oatmeal
- Baked Oatmeal Cups
- Chocolate Banana Oatmeal Blender Muffins
- Hearty Breakfast Bowls
- Fluffy Protein Pancakes
Peanut Butter Protein Bars
Pin Recipe
Rate Recipe
Print Recipe
Video
Ingredients
- 16 oz natural peanut butter, peanuts as the only ingredient
- 3/4 cup vanilla protein powder, (usually 3 scoops)
- 1/4 cup agave, or honey
- 1/4 teaspoon vanilla extract
- 1/4 cup mini chocolate chips
- 3 oz semi-sweet chocolate, optional
- 1 teaspoon avocado oil, optional
Instructions
-
In a bowl, thoroughly mix together the natural peanut butter, vanilla protein powder, agave nectar (or chosen liquid sweetener), vanilla extract, and mini chocolate chips until a cohesive dough forms. Ensure all ingredients are well combined.
-
Line an 8-inch square baking pan with parchment paper, allowing some overhang on the sides. Press the prepared dough evenly and firmly into the lined pan, creating a smooth surface.
-
For the optional chocolate topping: In a small microwave-safe bowl, melt the semi-sweet chocolate and avocado oil together, stirring until smooth. Pour this mixture over the peanut butter base and spread it into an even layer. Skip this step if you prefer no chocolate topping.
-
Place the pan in the refrigerator for 2-3 hours to allow the bars to set completely. This chilling time is essential for the bars to firm up and hold their shape.
-
Once fully set, use the parchment paper overhang to lift the entire block of bars out of the pan. Place it on a cutting board and slice into 10 equal-sized bars. Store the bars in an airtight container in the refrigerator, separating layers with parchment paper to prevent sticking.
Notes
Extra Protein: For an even higher protein bar, use 1 cup (or 4 scoops) of protein powder instead of 3/4 cup. You might need a tiny splash of milk or extra agave to adjust consistency.
Nutrition Information
The nutrition information provided is an automatic calculation and should be used as an approximation. Actual values may vary based on specific ingredients and brands used.
Additional Info
Enjoyed this recipe? Share your thoughts below!Your feedback helps others discover delicious meals.
Join our thriving community on Facebook! It’s a fantastic space where you can share your favorite recipes, ask cooking questions, and stay updated on all the latest from Dinners, Dishes and Desserts, ensuring you never miss a new, delicious recipe!
Be sure to follow me on Instagram and
tag your culinary creations with #dinnersdishes so I can see all the wonderful DINNERS, DISHES, AND DESSERTS
recipes YOU make!
Don’t miss out on any new posts – make sure to follow me on all my social media channels!
Facebook | Twitter | Pinterest | Instagram
.
