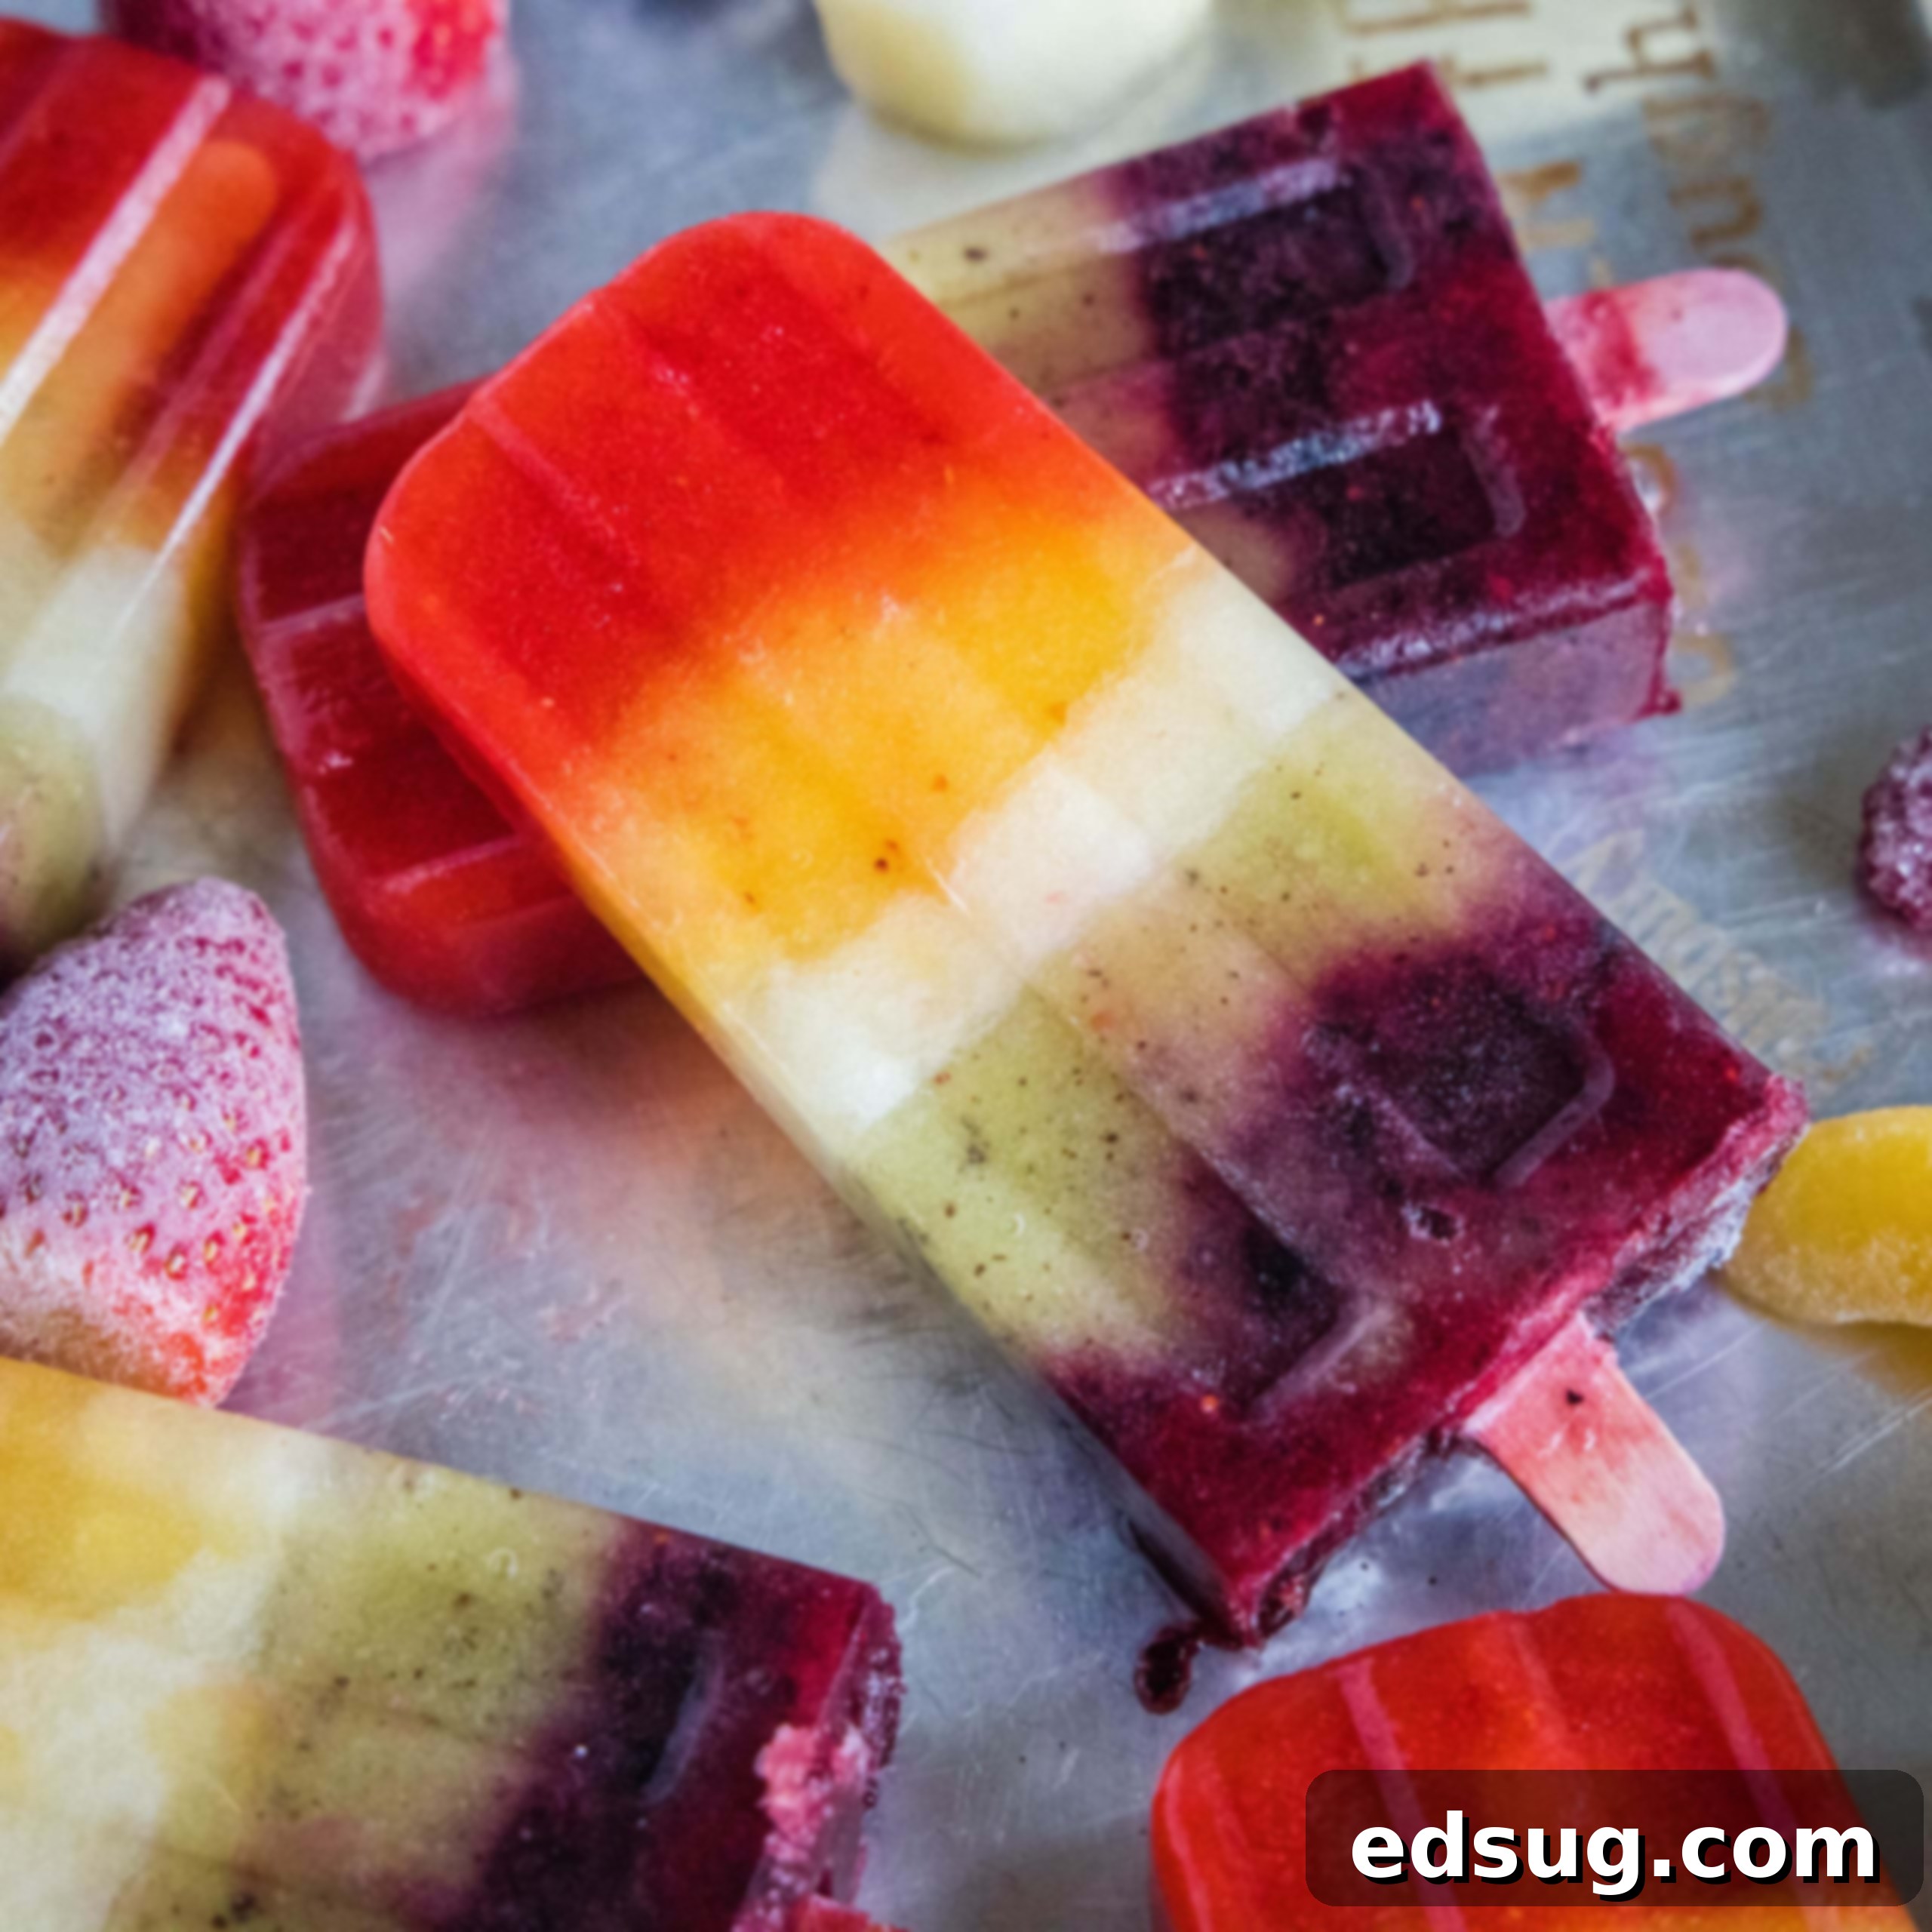
Vibrant & Wholesome Rainbow Popsicles: Your Ultimate Guide to a Healthy, Fun Summer Treat
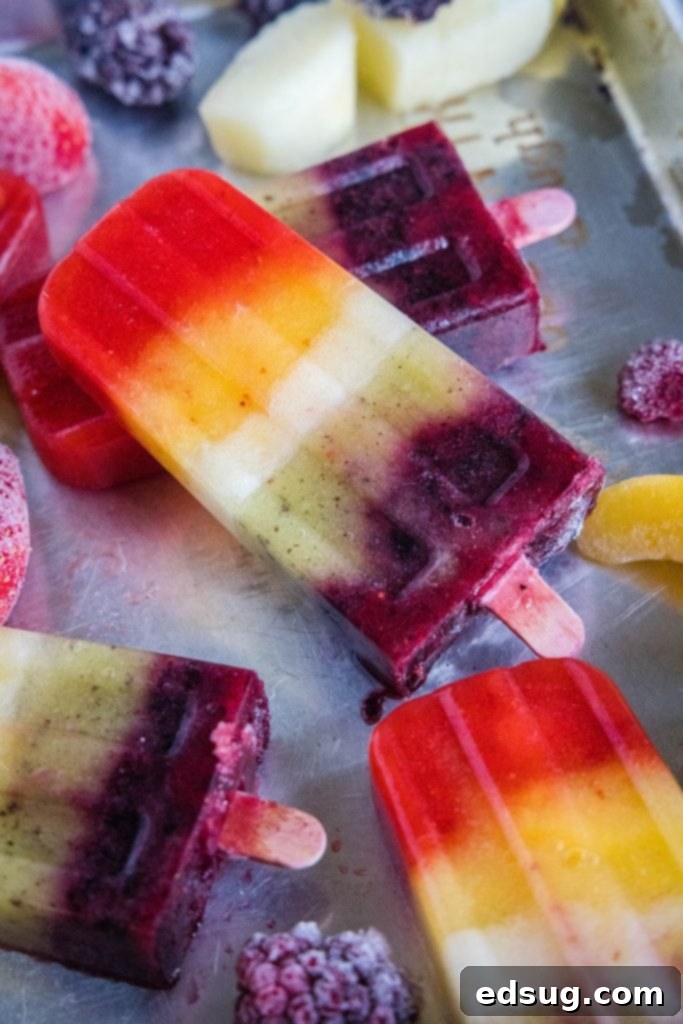
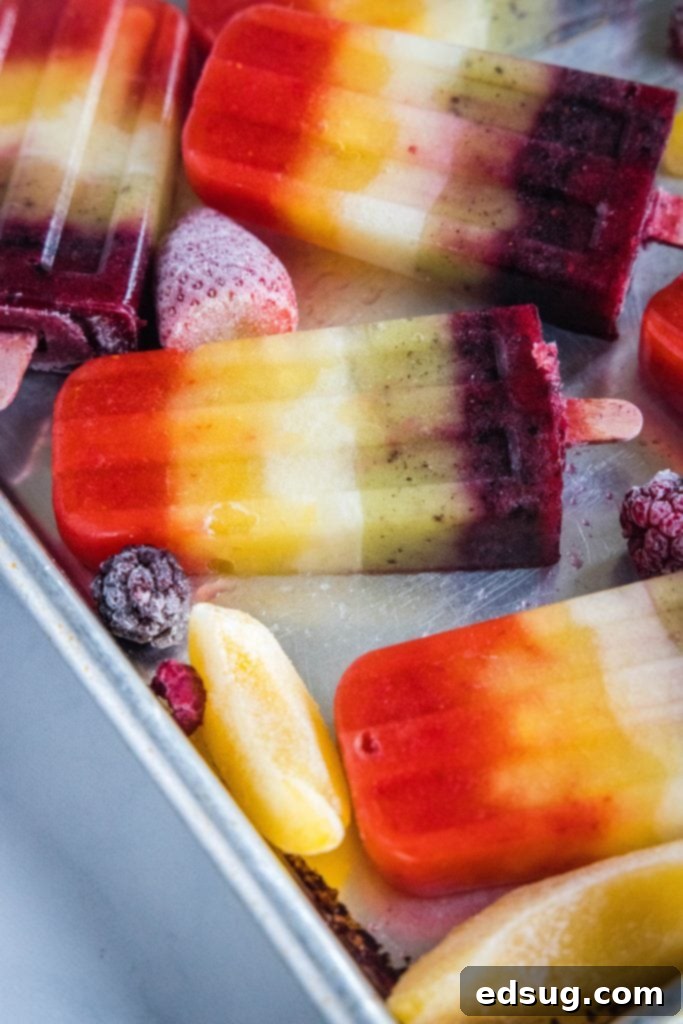
Say goodbye to artificial colors and excessive sugars with these incredibly easy and delicious Rainbow Popsicles! Crafted from 100% real fruit and just a touch of water, with an optional drizzle of honey for those who prefer a sweeter touch, these vibrant frozen treats are a summer dream come true. Perfect for all your outdoor gatherings, pool parties, or simply as a refreshing snack on a hot day, these homemade popsicles are guaranteed to be a hit with both kids and adults alike. Their eye-catching layers of natural fruit colors make them a showstopper, and the best part? You can enjoy them guilt-free, knowing they’re packed with pure, natural goodness!
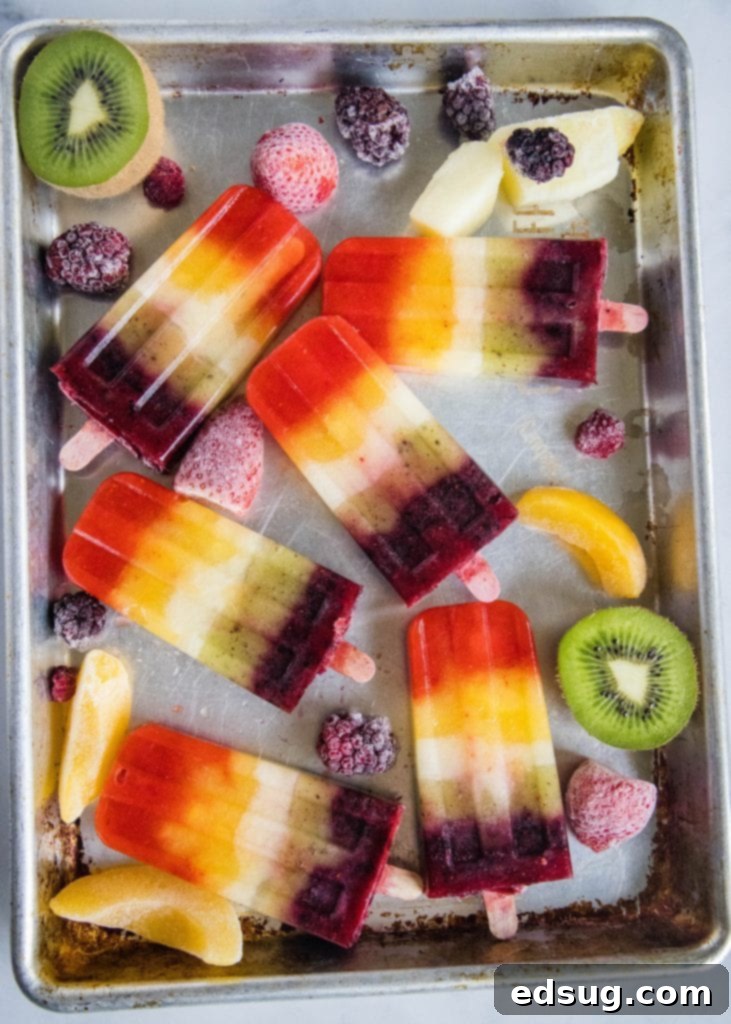
There’s an undeniable joy that comes with serving a dessert that’s as beautiful as it is healthy. These fruit-only popsicles transform simple ingredients into an impressive, multi-colored delight. They’re not just a healthy snack; they’re a celebration of summer’s bounty, offering a refreshing escape from the heat. Whether you’re hosting a backyard barbecue, looking for a nutritious after-school snack, or planning a birthday party, these homemade rainbow popsicles will impress everyone with their natural sweetness and stunning appearance. Plus, knowing they’re made without any preservatives or artificial flavors allows for a truly guilt-free indulgence.
What You’ll Need to Create Your Rainbow Popsicles
Essential Ingredients for a Spectrum of Flavors
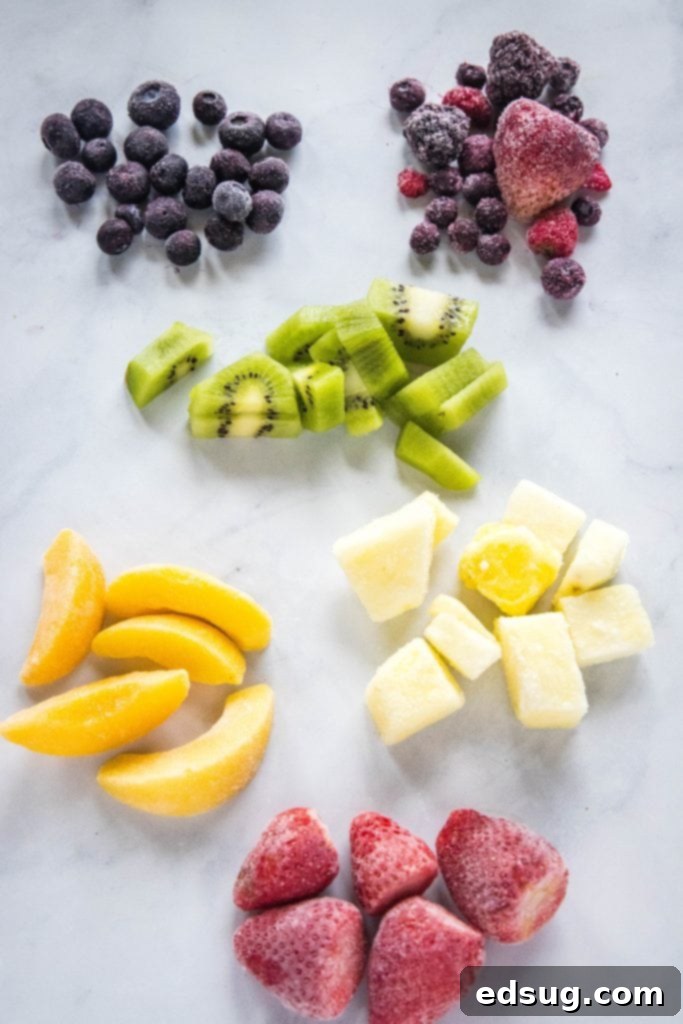
Creating these vibrant real fruit popsicles is simple, requiring only a handful of fresh or frozen fruits. We’ve chosen a selection that offers a beautiful color gradient and fantastic flavor combinations, but feel free to experiment!
- Strawberries: For a brilliant red base, offering sweet and slightly tangy notes.
- Peaches: To achieve a sunny orange or light yellow layer, adding a wonderfully juicy and aromatic sweetness.
- Pineapple: Provides a tropical yellow, known for its bright, tangy-sweet flavor.
- Kiwi: For a distinctive green layer, bringing a unique tartness and a touch of sweetness.
- Blueberries: Essential for a deep blue or purple hue, packed with antioxidants and a sweet-tart taste.
- Mixed Berries: A blend of blackberries, raspberries, and other berries can create a final dark purple or deep red layer, completing the rainbow.
The beauty of these popsicles lies in their flexibility. While the suggested fruits create a classic rainbow, you can absolutely swap them out based on seasonal availability, personal preference, or what you have on hand. For example, raspberries could replace strawberries, mangoes for peaches, or spinach (blended with a little banana to mask the flavor) for a truly green layer if kiwi isn’t available.
Necessary Equipment for Perfect Popsicles
Beyond the fruit, you’ll need a few basic kitchen tools to bring your rainbow vision to life:
- A Popsicle Mold: Silicone molds are excellent for easy removal, but stainless steel or classic plastic molds work just as well.
- Popsicle Sticks: Standard wooden sticks are perfect for handling your frozen treats.
- A Blender: A good quality blender is crucial for achieving a smooth, pourable fruit puree for each layer.
When it comes to fruit, you have options! You can use frozen, fresh, or even canned fruit (rinsed thoroughly). However, I’ve found that using frozen fruit works best for these popsicles. Frozen fruit provides a thicker consistency, which helps the layers set faster and prevents them from bleeding together too much. If you have fresh fruit on hand and prefer to use it, simply chop it into small pieces and place it in the freezer for about an hour before you start blending. This pre-freezing step will give you a smoother, colder puree, ideal for layered popsicles.
Creative Recipe Substitutions & Flavor Variations
One of the best aspects of making homemade popsicles is the freedom to customize! This recipe is a fantastic starting point, but don’t hesitate to make it your own. Here are some ideas for substitutions and variations to inspire your next batch of healthy fruit popsicles:
- Fruit Swaps for Color and Flavor: Don’t feel limited to our suggested fruits. For red, try raspberries or cherries. For orange, mango or cantaloupe are excellent choices. Yellow can come from bananas (which also add creaminess), lemons, or passion fruit. For green, spinach (blended with a little sweet fruit to balance the taste) or honeydew melon works. For blue/purple, consider blackberries, red grapes, or acai. The key is to select fruits that complement each other in flavor and provide distinct colors.
- Sweetener Options: While the natural sweetness of ripe fruit is often enough, you can certainly adjust for taste. If you desire a sweeter popsicle, add a teaspoon or two of honey, maple syrup, or agave nectar to each fruit mixture as you blend it. Since you’re adding water to achieve a pourable consistency, adding a liquid sweetener makes perfect sense and ensures it blends evenly. Adjust to your personal preference.
- Creamy Indulgence: For a richer, creamier popsicle, consider replacing some of the water with a dairy or non-dairy alternative. Coconut milk, almond milk, or even Greek yogurt can add a wonderful texture and make your popsicles feel more like a dessert. This is particularly delicious with fruits like banana, mango, or berries.
- Herb & Spice Infusions: For an adult twist, try adding subtle hints of fresh herbs like mint or basil to your fruit purees. A pinch of ginger can also add a delightful zing to pineapple or peach layers.
- Boosted Nutrition: Sneak in some extra goodness by adding a small amount of chia seeds or flax seeds to your fruit mixtures before blending. They won’t alter the flavor significantly but will add fiber and omega-3s.
Remember, this recipe is a guide. Embrace your culinary creativity and tailor these rainbow fruit popsicles to your liking!
Step-by-Step Guide: How To Make Perfect Rainbow Popsicles
Creating these beautifully layered rainbow popsicles is a rewarding process that yields stunning results. Follow these simple steps for a perfect batch:
1. Blending for Perfection
- Prepare Fruit Purees: Start with your first color (strawberries are typically the base). In your blender, combine the chosen fruit (e.g., 1 cup frozen strawberries) with a small amount of water, typically 1/4 to 1/2 cup, depending on the fruit’s water content and consistency. Blend until completely smooth. If you desire a sweeter popsicle, now is the time to add 1-2 teaspoons of honey or your preferred sweetener. The goal is a thick, pourable consistency, similar to a smoothie. If it’s too thick, add a tiny bit more water; if too thin, add more frozen fruit. Repeat this process for each fruit color you plan to use, keeping them separate.
2. Layering for Vibrant Colors
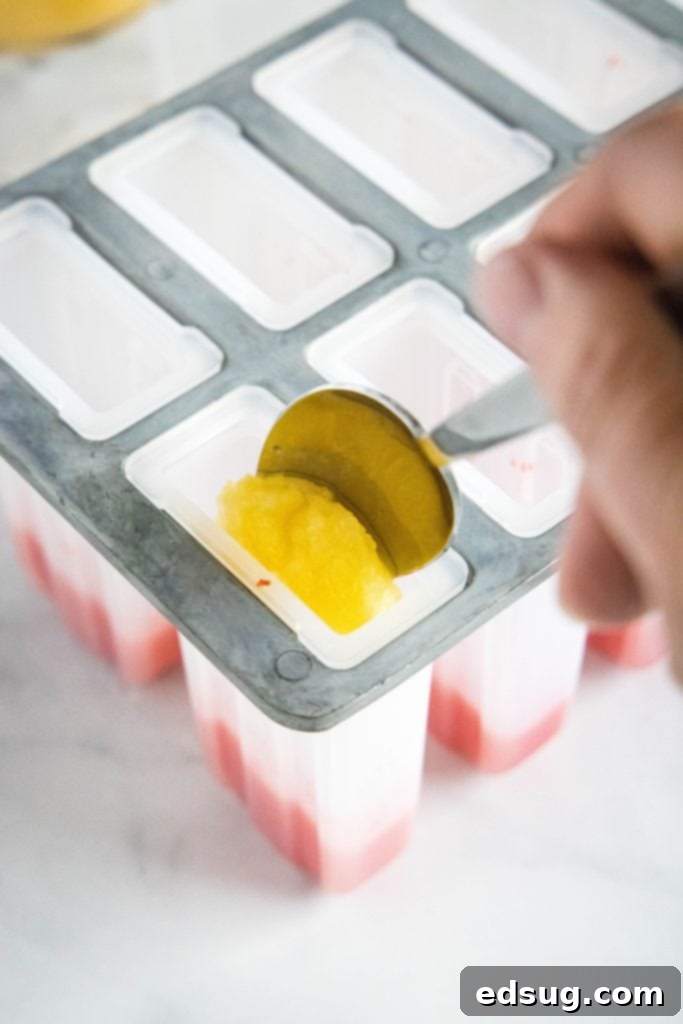
- First Layer: Carefully spoon about 2 teaspoons of your first fruit mixture (e.g., strawberry puree) into the base of each popsicle mold. The exact amount may vary based on your mold size and how many layers you plan to have. Use a spoon for more control and to prevent drips down the sides of the mold.
- Initial Freeze: This is a crucial step for achieving distinct, clear layers. Place the popsicle mold in the freezer for approximately 20-30 minutes, or until the first layer is firm enough to hold the next layer without mixing. This brief freeze prevents the colors from bleeding into one another, creating those beautiful defined lines.
- Repeat Layers: Once the first layer is set, carefully spoon in the next color (e.g., peach puree). Return the mold to the freezer for another 20-30 minutes. Continue this process, layering and freezing between each color, until all your fruit purees have been used and your molds are full.
3. Freezing for Solid Success
- Final Freeze: After adding your final layer (e.g., mixed berries), gently insert the popsicle sticks into the center of each mold. Ensure the sticks are straight. Place the molds back in the freezer for a final, extended freeze. Allow them to set for at least 6-8 hours, or preferably overnight, to ensure they are completely solid. This extended freezing time is essential for durable, easy-to-remove popsicles.
Once fully frozen, your homemade fruit popsicles are ready to be enjoyed!
Expert Tips for Flawless Rainbow Popsicles
Making delicious and visually appealing healthy rainbow popsicles is simpler than you think. Here are some pro tips to ensure your batch turns out perfectly every time:
- Mastering the Spoon Technique: While it might be tempting to pour, using a small spoon to fill the molds is significantly easier and creates less mess. This method gives you better control over the amount of puree per layer and helps prevent splatters or drips, which can muddy your clean lines.
- The Art of Layer Definition: For those picture-perfect, crisp lines between colors, don’t skip the brief freezing step (20-30 minutes) between each layer. This allows each layer to firm up just enough to support the next without blending. If you’re less concerned with perfectly separated colors, you can fill all the layers at once; the colors will beautifully bleed together slightly, creating a more watercolor-like effect, which is also charming!
- Adjusting Puree Consistency: The key to a smooth popsicle is a smooth puree. If your fruit mixture isn’t blending smoothly enough, especially with less juicy fruits, add water gradually, a tablespoon at a time, until you reach your desired pourable yet thick consistency. Avoid adding too much water, as this can make the popsicles icy rather than creamy.
- Effortless Removal from Molds: To easily remove your frozen popsicles without breakage, run the outside of the mold under warm water for about 20-30 seconds. This gentle warmth will slightly loosen the popsicle from the mold, allowing it to slide out effortlessly. Avoid twisting or pulling too hard.
- Optimal Storage: Once removed from the molds, store your homemade fruit popsicles individually wrapped in plastic wrap or parchment paper, then place them in an airtight freezer bag or container. This prevents freezer burn and keeps them fresh for up to 2-3 weeks.
- Kid-Friendly Prep: Get your kids involved in the process! They can help choose fruits, add them to the blender (with supervision), and even spoon in layers. It’s a fun activity that encourages healthy eating.
- Don’t Overfill: Leave a small amount of space at the top of each mold. As liquids freeze, they expand, so leaving a little room prevents overflow and makes for cleaner popsicles.
Frequently Asked Questions About Rainbow Popsicles
Here are answers to some common questions you might have when making your own healthy fruit popsicles:
- How long do homemade rainbow popsicles last in the freezer? When stored properly in an airtight container or individually wrapped, these popsicles can last for up to 2-3 weeks in the freezer. While they are safe to eat for longer, their texture and flavor might start to degrade after this period.
- Can I make these dairy-free? Absolutely! This recipe is naturally dairy-free as it primarily uses fruit and water. If you choose to add a creamy element, opt for dairy-free alternatives like coconut milk, almond milk, or cashew milk.
- Can I use juice instead of water for blending? Yes, you can! Using fruit juice (like apple juice or orange juice) instead of water will add more flavor and sweetness, but it will also increase the sugar content. For the healthiest option, stick to water or a very small amount of 100% fruit juice.
- What if my fruit isn’t very sweet? If your fruit lacks natural sweetness, you can certainly add a natural sweetener like honey, maple syrup, or agave nectar to your purees. Start with 1-2 teaspoons per fruit batch and adjust to taste.
- Can I use a single fruit for all layers? While the “rainbow” effect comes from using different fruits, you can definitely make single-fruit popsicles using this method. For example, all strawberry popsicles or all blueberry popsicles would be delicious and just as easy to make.
- My popsicles are too icy, what did I do wrong? Icy popsicles usually mean there’s too much water in your fruit puree. Try to use more frozen fruit and less water to achieve a thicker, creamier consistency. Adding a banana or a little yogurt can also help create a smoother texture.
More Fun Summer Desserts to Beat the Heat
If you’ve enjoyed making these refreshing rainbow popsicles, you’re in for more sweet treats! Summer is the perfect time for light, fruity, and often no-bake desserts. Here are some other fantastic recipes to keep your kitchen cool and your taste buds happy:
- Oreo Lasagna: A rich, creamy, no-bake dessert layered with everyone’s favorite cookies.
- Snicker Salad: A surprisingly delightful mix of apples, Snickers bars, and whipped topping.
- Watermelon Rice Krispie Treats: Fun, colorful, and easy-to-make treats shaped and colored like watermelon slices.
- Strawberry Milkshakes: A classic, refreshing, and creamy indulgence perfect for strawberry lovers.
- Banana Cream Pie: A timeless dessert with a rich banana custard and whipped cream topping.
- Watermelon Cupcakes: Adorably decorated cupcakes that look just like miniature watermelon slices, complete with chocolate chip “seeds.”
Rainbow Popsicles
Pin Recipe
Rate Recipe
Print Recipe
Ingredients
- 1 cup frozen strawberries
- 1/2 cup frozen peaches
- 1/2 cup frozen pineapple
- 2 kiwis, peeled, diced and frozen
- 1/2 cup frozen blueberries
- 1/2 cup frozen mixed berries
- Water
Instructions
-
Starting with the strawberries, add 1 cup of frozen strawberries and about 1/4 cup of water to the blender. Puree until smooth. If desired, add 1 teaspoon of honey for extra sweetness.
-
Using a spoon, carefully spoon the strawberry mixture into the base of each popsicle mold. Aim for about 2 teaspoons in the base of each, adjusting based on the size of your molds and desired layer thickness.
-
Place the mold in the freezer for 20 minutes to allow the layer to set. Repeat this blending, pouring, and freezing process with each of the following fruit layers (peaches, pineapple, kiwi, blueberries, mixed berries), ensuring a brief freeze between each color.
-
Once you have topped off the molds with the final mixed berries layer, gently insert your popsicle sticks. Place the molds back in the freezer for at least 6-8 hours, or until they are completely frozen solid.
-
To remove the popsicles from their molds, run them under warm water for a few seconds to loosen them. Serve immediately and enjoy your beautiful, refreshing treats!
Notes
Nutrition
Nutrition information is automatically calculated, so should only be used as an approximation.
Additional Info
Like this recipe? Leave a comment below!
I created a fun group on Facebook, and I would love for you to join us! It’s a place where you can share YOUR favorite recipes, ask questions, and see what’s new at Dinners, Dishes and Desserts (so that you never miss a new recipe)!
Be sure to follow me on Instagram and tag #dinnersdishes so I can see all the wonderful DINNERS, DISHES, AND DESSERTS recipes YOU make!
Be sure to follow me on my social media, so you never miss a post!
Facebook | Twitter | Pinterest | Instagram
