Delicious & Easy 4th of July Cookies: Your Ultimate Guide to Festive Baking
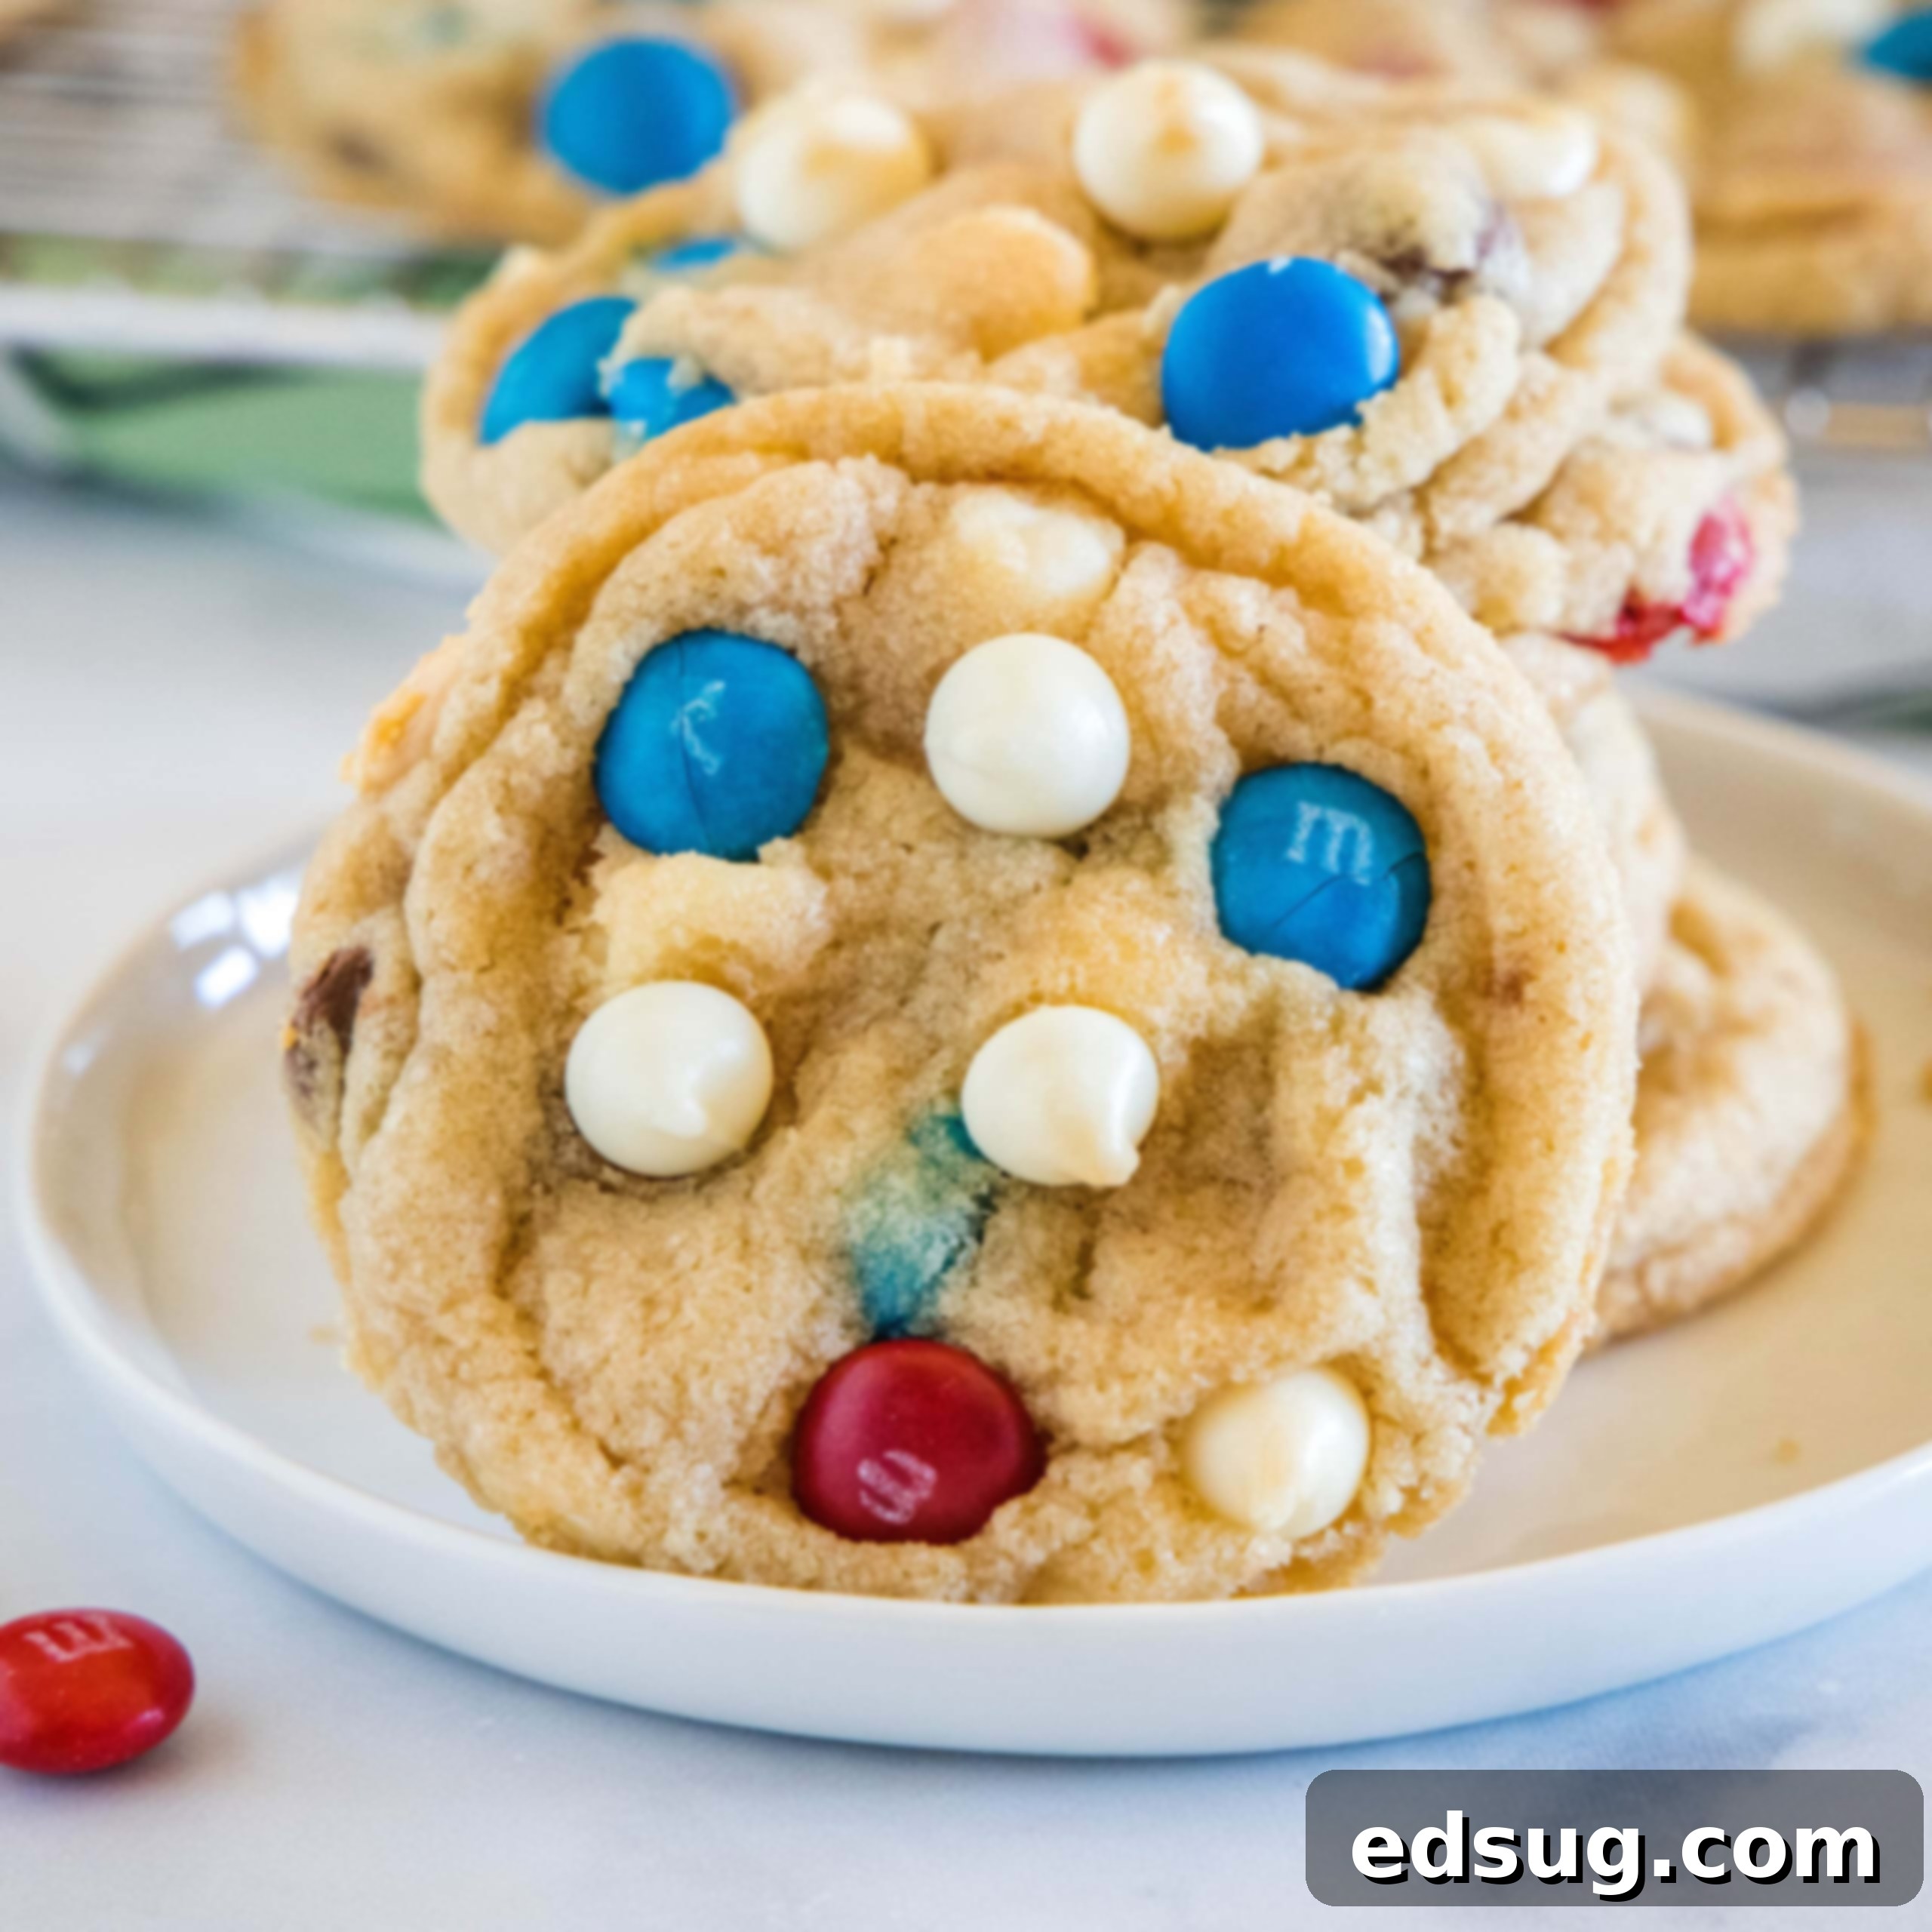
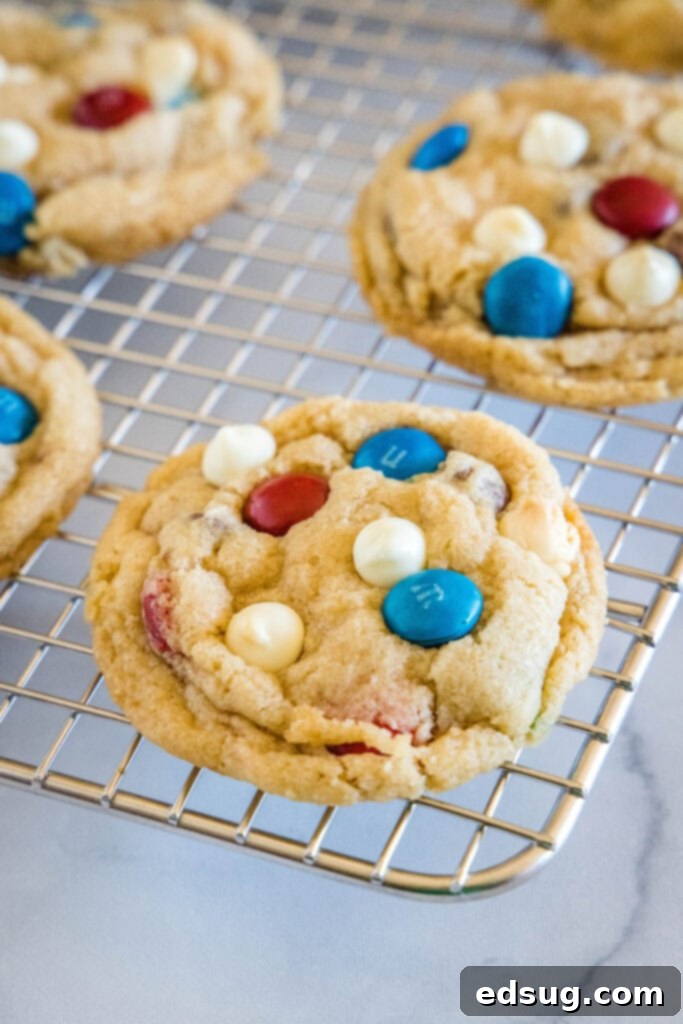
Get ready to celebrate Independence Day with these incredible 4th of July Cookies! Soft, delightfully chewy, and bursting with patriotic colors, these cookies are a guaranteed crowd-pleaser for any summer gathering. Based on a beloved, tried-and-true chocolate chip cookie recipe, they’re incredibly simple to make, ensuring a festive treat that everyone, from kids to adults, will absolutely adore.
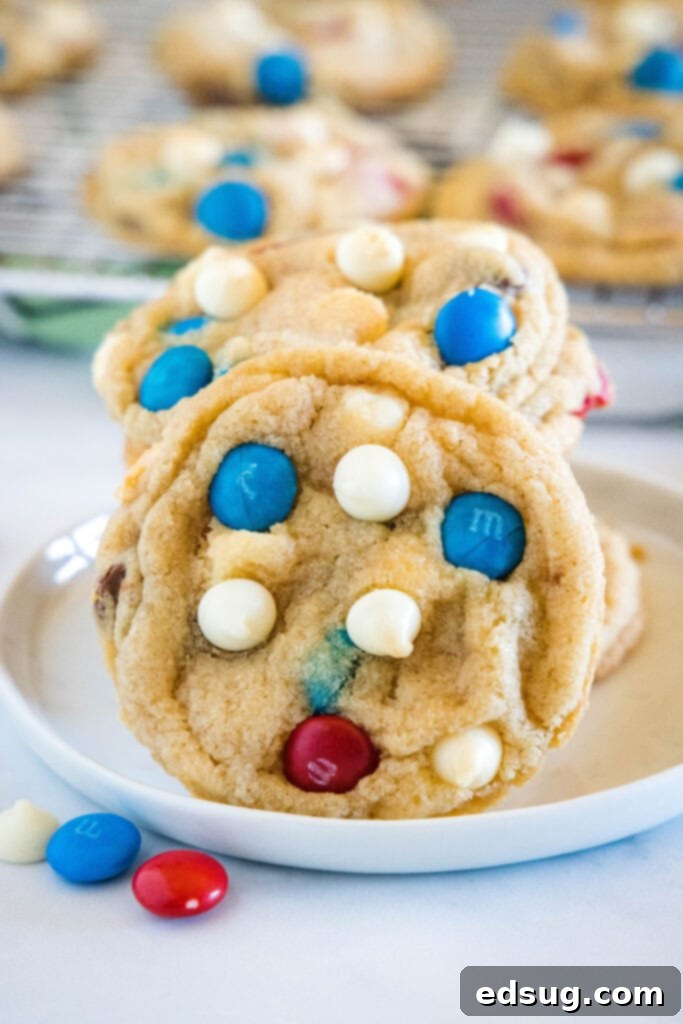
Our journey to the perfect patriotic cookie begins with my absolute favorite Perfect Chocolate Chip Cookie base. It’s the secret to their thick, soft, and wonderfully chewy texture – a cookie that, in my humble opinion, is nothing short of perfection. What makes this recipe even better is how easily it transforms into a vibrant, festive delight, perfect for celebrating the 4th of July or any summer occasion where a splash of red, white, and blue is desired.
If you already have a cherished chocolate chip cookie recipe that you swear by, feel free to use it as your foundation and simply add the festive mix-ins. However, if you’re searching for a new go-to recipe, or simply curious to try something truly exceptional, I wholeheartedly recommend giving this one a try. Trust me, you won’t be disappointed!
Why These 4th of July Cookies Are a Must-Make This Summer
These patriotic cookies aren’t just pretty; they offer a delightful combination of simplicity, deliciousness, and festive flair that makes them ideal for your Independence Day celebrations. Here’s why they’re sure to become a new family favorite:
- Effortlessly Easy: Baking homemade cookies doesn’t get much simpler than this! Our chocolate chip cookie recipe is straightforward and accessible, even for novice bakers. With clear, easy-to-follow steps, you’ll whip up a batch of these festive treats in no time, leaving you more time to enjoy the festivities.
- Wonderfully Festive: The vibrant red, white, and blue M&M’s and optional white chocolate chips instantly make these cookies a standout for any summer get-together. They embody the spirit of the 4th of July, bringing a joyful pop of color to your dessert table. They’re visually appealing and taste just as good!
- Incredibly Versatile: Don’t feel limited by specific ingredients! This recipe is wonderfully adaptable. You can use dedicated bags of red, white, and blue M&M’s often available during summer, or simply pick out the red and blue candies from a regular bag. White chocolate chips are a fantastic addition for that “white” element, but feel free to experiment with other white candies or even sprinkles to achieve your desired patriotic look.
- Perfect Texture Every Time: Say goodbye to flat, hard cookies. This recipe is specifically designed to produce cookies that are thick, soft, and incredibly chewy, thanks to the thoughtful balance of ingredients like cornstarch. Each bite is a delightful experience, with a slight crisp on the edges and a tender, melt-in-your-mouth center.
- A Guaranteed Crowd-Pleaser: Who doesn’t love a classic chocolate chip cookie? By adding a festive twist, you elevate a universal favorite into a holiday masterpiece. These cookies are perfect for picnics, BBQs, potlucks, or simply as a sweet treat to enjoy with family and friends while watching fireworks.
Gathering Your Essential Ingredients for Patriotic Cookies
To create these spectacular 4th of July cookies, you’ll need a few pantry staples along with your festive mix-ins. Each ingredient plays a crucial role in achieving that perfect chewy texture and rich flavor. Be sure to scroll to the bottom of the post for the FULL PRINTABLE recipe card with exact measurements.
- Unsalted Butter: Always use unsalted butter when baking, as it gives you control over the overall saltiness of your cookies. Ensure it’s softened to room temperature for optimal creaming with the sugars, which creates a light and fluffy base.
- Light Brown Sugar: This contributes to the cookies’ signature chewiness and adds a wonderful depth of flavor with its subtle caramel notes.
- Granulated Sugar: Providing sweetness and aiding in the crispy edges that contrast beautifully with the soft interior.
- Large Egg: An essential binder, the egg helps hold everything together and adds moisture, contributing to the cookies’ rich texture.
- Vanilla Extract: A crucial flavor enhancer, pure vanilla extract elevates all the other ingredients, adding warmth and depth to every bite.
- All-Purpose Flour: The structural backbone of our cookies. Make sure to measure it correctly (using a kitchen scale or the spoon-and-level method) to avoid dense or dry cookies.
- Cornstarch: This is a secret ingredient for super soft and tender cookies. It helps keep the cookies thick and prevents them from spreading too much, ensuring a wonderfully chewy center.
- Baking Soda: Our leavening agent that reacts with the acidic brown sugar to help the cookies rise slightly and achieve that perfect golden-brown color.
- Salt: Don’t skip the salt! It balances the sweetness, enhances the other flavors, and brings out the best in your cookies.
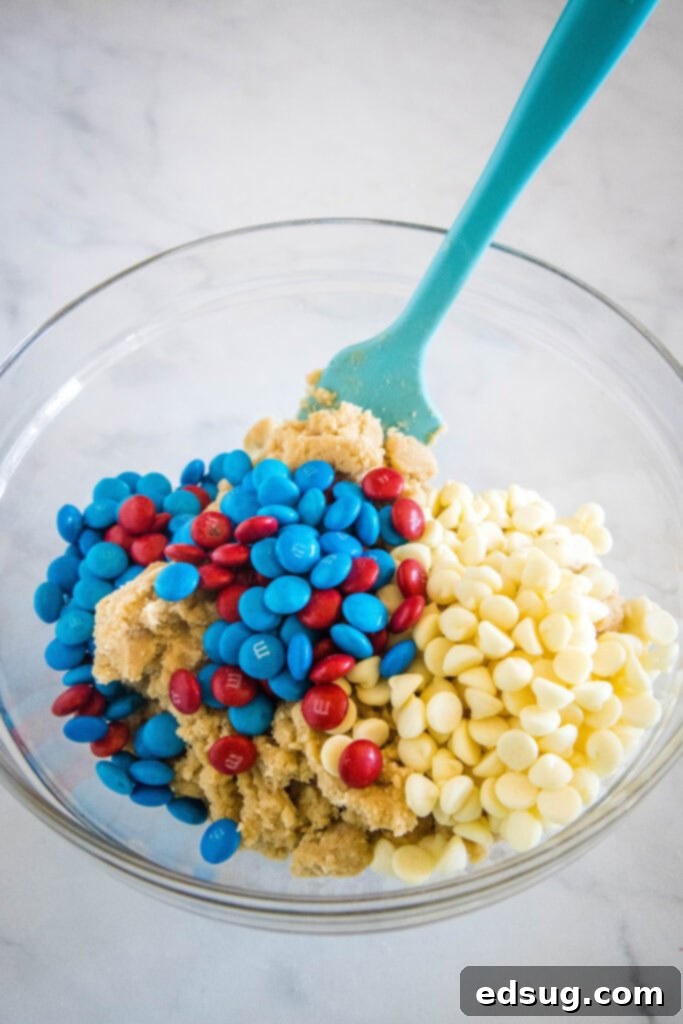
- Red, White & Blue M&M’s: The star of our festive theme! You can find special patriotic bags during the summer. Alternatively, use a mix of white chocolate chips and pick out the red and blue M&M’s from a standard bag. Aim for about 2 cups total of your chosen festive mix-ins.
Step-by-Step Guide: How To Make These Festive 4th of July Cookies
Creating these delightful patriotic cookies is a breeze. Follow these simple steps for perfectly soft, chewy, and festive treats every time.
- Cream Butter and Sugars: In the bowl of a stand mixer (or using a hand mixer), cream together the softened unsalted butter with both the light brown sugar and granulated sugar. Beat on medium speed for about 2 minutes, or until the mixture becomes light, fluffy, and noticeably pale. This step incorporates air, contributing to the cookies’ light texture.
- Add Wet Ingredients: Next, add the large egg and vanilla extract to the creamed butter and sugar mixture. Mix on medium speed until the egg is fully incorporated and the mixture is smooth. Scrape down the sides of the bowl as needed to ensure everything is well combined.
- Incorporate Dry Ingredients: In a separate bowl, whisk together the all-purpose flour, cornstarch, baking soda, and salt. Gradually add these dry ingredients to the wet mixture in the stand mixer, mixing on low speed until the flour has just disappeared. Be careful not to overmix, as this can lead to tough cookies. A few streaks of flour are fine; they’ll vanish during the next step.
- Fold in Your Festive Mix-Ins: Gently fold in approximately 1 ½ cups of your chosen red, white, and blue mix-ins (M&M’s, white chocolate chips, etc.). Use a spatula to carefully incorporate them throughout the dough. Reserve the remaining ½ cup of mix-ins for topping the cookies. This ensures they look extra vibrant after baking.
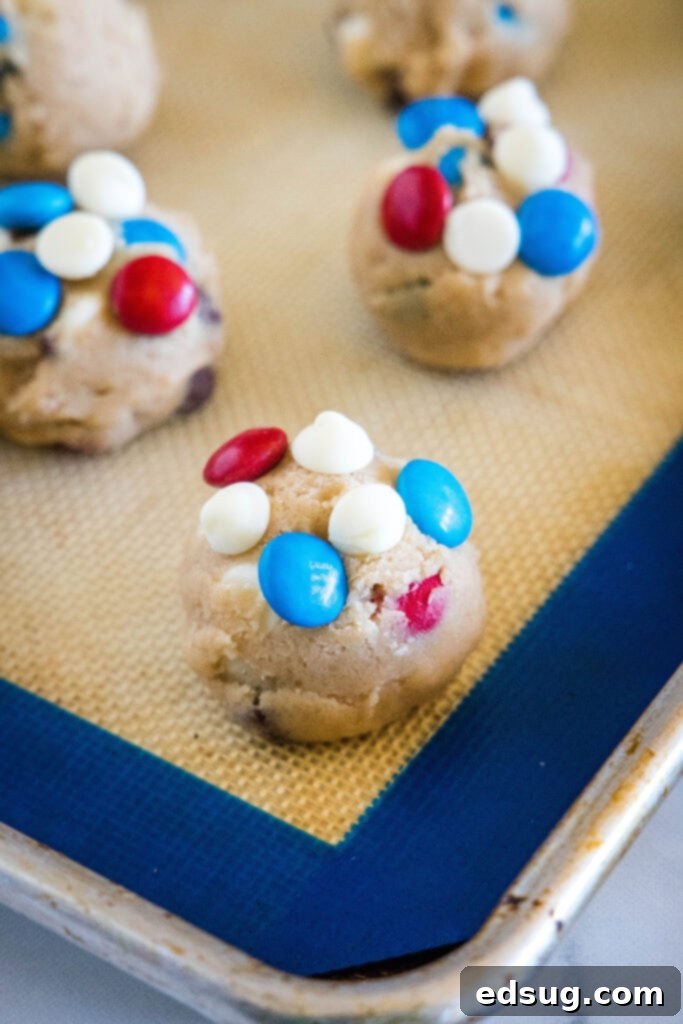
- Scoop and Top Dough Balls: Using a cookie scoop (about 2 tablespoons in size) or your hands, form golf-ball-sized balls of dough and place them onto a parchment paper-lined baking sheet, leaving about 2 inches between each cookie. Now, take the reserved red, white, and blue candy and gently press a few pieces onto the top of each dough ball. This makes sure your cookies look beautifully patriotic when baked.
- Chill the Dough: This is a crucial step for thick, chewy cookies! Place the baking sheet with the scooped dough into the refrigerator and chill for at least 30 minutes. Chilling prevents the cookies from spreading too much in the oven, ensuring they maintain their wonderful shape and texture. If you have time, chilling overnight yields even better results.
- Preheat Oven & Bake: While the dough is chilling, preheat your oven to 350°F (175°C). Once preheated and the dough has chilled, bake the cookies for 10-11 minutes. You’ll know they’re ready when the edges are lightly golden and set, and the centers appear slightly puffed and dry. They might look slightly underdone in the middle, but they will continue to set as they cool.
- Cool Completely: Remove the baking sheet from the oven and let the cookies cool on the sheet for about 5 minutes. This allows them to firm up slightly before you transfer them. After 5 minutes, carefully transfer them to a wire rack to cool completely. Enjoy your perfect patriotic treats!
Expert Tips & Tricks for Perfect Patriotic Cookies
Achieving bakery-quality cookies at home is easier than you think with a few simple tricks. Here are some pro tips to ensure your 4th of July cookies turn out perfectly every time:
- Don’t Skip the Chill Time: This is arguably the most important tip for thick, soft, and chewy cookies. Chilling the dough solidifies the butter, which prevents the cookies from spreading too much in the oven. Even 30 minutes makes a difference, but for truly outstanding results, aim for at least an hour, or even better, overnight. You’ll be rewarded with perfectly shaped and textured cookies.
- Get Creative with Red, White, and Blue: While dedicated patriotic M&M’s are fantastic, don’t limit yourself!
- White Chocolate Chips: These are an excellent “white” component and add a creamy texture. Combine them with regular red and blue M&M’s (which you can sort from a standard bag).
- Festive Sprinkles: Add a sprinkle of red, white, and blue jimmies or nonpareils on top of the dough balls before baking for extra sparkle and color.
- Maraschino Cherries & Blueberries: For a more natural touch, try finely chopped dried maraschino cherries (blotted dry) and a few fresh blueberries (added just before baking, as they can bleed color).
The goal is around 2 cups of total mix-ins for the entire batch.
- Perfect Ingredient Temperature: Ensure your butter is softened to room temperature (it should indent easily when pressed, but not be greasy or melted). A cold egg can seize the butter, so ideally, let your egg come to room temperature as well. This allows for better emulsification and a smoother dough.
- Measure Flour Correctly: Too much flour is a common cookie culprit, leading to dry, crumbly cookies. Use the spoon-and-level method: spoon flour into your measuring cup until it overflows, then level it off with the back of a knife. Or, even better, use a kitchen scale for precise measurement.
- Freeze Cookie Dough for Later: If you don’t want to bake a whole batch at once, freezing cookie dough is a fantastic option. Once you’ve scooped the dough balls onto a baking sheet and topped them with candy, place the entire tray in the freezer until the dough balls are solid. Then, transfer the frozen dough balls to a freezer-safe zip-top bag or airtight container. When you’re ready for freshly baked cookies, simply take out a few, place them on a baking sheet, and let them sit on the counter while your oven preheats. You might need to add an extra minute or two to the baking time.
- Don’t Overbake: For soft and chewy cookies, resist the urge to overbake. The cookies should still look slightly soft and puffed in the center when you pull them out of the oven. They will continue to bake and set on the hot baking sheet as they cool, leading to that perfect texture.
Storage & Freezing Options for Your Patriotic Cookies
Knowing how to properly store your 4th of July cookies ensures they stay fresh and delicious for as long as possible. Whether you’re planning ahead or have leftovers, here’s how to keep them at their best:
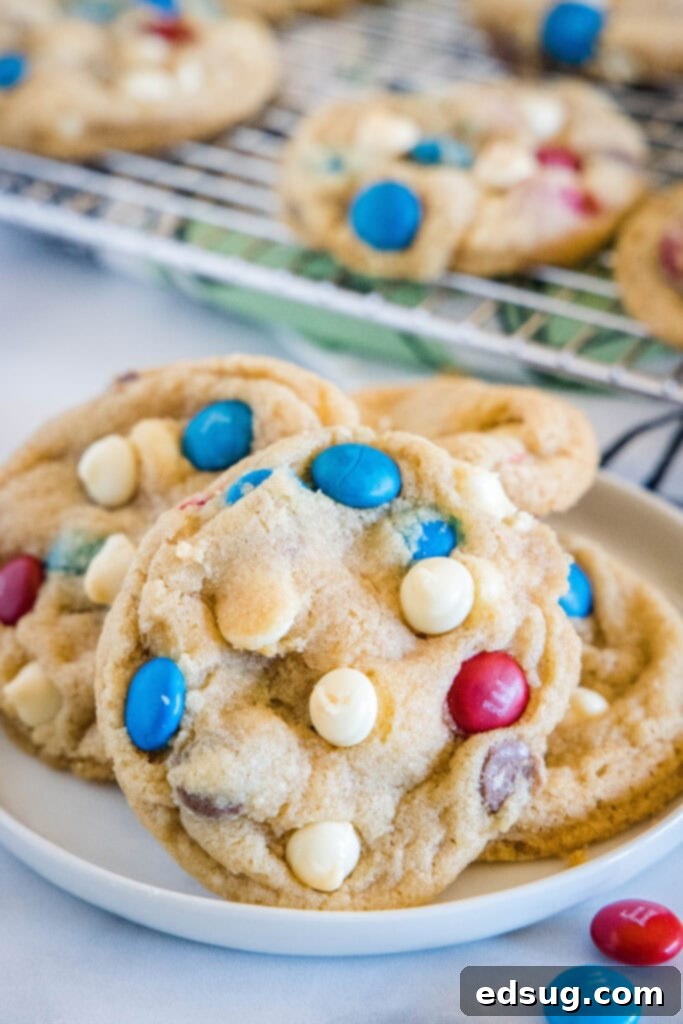
Room Temperature Storage: Once your 4th of July cookies have cooled completely, store them in an airtight container at room temperature. They will remain soft and delicious for 3-4 days. For optimal freshness, you can place a slice of bread in the container with the cookies; the cookies will absorb moisture from the bread, keeping them softer for longer. Make sure to replace the bread every day or two.
Freezing Baked Cookies: These cookies freeze beautifully! After they are completely cooled, place them in a single layer on a baking sheet and freeze until solid (about 1-2 hours). Once frozen, transfer them to a freezer-safe airtight container or heavy-duty freezer bag. Layer them with parchment paper between layers to prevent sticking. Baked cookies can be frozen for up to 3-4 months. To enjoy, simply thaw them at room temperature, or pop them in the microwave for a few seconds for a warm, gooey treat.
Freezing Unbaked Dough: As mentioned in our tips, freezing unbaked dough is incredibly convenient. Once you’ve scooped and topped your dough balls, freeze them on a tray until solid, then transfer to a freezer-safe bag. This way, you can bake just a few fresh cookies whenever a craving strikes! They’ll last in the freezer for up to 2-3 months.
More Festive 4th Of July Treats To Try
Looking for more ways to add patriotic flair to your holiday spread? Explore these other fantastic 4th of July themed recipes:
- Watermelon Cupcakes
- Patriotic Party Mix
- Red, White & Blue Peanut Butter Pretzel Bites
- 4th of July Poke Cake
- Red, White & Blue Muddy Buddies
- Patriotic Pretzels

4th of July Cookies
Erin Sellin
10
12
22
36
Rate Recipe
Print Recipe
Ingredients
- 3/4 cup unsalted butter, softened
- 3/4 cup light brown sugar
- 1/4 cup granulated sugar
- 1 large egg
- 2 teaspoons vanilla extract
- 2 cups all-purpose flour
- 2 teaspoons cornstarch
- 1 teaspoon baking soda
- 1/2 teaspoon salt
- 2 cups red, white & blue M&M’s, divided (or a mix of white chocolate chips and red & blue M&M’s)
Instructions
- In a stand mixer, cream together the softened butter and both sugars for about 2 minutes until light and fluffy. Mix in the egg and vanilla extract until fully incorporated.
- In a separate bowl, whisk together the flour, cornstarch, baking soda, and salt. Gradually add the dry ingredients to the wet mixture, mixing on low speed until the flour just disappears. Do not overmix.
- Gently fold in 1 1/2 cups of the red, white, and blue M&M’s (or your chosen mix-ins).
- Scoop golf ball-sized portions of dough onto a parchment-lined baking sheet. Top each dough ball with some of the remaining 1/2 cup of reserved candy.
- Chill the scooped dough on the baking sheet for at least 30 minutes. Meanwhile, preheat your oven to 350°F (175°C).
- Bake for 10-11 minutes, or until the edges are golden brown and set, and the tops appear dry. The centers may still look slightly soft.
- Remove from the oven and let the cookies cool on the baking sheet for 5 minutes before transferring them to a wire rack to cool completely.
Notes
Nutrition
Nutrition information is automatically calculated, so should only be used as an approximation.
Additional Info
Erin Sellin
10
12
22
Dessert Recipes
American
36
139
Like this recipe? Leave a comment below!
I’ve created a fun group on Facebook, and I would absolutely love for you to join us! It’s a vibrant community where you can share YOUR favorite recipes, ask questions, and stay updated on all the new delicious creations from Dinners, Dishes and Desserts (so you never miss a new recipe!).
Be sure to follow me on Instagram and tag #dinnersdishes so I can see all the wonderful DINNERS, DISHES, AND DESSERTS recipes YOU make!
Don’t miss out on any delicious updates! Be sure to follow me on my social media channels:
Facebook | Twitter | Pinterest | Instagram
