The Ultimate Fudgy Red Velvet Brownies with Tangy Cream Cheese Frosting
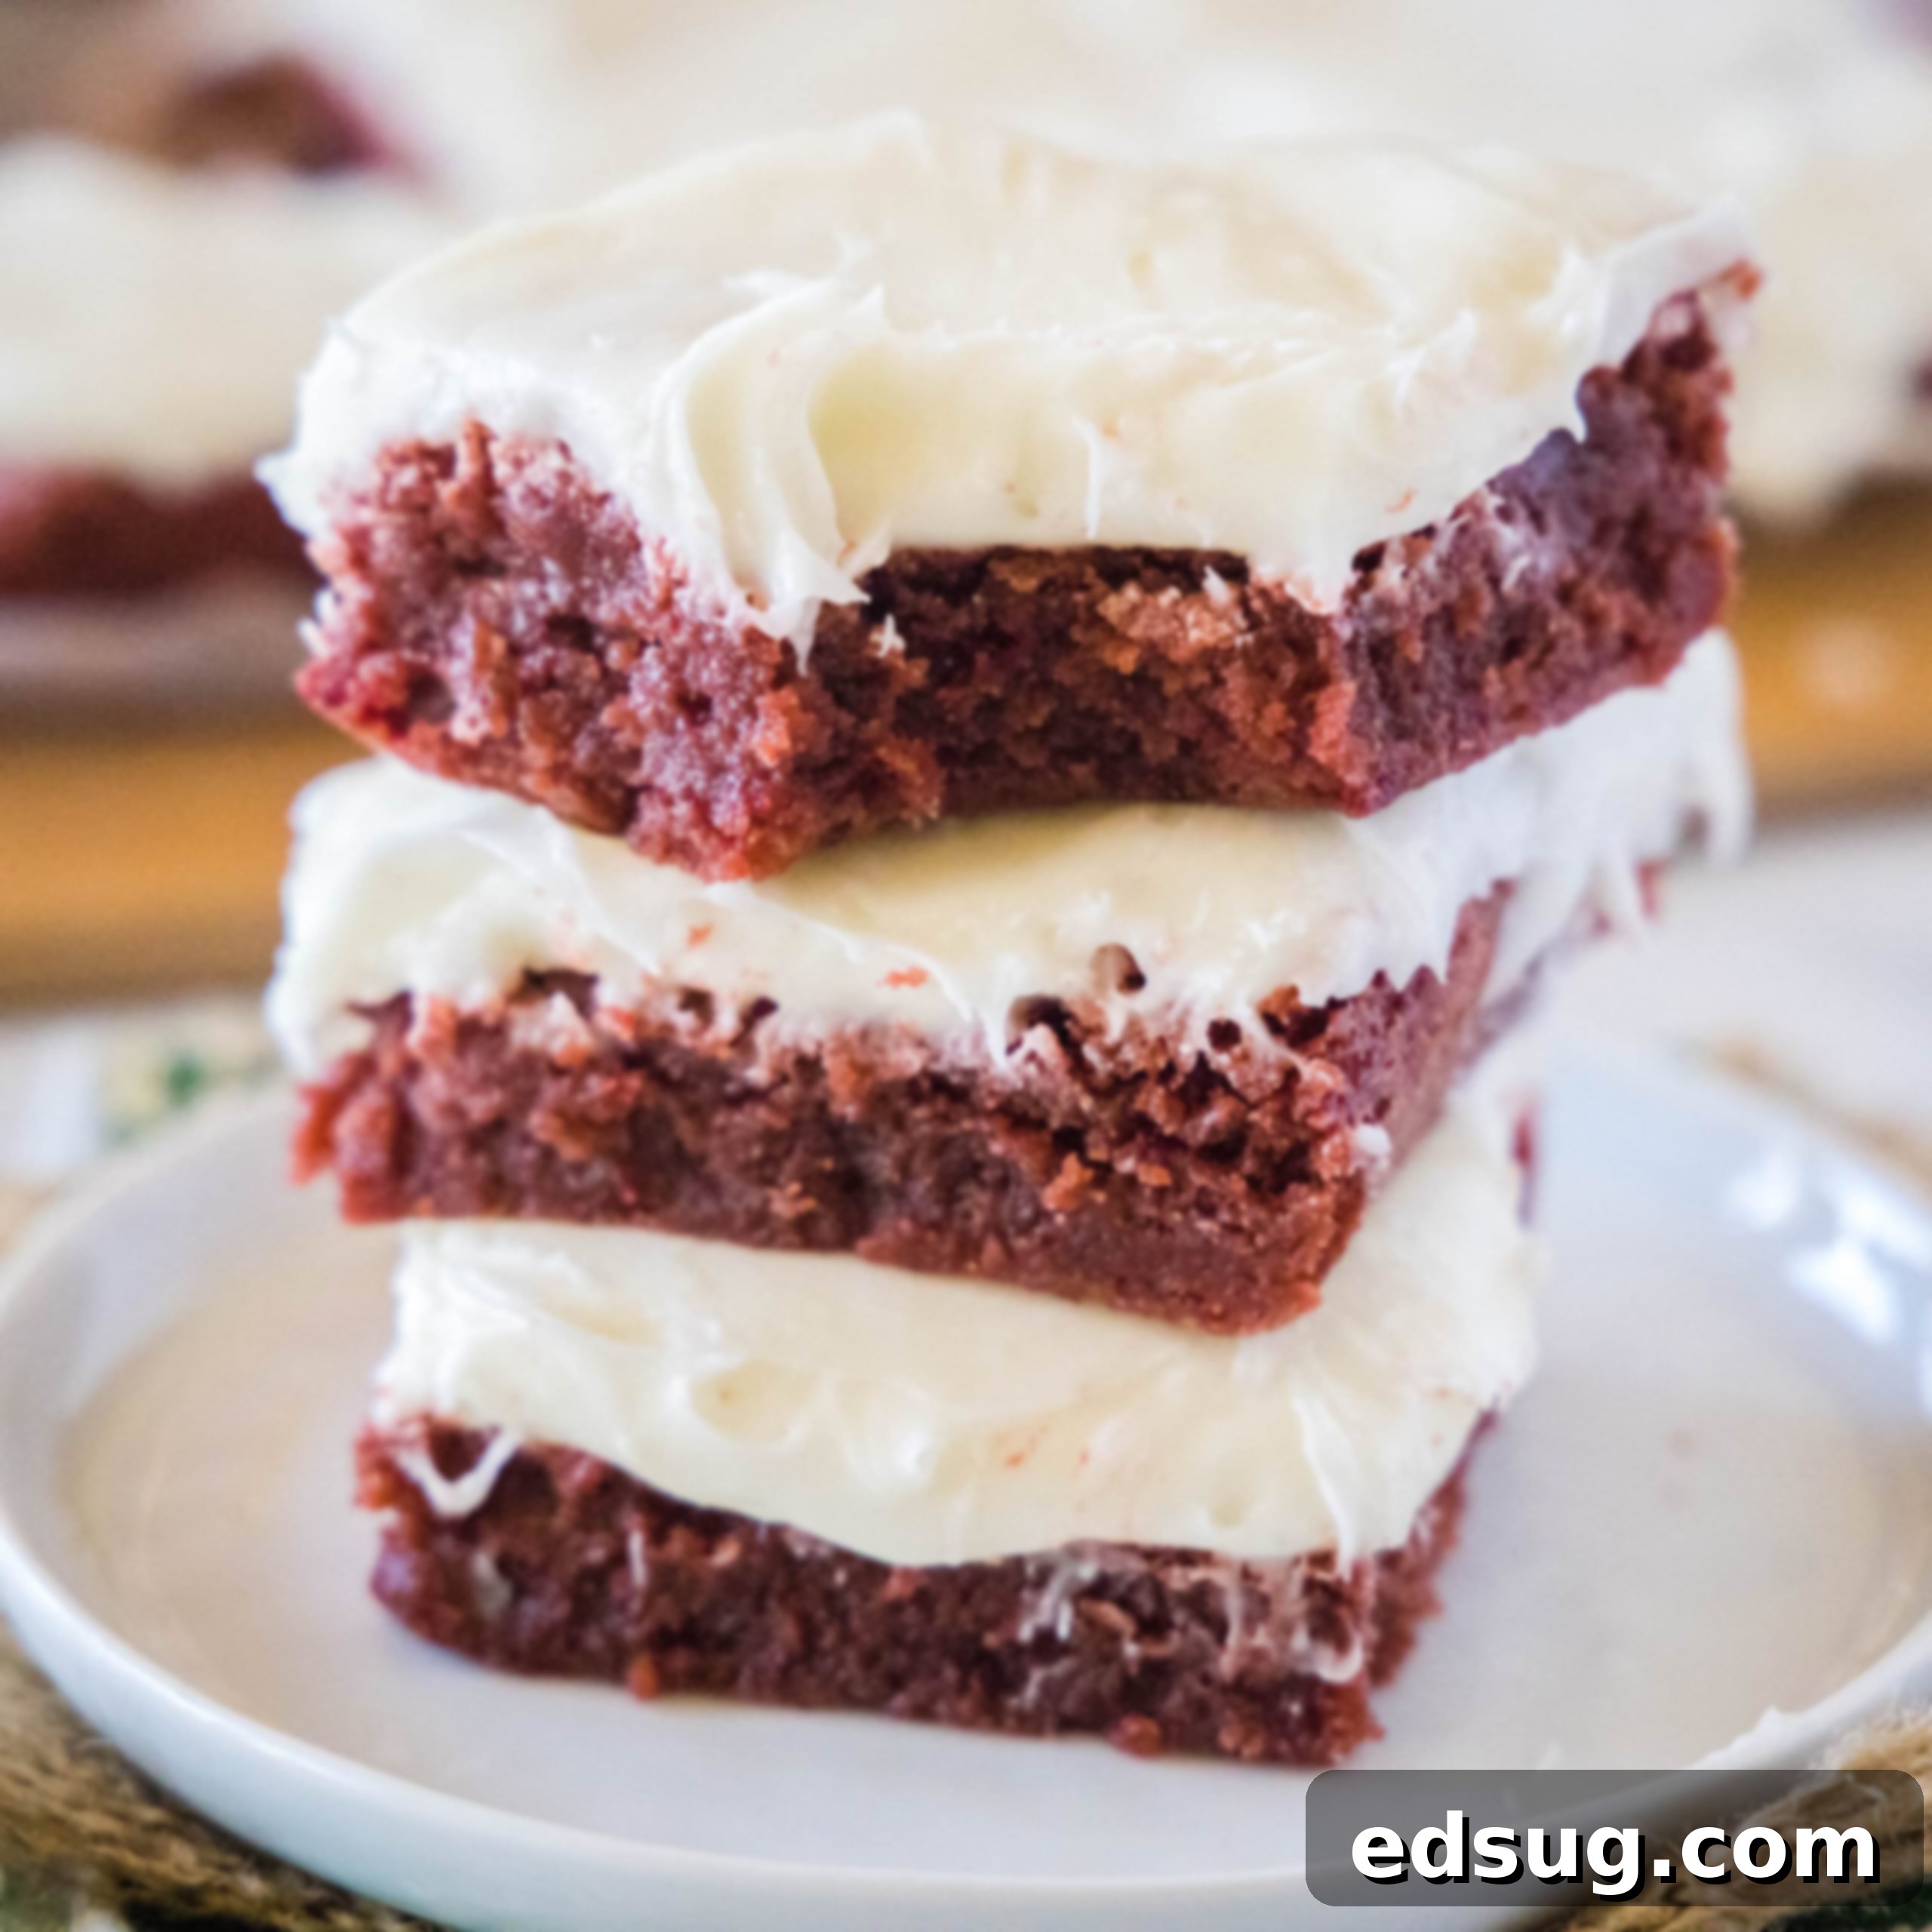
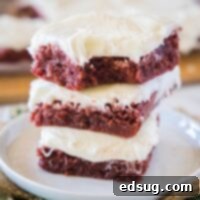
Indulge in homemade Red Velvet Brownies – a delightful fusion of rich chocolate, vibrant red color, and an irresistible fudgy texture. Crowned with a luscious cream cheese frosting, these brownies are destined to become your new favorite dessert!
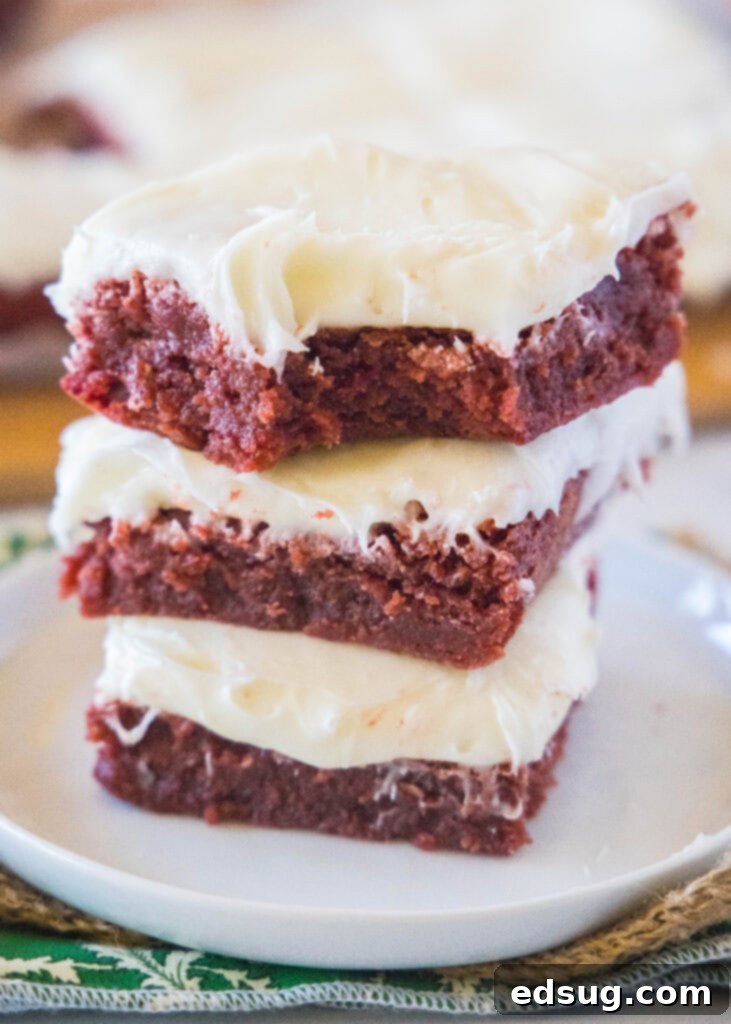
There’s something truly magical about red velvet desserts – that captivating hint of chocolate intertwined with a subtle tang, all wrapped in a show-stopping bright red hue. These Red Velvet Brownies are no exception, perfectly embodying the essence of classic red velvet while delivering the intensely fudgy, chewy brownie experience you know and adore. Forget dry, cakey imitations; this recipe promises a rich, moist, and deeply satisfying treat that will have everyone asking for more.
And what’s red velvet without its iconic companion? In true fashion, these decadent brownies are generously topped with a silky-smooth, tangy cream cheese frosting. This delightful contrast in flavors and textures elevates them from a simple brownie to an extraordinary dessert, ideal for any occasion. Whether it’s a holiday gathering, a special celebration, or just a treat to brighten your day, these homemade fudgy brownies are sure to impress. If you’re a devoted fan of all things red velvet, you might also enjoy our Red Velvet Muffins for a fun and flavorful breakfast or brunch idea.
Why These Fudgy Red Velvet Brownies Are a Must-Make
Once you try these homemade Red Velvet Brownies, you’ll understand why they quickly become a household favorite. They combine simplicity with irresistible flavor and texture, making them perfect for both seasoned bakers and beginners.
- Unforgettable Fudgy Texture: Unlike many red velvet recipes that lean towards a cakey consistency, these brownies are designed to be supremely fudgy and moist. Every bite melts in your mouth, delivering that rich, dense texture that brownie lovers crave.
- Iconic Red Velvet Flavor: Experience the perfect balance of mild cocoa notes, a touch of tang from buttermilk, and a hint of vanilla – all amplified by a striking crimson color. It’s the classic red velvet profile you love, reimagined in brownie form.
- Optional Frosting Brilliance: While the cream cheese frosting takes these brownies to a new level of decadence, they are equally delicious without it. If you prefer a simpler treat, you’ll still get that desirable shiny, crackly top that signifies a perfectly baked homemade brownie.
- Quick & Easy Preparation: Don’t be intimidated by the impressive results! These homemade fudgy brownies come together with just a few simple pantry ingredients and minimal mixing. You can have them ready for the oven in a matter of minutes, making them a fantastic last-minute dessert option.
- Visually Stunning for Any Occasion: The vibrant red color makes these brownies a festive choice for holidays like Valentine’s Day, Christmas, or any special event. Yet, their universal appeal means they’re also a delightful and comforting treat for any day of the week. They add a pop of color and joy to any dessert spread.
Essential Ingredients for Your Homemade Red Velvet Brownies
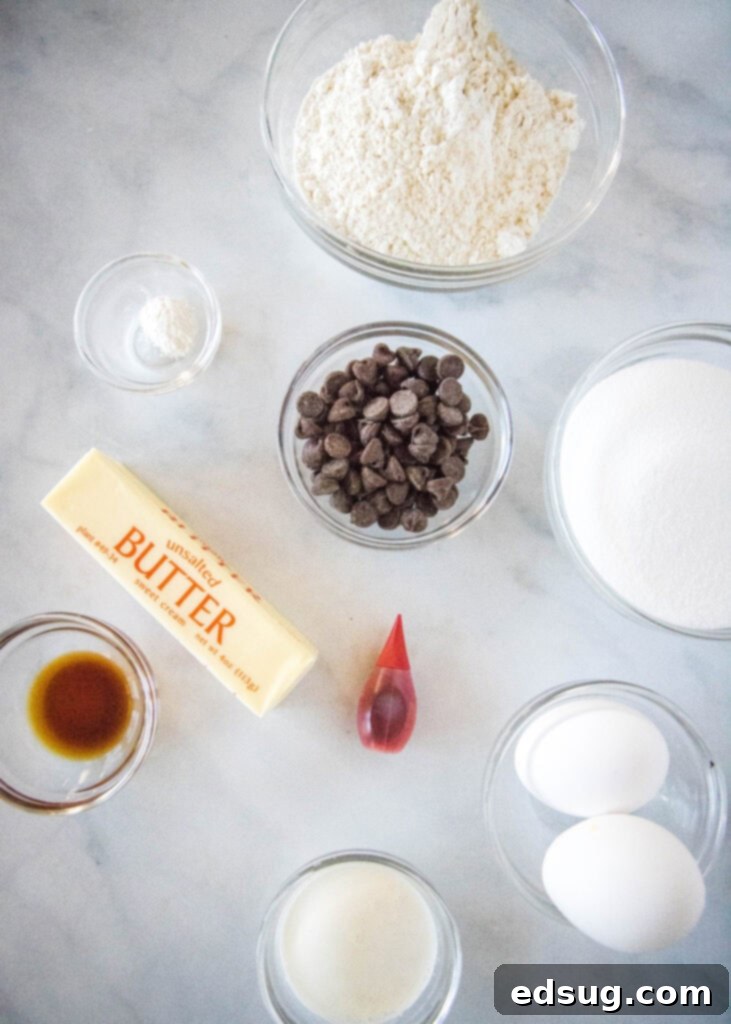
Crafting these delectable Red Velvet Brownies requires a thoughtful selection of ingredients, each playing a crucial role in achieving that perfect fudgy texture, vibrant color, and classic flavor. Here’s what you’ll need, divided into two sections for the brownies and the irresistible cream cheese frosting.
For the Red Velvet Brownies:
- Butter: Unsalted butter is preferred to control the overall saltiness. It provides richness and contributes to the fudgy texture.
- Semi-Sweet Chocolate Chips: These are melted with the butter to create a rich chocolate base, giving the brownies their deep flavor without being overly sweet.
- Granulated Sugar: Sweetens the brownies and helps create that desirable crackly top.
- Eggs: Act as a binder, provide structure, and contribute to the fudginess. Beating them properly is key for the shiny top.
- Vanilla Extract: Essential for enhancing the overall flavor profile and complementing the chocolate and buttermilk.
- Buttermilk: This is a signature ingredient in red velvet, adding a subtle tang, tenderizing the crumb, and reacting with the baking powder to give lift. Don’t skip it!
- All-Purpose Flour: The primary structural component. Avoid overmixing to keep the brownies tender.
- Baking Powder: Provides a slight lift, contributing to the brownies’ perfect texture.
- Red Food Coloring: The star of the show for that iconic red velvet look. Liquid food coloring works well, but gel coloring provides a more intense hue with less volume.
For the Tangy Cream Cheese Frosting:
- Cream Cheese: Full-fat cream cheese, softened to room temperature, is crucial for a smooth, tangy, and rich frosting.
- Softened Butter: Contributes to the frosting’s creamy texture and helps it hold its shape. Make sure it’s also at room temperature.
- Vanilla Extract: A touch of vanilla enhances the sweet and tangy notes of the frosting.
- Powdered Sugar: Also known as confectioners’ sugar, it provides sweetness and makes the frosting smooth and lump-free.
- Milk: A small amount of milk (or cream) helps achieve the perfect spreadable consistency. Adjust as needed.
How to Bake Perfect Fudgy Red Velvet Brownies
Get ready to create the most irresistible Red Velvet Brownies! Below are the detailed steps for the brownie batter, followed by instructions for the creamy frosting. For the complete measurements and printable recipe card, please scroll down to the bottom of this page.
Brownie Preparation Steps:
- Prepare Your Baking Dish: First, preheat your oven to 350ºF (175ºC). Lightly grease an 8-inch square baking pan or line it with parchment paper, leaving an overhang on two sides for easy removal later. This crucial step ensures your beautiful brownies won’t stick.
- Melt Butter and Chocolate: In a microwave-safe bowl, cut your unsalted butter into smaller pieces. Add the semi-sweet chocolate chips. Microwave on high for about 1 minute. Remove the bowl and stir the mixture thoroughly until the butter and chocolate are completely melted and smooth. Let this mixture stand for 3-4 minutes to cool slightly. It’s important for it not to be too hot when combined with the eggs.
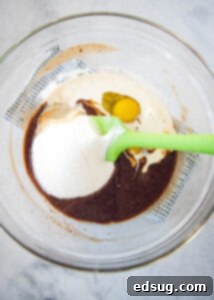
- Combine Wet Ingredients: In a separate large mixing bowl, beat together the granulated sugar, large eggs, vanilla extract, and buttermilk until the mixture is light, smooth, and well combined. This initial beating helps create the crackly top on your brownies.
- Integrate Chocolate Mixture: Slowly pour the slightly cooled melted butter and chocolate mixture into the sugar and egg mixture. Mix gently but thoroughly until everything is well combined and you have a cohesive, glossy batter.
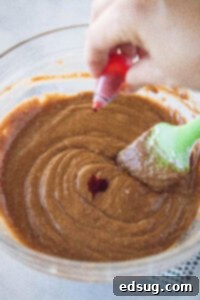
- Add the Red Color: Now for the signature red velvet hue! Stir in the red food coloring. Start with about 1 teaspoon of liquid food coloring (or less for gel) to achieve the vibrant color seen in the photos. You can adjust the amount to your desired brightness. Mix until the color is evenly distributed throughout the batter. It’s important to add the food coloring before the flour to avoid overmixing.
- Fold in Dry Ingredients: Gently fold in the all-purpose flour and baking powder. Mix until just combined, ensuring no white streaks of flour remain. Be very careful not to overmix at this stage, as overmixing can lead to tough brownies.
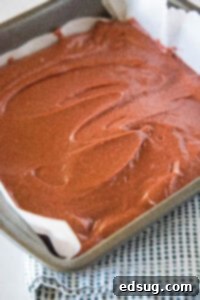
- Bake to Perfection: Pour the luscious red velvet brownie batter into your prepared baking dish, spreading it evenly. Bake for approximately 25 minutes, or until a wooden skewer or toothpick inserted into the center comes out with moist crumbs, but no raw batter. The edges should be set and slightly cracked. Remember, brownies continue to cook slightly after being removed from the oven, so slightly underbaked is better for fudginess.
- Cool Completely: Remove the brownies from the oven and allow them to cool completely in the pan on a wire rack. This step is essential for achieving the perfect fudgy texture and ensuring the frosting doesn’t melt. Patience is key here!
To Make the Cream Cheese Frosting:
While your brownies are cooling, you can prepare the exquisite cream cheese frosting that will crown your masterpiece.
- Cream Together Butter and Cream Cheese: In a medium mixing bowl, beat together the softened cream cheese and softened butter until the mixture is light, fluffy, and perfectly smooth. Scrape down the sides of the bowl as needed.
- Add Remaining Ingredients: Incorporate the vanilla extract, powdered sugar, and milk. Start by adding about half of the powdered sugar, mix, then add the rest. Beat on medium-high speed until the frosting is wonderfully smooth and has a spreadable consistency. If the frosting is too thick, add a tiny bit more milk (1/2 teaspoon at a time). If it’s too thin, gradually add more powdered sugar until it reaches your desired texture.
- Frost Your Brownies: Once the brownies are completely cool, spread the cream cheese frosting evenly over the top. You can use an offset spatula for a smooth finish or pipe it for a decorative touch. Slice and serve!
Expert Tips for the Best Red Velvet Brownies
Achieving bakery-quality Red Velvet Brownies is easier than you think with these expert tips:
- Do Not Overmix the Batter: This is arguably the most crucial tip for any brownie recipe. Once you add the flour and baking powder, mix only until just combined. Overmixing develops the gluten in the flour, leading to a tough, cakey brownie rather than a rich, fudgy one. The initial beating of eggs with sugar helps create that desirable shiny, crackly top, so save vigorous mixing for that stage.
- Don’t Overbake Your Brownies: For that signature chewy and fudgy texture, it’s vital not to overbake. Start checking for doneness around the 20-minute mark. The edges should be set and perhaps just starting to pull away from the pan, while a toothpick inserted into the center should come out with moist crumbs clinging to it, not wet batter. Remember, brownies continue to cook from residual heat after they are removed from the oven, so taking them out slightly “underdone” is often the secret to ultimate fudginess.
- Ensure Brownies are Completely Cool Before Frosting: Patience is a virtue when it comes to frosting. Applying cream cheese frosting to warm brownies will result in a melted, messy disaster. Allow your brownies to cool completely on a wire rack – ideally for several hours or even chilling them in the refrigerator – before spreading on that luscious frosting.
- Choose the Right Pan Size: This recipe is designed for an 8×8 inch square baking pan. Using a different size pan can drastically alter baking times and brownie thickness. If you want to double the recipe, a 13×9 inch pan is ideal. Just remember to double all ingredients accordingly and monitor baking time, as it might increase slightly.
- Elevate with White Chocolate Chips: If you’re looking to add another layer of flavor and texture, consider mixing in 1/2 to 1 cup of white chocolate chips (or even dark chocolate chips!) into the brownie batter before baking. They melt into pockets of deliciousness, providing a wonderful contrast to the red velvet base.
- Room Temperature Ingredients for Frosting: For the smoothest, lump-free cream cheese frosting, make sure both your cream cheese and butter are at proper room temperature. This allows them to cream together beautifully, creating an airy and uniform consistency.
- Adjust Food Coloring: The amount of red food coloring is a suggestion. Gel food coloring often yields a more vibrant color with less volume than liquid food coloring. Adjust according to your preference for a deeper or lighter red hue.
Storage and Freezing Instructions for Red Velvet Brownies
Proper storage is key to keeping your homemade Red Velvet Brownies fresh and delicious. Whether you’re enjoying them over a few days or planning to save some for later, here’s how to do it right.
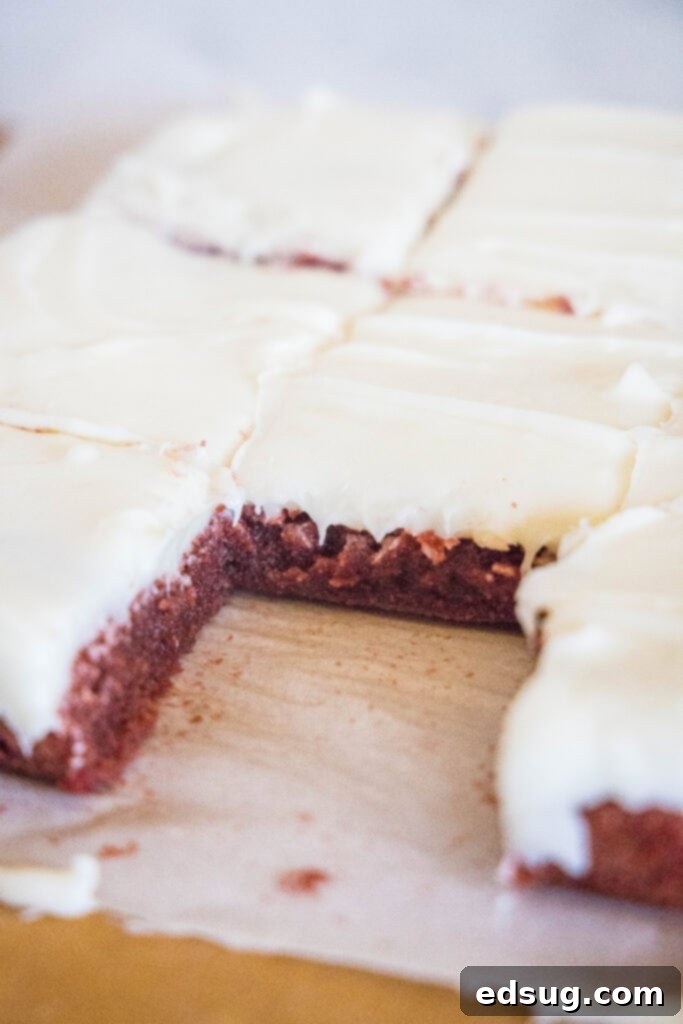
Storing Frosted Brownies: Due to the cream cheese in the frosting, these brownies must be stored in the refrigerator. Place them in an airtight container to prevent them from drying out or absorbing other odors from the fridge. They will stay fresh for about 5-6 days. For the best flavor and texture, I recommend letting them come to room temperature for about 15-20 minutes before serving. This allows the frosting to soften slightly and the brownie to regain its optimal fudginess.
Storing Unfrosted Brownies: If you decide to skip the frosting or store unfrosted brownies separately, they can be kept at room temperature in an airtight container for 3-4 days. Ensure they are completely cool before storing.
Freezing Red Velvet Brownies: Brownies are excellent candidates for freezing, making them a fantastic make-ahead dessert! You can freeze either a whole pan or individual slices, depending on your serving needs.
- Freezing Unfrosted Brownies:
- Allow the brownies to cool completely after baking.
- If freezing the whole pan, wrap it tightly with a layer of plastic wrap, then a layer of aluminum foil.
- For individual slices, cut the brownies first. Wrap each slice tightly in plastic wrap, then place them in an airtight freezer-safe bag or container. This makes it easy to grab just one or two when a craving strikes.
- They can be frozen for up to 2-3 months.
- To thaw, simply place them on the counter at room temperature for a few hours.
- Freezing Frosted Brownies:
While the frosting does freeze well, its texture can change slightly upon thawing, sometimes becoming a bit softer or having a subtle change in consistency. However, they are still perfectly delicious!
- Ensure the frosting is fully set, perhaps by chilling the frosted brownies for 30 minutes in the fridge.
- Wrap the entire frosted pan or individual slices securely with plastic wrap, then with aluminum foil.
- Freeze for up to 1 month.
- Thaw in the refrigerator overnight or on the counter for a few hours.
Frequently Asked Questions About Red Velvet Brownies
Here are some common questions you might have when making these delicious Red Velvet Brownies:
- What gives red velvet its distinctive flavor? Red velvet gets its unique flavor from a combination of cocoa powder, buttermilk, and sometimes a touch of vinegar. The buttermilk and vinegar react with the cocoa (which is naturally acidic) to create a subtle tang and activate the baking soda, resulting in a tender crumb. The red food coloring then provides the iconic vibrant hue.
- Can I use gel food coloring instead of liquid? Absolutely! Gel food coloring is often preferred because it’s more concentrated, meaning you’ll need less of it to achieve a vibrant color. Start with a smaller amount (e.g., 1/2 teaspoon) and add more gradually until you reach your desired shade.
- Why is buttermilk important? Can I substitute it? Buttermilk is crucial for the classic red velvet flavor and tender texture. It adds a slight tang and helps activate the baking powder. If you don’t have buttermilk, you can easily make a substitute: For every 1 cup of milk, add 1 tablespoon of white vinegar or lemon juice. Let it sit for 5-10 minutes until it slightly curdles, then use it as directed. For this recipe, you’d use 2 tablespoons of regular milk with 1/4 teaspoon of vinegar/lemon juice.
- My brownies turned out cakey, not fudgy. What happened? The most common reasons for cakey brownies are overmixing the batter (which develops gluten, making them tough) or overbaking them. Ensure you mix the dry ingredients only until just combined and remove the brownies from the oven when a toothpick comes out with moist crumbs, not completely clean.
- How do I get that shiny, crackly top on my brownies? The shiny, crackly top often comes from beating the sugar and eggs together adequately at the start of the recipe. This dissolves some of the sugar and creates a meringue-like layer that bakes into that desirable crust. Using melted butter and slightly cooling the chocolate mixture also contributes.
- Can I make these brownies ahead of time? Yes, these brownies are perfect for making ahead! They can be stored unfrosted at room temperature for 3-4 days, or frosted in the refrigerator for 5-6 days. They also freeze exceptionally well, as detailed in the storage section above.
More Decadent Brownie Recipes to Explore
If you’ve fallen in love with these Red Velvet Brownies and are craving more chocolatey goodness, you’re in luck! Brownies are a versatile and beloved dessert, offering endless possibilities for flavor combinations and textures. Here are some other fantastic brownie recipes from our collection that you’re sure to enjoy:
- Peanut Butter Stuffed Brownies: For the ultimate peanut butter and chocolate pairing, these brownies feature a surprise gooey center.
- Grasshopper Brownies: A refreshing mint-chocolate twist on classic brownies, perfect for mint lovers.
- M&M Brownies: Colorful and fun, these brownies are packed with everyone’s favorite candy-coated chocolates.
- S’mores Brownies: Bring the campfire indoors with these brownies layered with graham crackers, chocolate, and toasted marshmallows.
- Cosmic Brownies: A nostalgic treat, recreating the beloved lunchbox favorite with a rich, fudgy base and colorful candy sprinkles.
- Easy Homemade Brownies: A classic, foolproof recipe for perfectly fudgy brownies every time, without any special flavors.
- Gooey Brownie Pie: A unique take on brownies, baked in a pie crust for an extra layer of indulgence.
Red Velvet Brownies
Pin Recipe
Rate Recipe
Print Recipe
Ingredients
- 1/2 cup unsalted butter
- 1/3 cup semi-sweet chocolate chips
- 1 cup granulated sugar
- 2 whole large eggs
- 1 teaspoon vanilla extract
- 2 Tablespoons buttermilk
- 1 teaspoon red food coloring, approximately
- 1 cup all-purpose flour
- 1/2 teaspoon baking powder
Cream Cheese Frosting
- 4 oz cream cheese, room temperature
- 2 Tablespoons softened butter
- 1/2 teaspoon vanilla extract
- 1 1/2 cup powdered sugar
- 3 Tablespoons skim milk
Instructions
-
Preheat oven to 350º F (175ºC). Lightly grease an 8 inch baking pan or line it with parchment paper, leaving an overhang on two sides for easy removal. Set aside.
-
In a microwave safe bowl cut the butter into pieces. Add the chocolate chips and microwave for 1 minute. Remove from the microwave and stir until completely melted and smooth. Let it stand for 3-4 minutes to cool slightly.
-
Meanwhile beat together sugar, eggs, vanilla extract, and buttermilk until the mixture is light, smooth and well combined.

-
Add the slightly cooled melted chocolate to the sugar mixture and mix until well combined and glossy.
-
Now stir in your red food coloring to your desired brightness. You’ll need about 1 teaspoon of liquid food coloring to get the vibrant color in the pictures. You can add more or less for your liking. Mix until the color is evenly distributed.

-
Gently mix in the all-purpose flour and baking powder until it is just combined and no white streaks of flour remain. Be careful not to overmix.
-
Pour the batter into your prepared baking dish and spread evenly. Bake for about 25 minutes, or until a tester inserted into the center comes out with moist crumbs (not raw batter). The edges should be set and slightly cracked. Remove from the oven and let brownies cool completely in the pan on a wire rack.

To Make Frosting
-
Beat together softened cream cheese and softened butter until the mixture is light, fluffy, and perfectly smooth.
-
Add in the vanilla extract, powdered sugar (starting with about half and then adding the rest), and milk. Beat on medium-high speed until it is a spreadable and smooth consistency. Adjust the amount of powdered sugar or milk if the frosting is too thick or too thin to reach your desired texture.
Nutrition
Nutrition information is automatically calculated, so should only be used as an approximation.
Additional Info
Like this recipe? Leave a comment below!
Join Our Baking Community! I’ve created a fun and engaging group on Facebook, and I would absolutely love for you to join us! It’s a vibrant community where you can share YOUR favorite recipes, ask questions, get inspiration, and stay up-to-date with all the new recipes and exciting content from Dinners, Dishes and Desserts. Don’t miss out on delicious discussions!
Be sure to follow me on Instagram and tag #dinnersdishes so I can see all the wonderful DINNERS, DISHES, AND DESSERTS recipes YOU create!
Stay connected and never miss a delicious update! Be sure to follow me on my social media channels for the latest recipes, tips, and culinary adventures:
Facebook | Twitter | Pinterest | Instagram
